

Home Grown is a small family-owned company with a love for gardening. From our own backyard, we have cultivated a passion for gardening that we want to share. We believe that it should be accessible to everyone, fun, and easy to start. Our goal at Home Grown is to provide you with the best quality products and services. Our team has spent years sourcing and creating products that help everyone from beginner to experienced gardeners alike.
We made sure that no green thumb is required to help you have your dream of gardening come true by providing you detailed instructions and guides which are included in all of our seed packs and kits. We hope you experience the same joy we have found for gardening.


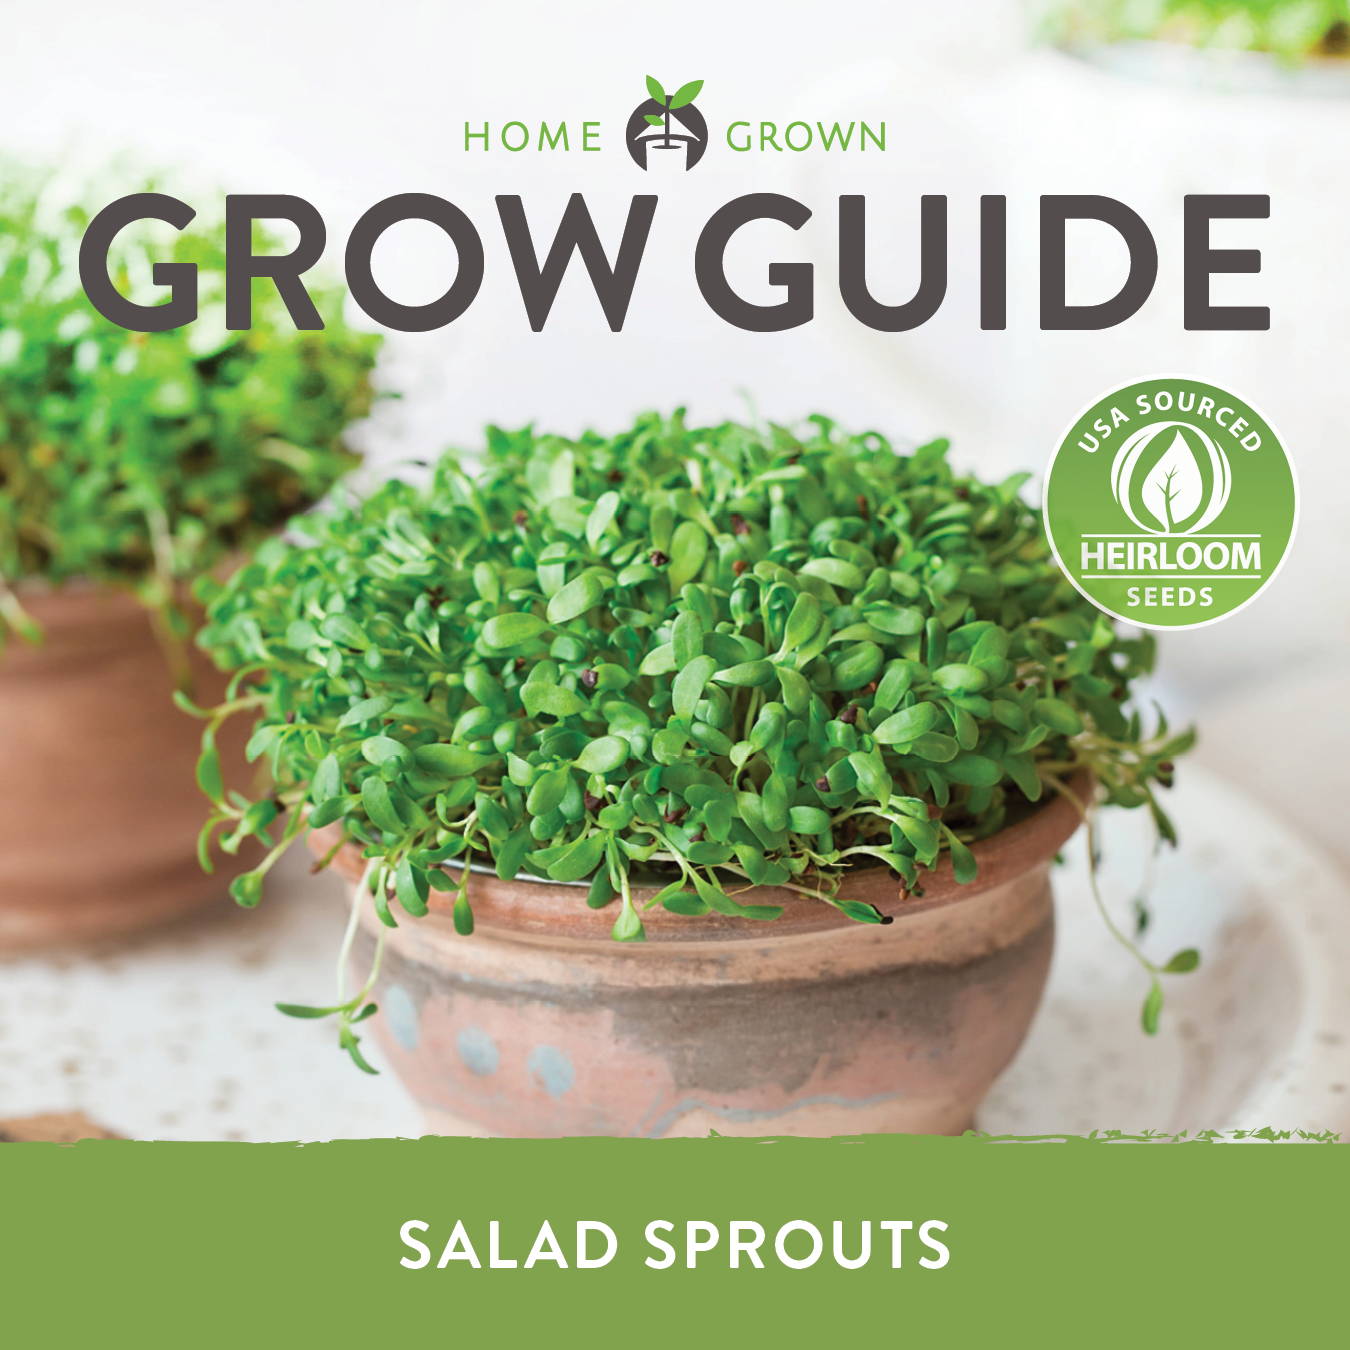
Salad sprouts are 3- to 5-day old germinated seeds that are starting to develop tiny leaves and roots. Our salad sprouts seeds pack contain equal amounts of Calabrese broccoli, alfalfa, Champion radish, and crimson clover seeds. This salad mix provides different textures, crunch, and flavors to your usual greens. These tiny greens are packed with some of the most essential nutrients such as vitamins A, B, B1, B2, C, D, E, and K, as well as minerals like phosphorus, iron, calcium, magnesium, potassium, sulfur, and even protein. They help restore metabolic balance, support healthy cholesterol levels, and promote healthier skin and good digestion.
Whether you are going to use jars, starting trays, or seed sprouters to grow your salad sprouts, remember to wash the seeds very well before using them to get rid of any dirt or debris.
After washing the seeds, place about 2 tablespoons of seeds in the jar. Fill the jar with cold drinking water, just until the seeds are fully submerged. Cover the jar using a mesh cloth or cheesecloth and secure with a lid of rubber band. Store the jar in a shady spot at room temperature and allow the seeds to soak for about 8 to 12 hours.
After soaking, rinse the seeds using drinking water and drain them thoroughly. Keep on doing this every 4 to 8 hours for 2 more days. On the third day, place the jar in a well-lit area so it can get indirect sunlight. Be sure that the seeds are always moist, but not wet. Repeat the rinsing and draining process for another 2 days or until harvest.
When seeds are ready and clean, sprinkle them evenly on a starting tray or seed sprouter. Soak them in cold water for 8 to 12 hours. Keep the tray in a shady area at room temperature. Rinse and drain the seeds thoroughly. Repeat this process every 4 to 8 hours for 2 days. On the third day, transfer the tray or sprouter to a sunny area where it can receive indirect sunlight. Remember to keep the seeds moist, but not wet. Continue rinsing and draining for 2 more days or until harvest.
When sprouts reach a desirable length and most hulls have loosened, they are ready for harvest. Give them a final rinse before you harvest them. Drain them well and de-hull if needed or desired.