


One of the best plants you can grow over the winter months, garlic requires very little space and can be used in so many homestead recipes.
As a member of the allium family, garlic is easy to grow. If you’re interested in learning how to grow garlic, you’ve come to the right place.
Best Garlic Varieties
There are several varieties of garlic you might choose to grow. The biggest and most important decision you need to make is whether you want to grow hardneck or softneck garlic.

Hardneck garlic is aptly named, as it has stiff stalks that form the “neck.” Hardneck garlic produces fewer cloves than softneck garlic, with common cultivars including ‘Rocambole,’ ‘Purple Stripe Garlic,’ and ‘Porcelain Garlic.’
Softneck garlic, on the other hand, is best for warm climates. Options include ‘Artichoke’ and ‘Silverskin.’
When Should I Plant My Garlic?
Garlic is grown from individual cloves and can be planted in the spring or in the fall.
If you planted in the spring, you will want to do so as soon as the soil can be worked. You likely will not get a crop the same year, although some growing zones have weather patterns that do allow this.
Plant in the fall, and you’ll get a harvest the following spring or summer. You should plant in mid-autumn, doing so in a sunny spot with plenty of well-draining soil. After planting, you can cover the soil with six inches of mulch to provide the necessary winter protection.
Planting Garlic
Garlic should ideally be planted in fertile, well-draining soil. Planting garlic in a raised bed is a great way to ensure that you have maximum control over the growing conditions, but if that’s not possible, just make sure you remove all stones from the area before planting.

Garlic bulbs need plenty of loose, aerated soil in order to form healthy, properly shaped bulbs. Soil that is too compacted or rocky can make your bulbs undersized or odd-looking.
Before planting, be sure to work a few inches of compost into the soil. This will add valuable nutrients to the soil that will provide your developing bulbs with a bit of a boost.
Be careful about planting garlic in a spot where water can pool and gather around the roots. Although garlic requires plenty of water to grow, too much standing water can cause disease or rot.
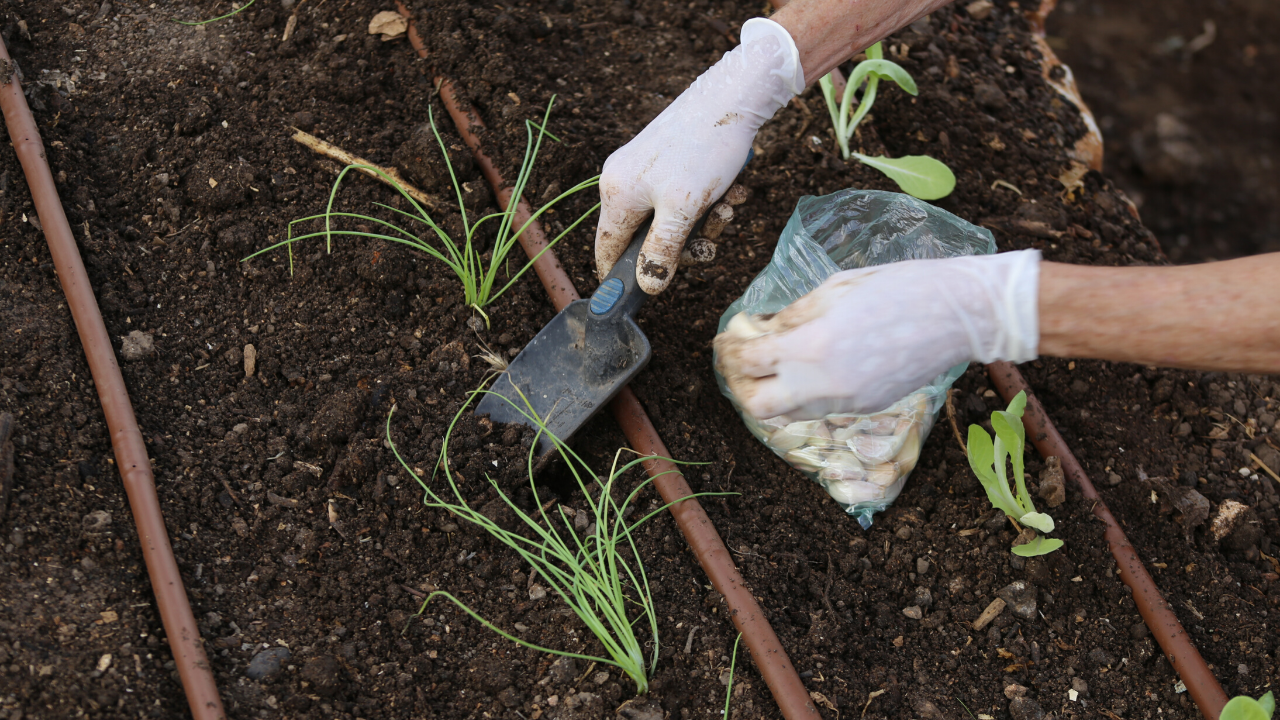
When you’re ready to plant, separate your cloves from the bulb. Plant each clove about four to six inches apart, with rows spaced a foot apart.
If you’re not sure how you should position your cloves when you plant, an easy way to remember is that the pointed end should be facing up and the blunt end down. Press each clove two inches into the ground and firm the soil around it. Be sure to water after planting!
Caring for Garlic Plants
Once planted, garlic is remarkably easy to care for. In fact, it’s a true “set and forget” kind of vegetable.

After you plant, it’s important to put down a protective layer of mulch, such as straw, grass clippings, or chopped leaves. This will protect the roots from freezing and popping up out of the ground. It can also control weeds, if you live in a warmer climate.
As soon as leaves appear in the spring, you will need to feed the plants with a balanced fertilizer. A high-nitrogen fertilizer is recommended.
Water regularly, providing your plants with approximately an inch of water each week. Don’t forget to provide moisture in the winter, either! Although most water needs can be met with regular precipitation alone during the winter months, you do need to be careful about remulching periodically to make sure your bulbs don't become dried out from the desiccating winter winds.
Harvesting Garlic
In midsummer, you will discover that your garlic plants stop putting on new leaves. Instead, they will start forming bulbs. You can stop watering and remove any mulch around the plants.
This might sound a bit odd, but the goal here is to allow the bulbs dry out before harvest. This way, your garlic will store better.

You are ready to harvest once the leaves turn brown, usually in mid-July to early August. This can vary depending on when your garlic was planted and what your weather conditions are like, however.
Just make sure you time your harvest appropriately! Leave the bulbs in the ground too long, and they might separate. They are still perfectly edible, but they might not hold up as well for long term storage.
Dig your bulbs up, taking care that you don’t bruise them. Lay them out to dry for two or three weeks in a shady location with lots of air circulation. Once the roots feel dry and brittle, you can rub them off. There’s no need to wash your plants.
CTTO: GrowVeg
Tie your garlic in bunches and hang them somewhere cool, dry, and airy. Your garlic bulbs should last all winter when stored in this manner, but be sure to use any up that begin to sprout.
You can even plant a few of the bulbs you harvested next year! That way, you’ll be able to enjoy a bumper crop of garlic year after year, with minimal investment of time, money, or energy.

