


There's a special kind of satisfaction that comes from hand planting seeds. It’s a timeless skill, connecting you directly to your garden in a way that machinery just can't match. You’re giving each and every seed the best possible start, which ultimately leads to stronger plants and a more successful garden.
Why Hand Planting Seeds Is Worth the Effort
In a world filled with high-tech solutions, the simple act of hand planting seeds holds its own. It's more than just a chore; it's a chance to get your hands dirty, feel the soil, and really understand what your plants need from the very beginning. This hands-on approach gives you incredible precision, making sure every seed goes in at just the right depth and with enough room to grow.
This isn't just a nostalgic practice, either. Hand planting is still a vital technique across the globe. For example, an estimated 60% to 70% of rice farming in Southeast Asia depends on manual hand-seeding, especially in areas where machinery isn't practical. You can dig deeper into the global significance of these methods by reviewing market research on seeding practices.
The 3 Biggest Benefits of a Personal Touch
Choosing to plant by hand brings a few key advantages, particularly for home gardeners, small-scale growers, or anyone working with precious heirloom varieties.
- Precision and Control: You dictate the exact depth and spacing for every single seed. This prevents the kind of overcrowding that forces seedlings to compete for light, water, and nutrients.
- Minimal Soil Compaction: Your hands and a small trowel are much gentler on the soil than heavy equipment. This keeps the soil structure light and airy, which is exactly what new roots need to thrive.
- A Deeper Connection: The physical act of working the soil builds your gardener's intuition. You start to learn the feel of your soil—its texture, its moisture content—in a way you just can't from a distance.
When you take the time to hand plant, you're not just a bystander; you're an active participant in the most critical stage of a plant's life. This mindful process does more than just boost germination rates—it deepens your appreciation for the entire journey from seed to harvest.
Creating the Perfect Seedbed for Germination
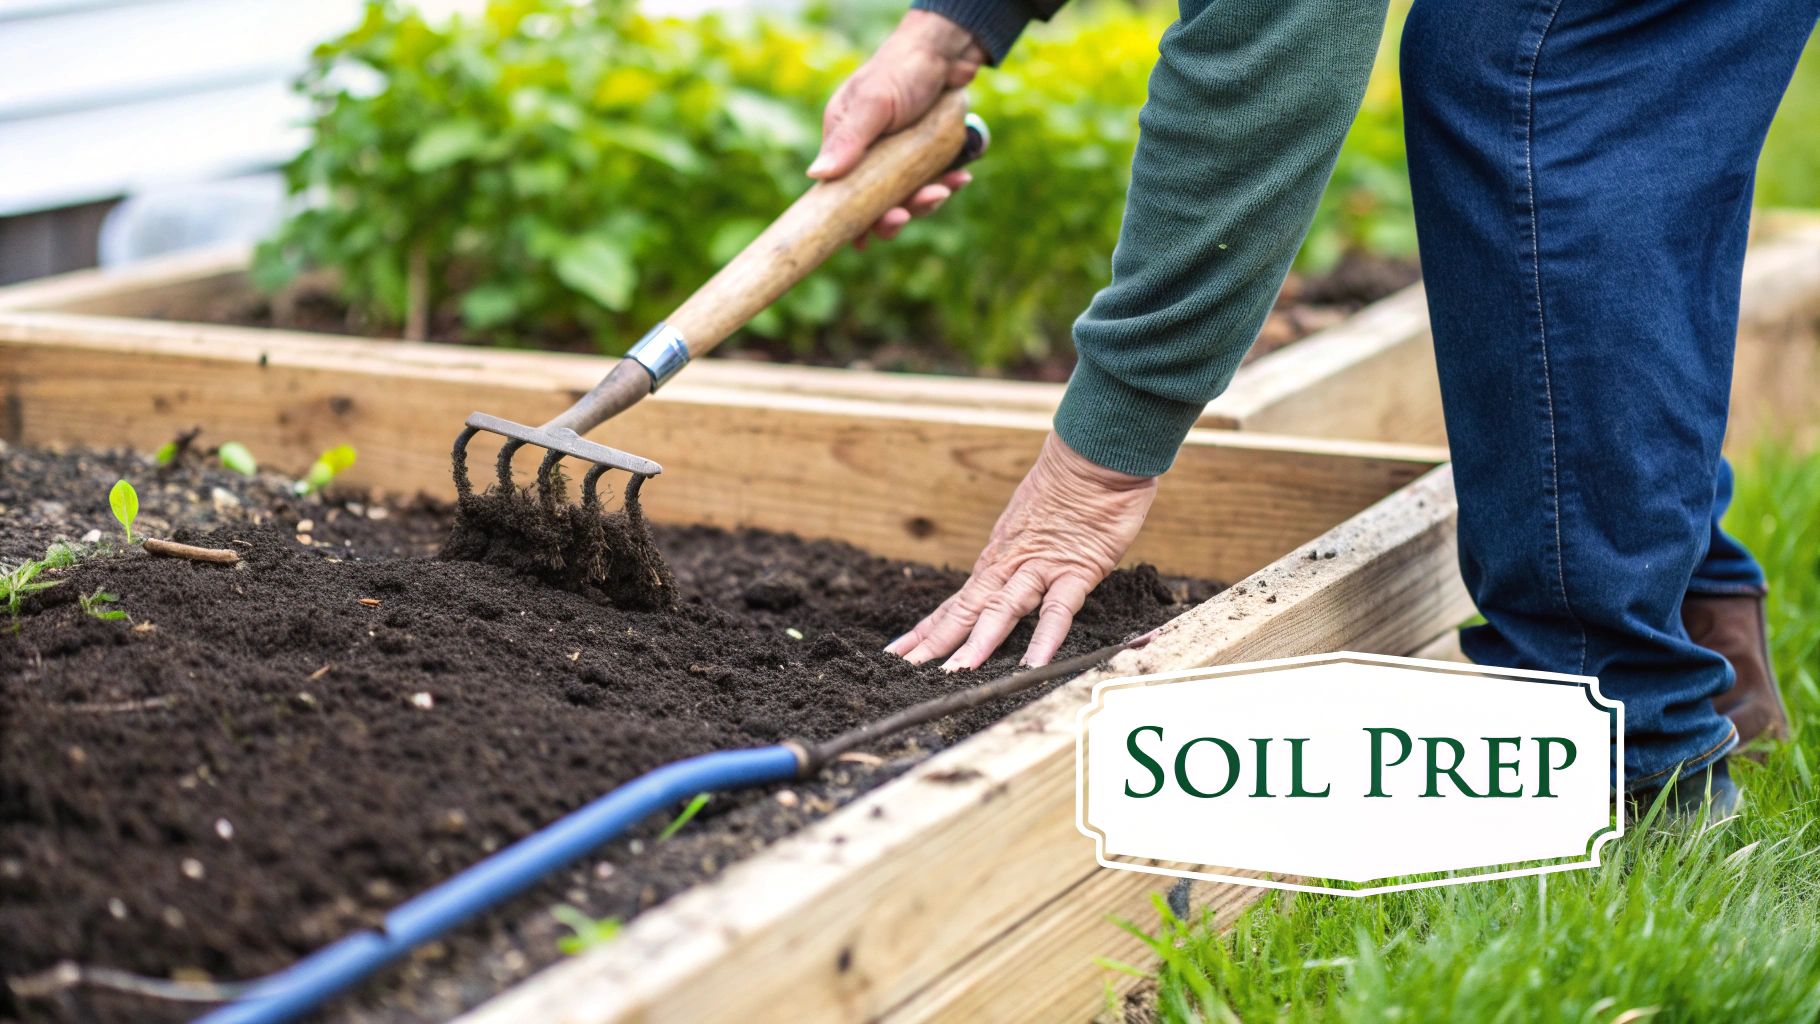
Your journey with hand planting seeds doesn't start with the seed itself. It begins with the soil. Getting the seedbed right is probably the single most important thing you can do to ensure you get strong, reliable germination. Think of it like this: you're creating a welcoming nursery for your baby plants, giving them a safe, nurturing place to thrive from day one.
The best soil for new seeds has a fine, crumbly texture. We call this "friable" soil, and it’s crucial because it allows those delicate new roots to push through without any struggle. Before you even open a seed packet, take the time to clear your planting area. Pull out every weed, rock, and bit of old plant debris. I find using a garden fork or just my hands works best, as it helps avoid compacting the soil, which is the last thing a tiny seedling needs.
Enriching Your Soil for Success
With the bed cleared, it's time to add the good stuff. This is where you enrich the soil, and adding a generous layer of well-rotted compost or other organic matter is non-negotiable in my book. It’s not just about food; it’s about structure. Compost feeds the soil with essential nutrients, but it also dramatically improves its texture, helping it hold moisture without becoming a soggy mess.
Let's take a common scenario: preparing a bed for carrots. Everyone wants long, straight carrots, right? Well, they need deep, loose soil to get there. If a growing carrot root hits a hard clump of clay or a hidden rock, it will fork and end up stunted. By working a few inches of compost into the top six to eight inches of the bed, you create that perfect, unobstructed runway for them.
If you're getting a jump on the season, knowing the right timing is key. Our guide on when to start seeds indoors can help you map out your entire planting schedule.
A Quick Tip from the Garden: I always use the "squeeze test" to check for soil moisture before planting. Grab a handful of soil and give it a firm squeeze. If it just crumbles away, it's too dry. If water drips out, it's too wet. What you're looking for is a clump that holds its shape but falls apart easily when you poke it.
Nailing that perfect moisture balance is the final touch. Once you have it, you're ready to start hand planting your seeds, knowing you've set the stage for a fantastic harvest.
Getting Seed Depth And Spacing Just Right
Once you've got your soil prepped and ready, the next big step is planting. And when you're planting by hand, getting the depth and spacing correct is everything. It’s a delicate balance. Go too deep, and your seed might run out of energy before it can push through to the sunlight. Too shallow, and it could easily dry out, wash away, or become a quick snack for a passing bird.
A great rule of thumb I’ve always relied on is to plant a seed about twice as deep as it is wide. It’s a simple but effective guideline. This gives the seed enough cover to stay moist and protected, but it's still close enough to the surface to make its way out. A tiny, dust-like lettuce seed, for instance, barely needs to be covered, while a chunky bean seed will need to be pushed down a bit further.
This image really captures the hands-on process, from making your planting furrows to carefully placing each seed.
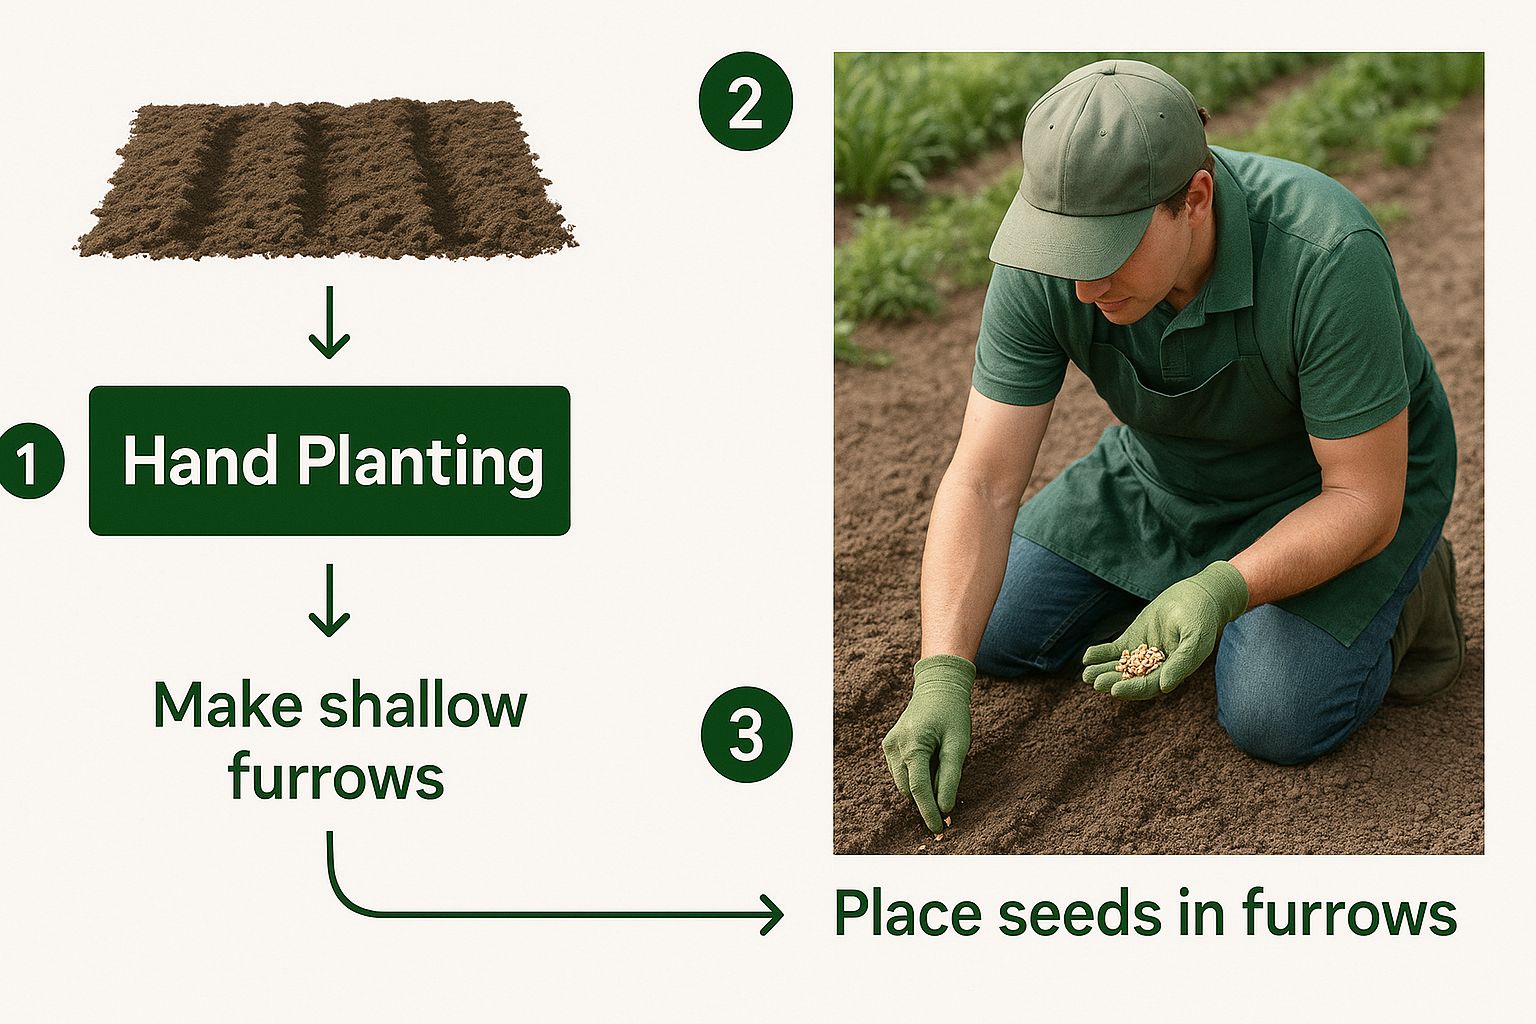
As you can see, taking the time to place each seed by hand gives it the best possible shot at germination and a strong start.
Why Giving Plants Their Space Is Crucial
Proper spacing is your best defense against a whole host of garden headaches later on. When plants are jammed too close together, they're forced to compete for the basics: sunlight, water, and soil nutrients. This stress leads to weaker plants and a smaller harvest.
Think about it—a huge, sprawling zucchini plant needs a ton more elbow room than a row of slender, upright carrots. Every plant has its own personal space requirements.
My best piece of advice? Always read the seed packet. It’s your ultimate guide for the specific variety you’re planting. The packet provides the exact depth and spacing recommendations you need to follow for that particular plant.
To give you a head start, here’s a quick-reference table for some common garden vegetables.
4 Common Seeds and Their Planting Needs
This table provides a handy cheat sheet for some of the most popular plants you might be growing.
| Plant Type | Recommended Planting Depth | Recommended Spacing Between Seeds | Notes |
|---|---|---|---|
| Lettuce | 1/4 inch | 1-2 inches apart | Plan to thin seedlings to 6-8 inches apart. |
| Carrots | 1/4 inch | 1 inch apart | Thinning is key! Aim for 2-3 inches between plants. |
| Bush Beans | 1 inch | 2-3 inches apart | Keep rows about 18-24 inches apart. |
| Zucchini | 1 inch | 2-3 seeds per mound | Mounds should be spaced at least 2-3 feet apart. |
Following these guidelines sets your garden up for success from day one.
Getting these measurements right is a huge factor in successful germination. If you're looking for more ways to get your seeds sprouting quickly, you'll find some great tips in our guide on how to germinate seeds faster. Nail this part, and you're well on your way to a thriving, productive garden.
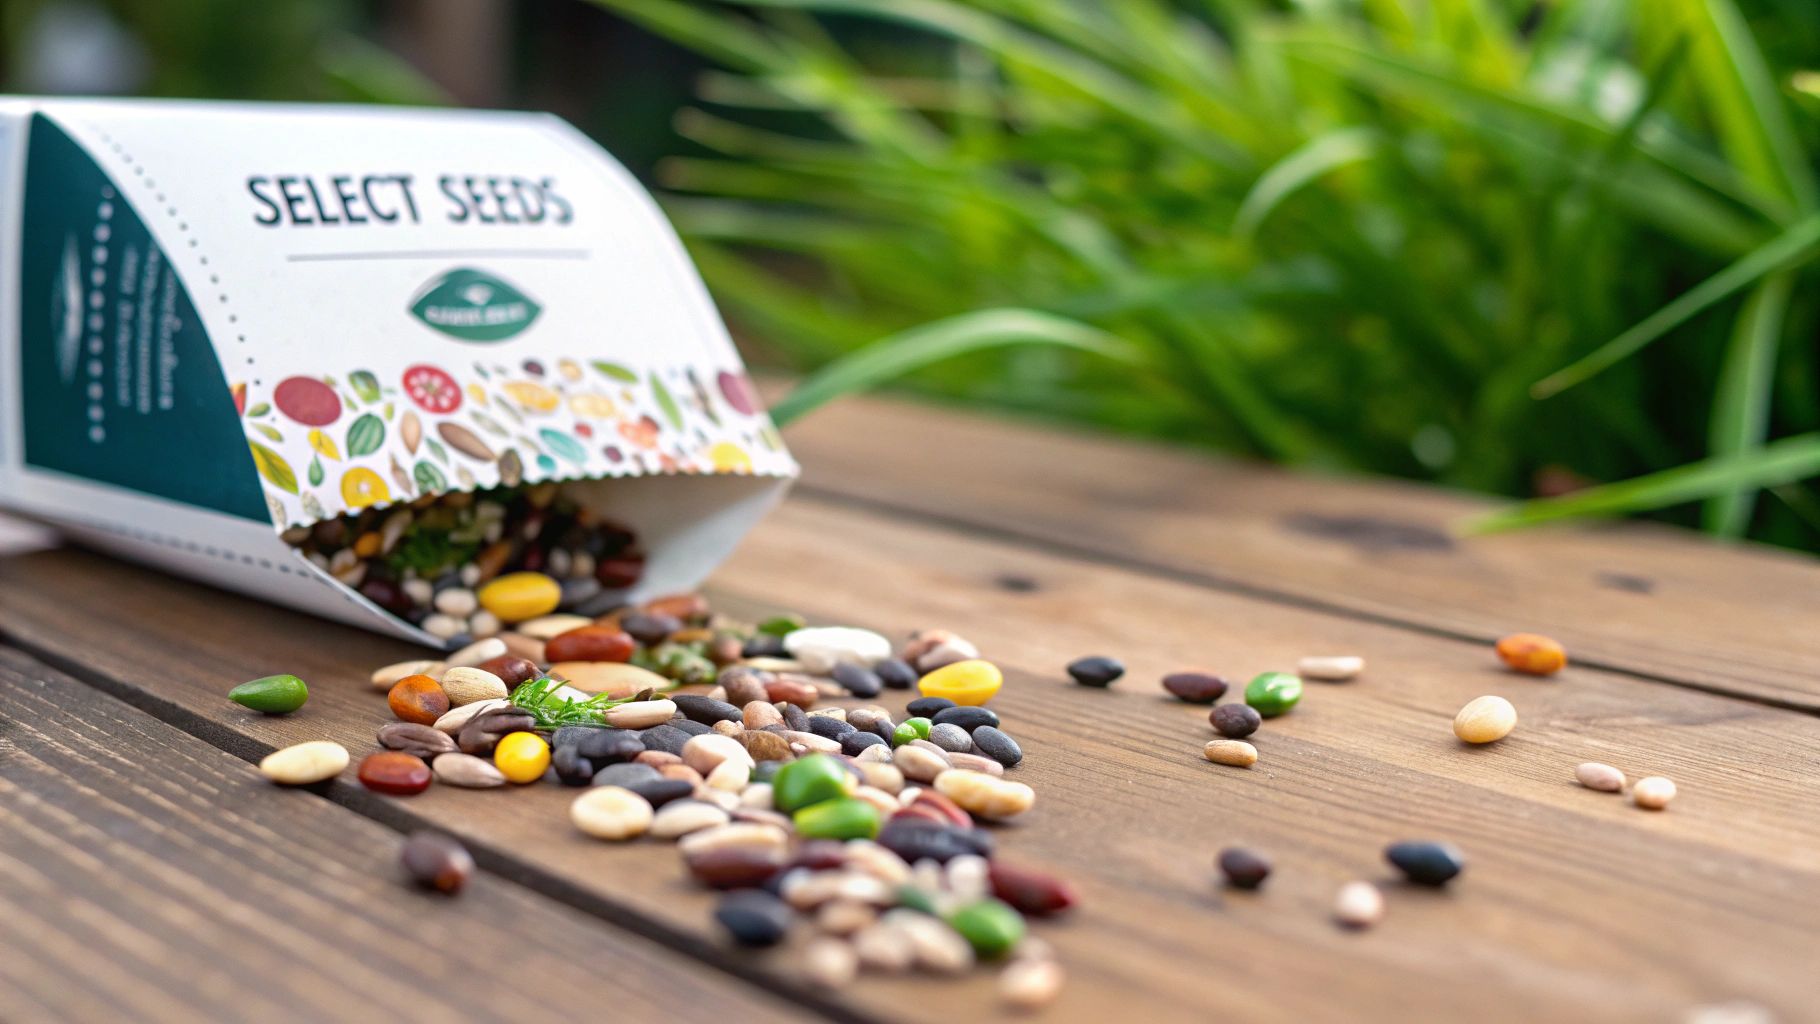
Picking the Right Seeds for a Successful Harvest
Your garden's success story really begins long before you ever break ground. It starts with the seeds you choose. Having spent years learning this lesson the hard way, I can tell you that matching your seeds to your garden's specific conditions and your own goals is the most critical first step.
You'll mainly come across three types of seeds: heirloom, hybrid, and open-pollinated. Each has its own place in the garden, and knowing the difference will save you a lot of guesswork.
-
Heirloom Seeds: Think of these as living history. They're varieties that have been passed down for generations, often 50 years or more. Because they are open-pollinated (meaning they rely on natural pollination from insects, birds, or wind), you can save the seeds year after year. Gardeners treasure them for their rich, complex flavors and the stories they carry, though they can sometimes be a bit more susceptible to local diseases.
-
Hybrid Seeds (F1): These are the result of a very deliberate cross-pollination between two distinct parent plants. The whole point is to combine the best traits of both parents—maybe one has incredible disease resistance and the other produces a huge yield. Hybrids are often the go-to for reliability and uniformity, which is great if you need a dependable crop.
Creating new seed varieties is a huge business. The global market for planting seeds is valued at around $59.3 billion, a number driven by the need for reliable food and the consistent performance of hybrids. You can dig deeper into the research behind the modern seed market if you're curious.
Don't Plant Duds: Test Your Old Seeds First
Found a forgotten packet of seeds from last year? Don't automatically assume they're still good, but don't toss them either! A simple viability test can prevent the disappointment of empty rows in your garden.
Performing a simple germination test saves you time, effort, and precious garden space. It's a quick check that ensures the seeds you're carefully hand planting have the energy to grow.
It’s easy. Just lay ten seeds out on a damp paper towel, fold it over them, and slip the whole thing into a plastic bag. Leave it in a warm spot (like on top of the fridge) for a few days to a week, depending on the seed type.
If seven or more seeds sprout, you've got a 70% germination rate, which is pretty solid. Go ahead and plant them. If you see fewer than five sprouts, it’s probably best to invest in a fresh packet for the season.
You can’t just use the same planting method for every seed and expect great results. Let's be real, a hefty bean seed needs a totally different approach than a dust-like poppy seed. The real skill in gardening comes from knowing how to handle each one.
Once you get a feel for these different techniques, you'll be able to confidently tackle any seed packet that comes your way. It's what makes the difference between a frustrating season and a garden that truly thrives.
The 3 Best Methods for Hand Planting Different Seeds
-
Big Seeds: The One-by-One Method
When you've got big, easy-to-handle seeds like beans, squash, peas, or corn, you can give each one special treatment. These guys have enough oomph packed inside to be planted individually. Use your index finger or a dibber to make a hole to the recommended depth, drop one or two seeds in, and gently cover with soil, patting it down to ensure good contact. -
Medium Seeds: Sowing in Furrows
For most of the medium-sized crowd—think radishes, beets, or spinach—sowing in shallow rows, or furrows, is the way to go. Use the edge of a hoe or a stick to draw a straight, shallow trench. Carefully sprinkle the seeds along the bottom, trying to match the spacing on the seed packet. Once they're in, gently rake the soil back over the furrow. -
Tiny Seeds: The Broadcast and a Pro Trick
Now for the tricky ones. Tiny seeds like carrots or lettuce can be hard to space. My go-to trick is to mix them with a bit of fine, dry sand. This bulks up what you're holding, making it much easier to scatter them evenly. After scattering, sift a fine layer of soil over the top—don't bury them too deep!
What to Do After You’ve Planted Your Seeds
Getting your seeds in the ground feels like a major victory, and it is! But the real work in hand planting seeds is just beginning. Those first couple of weeks are make-or-break for your tiny sprouts, and a little attentive care now is what truly separates a lush, productive garden from a patch of bare soil.
The first, most immediate task is watering. You have to be gentle. A heavy-handed blast from a hose can send your carefully placed seeds scattering or leave them exposed on the soil surface. I've learned this the hard way. My go-to is either a watering can fitted with a fine rose or a hose nozzle set to a "mist" or "shower" setting. This delivers the water needed without causing a miniature mudslide in your garden bed.
5 Essential Tips for Thriving Seedlings
Giving your seeds consistent care as they germinate will pay off with a much higher success rate. Here are the five most important things I focus on to protect and nurture newly planted seeds.
-
Keep the Soil Just Right
Think of the ideal moisture level as a well-wrung-out sponge—damp, but not dripping wet. If the soil dries out completely, germination can stall or fail entirely. On the flip side, soggy soil is a recipe for rotten seeds. The best way to know is to simply touch the soil every day. If the top inch feels dry, it's time to water gently. -
Let There Be Light
As soon as you see those first little green shoots pop up, they need sunlight, and they need it fast. Most vegetable seedlings are sun-worshippers, requiring at least 6-8 hours of direct sunlight each day. This prevents them from getting "leggy"—stretching desperately for light and growing weak and spindly. -
Watch the Thermometer
Not all seeds are created equal when it comes to temperature. Cool-weather crops like lettuce and spinach are happy to get started in soil as cool as 40°F (4°C). But warm-weather plants like tomatoes, peppers, and squash won't do a thing until the soil warms up to at least 60°F (16°C). On chilly spring days, a simple floating row cover can work wonders, acting like a mini-greenhouse to trap heat. -
Defend Your Sprouts
To a lot of garden critters, your tender new seedlings look like an all-you-can-eat buffet. Birds, slugs, and snails are the most common culprits. I often lay lightweight bird netting over the bed right after planting. For slugs and snails, a perimeter of crushed eggshells or diatomaceous earth can create a barrier they're unwilling to cross. -
Give Them Room to Breathe
Once your seedlings have a few leaves, good air circulation becomes vital for preventing fungal diseases, especially the dreaded "damping-off," which can wipe out a whole row overnight. If you're using row covers or cloches, remember to lift them or vent them on warm, sunny days to let the air move through.
2 Common Questions About Planting Seeds by Hand
No matter how long you've been gardening, questions always seem to sprout up right when you have dirt under your fingernails. Let's tackle some of the most common ones I hear from fellow gardeners.
How Do I Know if My Old Seeds Are Still Good?
Ah, the classic shoebox full of last year's seed packets. Before you commit them to the soil, it's smart to run a quick viability test.
It's actually pretty simple. Just grab ten seeds, lay them on a damp paper towel, and fold it over. Slide the whole thing into a plastic bag and leave it somewhere warm, like on top of your fridge. Check on it in about a week. If you see seven or more little sprouts, you've got a 70% germination rate—more than enough to work with!
Can I Plant Seeds from Grocery Store Produce?
You absolutely can, but think of it as a fun experiment rather than a guaranteed harvest. Most produce you find at the supermarket comes from hybrid plants, which are bred for specific traits like shelf life or uniform size.
The seeds from these hybrids are genetically unpredictable. You might get a plant, but it probably won't produce the same delicious tomato or crisp pepper you originally bought. It’s always a bit of a genetic lottery.
It's amazing to think that the small packet of seeds in your hand is part of a huge global network. In fact, U.S. planting seed exports alone were recently valued at around $1.75 billion, feeding gardens and farms all over the world. You can actually see the data on global seed regulations and trade on the USDA site.
Getting a handle on germination is the foundation of good gardening. If you want to dig a little deeper, our guide on 10 tips for successful sowing and germination can help you boost your success rate.
At Homegrown Garden, we're passionate about providing high-quality heirloom seeds and the support you need to watch your garden flourish. https://www.homegrown-garden.com

