


Understanding Your Garden's Timing Sweet Spot
Let's get real about garden timing—it's the secret sauce that separates a tray of thriving, robust seedlings from a batch of disappointing failures. You've probably seen that generic "start seeds six weeks before the last frost" advice everywhere. While it's a decent starting point, it often misses the mark for what your specific garden actually needs. The truth is, figuring out when to start seeds indoors is less about following a rigid rule and more about becoming a detective for your unique growing conditions.
Beyond the USDA Zone Map
Your USDA Hardiness Zone is a fantastic tool for knowing which plants can survive your winter lows, but it doesn't paint the full picture of your planting schedule. For instance, a gardener in coastal California (Zone 9b) might get their tomatoes started in February, but someone in central Florida (also Zone 9b) might hold off until late summer to dodge the oppressive peak heat. They share a zone, but their local climates demand completely different game plans.
This is even true within the same city. I once knew two gardeners living just five miles apart. The one at a slightly higher elevation consistently saw her last frost a full week later than her friend down in the valley. This is a perfect example of a microclimate—a small pocket with weather conditions that differ from the surrounding area. These unique spots can be created by:
- Proximity to large bodies of water, which can buffer temperatures.
- Changes in elevation, as higher ground is often cooler.
- Urban heat islands, where concrete and asphalt hold onto warmth.
- Even the side of a hill you garden on can change your sun exposure and frost patterns.
To help you get a better handle on your timing, here's a general schedule that factors in different climate zones. Use this as a guide, but always be ready to adjust based on your local observations.
| USDA Zone | Last Frost Date (Approximate) | Indoor Seed Start | Popular Vegetables |
|---|---|---|---|
| Zone 4 | Late May to Early June | Late March to Mid-April | Broccoli, Cabbage, Kale, Onions |
| Zone 5 | Mid-May | Mid-March to Early April | Tomatoes, Peppers, Eggplant, Basil |
| Zone 6 | Late April to Early May | Late February to Mid-March | Tomatoes, Peppers, Cucumbers, Squash |
| Zone 7 | Mid-April | Mid-February to Early March | Peppers, Eggplant, Tomatoes, Melons |
| Zone 8 | Late March to Early April | Late January to Mid-February | Tomatoes, Peppers, Squash, Corn |
| Zone 9 | Late February to Mid-March | Early January to Early February | Beans, Corn, Cucumbers, Tomatoes |
| Zone 10 | No Frost / Very Early Frost | Year-round, often Fall/Winter | Okra, Sweet Potatoes, Eggplant |
This table provides a solid foundation, but remember it's an average. Your specific last frost date can vary year to year, so it's wise to cross-reference with local resources.
Reading the Real-World Signs
Seasoned gardeners learn to look beyond the calendar and read the cues from their environment. Often, the best advice comes from a neighbor who has been gardening in your area for decades. They’ll know about those freak late frosts or that the soil on the north side of town takes an extra two weeks to warm up.
The standard recommendation is to start the process about six weeks before your area's last expected frost date. This gives seedlings enough time to grow strong roots and leaves, preparing them for the move outdoors. You can get more details on this general rule of thumb from the experts at The Old Farmer's Almanac when you learn about the basics of starting seeds indoors.
However, your personal experience and direct observation are the ultimate tie-breakers. A soil thermometer is a game-changing tool; for many warm-weather crops like tomatoes and peppers, a consistent soil temperature of at least 60°F is a far better green light for transplanting than any date on a calendar. By blending frost date data with what you see and measure in your own backyard, you’ll find that perfect timing sweet spot for your garden.
Calculating Perfect Timing for Different Plant Types
One of the most common hurdles for gardeners is treating all seeds the same. It's an easy mistake to make, but in reality, every plant operates on its own unique schedule. Think of some as sprinters—like quick-growing lettuces, which are ready for the garden in about four weeks. Others are marathon runners, like peppers and eggplants, which need a solid 8 to 10 weeks of indoor pampering before they're strong enough for the great outdoors. Understanding these individual needs is the secret to figuring out when to start seeds indoors.
Creating a personalized sowing calendar that respects each plant's "personality" is a total game-changer. For instance, I've seen many people start heat-loving basil way too early. It gets plopped into cold spring soil, gets stressed, and just sits there pouting, refusing to grow. On the flip side, if you wait too long to start slowpokes like rosemary or parsley, you'll be waiting what feels like forever to get a harvest you can actually use.
Timing for Cool-Weather vs. Warm-Weather Crops
The biggest initial split you'll make in your plan is between plants that can handle a bit of a chill and those that absolutely need the heat.
- Cool-Weather Crops: These are the tough guys of the garden. Plants like broccoli, cabbage, and kale can be started indoors about 6-8 weeks before your last frost date. They're hardy enough to be transplanted outside when temperatures are still on the cool side. Some, like spinach and radishes, grow so quickly that they often don't need an indoor head start at all and can be sown directly in the garden.
- Warm-Weather Crops: This group includes summer favorites like tomatoes, peppers, cucumbers, and melons. These are true sun-worshippers and require a significant head start indoors. They are extremely sensitive to frost and need warm soil to really get going. I learned this the hard way one year with my cucumbers—I started some indoors and direct-sowed others. The seeds I planted directly into properly warmed soil actually caught up to and outperformed the transplants, which got a bit stressed from the move.
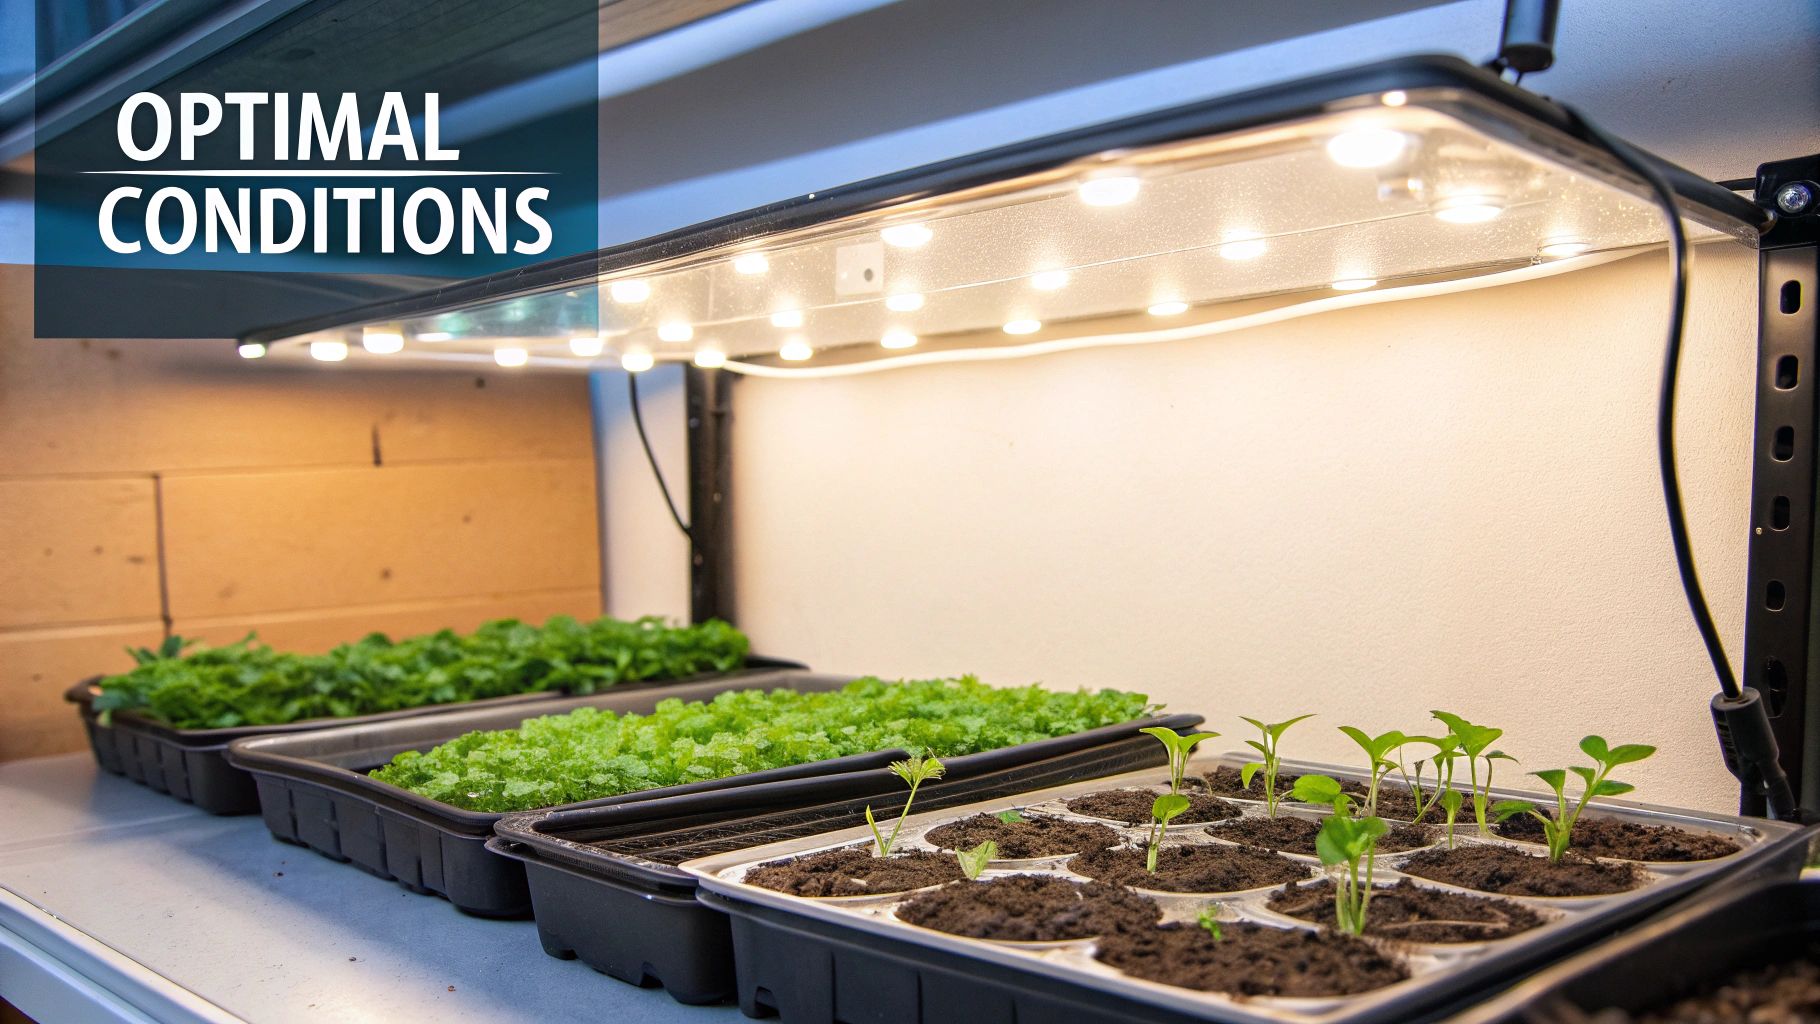
The infographic below shows the key environmental factors you'll need to balance for your indoor seed-starting setup.
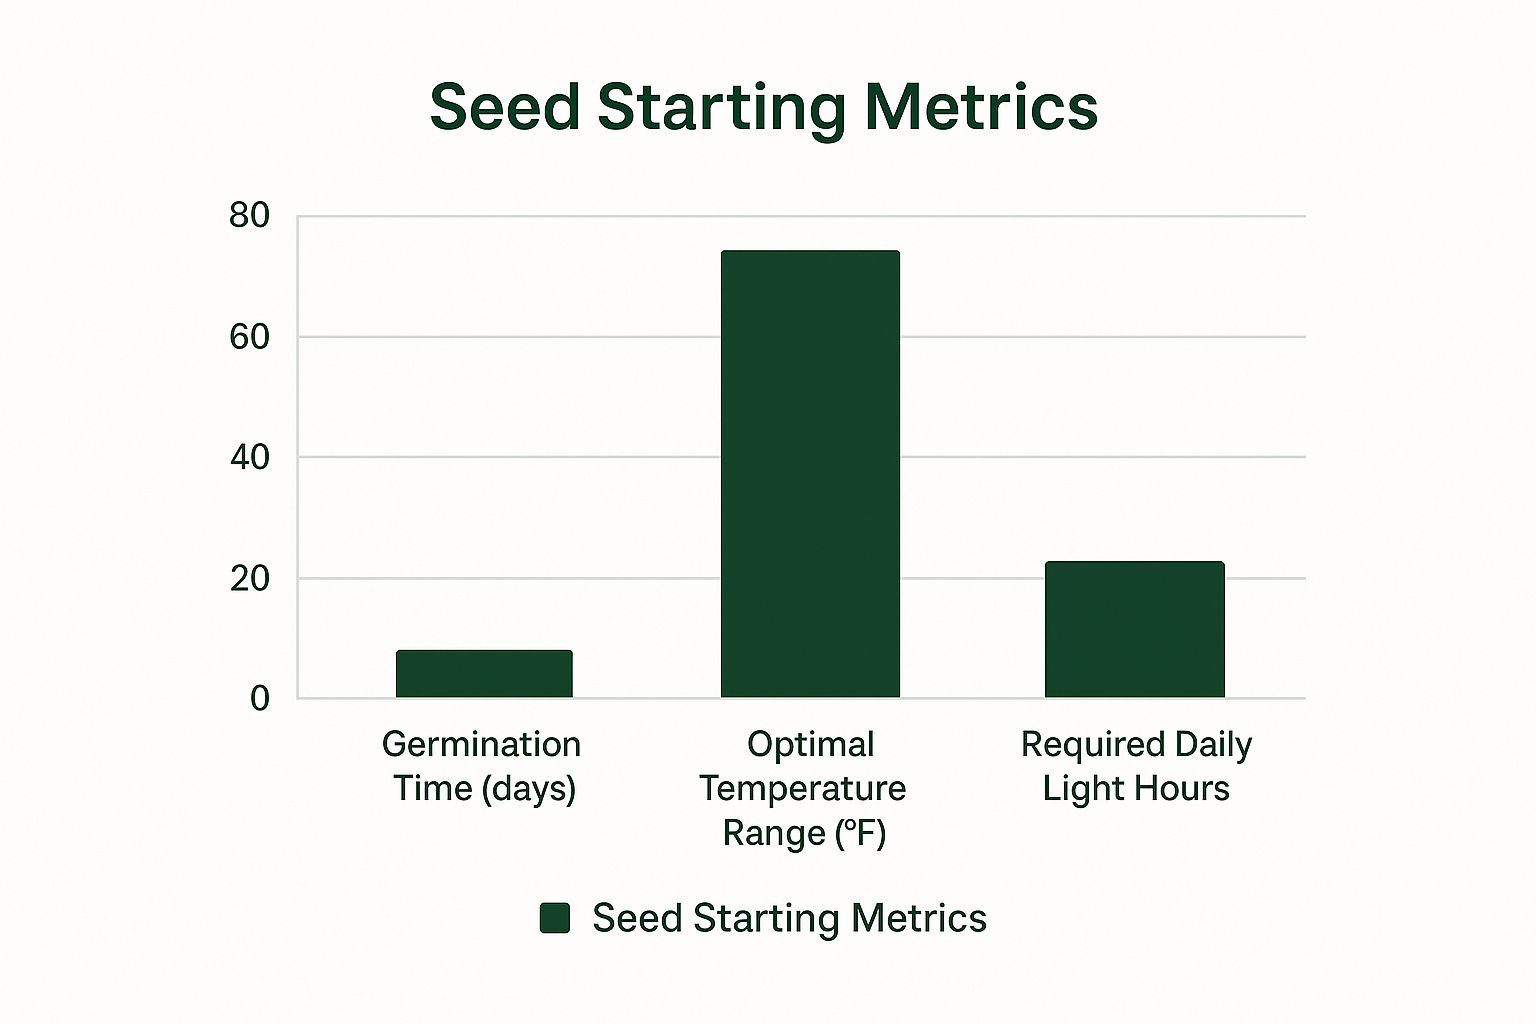
As you can see, things like germination time, temperature, and light are all interconnected, and the right combination is different for every plant.
Indoor Growing Timeline by Plant Type
To help you get a better handle on these different needs, I've put together a quick-reference table. It outlines how long popular plants need to grow indoors before they are ready to be moved outside.
| Plant Type | Weeks Indoors | Transplant Temperature | Special Notes |
|---|---|---|---|
| Peppers & Eggplant | 8-10 weeks | Warm (65°F+ soil) | Very slow to start. Need consistent warmth to germinate and grow well. |
| Tomatoes | 6-8 weeks | Warm (60°F+ soil) | Transplant deep, burying part of the stem to encourage more roots. |
| Broccoli & Cabbage | 6-8 weeks | Cool (50°F+ soil) | Can handle a light frost once established. |
| Lettuce | 4-5 weeks | Cool (45°F+ soil) | Grows fast; ideal for succession planting every 2 weeks. |
| Cucumbers & Melons | 2-4 weeks | Very Warm (70°F+ soil) | Grow very fast and hate root disturbance. Use peat pots. |
| Onions & Leeks | 10-12 weeks | Cool (50°F+ soil) | Longest indoor time. Start them when you're still deep in winter. |
| Basil | 4-6 weeks | Warm (65°F+ soil) | Very sensitive to cold; wait until nights are consistently warm. |
This table shows the huge variation in timelines, from just 2-4 weeks for fast-growing squash to a lengthy 10-12 weeks for onions. Knowing these differences is key to a successful garden.
Creating a Staggered Sowing Schedule
To keep your garden from becoming a chaotic free-for-all, try a staggered sowing approach. Instead of planting all your lettuce seeds on one day, sow a small batch every two weeks. This is called succession planting, and it guarantees a continuous supply of fresh greens instead of a huge pile you can't possibly eat all at once. This method works beautifully for most fast-growing crops.
My personal schedule generally follows this pattern:
- Late Winter (10-12 weeks before last frost): This is when I start the real long-haul plants: onions, leeks, and super-slow herbs like parsley and rosemary.
- Early Spring (6-8 weeks before last frost): Time for the main warm-weather crew that needs a good head start, like peppers and eggplants, along with the cool-weather brassicas like broccoli and cabbage.
- Mid-Spring (4-6 weeks before last frost): Now it’s time for tomatoes, faster herbs like basil, and most of my annual flowers.
- Late Spring (2-4 weeks before last frost): I finish up with the speedy growers that hate having their roots disturbed, like cucumbers, squash, and melons.
This staggered plan prevents overwhelm and makes sure every single plant gets the right amount of time to grow strong and healthy indoors before its big move outside.
Why Indoor Starting Beats Direct Sowing Every Time
Let's talk about why so many seasoned gardeners are obsessed with starting their seeds indoors. Deciding between giving your seeds a cozy start inside versus tossing them straight into the garden isn't just a small detail—it's a strategic move that can dramatically shift your entire growing season's outcome. Once you see the difference it makes, you'll understand why it's a non-negotiable step for achieving a truly impressive garden.
The Power of a Controlled Environment
The number one reason to start seeds indoors is control. When you start seeds inside, you essentially become the master of their little universe. You get to create the perfect growing conditions tailored to each plant's specific needs, protecting them from the chaos of early spring weather.
Just think about it:
- You won't have to stress about a sudden downpour washing away your perfectly spaced carrot seeds.
- You can forget about that unexpected late-spring frost wiping out your entire crop of beans.
- Your tiny seedlings won't have to compete with aggressive weeds that can easily overwhelm them in the garden.
This head start in a controlled setting allows your seedlings to develop strong, healthy root systems. By the time they're ready to move outside, they aren't fragile little sprouts; they are robust young plants ready to thrive. The results are significant—studies show that seedlings started indoors can flower 1 to 3 weeks earlier, and gardeners often report yield increases of 20-30%. You can learn more about how indoor starting boosts plant survival and growth on extension.illinois.edu.
Economic and Variety Advantages
The financial benefits are just as convincing. A single packet of unique heirloom tomato seeds might set you back a few dollars, but it can yield dozens of healthy plants. Compare that to purchasing individual seedlings from a nursery, where you could easily pay that same amount for just one plant. The savings can quickly add up to hundreds of dollars over a single season.
Beyond the savings, starting from seed opens up a world of variety. Your local garden center likely stocks a few common hybrid plants, but the seed catalogs offer thousands of fascinating and flavorful heirlooms you’d never find on a shelf. If you're ready to get started, check out our guide on essential tips for starting seeds indoors to make sure your setup is perfect from day one. Ultimately, starting seeds inside is less of a chore and more of a rewarding investment—one that pays off with earlier harvests, bigger yields, and a garden filled with plants you can't find anywhere else.
Setting Up Your Indoor Seed Starting Success System
Let's skip the picture-perfect seed starting stations you see online for a moment and talk about what actually works in a real home with a real budget. Whether you have a single sunny windowsill or an entire basement to convert into a plant paradise, the goal is the same: create an environment where your seeds are happy to sprout and grow strong. The best part is you don’t need a ton of fancy gear, but you do need to get four key factors right.
The Four Pillars of Seedling Success
Your whole setup, no matter how simple or elaborate, needs to revolve around managing these four elements. Nailing them is what separates a tray of robust seedlings from a tray of disappointment.
- Consistent Temperature: This one is a bigger deal than most new gardeners think. Most seeds, especially your warm-weather favorites like tomatoes and peppers, need steady warmth to wake up. Aim for a soil temperature between 65-75°F. A spot on top of your refrigerator or a dedicated seedling heat mat can be a game-changer here.
- Proper Moisture: This is a delicate dance. You want the soil to be consistently moist—think of a well-wrung-out sponge—but never soggy. Too much water is the number one cause of damping-off, a nasty fungal disease that rots tiny seedlings right at the soil line. Misting the surface or watering trays from the bottom are fantastic ways to keep things perfect without drowning your plants.
- Adequate Light: While most seeds don't need light to germinate, they need it the second they break through the soil. A south-facing window rarely provides enough light, which leads to "leggy" seedlings that are tall, pale, and weak from stretching. A simple fluorescent shop light or an LED grow light kept just 2-3 inches above the seedlings for 14-16 hours a day gives them the intense light they need to grow short, stocky, and strong.
- Air Circulation: This is the unsung hero of the indoor growing world. A small, gentle fan blowing across your seedlings for a few hours each day accomplishes two critical tasks. First, it helps prevent fungal diseases by keeping the leaf surfaces dry. Second, it strengthens their stems by mimicking a natural breeze, preparing them for the great outdoors.
Keeping It Simple and Effective
You absolutely don't need to go out and buy a pro-level setup. My first successful system was a hodgepodge of recycled plastic takeout containers on a shelf with a basic shop light dangling above them. The trick is to invest in quality where it truly matters. For instance, seed quality and freshness are hugely important for your success rate.
Starting seeds indoors gives you a massive head start because the controlled environment removes many of the stresses they'd face outside. This leads to more uniform seedlings and a much higher success rate than just tossing seeds in the garden. For a deeper dive, you can explore the University of Minnesota's guide on starting seeds indoors. By focusing on these fundamentals, you’ll build a system that works for you and sets your garden up for an incredible season.
Troubleshooting Common Timing Mistakes
Even the most careful gardeners can get their timing a little off now and then—it’s just part of the gardening journey. The goal isn’t to be perfect, but to know how to pivot when things don’t go according to plan. Let’s talk about the most frequent timing mistakes and what you can do to get your season back on track. Figuring out when to start seeds indoors is a skill, and like any other, it gets better with a bit of practice and some clever workarounds.
Seedlings Started Too Early
We’ve all been there: you’re thrilled with your healthy, growing seedlings, but one peek outside confirms that winter is stubbornly sticking around. An early start can quickly lead to leggy, weak seedlings and plants that are root-bound in their trays. These issues can cause them to struggle when you finally transplant them. But don’t worry, you can pump the brakes on their growth.
- Cool Things Down: If you can, move your seedlings to a cooler location, like a basement or an unheated (but not freezing) room where the temperature hovers between 50-60°F. This simple change will noticeably slow down their growth without causing any harm.
- Dim the Lights and Skip the Snacks: Shorten their daily light exposure from 16 hours down to about 12 hours. You should also hold off on giving them any fertilizer until you're ready to start the hardening-off process.
- Give Them a Bigger Pot: If their roots are circling the bottom of their container, they are becoming root-bound. Moving them into slightly larger pots gives them more room to breathe and can buy you an extra week or two. Be careful not to go too big, as an oversized pot can hold excess water and lead to soggy soil.
Oops, I Started Too Late!
That sinking feeling when you realize you’re behind schedule is the worst, but it’s definitely not a total loss. You still have plenty of ways to enjoy a great harvest. The first thing to do is adjust your expectations. You might miss the window for super slow-growing plants like hot peppers, but you can absolutely still have a productive and beautiful garden.
Focus on plants that have a short “days to maturity” period. Look for quick-growing varieties of bush beans, cucumbers, summer squash, and lettuce. Many of these plants prefer to be sown directly into the garden once the soil warms up anyway, letting you skip the indoor starting process entirely. For some extra guidance, you can find great tips on sowing and germination on our blog to help move things along.
Another great strategy is to buy starter plants for the long-season crops you missed, like tomatoes or eggplants, from a local nursery. This is a fantastic way to guarantee a summer harvest while your other, later-started seeds have time to catch up.
Creating Your Personal Seed Starting Calendar
This is where the magic really happens. We're going to take all that information and build a system that’s just for you. This isn't about following a generic chart; it's about crafting a personalized seed-starting calendar that fits your garden, your specific climate, and even your life schedule. Think of this calendar as a living document—it will only get better and more accurate each year as you fill it with your own notes and experiences.
From Digital Tools to Old-School Notebooks
First things first, you need to decide how you'll keep track of everything. You don't need anything fancy, just a simple way to log what you did and how it turned out.
- Digital Apps & Spreadsheets: If you're tech-savvy, tools like Trello, Google Calendar, or a basic spreadsheet are fantastic. You can set up columns for "Plant Name," "Sowing Date," "Germination Date," and "Transplant Date." The big advantage here is that your records are easy to search, and you can simply copy the whole setup for next year.
- The Garden Journal: Don't dismiss the power of a simple notebook and pen. So many seasoned gardeners I know swear by this method. There's something about physically writing down your plans and observations that really helps the information stick. Plus, it becomes a wonderful keepsake of your gardening journey over the years.
No matter which tool you pick, the objective is the same: build a repeatable system. I like to start by listing every single plant I dream of growing. Then, with my last frost date as the anchor point, I work backward using each plant’s specific needs (for example, "Peppers: 8 weeks before last frost").
Building a Flexible, Real-World Schedule
Life is unpredictable, and so is the weather. Your calendar has to be flexible enough to handle both. For instance, if the extended forecast is showing a miserably cold and wet spring, I might hold off on starting my fast-growing squash for another week. If I know I have a major project at work, I'll adjust my sowing dates so I'm not trying to transplant seedlings during a super stressful time.
Start with the basics and don't overcomplicate it. Make a note of when your seeds actually sprout, because this can change from year to year. If you want a deeper look at getting those seeds to pop, our article on mastering the art of seed germination at home is a great resource. By simply tracking what works and what doesn't, you'll quickly develop a foolproof calendar that's perfectly in tune with your garden's unique rhythm.
Your Path to Seed Starting Success
Think of this as your game plan for getting good at starting seeds indoors, one that’s built on real-world goals. True success isn't about owning the fanciest, most expensive setup. It's about grasping the basic ideas that separate happy, successful gardeners from the ones who get frustrated and give up. Whether you're starting a few herbs on a sunny windowsill or mapping out a huge vegetable garden, the core rules are the same. The trick is to build your skills one step at a time, creating a cycle of success that keeps you excited to keep going.
A Checklist for Building Confidence
One of the biggest mistakes I see is trying to grow everything at once in the first year. My best advice? Start small and be strategic with the seeds you pick.
- For First-Timers: Go for the easy wins. Choose seeds that are practically foolproof—they sprout fast and aren't too fussy about minor slip-ups. I'm talking about bigger seeds like beans, peas, zucchini, or super-fast growers like lettuce. That quick reward of seeing them pop up and grow is a huge motivator.
- For Intermediate Gardeners: Once you've got a successful season under your belt, it's time to take it up a notch. This is where you can try plants that demand a little more from you, like tomatoes and peppers. You've already learned the ropes with light and water, so now you can fine-tune things like providing consistent warmth to get them to germinate.
Milestones That Matter
Learning when to start seeds indoors is a journey, not something you master overnight. Every season brings new lessons. Make sure to celebrate the little victories along the way: that first tiny sprout pushing through the soil, the day your seedlings grow their first set of "true" leaves, and the moment you successfully move them outside. These are the real markers of your progress.
Even when things go wrong—and they will—it’s just part of the process. A tray of leggy seedlings or a variety that just won’t sprout? Those are just learning opportunities. They teach you valuable lessons that will make you a smarter, more intuitive gardener next year.
Ready to build your gardening confidence with seeds you can trust? Explore the curated seed collections at Homegrown Garden, where you'll find everything from beginner-friendly kits to unique heirloom varieties to make your next season a success.

