

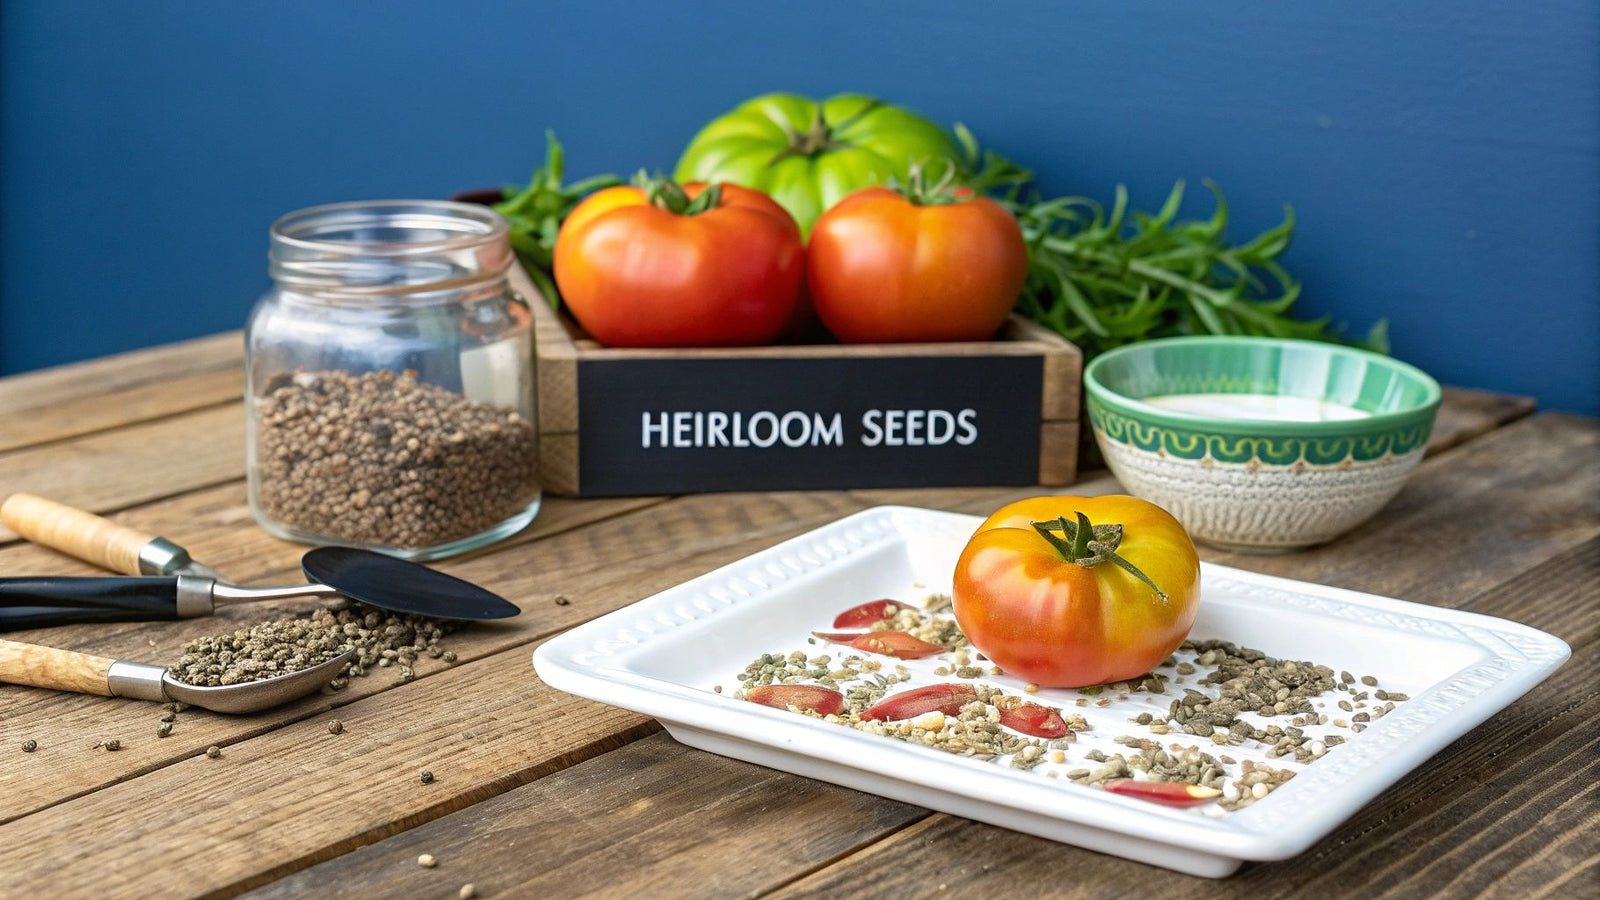

Saving heirloom tomato seeds really just boils down to one key step: fermenting them. You'll take a perfectly ripe, healthy tomato, squeeze out its seeds and gel, and let them ferment. This process breaks down the germination-inhibiting gel sack around each seed. After that, it's just a matter of cleaning, drying, and storing them in a cool, dark place.
It’s how you get to grow that incredible 'Brandywine' or that sweet 'Cherokee Purple' again and again, year after year.
Why Saving Heirloom Seeds Is a Gardener's Secret Weapon
There’s a reason so many seasoned gardeners are passionate about saving their own seeds. It's not just about saving a few bucks—it’s about preserving flavor, history, and becoming a more self-sufficient gardener.
Unlike hybrid seeds you have to buy fresh every year, heirlooms give you a living connection to the past. You get to cultivate the exact same tomatoes with those traits you love, season after season. Before we get into how to save heirloom tomato seeds, it’s worth understanding why this tradition is so rewarding.
The whole cycle begins in the garden, by picking the best-looking fruit from your strongest, most vibrant plants. From there, we’ll walk through how to ferment the pulp to prep the seeds, then clean, dry, and store them so they’re ready for next year. For anyone just starting their tomato-growing journey, a successful harvest is key; our guide on how to grow heirloom tomatoes will give you a great head start.
The real magic of heirlooms lies in their genetic stability. Because they are open-pollinated, the seeds you save will reliably produce plants with the same characteristics as the parent. This predictability is what makes them perfect for home gardeners.
This simple act of saving seeds transforms you from just a gardener into a curator of agricultural history. The secret is that heirlooms are open-pollinated, which means they produce "true-to-type" seeds—a trait that’s perfect for anyone wanting to become more self-reliant in the garden. And of course, having the right gear makes every garden task easier. The 5 Essential Gardening Tools You Need For Your Gardening Activities can make everything from planting to harvesting go much more smoothly.
1. Select the Perfect Tomatoes for Seed Saving
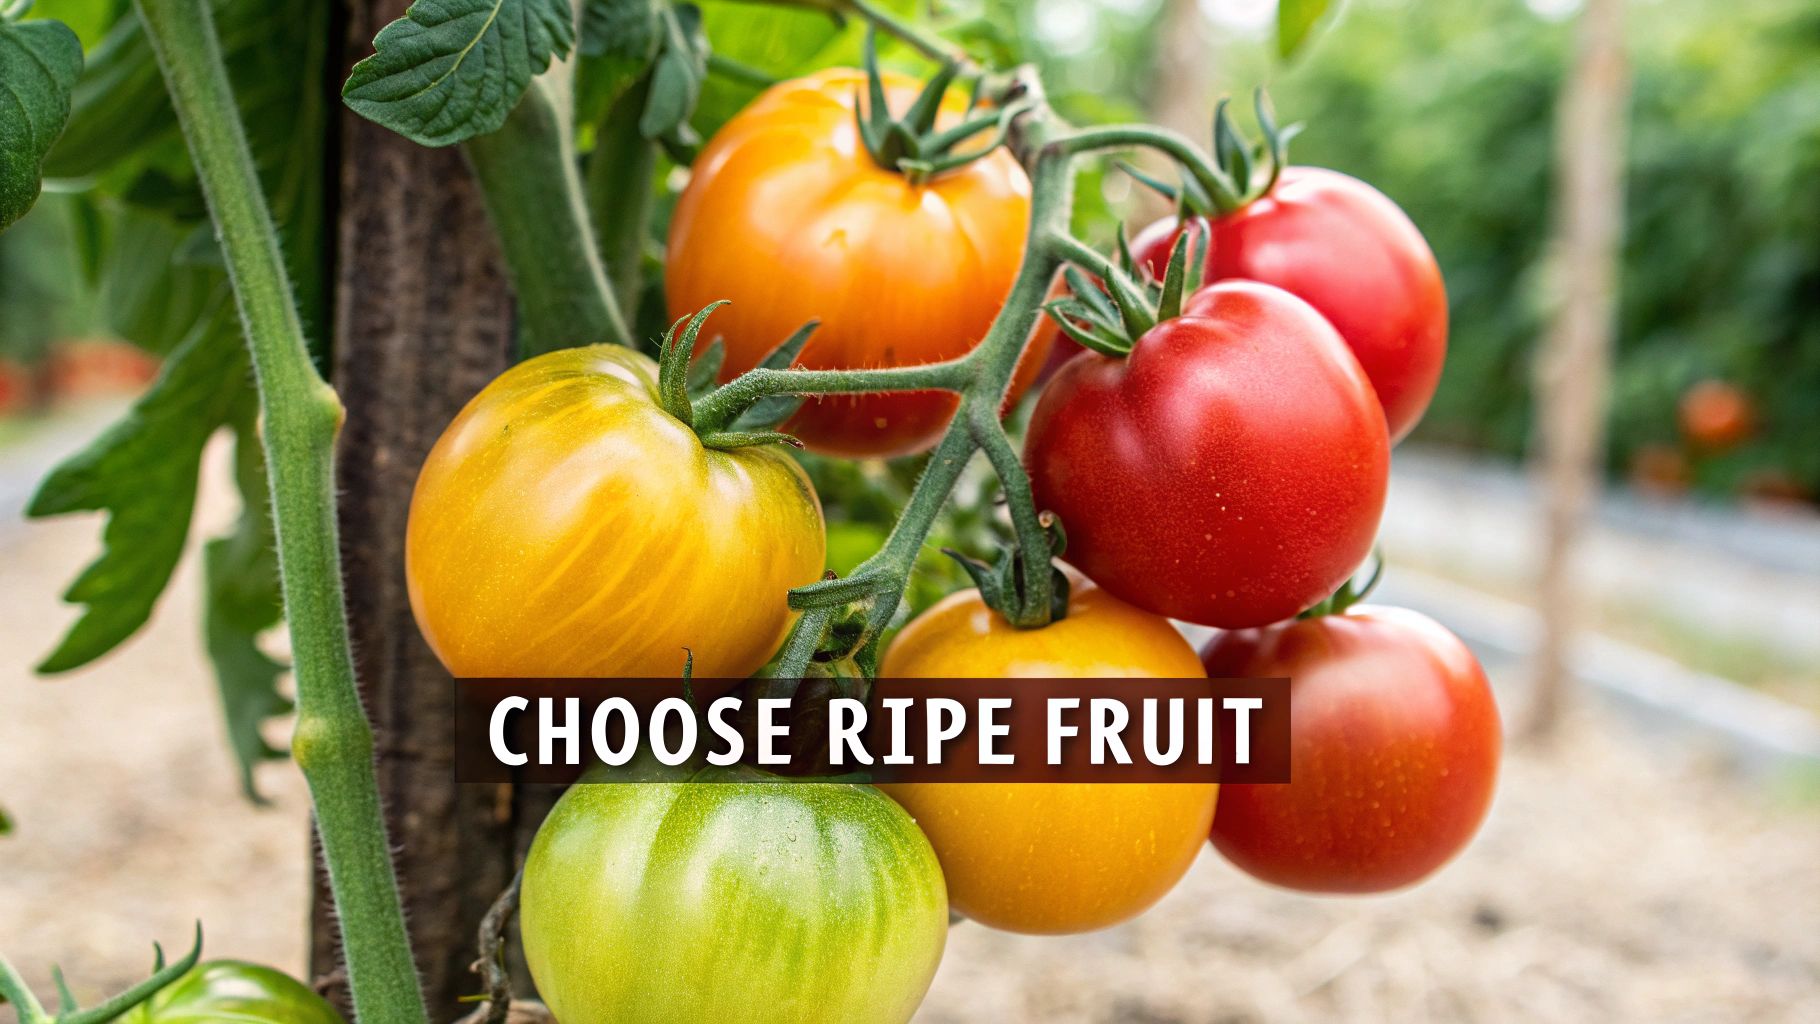
The first step in saving heirloom tomato seeds is actually the most important: choosing the right fruit. Think of it like this—you’re not just picking a tomato, you’re selecting the genetic blueprint for next year's crop. Your success next season really does start right here.
I always tell people to look past the prettiest tomato. Instead, scout out your healthiest, most productive plants. Which ones fought off blight the best? Which plant gave you the most delicious, consistently shaped fruit all summer long? Those are your all-stars.
How to Pick the Best Fruit
Once you've identified your best plants, let a few of their tomatoes ripen fully on the vine. And I mean fully. Let them get a little soft, maybe even what you'd consider slightly overripe. This gives the seeds inside the maximum time to mature, which is key for good germination rates later on.
If you're new to starting plants from scratch, getting those mature seeds to sprout is the next hurdle. We've got a great guide with 10 tips for sowing and germination that can help you get a head start.
Now, let's talk about keeping your varieties true. Preventing cross-pollination is crucial if you want your ‘Brandywine’ to stay a ‘Brandywine’. Here are a couple of practical ways to do it:
- Give Them Space: If you’re growing several heirloom varieties, try to save seeds from plants that are as far apart as possible. A good rule of thumb is a buffer of at least 10-20 feet to cut down on the chances of bees mixing things up.
- Bag the Blossoms: For the purists out there who want 100% certainty, you can gently tie a small organza or mesh bag over a flower cluster before the blossoms open. This physically blocks any outside pollen from getting in.
Remember, you're breeding for the traits you love. If one plant produced the most intensely flavored 'Cherokee Purple' tomatoes you've ever tasted, that's the one you want to save seeds from. You're preserving that specific, wonderful quality for next year.
2. Let Nature Do the Work: The Fermentation Process
If you take away just one thing about saving heirloom tomato seeds, let it be this: fermentation is everything. The word might bring to mind complex projects like sourdough or kombucha, but for tomatoes, it’s simply nature's brilliant way of cleaning seeds for the next season.
This process is critical because it breaks down the gel-like sac that surrounds each seed. That little sac is loaded with germination inhibitors—compounds that stop the seed from sprouting inside the tomato—and it can also carry diseases. Fermentation gets rid of it all.
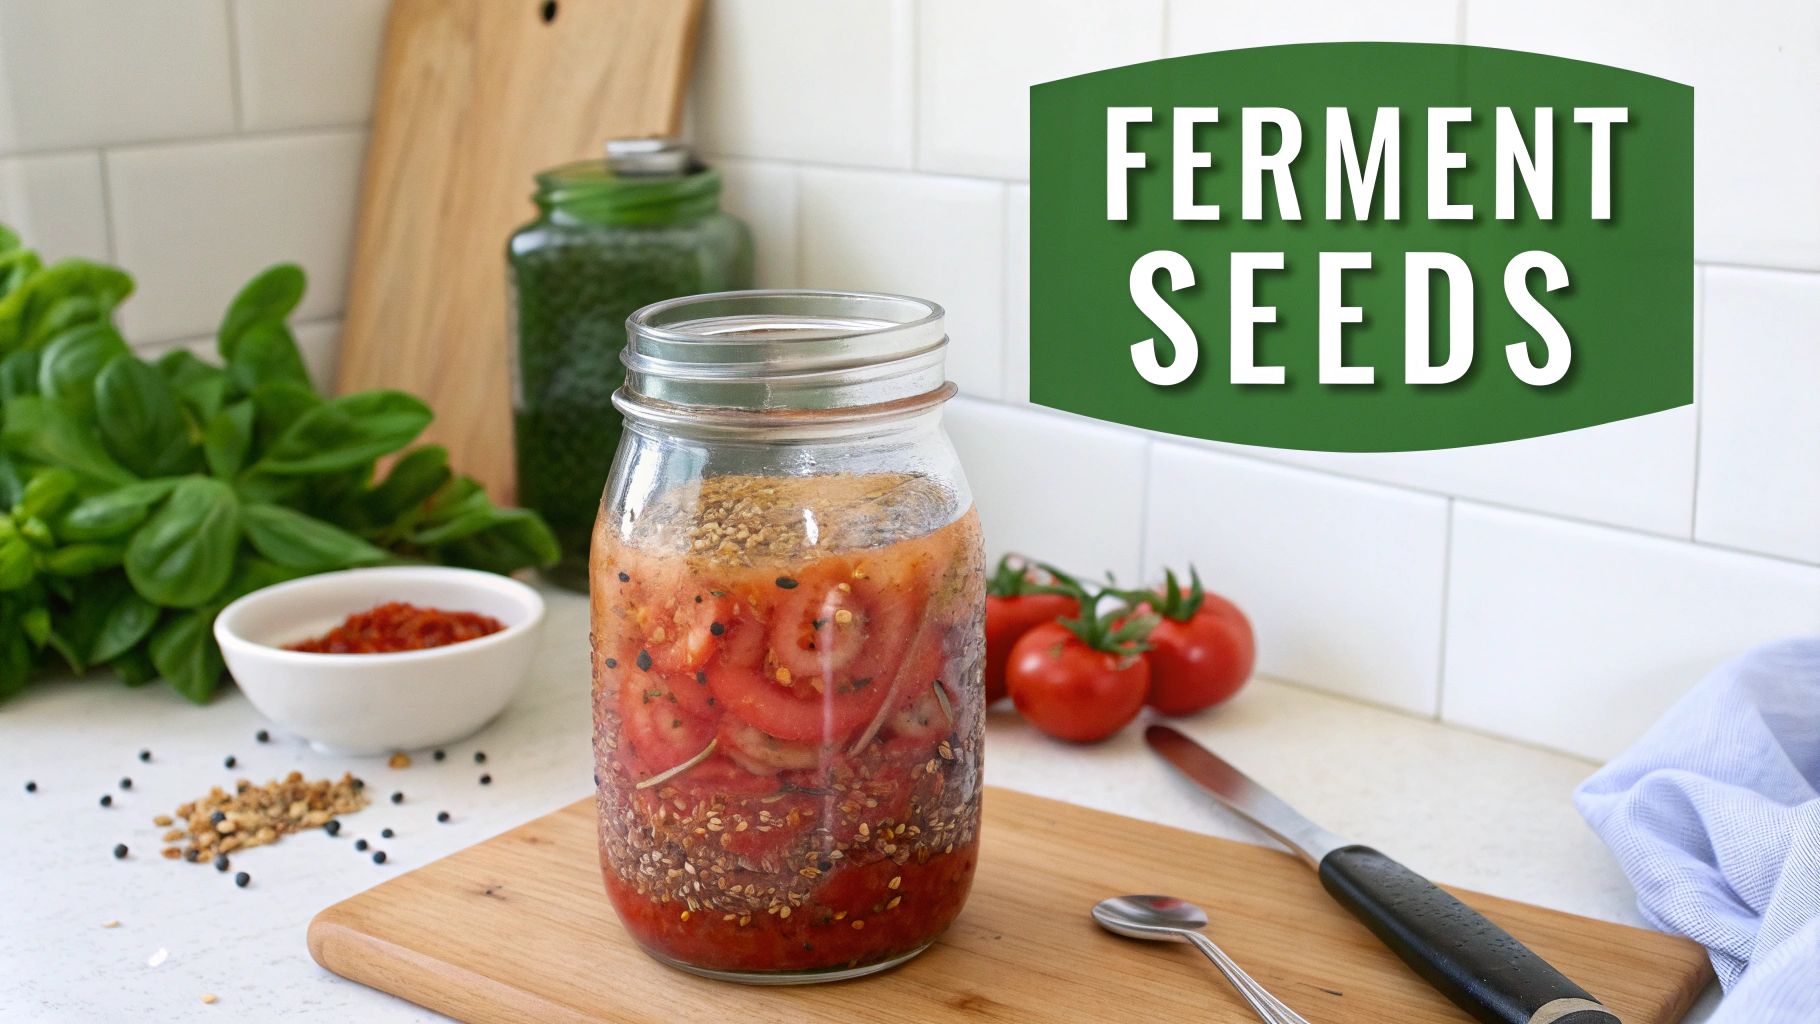
Kicking Off the Fermentation
First things first, squeeze or scoop the seeds and their pulp into a small glass jar. I find a small jam jar works perfectly. Add just a tiny splash of water (make sure it's non-chlorinated) to get things a bit soupy. You don't want to dilute the natural juices too much.
Don't forget to label your jar! Trust me, after a few days, you won't remember if it was the ‘Brandywine’ or the ‘Cherokee Purple’. Just write the variety and the date on a piece of masking tape. Cover the top with a coffee filter or a piece of cloth secured with a rubber band. This keeps fruit flies out but lets air in, which is exactly what you want.
This quick visual shows you just how simple the whole journey is, from slicing the tomato to having dry, storable seeds.
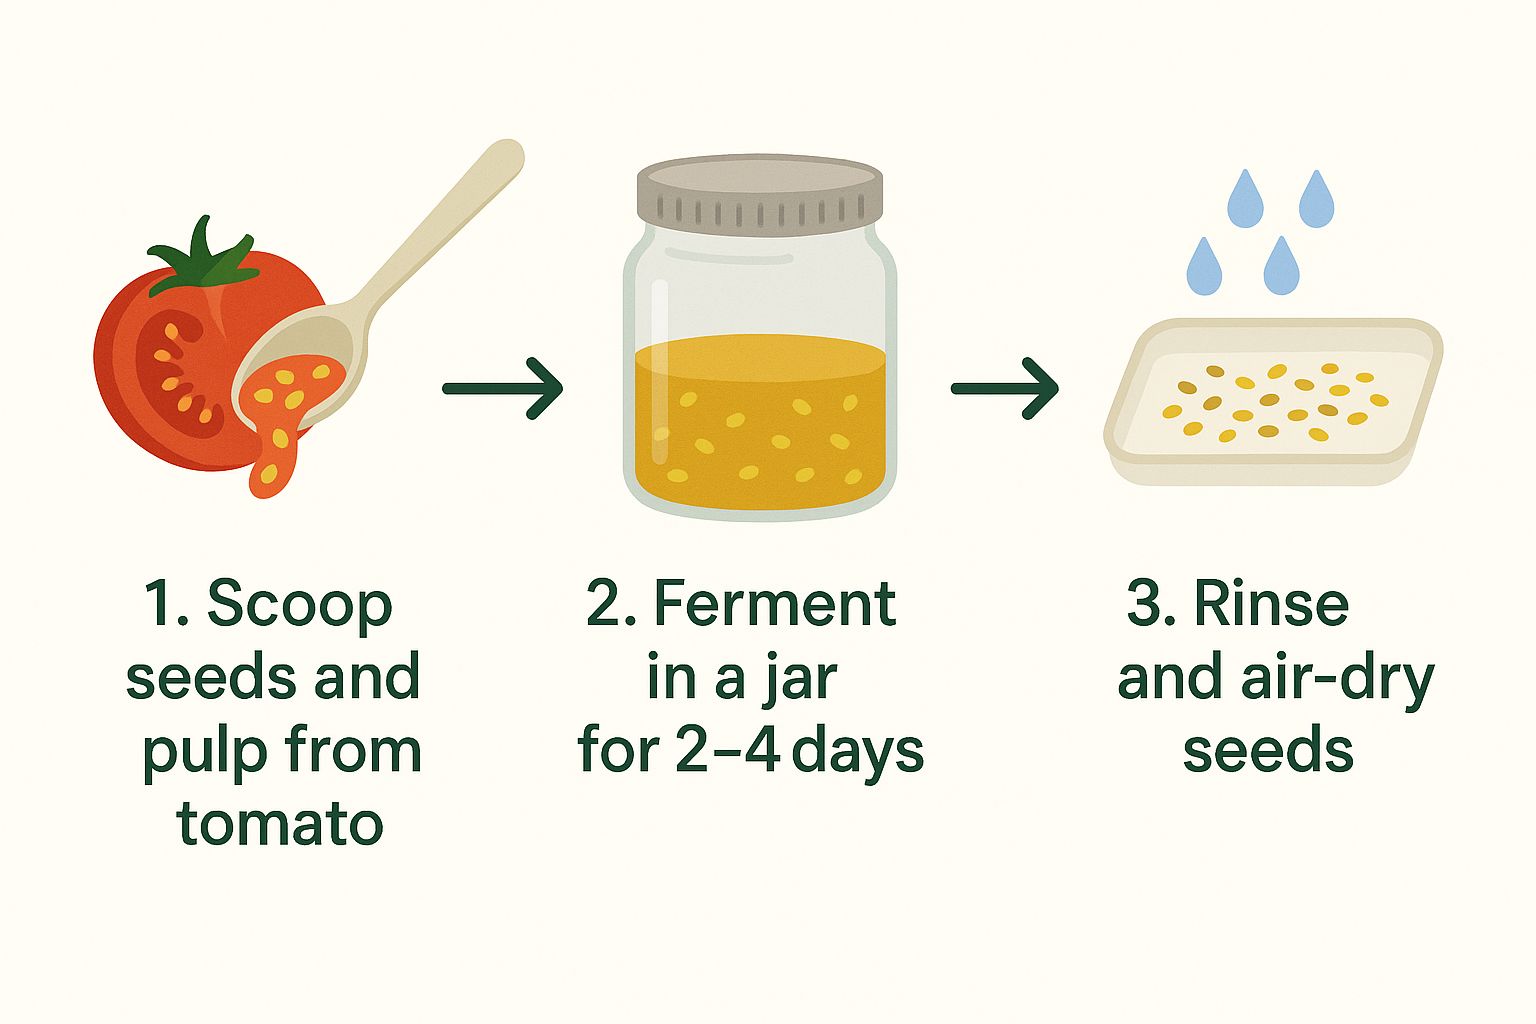
As you can see, fermentation is the bridge between harvesting the fruit and preparing the seeds for storage. It’s the most hands-off part of the process, but also the most important.
What to Look For as It Ferments
Now, you just need to let the jar sit at room temperature for about 2 to 4 days. Keep it out of direct sunlight, as too much heat can cook the seeds. If your house is warm, the process will be faster; if it's cool, it might take a day longer.
You'll know it's working when you see bubbles and smell a sour, funky aroma. That's the good stuff—beneficial microbes breaking down the pulp. A layer of white or grey mold will almost certainly form on the surface. Don’t be alarmed! This is completely normal and a sign of a healthy ferment.
To help you keep track of what's happening in the jar, here's a quick guide on what to expect day by day.
Fermentation Stage Quick Guide
| Day | What to Look For | Action Needed |
|---|---|---|
| Day 1 | Pulp and seeds mixed. Mild tomato smell. Minimal separation. | None. Let it sit. |
| Day 2-3 | Bubbles forming. Sour smell develops. A thin layer of mold appears on top. Some seeds start sinking. | Check daily. Swirl the jar gently once a day. |
| Day 4 | Most viable seeds have sunk to the bottom. Mold layer is thicker. Pulp and bad seeds are floating. | Prepare to clean the seeds. Don't wait much longer. |
This table is just a guideline; your timing might vary based on your room's temperature. The key is to watch the seeds, not the calendar.
The most important sign that your ferment is complete is when the viable seeds have dropped to the bottom of the jar. The pulp, mold, and any bad seeds will conveniently float on top.
This is the moment you're waiting for. The biggest mistake new seed savers make is over-fermenting. If you let it go too long—say, more than 5 days—the seeds might think it's springtime and start sprouting right there in the jar. That ruins the batch. Once you see that clear separation with good seeds at the bottom, it's time for a rinse.
3. Clean and Rinse Your Seeds
After a few days of bubbling away, your fermented seeds are ready for the final cleanup. This is the moment you separate the good seeds from the soupy, slightly funky pulp. It’s a simple process, but it’s a crucial step in how to save heirloom tomato seeds successfully.
To start, just add some more water to your fermentation jar. Give it a gentle swirl and then let everything settle for a moment. You’ll notice the good, viable seeds are heavier and sink right to the bottom. All the unwanted stuff—lingering pulp, mold, and any duds—will conveniently float to the top.
Now, carefully pour off that top layer of water and gunk. Repeat this rinse-and-settle process another 3 to 4 times, or until the water looks mostly clear and you’re left with a nice, clean pile of seeds at the bottom.
4. Dry Your Seeds to Perfection
Drying is the next hurdle, and it’s arguably the most important. If you don't get this right, all your hard work can be ruined by mold, and you'll face disappointing germination rates next season.
Spread your clean, wet seeds out in a single, even layer. The surface you choose here makes a huge difference. I’ve had the best luck with a simple ceramic plate or a glass dish. A coffee filter works in a pinch, too. Whatever you do, don't use paper towels—the seeds will stick like superglue once they dry, and you'll never get them off in one piece.
For perfectly dried seeds, keep these things in mind:
- Find a good spot: You need excellent air circulation, so a room with a fan on low is perfect. Just make sure to keep the seeds out of direct sunlight, which can cook them.
- Give it time: Be patient. Drying can take several days. I make it a point to stir or shuffle the seeds around with my finger once a day to expose all their surfaces to the air.
The ultimate goal is for your seeds to be "cracker dry." They should feel hard and brittle. When you try to bend one, it should snap cleanly. If it has any flex at all, it's still holding moisture and needs more time on the plate.
5. Store Seeds for the Long Haul
https://www.youtube.com/embed/qbVcHLpHxKg
Alright, you've put in the work. You've selected the best tomatoes, fermented the pulp, cleaned the seeds, and dried them to perfection. Don't let all that effort go to waste in this final step! Properly storing your seeds is what guarantees you'll have a fantastic crop next spring and for years to come.
The whole game is about protecting your seeds from their three biggest enemies: light, heat, and moisture. Get this right, and you're golden.
Think of your storage spot as a time capsule for your future garden. You're essentially doing what global seed banks do, just on a much smaller scale. It's pretty cool to realize you're part of a worldwide movement to protect agricultural biodiversity, joining the efforts of around 1,000 seed banks dedicated to conservation. You can get a glimpse into how massive this effort is by reading about the global "Doomsday Vault" and other projects in this deep dive into seed saving tips.
Finding the Perfect Storage Container
Your container is the first line of defense. You need something airtight that keeps out both light and moisture. Don't overthink it, but don't just toss them in a plastic baggie and hope for the best.
Here are a few go-to options that I've found work really well:
- Small Glass Jars: These are my personal favorite. If you can find amber or dark-colored jars with lids that seal tight, they're perfect for blocking light and locking out humidity.
- Paper Envelopes: The classic coin envelope is a solid choice. They’re breathable and cheap. The catch? You must store these envelopes inside a larger, airtight container to protect them from moisture swings.
- Mylar Bags: If you're getting serious about seed saving, you can't beat Mylar. Small, heat-sealable Mylar bags provide the ultimate barrier against both light and moisture.
Pro Tip: Grab a few food-grade silica gel packets and toss one into your main storage container. These things are incredible at absorbing any trace moisture that might try to sneak in and spoil your hard work.
6. Label Everything Immediately
I can't stress this enough: label everything immediately. Seriously, do it the moment the seeds go into their container. Grab a permanent marker and write down the tomato variety and the harvest date (month and year) on every single packet or jar.
Take it from someone who learned the hard way—six months from now, you will have absolutely no idea which "red round tomato" seeds are which. Good labeling is the final, crucial piece of the puzzle. It ensures that when it's time to plan next year’s garden, you know exactly what treasures you've got waiting.
For a deeper dive into long-term strategies, we've put together a complete guide on how to store seeds long-term.
7. Bring Your Heirloom Seeds to Life
Here we are. This is the moment all that careful work—the harvesting, fermenting, and drying—really pays off. You’re about to close the loop, connecting last season's treasured flavors with the promise of a brand-new garden. It's time to bring those heirlooms back to life.
Before you sow your entire collection, I always recommend running a quick germination test. It’s a simple but invaluable step. A few weeks before you plan to plant, just place 5-10 seeds on a damp paper towel. Fold it up, slide it into a plastic bag, and leave it somewhere warm. This little experiment will tell you exactly how viable your seeds are, so you can plant with confidence.
Giving Your Seeds a Head Start
Starting your seeds indoors is a game-changer, especially if you're dealing with a shorter growing season. It gives your tomatoes a critical head start. The timing, of course, is key. I aim to sow my seeds about 6 to 8 weeks before my region's last average frost date. This window gives the seedlings ample time to develop into sturdy, resilient plants before they're transplanted outside.
To get the best results, you'll want a few specific supplies:
- A Quality Seed-Starting Mix: Don't just use garden soil. A proper seed-starting mix is light, airy, and sterile, which helps prevent fungal diseases that can quickly kill young seedlings.
- Good Lighting: A sunny, south-facing window can do the trick, but if you want to avoid leggy, weak seedlings, a set of grow lights is your best bet. It makes a world of difference.
- Gentle Warmth: Tomato seeds love warmth to germinate. Placing a heat mat under your seed trays can dramatically speed up the process and improve your success rate.
This final stage is the ultimate reward for anyone learning how to save heirloom tomato seeds. You're not just planting seeds; you're cultivating a legacy. You are taking the best flavors and memories from last year's garden and ensuring they return for another delicious season.
Your Top Tomato Seed-Saving Questions, Answered
As you get the hang of saving heirloom tomato seeds, you're bound to run into a few questions. Trust me, we’ve all been there! Here are some of the most common things people ask, along with practical answers to help you along the way.
How Long Will My Saved Seeds Last?
Your effort now will pay dividends for many seasons to come. When stored correctly in a cool, dark, and dry spot, heirloom tomato seeds can stay viable for a surprisingly long time—often 5 to 10 years.
The key is consistency. Think airtight glass jars tucked away in a closet, not a damp garage where temperatures swing wildly. The more stable the environment, the longer your seeds will last.
Can I Save Seeds From Store-Bought Heirlooms?
Yes, but it's a bit of a gamble. While the tomato you bought is an heirloom variety, you have no idea what other types of tomatoes were growing nearby.
Cross-pollination is a real possibility. If it happened, the seeds won't grow "true to type," and the tomatoes you get next year could be a weird, disappointing mix. It can be a fun experiment, but don't count on it if you want to preserve a specific variety.
What if No Mold Forms During Fermentation?
Don't worry! This happens sometimes. A lack of that fuzzy white mold doesn't mean the fermentation failed. The real purpose of this step is to dissolve the gelatinous sac surrounding each seed, which contains germination inhibitors.
After 3 to 4 days, check on your seeds. Are they separating easily from the pulp? That's a great sign.
The most important indicator is that the gel sack has dissolved. If the seeds sink cleanly to the bottom after rinsing, you're good to go.
Do I Really Have to Ferment Tomato Seeds?
I get this question all the time. While you could just wash and dry the seeds, fermentation is a crucial step I strongly recommend not skipping. It does two very important things:
- Kills Pathogens: It eliminates many seed-borne diseases that could ruin your next crop before it even starts.
- Improves Germination: It breaks down that natural anti-sprouting gel, which significantly increases the chances your seeds will grow.
Think of it as quality control. A few days of smelly fermentation is a small price to pay for a healthy, productive harvest next year.
At Homegrown Garden, we believe in empowering every gardener to preserve their favorite flavors season after season. Find all the heirloom varieties and tools you need to start your seed-saving journey at https://www.homegrown-garden.com.
Want to start an heirloom tomato patch worth saving from? Our Cherokee Purple Tomato Seeds are a smoky-sweet, open-pollinated heirloom.

