

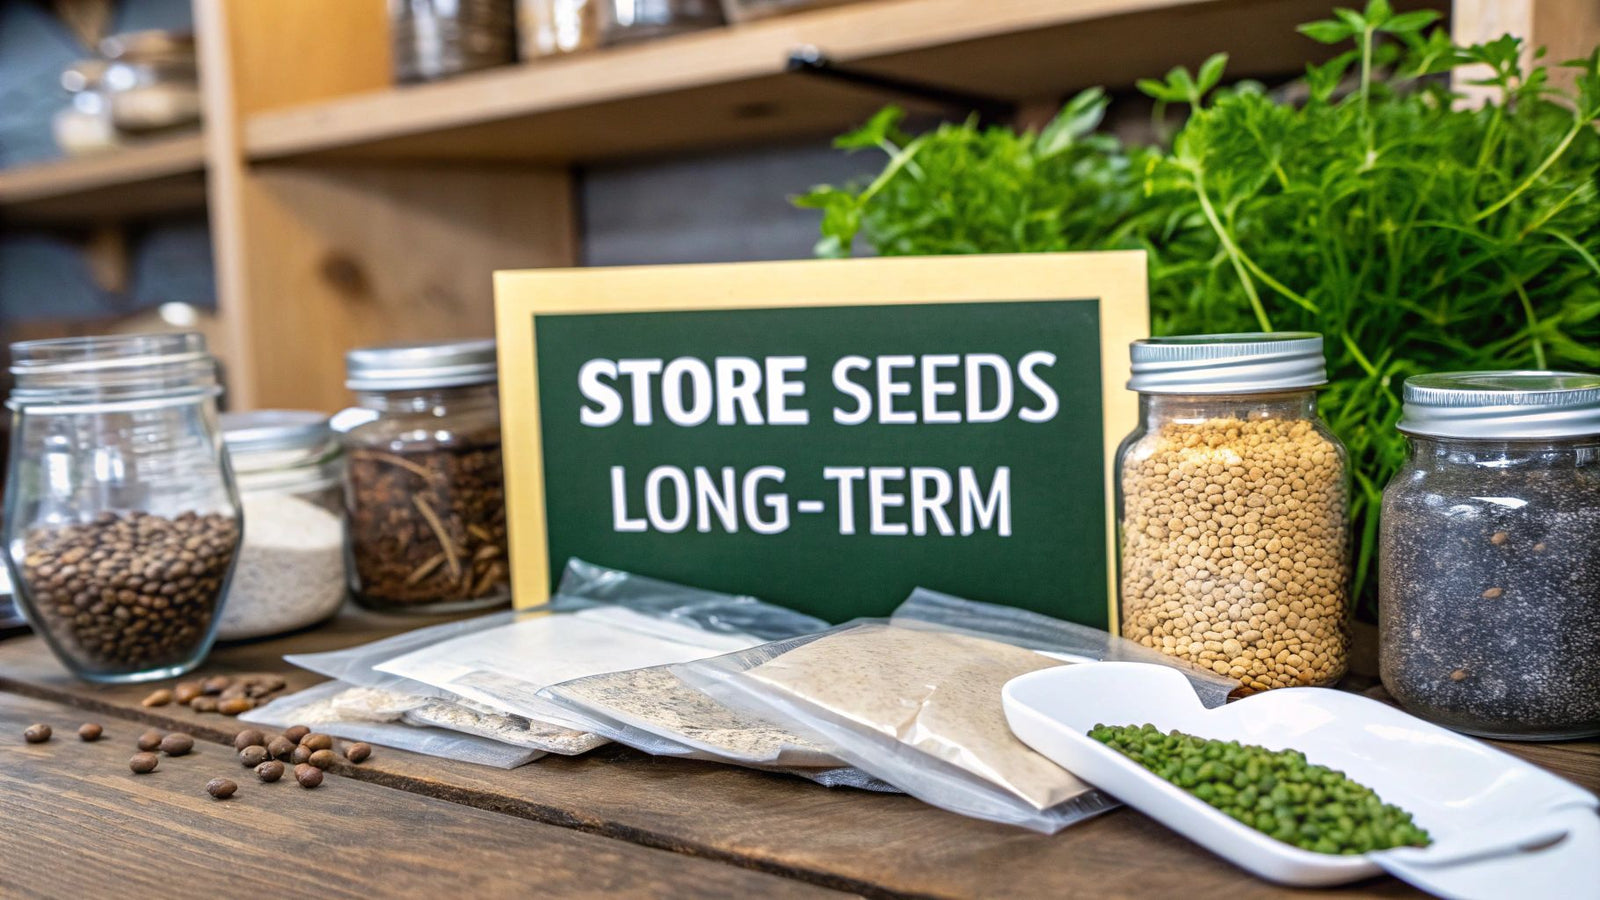

If you want to keep seeds viable for the long haul, you have to get three things right: keep them cool, dry, and dark. Nail these three, and you're essentially putting your seeds into a deep, restorative sleep, pausing the natural decay that would otherwise ruin your future garden.
The Keys to Long-Term Seed Viability
Before you start tucking away those precious seeds, it’s worth understanding why these conditions are so critical. A seed is basically a tiny, living organism in suspended animation. It’s packed with all the genetic code and energy needed to burst into life, but it’s waiting for the right environmental cues.
The problem is, warmth, moisture, and light are the very signals that tell a seed it's time to wake up and grow. When exposed to these elements, a seed’s internal metabolism kicks in. This process starts burning through its stored energy reserves. If a sprout can't actually emerge and find soil, the seed will simply run out of fuel and die.
The Impact of Temperature and Moisture
Moisture is public enemy number one for seed storage. Even a little bit of humidity in the air can trigger enzymatic activity, which quickly leads to mold, rot, and seeds that will never sprout.
Temperature is the accelerator. The warmer it is, the faster a seed "breathes" and burns through its energy. Think of it like a pantry—food lasts a lot longer in a cool cellar than it does on a warm countertop.
The golden rule of seed storage: For every 1% you lower the seed’s moisture content or every 10°F (5.6°C) you drop the storage temperature, you can roughly double its lifespan. This simple principle shows just how powerful a cool, dry environment really is.
It’s interesting how these principles apply elsewhere. Many general strategies for long-term preservation, like for old books, also stress the need for a stable environment free from humidity and temperature swings.
Why Darkness Matters, Too
Finally, darkness completes the preservation trinity. Constant exposure to light, especially the UV rays in sunlight, can damage the seed's protective outer coat. It also generates a bit of heat, which works directly against your efforts to keep things cool and stable.
The difference proper storage makes is staggering. The following table gives a realistic look at how long common seeds last in a desk drawer versus with proper, long-term storage techniques.
Typical Seed Lifespan Under Different Conditions
| Seed Type | Typical Lifespan (Non-Optimal Conditions) | Optimal Lifespan (Proper Storage) |
|---|---|---|
| Onion, Parsnip | 1 Year | 5+ Years |
| Corn, Pepper | 2 Years | 10+ Years |
| Bean, Pea | 3 Years | 15+ Years |
| Tomato, Squash | 4 Years | 20+ Years |
As you can see, simply moving seeds from a drawer to a cool, dry, and dark location can extend their life by a decade or more. It’s a small effort for a huge return.
Don't just take my word for it. In a major 30-year study on Nordic crops, researchers found that seeds stored in ultra-dry conditions (3–5% moisture) remained highly viable for over 20 years, even at a relatively modest temperature of –3.5°C. This really drives home that getting your seeds as dry as possible is the cornerstone of successful long-term storage.
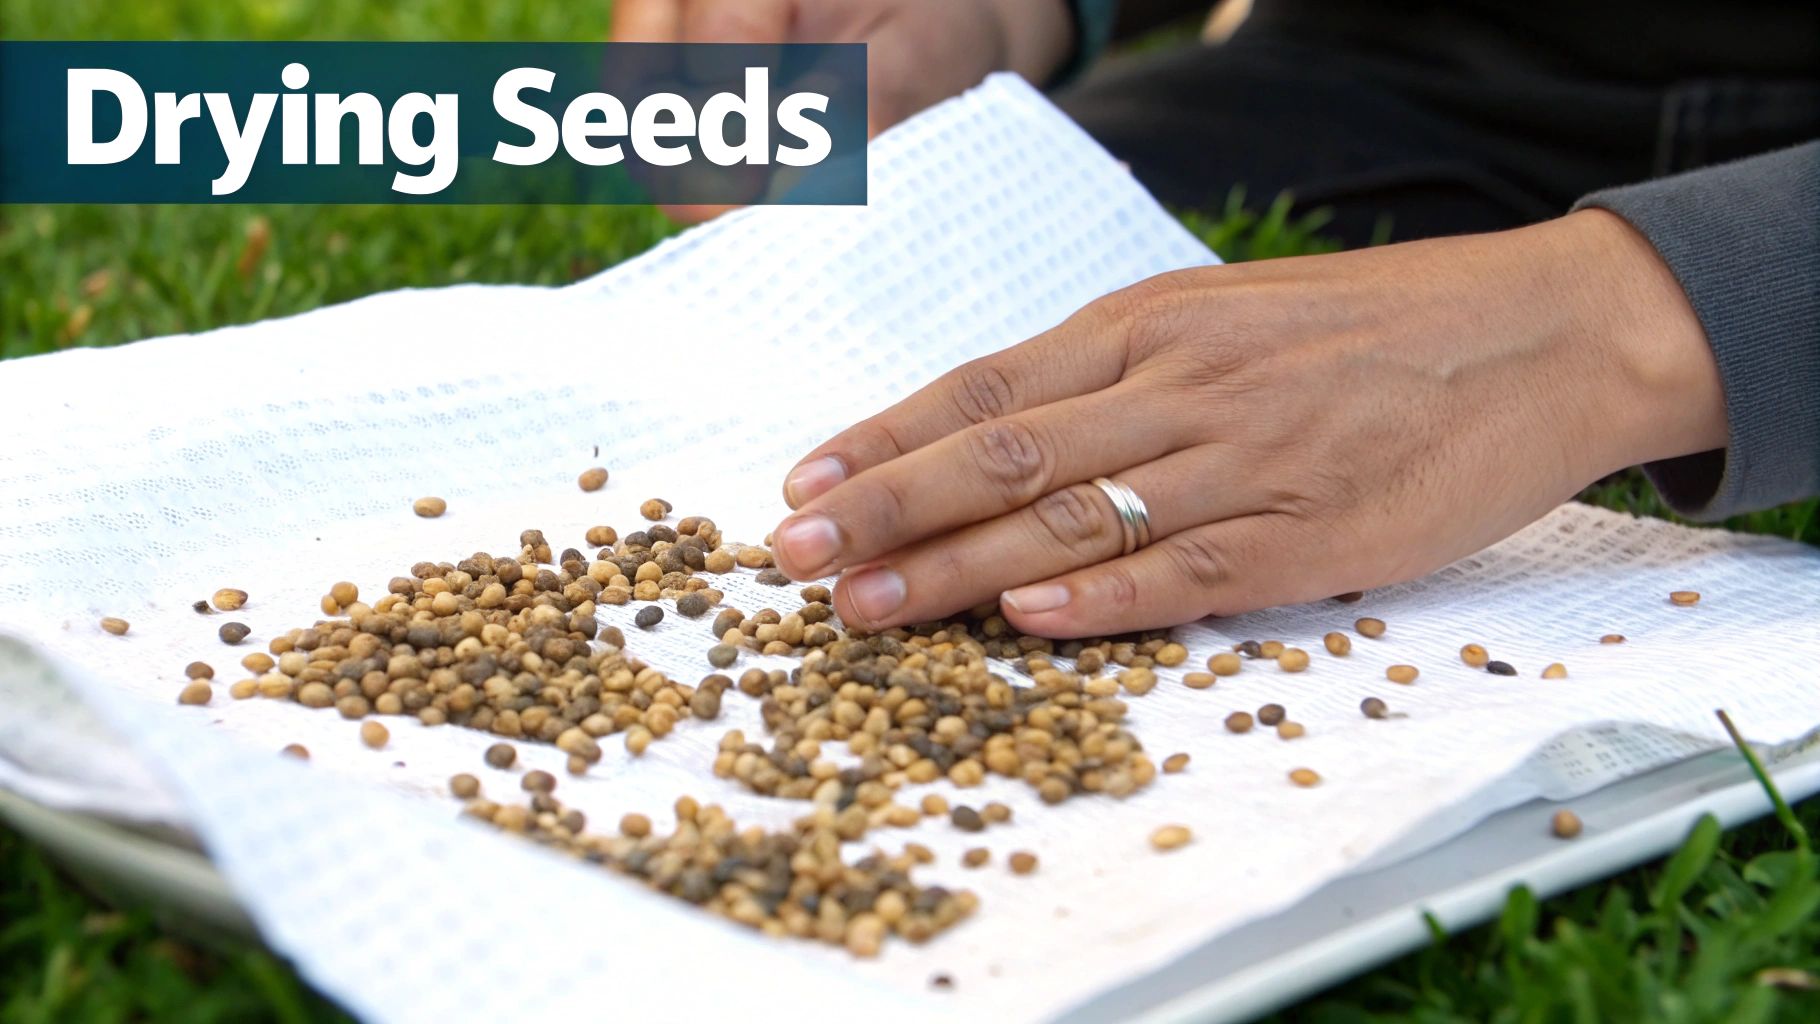
Drying Seeds for Maximum Longevity
If you want your seeds to last, you have to get them dry. Bone dry. In fact, moisture is the number one enemy of seed viability, far more than temperature or light in the initial stages. Getting your seeds properly dried puts them into a deep dormancy, protecting them from mold and preventing them from trying to sprout before you're ready.
For many common garden seeds, all you need is a little patience and good air circulation. Just spread your clean seeds out in a single layer on a screen, a ceramic plate, or even a coffee filter. I'd steer clear of paper towels, as seeds have a nasty habit of sticking to them once dry. Find a spot with good airflow but out of direct sunlight, and let them sit for at least a week. Give them a little shuffle each day to make sure every seed gets a chance to dry out evenly.
Using Desiccants for a Deeper Dry
To really pull out that last bit of stubborn moisture, especially for seeds you plan on storing for years or freezing, a desiccant is your best friend. These are simply materials that are incredibly thirsty and will absorb any water from the air around them, creating a perfect, ultra-dry environment for your seeds.
-
Silica Gel Packets: These are my go-to. You can buy them new or just save and reuse the little packets that come in everything from vitamin bottles to new shoes. To recharge old packets, just spread them on a baking sheet and pop them in the oven at 200°F (93°C) for a couple of hours. You'll know they're ready when they return to their original color.
-
DIY Desiccants: No silica gel? No problem. A great homemade version is to take a scoop of powdered milk, wrap it up in a few layers of cheesecloth, and tie it off into a little bundle. This simple pouch works wonders.
Once you have your desiccant, place it in an airtight glass jar with your seeds. A good rule of thumb is to use about a tablespoon of silica for every cup of seeds. Seal the jar and let it sit for about a week. The desiccant will work its magic, pulling the seed moisture content down to the ideal 5-8% range needed for true long-term storage.
The Ultimate Dryness Test
So, how can you be sure your seeds are dry enough without any fancy equipment? It's all in the feel. I rely on what's called the "snap test."
A truly dry seed is a brittle seed. If you take a larger seed, like a bean or a corn kernel, and try to bend it, it should snap cleanly in two. If it just bends or feels tough and leathery, it’s still holding too much moisture and needs more time. For smaller seeds like lettuce or carrots, they should literally shatter when you press down on them with the back of a spoon.
Once your seeds pass this test, they're ready to be packaged for the long haul. This is the critical handoff from drying to storing, as the infographic below suggests.
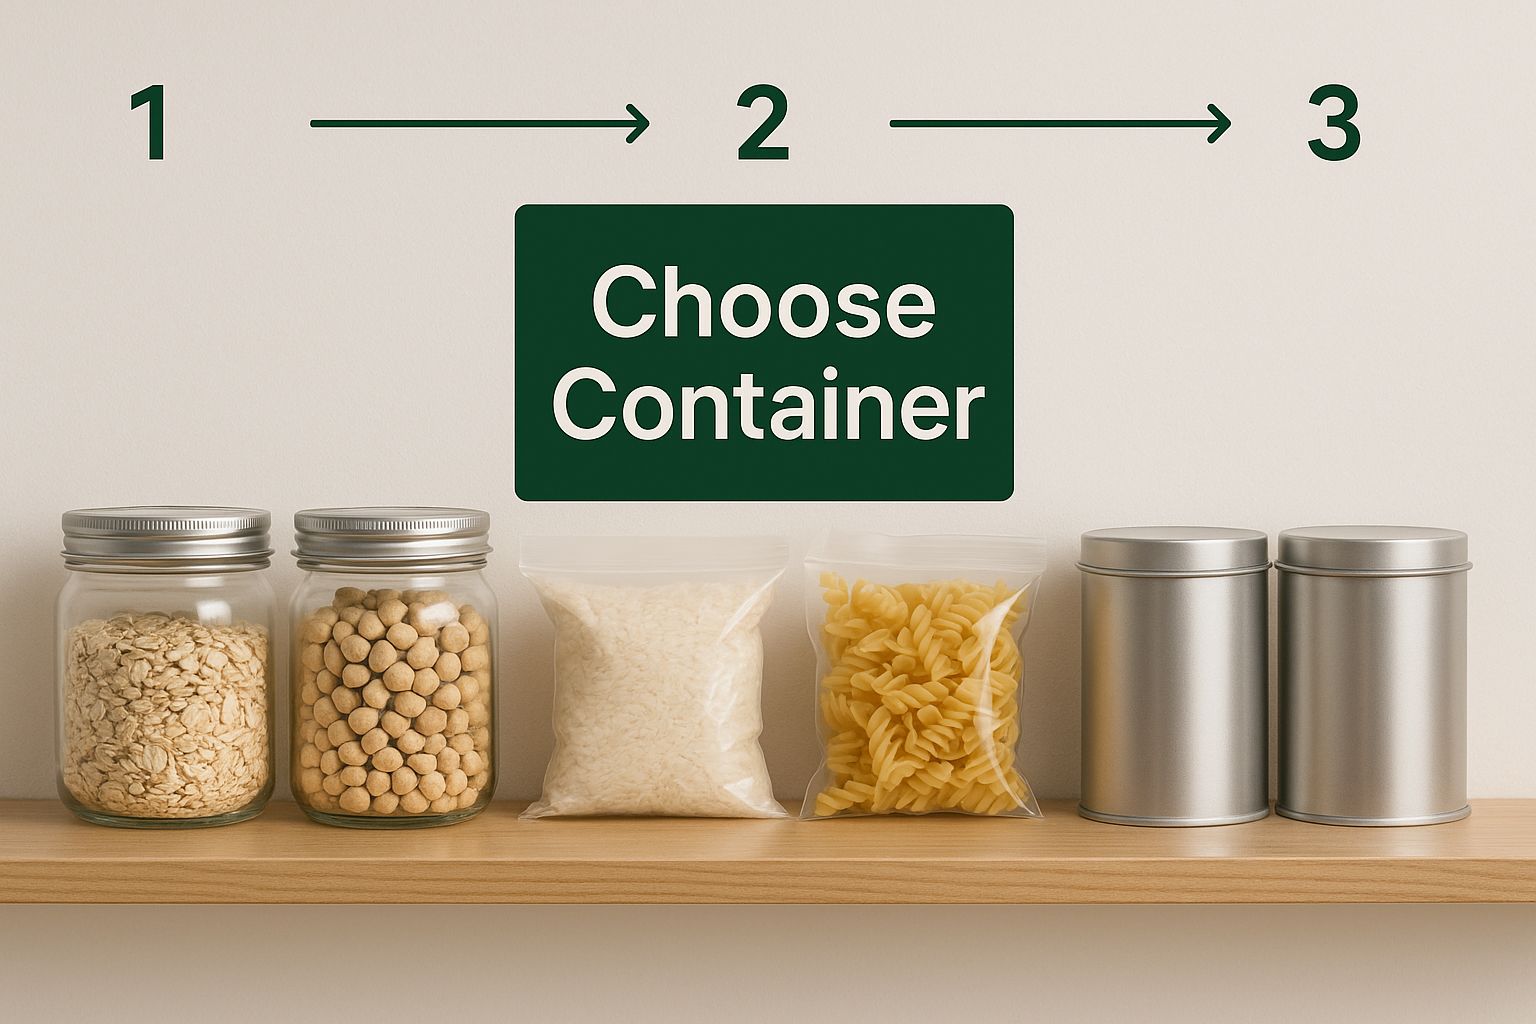
As you can see, choosing the right container is the next crucial step. Remember, a perfectly dry seed in a leaky container will just suck up moisture from the air, and all your careful work will be for nothing. This drying phase is a foundational step, just as important as knowing the right time to get your garden started. If you're planning ahead, check out our guide on when to start seeds indoors. Mastering these basics is what leads to a successful garden, season after season.
Choosing the Right Airtight Containers
Once you’ve gone through the trouble of drying your seeds perfectly, the last thing you want is for moisture to creep back in. Your next job is to lock in that dryness, and the container you choose is your first and best line of defense. This is the single most important step when you're learning how to store seeds long term.
Think of your container as a fortress. It needs to guard your seeds against their two biggest enemies: moisture and oxygen. Those flimsy plastic sandwich baggies or the paper packets your seeds came in? They're fine if you plan to plant next spring, but they’re absolutely terrible for long-term storage. Over time, air and humidity will seep right through, undoing all your careful prep work.
For serious preservation, you need a container that is truly airtight. I’ve used a few different methods over the years, and the best ones each have their own strengths and weaknesses.
Comparing Your Storage Options
Your choice of container really boils down to your budget, what you have on hand, and how seriously you're taking this whole seed-saving thing.
-
Glass Jars: Good old canning jars with two-piece lids are a fantastic option. They’re reusable, you can see exactly what's inside, and they create a rock-solid seal that keeps out pests. The main drawback is that they’re fragile and let in light, so you have to commit to storing them somewhere completely dark.
-
Mylar Bags: In the world of serious seed saving and prepping, these are the gold standard. Mylar is a tough, non-porous material that blocks 100% of light and moisture. When you toss in an oxygen absorber and seal them up, you’re creating an almost perfect little time capsule for your seeds. They’re also cheap and don't take up much space, but you will need a heat sealer to get that critical, airtight seal.
-
Vacuum-Sealed Bags: If you've already got a vacuum sealer for food, you're in luck. This method is incredibly effective because it physically sucks out most of the oxygen, which puts the brakes on the aging process. The plastic is clear, which is handy, but just like glass, it provides zero protection from light.
A Pro Tip: Use Oxygen Absorbers
If you go with Mylar bags or glass jars, adding an oxygen absorber is a total game-changer. These are the little packets you often find in packaged foods. They're filled with iron powder that essentially rusts, using up the oxygen inside your sealed container.
By getting rid of the oxygen, you stop the oxidation process cold. This is one of the main reasons seeds lose their ability to sprout over time. For most situations, a 300cc oxygen absorber is the perfect size for a quart-sized jar or bag. It's a tiny, cheap addition that can add years to the life of your seeds.
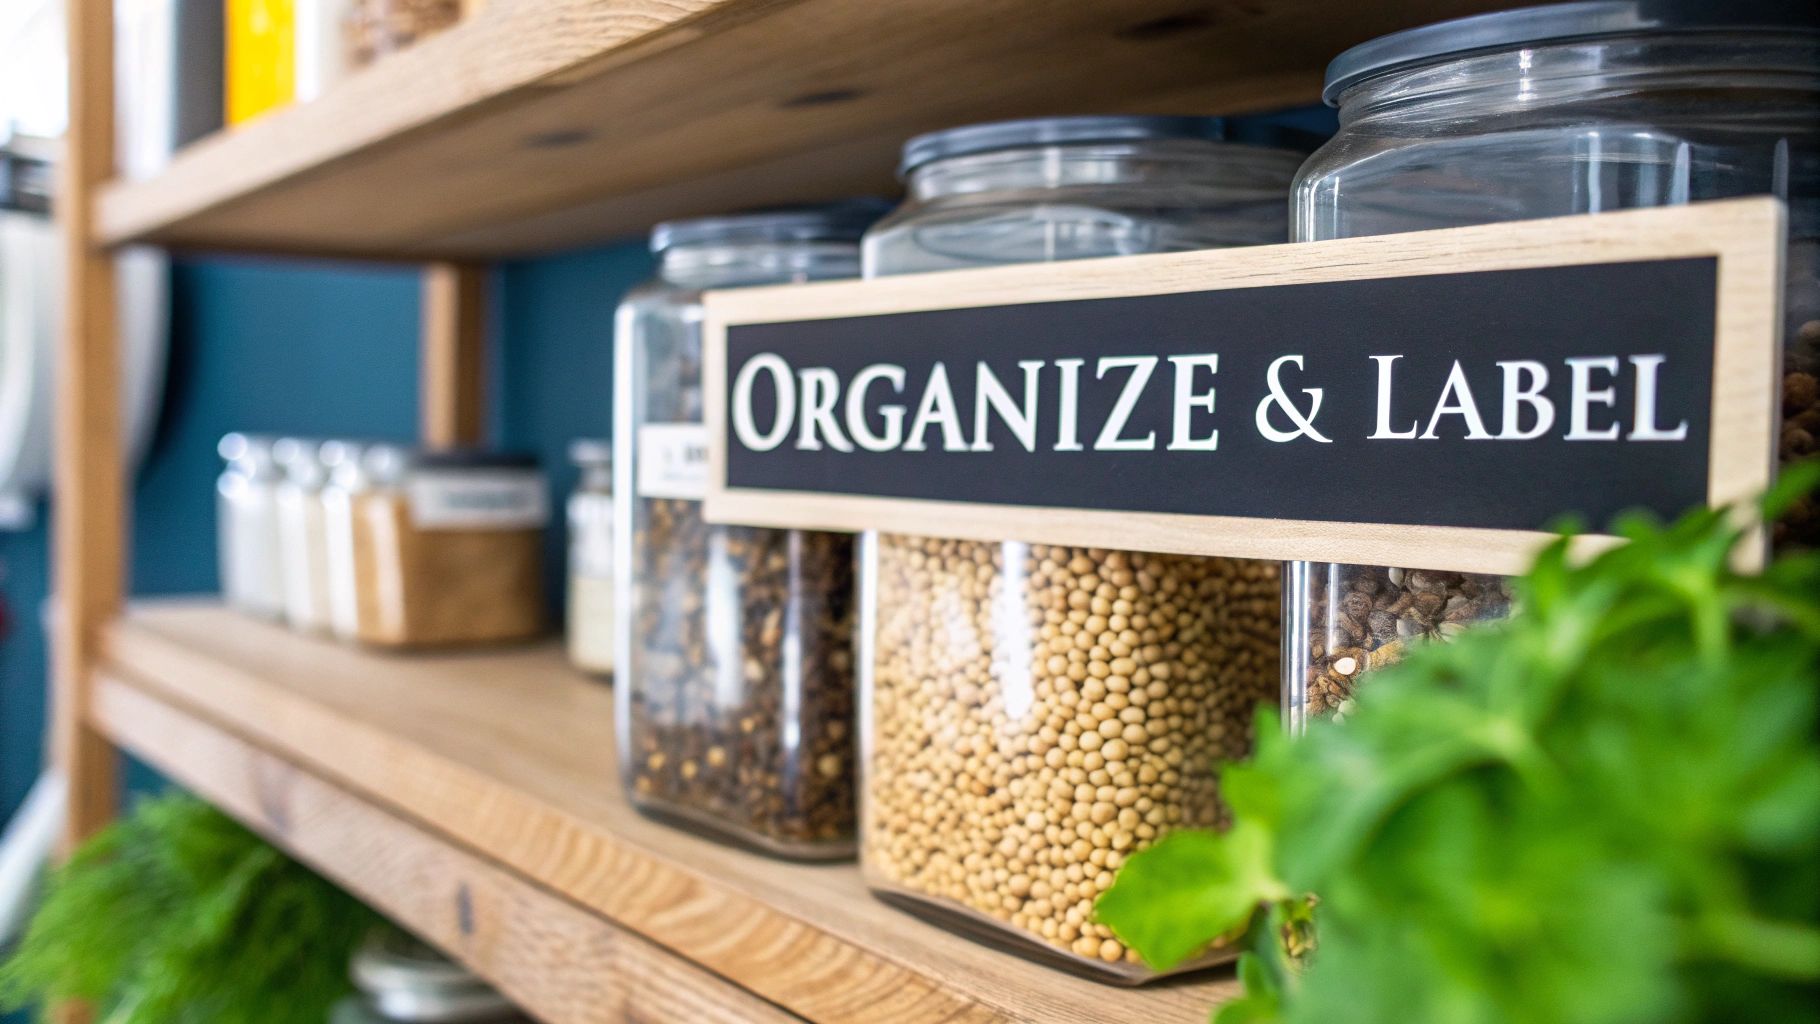
My Simple System for Labeling and Organization
There's no point in saving seeds if you can't find them or don't know what they are years later. A well-organized stash is a useful stash.
My go-to system is pretty simple. I put the seeds, along with their original packet or a detailed handwritten label, into a small, labeled zip-top bag. I’ll also throw a small desiccant packet in there for good measure.
Then, that whole little package goes into the main container—either a Mylar bag or a glass jar, which also gets a clear label. This double-bagging method gives you an extra layer of protection and makes it incredibly easy to keep everything organized. You'll thank yourself later when you can instantly see the seed variety, where it came from, and the year you saved it.
Setting Up Your Cold Storage Environment
Alright, you’ve dried and packaged your seeds like a pro. Now for the final piece of the puzzle: a dedicated cold spot. This is where you really hit the pause button on a seed's biological clock, dramatically slowing down the aging process that robs them of their viability. Getting this right is what separates a one-season stash from a collection that will last for years, or even decades.
The name of the game is a stable, consistently cold environment. It's not just about getting the temperature low; it's about keeping it there. Every time seeds warm up and cool down, you risk condensation forming inside your airtight containers. That reintroduces moisture—the very enemy you worked so hard to eliminate. This is exactly why the door of your kitchen fridge, with its constant opening and closing, is a terrible choice.
Refrigerator Versus Freezer
So, where should you put them? For many of us, the refrigerator is a solid, practical choice, especially for seeds you plan to use within the next five years. It’s accessible and keeps things much cooler than a pantry or basement.
But if you're serious about long-term preservation—we're talking a decade or more—the freezer is your undisputed champion. The deep, consistent chill of a freezer slows a seed's metabolism to a near standstill. Think of it as putting them into suspended animation. This is the secret to creating a genuine seed bank right in your own home.
A Critical Warning: I can't stress this enough. Never, ever freeze seeds unless you are 100% certain they are bone-dry (ideally below 8% moisture). If there's too much water left inside, it will form ice crystals. These act like microscopic shards of glass, piercing and destroying the delicate cells. The seed will be completely unviable. When in doubt, stick with the refrigerator.
The power of cold storage isn't just theory; it's backed by serious science. For "orthodox" seeds (the kind that can handle drying and freezing), the results are incredible. One study showed that when seeds were properly dried and stored at –18°C, they still had an average germination rate of 58.4% after an average of 35.7 years! It’s a powerful testament to what a deep freeze can do. If you want to dive into the data, you can read the full study on seed longevity in cold storage on PMC.
Maximizing Your Cold Storage Space
Whether you land on a fridge or a freezer, consistency is your goal. I've found that chest freezers are generally better than upright models. When you open the lid, the heavy, cold air tends to stay put instead of spilling out onto the floor, which helps maintain a much more stable temperature inside.
Here are a few tips I've picked up over the years for setting up your space:
- Organize with Bins: Don't just toss your bags in. Group your labeled Mylar bags or glass jars into larger, clearly marked plastic bins. This not only keeps things organized but also protects your precious seeds from getting crushed by a frozen roast.
- Create a Thermal Buffer: An empty freezer is an inefficient one. Fill any extra space with jugs of water or other frozen items. This "thermal mass" acts as a buffer, helping to stabilize the internal temperature against fluctuations when you open the door or during a brief power outage.
- Invest in a Power Alarm: If your seed collection is particularly valuable, a simple power outage alarm is a cheap insurance policy. It will screech at you if the freezer loses power, giving you precious time to figure out a solution before everything thaws.
If you simply don't have a freezer available, don't despair. A cool, dark basement or a root cellar can still dramatically extend the life of your seeds compared to just leaving them in a kitchen cabinet. The key is to find the coldest, most stable location you have and make it your dedicated seed vault.
Managing and Testing Your Seed Collection
Properly storing your seeds is a great first step, but a seed bank you just stash and forget isn't much of a resource. What really turns a simple collection into a living, reliable legacy is ongoing management. If you don't have a system for tracking and testing, you're basically just crossing your fingers and hoping for the best a few years down the road.
The whole system starts with a solid, simple labeling habit. Believe me, there’s nothing more frustrating than finding a mystery bag of seeds and having zero idea if they're five-year-old cucumbers or last year's onions. Your future self will be incredibly grateful you took a moment to jot down the essentials.
Your Labeling and Inventory System
Every single container, no matter how tiny, needs a label. I've learned the hard way that you need at least three key things on there:
- Seed Variety: Get specific. Don't just write "Tomato," write "Brandywine Tomato."
- Source: Where did it come from? Note the seed company, or if you got it from a friend or a seed swap.
- Harvest/Purchase Date: The year is absolutely the most critical piece of information.
I'm a big believer in the First-In, First-Out (FIFO) method. Whenever I get a new packet of seeds, it goes to the back of the storage box. This little trick forces me to always grab the oldest seeds first, which naturally rotates my stock and cuts down on waste. It’s a simple habit, but it's one of the cornerstones of successful long-term seed storage.
A well-organized collection isn't about being tidy for the sake of it—it's about building confidence. When you know exactly what you have and how old it is, you can plan your garden with precision instead of leaving your future harvest up to pure chance.
Even with less-than-perfect storage, some seeds can surprise you with their longevity. For instance, many clover and cowpea varieties can easily last 2–5 years, while something like rye might only be good for 1–3 years in basic cool, dry conditions. You can see more specifics in these helpful seed storage guidelines from Johnny's Selected Seeds. This is exactly why knowing the age of your seeds is so vital.
Performing a Simple Germination Test
The only way to know for sure if those older seeds are still viable is to test them. I make it a point to run a quick germination test every 2-3 years for any variety I haven't planted recently. Think of it as a proactive checkup for your seeds that tells you exactly what you're working with.
This process is surprisingly simple and gives you a clear viability percentage. It’s the data you need to decide if you should sow those seeds a bit more heavily this year, or if it’s finally time to buy a fresh packet before it's too late. To get started, you can follow our complete walkthrough on mastering the art of seed germination at home.
When you combine meticulous labeling with periodic testing, you’re no longer just storing seeds—you're actively managing a dynamic and dependable seed bank. This approach ensures that when planting season rolls around, you’re working with seeds you can truly count on.
Common Questions About Long-Term Seed Storage
As you start your own seed bank, you're bound to run into a few questions. Let's face it, learning how to store seeds for the long haul is a skill you refine over time. Answering some of the common hurdles right from the start can make the whole project feel a lot more approachable. Let's dig into some of the most frequent questions I hear from fellow gardeners.
Can I Store Seeds From The Grocery Store?
You absolutely can, but think of it as a bit of a gamble. Things like dried beans, whole peas, and lentils from the grocery store are often still viable, especially if they're organic and haven't been split or irradiated. Popcorn kernels are another surprisingly reliable seed you can find right on the shelf.
The catch? Their germination rates are usually less predictable than seeds specifically sold for gardening. My best advice is to treat them as an experiment. Before you commit a whole garden bed to them, it's a smart move to run a small germination test and see what you're working with.
The easiest way to check for life is a simple paper towel test. Just place about ten seeds on a damp paper towel, fold it over, and pop it in a sealed plastic bag. Keep it somewhere warm and check for sprouts in a week or two. If six out of ten seeds sprout, you have a 60% germination rate—definitely usable, but you’ll want to plant them a little more thickly than usual.
Should I Remove Seeds From Their Original Packets?
For serious long-term storage, yes, get them out of there! Those paper packets are great for a single season, but they are the enemy of longevity. Paper is porous and soaks up moisture from the air, which is the exact opposite of the dry environment you need to create.
Your best bet is to move those seeds into something truly airtight. I'm a big fan of Mylar bags or small glass jars, always with a desiccant packet tossed in for good measure. Here’s a pro tip: just snip the key info from the original packet—the variety name, maybe a picture, and the packing date—and slip it inside the new container. You get the best of both worlds: superior protection and all the information you need at a glance.
Refrigerator Versus Freezer Storage
Both are a huge step up from a kitchen drawer, but for anyone aiming to store seeds for a decade or more, the freezer is the undisputed winner. A refrigerator provides a cool, stable environment that can keep most seeds viable for several years.
A freezer, however, takes the temperature low enough to slow a seed's aging process to a near standstill. The one golden rule for freezing is that your seeds must be bone dry, ideally below 8% moisture content. This is non-negotiable, as it prevents ice crystals from forming inside the seeds, which would rupture their cells and kill them. If you have any doubt about how dry your seeds are, stick with the refrigerator—it's the safer option.
This is also a great time to learn some tricks for waking up older seeds when you're ready to plant. We've put together a guide on how to germinate seeds faster with techniques that can help even stubborn seeds spring to life. This knowledge becomes incredibly valuable when you're working with a seed you've carefully stored for years.
Ready to start your own seed legacy? At Homegrown Garden, we have everything you need, from heirloom vegetable seeds to complete seed-saving kits designed to protect your collection for years to come. Explore our curated selection and build a garden that lasts a lifetime. Find your perfect seeds today at https://www.homegrown-garden.com.

