


If you want to grow truly incredible heirloom tomatoes, you have to get a few things right from the very beginning. It really boils down to three things: picking the right varieties for your specific garden, building up some seriously rich soil, and giving your young plants consistent, thoughtful care. Get these fundamentals down, and you’re well on your way to a spectacular harvest.
Your Foundation for Flavorful Heirloom Tomatoes
Heirloom tomatoes aren't just another vegetable. Think of them as living history, with each variety carrying its own unique story, color, and taste. Unlike the standard hybrids you find at the supermarket—bred to be perfectly round and tough enough for shipping—heirlooms are all about flavor and diversity. That genetic richness is what makes them special, but it also means they can be a bit more demanding.
Learning to grow heirloom tomatoes is a really rewarding experience, and it starts way before you even think about planting. It's about setting the stage and creating the perfect environment for these unique plants to flourish. Nail the basics from the get-go, and you'll see the difference.
The Pillars of Heirloom Success
The path to a garden overflowing with delicious tomatoes is built on a few key principles. It might seem like a lot at first, but focusing on these areas will head off most of the common problems before they even start.
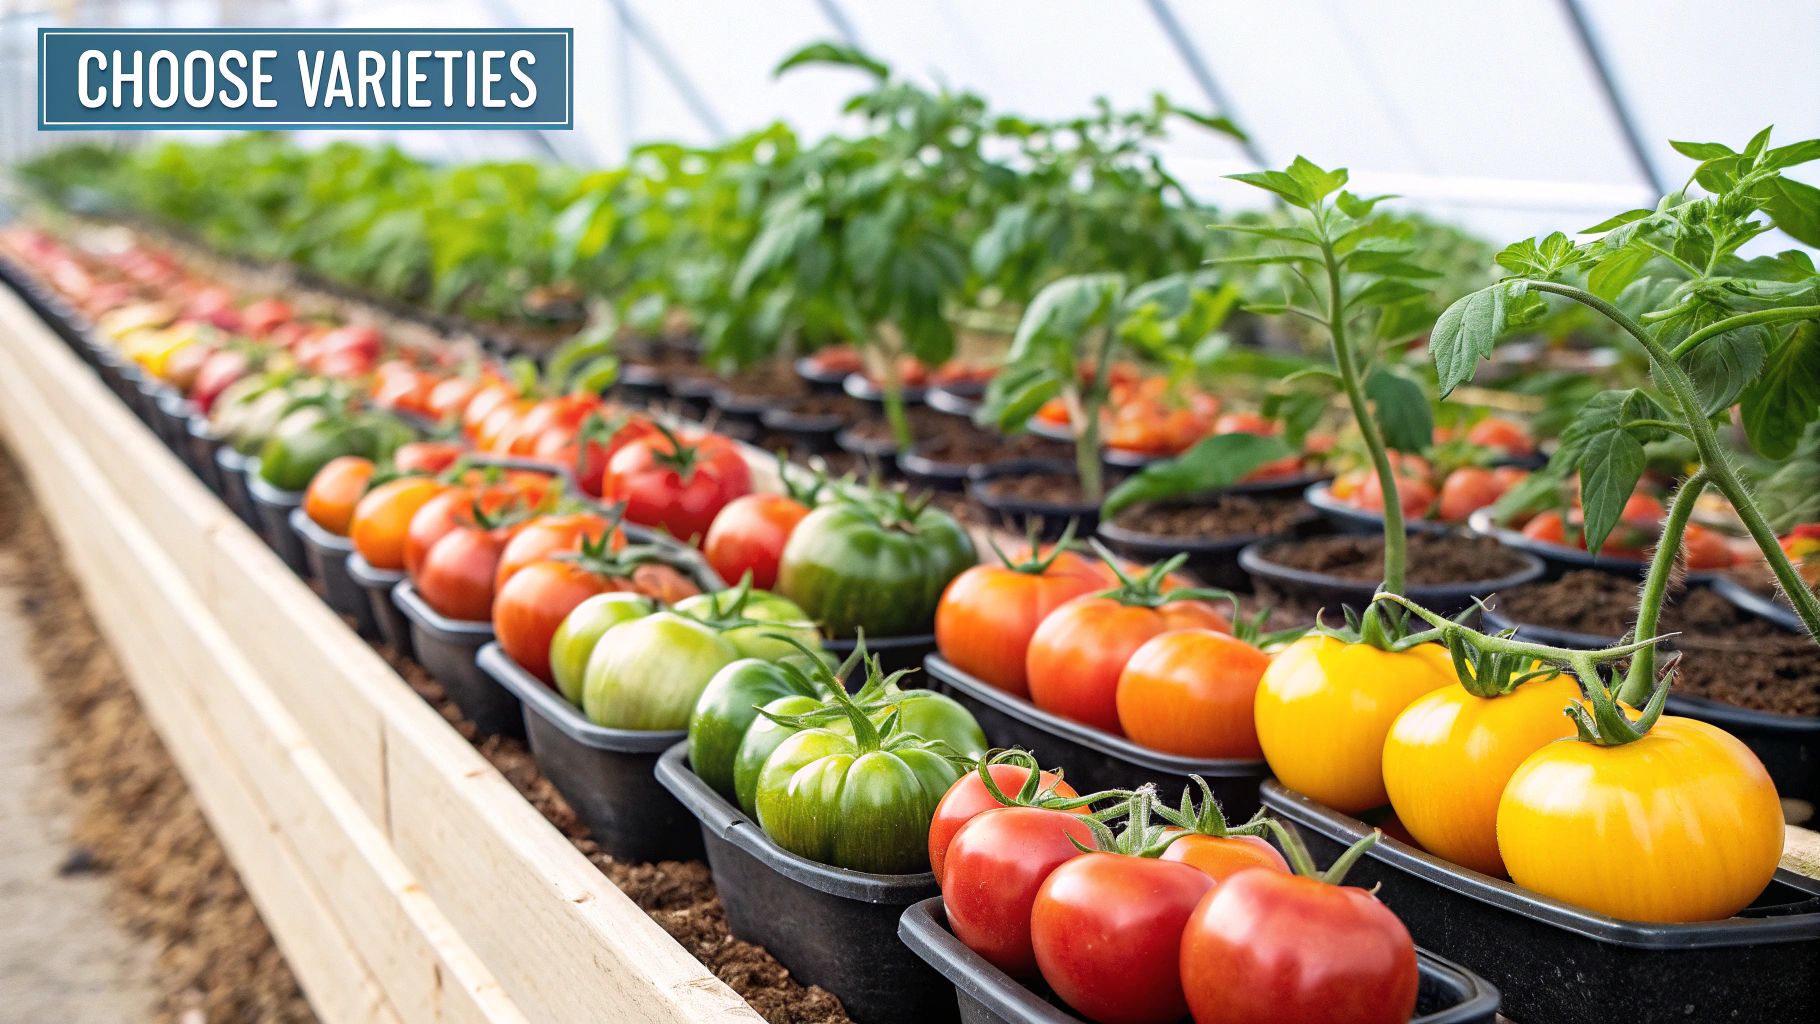
- Choose Your Varieties Wisely: Don't just grab a seed packet because the name sounds cool. You need to think about your local climate, the length of your growing season, and how much space you have. For example, a big, sprawling ‘Brandywine’ needs a lot more room and support than a tidier, determinate variety meant for smaller gardens.
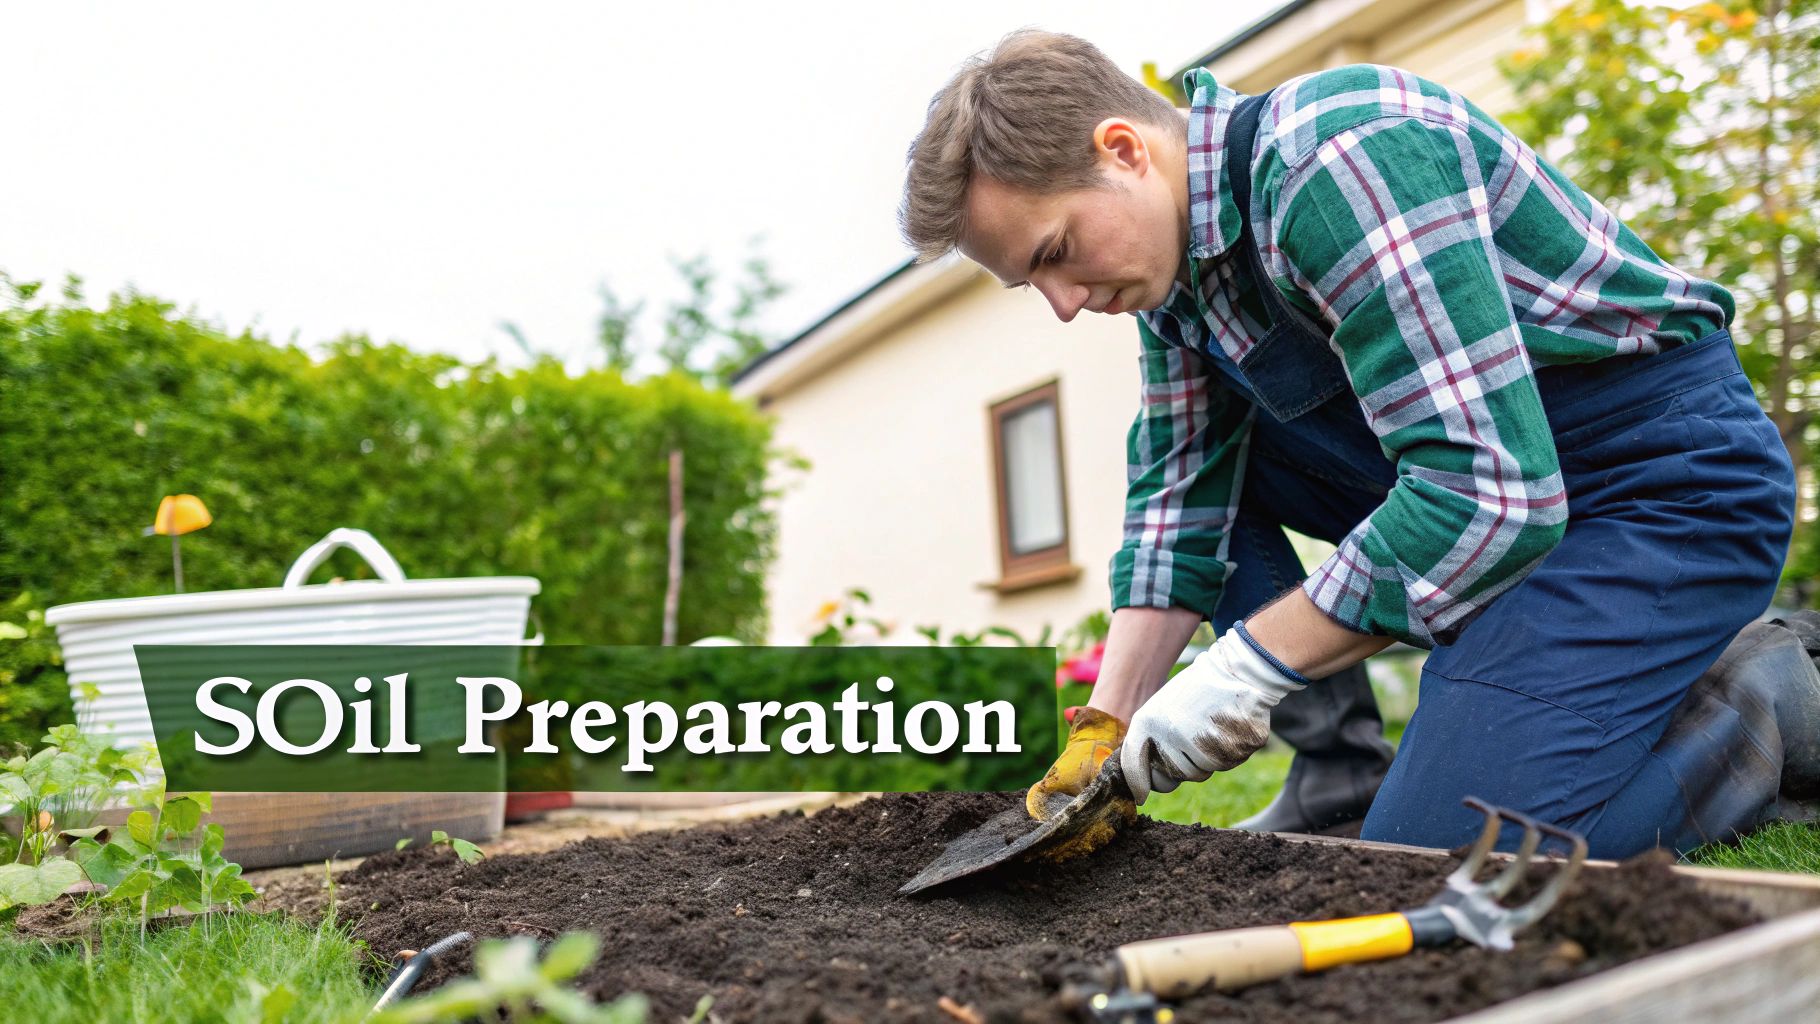
- Build Superior Soil: Heirloom tomatoes are heavy feeders. Seriously. They pull a ton of nutrients from the ground to produce those famously rich fruits. Amending your garden soil with plenty of high-quality compost and other organic matter isn't just a good idea—it's absolutely essential.
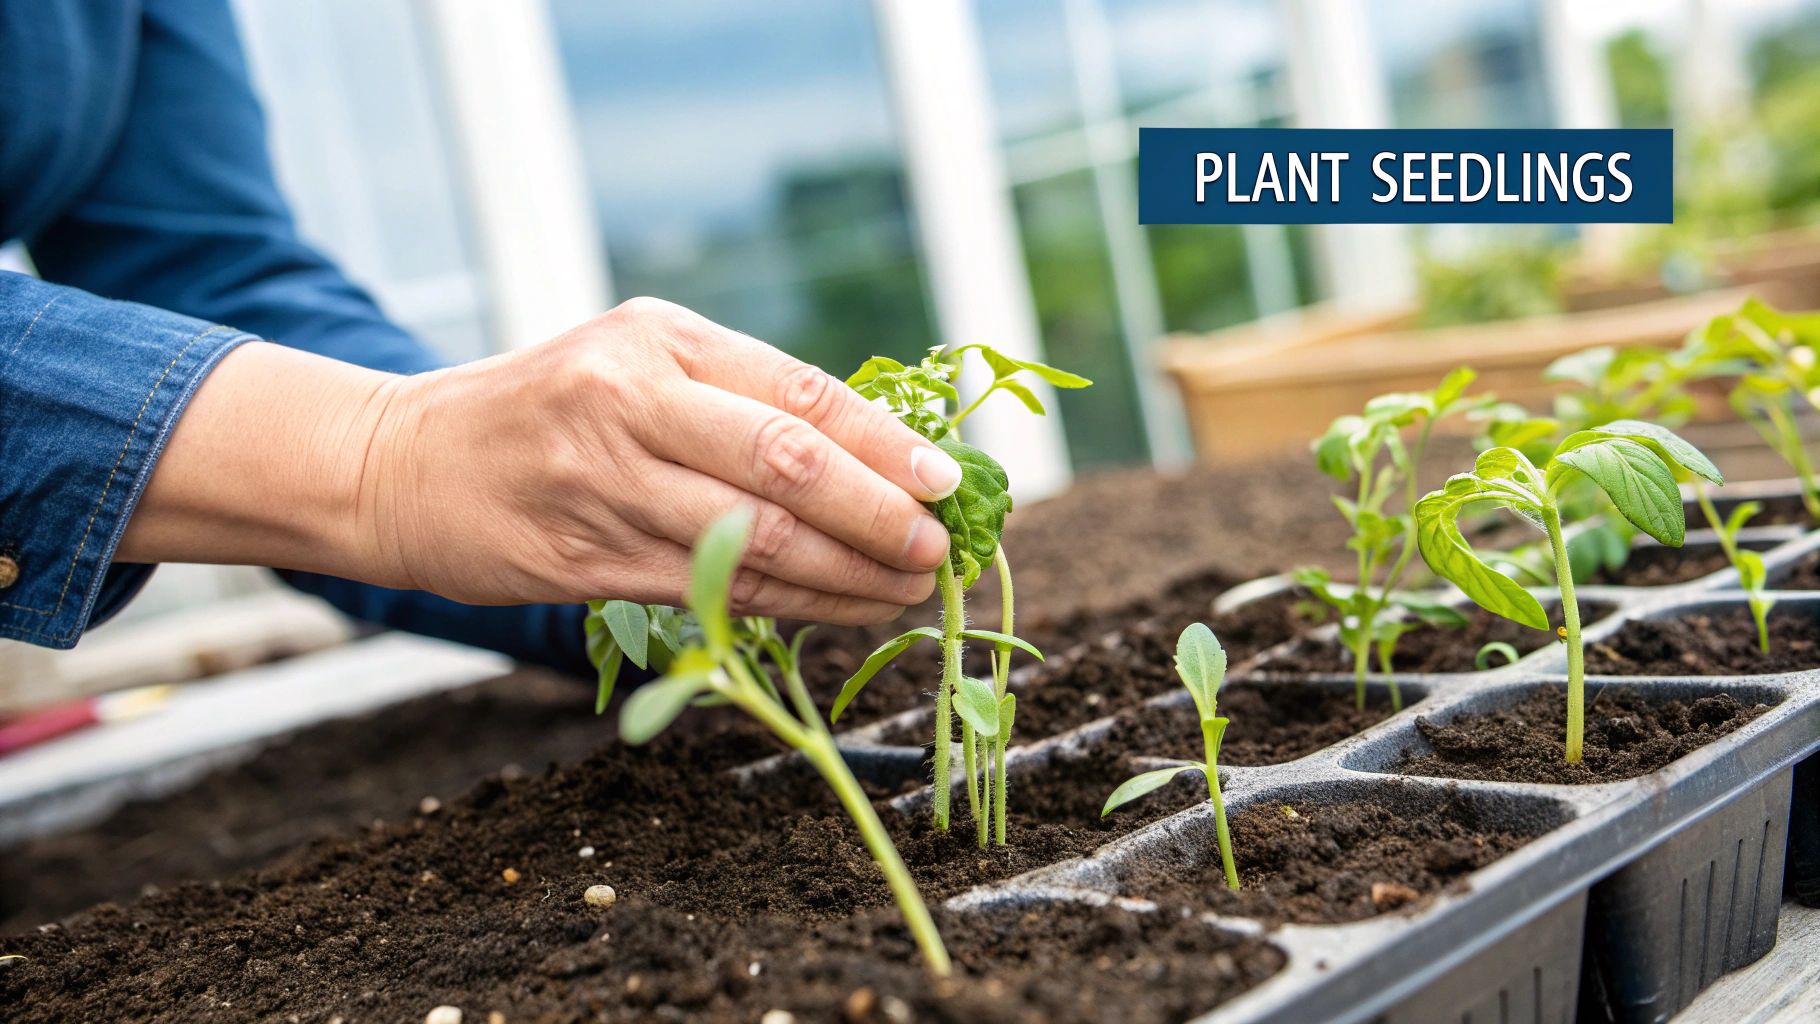
- Get the Planting and Early Care Right: The way you move your seedlings from a cozy indoor spot to the great outdoors can make or break your entire season. Knowing how to plant them properly and avoid transplant shock is critical for a strong start.
The unforgettable flavor of a homegrown heirloom is a direct reflection of the care you put in. It's a partnership between you and the plant, and it all starts with a solid foundation.
Gardening, especially with heirlooms, is less about perfection and more about paying attention and responding to what your plants need. Because they're different from their hybrid cousins, you can anticipate some of their quirks. For instance, many heirlooms aren't as disease-resistant, so something as simple as giving them enough space for good airflow can make a world of difference.
Here’s a quick checklist to help you stay on track during those crucial early weeks. I find it helpful to think about these key actions as I'm getting everything set up for the season.
Heirloom Tomato Quick Start Checklist
| Stage | Key Action | Why It Matters for Heirlooms |
|---|---|---|
| Planning | Choose varieties for your zone & space. | Heirlooms vary widely in their needs; matching them to your environment is step one for success. |
| Soil Prep | Amend soil with compost & organic matter. | These plants are heavy feeders and require nutrient-rich soil to develop complex flavors. |
| Planting | "Harden off" seedlings before planting outside. | This gradual acclimation process prevents transplant shock, which can stunt growth significantly. |
| Early Care | Space plants properly & provide support early. | Good airflow prevents fungal diseases, and early staking supports heavy, fruit-laden branches later on. |
Treat this table as your road map for the beginning of the season. Getting these things right sets a strong foundation and makes the rest of the growing process so much easier and more enjoyable.
Choosing the Right Heirloom Tomato Varieties
The secret to a truly unforgettable heirloom tomato harvest doesn't start in the garden; it starts with the seeds you choose. This is about more than just picking a pretty name from a catalog. It’s about being a matchmaker—pairing the right variety with your garden's unique conditions, the space you have, and what you actually want to do with your tomatoes.
For example, a meaty ‘Brandywine’ is the hero of a perfect summer sandwich, but it's a beast of a plant that needs a long season and some serious support. On the other hand, a dense ‘Amish Paste’ is an absolute dream for making rich sauces and is generally a more manageable plant. Your climate is the biggest piece of this puzzle. Some heirlooms are right at home in cooler, shorter seasons, while others absolutely demand long, hot summers to develop that incredible, complex flavor they're known for.
Determinate vs. Indeterminate Heirlooms
One of the first things you need to wrap your head around is the plant's growth habit. This one detail will shape how you stake, prune, and even lay out your garden beds.
-
Determinate (Bush) Varieties: Think of these as the sprinters of the tomato world. They grow to a fixed, compact size—usually 3 to 4 feet tall—set all their fruit in a concentrated window of a few weeks, and then they’re pretty much done. This makes them perfect for small gardens, containers, or anyone who wants a big harvest all at once for canning.
-
Indeterminate (Vining) Varieties: These are the marathon runners. True to their vining nature, they just keep growing and producing fruit all season long, right up until the first frost nips them. They need tall, sturdy cages or stakes and consistent pruning to keep them from becoming a tangled mess, but your reward is a steady, season-long supply of fresh tomatoes.
Most of the big, legendary heirlooms like ‘Cherokee Purple’ and ‘Black Krim’ are indeterminate. If you've got the space and want that continuous harvest, they are fantastic choices. But if you’re working with a patio or just want a more predictable harvest, a determinate heirloom is your best bet.
My Two Cents: Matching the growth habit to your space is just as crucial as picking for flavor. I've seen beginners try to grow an indeterminate beast in a small pot, and it becomes a frustrating, chaotic mess. Likewise, planting only determinate types can leave you wishing for fresh tomatoes in late August.
Where to Source Your Seeds
Once you've got a wish list, you need to find good seeds. You’ve got a couple of great routes to go. Reputable seed companies are a reliable source, offering a huge selection of stabilized varieties so you know that the ‘Black Krim’ seeds you plant will actually grow a ‘Black Krim’ tomato.
While home gardeners aren't chasing the massive yields of commercial farms—where California growers can pull over 46 metric tons per acre—it shows how much potential is locked inside a good seed. For heirlooms especially, starting with quality genetics is half the battle.
An even more rewarding path is to connect with seed-saving communities. Swapping with other local gardeners can get you strains that are already adapted to your specific microclimate, which often perform better than anything you can buy. Eventually, you can start saving seeds from your own favorite open-pollinated (heirloom) plants, developing a variety that's perfectly suited to your garden.
Before you get those seeds in the dirt, though, timing is everything. For more on that, take a look at our guide on https://homegrown-garden.com/blogs/blog/when-to-plant-vegetable-seeds. It’s a critical step to give your chosen varieties the strongest possible start.
Creating the Perfect Soil and Planting Site
 That legendary heirloom tomato flavor? It’s built from the ground up, quite literally. These plants are hungry feeders, and I can tell you from experience, the difference between a bland, watery tomato and a rich, complex one is almost always the soil.
Simply grabbing a generic bag of potting mix just won't cut it. To get those incredible fruits, you need to create a soil bed that’s a veritable feast for your plants. A soil loaded with organic matter doesn't just provide food; it also helps hold moisture while still draining well, which is the key to a strong, resilient root system.
Building Your Soil Recipe
Before you start tossing amendments around, get to know what you’re working with. A simple home soil test kit is a great first step. It’ll give you a baseline for your soil's pH and point out any major nutrient gaps. For heirloom tomatoes, you’re aiming for a slightly acidic soil, somewhere in the 6.2 to 6.8 pH range.
No matter the starting point, most garden soils need a healthy dose of organic matter. Here’s the combination I’ve come to rely on for creating a rich, living soil structure:
- Compost: This is the absolute foundation. Good, well-rotted compost provides a broad spectrum of nutrients, improves the soil’s texture, and—most importantly—introduces the beneficial microorganisms that make everything work. Using a quality peat-free multi-purpose compost is a fantastic way to enrich a new bed.
- Aged Manure: Composted chicken or cow manure gives your plants a slow, steady supply of nitrogen. This is especially important early on to fuel that vigorous green growth.
- Earthworm Castings: This is my secret weapon. Castings are loaded with micronutrients and beneficial microbes that really help the plants absorb all the goodness you're giving them.
When I’m prepping a new garden bed, I shoot for a mix that's about 25-30% high-quality organic matter. It feels like a lot of work upfront, but that investment pays dividends all season. Of course, this initial prep is just the start; you'll also need a plan for ongoing feeding. We cover that in our guide on the best fertilizer for tomatoes and peppers.
An old-timer gardener once told me, "Feed the soil, not the plant." That wisdom has stuck with me, and it’s especially true for heirlooms. A healthy, living soil ecosystem does most of the heavy lifting, helping to fend off diseases and produce unbelievable flavor.
Site Selection and Spacing
With your soil perfected, finding the right spot is your next big decision. Heirloom tomatoes are total sun-worshippers. There’s no negotiating this: they need a spot that gets a bare minimum of 6 to 8 hours of direct, uninterrupted sun every day. Less sun means fewer flowers, and fewer flowers mean fewer tomatoes. It’s that simple.
Watch your yard for a full day to pinpoint the sunniest patch. But don't forget about air circulation. Stagnant, humid air is a welcome mat for fungal diseases like blight, which can be a real headache for heirloom varieties. Proper spacing is your best line of defense. For most heirlooms, which are indeterminate (vining) types, I give them at least 3 feet of space from each other. It looks a bit empty at first, but trust me, they’ll fill that space in no time.
Proven Planting Techniques
How you get your seedlings into the garden can really set the tone for their whole season. If you rush this part, you risk transplant shock, which can stunt their growth for weeks.
Hardening Off Your Seedlings Those little plants have been living a comfy, sheltered life indoors. You have to ease them into the real world of wind, sun, and temperature swings.
This process should take about 7-10 days.
- Start by putting your seedlings outside in a protected, shady spot for just an hour.
- Each day, slowly increase their time outdoors and let them get a little more direct morning sun.
- By the end of the week, they should be tough enough to handle a full day outside without wilting.
When it's finally time to plant, dig a hole that’s deeper than the seedling’s container. Here’s a pro tip: plant your tomatoes deep. I always bury the stem right up to the first set of true leaves. All those tiny hairs along the buried part of the stem will sprout into new roots, anchoring the plant and making it much more drought-resistant. It’s one of the best tricks I know for growing incredibly strong tomato plants.
Your Guide to Watering, Staking, and Pruning Heirlooms
Once your heirloom tomatoes are happily settled into their new home, the real work begins. This is where consistent, smart care transforms good plants into great ones, coaxing out that legendary flavor everyone talks about. Don't worry, this isn't about fussing over them every single day. It's about getting a feel for three key tasks: watering, staking, and pruning.
When you get these right, you’re essentially working with the plant, guiding its energy toward producing a bumper crop of rich, flavorful tomatoes. Let's dig into how to handle each of these critical jobs like a seasoned pro.
The Art of Watering Heirloom Tomatoes
I can't tell you how many times I've seen gardeners make the same mistake: watering too often and too shallowly. A light sprinkle every day actually does more harm than good. It encourages a weak, shallow root system and creates the perfect damp surface conditions for fungal diseases to take hold.
The goal here is deep, infrequent watering. You want to give the soil a thorough soaking, pushing moisture way down to the deepest roots. This is what encourages the plant to build a robust, resilient root network that can laugh off a dry spell. A good rule of thumb is to aim for 1 to 2 inches of water per week, but you'll need to adjust based on your climate, soil type, and how much rain you're getting.
Forget the guesswork. Just stick your finger about two inches into the soil near the base of the plant. If it comes out dry, it’s time to water. And when you do, water the soil, not the leaves. Using a soaker hose or a simple drip irrigation system is your best bet, as it delivers moisture directly to the root zone. This is your single best defense against common headaches like early blight.
By letting the top layer of soil dry out between waterings, you're not just preventing disease; you're training your plants to become more drought-tolerant. Strong roots make for strong plants.
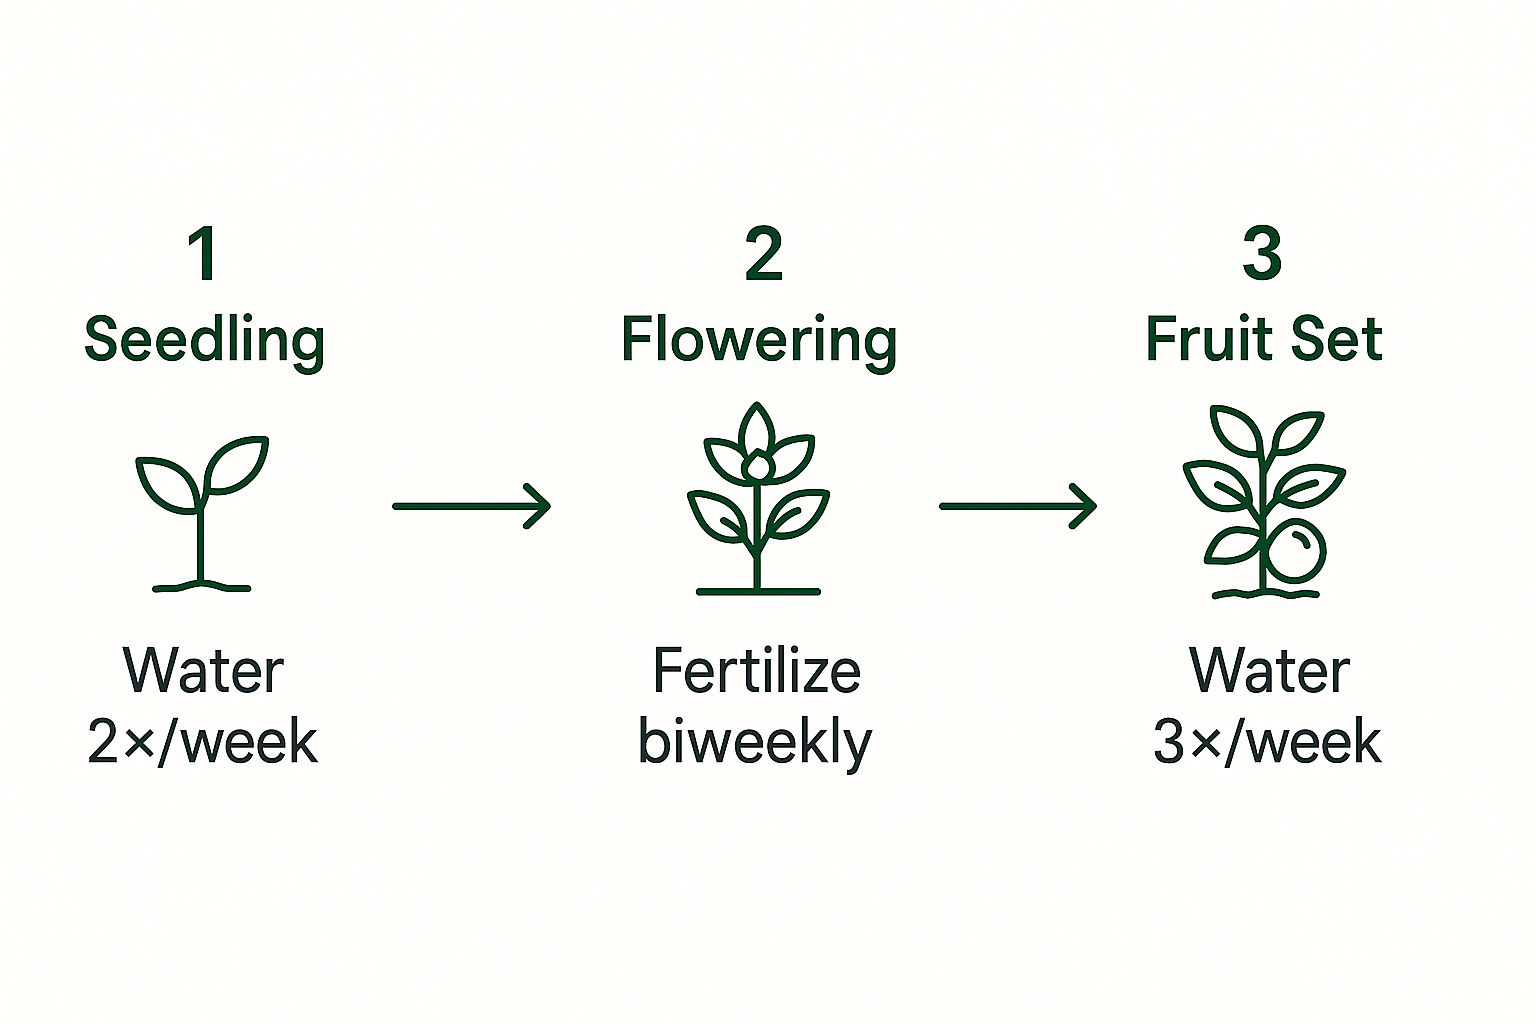
As you can see, a tomato plant's needs change dramatically as it grows. Its thirst and hunger really ramp up as it moves from a young seedling to a fruit-producing machine, which means you need to adapt your care routine as the season progresses.
Staking Strategies for Healthy Plants
Most heirlooms are indeterminate, which is just a fancy way of saying they are vigorous vines that will sprawl into a tangled mess if you let them. Staking isn't just about keeping the garden looking tidy; it's a crucial step for lifting fruit and foliage off the ground. This improves air circulation and is a huge help in preventing pests and rot.
There are a bunch of ways to support your plants, but a few methods have proven themselves time and again, especially for big, heavy heirloom varieties.
- Sturdy Cages: A heavy-duty, large-diameter tomato cage is a classic for a reason. Just make sure it's at least 5 feet tall and made of thick-gauge wire. The trick is to place it over the plant while it’s still young, before it gets too big to handle.
- The Florida Weave: This is a fantastic, resource-savvy method if you're planting a whole row of tomatoes. You drive tall stakes into the ground every two or three plants, then weave twine back and forth between them, creating a sort of cradle that corrals the plants as they grow.
From personal experience, I’ve found that for massive varieties like ‘Brandywine’ or ‘Cherokee Purple’, a strong cage combined with a few strategically placed ties is the most reliable approach. You have to give them support early, well before they get weighed down with fruit.
Demystifying Pruning for Bigger, Better Fruit
Pruning can feel a little intimidating at first, but it’s one of the most impactful things you can do to improve your harvest. The main goal is to remove "suckers." These are the small shoots that pop up in the "V" where a side branch meets the main stem.
If you let them grow, these suckers will turn into entirely new branches, complete with their own leaves, flowers, and fruit. That might sound like a good thing, but it seriously diverts the plant's precious energy. By pruning them away, you channel all that energy into the main stems, which almost always results in bigger, better-flavored, and often earlier tomatoes. It also opens up the plant for that all-important airflow.
It's easy to do. Just pinch or snip off the suckers when they're still small (under 4 inches). As the plant gets taller, it's also a good idea to prune off any lower leaves that are touching the ground. This simple step further reduces the risk of soil-borne diseases splashing up onto the foliage during a rainstorm.
This level of attention to detail is part of what makes growing heirlooms so satisfying. It mirrors the kind of precision needed in large-scale agriculture, where global tomato production hit an incredible 45.8 million metric tons in a recent year. Both commercial farmers and home gardeners have to optimize their techniques for the best results, as you can learn more about in the global tomato trend insights from The Morning Star Company.
Dealing With Pests and Diseases Organically
https://www.youtube.com/embed/0xorviDNL1M
Because heirloom tomatoes haven't been bred for the same robust defenses as modern hybrids, they can sometimes feel like a magnet for every bug and blight in the neighborhood. But the secret to a healthy harvest isn't about reaching for harsh chemicals at the first sign of trouble. It's about building a resilient garden ecosystem from the very start.
Think of it this way: your best defense is a good offense. The goal is to create an environment where your plants are so strong and vibrant that they're simply less appealing targets for pests and less susceptible to disease. Simple things, like giving plants enough space for good airflow or always watering at the base, can head off common fungal issues before they ever get a chance to start.
Your First Line of Defense Is a Healthy Plant
A stressed plant is an open invitation for trouble. Pests and diseases are opportunistic; they prey on plants weakened by poor nutrition, inconsistent watering, or not enough sun. A strong, thriving heirloom tomato is naturally better equipped to shrug off minor attacks.
This is exactly why everything we’ve talked about so far—from building rich soil to providing consistent, deep watering—is also a core part of your pest management strategy. It’s all connected. A well-fed, properly hydrated plant is your most effective line of defense.
Think of your garden as a complete ecosystem. When you encourage beneficial insects and focus on soil health, you create a natural balance where pests have predators and diseases struggle to find a foothold.
One of the best ways to foster this balance is through companion planting. Tucking plants like basil, marigolds, and borage in and around your tomatoes can work wonders. Marigolds are famous for repelling root-knot nematodes, while borage is fantastic for attracting pollinators and beneficial predatory insects that will happily feast on pests.
Identifying and Managing Common Pests
Even in the most meticulously cared-for garden, you're going to run into some unwelcome visitors. The key is to spot them early and act quickly with gentle, organic solutions.
Here are a few of the usual suspects and how I deal with them in my own garden:
- Tomato Hornworms: These big green caterpillars are masters of camouflage and can strip a plant of its leaves seemingly overnight. The easiest way to find them is to look for their telltale black droppings (frass) on the leaves below. Hand-picking is the most effective and satisfying solution—just pluck them off and drop them in a bucket of soapy water.
- Aphids: You'll find these tiny, sap-sucking insects clustered on the tender new growth and undersides of leaves. Often, a strong blast of water from the hose is enough to knock them off. If they persist, a spray bottle filled with insecticidal soap will do the trick.
- Spider Mites: If you notice fine, silky webbing on your plants and the leaves are looking stippled and yellow, you've likely got spider mites. They thrive in hot, dry conditions, so simply misting your plants with water can make the environment less hospitable for them. For a more direct treatment, neem oil is a reliable organic option.
For a deeper dive into identifying these and other garden invaders, check out our guide on common tomato pests and how to get rid of them. Knowing what you're up against makes all the difference.
Preventing and Treating Common Diseases
With heirlooms, preventing disease is always easier than trying to cure it. Many common tomato troubles are fungal in nature and absolutely love damp, stagnant conditions.
Blossom End Rot is a classic source of gardener frustration. It shows up as a dark, sunken, leathery patch on the bottom of the fruit. This isn't actually a disease, but a calcium uptake problem, almost always caused by inconsistent watering. The best prevention is maintaining deep, even moisture in the soil. As a bit of insurance, I like to add a handful of crushed eggshells to the planting hole for a slow-release calcium boost.
Early and Late Blight are two fungal diseases you're likely to encounter. They cause yellowing leaves with dark spots, which eventually wither and die, working their way up the plant.
- Prevention: Always water at the soil level, never on the leaves. Give your plants plenty of space for air to circulate, and apply a thick layer of mulch to prevent soil-borne spores from splashing onto the lower leaves.
- Management: At the very first sign, prune off the affected lower leaves. Be sure to throw them in the trash, not the compost pile. If the problem persists, an organic copper or sulfur-based fungicide can help slow the spread, but you have to apply it early.
Finally, crop rotation is a non-negotiable rule in my organic garden. Never plant tomatoes (or their relatives like peppers, potatoes, and eggplants) in the same patch of soil for at least three years. This one simple practice is your best tool for breaking the life cycle of soil-borne diseases and giving your plants a fresh, healthy start each season.
Harvesting for Peak Flavor and Saving Seeds
Knowing exactly when to pick an heirloom tomato is the final, most rewarding piece of the puzzle. This is where you unlock that legendary flavor everyone talks about. Honestly, it’s more art than science. Judging ripeness goes way beyond just looking at the color; it's a full-on sensory experience that ensures you get the absolute best from your garden.
Forget what you know about a typical supermarket tomato. For an heirloom, a deep, rich color is just the beginning. Gently cradle the fruit in your hand. It should feel heavy for its size and have a slight "give"—a subtle softness that tells you it's ready, without being mushy. Now, lean in and take a whiff right where the stem meets the fruit. A truly ripe heirloom has an intense, earthy, and unmistakably fragrant aroma. That smell is the dead giveaway that the sugars and acids inside have hit their perfect peak.
Harvesting and Storing Your Tomatoes
Once you’ve found that perfect tomato, don't just yank it off the vine. You can easily damage both the plant and the fruit that way. Instead, grab a clean pair of pruning shears or even just sharp scissors and snip the stem just above the little leafy green star at the top (that's called the calyx). This gives you a clean break, protecting the plant and your prized tomato.
A few tips I've learned over the years:
- Pick in the afternoon. The fruit has had all day to soak up the sun and build sugars, making them noticeably sweeter than if you picked them in the morning.
- Handle with care. Heirlooms often have much thinner skins than their hybrid cousins. That's part of their charm, but it also makes them more delicate.
- Don't even think about the fridge. Seriously, never put a fresh heirloom tomato in the refrigerator. The cold kills the delicate flavor compounds and gives the flesh a mealy, unpleasant texture. Just keep them on your kitchen counter and plan to enjoy them within a couple of days.
My personal rule is pretty straightforward: if a tomato feels perfectly ripe on the vine, it's meant to be eaten that very day. Nothing beats the taste of a sun-warmed heirloom, sliced and salted just moments after being picked.
How to Save Heirloom Seeds
Saving your own seeds is a deeply satisfying tradition that connects you directly to generations of gardeners before you. It’s how you preserve the unique genetics of a variety you love, making sure you can grow that exact same tomato again next year. The key is a simple process called fermentation, which mimics what happens in nature to remove the gel coating around the seeds and kill off any seed-borne diseases.
First, you'll need to select a prime fruit. Always choose a perfectly ripe, beautiful tomato from one of your healthiest, most productive plants.
Next, it's time to extract and ferment. Squeeze the seeds and all the pulpy goo into a clean glass jar. Add just a splash of water to create a slurry. Cover the jar's opening with a coffee filter held on by a rubber band and just let it sit at room temperature for 2-4 days. You’ll want to give it a stir each day. Don't be alarmed when a layer of mold forms on top—that's completely normal and part of the process!
After a few days, you'll clean and dry the seeds. The mold and any bad seeds will have floated to the top, so you can just pour that layer off. Rinse the good seeds, which will have sunk to the bottom, in a fine-mesh sieve. Spread them out in a single layer on a non-stick surface, like a ceramic plate or a piece of parchment paper, and let them dry completely for about a week.
Finally, you’ll store them for next season. Once the seeds are bone-dry (they should snap, not bend), place them in a labeled paper envelope or a small, airtight jar. Keep them somewhere cool, dark, and dry.
Properly stored, your heirloom seeds can stay viable for 5 years or more, giving you a living library of your favorite flavors. As global agriculture contends with issues like water scarcity, which is explored in the 2025 global tomato forecast, preserving these unique and resilient varieties in your own backyard feels more important than ever.
Common Questions and Quick Fixes for Heirloom Tomatoes
Let's be honest, even seasoned gardeners run into a few head-scratchers with heirloom tomatoes. They have their own quirks, but most problems have a straightforward fix once you know what to look for. Here are some of the most common issues I see and how to handle them.
Why Are My Tomatoes Cracking?
You've got a beautiful, nearly ripe tomato, and then a heavy rain comes through. The next day, you find it split wide open. Sound familiar?
This is called cracking, and it happens when the fruit's interior grows faster than its skin can keep up. It’s a classic sign of inconsistent watering—usually a dry spell followed by a sudden downpour or a deep soak.
The key to preventing this is consistent moisture. Try to water deeply and regularly, so the soil never goes from bone-dry to completely saturated. Mulch is your best friend here, as it helps regulate soil moisture.
My Plant Is Huge, But There's No Fruit!
A big, bushy, vibrant green tomato plant with no flowers or fruit is a frustrating sight. More often than not, the culprit is too much nitrogen. Nitrogen tells the plant to focus on growing lush, green leaves, but it does so at the expense of producing blossoms and, eventually, fruit.
If you suspect a nitrogen overload, check your fertilizer. Switch to a formula that's lower in nitrogen and higher in phosphorus and potassium (the "P" and "K" in N-P-K) to encourage the plant to shift its energy into flowering.
What's Going On With These Curled Leaves?
Seeing the leaves on your tomato plant curl up can be alarming, but it isn't always a sign of disaster. Often, it's just the plant's way of dealing with environmental stress. Things like intense heat, strong winds, or even the shock of being transplanted can cause the leaves to curl to conserve water.
If the rest of the plant looks healthy and green, it's probably fine. However, if the leaf curl is accompanied by yellowing, strange mottling, or stunted growth, you might be looking at a more serious viral infection.
A question I get all the time: Are heirlooms really healthier than hybrids? While their flavor is often in a league of its own, there's no conclusive scientific evidence that heirlooms are dramatically more nutritious. The nutritional value of any tomato—heirloom or hybrid—depends far more on the quality of your soil, how ripe it is when you pick it, and the specific variety.
Finally, let's clear up the heirloom vs. hybrid debate.
- Heirlooms are open-pollinated varieties. This means their seeds have been saved and passed down through generations, typically for at least 50 years. They breed "true," so a seed from a Cherokee Purple will grow another Cherokee Purple plant.
- Hybrids, on the other hand, are the result of intentionally cross-pollinating two different parent plants. This is done to create a new variety with specific, desirable traits, like enhanced disease resistance or a more uniform shape for commercial shipping.
At Homegrown Garden, we believe anyone can grow something wonderful. We're here to provide the heirloom seeds, quality tools, and practical guidance to help you succeed. Ready to get started? Explore our curated seed collections and begin your own gardening adventure.

