


Every successful tomato harvest begins with a single, well-timed decision: when to start tomato seeds. This crucial first step can mean the difference between a bounty of juicy, sun-ripened fruit and a season of disappointing results. It is more than just picking a random date; it is a strategic calculation based on your local climate, the specific varieties you choose, and your personal gardening goals.
In this guide, we'll break down the 7 best methods for timing your seed starting, moving beyond generic advice to provide you with actionable steps. You will learn precisely how to calculate the best start date for your setup. Whether you are in a northern climate with a short growing season or a southern region with ample warmth, we will equip you with the knowledge to start your seeds with confidence. This guide will help you set the stage for your most productive garden yet and master the art of when to start tomato seeds.
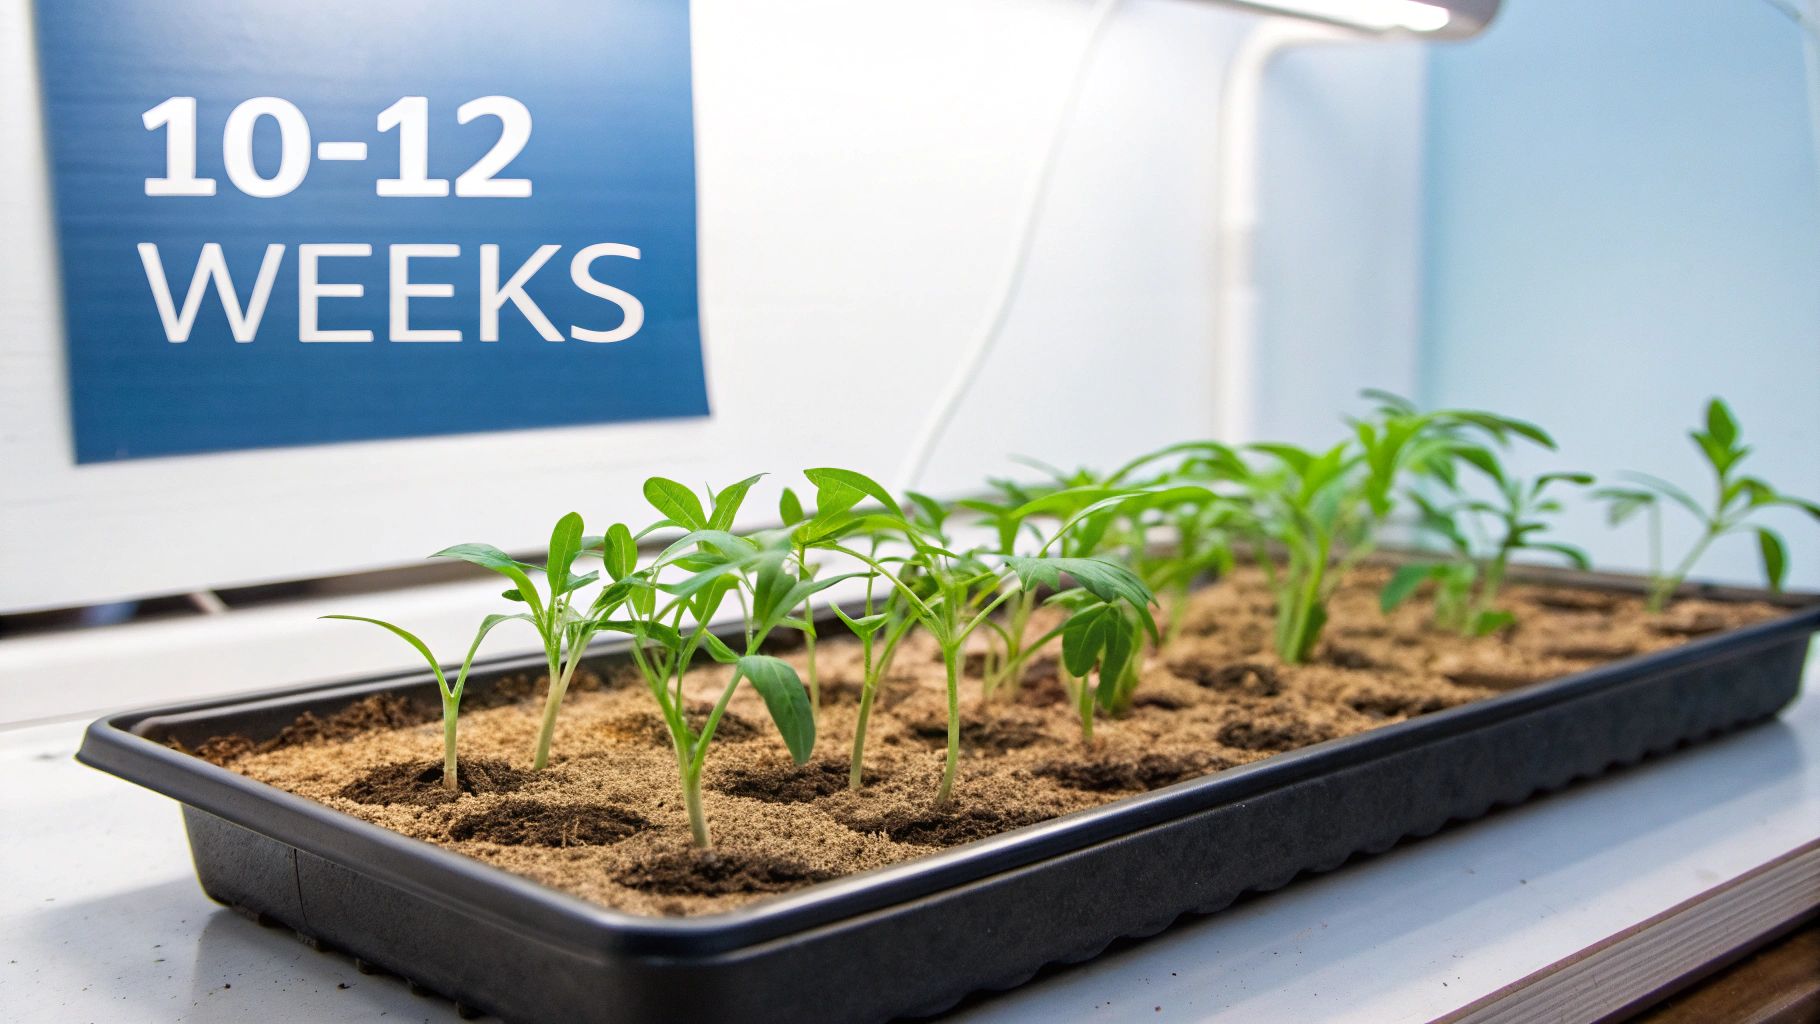
1. The Classic Method: 10-12 Weeks Before Your Last Frost Date
The most common and trusted advice on when to start tomato seeds indoors is to sow them 10 to 12 weeks before your area's average last frost date. This classic timeline is widely recommended by university extension services, seed packet manufacturers, and Master Gardener programs for a reason: it works reliably. It provides the ideal window for seeds to germinate and for seedlings to grow strong roots and several sets of true leaves before they are ready to move outdoors.
This method ensures your young plants are mature enough to handle the transition to the garden but not so large that they become root-bound or stressed in their starter pots. For example, a gardener in Zone 5 with a last frost date around mid-May would start their seeds in early March. This gives the plants all of March, April, and early May to develop into robust transplants.
Strategic Breakdown
- Optimal Growth Window: This timeline provides sufficient time for germination (5-10 days) and seedling development (8-10 weeks), preventing leggy or stunted growth.
- Hardening Off Included: The 10-12 week schedule naturally incorporates a critical 1-2 week period for hardening off, gradually acclimating your plants to outdoor conditions.
- Transplant Timing: You'll transplant healthy, vigorous seedlings right as the weather becomes consistently warm, giving them a strong start for the growing season.
Actionable Takeaways
To succeed with this method, focus on providing the right environment. Maintain a soil temperature between 65-70°F (18-21°C) for consistent germination. As seedlings grow, provide 12-16 hours of light from a grow light to prevent them from becoming thin and "leggy." For even more detailed guidance, check out these additional tips for starting seeds indoors. Finally, be prepared to pot them up into larger containers if they outgrow their initial seed trays before it's time to plant them outside.
2. The Quick Transplant Method: 6-8 Weeks Before Last Frost
For gardeners with limited indoor growing space or those who prefer a more streamlined approach, determining when to start tomato seeds can mean a shorter timeline. Sowing seeds just 6 to 8 weeks before your last frost date offers a fantastic alternative. This method is popular with urban and apartment gardeners who may not have room for large, sprawling seedlings for an extended period. It produces smaller, yet still healthy, transplants that quickly adapt to garden life once moved outdoors.
This compressed schedule minimizes the risk of plants becoming root-bound or leggy, a common issue when seedlings are kept indoors too long. For instance, a gardener in Zone 7 with a last frost date of mid-April would start their seeds between late February and early March. This timing ensures the transplants are a manageable size and ready to go into the ground as soon as the weather is reliably warm, reducing indoor maintenance time.
Strategic Breakdown
- Space and Time Efficient: This method is ideal for those with limited windowsill or grow light space, as plants spend less time indoors. It simplifies the seed-starting process, making it less intimidating for beginners.
- Reduced Transplant Shock: Younger, smaller transplants often experience less stress when moved to the garden and can establish themselves more quickly than larger, pot-bound plants.
- Focus on Vigor: The goal is to produce compact, sturdy seedlings. This timeline encourages strong stem development without the plant having time to get overgrown in its starter pot.
Actionable Takeaways
Success with this faster timeline hinges on providing optimal conditions from day one. Use a heat mat to keep the soil temperature consistently around 70-80°F (21-27°C) for rapid germination. You must provide intense light from a grow light as soon as sprouts appear to prevent weak, spindly stems. Consider planting determinate (bush) varieties, as they tend to mature faster. Finally, keep floating row covers or frost blankets handy to protect your young transplants from any unexpected late-season cold snaps after they are in the garden.
3. The Direct Seeding Method: Start After Soil Reaches 60°F
For gardeners with long growing seasons or those who prefer a low-maintenance approach, direct seeding is an excellent option for when to start tomato seeds. This method involves sowing seeds directly into the garden soil, completely bypassing the process of starting them indoors. The key is to wait until the soil has consistently warmed to at least 60°F (16°C), as colder temperatures will prevent germination or cause seeds to rot.

This technique is popular in warmer climates (Zones 8-10) and among commercial farmers, as it eliminates transplant shock and saves labor. While it means a later start and harvest compared to transplanting, the resulting plants are often very resilient, having adapted to outdoor conditions from the very beginning. The main challenge is timing it right to ensure you still get a full harvest before the first frost of autumn.
Strategic Breakdown
- Eliminates Transplant Shock: Plants grow undisturbed, developing deep, strong root systems in their final location without the stress of being moved.
- Reduced Labor and Equipment: This method requires no grow lights, heat mats, or indoor space, making it a simpler, more natural process.
- Weather-Dependent: Success is entirely reliant on stable, warm weather. An unexpected cold snap after seeding can wipe out your efforts.
Actionable Takeaways
To ensure success with direct seeding, use a soil thermometer to confirm the ground has reached a steady 60°F (16°C). Plant more seeds than you need and thin them out later to guarantee good germination rates and select the strongest seedlings. Consider using row covers or cloches to protect young sprouts from pests and unexpected cool nights. Choosing early-maturing tomato varieties will also increase your chances of a bountiful harvest. For more details on ideal temperatures, explore this seed germination temperature chart.
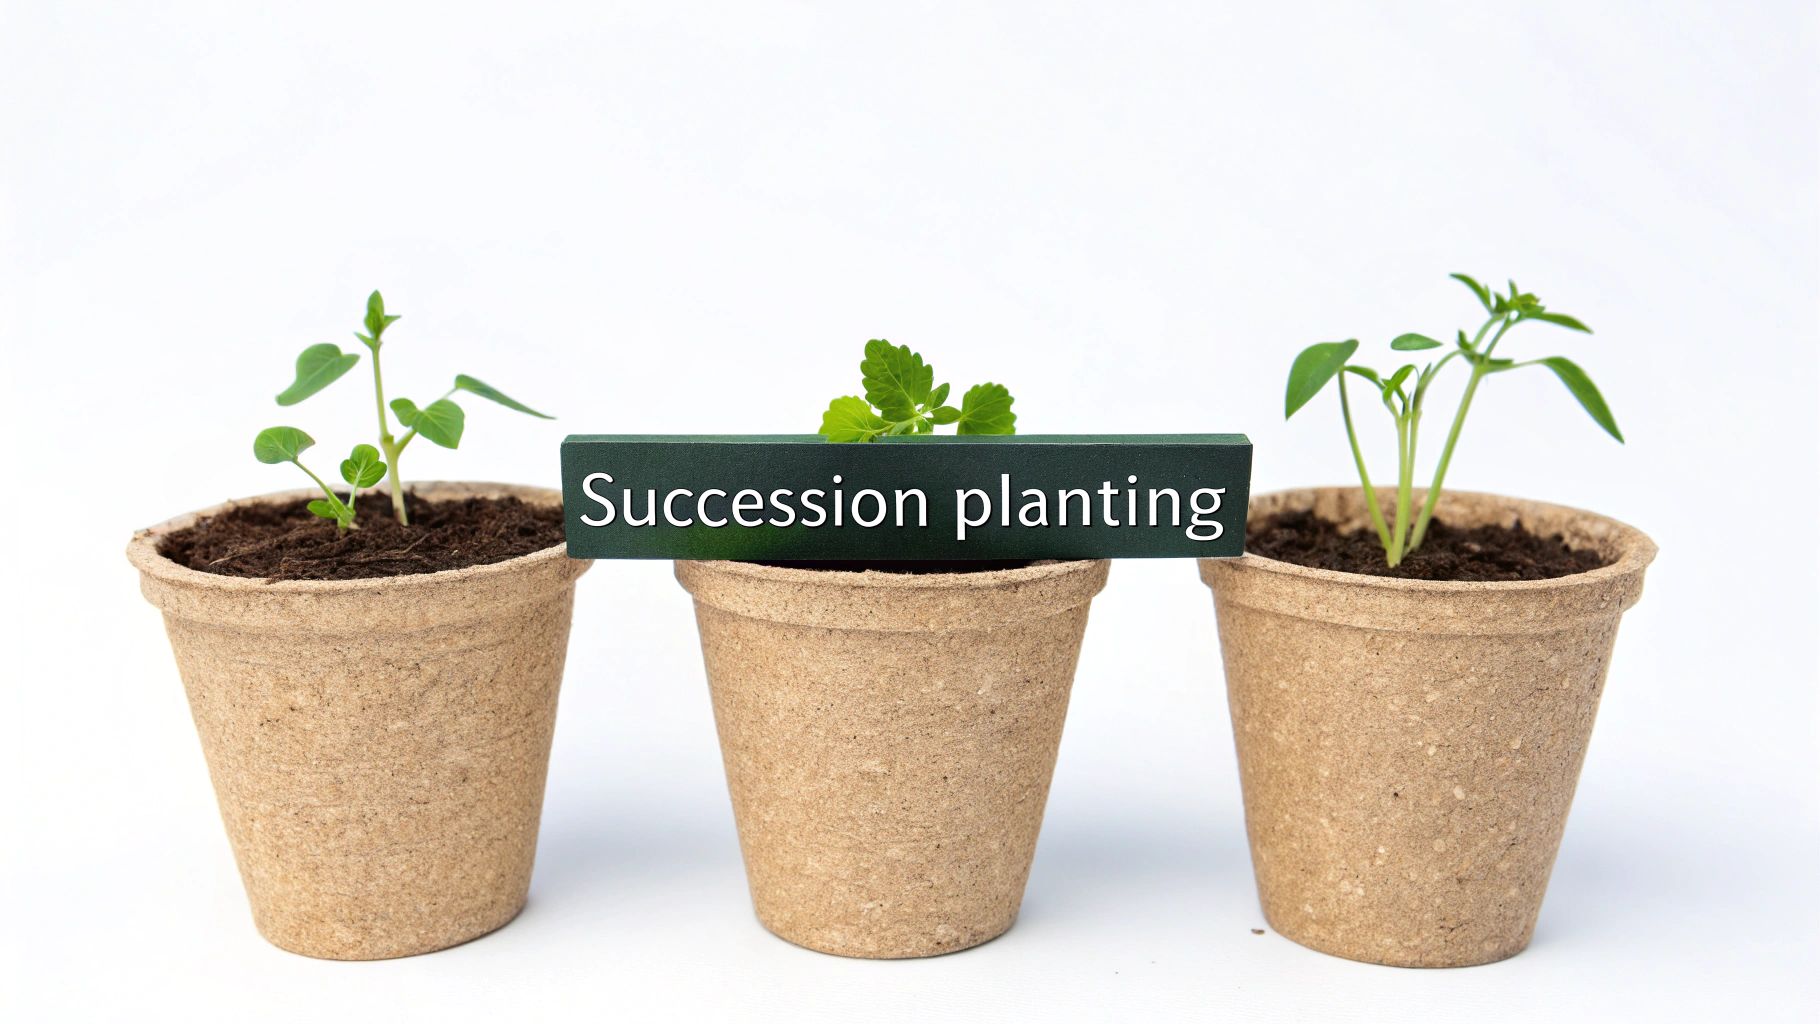
4. The Succession Planting Method: Start Every 2-3 Weeks
For gardeners aiming for a continuous harvest rather than one large glut of tomatoes, succession planting is a game-changing strategy. This advanced method involves starting new, smaller batches of tomato seeds every two to three weeks over a six-to-eight-week period. The goal is to create a staggered pipeline of plants at different maturity stages, ensuring you have fresh tomatoes ripening consistently throughout the entire season and reducing the risk of losing your whole crop to a single pest outbreak or weather event.
This technique is a favorite among market gardeners who need a steady supply for weekly sales and home canners who prefer to process manageable batches. For example, a gardener might start their first round of seeds 10 weeks before the last frost, a second round at 8 weeks, and a final round at 6 weeks. This ensures a new wave of plants is always ready to take over as the previous one slows down.
Strategic Breakdown
- Extended Harvest: Instead of all your tomatoes ripening at once, you'll have a steady, prolonged supply from early summer until the first frost of fall.
- Risk Mitigation: Spreading out your plantings provides insurance. If pests, disease, or a late frost damages one batch, you have others to fall back on.
- Variety Management: This method allows you to experiment by pairing early, mid, and late-season varieties within your staggered plantings for an even more diverse and extended harvest.
Actionable Takeaways
To effectively manage succession planting, keep meticulous records of when you start tomato seeds, the varieties used, and their transplant dates. Start with a simple two-week interval between sowings. A great tip is to combine this technique with different tomato varieties; plant an early-maturing variety in your first batch and a long-season indeterminate in your later batches. Plan your final sowing so plants have at least 100 days to mature before your area's average first fall frost date to ensure a final harvest.
5. The Valentine's Day Method: A Start for Northern Climates
For gardeners in colder, northern climates with short growing seasons, a popular and easy-to-remember milestone for when to start tomato seeds is Valentine's Day. This February 14th target date is a well-known rule of thumb in places like Minnesota, Wisconsin, and the Canadian prairies. It provides the necessary 10 to 14 weeks for seedlings to mature before it's safe to transplant them outdoors, typically in late May or even early June after all danger of frost has passed.
This method simplifies the planning process by tying it to a memorable date rather than a fluctuating frost-date calculation. For gardeners in zones 3-5, this timing ensures plants are large and sturdy enough to take full advantage of the limited summer sun. The extended indoor growing period requires diligent care, especially concerning light and space, to prevent plants from becoming stressed before they can go into the garden.
Strategic Breakdown
- Longer Indoor Growth: This timeline is specifically designed for regions with late last frost dates, giving tomatoes a crucial head start they wouldn't otherwise get.
- Simplified Timing: Using a fixed date like February 14th removes the guesswork of calculating backwards from a variable last frost date, making it a reliable annual tradition.
- Maximizes Short Season: By transplanting larger, more mature plants, gardeners can expect an earlier and more bountiful harvest within a compressed growing window.
Actionable Takeaways
Success with this long-lead method hinges on providing an optimal indoor environment. A high-quality grow light is non-negotiable; you will need to provide 14-16 hours of intense light daily to prevent seedlings from becoming weak and leggy. Be prepared to "pot up" your seedlings into larger containers at least once, maybe twice, as they will outgrow their initial cells. Monitor them closely for signs of stress and consider starting some cool-season crops, like broccoli or cabbage, at the same time to maximize your seed-starting station.
6. The Heat Mat Method: Germinate Anytime with a 14+ Week Lead
For gardeners seeking ultimate control and faster, more reliable results, the heat mat germination method is a game-changer. This technique involves placing your seed-starting trays on a specially designed electric heat mat to maintain a consistent, optimal soil temperature, typically between 70-75°F (21-24°C). This precision eliminates guesswork, dramatically accelerates germination, and ensures a higher percentage of your seeds sprout uniformly. It’s a popular strategy for those growing long-season varieties or anyone who wants to know exactly when to start tomato seeds for a predictable outcome.
This method allows you to start seeds much earlier, even up to 14 weeks or more before your last frost, because you are creating the perfect micro-environment. Professional greenhouse growers and dedicated home gardeners use this technique to give slow-growing heirlooms or finicky pepper varieties a significant head start. By managing the temperature, you manage the timeline, ensuring robust seedlings are ready for transplanting precisely when you need them.
Strategic Breakdown
- Accelerated Germination: Warm soil is the single most important factor for quick sprouting. Heat mats can cut germination time from over a week down to just 3-5 days.
- Increased Success Rate: By maintaining the ideal temperature range, you prevent seeds from rotting in cold, damp soil and encourage even the most stubborn varieties to sprout.
- Predictable Timing: This method removes ambient room temperature as a variable, giving you professional-level control over your seed-starting schedule for a more successful growing season.
Actionable Takeaways
To implement this strategy, place your seed tray directly on the heat mat and plug it in. For best results, use a thermostat controller, which inserts a probe into the soil and automatically turns the mat on and off to maintain your target temperature. Crucially, remove the heat mat as soon as the majority of your seeds have germinated. Leaving it on can lead to rapid, weak, and leggy growth. From that point, focus on providing strong light to encourage stocky, healthy development.
7. The Variety-Specific Method: Timing Based on Days to Maturity
Not all tomatoes are created equal, and their growth rates can vary significantly. A more precise approach to determining when to start tomato seeds is to base your schedule on the specific "days to maturity" listed for each variety. This advanced method involves working backward from your last frost date, factoring in the unique timeline each cultivar needs to produce fruit. It's a strategy favored by experienced gardeners aiming to optimize the harvest window for a diverse garden.
This method ensures that quick-maturing varieties like cherry tomatoes aren't started too early, preventing them from becoming overgrown indoors. Conversely, it gives long-season beefsteak or heirloom varieties the extended indoor head start they require. For instance, a 'Brandywine' tomato (80-100 days to maturity) should be started earlier than an 'Early Girl' (50-60 days).
Strategic Breakdown
- Optimized Harvest: Timing your seed starting to the variety's needs ensures each plant reaches its full potential, maximizing your overall yield.
- Variety Management: This approach is essential when growing multiple types of tomatoes, allowing you to stagger planting for a continuous harvest throughout the season.
- Prevents Overcrowding: Starting seeds based on their specific growth rate prevents fast-growing plants from becoming root-bound and stressed before they can be moved outdoors.
The following decision tree visualizes how to adjust your seed-starting schedule based on a variety's days to maturity.
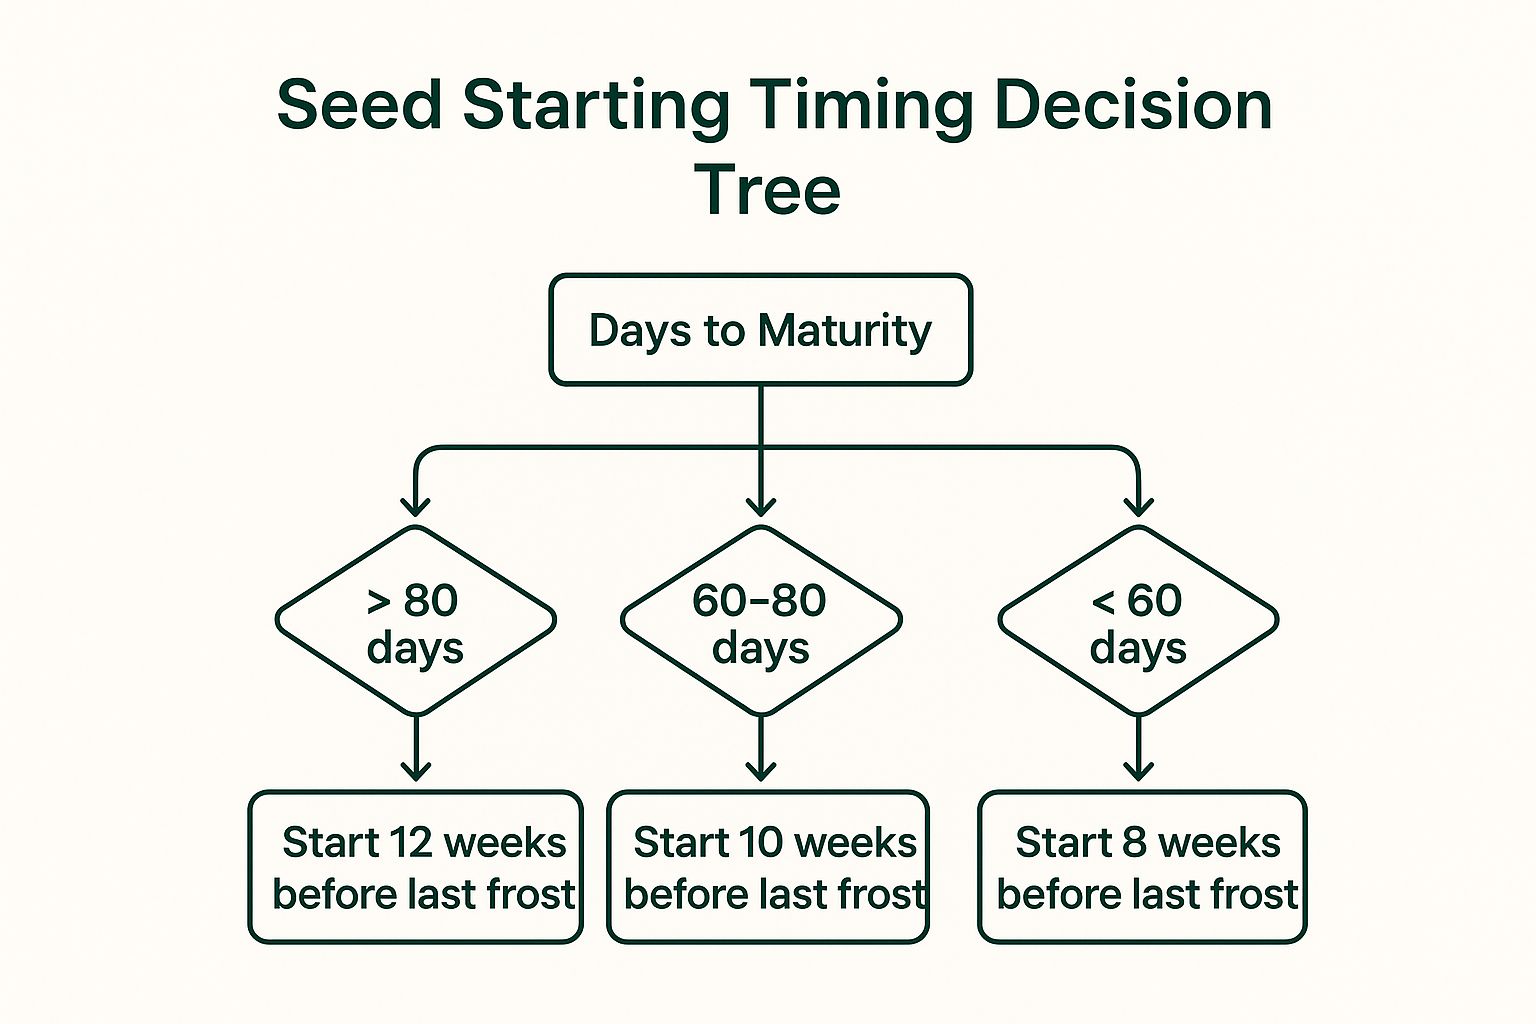
The visualization clearly shows that varieties with longer maturation periods require a significantly earlier start indoors to ensure a successful harvest.
Actionable Takeaways
First, carefully read the information on your seed packets to find the "days to maturity" for each tomato variety you plan to grow. Group your seeds into similar maturity timelines (e.g., under 60 days, 60-80 days, over 80 days) and create a corresponding planting calendar. Always add an extra 2-3 weeks to the days-to-maturity figure to account for the transplanting and hardening-off period. This detailed planning is a core principle you can apply to many crops; for more guidance, see this overview on when to plant vegetable seeds.
Comparing the 7 Best Tomato Seed Starting Methods
| Method | 🔄 Implementation Complexity | ⚡ Resource Requirements | 📊 Expected Outcomes | 💡 Ideal Use Cases | ⭐ Key Advantages |
|---|---|---|---|---|---|
| 1. Classic Method (10-12 Weeks) | Moderate: long indoor growing, requires care | High: indoor space, grow lights | Strong, well-developed transplants with low shock | Gardeners wanting strongest transplants | Maximum seedling strength; weather buffer |
| 2. Quick Transplant (6-8 Weeks) | Low to Moderate: shorter growing period | Moderate: less space and lighting needed | Smaller but healthy transplants | Space-limited or beginner gardeners | Saves space/time; fewer indoor pests |
| 3. Direct Seeding (Soil > 60°F) | Low: no indoor prep, depends on soil temp | Low: no indoor setup | Natural roots; risk of late/low yield | Warm climates with long seasons | No transplant shock; less initial labor |
| 4. Succession Planting (Every 2-3 Wks) | High: multiple plantings require planning | High: more seeds and space needed | Continuous harvest; risk reduction | Gardeners seeking steady supply and backup plants | Extends harvest; mitigates total crop failure |
| 5. Valentine’s Day (Northern Climates) | Moderate: requires long indoor growing, lighting | High: grow lights, indoor space | Strong transplants optimized for short seasons | Northern gardeners in zones 3-5 | Easy to remember; maximizes short season yield |
| 6. Heat Mat Method (14+ Weeks) | Moderate: needs equipment, monitoring | Moderate to High: electrical heat mats needed | Fast, uniform germination and higher success rates | Gardeners wanting precise germination control | Faster germination; weather independent timing |
| 7. Variety-Specific Timing | High: detailed planning and record-keeping | Moderate: varies by variety | Optimized harvest timing per variety | Advanced gardeners growing multiple tomato varieties | Maximizes potential of each variety |
Choosing Your Best Timeline for a Bountiful Harvest
Mastering the art of tomato gardening begins long before a single seed touches the soil. It starts with a strategic plan. As we've explored through the 7 best methods, determining when to start tomato seeds isn't about following a single, rigid rule. Instead, it's about making an informed decision that aligns with your specific climate, available space, and gardening goals.
Synthesizing Your Personal Tomato Timeline
The most critical first step is always to identify your region's average last frost date. This single piece of information is the anchor for your entire schedule. From there, you can apply the most relevant strategy:
- For most gardeners: The 6-8 week window before the last frost offers a reliable sweet spot, producing strong, manageable seedlings ready for transplanting without becoming leggy or root-bound.
- For the ambitious: Starting earlier, at 10-12 weeks, can lead to earlier fruit, but it demands a dedicated indoor setup with excellent lighting to prevent weak growth.
- For the time-crunched or warm-climate gardener: Direct seeding after the soil warms to 60°F is a perfectly viable, low-maintenance option that can yield fantastic results.
From Good Harvest to Great Harvest
Ultimately, moving beyond basic instructions is what separates a good harvest from a truly great one. By understanding the nuances of succession planting for a continuous supply or using heat mats to gain an early advantage, you empower yourself to adapt to any situation. Your success hinges on this initial planning phase. A thoughtfully chosen start date sets the stage for vigorous plants and a season overflowing with juicy, sun-ripened tomatoes. To truly maximize your yield and achieve a bountiful harvest, supplementing with specialized tomato nutrition is often beneficial, providing the exact nutrients your plants crave.
This foresight is the foundational secret to a summer filled with the unparalleled taste of homegrown tomatoes.
Ready to put your plan into action with seeds you can trust? Explore the curated collection of heirloom and high-yield tomato varieties at Homegrown Garden. Find the perfect seeds to match your new timeline and start your journey to a delicious harvest today at Homegrown Garden.

