


If you're looking for a carrot that's as tough as it is tasty, let me introduce you to a personal favorite: the Chantenay Red Cored. This classic French heirloom is a real workhorse in the garden. It's known for its stout, almost cone-shaped roots and a wonderfully sweet, earthy flavor that’s hard to beat.
What really sets it apart is its size. Because it's shorter and stockier than your typical supermarket carrot, it's a fantastic choice for gardeners dealing with heavy clay or even rocky soil. Where longer varieties might twist, fork, or just give up, the Chantenay powers through. Plus, that vibrant red core against the deep orange flesh just looks incredible when you slice into it.
4 Great Reasons to Choose the Carrot Chantenay Red Cored
Have you ever been disappointed by a crop of long, slender carrots that just couldn't handle your garden's soil? It’s a common frustration, but the Chantenay Red Cored is the perfect solution. This variety is famously robust and forgiving, which is why it's loved by seasoned gardeners and beginners alike.
This little carrot typically matures in about 65 to 75 days, producing broad-shouldered roots that reach about 5.5 to 6 inches long. That compact, powerful shape is precisely why it thrives in heavier soils. For a deeper dive into its background, True Leaf Market has some great information on its unique traits.
1. An Heirloom with a Rich History
This isn't some new-fangled hybrid. The Chantenay hails from its namesake region in France, dating all the way back to the late 1800s. It’s a variety with a long, proven track record. Unlike many modern carrots bred solely for mechanical harvesting and uniformity, the Chantenay was cultivated for one thing: fantastic flavor. Because it's an heirloom, you can save the seeds from your best plants and grow them again next year, keeping a piece of gardening history alive.
2. Flavor and Versatility in the Kitchen
Gardening advantages aside, the real payoff comes at harvest time. The Chantenay Red Cored has a delightfully sweet and crisp flesh with a fine-grained texture. It's packed with sugar, making it perfect for snacking on raw right out of the garden. But it truly shines in the kitchen, holding its flavor and beautiful color even after cooking. It’s a genuine all-purpose carrot.
- Roasting: The high sugar content caramelizes beautifully, making them intensely sweet and tender.
- Soups and Stews: Its firm texture means it won't turn to mush, even in slow-cooked dishes.
- Juicing: You'll get a vibrant, sweet juice that’s perfect on its own or in a blend.
- Canning and Preserving: The uniform size and shape are ideal for pickling and canning whole.
3. A Tough, Forgiving Nature
The real beauty of the Chantenay is its reliability. It's a tough little carrot that doesn't demand perfect conditions, yet it rewards you with a harvest that is far superior in flavor to many common store-bought varieties. This makes it a huge confidence-builder, especially if you've struggled with root vegetables before.
4. Ideal for Challenging Soil
Ultimately, planting Chantenay Red Cored is about more than just filling a garden bed. It’s about choosing a time-tested variety that delivers exceptional flavor, even in challenging soil. Where longer carrots might fork or break in heavy clay, the Chantenay's stout shape allows it to thrive.
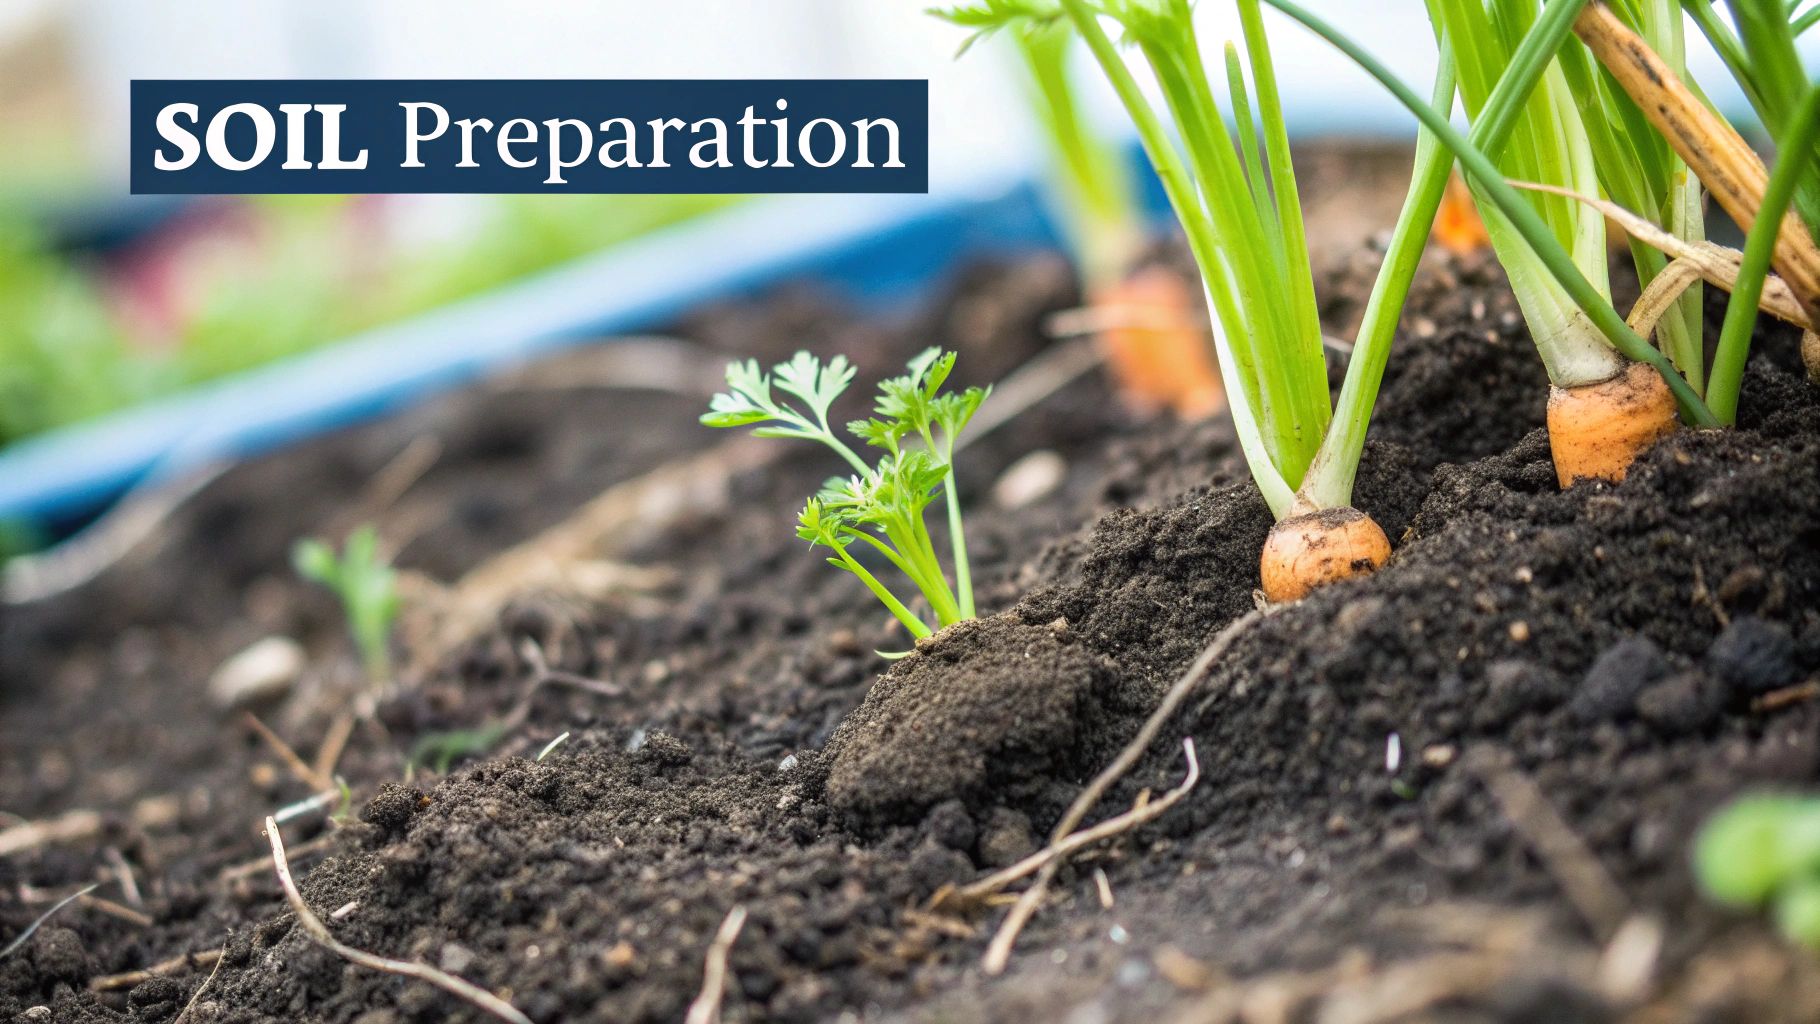
7 Steps to Prepare the Perfect Soil for Your Carrots
The Chantenay Red Cored carrot has a reputation for being tough and adaptable, even in less-than-perfect soil. But if you want a harvest of straight, uniform, picture-perfect carrots, putting in a little work on the soil bed is the single best thing you can do.
Their classic stout, conical shape gives them an advantage in heavier soils where longer, slender carrots might struggle. Still, they need a clear, unobstructed path to grow. Your main goal here is to create a growing medium that's loose, well-draining, and completely free of obstacles. Believe me, this initial effort pays off big time.
Getting your garden bed ready for these specific carrots isn't complicated. It really boils down to a few key actions. Follow these seven steps, and you'll create an environment where your Chantenay carrots don't just survive—they'll absolutely thrive.
- 1. Pick a Sunny Spot: Carrots are little sugar factories, and sunlight is their fuel. Find a place in your garden that gets at least 6-8 hours of direct sun daily. Skimp on the sun, and you'll end up with smaller, less flavorful roots.
- 2. Clear the Area Like You Mean It: Start by pulling every weed and removing all sticks and stones from your planting area. Go deeper than you think you need to. A single stone, even one just the size of a marble, is enough to make a carrot fork or grow into a weird shape.
- 3. Loosen the Soil Deeply: Grab a garden fork or tiller and work the soil until it’s light and crumbly to a depth of at least 8-10 inches. This is so important for Chantenay carrots, as it lets their stout roots push down without a fight.
- 4. Mix in Mature Compost: This is non-negotiable for a great carrot crop. Work 2-3 inches of well-rotted, mature compost into the soil you just loosened. This adds vital nutrients and improves the soil's structure without making it too rich in nitrogen.
- 5. Steer Clear of Fresh Manure: Whatever you do, don't use fresh or "hot" manure in your carrot bed. The high nitrogen content will give you beautiful, bushy green tops but sad, forked, and hairy roots underneath.
- 6. Check Your Soil's pH: Carrots are happiest in slightly acidic soil, ideally with a pH between 6.0 and 6.8. A simple home test kit will give you a reading in minutes. If your soil is too alkaline, you can add a little sulfur; if it’s too acidic, garden lime will balance it out.
- 7. Create a Fine, Level Seedbed: Once everything is mixed in, rake the surface smooth. You want a fine, almost fluffy texture. This ensures those tiny carrot seeds make good contact with the soil, which is crucial for them to sprout.
For more foundational tips, check out our complete guide on how to grow carrots from seed to harvest.
3 Best Soil Amendments to Use
The stuff you mix into your soil has a direct impact on your final harvest. While good compost is king, a few other materials can help you get that perfect, fluffy texture carrots love.
- Coconut Coir: This is fantastic for helping heavy clay soil hold water better while also loosening its structure.
- Vermiculite: A great addition for aerating the soil. It also holds onto moisture, making the bed lighter overall.
- Coarse Sand: If you're dealing with very dense clay, coarse sand can improve drainage. Just be careful—add too much, and you can end up with soil that sets like concrete.
A key takeaway for any root vegetable grower: Always choose mature compost over fresh manure. The slow-release nutrients in compost feed the root itself. The fast-acting nitrogen in fresh manure just feeds the leaves and almost guarantees forked, hairy carrots.
Understanding how different philosophies approach soil health can be enlightening. To dig deeper into how cultivation methods affect the soil and environment, you can explore the key differences between organic vs conventional farming. This mindset of building healthy, living soil is exactly what the Chantenay Red Cored carrot needs to reach its full, sweet potential.
7 Smart Techniques for Sowing Chantenay Seeds
Getting those tiny, almost dust-like Chantenay Red Cored seeds to sprout can feel like the trickiest part of the whole operation. I've seen plenty of gardeners get frustrated. The truth is, their germination can be a bit slow and spotty, often taking anywhere from 14 to 25 days. The real secret is to create and maintain the perfect environment right from the moment you put the seed in the ground.
Your success really boils down to three things: timing your sowing correctly, getting the seed placement just right, and keeping the soil consistently moist. If you nail these, you’ll be rewarded with a beautiful carpet of delicate green fronds. Planting carrot seeds isn't just about digging a line in the dirt; it's a more delicate process. Let's walk through seven proven techniques I've used over the years to get the best germination rates.
-
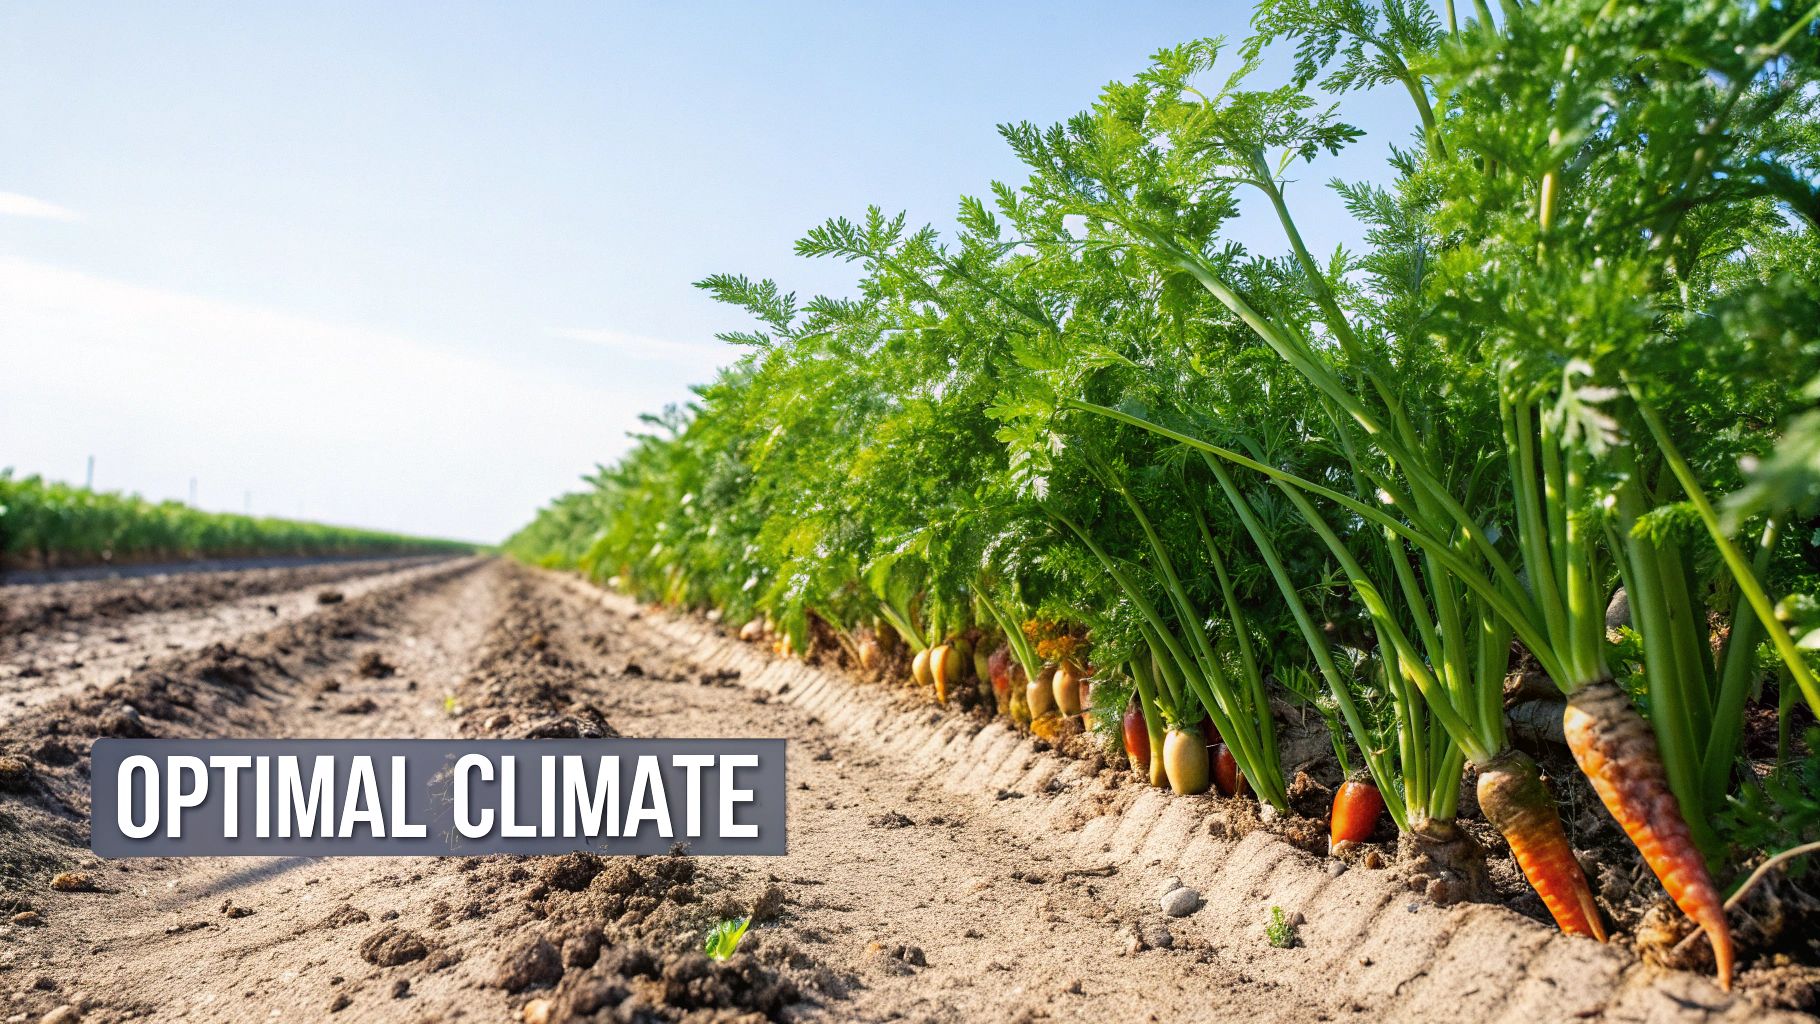
1. Time Your Sowing Perfectly Timing is everything. Chantenay carrots are a cool-weather crop, thriving when soil temperatures are between 60°F and 70°F. For a spring harvest, I like to sow seeds as soon as the soil is workable, usually about 2-3 weeks before the last expected frost. For an even sweeter fall crop, get them in the ground in late summer, roughly 10 weeks before your first fall frost is due.
-
2. Create Shallow Furrows Carrot seeds are tiny and don't have the energy to push through a lot of heavy soil. This is a classic rookie mistake. Use the edge of a hoe, a stick, or even just your finger to draw very shallow lines—no more than a quarter of an inch deep—in your prepared garden bed.
-
3. Mix Seeds with Sand for Even Spacing Here’s a game-changing tip that will save you a ton of work later. Mix your carrot seeds with some sand (a ratio of about 1 part seed to 4 parts sand) and put it in a salt shaker. This little trick helps you sprinkle the seeds evenly along the furrow, preventing those dense clumps that lead to a tangled mess of seedlings. It makes thinning so much easier down the road.
-
4. Cover Lightly and Gently Once the seeds are down, don't just dump soil on top of them. You want to gently sift a fine layer of soil, compost, or vermiculite over the furrow. This light covering ensures good seed-to-soil contact without forming a hard crust that the tiny seedlings can't break through.
-
5. Maintain Consistent Moisture The seedbed absolutely must stay consistently moist until the seeds sprout. If the soil surface dries out and crusts over, the delicate seedlings won't be able to push through. Use a watering can with a fine rose or a gentle mist setting on your hose to avoid washing the seeds away. For a deeper dive into this, you'll find more great advice in these 10 tips for sowing and germination.
-
6. Use a Burlap or Plank Cover To help lock in that crucial moisture, I often lay a strip of burlap or an old wooden plank directly over the seeded row. This simple cover prevents the soil from drying out too quickly from the sun and wind. Just make sure to peek underneath it every day. The moment you see the first tiny green sprouts, take the cover off immediately so they can get the sunlight they need.
-
7. Be Patient and Resist Re-Sowing With a long germination window, it’s easy to get anxious and assume your seeds have failed. Fight the urge to re-sow the area too soon! Give them at least three full weeks. Sowing another batch on top will only lead to an overcrowded, competitive mess if the first batch was just taking its time.
Chantenay Red Cored Carrot Planting Schedule
This table offers a quick guide to the best sowing times for different regions, helping you align your planting with the ideal cool-weather conditions Chantenay carrots love.
| USDA Hardiness Zone | Ideal Spring Sowing Time | Ideal Fall/Late Summer Sowing Time |
|---|---|---|
| Zones 3-4 | Late May to early June | Not recommended |
| Zones 5-6 | April to May | Late July to early August |
| Zones 7-8 | March to April | August to September |
| Zones 9-10 | February to March; October to November | September |
Remember, these are general guidelines. Always check your local frost dates for the most accurate timing in your specific garden.
If you remember only one thing about sowing Chantenay seeds, make it this: consistent moisture is non-negotiable. A single day of dried, crusted soil can kill off germinating seeds just below the surface, undoing all your hard work.
5 Essential Steps for a Happy Carrot Patch
Seeing that first row of feathery green tops poke through the soil is a fantastic feeling. You’ve made it past the hardest part—germination. From here on out, your job is to nurture these young plants so they can develop the sweet, stout roots that carrot Chantenay Red Cored is known for.
This next phase is all about giving your carrots room to breathe and consistent resources. If you slack off now, you’ll end up with a tangled mess of skinny, disappointing carrots. But with just a little attention over the next few weeks, you'll be on track for a harvest of perfectly formed, crunchy roots.
1. Thinning: The Most Important (and Painful) Job
I know it feels wrong to pull out perfectly healthy seedlings, but this is the single most critical step for getting good carrots. If they're crowded, they’ll fight for space, water, and nutrients, and you'll end up with a bunch of tiny, twisted roots instead of plump, usable ones.
- First Pass: Once the green tops are about two inches tall, it's time for the first thinning. Your goal is to leave one seedling every inch. Snip the extras at the soil line with scissors.
- Final Spacing: A couple of weeks later, when tops are three or four inches high, do it again. Aim for a final spacing of 2-3 inches between each plant.
2. Watering: Go Deep, Not Daily
A common mistake is giving the carrot patch a light sprinkle every day. This encourages shallow, weak roots. You want the taproot to stretch deep for moisture. The goal is to provide about one inch of water per week in one long, slow soak. This lets moisture seep deep where the root is growing.
3. Weeding: Eliminate the Competition
Carrots are not aggressive plants and they absolutely hate competition, especially when they’re young. Weeds are bullies that will steal sunlight, water, and nutrients, leaving you with stunted carrots. Get in the habit of hand-pulling weeds as soon as you see them. Be gentle, as the carrot roots are delicate. A weedy patch will always lead to a disappointing harvest.
4. Mulching: Your Secret Weapon
After you’ve done your final thinning, apply some mulch. A one-inch layer of straw, shredded leaves, or even grass clippings spread between the rows is a game-changer. Mulch helps the soil hold onto moisture so you water less, and it smothers most new weeds before they can even start.
5. Fertilizing: Be Smart About It
If you prepared your soil properly at the beginning, your carrots should have everything they need. If you feel like they need a boost, be extremely careful. Anything high in nitrogen will give you gorgeous, leafy green tops but will make the roots hairy, forked, and small. If you must feed them, look for a fertilizer that's higher in phosphorus and potassium to support strong root development.
The single biggest mistake a new gardener can make after germination is improper thinning. A crowded carrot bed will never produce quality roots, no matter how well you water or weed. Be brave and give each plant the space it deserves.
5 Organic Ways to Keep Pests Out of Your Carrots
You don't need harsh chemical sprays to protect your harvest of carrot Chantenay Red Cored. A healthy garden is a living ecosystem, and you'll have better luck working with nature. The secret is staying one step ahead with smart, preventative tactics that make your carrot patch an unappealing spot for pests in the first place.
Protecting your carrots isn't about one magic bullet. Instead, think of it as creating layers of defense. While no single method is perfect, combining a few of these organic techniques creates a powerful shield. Here are five of my go-to strategies.
-
1. Use Floating Row Covers This is your best defense against the carrot rust fly. These flies lay eggs at the base of the plants, and the larvae tunnel into the roots, leaving rusty, inedible trails. Install a floating row cover over your carrot bed right after sowing. This creates a physical barrier they can't get through. Secure the edges in the soil so they can't sneak underneath.
-
2. Practice Smart Companion Planting Many pests find plants by smell. Confuse them by interplanting aromatic herbs. The strong scents of rosemary, sage, and marigolds are fantastic for masking the sweet smell of carrots, cloaking them from pests. I also love planting onions and leeks nearby—their pungent odor is a well-known deterrent.
-
3. Encourage Beneficial Insects Not all bugs are bad! Ladybugs, lacewings, and parasitic wasps are your best allies, preying on pests like aphids. Invite these "good bugs" in by planting flowering plants like dill, fennel, and yarrow. Creating a habitat for these natural predators gives you a self-sustaining pest control system.
-
4. Implement Crop Rotation Pest eggs and diseases can overwinter in the soil. To break this cycle, avoid planting carrots—or relatives like parsnips and celery—in the same ground for at least three years. Rotating crops is one of the most effective long-term strategies for preventing the buildup of soil-borne pests.
-
5. Maintain Excellent Garden Hygiene A clean garden is a healthy garden. Pull weeds as soon as you see them, since they can provide hiding spots for pests. Crucial tip: when you thin your carrots, don't leave the pulled seedlings on the ground. The scent of crushed carrot leaves is a huge attractant for the carrot rust fly. Get them out of there immediately.
The best organic pest management is proactive, not reactive. By setting up physical barriers like row covers and using smart planting strategies from the very beginning, you can stop infestations before they even have a chance to start.
For a broader look at strategies that can benefit your whole garden, exploring different eco-friendly pest control methods will round out your organic gardening toolkit. And if you're growing a variety of crops, our guide on getting rid of common tomato pests offers additional insight.
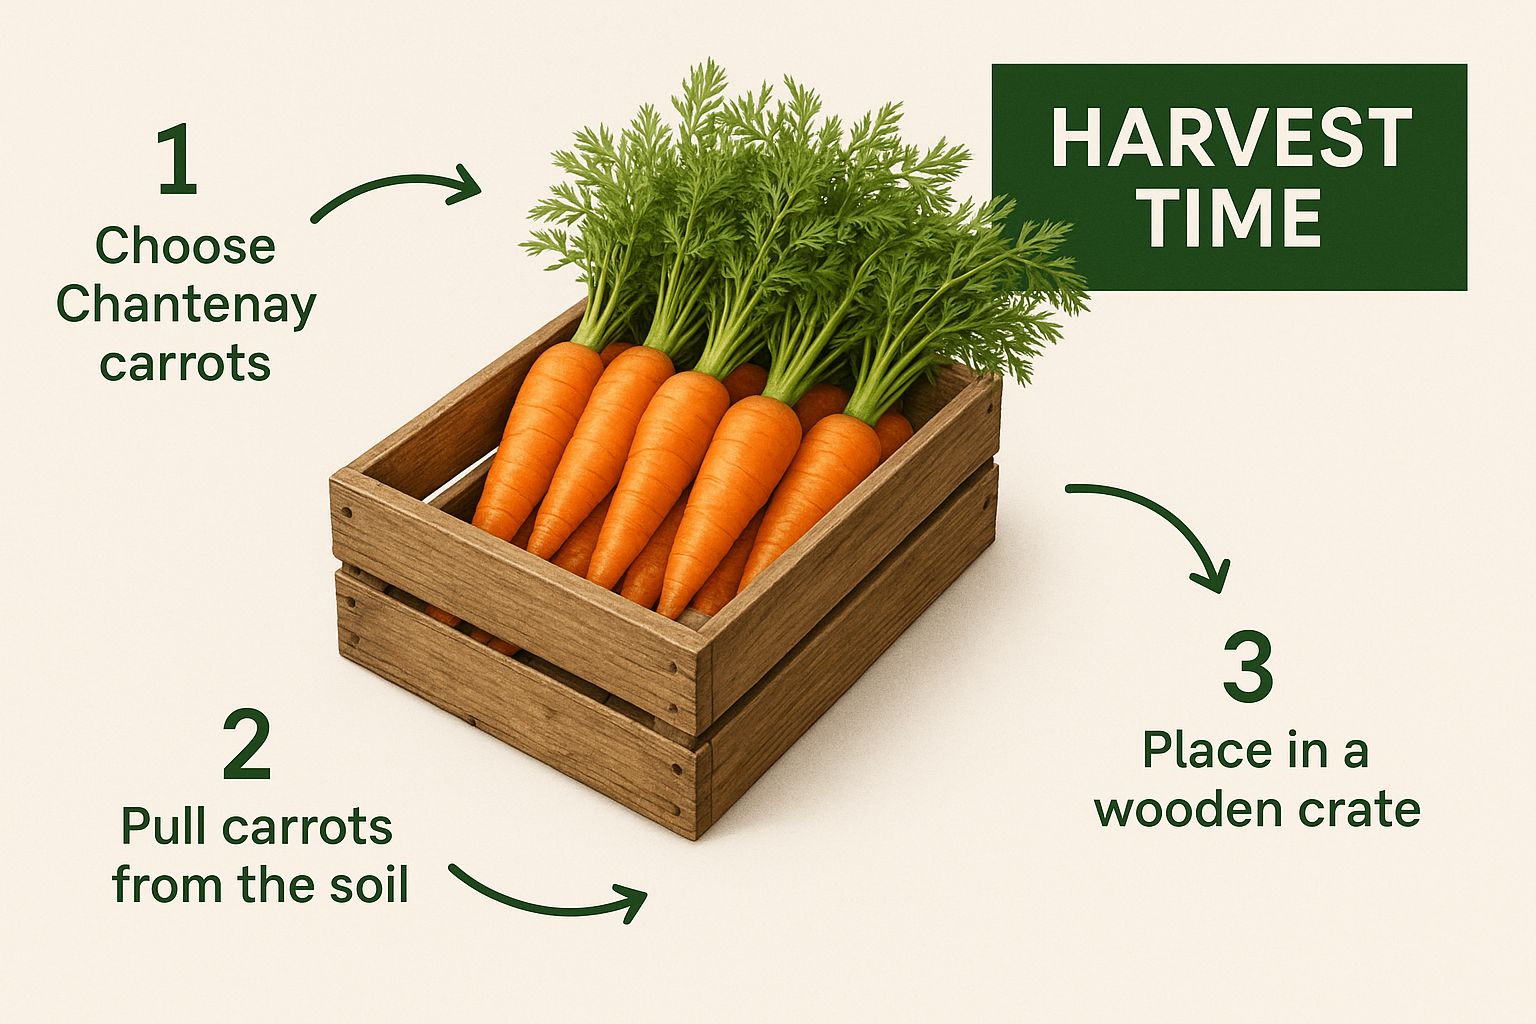
6 Steps for Harvesting and Storing Your Carrots
After weeks of patient tending, the moment of truth has arrived. Knowing the perfect time to pull your Chantenay Red Cored carrots is the secret to getting that famously sweet flavor. If you harvest too soon, they won't have developed their full taste; wait too long, and you risk them turning tough and woody.
The best way to know they're ready is to check the size of the carrot "shoulders" right at the soil line. Brush a little dirt away from the base of the leafy tops. You're looking for a root that's about two to two and a half inches across. Since these carrots mature in 65-70 days, that’s a good time to start peeking. Here’s a 6-step game plan for a perfect harvest.
1. Hydrate the Soil First
Trying to pull carrots from dry, hard-packed ground is a surefire way to snap them in half. A day before you plan to harvest, give your carrot patch a really good, deep watering. This simple step loosens everything up and lets the roots slide out cleanly.
2. Loosen, Don't Yank
Even in moist soil, just pulling on the green tops can cause them to break off. I always use a garden fork to gently loosen the soil about six inches away from the row. This breaks up any compaction and makes pulling them out by hand a breeze.
3. Get Those Tops Off—Immediately
This is the most crucial step for keeping your carrots fresh. The leafy greens will act like a wick, pulling moisture and sugars right out of the root. As soon as a carrot comes out of the ground, twist or cut the tops off, leaving just about an inch of the stem behind.
4. Brush, Don't Wash
It feels counterintuitive, but you want to avoid washing your carrots before storing them. A good wash introduces moisture, which is the enemy of long-term storage and a friend to rot. Just use your hands or a soft brush to knock off the loose dirt. You can give them a proper scrub right before you're ready to cook.
5. Store for the Next Few Weeks (Refrigerator)
For any carrots you'll be eating soon, the fridge is perfect. Pop the unwashed, trimmed roots into a perforated plastic bag and tuck them into your vegetable crisper drawer. They’ll stay crisp and delicious for up to a month this way.
6. Store for the Long Haul (Root Cellar Method)
To keep your carrots through the winter, you need a cool, dark, and slightly humid spot. Grab a crate or a bucket and fill the bottom with a layer of damp sand. Nestle your unwashed carrots into the sand, making sure they aren't touching each other, and then cover them completely with more sand. This technique preserves their texture and sweet flavor for several months.
It’s interesting to note that the Chantenay was once a leading commercial variety, but its stout shape proved difficult for mechanical harvesters. You can learn more about the history of different carrot varieties on Wikipedia.
The single most important action for successful storage is removing the green tops immediately after harvest. Leaving them on for even a few hours can significantly reduce the root's moisture content and shelf life.
4 Common Carrot Growing Questions, Answered
Even the most seasoned gardeners run into a few head-scratchers now and then. Let's tackle some of the most common questions that pop up when growing Chantenay Red Cored carrots, so you can feel confident every step of the way.
1. What’s with All the Hairy Roots on My Carrots?
Seeing a bunch of tiny, hair-like roots on your carrots is a classic sign of one thing: too much nitrogen in the soil. This is a common mistake, especially if you've recently used fresh manure or a high-nitrogen lawn fertilizer in your vegetable bed. To fix this, stick with well-aged compost, which provides a much more balanced diet for your carrots.
2. Can I Actually Grow These in Pots?
You sure can! In fact, the stout, conical shape of the Chantenay makes it a fantastic choice for container gardening. Just be sure to pick a pot that’s at least 10-12 inches deep; anything shallower and you'll cramp their style. Good drainage is non-negotiable, so make sure your container has plenty of holes and use a light, fluffy potting mix.
3. Why Are My Carrots Splitting and Forking?
This is almost always a soil issue. When a growing carrot root hits something hard, it has nowhere to go but sideways, causing it to fork or split. The usual suspects are rocks, compacted clumps of clay, or even just undecomposed bits of wood or compost. Before planting, work your soil until it’s loose and crumbly to a depth of at least 8 inches, removing any stones or debris.
4. Why Are the Green Tops on My Carrots Turning Yellow?
Yellowing leaves can be tricky. The most frequent cause is a simple nutrient deficiency, usually a lack of nitrogen. However, it could also be a sign of a disease called aster yellows, which is spread by leafhoppers. If you see yellowing leaves plus stunted, bushy growth and a ton of hairy roots on the carrot itself, aster yellows is the likely culprit.
I can't stress this enough: for beautifully straight carrots, your soil needs to be completely free of obstacles. It's amazing how a single small pebble can force a perfect carrot to grow into a bizarre, forked shape.
Ready to grow a crop of these famously sweet and dependable carrots? Homegrown Garden has you covered with premium, non-GMO Chantenay Red Cored heirloom seeds. Get yours and start planning for a delicious harvest!

