


When you’re trying to cultivate a healthy, thriving garden, it’s essential that you familiarize yourself with the best tips for starting seeds indoors.
Why should you bother starting seeds inside? For starters, there are some plants, like eggplants, peppers, and many herbs, that require a long growing season. In order to ensure the healthy growth of these plants, you’re going to need to start them inside long before the last expected frost date.

Starting your own seeds indoors is also a great way to save money. Think of it this way - a packet of 500 seeds generally costs just a few dollars, while transplants will cost you the same amount (for just a few plants!).
Here are some of the best tips for starting seeds indoors so you can jumpstart your garden and maximize your productivity.
Buy Seeds from a Trusted Source

The best tip for starting seeds indoors is to only buy from trusted sources.
Sure, you may find cheap seeds available just about everywhere online - but often, these germinate poorly and may not produce the results you want and deserve. Instead, buy seeds from reputable retailers.
You can purchase a seed variety mix, like this, or you can buy just one plant species at a time. Either way, consider investing in sustainable seeds like those from Homegrown Garden Co., which are sourced in the United States and are backed by a satisfaction guarantee.
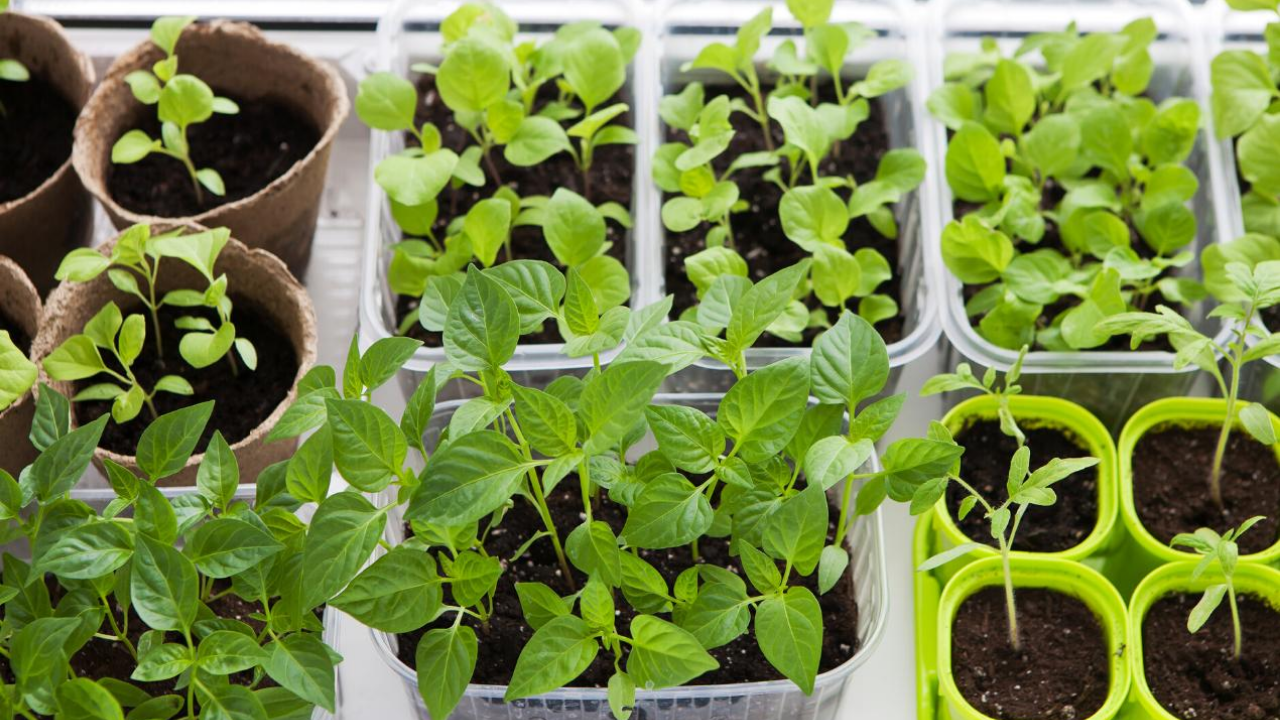
Use Seed-Starting Mix

Whatever you do, don’t use soil from your garden. This can be contaminated with harmful pests and diseases that can easily be transmitted to your fragile seedlings. Plus, garden soil often isn’t light enough in its texture to allow for healthy germination.
Instead, use a seed-starting mix that is formulated specifically for sprouting seeds. This kind of mixture will have good drainage yet will also be able to hold water. Good seed-starting soil will also minimize the likelihood of disease problems, as they are sterile.
Pick the Right Location

The best location for a container of germinating seeds is one that is sunny, well-ventilated, and warm. For best results, start your seeds under an LED grow light. This will provide even, healthy amounts of light to help your seeds sprout quickly.
You can speed up the rate of germination by placing your containers on a heat mat, too.
If you aren’t able to invest in this kind of equipment, go ahead and place your containers in a warm spot (around 70°F to 80°F), like on top of the refrigerator, that gets lots of light. Your seeds will need at least six hours of light per day - sometimes more in the winter, when the light is weaker.
Plant at the Proper Depth

Pay close attention to the instructions on your seed packets. Some seeds like to be planted deep, while others prefer to be planted at a depth so shallow that it seems like they’re sitting on top of the soil!
If you can't figure out how deep to plant, a good rule of thumb is to plant the seed two times as deep as the seed is wide. Tiny seeds will sit closer to the surface than deep ones.
Ensure Proper Drainage and Keep Things Moist

Plant your seeds in a container with proper drainage holes. You will want to make sure water can leach from the bottom of the container so your seeds don’t become overwatered.
While your plants are growing, make sure your soil stays moist. It’s best to mist the plants several times a day to give them just enough water to grow, but not so much that the roots become waterlogged.
Don’t Be Afraid to Thin
When you’re planting tiny, fragile seeds like carrot or lettuce seeds, it can be tough to space the seeds far enough apart. No worries! Once the seedlings emerge and have about two sets of leaves, it’s time to thin.

Check the proper spacing on your seed packet. Then, thin the seedlings by pinching off the weakest-looking seedlings at the soil line.
You can also simply transplant the healthier-looking seedlings to new containers once they’re big enough.
Harden Off Before Transplanting

Don’t rush to put your plants outside! Make sure the weather has warmed adequately so your plants aren’t killed by an unexpected frost.
When the weather is acceptable for transplanting, make sure you harden off your plants. Do this by placing your containers of seedlings outside for just a few hours each day, adding a bit more time every day until you’re ready to plant.
When you transplant, try to pick a day that is warm, overcast, and calm. Water thoroughly after your transplant your fresh seedlings, too.
Have Fun!
Whether you’re growing vegetables for fun or for sustenance, remember that starting seeds indoors is meant to be enjoyable!

Feel free to play around with different types of seeds to find the varieties you like the most. After all, you’ll be saving so much money by starting your seeds indoors that you won’t need to skimp on the quality of your plants.

With any luck, you’ll be able to grow a productive oasis of seedlings right in your own living room.

