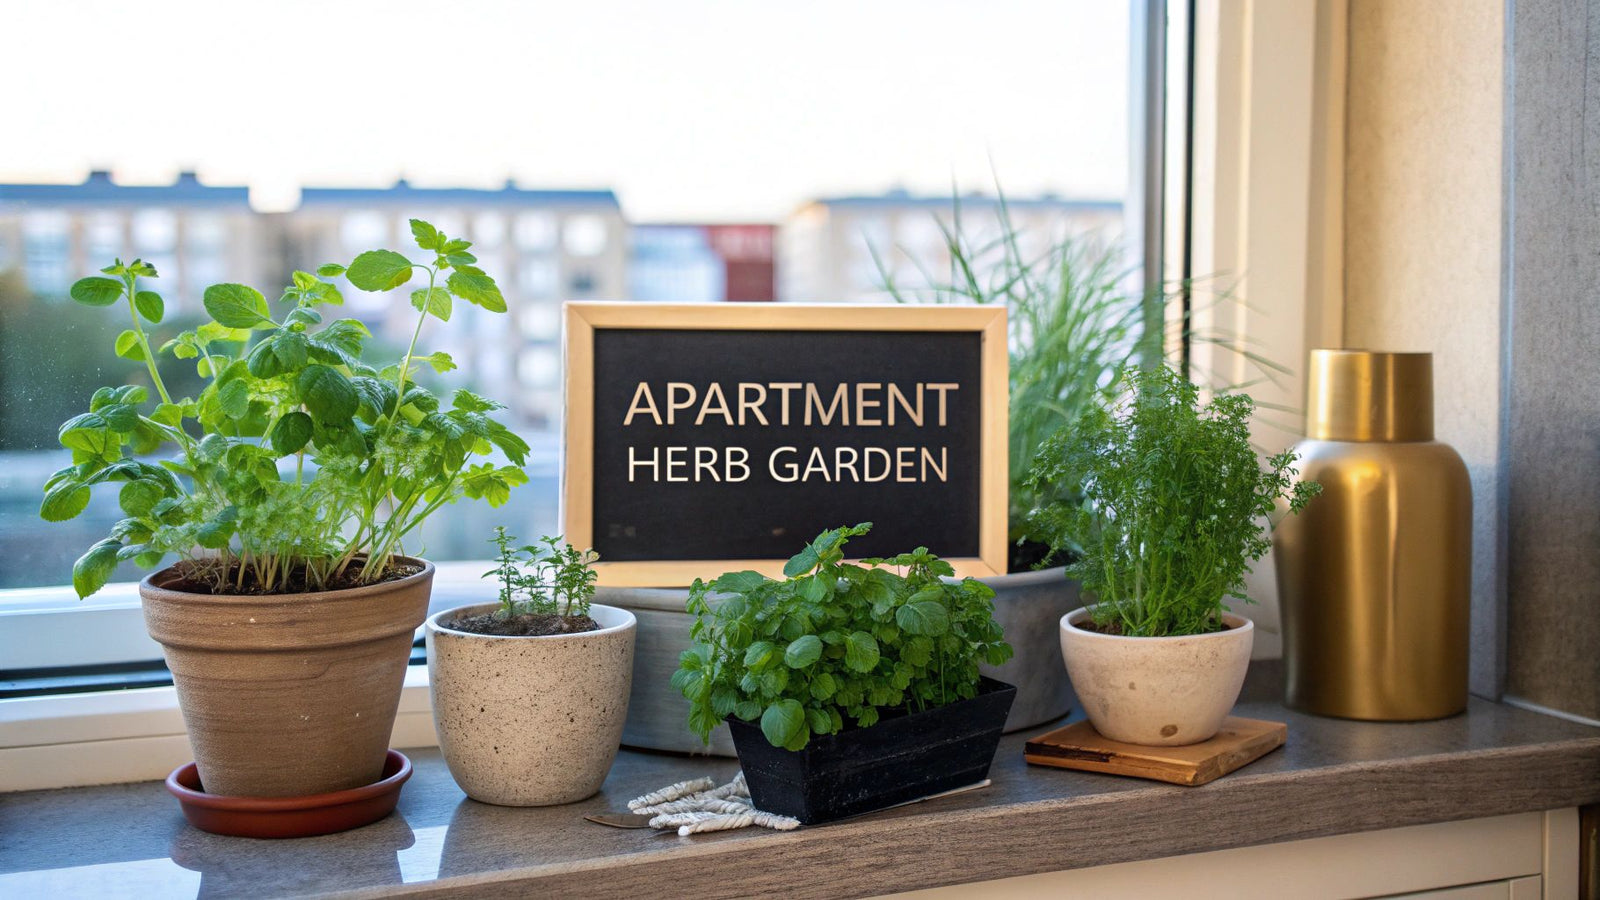
There's nothing quite like snipping fresh basil for your pasta or grabbing a sprig of mint for your tea, right from your own windowsill. If you've ever thought about it, I'm here to tell you that creating a vibrant herb garden for apartment living isn't just a daydream—it's surprisingly simple and incredibly rewarding. It's one of those small changes that genuinely makes a big difference in your home and your meals.
Why an Apartment Herb Garden Is a Game Changer
You don't need a sprawling backyard to get that satisfaction of growing your own food. An herb garden is the perfect starting point for anyone living in an apartment. It can turn a sunny window or a tiny balcony corner into a space that's not only beautiful but productive.
The payoff goes way beyond just having herbs handy. When you have fresh ingredients right there, it completely elevates your cooking. A little fresh rosemary can make roasted potatoes unforgettable, and a few leaves of cilantro bring a taco to life. This instant access really sparks creativity in the kitchen and encourages healthier eating habits.
More Than Just Fresh Flavors
Beyond the kitchen, bringing plants indoors does wonders for your living space and your mindset. There’s a real sense of accomplishment in nurturing a tiny seedling into a thriving plant. It gives you a daily connection to nature, which can be a powerful way to de-stress from the hustle of city life. This is all part of a larger shift towards making our homes greener and more alive.
In fact, the global gardening market is absolutely booming, largely because so many people are getting into home and indoor planting. Valued at around USD 120 billion in 2024, it shows just how much people everywhere are embracing gardening for wellness. You can see more on this trend over at marknteladvisors.com.
The simple act of tending to your plants for a few minutes each day provides a mindful break, helping to reduce anxiety and boost your mood. It’s a small ritual that grounds you in the present moment.
Your Quick-Start Overview
Getting started is far less complicated than you might imagine. It really just boils down to a few key decisions that will set you up for a thriving little garden. We’ve broken down the absolute first steps to take the guesswork out of it, especially if you're a total beginner.
This little table is your roadmap. It covers the three most important things to figure out right at the start. Nail these, and you're well on your way.
Your First Three Steps to an Indoor Herb Garden
| Focus Area | Key Consideration | Beginner Tip |
|---|---|---|
| Light Assessment | Find the sunniest spot you have. | Most herbs need 6+ hours of direct sun. A south-facing window is your best bet. |
| Herb Selection | Pick 2-3 easy, forgiving herbs to start with. | Mint, chives, and basil are great choices. Don't try to grow everything at once! |
| Container Choice | Choose a pot with excellent drainage. | A 6-8 inch pot with drainage holes is perfect. Seriously, pots without holes are a no-go. |
Think of these three areas as your foundation. Getting the light, herbs, and container right from the beginning saves you so much trouble down the line and makes the whole experience much more enjoyable.
Choosing the Right Herbs and Containers

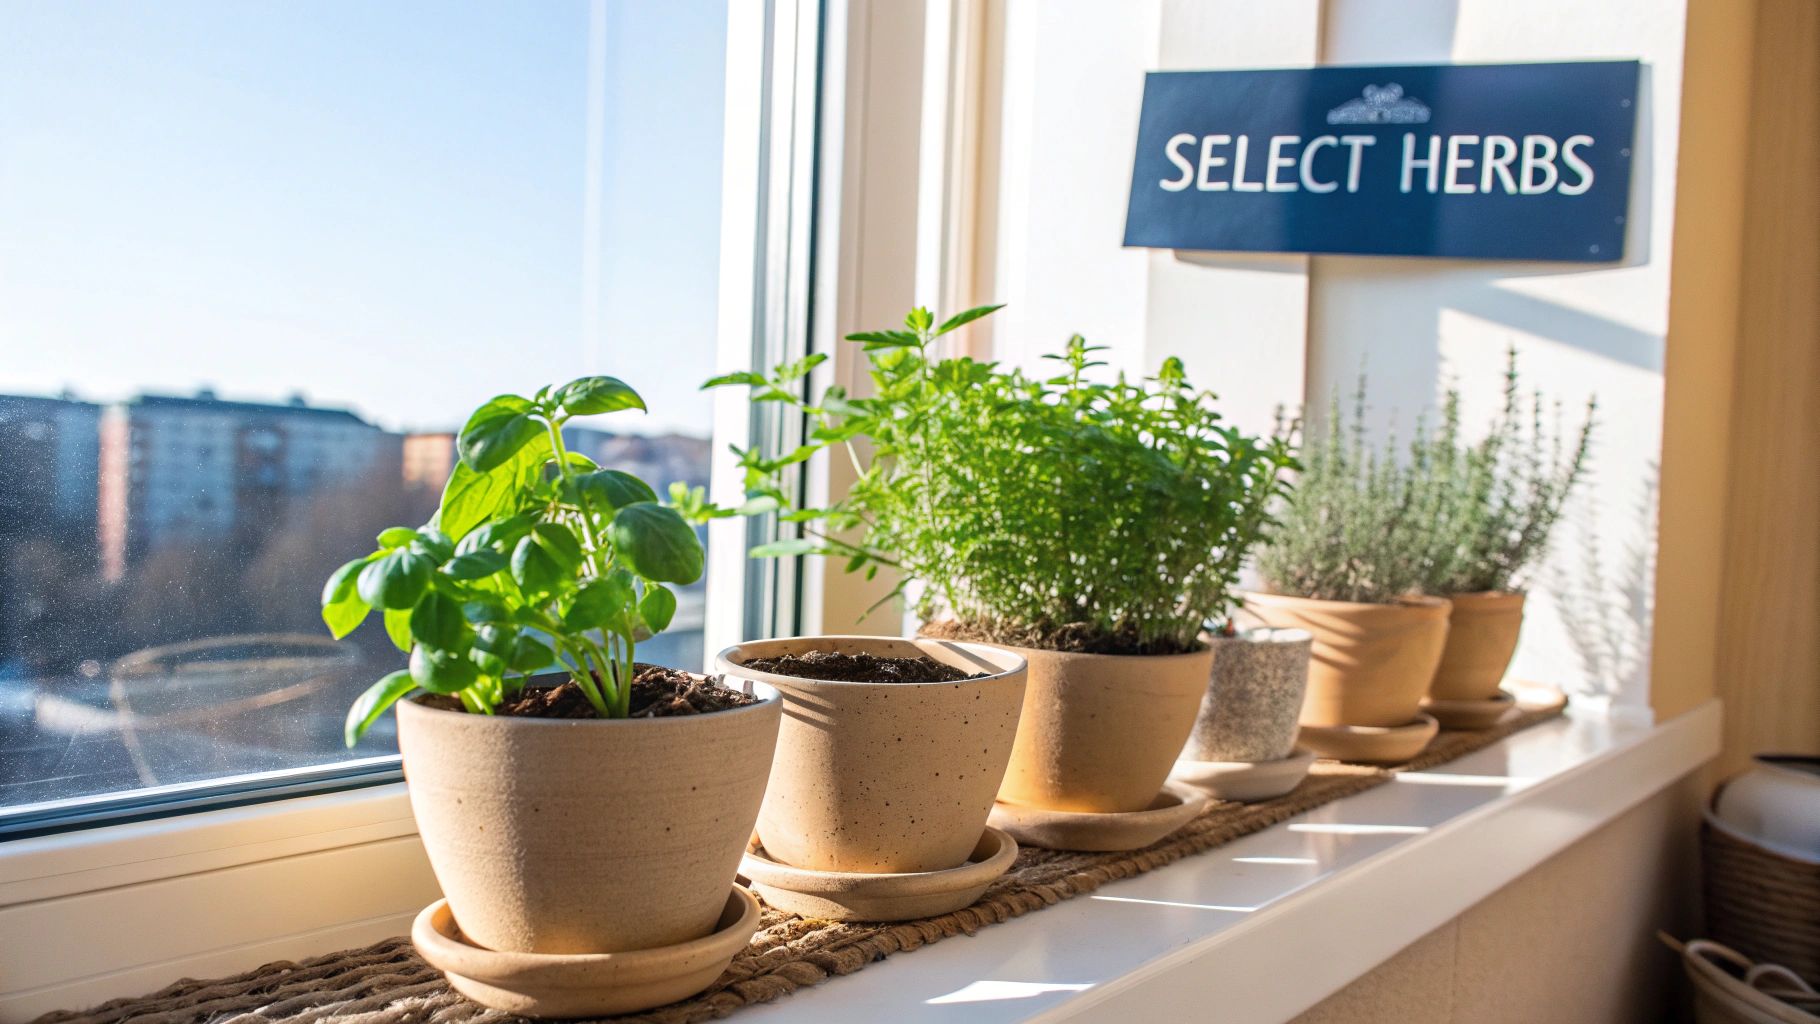
This is the fun part—where your vision for an apartment herb garden really starts to take shape. The secret to a thriving indoor garden isn't just about picking your favorite flavors. It’s about choosing herbs that genuinely flourish in pots and, just as importantly, grouping them smartly.
The most successful apartment gardens I’ve seen are all built around compatibility. Think of it like creating a small team of plants that get along. When you group herbs with similar needs for water and light, your job becomes infinitely easier.
For instance, Mediterranean herbs like rosemary, thyme, sage, and oregano all crave drier soil and tons of sun. Planting them together in one large trough or a cluster of similar pots means you can water them on the same schedule, without worrying that one plant is drowning while its neighbor is parched.
Selecting Your Ideal Containers
Your choice of container is so much more than a decorative touch; it directly impacts your plants' health and how much time you'll spend caring for them. Different materials have unique properties, so let's break down which ones work best.
- Terracotta Pots: These classic clay pots are my go-to for certain herbs. They're porous and breathable, which is fantastic for preventing root rot and mimicking the dry, sunny conditions that plants like rosemary adore. The only catch? You'll need to water more often, especially if your apartment is warm and dry.
- Glazed Ceramic or Plastic Pots: These non-porous containers are great at holding onto moisture. This makes them a perfect match for thirsty herbs like basil, parsley, and mint. Just be absolutely certain they have good drainage holes, because waterlogged soil is a fast track to sad, yellowing plants.
- Self-Watering Planters: If you have a busy schedule or just tend to be a bit forgetful with the watering can, these can be a total lifesaver. They use a reservoir system to give roots a steady supply of moisture, which takes all the guesswork out of it. They work especially well for herbs that hate to dry out.
Key Insight: I can't stress this enough: drainage is everything. No matter how beautiful a pot is, if it doesn't have holes in the bottom for excess water to escape, your herbs are pretty much destined to fail. Root rot is the number one killer of container plants, hands down.
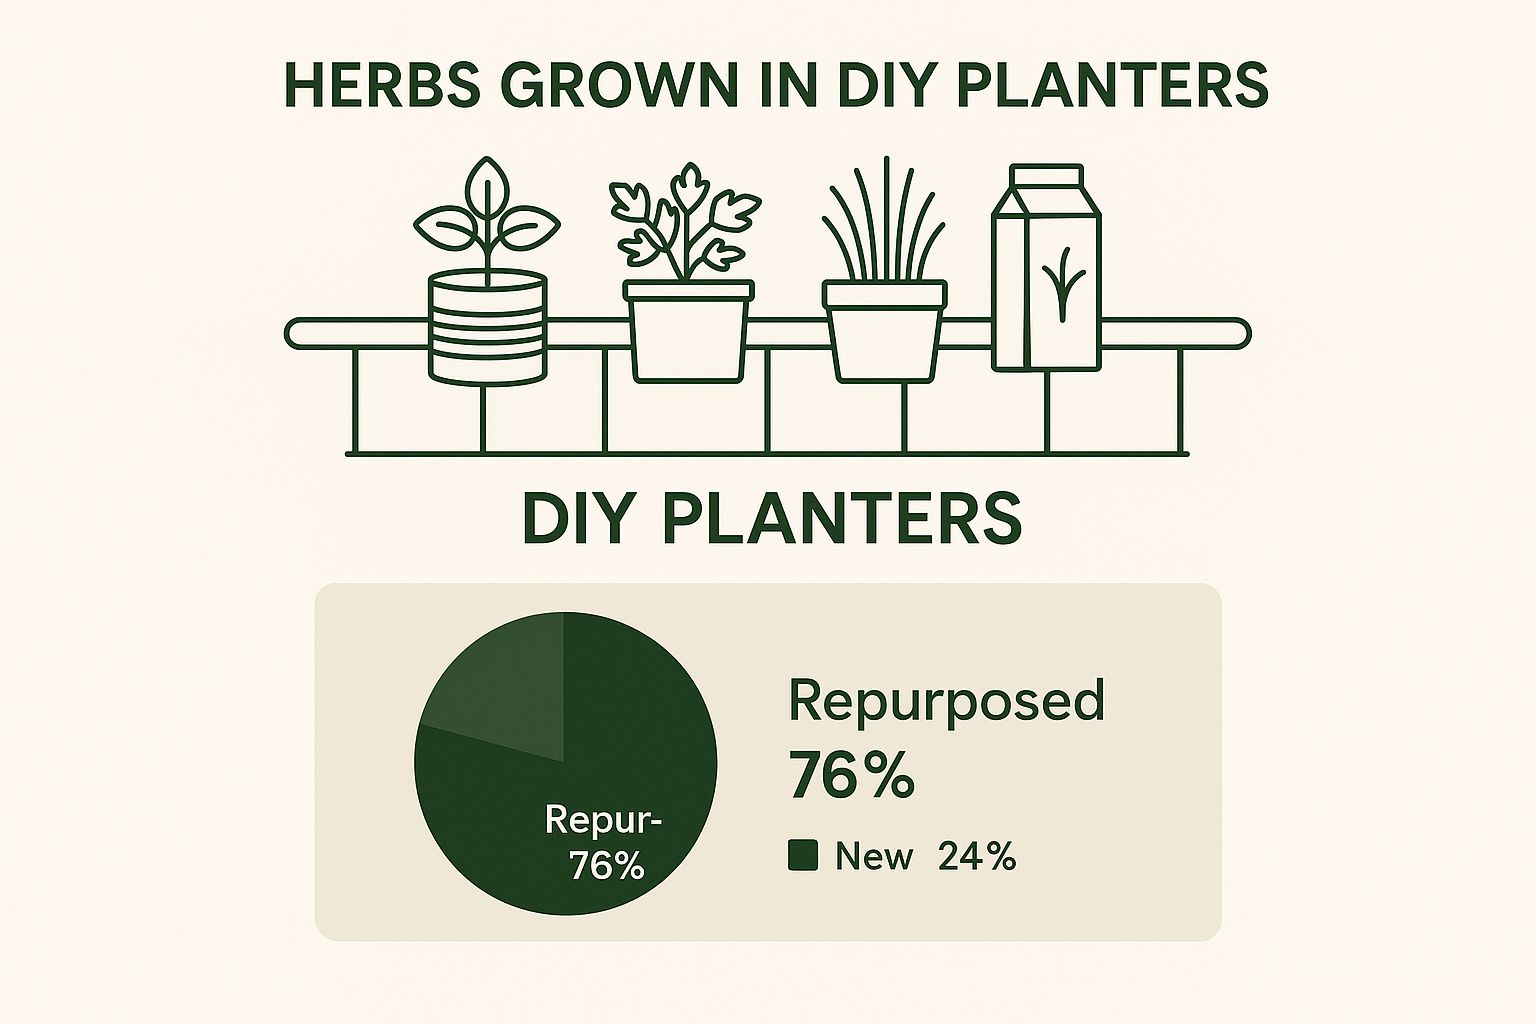
Starting an indoor garden isn't just some passing fad; it's a real movement, especially for those of us living in cities. A few years back, data showed that 37% of Millennials were already growing herbs indoors, a number surely driven by the desire for fresh, healthy food and the simple joy of having some green around. This trend has only gotten bigger, making the apartment kitchen garden a modern staple.
Creative and Space-Saving Solutions
Living in an apartment usually means you're short on horizontal space. But that's where you get to think outside the box—or, in this case, think vertically.
- Vertical Wall Planters: These systems can turn a blank, sunny wall into a living tapestry of fresh herbs. They're perfect for growing a whole variety of plants in a tiny footprint.
- Hanging Baskets: These are ideal for trailing herbs like oregano or creeping thyme. A hanging basket of mint near a kitchen window is not only beautiful but incredibly practical for grabbing a few leaves for tea or a cocktail.
- Rail Planters: If you're lucky enough to have a balcony, rail planters are a brilliant way to grow an abundance of herbs without taking up a single square foot of floor space.
By pairing the right herbs with the right containers, you're setting yourself up for success and creating a happy little ecosystem. For a deeper dive, check out our guide on how to start a herb garden indoors, which has even more tips on plant selection and getting your setup just right.
Finding the Perfect Spot for Sun and Growth
Sunlight is the lifeblood of any herb garden, but in an apartment, it can feel like a precious, hard-to-come-by resource. Honestly, getting the light right is half the battle. Your first step, before you even buy a single seed or pot, is to become a bit of a "light detective" in your own space.
Take a day to really track the sun's path across your windows. It sounds simple, but this little bit of observation is a game-changer. Where does the bright, direct light land, and for how long? A south-facing window is the jackpot, usually delivering the 6+ hours of direct sun that sun-worshippers like basil, rosemary, and thyme absolutely need to thrive. West-facing windows are a solid runner-up, offering intense afternoon sun.
On the other hand, an east-facing window gives you that gentler morning light, which is perfect for less demanding herbs. North-facing windows offer the least light and are the most challenging. But don't write them off! The key isn't having the "perfect" window; it's about knowing what you have so you can choose herbs that will be happy there. I've had great success with mint and parsley in an east-facing window, for example.
What to Do When Natural Light Is Limited
So, what happens if your light-mapping mission reveals you're living in a dimmer space? Don’t panic. This is where grow lights come in and completely change the game. Think of them as your personal, on-demand sunshine, turning any dim corner into a vibrant, productive herb nook.
And forget those clunky, buzzing, industrial-looking fixtures of the past. Today's grow lights are sleek, energy-efficient, and designed to blend right into your home decor. They give you total control over your growing environment, which is a massive advantage for city dwellers.

As you can see, a little creativity can turn even unconventional spots into a green oasis. It’s all about making the most of the space you have.
To help you get started, here's a quick cheat sheet for matching common herbs with their light needs.
A Quick Reference for Herb Light Requirements
| Herb Type | Ideal Light (Hours/Day) | Best Window Facing | Grow Light Recommended? |
|---|---|---|---|
| Basil | 6-8+ | South | Yes, if less than 6 hours |
| Rosemary | 6-8+ | South, West | Yes, if less than 6 hours |
| Thyme | 6+ | South, West | Yes, if less than 6 hours |
| Mint | 4-6 | East, West | Only for very low-light spots |
| Parsley | 4-6 | East, West | Only for very low-light spots |
| Chives | 4-6 | East, West | Only for very low-light spots |
This table is a great starting point, but always remember that every apartment is a little different. Observe your plants and adjust as you go!
Decoding Grow Lights for Your Herbs
When you start looking at grow lights, you’ll see a few terms pop up again and again. Getting a handle on them will make choosing the right one a breeze.
- Full-Spectrum: This is your go-to. These lights mimic the full range of natural sunlight, giving your herbs all the wavelengths they need for strong, healthy growth from sprout to snip.
- Blue Light: This part of the light spectrum fuels leafy, vegetative growth. It's what helps your herbs get lush and bushy—exactly what you want for things like basil and cilantro.
- Red Light: This wavelength is more about encouraging flowers and fruit. While not the top priority for most leafy herbs, it's a vital component of any good full-spectrum light.
For just about any apartment herb garden, a full-spectrum LED is the best bet. You can find them in all sorts of configurations, from a simple clip-on lamp for one or two pots to larger panel systems if you're planning a more ambitious setup.
Expert Tip: Proximity is key. Most LED grow lights need to be positioned about 6 to 12 inches above the tops of your plants. Any higher and they lose their effectiveness; any lower and you risk scorching the leaves. Always double-check the manufacturer's guidelines.
The home gardening market is booming—it was valued at an estimated USD 14.90 billion in 2024—and it's largely because technology like affordable LEDs and hydroponics has made it possible for anyone to grow food at home. These tools empower us to overcome the classic apartment challenges of limited space and light.
By understanding your natural light and supplementing it where needed, you're setting the stage for a thriving indoor garden. For more in-depth advice on specific plants, check out our herbs and tea grow guides to find exactly what you need.
Getting the Soil, Water, and Nutrients Just Right
Your herb garden’s success truly starts from the ground up. I’ve seen so many beginners try to save a few bucks by scooping up soil from a park or their backyard. It seems resourceful, but it’s a classic mistake that invites pests, diseases, and dense, waterlogged soil right into your home.
The best foundation you can give your herbs is a high-quality, sterile potting mix you buy in a bag. This stuff is specifically designed for containers—it’s light, airy, and free from any nasty surprises. For an apartment herb garden where airflow might not be the best, excellent drainage is absolutely non-negotiable.
Crafting the Perfect Potting Mix
While a standard potting mix is a good start, you can easily make it great. I always amend my soil to give the roots the best possible environment. By mixing in materials like perlite or vermiculite, you're creating tiny air pockets that prevent the soil from becoming a dense brick. This is crucial for getting oxygen to the roots, which is make-or-break for container plants.
Here’s a simple recipe I swear by:
- 3 parts standard potting mix
- 1 part perlite or vermiculite
Just mix them together thoroughly. You'll end up with a custom blend that holds onto moisture but lets the excess drain away freely. This one little step can be a lifesaver, especially for herbs like rosemary and thyme that absolutely hate having "wet feet."
Here’s how I think about it: Your pot’s soil should act like a sponge. A good sponge holds water but releases the excess when you squeeze it. Adding perlite is like adding more holes to that sponge, making sure it never gets so waterlogged that it suffocates the roots.
The Art of Watering
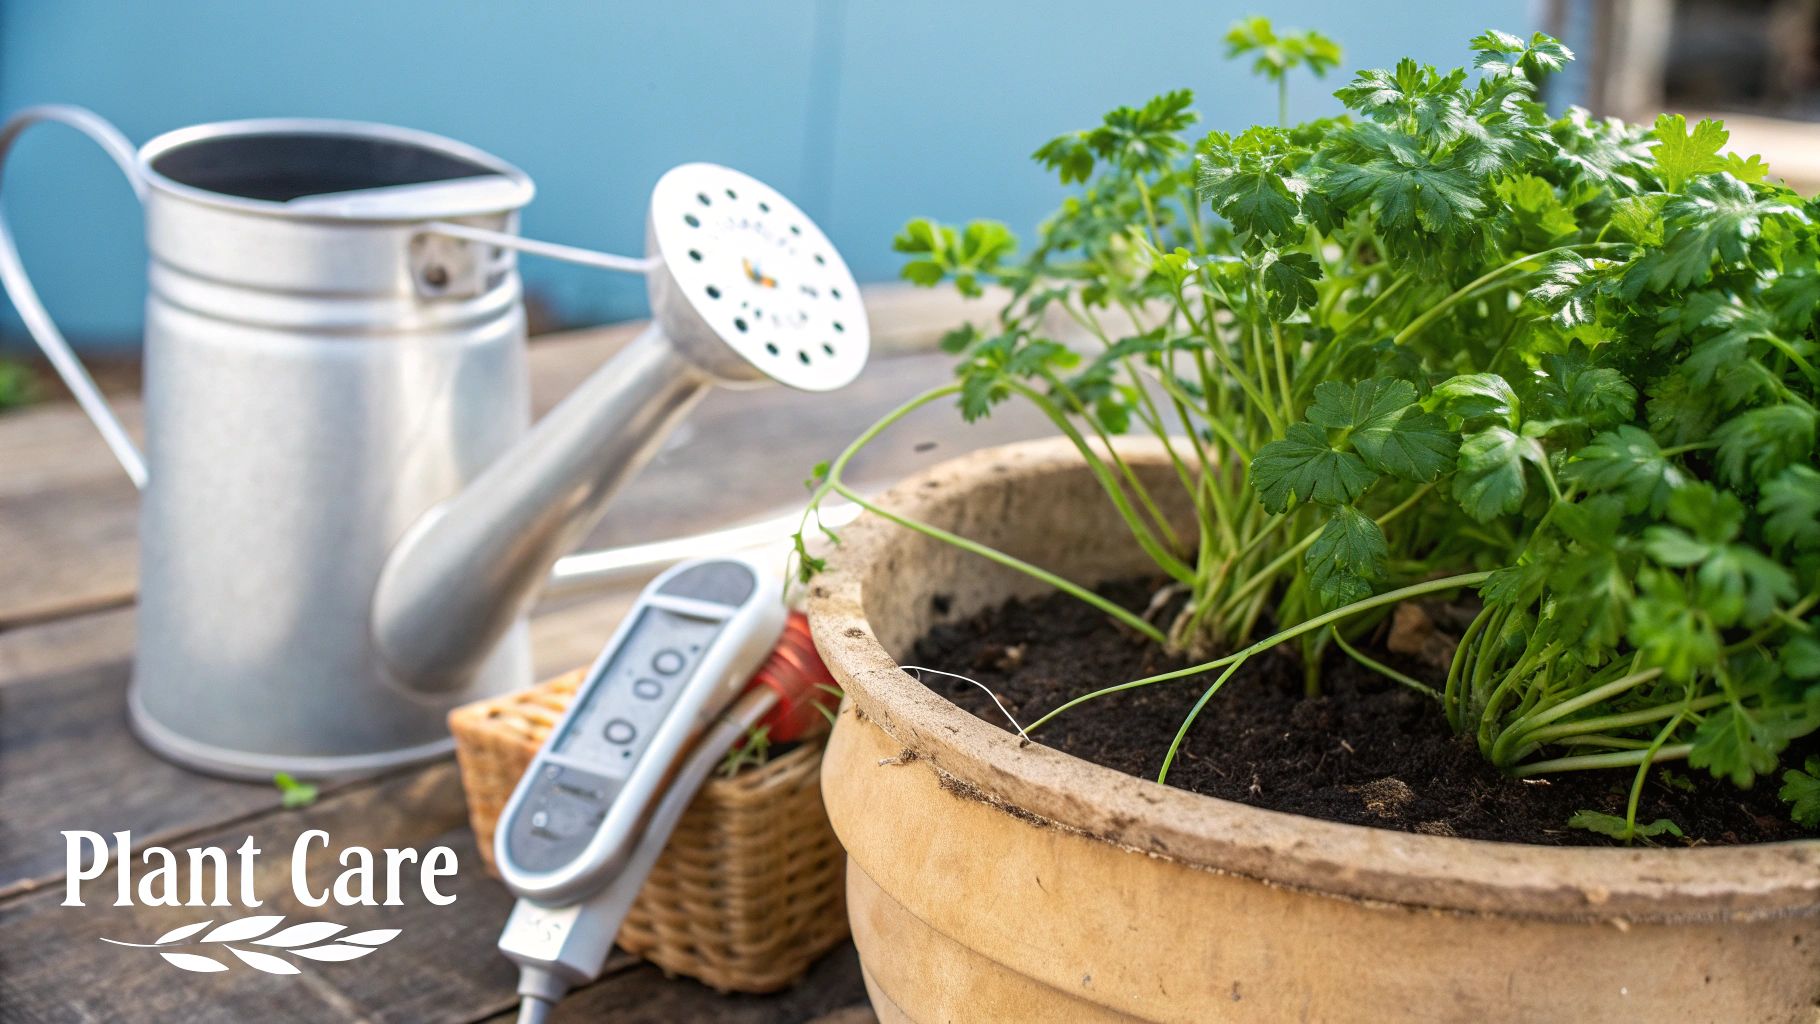
Okay, your soil is perfect. Now, let's tackle watering. This is where most new indoor gardeners trip up. Believe it or not, the most common way people kill their herbs isn't by forgetting them, but by loving them too much with the watering can. Overwatering is the #1 culprit.
Luckily, there’s an easy, foolproof way to get it right. Ditch the rigid watering schedule—it just doesn't work. Instead, rely on the ‘finger test.’ Stick your index finger about an inch into the soil. If it feels dry, it's time to water. If you feel any moisture at all, give it another day or two and check again. This simple method naturally adapts to the changing humidity, light, and temperature in your apartment.
When it is time to water, do it properly. Pour water slowly and evenly over the soil until you see it flowing out of the drainage holes. This ensures the entire root system gets a good drink. The most important part? After it’s done draining, dump out any water that has collected in the saucer. Letting a pot sit in a puddle of water is a fast track to root rot.
Feeding Your Herbs
Bagged potting soil has a limited food supply. After a month or two, your hungry herbs will have used up most of the initial nutrients. To keep them green, leafy, and productive, you’ll need to step in and provide some fertilizer.
With herbs, a gentle touch is key. I recommend using a balanced, all-purpose liquid fertilizer, but dilute it to half the strength suggested on the bottle. Feed your herbs with this light mix every 4-6 weeks during the spring and summer growing season. Pushing too much fertilizer can actually burn the delicate roots and cause more harm than good. When it comes to feeding herbs, less is definitely more.
Keeping Your Herbs Happy: Harvesting and Maintenance

You’ve done the hard work, and now your herbs are taking off! This is where the real fun begins—actually using them. Believe it or not, consistent harvesting is the most crucial thing you can do to keep your apartment herb garden lush and productive for months.
Think of it this way: every time you snip a few leaves, you’re telling the plant to get busy and grow more. This regular pruning is what prevents your herbs from becoming "leggy" and sparse. Instead, they'll grow into the compact, bushy little plants that are perfect for a windowsill or balcony.
Of course, not all herbs respond to the same haircut. You need to tailor your harvesting technique to how the plant naturally grows.
Harvesting Techniques for Different Herbs
For leafy, branching herbs like basil, mint, or oregano, the goal is to encourage them to branch out. To do this, pinch or snip the stem just above a set of leaves. This simple action signals the plant to send out two new stems from that point, creating a much fuller plant over time. We go into this specific method in our guide on how to grow basil, which is a must-read for any basil lover.
Herbs that grow from a central clump, like parsley, chives, or cilantro, need a different approach. With these, you want to harvest the oldest, outer stalks first. Snip them right at the base, leaving about an inch of stem. This lets the younger, inner leaves mature and ensures you have a continuous supply.
Staying Ahead of Pests and Problems
As your indoor garden settles in, you'll want to keep an eye out for a few common issues. Pests can show up even inside, but catching them early makes all the difference. The two most common intruders you'll find in an apartment herb garden are aphids and spider mites.
- Aphids: These are tiny, pear-shaped bugs that love to hang out on new growth, usually on the underside of leaves.
- Spider Mites: These are even smaller and harder to spot. The biggest clue is their signature fine, silky webbing between the leaves and stems.
Don't panic if you see them. Managing them indoors is straightforward. Often, a strong spray from a water bottle is enough to knock them off. You can also just wipe the leaves down with a damp cloth. If they’re a bit more stubborn, a gentle insecticidal soap or some neem oil in a spray bottle will take care of the problem effectively and safely.
A question I hear all the time is what to do when an herb starts to flower. This is called "bolting," and it's a sign the plant is shifting its energy from leaf production to making seeds. When this happens, the flavor of the leaves can become bitter. For herbs like basil, cilantro, and dill, your best bet is to pinch off the flower buds the moment you spot them to keep the delicious leaves coming.
Got Questions? Let's Talk Apartment Gardening
It's one thing to have a plan, but once you start digging into the soil, the real questions begin. I've been there! Every new gardener wonders about the same things, so let's clear up some of the most common hurdles you might face with your new apartment herb garden.
This isn't about memorizing a rulebook; it's about learning to "read" your plants and understand what they need in your specific space. Let's tackle those nagging "what if" scenarios head-on.
Can I Grow Herbs Even If I Have Terrible Natural Light?
Yes, you absolutely can! This is probably the number one concern I hear from apartment dwellers. You might have to say no to sun-worshippers like rosemary, but you have plenty of other fantastic choices. Herbs like mint, chives, and parsley are surprisingly content with less-than-perfect light.
If you're really serious about it, a grow light is your best friend. Modern LED grow lights are nothing like the clunky, energy-guzzling lamps of the past. They're sleek, efficient, and can transform a gloomy corner into a thriving green oasis. You don't have to go big, either—a simple clip-on light for a pot or two is a great way to start. A north-facing window doesn't have to be a deal-breaker.
My Two Cents: The biggest mistake I see new indoor gardeners make is overwatering. It's so much easier to revive a thirsty plant than to save one that's drowning. If you're not sure, it’s always better to wait one more day before reaching for the watering can.
What Are the Easiest Herbs for a Total Beginner?
You want to start with a win. Picking a few easy, tough-as-nails herbs will build your confidence and make the whole process a lot more fun.
Here are my go-to recommendations for anyone just starting out:
- Mint: This stuff is almost impossible to kill. Just make sure you plant it in its own pot—trust me, it will try to take over everything else.
- Chives: Wonderfully low-key. They handle a variety of lighting conditions and spring right back after you give them a haircut.
- Parsley: A pretty hardy herb that doesn't need five-star treatment to give you a steady supply for your kitchen.
- Basil: If you have a decent sunny spot (at least 6 hours), basil is incredibly rewarding. It grows fast, so you get that amazing sense of accomplishment pretty quickly.
How Do I Know When to Water?
Forget the calendar. The best tool you have for this is your own finger.
Just stick your index finger about an inch deep into the soil. Is it bone dry? Time to water. Can you feel any moisture at all? Hold off and check again tomorrow. This simple "finger test" is foolproof because it responds directly to your home's unique temperature and humidity levels.
And please, only use pots with drainage holes. When you do water, give the plant a good, thorough soak until you see water running out the bottom. Then, be sure to dump out any excess water from the saucer. Letting roots sit in a puddle is the fastest way to cause root rot.
Ready to create your own little green oasis? At Homegrown Garden, we have everything you need to get growing with confidence, from heirloom seeds to kits perfect for first-timers. You can explore our curated collections at https://www.homegrown-garden.com today.


