


If you've ever wanted an endless supply of your favorite salad greens, the secret isn't in a seed packet—it's in your own garden. Learning how to collect seeds from your lettuce plants is a game-changer. It all starts by intentionally letting a few of your best plants "bolt," or go to flower. This simple act is your ticket to a self-sufficient garden and amazing harvests for years to come.
7 Steps to Your Own Endless Lettuce Supply
Saving your own lettuce seeds is one of the most satisfying things you can do as a gardener. It connects you to an age-old cycle, turning a small patch of your yard into a reliable food source for the future.
Of course, you'll save money on seeds. But the real magic is in creating lettuce varieties that are perfectly suited to your garden. With each generation, the seeds you save will produce plants that are tougher and better adapted to your specific climate and soil.
This guide breaks it all down into simple, actionable steps. You'll learn how to pick the best plants for seed, how to dry the seeds, and how to store them so they'll be ready for next season.
Gardener's Insight: Think of seed saving as a partnership with nature. Instead of fighting a plant's natural urge to bolt, you're working with it. You're helping it complete its life cycle to create a truly sustainable food system in your own backyard.
What This 7-Step Guide Covers
We'll walk through seven key stages to make sure you get it right. These steps are straightforward, even if you've never saved seeds before. You'll learn:
- How to spot the strongest "parent" plants to save for seed.
- The key signs a lettuce plant is ready to flower.
- When to harvest the mature seed heads for the best results.
- Simple, no-fuss techniques for drying and preparing the seeds.
- Proper storage methods to keep your seeds viable for the long haul.
Lettuce is a great place to start your seed-saving adventure. Once you've got the hang of it, you might want to try saving seeds from some of the other 10 easy vegetables to grow for an even more resilient garden. Let’s get started.
Lettuce Seed Saving At a Glance: The 7 Stages
For those who like a quick overview, this table summarizes the entire process from start to finish. It’s a handy reference to keep nearby as you go through the season.
| Stage | Key Action | Best Time to Act |
|---|---|---|
| 1. Plant Selection | Choose the healthiest, most vigorous plants. Look for ones that were slow to bolt. | During the main growing season, before bolting begins. |
| 2. Bolting & Flowering | Allow the selected plants to grow tall and produce yellow, dandelion-like flowers. | Late spring to mid-summer, depending on your climate. |
| 3. Pollination | Let nature do its work. Lettuce is self-pollinating, so just wait for the flowers to fade. | After flowers open. This process takes about a day per flower. |
| 4. Seed Head Maturation | Wait for the faded flowers to turn into fluffy, white tufts, similar to dandelions. | 10-24 days after flowering. |
| 5. Harvesting | Cut the entire stalk or shake the seed heads into a paper bag once most are fluffy. | On a dry, sunny day when the fluff is prominent. |
| 6. Drying & Cleaning | Let the stalks dry for another week or two. Then, separate seeds from the chaff. | Immediately after harvesting. |
| 7. Storage | Store clean, dry seeds in an airtight container in a cool, dark, and dry place. | Once seeds are completely dry and cleaned. |
Following these stages will set you up for success, giving you a fresh batch of seeds perfectly adapted to your garden for the next planting season.
Step 1: Choosing the Best Lettuce Plants for Seed Saving
 The secret to a great lettuce harvest next year starts right now, with a careful look at the plants in your garden. This isn't just about picking any old plant that survived the season; it’s about being selective. Think of yourself as a scout, looking for the absolute best performers.
You're searching for your garden's all-stars. Which plants had the best flavor? Which ones grew vigorously from the get-go and shrugged off pests or disease? Those are the traits you want to see again.
What to Look For in Parent Plants
Out of all the desirable qualities, there's one that stands above the rest for a seed saver: a plant that is slow to bolt. Bolting is the plant's survival instinct kicking in, sending up a flower stalk when the weather gets hot. By choosing the last plants to do this, you're actively selecting for genetics that will give you a longer window for harvesting leaves in future seasons.
To keep your seed line strong and genetically diverse, don't just pick one plant. I always recommend setting aside at least 2-3 of your best plants for the task. This gives you a much healthier genetic pool to draw from.
Key Takeaway: When you select the slowest-to-bolt plants, you're doing more than just saving seeds—you're breeding a strain of lettuce that's better suited to your specific garden conditions. Each year, your lettuce can become more resilient and productive.
Committing to the Process
Once you’ve picked your champions, you have to be patient. These plants are no longer for eating. They must be left in the garden to complete their full life cycle, a process that takes time and transforms them from a tasty salad green into a tall, lanky, and bitter seed-producing machine.
All of the plant's energy is now going into making flowers and, eventually, viable seeds. It’s a hands-off phase where you just let nature do its thing. Planning for this cycle is key, and if you're thinking ahead, our guide on when to start seeds indoors can help you get a jump on the next season.
Step 2: Encouraging Your Lettuce to Bolt and Flower

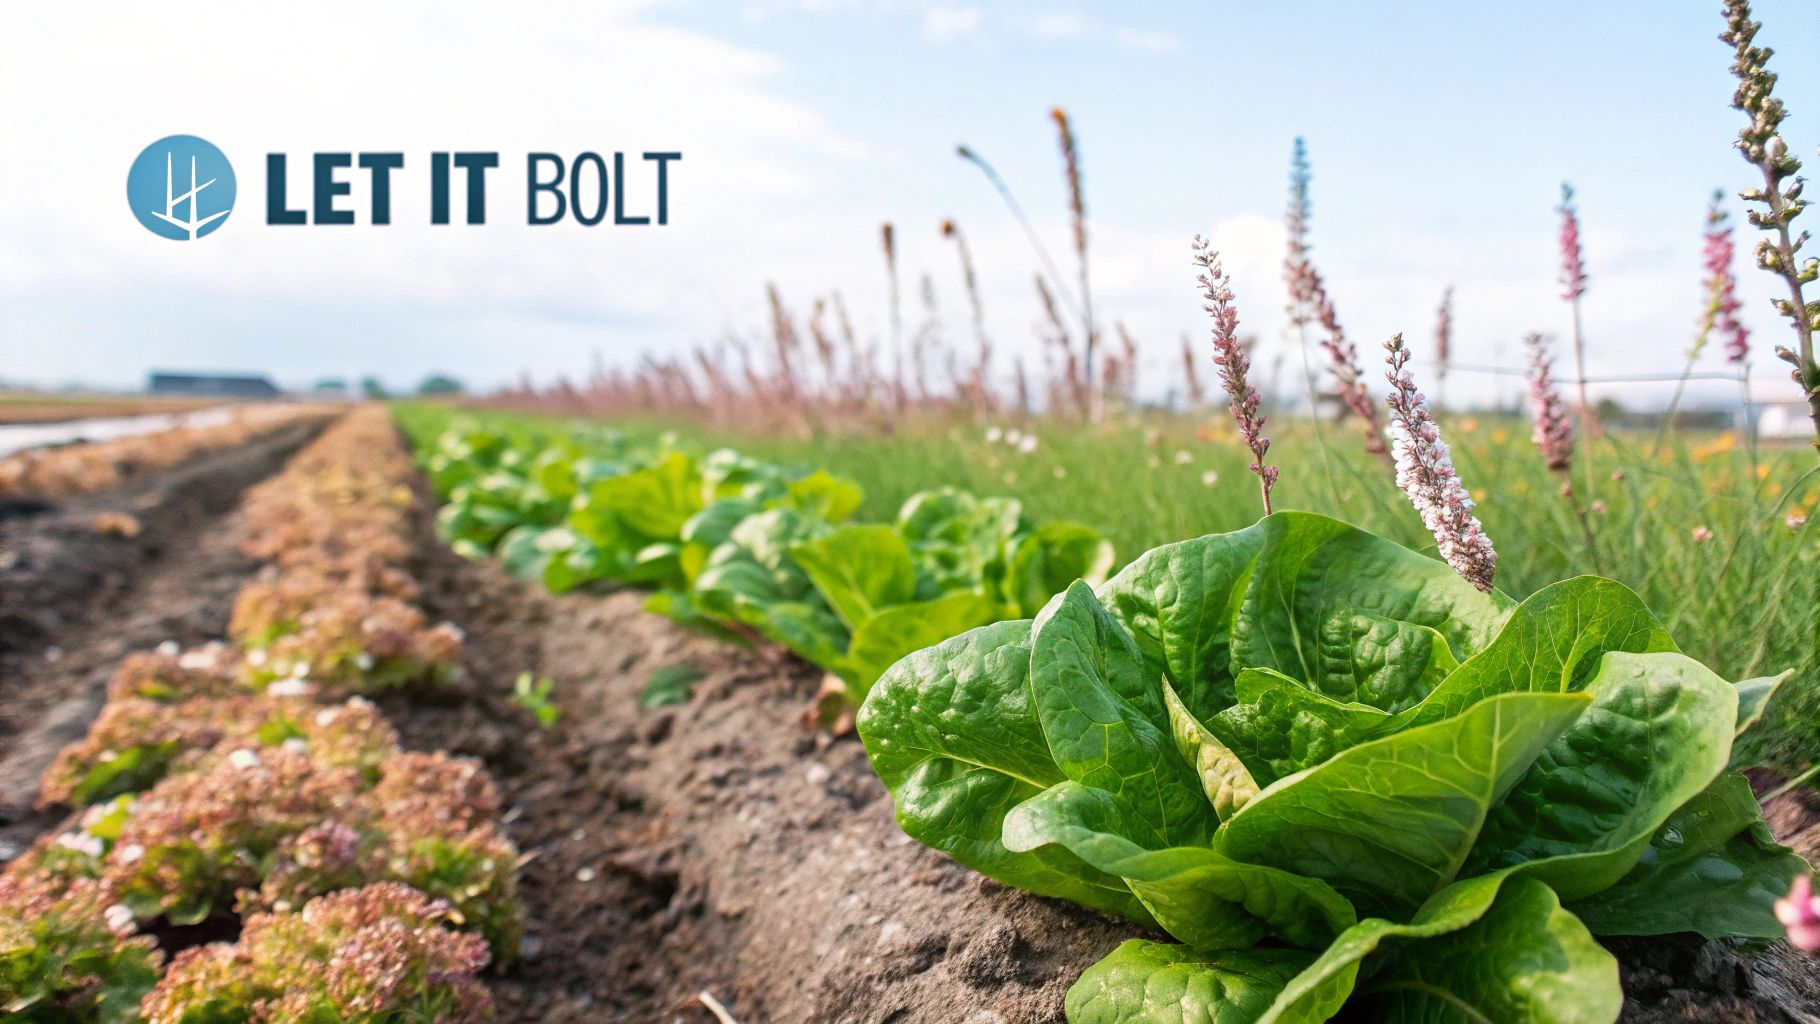
For most gardeners, the sight of a lettuce plant bolting is a disappointment. That tall stalk shooting up from the center usually means one thing: bitter leaves and the end of fresh salads from that plant. But if you’re looking to save seeds, that "failure" is exactly what you've been waiting for.
Bolting is just nature's way of telling the plant it's time to reproduce. When the days get longer and the weather warms up, lettuce gets the signal to switch gears from making tasty leaves to making seeds. This is the first critical step if you want to learn how to collect seeds from lettuce.
So, instead of yanking the plant out, just leave it be. Over the next few weeks, you’ll see that central stalk stretch skyward, sometimes reaching a few feet tall. Eventually, it will burst into small, yellow flowers that look a lot like tiny dandelions.
Recognizing the Bolting Process
This whole transformation is part of a time-honored practice that lets gardeners keep their favorite lettuce varieties going year after year. The process kicks off when you let your best, most mature plants—usually ones that are at least 60 days old—go to flower. While you wouldn't want to eat the leaves at this stage, you need that flower stalk for seeds. This tradition is a cornerstone of horticulture, a topic you can dive into with research on lettuce seed propagation.
Here’s what you’ll see as it happens:
- Central Stalk Growth: A sturdy stalk will shoot up right from the heart of the lettuce head.
- Leaf Flavor Changes: As the plant puts energy into seeds, the leaves will develop a milky sap called lactucarium and become quite bitter.
- Flower Bud Formation: Tiny buds will start forming all along the upper part of the stalk.
- Yellow Blooms: Those buds will eventually open into bright yellow flowers, a sure sign that pollination is about to happen.
Pro Tip: Your once-perfect lettuce heads will start to look a bit awkward and leggy, but don't worry. A plant that's "failed" for salad-making is a complete success for seed-saving. Getting comfortable with this perspective is a huge step toward becoming a more self-sufficient gardener.
Step 3: Harvesting Mature Lettuce Seed Heads
When you're saving seeds, timing is everything. It's the difference between a successful harvest and a big disappointment. If you jump the gun, your lettuce seeds won't be viable. But if you wait too long, you'll find Mother Nature has already done the planting for you—all over your garden.
The trick is to keep a close eye on the plant's faded yellow flowers. After the blooms die back, you'll see them transform over 10-24 days into fluffy white tufts, almost like tiny dandelion heads. This is your sign. That white fluff means the seeds attached to it are mature and ready to go.
You'll notice that not all the flower heads on a single stalk mature at the same time. This staggered ripening gives you a couple of ways to approach the harvest.
Method 1: The Daily Shake
If you only have a few lettuce plants, this is a great, low-effort method. Simply grab a paper bag, bend the stalk over it, and give it a gentle shake every other day. The ripe seeds will fall right into your bag, leaving the immature ones on the stalk to finish developing. It's a fantastic way to maximize your yield with minimal loss.
Method 2: The All-at-Once Snip
For a bigger crop, or if bad weather is rolling in, you might want to harvest everything at once. The best time to do this is when about half to two-thirds of the flower heads have gone to fluff. Take a pair of clean, sharp pruners and cut the entire stalk off near the base of the plant. You can then bring the whole thing indoors to finish drying in a controlled environment.
You might be surprised by just how many seeds you can get from a single plant once it bolts.
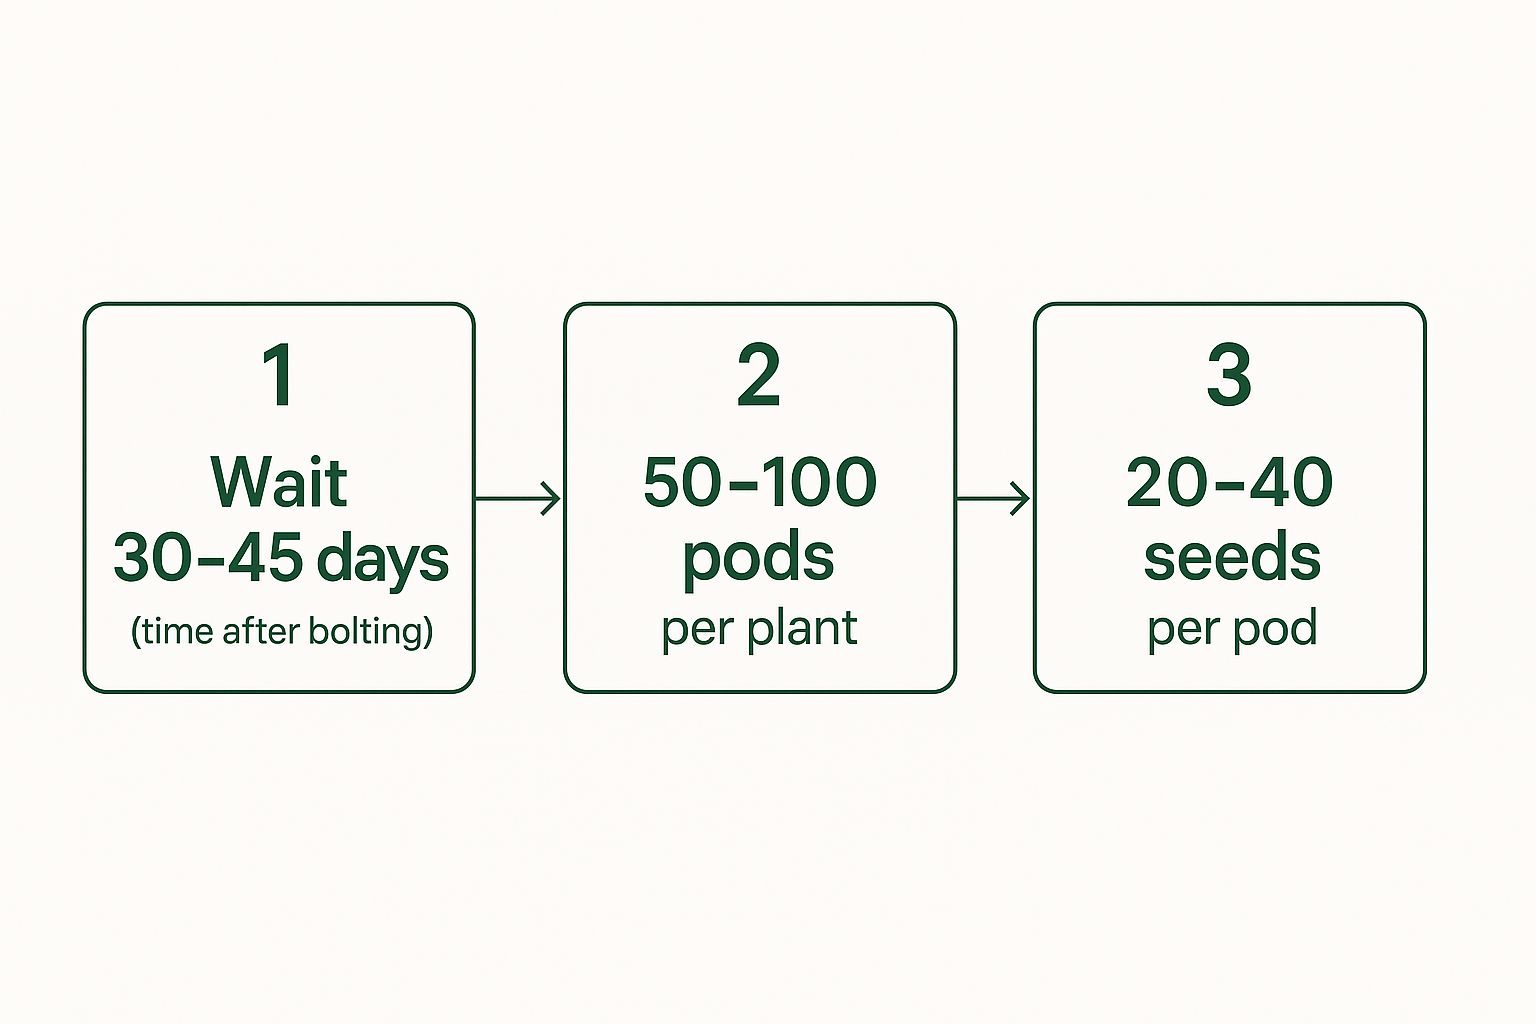
As you can see, one healthy plant provides more than enough seed to keep your salad bowl full for seasons to come.
My Pro Tip: Always, always harvest on a dry day with little to no wind. Those fluffy bits are literally designed to catch a breeze and fly away. Any dampness can also lead to clumping or mold, which is the last thing you want. A calm, dry afternoon is the ideal time to collect your future lettuce patch.
By bringing the stalks inside, you give any remaining seeds a chance to mature fully before you move on to drying and cleaning them.
Step 4: Drying and Threshing Your Lettuce Seeds
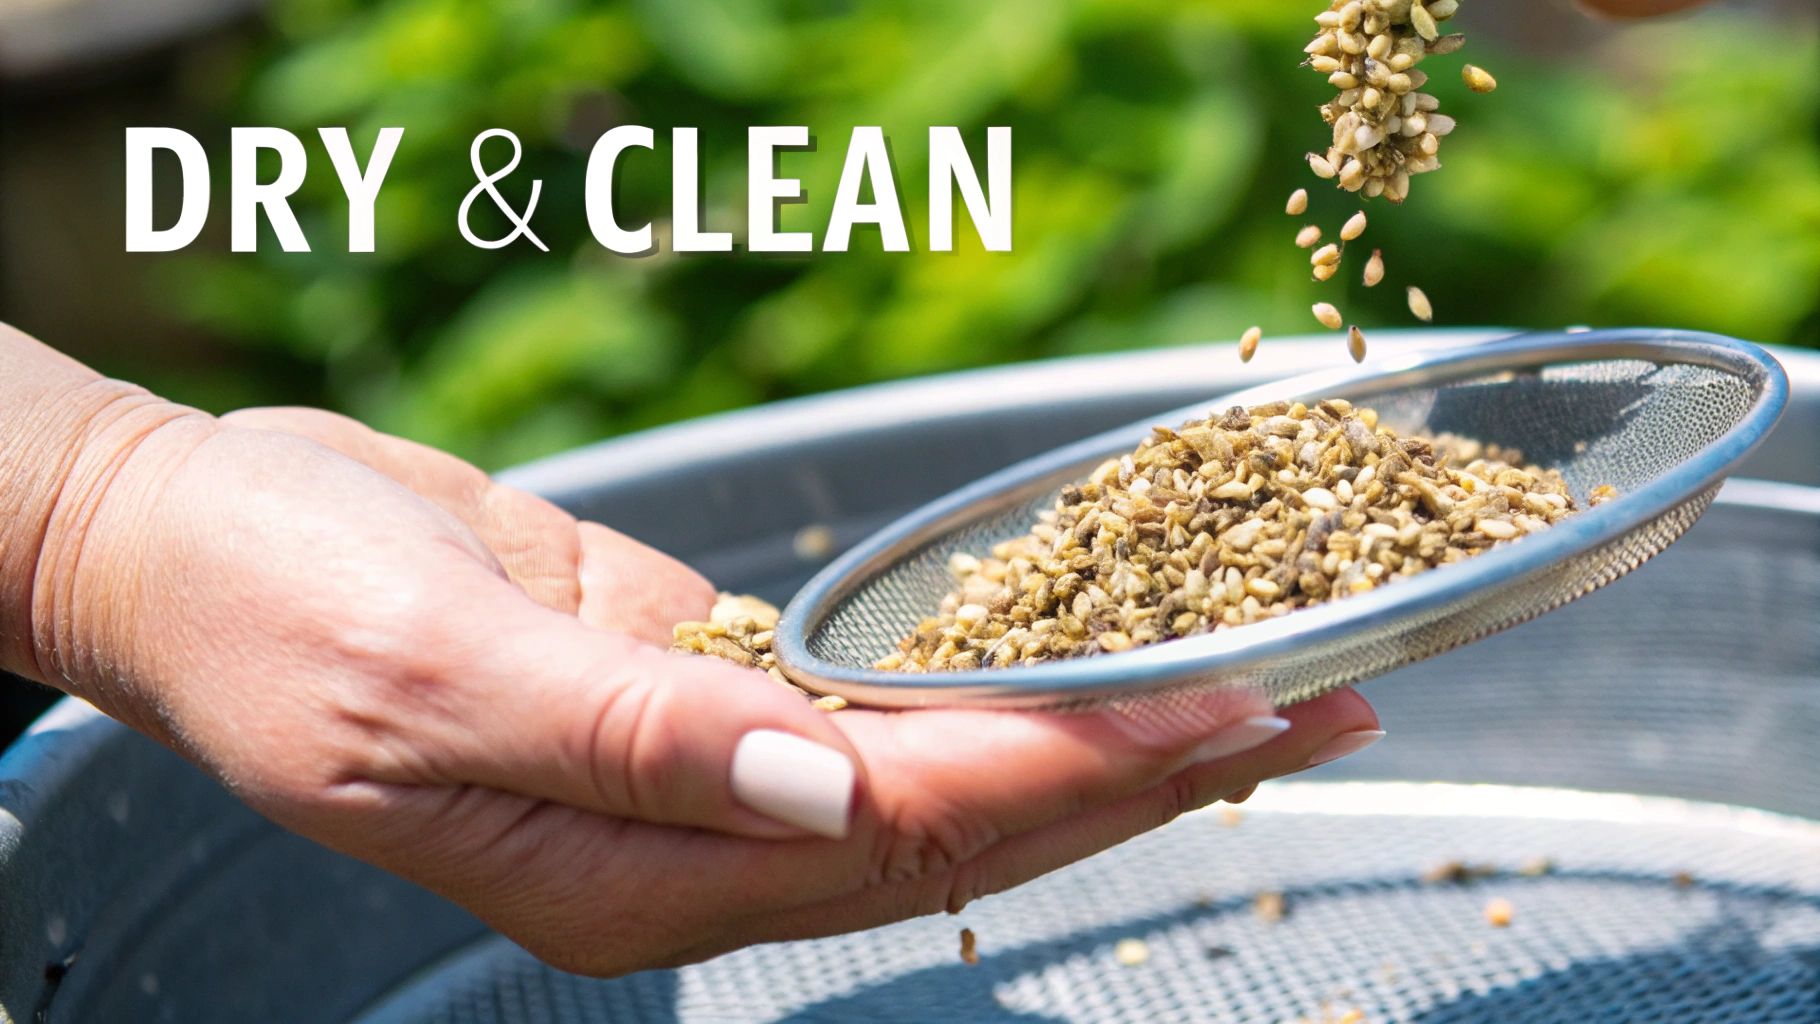
Now that you’ve brought your lettuce seed stalks indoors, you’re on the home stretch. This final bit of prep is what makes all the difference, ensuring your seeds will be viable and ready to go for next season. Getting the drying and processing right is how you transform those fluffy seed heads into a precious, storable resource.
First things first: be patient. You'll want to hang the stalks upside down in a spot with good air circulation, like a garage, shed, or even a spare closet. If you don't have a place to hang them, spreading them out on a screen or a clean tarp works just as well. Give them one to two weeks to cure until the stalks and seed heads are bone dry and snap cleanly.
It's pretty amazing to think that when we save seeds like this, we're tapping into a tradition that goes back thousands of years. Lettuce was actually cultivated for its seeds and oil in ancient Egypt over 4,000 years ago—long before it became the salad green we know today. You can learn more about the incredible history of lettuce in agriculture from Verified Market Research.
Releasing the Seeds from the Chaff
Alright, here comes the fun part: threshing. It sounds technical, but it’s really just the simple act of breaking the seeds free from the dried plant material, or "chaff." You don't need any fancy equipment for this.
Here are 3 tried-and-true methods that work beautifully:
- The Hand-Rub Method: This is my go-to. Just hold the brittle seed heads over a big bowl or bucket and gently rub them between your hands. The seeds will easily separate and fall right into your container.
- The Bag-Shake Method: Pop the seed heads into a large paper or cloth bag, close the top, and give it a good, vigorous shake. You’ll find the seeds have collected at the bottom.
- The Tarp-Stomp Method: If you have a huge harvest, lay the stalks on a clean tarp and simply walk—or even dance—all over them. It’s surprisingly effective at breaking everything apart for easy collection.
Gardener’s Tip: Don't stress about getting every speck of chaff out right now. The main goal here is to just break the seeds out of their pods. We'll clean them up properly in the next step, called winnowing.
Step 5: Cleaning and Storing Seeds for Next Season
You've done the hard work, and now you’re on the home stretch. The final step is cleaning and storing those precious seeds so they're ready for planting next year, or even the year after.
This final cleaning stage is called winnowing, and it's a surprisingly simple, time-honored technique. The goal is just to separate the good, heavy seeds from all the light, fluffy bits of plant material, or "chaff," that came along for the ride.
All you need to do is pour your dried, threshed mix from one container to another in front of a gentle fan or on a day with a light breeze. The heavier seeds will drop straight down into the second container, while the wind will catch the lighter chaff and blow it away. Just do this a couple of times, and you'll be left with a nice, clean pile of seeds.
The 3 Best Rules for Storing Your Seeds
Once your seeds are perfectly clean and, most importantly, completely dry, storage is everything. Think of it as putting them into a deep sleep until you’re ready to wake them up. The three things that will ruin your seeds are heat, light, and moisture. Your job is to protect them from all three.
Here's my go-to method for keeping seeds viable:
- Find an Airtight Home: Small glass jars with tight lids are perfect. You can also put seeds into paper envelopes and then place a bunch of those inside a larger sealed container, like a big mason jar or a plastic tub.
- Keep it Cool and Dark: A cool spot in a closet, a dry corner of the basement, or even a designated drawer in the refrigerator are all excellent choices. Consistency is key.
- Label Absolutely Everything: This feels like a small thing, but trust me, you'll thank yourself later. Always label your containers with the lettuce variety and the year the seeds were harvested. Future you will appreciate not having to guess.
For a much deeper dive into getting the longest possible life out of your seeds, check out our guide on how to store seeds long-term.
Saving your own seeds connects you to a tradition that gardeners have practiced for centuries. It's also part of a massive global market—the lettuce seed industry was valued at around USD 5 billion in 2023 and is only expected to grow. You can learn more about lettuce seed market trends on cognitivemarketresearch.com if you're curious.
Of course. Here is the rewritten section, designed to sound like an experienced gardener sharing their know-how.
Your 2 Biggest Lettuce Seed-Saving Questions, Answered
As you get the hang of saving lettuce seeds, a few questions are bound to come up. It happens to everyone. Let’s walk through some of the common things gardeners wonder about, so you can feel confident you’re on the right track.
1. Can I Save Seeds from Any Kind of Lettuce?
This is probably the most important question, and the answer makes all the difference. For the best, most reliable results, you’ll want to save seeds from open-pollinated or heirloom varieties.
Why? Because these plants grow "true-to-type." That means the seeds you save will produce new plants that are practically identical to the parent you loved. If you save seeds from a hybrid (often labeled F1) lettuce, you're in for a surprise—and usually not a good one. The next generation will be a genetic lottery, and you likely won't get the same tasty, beautiful lettuce.
2. How Can I Prevent My Lettuce Varieties from Cross-Pollinating?
Here’s some good news: lettuce is almost entirely self-pollinating. Cross-pollination between different varieties is pretty rare, which makes our job as seed-savers much easier.
However, if you're a purist and want to guarantee your ‘Black Seed Simpson’ stays pure, a little separation is a good idea. A buffer of 10-20 feet between different types of lettuce is a safe bet. I’ve also had great success planting a tall crop like pole beans or sunflowers between my lettuce patches to create a physical barrier.
My Two Cents: If you only remember one thing, make it this: stick with heirloom or open-pollinated lettuce. It’s the secret to getting consistent results. This ensures the wonderfully crisp, bolt-resistant lettuce you harvested this year will produce more of the same next season.
Ready to put this into practice? Explore our full collection of heirloom seeds and gardening supplies at Homegrown Garden. Find your next favorite variety today!

