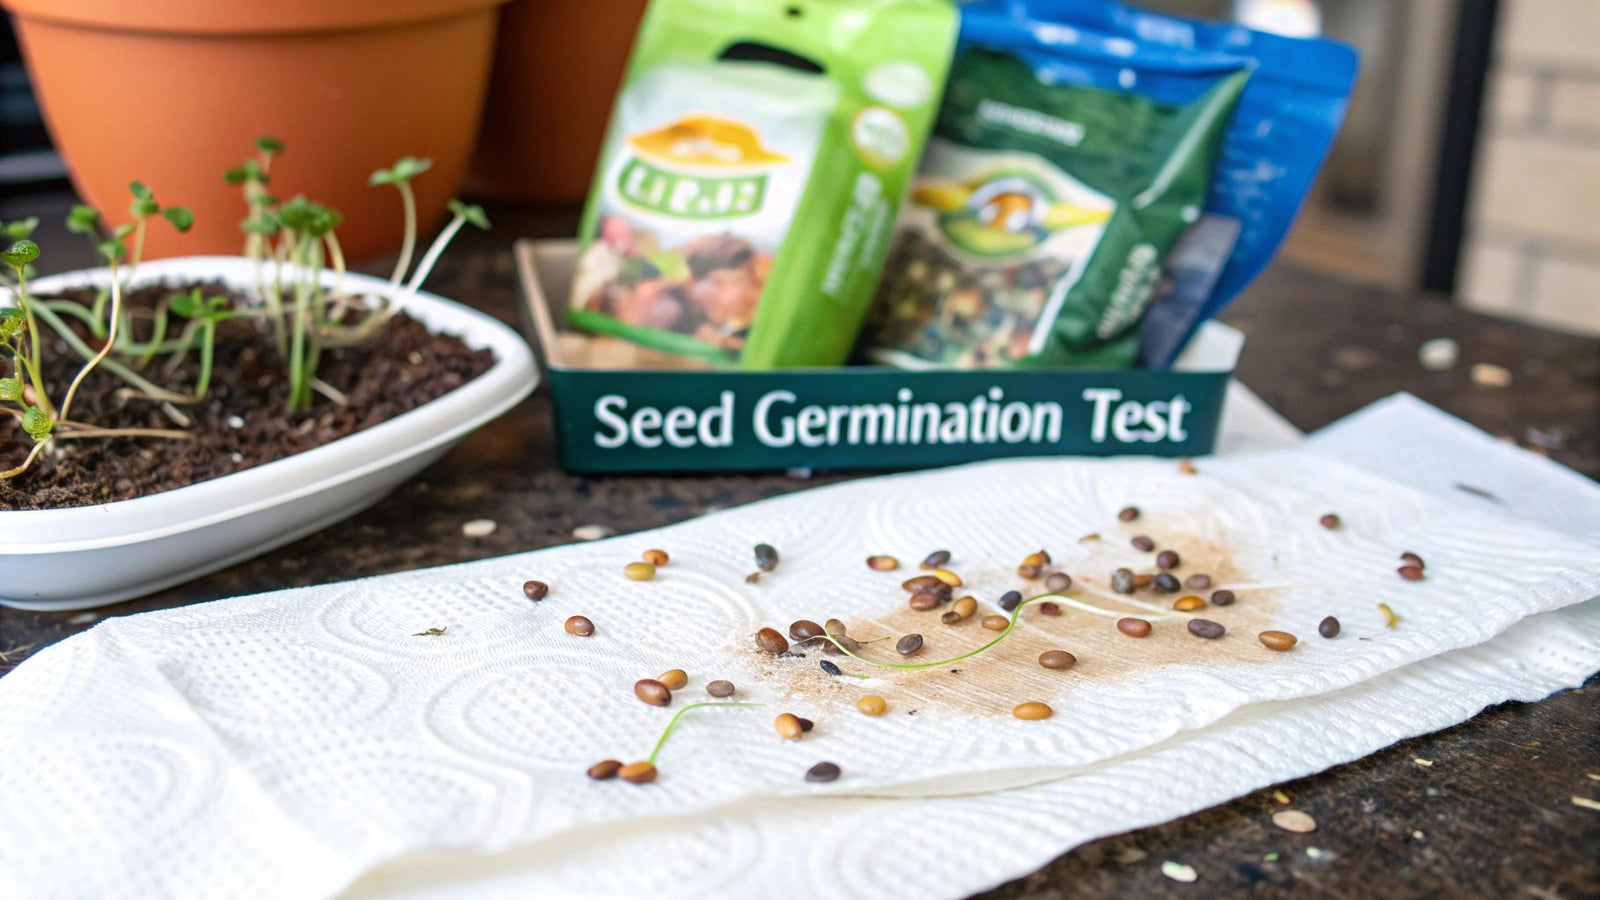
Ever wonder if that packet of seeds you've had for a few years is still any good? A simple seed germination test is the answer. It's a straightforward way to figure out if your seeds are still viable—that is, if they can still sprout and grow. By testing a small handful, you can calculate the germination rate before you commit to planting a whole crop, saving yourself a ton of time, effort, and the classic frustration of a failed garden bed.
Why a Seed Germination Test Is Your Garden's Secret Weapon
We’ve all been there. It’s that perfect spring weekend, and you’ve spent hours prepping a garden bed. You carefully plant rows of those special heirloom tomato seeds you’ve been saving, already picturing a summer full of fresh salsa and salads. But then… weeks go by. Nothing. The soil stays stubbornly bare. It's that sinking feeling when you realize your seeds were duds, and all that work was for nothing.
Now, let's rewind that scenario. Before you even touched the garden fork, you grabbed just ten of those old seeds and ran a quick germination test for seeds. A week later, you saw that only two of them had sprouted—a measly 20% success rate. Knowing that, you could make a smart call and buy a fresh packet. Your garden ends up thriving, and you completely sidestepped the disappointment of empty rows.
This little test is truly the secret weapon of experienced gardeners. It bridges the gap between just hoping for the best and knowing you've got a great chance at success. It empowers you to be smart with your most valuable resources: your time and energy.
More Than Just a Home Gardening Hack
This isn't just a trick for home gardeners; germination testing is a massive deal on a commercial scale. The global seed testing market is valued at around USD 859 million and is expected to climb past USD 1.45 billion by 2033. That number alone shows how vital these tests are for ensuring global food security and keeping farms productive. For major seed companies, a batch of seeds often needs to hit a germination rate of 85-90% or higher just to make it to market. You can dig into the economic impact of seed quality by reading reports from market analysts if you're curious.
By doing your own simple test, you're using the same core principle that underpins the entire agricultural industry. It’s a professional-level technique that pays off in your own backyard.
Specifically, it helps you:
- Avoid Wasting Garden Space: Every square foot of your garden is precious. A germination test ensures you're not giving that prime real estate to seeds that have no intention of growing.
- Save Money: Why buy new seeds every single year? You can confidently use older packets if you know they still pass the test.
- Plan Your Planting Density: A low germination rate isn't always a deal-breaker. If you know only 50% will sprout, you can simply sow your seeds a bit more thickly to get the full, lush rows you were hoping for.
Different seeds naturally have different shelf lives. Knowing what to expect is half the battle.
A Quick Guide to 14 Common Seed Germination Rates
This table gives you a rough idea of how long popular seeds stay viable and what germination rate you can expect from a fresh, properly stored packet. Keep in mind that your results will vary based on the age of the seeds and how they've been kept.
| Seed Type | Typical Viability Period | Expected Germination Rate |
|---|---|---|
| Onion | 1-2 years | 75-80% |
| Parsnip | 1-2 years | 60-70% |
| Corn | 2-3 years | 80-90% |
| Pepper | 2-3 years | 65-75% |
| Bean | 3-4 years | 80-85% |
| Carrot | 3-4 years | 70-75% |
| Pea | 3-4 years | 80-85% |
| Lettuce | 4-5 years | 80-85% |
| Radish | 4-5 years | 80-85% |
| Tomato | 4-6 years | 80-90% |
| Cucumber | 5-6 years | 85-90% |
| Melon | 5-6 years | 85-90% |
| Marigold | 2-3 years | 70-80% |
| Zinnia | 4-5 years | 75-85% |
Ultimately, a quick test is the only way to know for sure what you're working with. It's a small investment of time that delivers confidence and better results all season long.
7 Steps for an Accurate Seed Germination Test
Step 1: Gather Your 4 Essential Materials

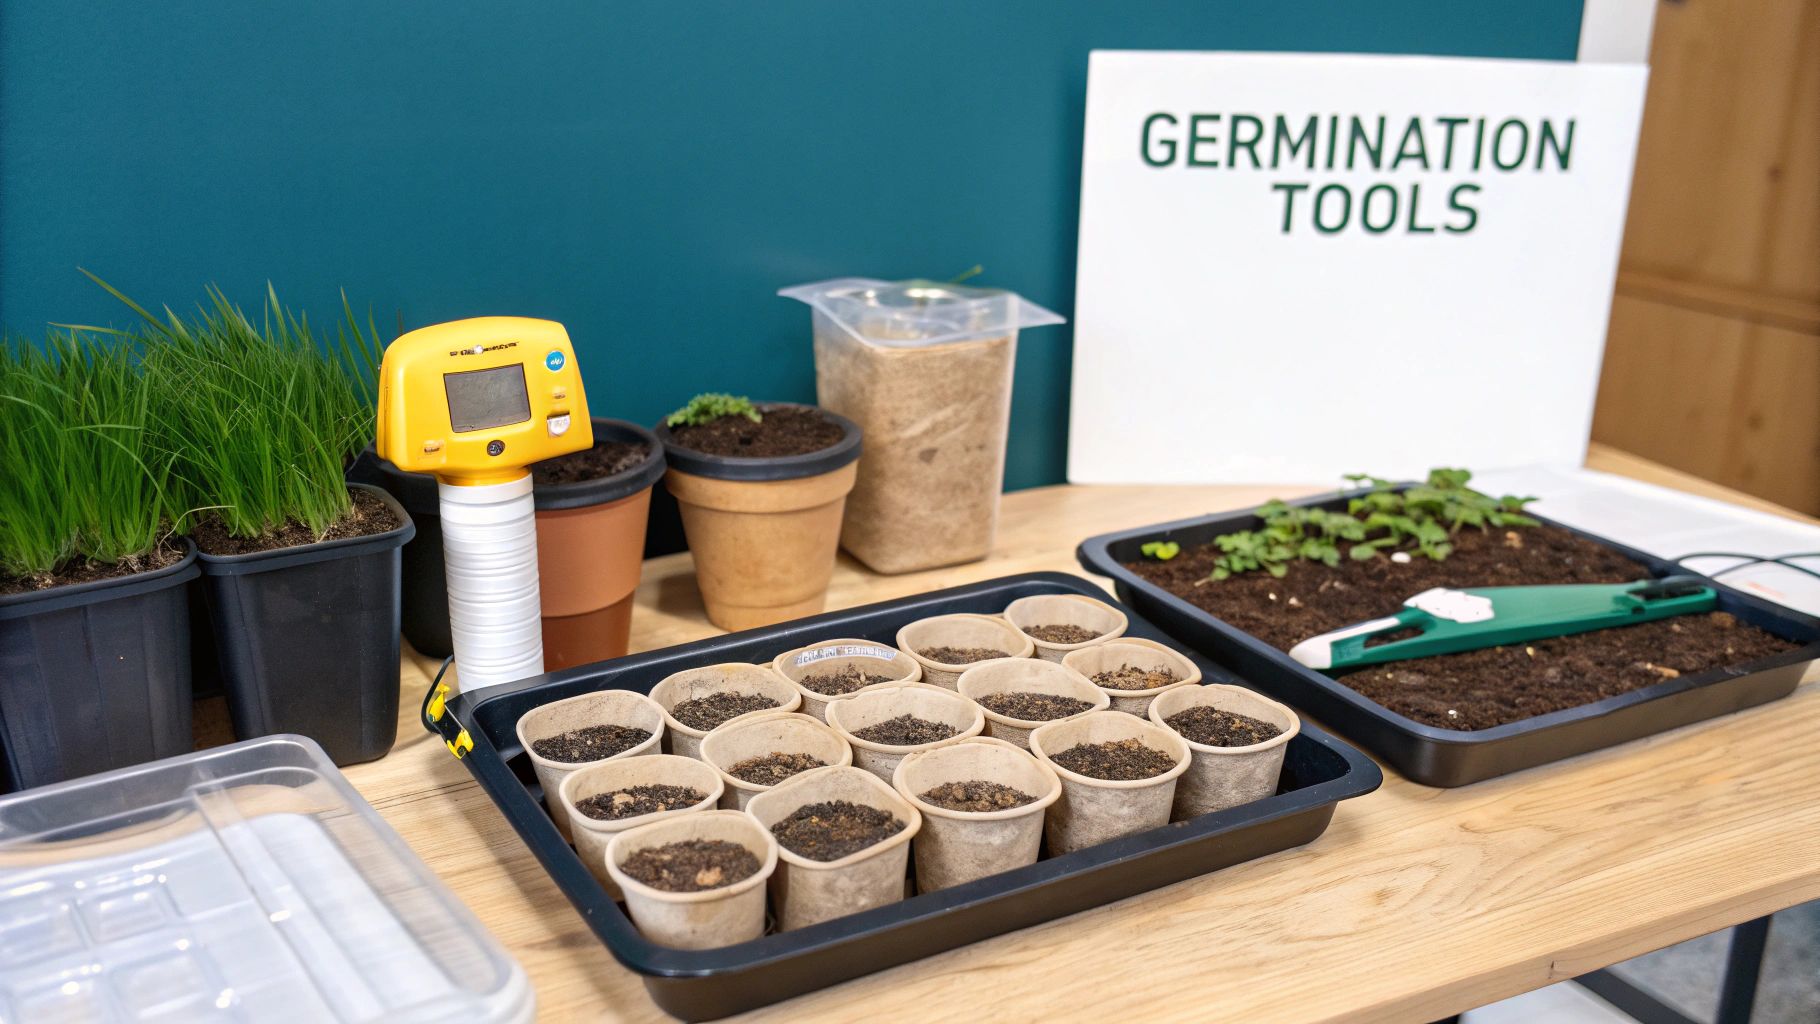
Before you can find out if those old seeds are still good, you need to pull a few things together. Think of it like a mini science experiment—getting your setup right from the start is the key to getting results you can trust. The good news? You probably have everything you need lying around the house.
- A Sample of Your Seeds: Grab 10 seeds for an easy-to-calculate sample size. If the seeds are very old or questionable, testing 20 can give you a more accurate picture.
- An Unbleached Paper Towel: Stick with a plain paper towel. Brands with added lotions, scents, or dyes can sometimes interfere with germination.
- Clean Water: Tap water is usually fine. If yours is heavily chlorinated, let it sit out for a day. Filtered or distilled water is the gold standard for avoiding unwanted minerals.
- A Sealable Plastic Bag: A zipper-style sandwich bag creates a mini-greenhouse, trapping humidity so your paper towel doesn't dry out.
- A Permanent Marker: Don't forget to label the bag with the seed variety and date. Trust me, this will save you a lot of confusion.
Step 2: Prepare the Seeds and Paper Towel
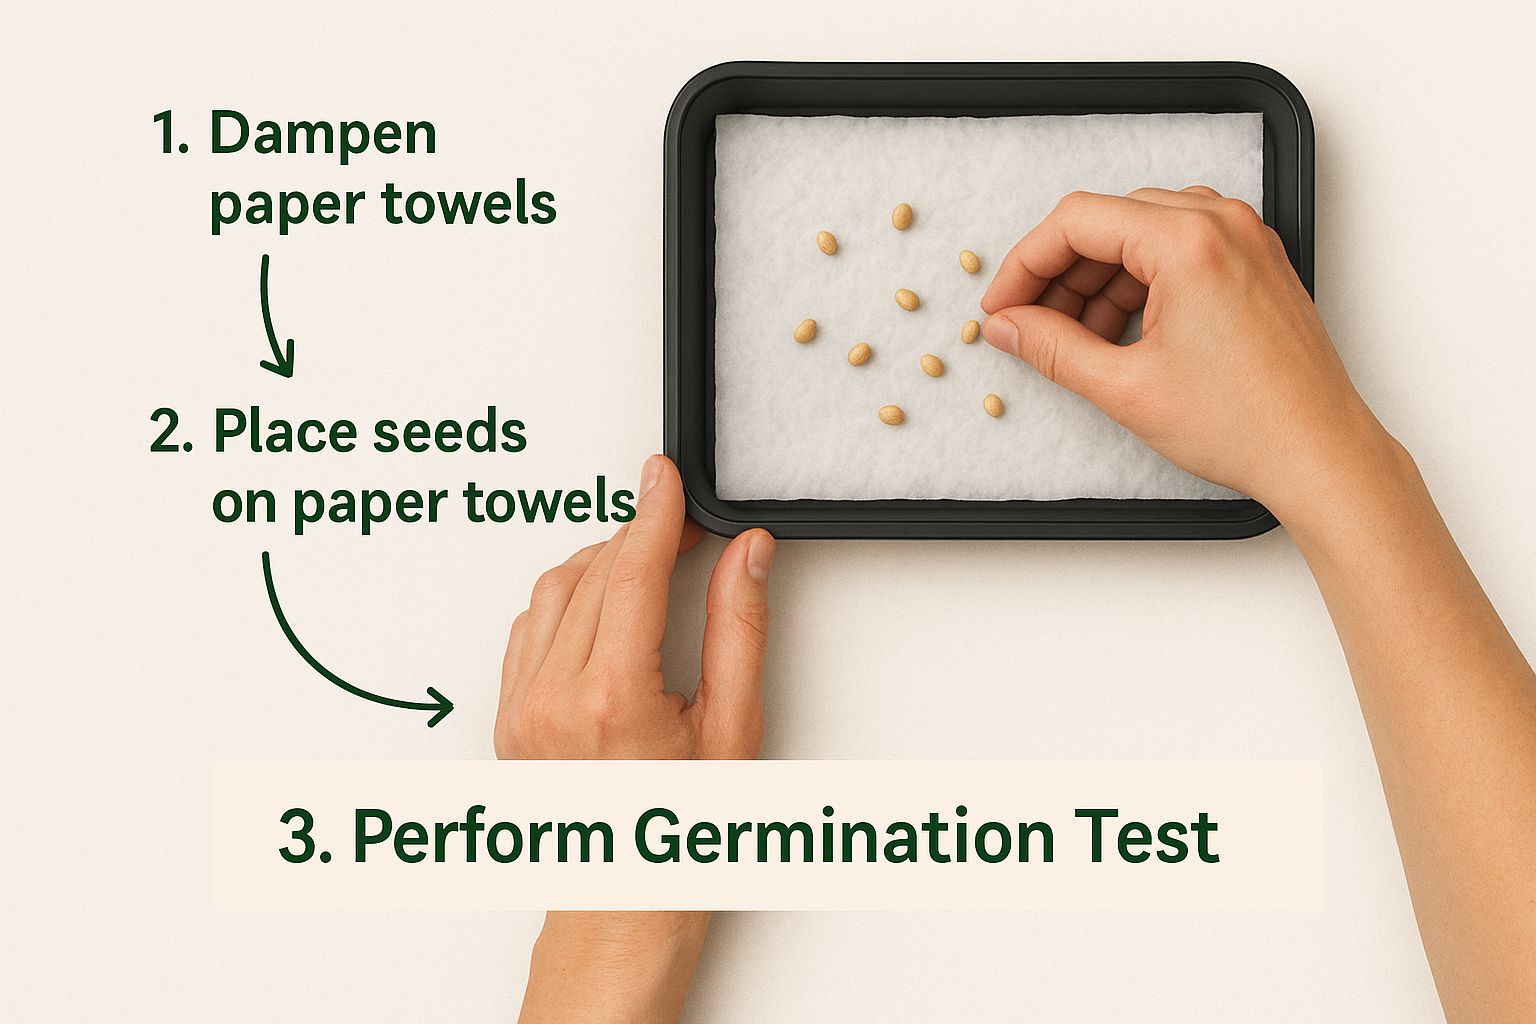
First, let's get that paper towel ready. You're aiming for damp, not soaking wet. A spray bottle is perfect for an even mist. If you don't have one, run the towel under a gentle stream of water and carefully wring it out until it’s no longer dripping.
Now, lay the damp towel out flat. On one half, carefully arrange your 10 seeds. Give them about an inch of space on all sides to ensure even moisture and prevent any potential mold from spreading.

Step 3: Fold and Bag for Germination
With your seeds in place, gently fold the other half of the damp paper towel over them. Press down lightly to create good contact between the seed and the towel, which signals that it's time to wake up.
Next, slide the folded paper towel into your pre-labeled plastic bag. Gently push out most of the air before you seal it. This creates that perfect mini-greenhouse environment, trapping humidity and preventing the paper towel from drying out. For more in-depth techniques, you can learn by mastering the art of seed germination at home.
Step 4: Find the Perfect Sprouting Spot

Now, where do you put this little science experiment? The single most important factor is consistent warmth. Most common garden seeds don't need light to germinate; they need a steady temperature to signal that it's time to grow.
You're looking for a spot that stays at a stable temperature, ideally between 65-75°F (18-24°C). Avoid a sunny windowsill where temperature swings can stress the seeds. Here are 4 reliable warm spots:
- On top of the refrigerator
- Near a water heater
- Next to electronics like a computer tower or modem
- On a seedling heat mat for precise control
This simple home test is a small-scale version of what happens in the massive global agriculture industry. The market for professional seed testing services, which heavily features the germination test for seeds, was valued at nearly USD 1.2 billion. It's fascinating to see how our little garden experiments connect to the expanding global seed testing market and worldwide farming. For more on timing, check out our guide on when to start seeds indoors.
Step 5: Wait and Check Gently
Patience is key. Every seed has its own internal clock. A radish might sprout in three days, while a pepper could take two weeks. Start peeking around day five or seven. When you check, be incredibly gentle. Unfold the paper towel carefully, taking care not to bump or break any of the tiny, fragile first roots (radicles).
Step 6: Calculate Your Germination Rate
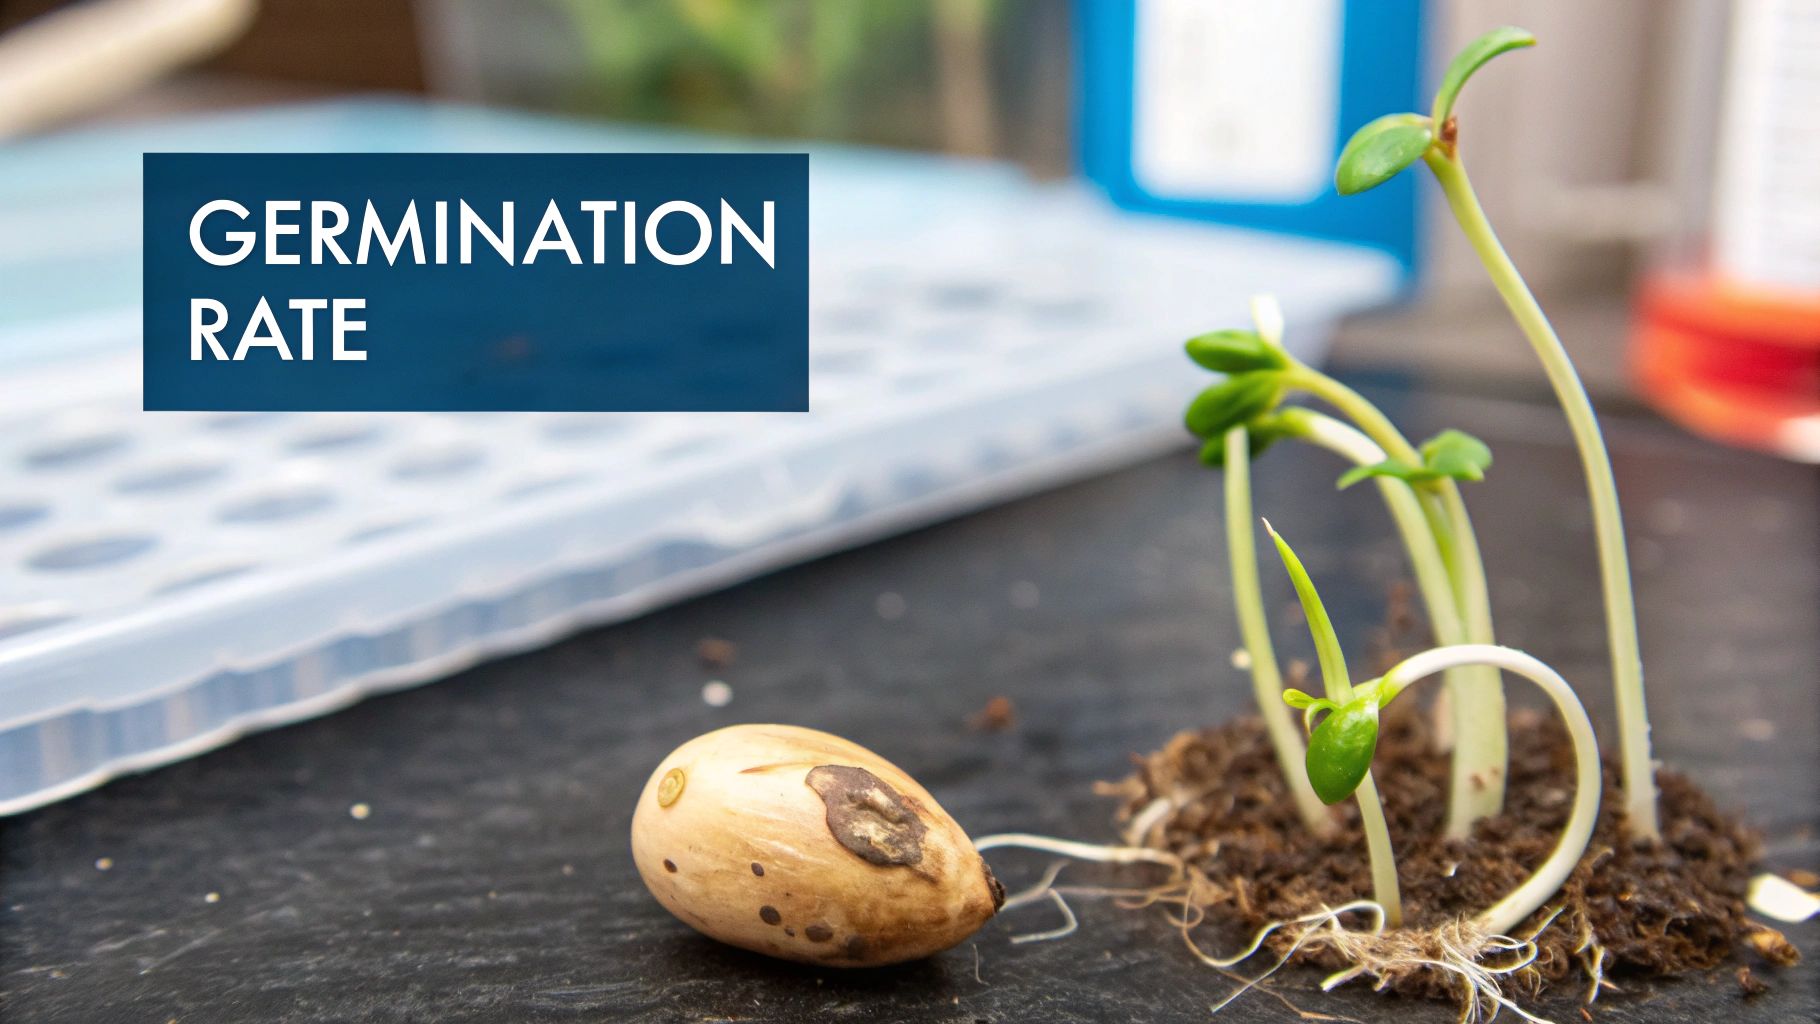
After about 10 to 14 days, it's time to do the math. This simple percentage tells you how viable your seeds are.
Here’s the formula:
(Number of Sprouted Seeds ÷ Total Number of Seeds Tested) x 100 = Germination Rate %
For example, if you tested 10 tomato seeds and 8 sprouted:
(8 ÷ 10) x 100 = 80%
That’s an 80% germination rate—a great result! You can confidently plant these seeds. For more helpful strategies, check out our guide on 10 tips for sowing and germination.
Even pros are always looking for better ways to predict performance. Scientists recently developed a new mathematical model using water content to predict germination, potentially boosting crop profitability by 10-20%. You can read more about this advancement in seed germination models if you're curious.
Step 7: Interpret Your Results and Plan Your Planting
This number is the key to a real-world planting strategy. A fantastic germination rate is great news, but a lower number just means you need to be more strategic.
Here’s a simple 3-part action plan based on your results:
| Germination Rate (%) | What It Means | Recommended Action |
|---|---|---|
| 85% or Higher | Excellent Viability. These seeds are fresh, vigorous, and ready to grow. | Follow the seed packet directions. Sowing one or two seeds per spot is perfect. |
| 50% - 84% | Good to Fair Viability. These seeds are still in the game, but expect some duds. | Compensate by planting more densely. Sow two to three seeds per hole to guarantee at least one healthy seedling. |
| Below 50% | Poor Viability. The low success rate makes them unreliable for your main planting. | Your best bet is to buy a fresh packet. If you must use them, sow very thickly (4-5 seeds per spot) and expect patchy results. |
3 Common Germination Test Problems and How to Fix Them
Sometimes, the test itself hits a snag. A failed test is a learning opportunity that usually points to a fixable problem.
- You got zero sprouts. This usually means one of three things: the seeds are too old, the environment was too cold (most need 65-75°F / 18-24°C), or the paper towel dried out completely.
- You see fuzzy white or green mold. This is a sign of too much moisture. Your paper towel should be damp, not sopping wet. It can also mean your water wasn't clean or the seeds were too crowded.
- Only a couple of seeds sprouted, and at different times. This is classic for older seeds or an unstable temperature. Fluctuating temps can confuse seeds. Finding a consistently warm spot is key.
Answering Your 3 Biggest Seed Germination Questions
Even after a test or two, questions come up. Here are answers to the most common ones.
1. Can I Plant the Seeds That Sprouted in My Test?
Absolutely! Just be incredibly gentle. Use fine-tipped tweezers to grab the seed coat, not the fragile white root (radicle). Have a pot with damp soil ready, make a small hole with a pencil tip, and place the seed in with the root pointing down. Mist the surface gently with a spray bottle.
2. How Long Do Seeds Really Last?
It depends. Some seeds, like onion and parsnip, lose viability after just 1-2 years. Others, like cucumber and melon, can last 5-6 years when stored properly. The secret is keeping them cool, dark, and bone dry. A sealed jar in the back of your fridge is perfect.
3. Will This Paper Towel Method Work for All Seeds?
For most common garden vegetables and annuals, yes. But there are a few exceptions:
- Seeds That Need Light: Lettuce and dill need light to germinate. For these, do the same test but inside a clear glass dish on a bright windowsill instead of a dark bag.
- Seeds That Need Special Treatment: Some seeds need a process like scarification (nicking the seed coat) or stratification (a cold, damp period) to break dormancy. This must be done before you start the paper towel test.
Ready to put your knowledge into practice? At Homegrown Garden, we have a huge selection of high-quality heirloom seeds, from unique vegetables to stunning flowers, that are perfect for your next project. Explore our collection and start growing with confidence today.


