


Container gardening transforms patios, balconies, and windowsills into vibrant, productive ecosystems, offering a powerful way to cultivate fresh food and beautiful flowers without a traditional yard. Whether you're a seasoned gardener with limited space or a beginner eager to dig in, mastering the fundamentals is key to achieving a flourishing and bountiful harvest. Success isn't just about adding soil to a pot; it's about creating a miniature, optimized environment where plants can thrive.
This how-to guide provides 8 essential, actionable container gardening tips that deliver real results. We will explore expert strategies for everything from selecting the perfect container and creating premium soil blends to mastering watering schedules and implementing smart planting combinations. You will learn not just what to do, but why each step is critical for plant health and productivity.
Forget the trial-and-error approach that leads to disappointing results. These techniques are designed to give you precise control over your garden's most important variables: drainage, nutrition, sunlight, and pest prevention. Prepare to elevate your container garden from a simple hobby to a flourishing source of fresh herbs, vegetables, and flowers, all from the convenience of your own small space.
1. Choose the Right Container Size and Drainage
The foundation of successful container gardening lies in selecting appropriately sized containers with adequate drainage. The size of your pot directly dictates the available space for root growth, which in turn affects the overall health, size, and productivity of your plant. Proper drainage is equally critical, as it prevents water from pooling at the base, which leads to root rot, fungal diseases, and eventual plant death. These two elements work hand-in-hand to create a healthy environment for your plants to thrive.
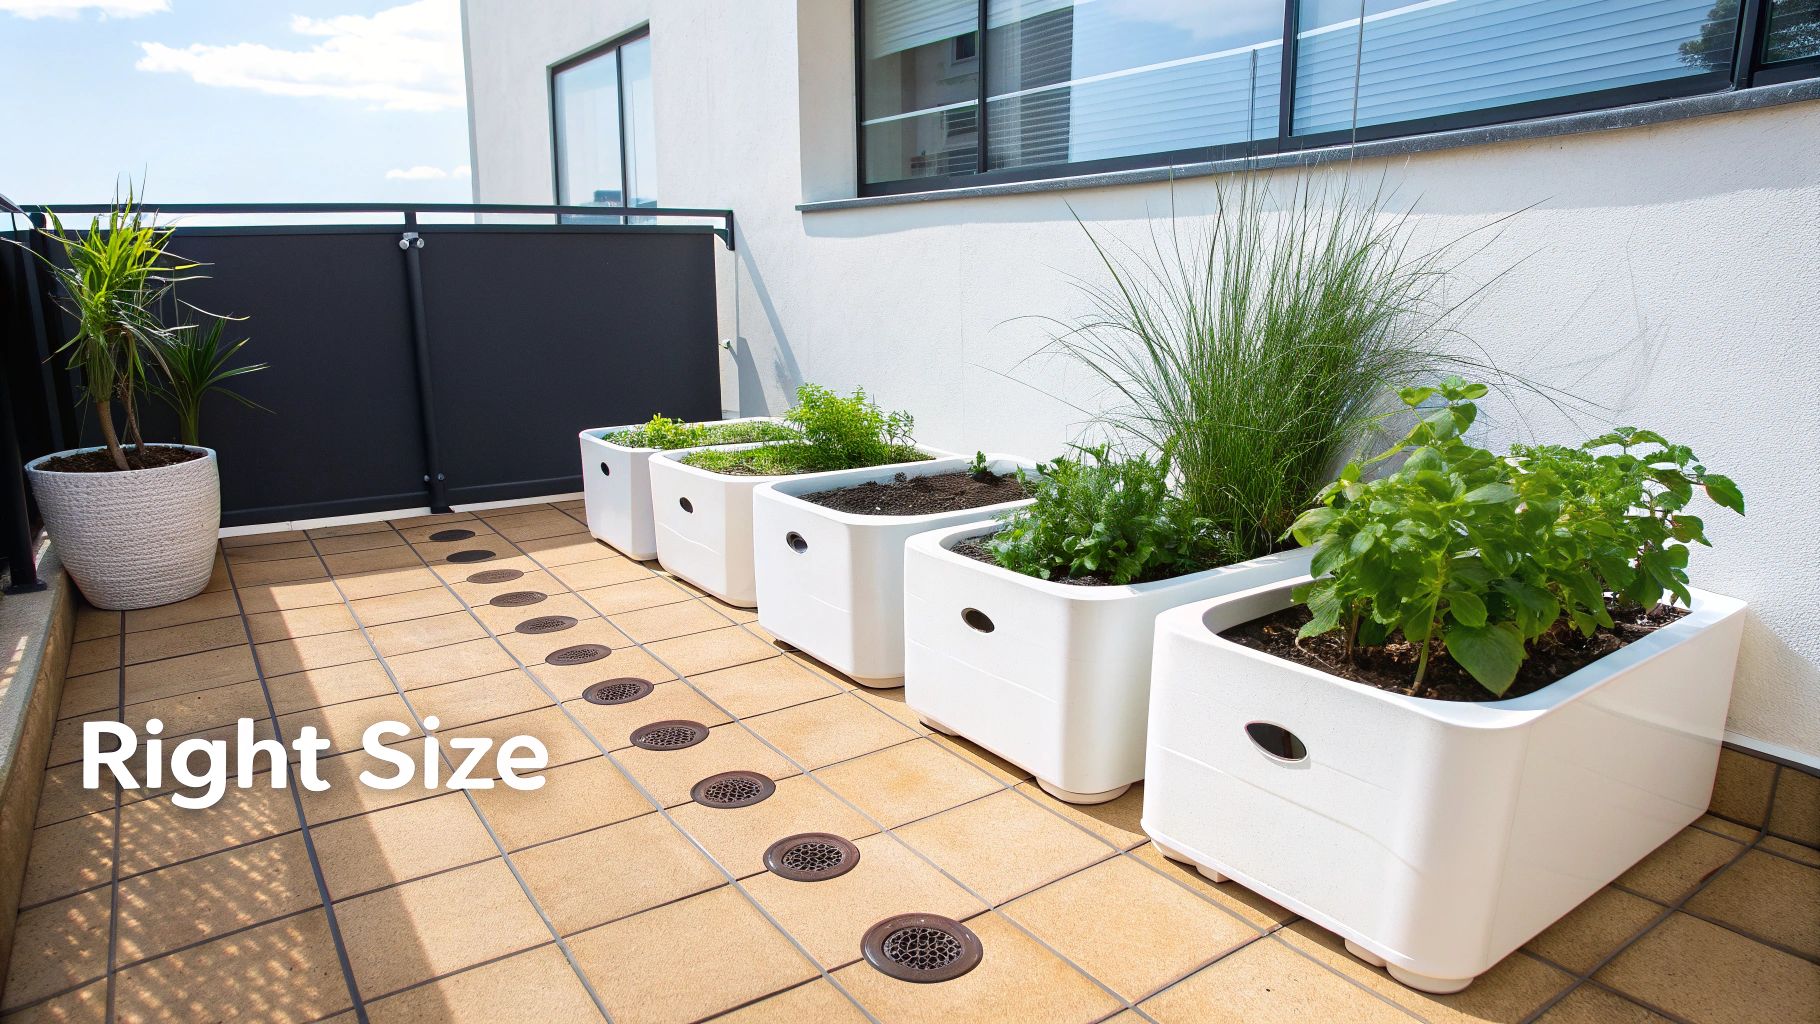
Choosing the right container is one of the most foundational container gardening tips because it sets the stage for everything that follows. A pot that is too small will restrict root growth, causing the plant to become "root-bound," stunt its growth, and require constant watering. Conversely, a pot that is too large can hold excess moisture that the plant's small root system cannot absorb, creating a risk for root rot.
Why Size and Drainage Matter
The right container provides a stable physical and nutritional environment. For instance, a small 6-inch pot is perfect for a single basil or mint plant on a sunny windowsill, providing enough room for its modest root system. However, attempting to grow a tomato plant in that same pot would lead to failure. A determinate (bush) tomato variety requires at least a 5-gallon container, while larger, indeterminate varieties need 10-20 gallons to support their extensive root systems and vigorous growth. Urban gardeners successfully grow dwarf fruit trees on rooftops by using massive 20-gallon or larger containers, mimicking the space they would have in the ground.
4 Easy Ways to Ensure Proper Drainage
To ensure you get it right from the start, follow these practical guidelines:
- Check for Drainage Holes: Before you buy any pot, turn it over. It must have one or more drainage holes at the bottom. If it doesn’t, you can often drill your own in plastic, wood, or metal containers. For ceramic or terracotta, use a specialized drill bit to avoid cracking.
- Elevate Your Containers: Don't let your pots sit flat on a solid surface like a concrete patio or a wooden deck. Use "pot feet," bricks, or small wooden blocks to lift the container slightly. This small gap allows excess water to drain freely and promotes air circulation around the base, preventing water stains and rot.
- Perform a Drainage Test: After potting your plant, water it thoroughly until you see water running out of the bottom. The excess water should drain completely within a minute or two. If it takes longer, your soil mix may be too dense or the drainage holes might be blocked.
- Consider Self-Watering Options: For thirsty plants or gardeners who travel, self-watering containers are an excellent choice. These pots feature a built-in reservoir that wicks water up to the soil as needed, providing a consistent moisture level and reducing the frequency of watering.
2. Select High-Quality Potting Mix
Just as crucial as the container itself is what you fill it with. Using a premium potting mix specifically formulated for containers is a non-negotiable step for success. Many beginners make the mistake of scooping soil from their garden bed, but this is a fatal error. Garden soil is heavy, contains weed seeds and potential pathogens, and compacts severely in a pot, leading to poor drainage, suffocated roots, and ultimately, a dead plant. A quality potting mix provides the perfect balance of aeration, moisture retention, and structural support that container plants need to flourish.
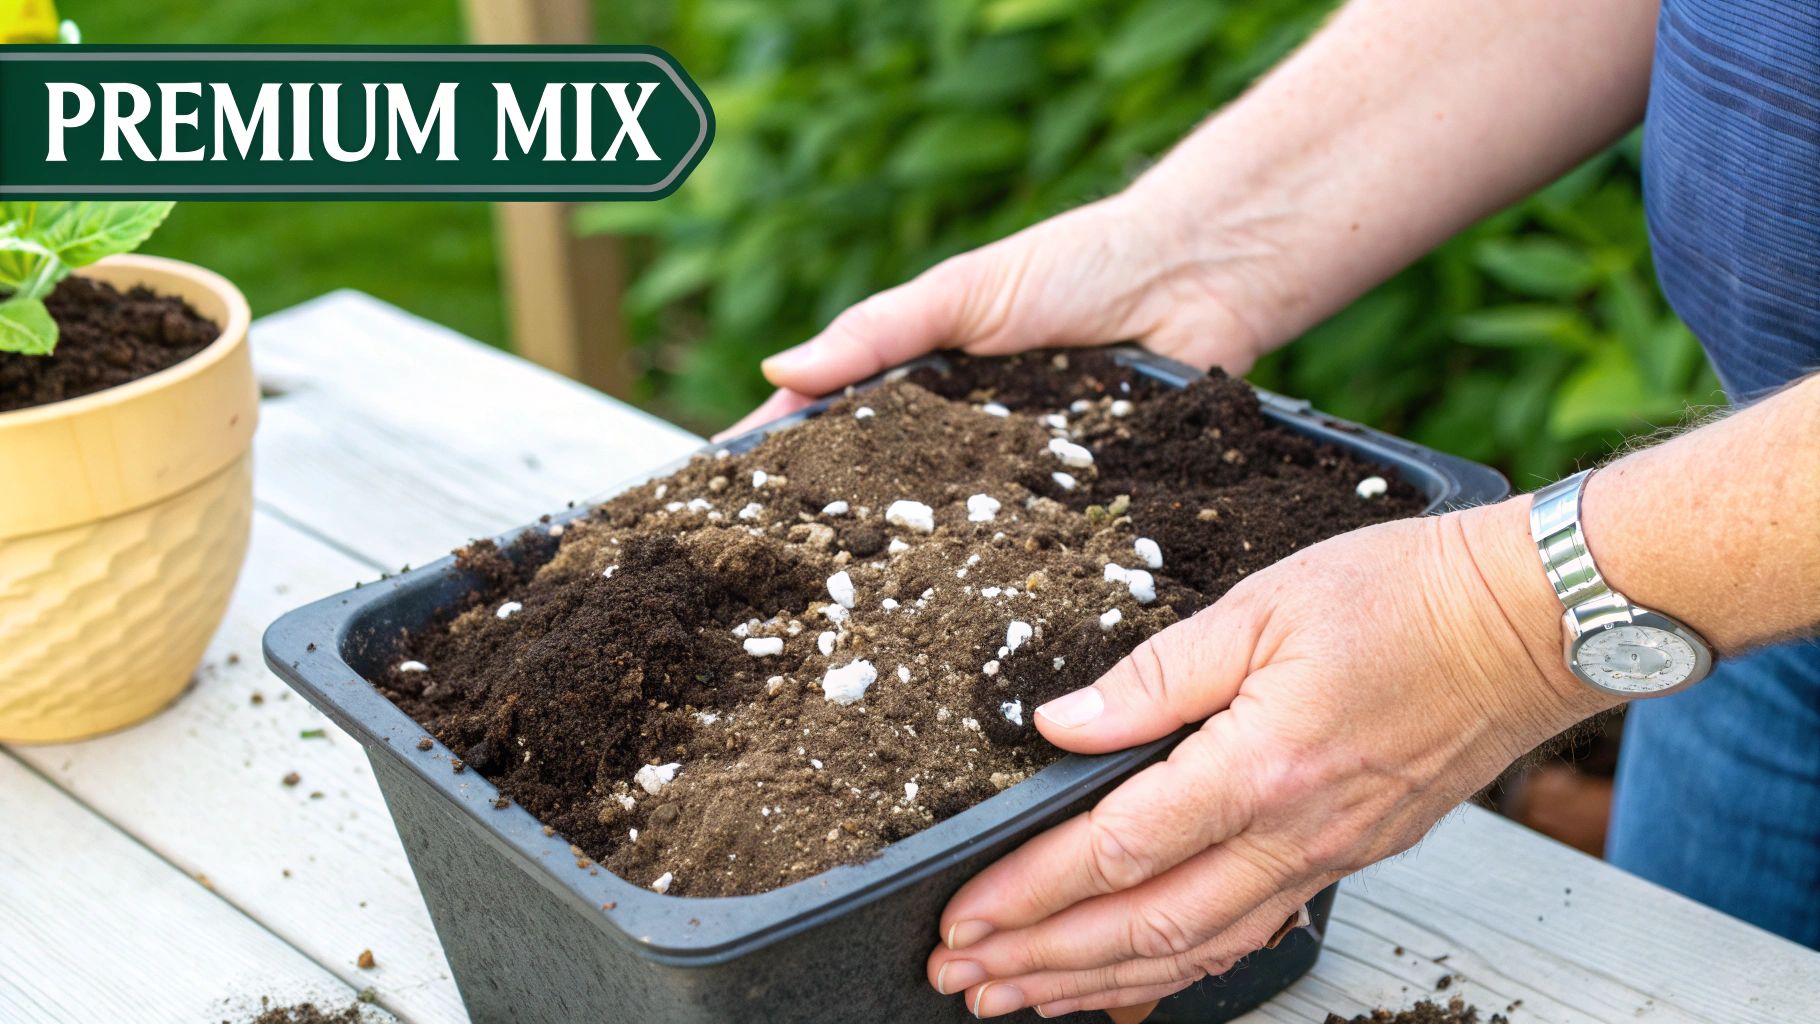
This is one of the most impactful container gardening tips because the growing medium is your plant's entire world. Unlike in a garden where roots can spread out in search of nutrients and water, a container plant is completely dependent on the mix you provide. High-quality mixes, like those from FoxFarm or Proven Winners, are engineered to be light and fluffy, ensuring oxygen can reach the roots while still holding onto enough water to prevent constant wilting.
Why a Quality Mix is a Game-Changer
The difference between using garden soil and a purpose-built potting mix is stark. For example, commercial growers at professional nurseries rely on soilless media like Sunshine Mix or Pro-Mix to produce healthy, uniform plants for sale. Studies and home garden experiments have shown that plants grown in a quality potting mix can exhibit up to 300% better growth and yield compared to those in compacted garden soil. The ideal mix creates a root environment that mimics the perfect, loamy soil found in nature, but without the weight and drainage issues.
4 Best Practices for Potting Mix
To give your plants the best possible foundation, follow these expert guidelines:
- Read the Ingredients: Look for mixes containing ingredients like peat moss or coir for moisture retention, perlite or vermiculite for aeration, and compost or worm castings for slow-release nutrients. Some premium mixes, like those from FoxFarm, include beneficial microbes and mycorrhizae to enhance root development and nutrient uptake.
- Boost Your Bagged Mix: While great on their own, you can easily enhance a basic potting mix. A simple and effective strategy is to add about 25% high-quality compost or worm castings to the mix. This boosts the nutrient content and improves the soil structure for long-term plant health.
- Store It Properly: Don't leave your bag of unused potting mix open to the elements. This invites pests like fungus gnats to lay eggs in the moist soil. Store any leftover mix in a sealed container, like a lidded bucket or a heavy-duty tote, to keep it dry and pest-free for your next project.
- Avoid Moisture-Retaining Crystals: While they sound helpful, mixes containing moisture-retaining crystals can be problematic for outdoor containers, especially in rainy climates. They can become oversaturated, creating a waterlogged, swamp-like condition at the root level that leads to root rot. These are better suited for indoor houseplants that are watered more sparingly.
3. Master Proper Watering Techniques
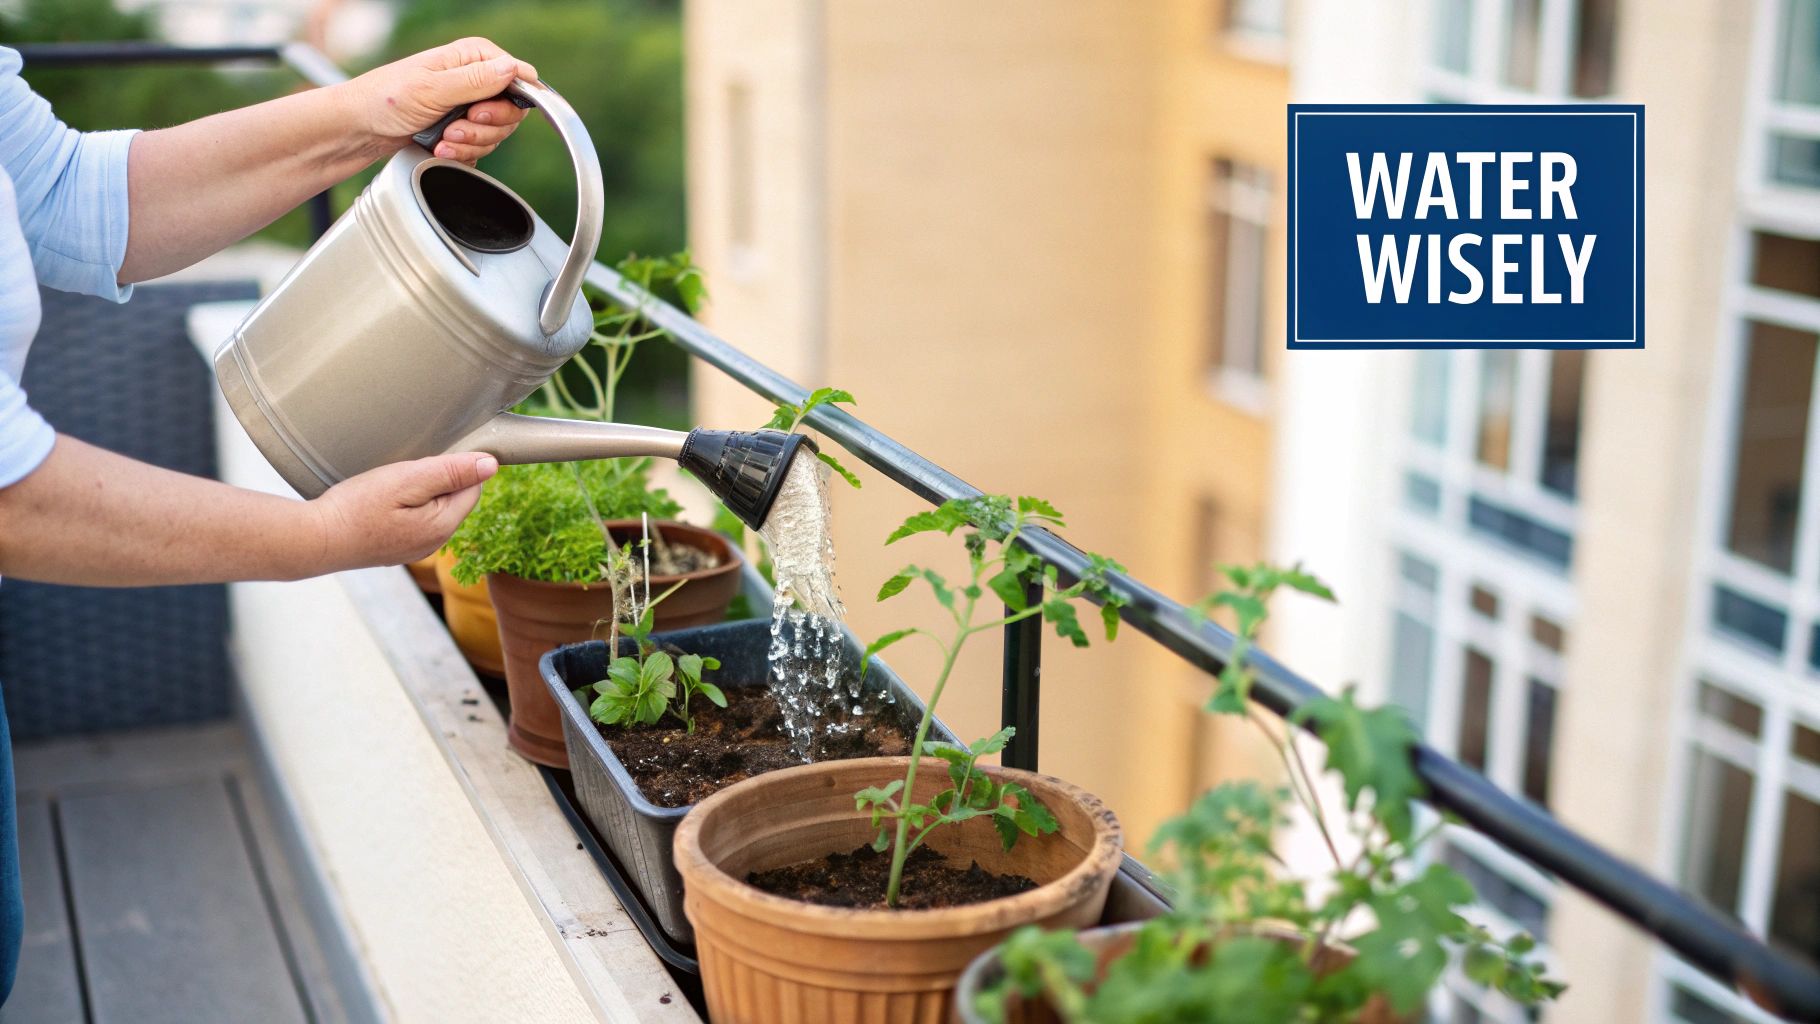
Proper watering is arguably the most crucial day-to-day task in container gardening, yet it is also the easiest to get wrong. Unlike plants in the ground, container-grown plants are entirely dependent on you for moisture. Their limited soil volume dries out quickly due to sun and wind exposure on all sides, but poor drainage can just as easily lead to waterlogged roots, suffocation, and fatal root rot. Mastering the art of watering is about finding that perfect balance to prevent both under-watering and over-watering.
Learning how to water correctly is one of the most impactful container gardening tips you can implement. The right technique promotes deep, healthy root growth, while the wrong one can stress the plant, invite pests, and cause diseases. The key is to provide consistent moisture without creating a swampy environment at the bottom of the pot.
Why Watering Technique Matters
A plant's hydration needs fluctuate based on container size, material (terracotta dries faster than plastic), weather, and the plant's growth stage. A consistent watering schedule, such as watering every other day, often fails because it ignores these variables. For instance, a small lavender plant in a clay pot during a heatwave might need water daily, while a large hosta in a self-watering container in the shade may only need it once a week. Drip irrigation systems used in commercial nurseries and smart moisture sensors adopted by tech-savvy home gardeners demonstrate the value of providing water precisely when and where it's needed, eliminating guesswork.
4 Proven Methods for Perfect Watering
To develop a reliable watering routine, integrate these proven methods into your gardening practice:
- Do the Finger Test: The most reliable method is to check the soil manually. Insert your finger about one to two inches deep. If the soil feels dry at that depth, it’s time to water. If it feels moist, wait another day and check again. This simple test prevents both over and under-watering.
- Water Deeply and Thoroughly: When you do water, do it generously. Pour water slowly and evenly over the soil surface until it begins to flow freely from the drainage holes at the bottom. This ensures the entire root ball is saturated, encouraging roots to grow downward rather than just near the surface.
- Add a Layer of Mulch: Apply a 1 to 2-inch layer of organic mulch, like shredded bark, straw, or wood chips, on top of the soil. Mulch acts as a barrier, significantly reducing water evaporation from the sun and wind, which means you'll need to water less frequently.
- Group Plants with Similar Needs: Arrange your containers so that plants with high water requirements (like ferns and tomatoes) are grouped together, separate from those that prefer drier conditions (like succulents and lavender). This strategy streamlines your watering routine and ensures each plant gets the right amount of moisture.
4. Optimize Light Conditions and Placement
Strategic container placement to maximize appropriate light exposure is essential for plant health and productivity. Unlike fixed garden beds, containers offer the unique advantage of mobility. This allows gardeners to adjust plant positions based on seasonal sun patterns, plant growth stages, and the specific light requirements of each variety. Getting the light right is one of the most impactful container gardening tips for ensuring vigorous growth and bountiful harvests.
Mastering light conditions is crucial because it directly fuels photosynthesis, the process plants use to create energy. A sun-loving tomato plant will fail to produce fruit in a shady corner, while a delicate fern will scorch on a south-facing balcony exposed to intense afternoon sun. The ability to move your garden allows you to perfectly match the plant to its ideal environment, a luxury that in-ground gardeners don't have.
Why Light and Placement Matter
The right placement creates an optimal micro-environment that can make or break your gardening success. For instance, a rooftop gardener in a hot climate might use wheeled platforms to move their citrus trees to a spot with afternoon shade during the peak of summer to prevent leaf scorch. Similarly, a balcony gardener can use pulley systems to raise and lower hanging baskets, ensuring tender herbs like cilantro don't get blasted by the most intense midday sun, which can cause them to bolt prematurely. Even commercial growers use automated bench systems to move thousands of plants for light optimization, highlighting the importance of this principle at every scale.
5 Smart Ways to Optimize Light
To ensure your container plants receive the ideal amount of light, follow these practical guidelines:
- Track the Sun: Before placing your pots, observe your space throughout the day and across different seasons. Note which areas get morning sun (gentler) versus afternoon sun (harsher) and for how many hours. This "sun map" is invaluable for placement.
- Use Wheeled Platforms: For heavy containers like half-whiskey barrels or large ceramic pots, place them on plant dollies or wheeled platforms before you fill them. This makes it effortless to move them as the sun's path changes with the seasons.
- Create Microclimates: Group your plants strategically. Place taller, sun-loving plants like sunflowers or corn in a position where they can cast partial shade over more sensitive, shorter plants like lettuce or spinach during the hottest part of the day.
- Install Reflective Surfaces: If you have a particularly shady corner, you can boost light levels by placing reflective surfaces nearby. A simple white-painted wall or even strategically placed mylar panels can bounce sunlight back onto your plants, increasing available light.
- Supplement with Grow Lights: For low-light apartments or to get a head start on the season, grow lights are a game-changer. You can use them to ensure seedlings get the 14-16 hours of light they need to grow strong, even on cloudy days. To get started with indoor lighting, you can learn more about how to start an indoor garden and find the right setup for your space.
5. Implement a Regular Fertilization Schedule
Container plants are heavy feeders, requiring a more consistent fertilization routine than their in-ground counterparts. Because nutrients are finite within the limited soil volume of a pot and are regularly flushed out with each watering, a systematic approach to feeding is essential. Implementing a regular fertilization schedule ensures your plants have continuous access to the vital nutrients needed for lush foliage, abundant flowers, and robust fruit production throughout their entire life cycle.
Adopting a feeding schedule is one of the most impactful container gardening tips because it directly addresses the nutrient depletion unique to potted environments. Unlike a garden bed with a complex soil food web, a container relies entirely on you to replenish its nutritional bank account. Failing to do so leads to stunted growth, yellowing leaves (chlorosis), and poor yields, as the plant quickly exhausts the initial nutrients present in the potting mix.
Why a Fertilization Schedule is Crucial
A consistent schedule prevents the "feast and famine" cycle that can stress plants. For example, commercial growers utilize precise fertigation systems, injecting perfectly balanced liquid nutrients with every watering to maximize tomato yields. On a smaller scale, home gardeners can double their herb harvest by simply adopting a bi-weekly feeding of a balanced liquid fertilizer like that from Jack's Fertilizer, which promotes constant, vigorous new growth. Organic container farms often rely on regularly scheduled applications of compost tea to provide a broad spectrum of living microbes and readily available nutrients.
5 Effective Ways to Feed Your Plants
To create a simple yet effective fertilization plan, follow these practical guidelines:
- Start Slow and Steady: When first introducing a new fertilizer, especially a synthetic one, begin with a half-strength solution. This prevents shocking the plant's roots and allows you to observe how it responds before increasing to the recommended dosage.
- Time Your Feedings: The most active growth period for most plants is during spring and summer. During this time, apply a balanced liquid fertilizer every 2 to 4 weeks. Reduce frequency in the fall and winter when plant growth naturally slows.
- Adjust for Different Growth Stages: Tailor your fertilizer to the plant's needs. Use a balanced formula for general growth, but switch to a high-phosphorus "bloom booster" fertilizer when plants like petunias or tomatoes begin to set buds. This encourages more flowers and fruit.
- Monitor Plant Health: Your plants will tell you what they need. Yellowing lower leaves can indicate a nitrogen deficiency, while weak stems might signal a lack of potassium. Conversely, burnt leaf tips can be a sign of over-fertilization, so be prepared to flush the soil with plain water if this occurs.
- Incorporate Slow-Release Options: For a lower-maintenance approach, mix a granular, slow-release organic fertilizer like those from Espoma into your potting mix at the beginning of the season. This provides a steady, baseline level of nutrition that is supplemented by your liquid feedings.
6. Choose Appropriate Plant Varieties
Selecting plant varieties specifically bred for container growing or naturally suited to confined spaces dramatically improves success rates. Not all plants are created equal when it comes to living in a pot. Choosing compact, dwarf, and determinate varieties ensures that your plants will thrive within the physical limitations of a container, rather than struggling against them. This strategic selection is one of the most impactful container gardening tips for achieving a lush, productive garden in a small space.
Choosing the right variety is crucial because it aligns the plant's natural growth habit with the environment you can provide. A standard, sprawling zucchini plant might take over an entire small patio, but a compact bush variety will produce a generous harvest in just a few square feet. Similarly, an indeterminate tomato that wants to grow over six feet tall is a constant battle in a pot, whereas a patio variety is perfectly content in its container.
Why Plant Variety Matters
The right variety maximizes your space and minimizes your effort. For example, gardeners can successfully grow full-sized fruit on dwarf apple or lemon trees in 15-gallon containers on a balcony, an impossible feat with a standard-sized tree. Patio tomato varieties like 'Tiny Tim' and 'Red Robin' are bred to stay under 18 inches tall while producing abundant, full-flavored cherry tomatoes. In the same vein, bush-type cucumbers or beans eliminate the need for extensive trellising, making them ideal for gardeners with limited vertical space.
This concept has been championed by seed companies like Burpee and Johnny's Selected Seeds, who curate collections specifically for container and small-space gardeners. Their work makes it easier than ever to find plants that are genetically programmed to succeed in pots.
4 Easy Ways to Pick the Right Plants
To set yourself up for a successful harvest, apply these practical guidelines when choosing your plants:
- Look for Key Words: Scan seed packets and plant labels for descriptive terms like 'patio,' 'dwarf,' 'compact,' 'mini,' or 'bush.' These words are your best indicators that a variety is well-suited for container life.
- Pick Determinate Tomatoes: For tomatoes, always choose "determinate" or "bush" varieties. They grow to a fixed, manageable size, produce their fruit in a concentrated period, and don't require the heavy-duty staking that "indeterminate" (vining) types do.
- Select Cut-and-Come-Again Plants: Many herbs (like basil, parsley, and cilantro) and leafy greens (like lettuce and kale) thrive in containers because they respond well to frequent harvesting, which keeps them compact and encourages new growth.
- Choose Trailing Varieties for Hanging Baskets: For hanging baskets or elevated planters, look for trailing or cascading varieties. Plants like wave petunias, trailing lobelia, or strawberries like 'Toscana' will create a beautiful spilling effect. Learn more about the best vegetables for containers on homegrown-garden.com to get more specific ideas.
7. Practice Succession Planting and Companion Planting
To truly maximize the productivity of your limited container space, you need to think beyond single, one-time plantings. Strategic techniques like succession planting and companion planting can transform a simple pot into a dynamic, continuously producing mini-ecosystem. Succession planting ensures you have a steady harvest throughout the growing season, while companion planting optimizes space, enhances growth, and can even provide natural pest control. These methods are essential for getting the most out of every square inch.
Implementing these advanced strategies is one of the most impactful container gardening tips for moving from a basic setup to a highly efficient urban farm. Instead of planting a crop, harvesting it, and leaving the container empty, you create a seamless cycle of growth. This approach keeps your soil active and your pantry full, making it a favorite technique among intensive growers, from rooftop restaurant gardens to balcony enthusiasts.
Why Succession and Companion Planting Matter
These methods work in tandem to boost the health and yield of your container garden. Succession planting is about timing; it involves staggering your plantings of the same crop or following one crop with another to avoid an "all at once" harvest and subsequent lull. Companion planting is about synergy; it involves pairing plants that benefit each other, such as by providing physical support, deterring pests, or improving soil conditions. For example, a restaurant that needs a constant supply of fresh lettuce will plant a new row of seeds every two weeks, ensuring a perpetual harvest. A home gardener can adapt the Native American "Three Sisters" method (corn, beans, squash) to a large container, where the corn provides a trellis for the beans, the beans fix nitrogen in the soil, and the squash mulches the ground to retain moisture.
5 Smart Ways to Maximize Your Harvest
To turn your containers into productive powerhouses, integrate these smart planting tactics:
- Create a Planting Calendar: Plan your season. For fast-growing crops like radishes, lettuce, or spinach, sow a small batch of seeds every 2-3 weeks. As you harvest one batch, the next will be ready to take its place.
- Pair Opposites: Combine plants with different growth habits to maximize space. Plant shallow-rooted herbs like thyme or oregano around the base of a deep-rooted carrot or tomato plant. This uses both the surface and deeper soil layers efficiently.
- Use Living Trellises: Plant tall, sturdy plants like sunflowers or corn in a large container and use them as natural supports for vining plants like pole beans or cucumbers, eliminating the need for separate trellises.
- Follow Heavy Feeders with Light Feeders: After a nutrient-hungry crop like tomatoes or broccoli is finished, replenish the soil with compost and follow it with a light feeder like beans, peas, or leafy greens. This helps manage soil fertility naturally.
- Leverage Aromatic Herbs: Plant potent herbs like basil, rosemary, and mint alongside your vegetables. Basil is known to repel tomato hornworms and aphids, while mint can deter cabbage moths. This creates a natural, fragrant pest barrier.
8. Monitor and Manage Pests and Diseases
Container gardens, while convenient, can create unique challenges for pest and disease management. The close proximity of plants, limited airflow, and potential stress from confined root systems can make them susceptible to infestations. Proactive monitoring and integrated pest management (IPM) are essential for maintaining healthy plants without immediately resorting to harsh chemical interventions. This approach focuses on prevention and early detection to keep problems manageable.
Keeping a vigilant eye on your plants is one of the most effective container gardening tips because small problems can escalate quickly in a confined environment. Integrated Pest Management is not a single solution but a holistic strategy that combines biological, cultural, and physical controls to prevent pests and diseases. By understanding this ecosystem, you can create a resilient and productive container garden.
Why Proactive Management Matters
A proactive approach prevents small issues from becoming overwhelming infestations that could wipe out your entire garden. For instance, a few aphids on a single pepper plant are easy to manage, but an unchecked population can quickly spread to every plant on your balcony. Urban rooftop gardeners often install beneficial insect hotels to attract ladybugs and lacewings, which naturally control aphid populations. Similarly, commercial container growers use biological controls, like releasing predatory mites, to manage spider mite outbreaks before they cause significant damage.
5 Proactive Ways to Control Pests
To keep your container garden healthy and thriving, incorporate these IPM practices into your routine:
- Inspect Plants Daily: The best time to check for pests is during your daily watering. Look at the undersides of leaves, stems, and new growth for common pests like aphids, spider mites, and whiteflies. Early detection is your greatest advantage.
- Use Sticky Traps: Place yellow sticky traps near your plants to monitor and capture flying pests. These traps are not a cure, but they act as an excellent early warning system, letting you know which pests are present before their populations explode.
- Promote Good Air Circulation: Avoid cramming too many containers together. Leave adequate space between pots to allow air to circulate freely. This simple step helps reduce humidity around the foliage, making conditions less favorable for fungal diseases like powdery mildew.
- Prune and Remove Affected Parts: At the first sign of disease (like black spots or mildew) or a heavy pest infestation on a specific leaf or branch, prune it off immediately. Dispose of the infected material away from your garden to prevent the problem from spreading.
- Apply Organic Solutions First: For soft-bodied pests like aphids, mites, and mealybugs, turn to gentle, targeted treatments first. Insecticidal soap or neem oil are highly effective when applied directly to pests and are much safer for beneficial insects and the environment than broad-spectrum chemical pesticides. For more detailed strategies, you can learn more about how to get rid of plant pests.
Container Gardening Tips Comparison Table
| Aspect | Choose the Right Container Size and Drainage | Select High-Quality Potting Mix | Master Proper Watering Techniques | Optimize Light Conditions and Placement | Implement Regular Fertilization Schedule | Choose Appropriate Plant Varieties | Practice Succession & Companion Planting | Monitor and Manage Pests and Diseases |
|---|---|---|---|---|---|---|---|---|
| Implementation Complexity 🔄 | Medium - requires container selection and setup | Low to Medium - purchase and select appropriate mix | Medium - daily monitoring and careful watering | Medium - requires knowledge and frequent container movement | Medium to High - regular and specific fertilizing needed | Low to Medium - choose suitable varieties | High - needs detailed planning and timing coordination | High - requires daily inspection and integrated management |
| Resource Requirements ⚡ | Moderate - quality containers, drainage materials, more soil | Moderate - premium potting mix is costlier | Moderate to High - frequent water use, possible irrigation tools | Moderate - light tracking tools, movable platforms | Moderate - fertilizers, equipment, and monitoring tools | Low to Moderate - specific seeds or transplants | Moderate - variety of seeds, planting space, timing | Moderate - trap materials, barriers, organic treatments |
| Expected Outcomes 📊 | Prevents root problems; enhances plant health and nutrient uptake | Superior drainage and aeration; healthier plants | Prevents drought and waterlogging; improves root and nutrient health | Optimized growth and season extension; better space utilization | Improved growth, yield, and nutrient availability | Better container fit and productivity; disease resistance | Continuous harvest and pest control; maximized space efficiency | Early pest detection; reduced disease spread; healthier plants |
| Ideal Use Cases 💡 | Urban gardens, balconies, greenhouses requiring tailored containers | Container gardening needing soil optimization | Gardens with varying water needs; tech-enabled or manual watering | Small spaces with variable sunlight; movable plant setups | Containers needing frequent nutrient replacement | Small/limited space gardeners seeking compact plants | Intensive container growers maximizing output | Container growers facing pest/disease pressure |
| Key Advantages ⭐ | Prevents plant stress from poor drainage; supports root health | Lightweight, sterile, nutrient-balanced mix | Prevents common watering mistakes; enhances root development | Flexibility to adjust placement; extends growing season | Controlled nutrient delivery; increased yield | Space-efficient; often less maintenance | Prolonged yields; natural pest control | Targeted, chemical-light pest management |
Your Thriving Container Garden Awaits
We've explored eight foundational pillars that elevate container gardening from a simple hobby to a rewarding and productive practice. Moving beyond the basics, you are now equipped with a comprehensive toolkit of advanced container gardening tips designed to ensure your patios, balconies, and windowsills flourish. The journey from a few potted plants to a thriving, vibrant oasis is built on understanding and implementing these core principles. It's not about a single secret, but rather the powerful synergy of getting the details right.
Let's quickly revisit the cornerstones of your success. It all begins with the vessel itself; choosing the right container size with adequate drainage is non-negotiable. This decision directly impacts root health, water retention, and the ultimate potential of your plants. From there, we established that soil is not just dirt; a high-quality, well-aerated potting mix is the lifeblood of your garden, providing the structure and nutrients your plants need to thrive from day one.
From Good Intentions to Great Results
Mastering the art and science of watering is often the biggest hurdle for new gardeners. By learning to check soil moisture instead of watering on a rigid schedule, you avoid the twin perils of overwatering and underwatering. Similarly, understanding and optimizing your specific light conditions, whether it's the intense afternoon sun on a west-facing balcony or the dappled light of a covered patio, allows you to match the right plant to the right place, setting the stage for vigorous growth.
Of course, even the best soil can't sustain hungry plants indefinitely. A consistent, well-timed fertilization schedule replenishes the essential nutrients that your plants consume, especially heavy feeders like tomatoes and zucchini. This regular feeding is the key to unlocking bigger blooms, more flavorful herbs, and bountiful harvests throughout the season.
Strategic Planting for Long-Term Success
The most successful container gardeners are also savvy strategists. Choosing plant varieties specifically bred for compact growth ensures your garden doesn't become an overgrown, unmanageable tangle. By embracing techniques like succession planting, you can extend your harvest season, enjoying fresh greens and radishes from early spring through late fall. Complementing this with companion planting not only maximizes your use of space but also creates a more resilient ecosystem, naturally deterring pests and attracting beneficial insects.
Finally, proactive vigilance is your best defense. Regularly monitoring for early signs of pests and diseases allows you to intervene with targeted, often organic, solutions before a small problem becomes a full-blown infestation. These interconnected container gardening tips form a holistic system. A properly watered plant in good soil and adequate light is inherently more resistant to pests, creating a virtuous cycle of health and abundance. Your role is not just as a caretaker, but as the architect of a small-scale, high-performance ecosystem. The path is clear, the strategies are proven, and your thriving container garden is no longer a distant dream, but an achievable reality waiting for you to bring it to life.
Ready to put these expert tips into action? Find everything you need, from container-friendly heirloom seeds to premium organic potting mixes, at Homegrown Garden. We provide the high-quality supplies and curated plant varieties to help you build the container garden you've always envisioned. Start your growing journey with Homegrown Garden today!

