

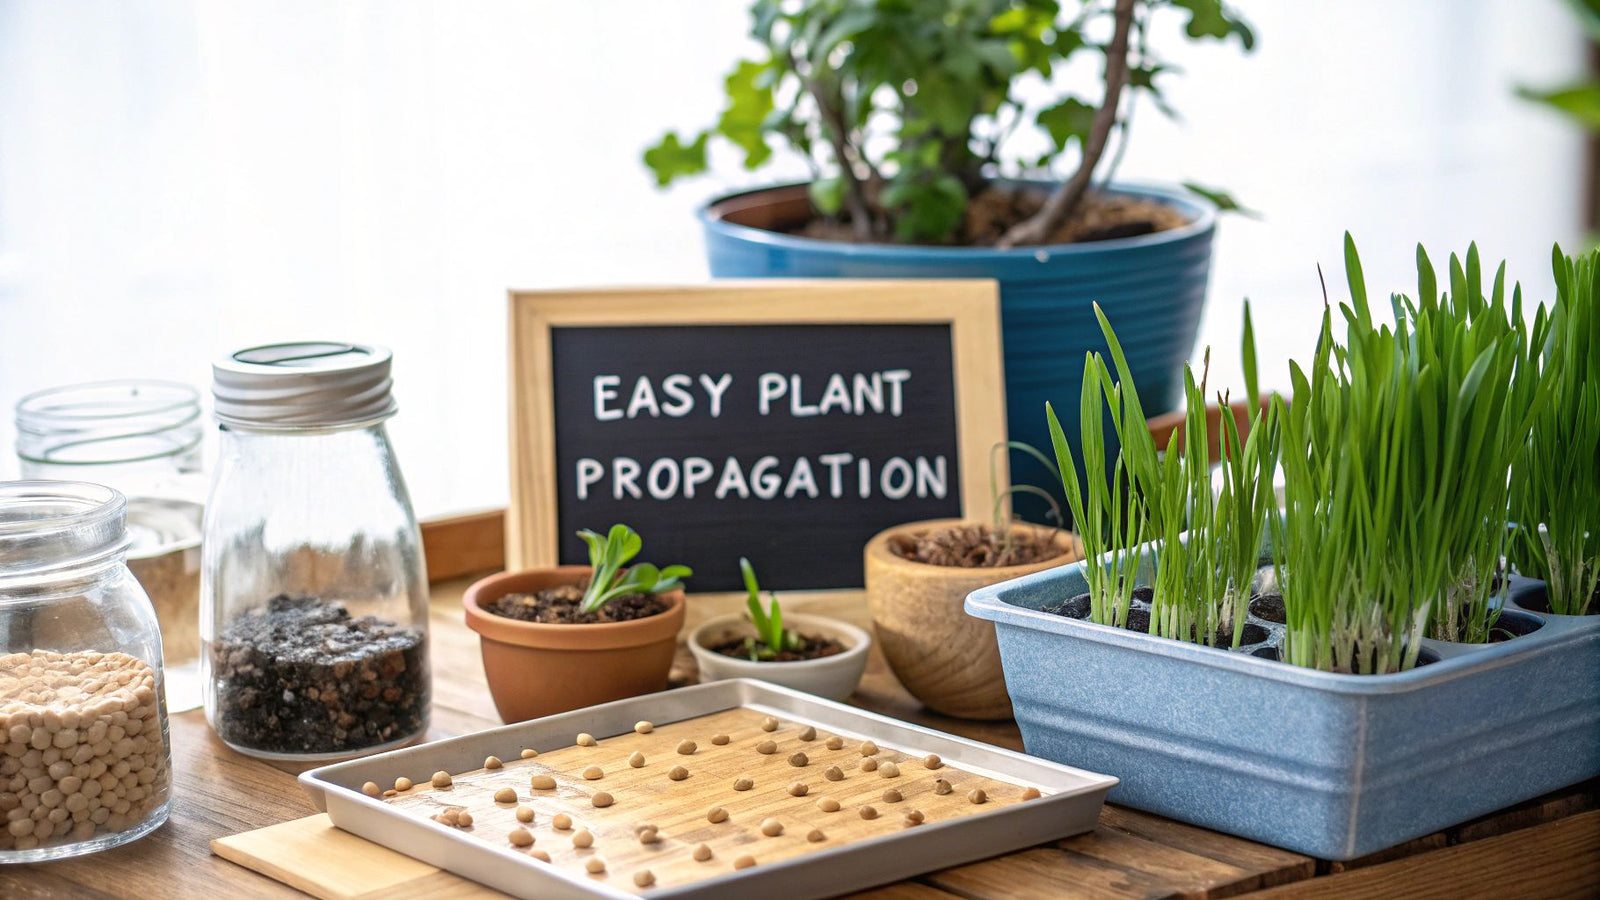

Ready to multiply your favorite plants without spending a fortune? The secret is easy plant propagation, which is just a fancy way of saying you can create new plants from the ones you already own. It's an incredibly rewarding skill—from a single leaf or stem, you can grow an entirely new plant, saving money and filling your home with even more greenery.
Your Guide to 4 Effortless Plant Propagation Methods
This guide breaks down the most reliable methods into simple, actionable steps that actually work. I've found that success often comes down to one thing: choosing the right approach for your specific plant. It's a skill that lets you turn one plant into many, perfect for expanding your own collection or sharing your favorites with friends.
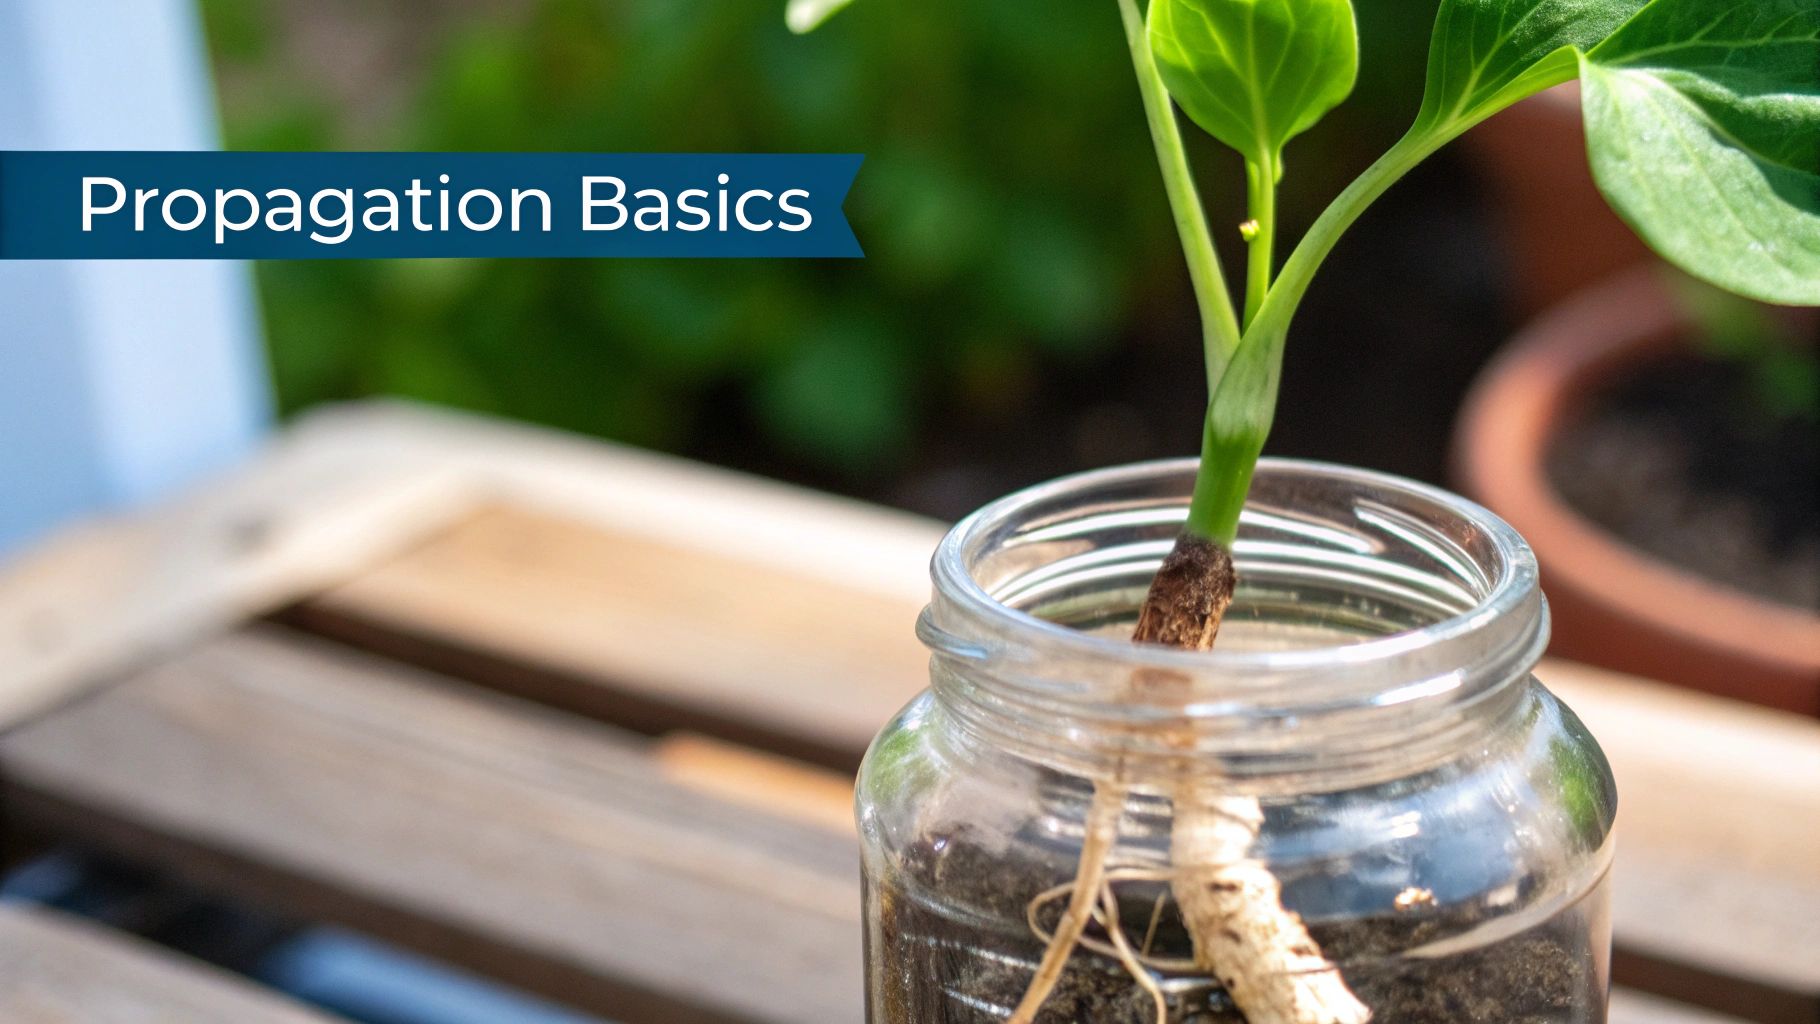
We'll start with a bird's-eye view of the most dependable techniques, from taking simple cuttings to dividing those plants that have gotten a little too big for their pots. Getting a handle on these basics is the first real step toward building confidence and seeing new roots sprout before your eyes.
Choosing Your Propagation Method
To help you get your hands dirty right away, the table below compares the most common approaches. Think of it as your quick-reference cheat sheet for finding the perfect strategy. It shows you which method is best for certain plants, its general difficulty, and roughly how long you'll be waiting for a new plant to take hold.
My Advice: Don't be afraid to experiment! While some methods are better suited for specific plants, many common houseplants like Pothos or Spider Plants are incredibly forgiving and can be propagated in several different ways.
Use this comparison to match your plant with the right technique. Once you have an idea, we'll dive into the detailed, hands-on instructions in the sections ahead.
Comparing 4 Common Plant Propagation Methods
Here’s a quick comparison of the most common propagation techniques. It's designed to help you choose the best one for your plants and skill level.
| Method | Best For | Difficulty | Time to New Plant |
|---|---|---|---|
| Stem Cuttings | Vining plants (Pothos, Philodendron), Herbs (Mint, Basil), and many succulents. | Easy | 2-8 Weeks |
| Root Division | Clumping plants (Hostas, Ferns, Snake Plants) that have outgrown their pots. | Easy | Immediate |
| Layering | Woody plants and vines with flexible stems (Jasmine, Forsythia, Ivy). | Easy | 4-12 Weeks |
| Seeds | Annuals (Marigolds, Zinnias) and many vegetables (Tomatoes, Peppers). | Medium | 1-4 Weeks to Sprout |
This chart is a great starting point. Whether you’re looking for instant results with division or are patient enough to watch a cutting grow roots in a jar of water, there’s a method here for you.
Mastering the Art of Stem Cuttings
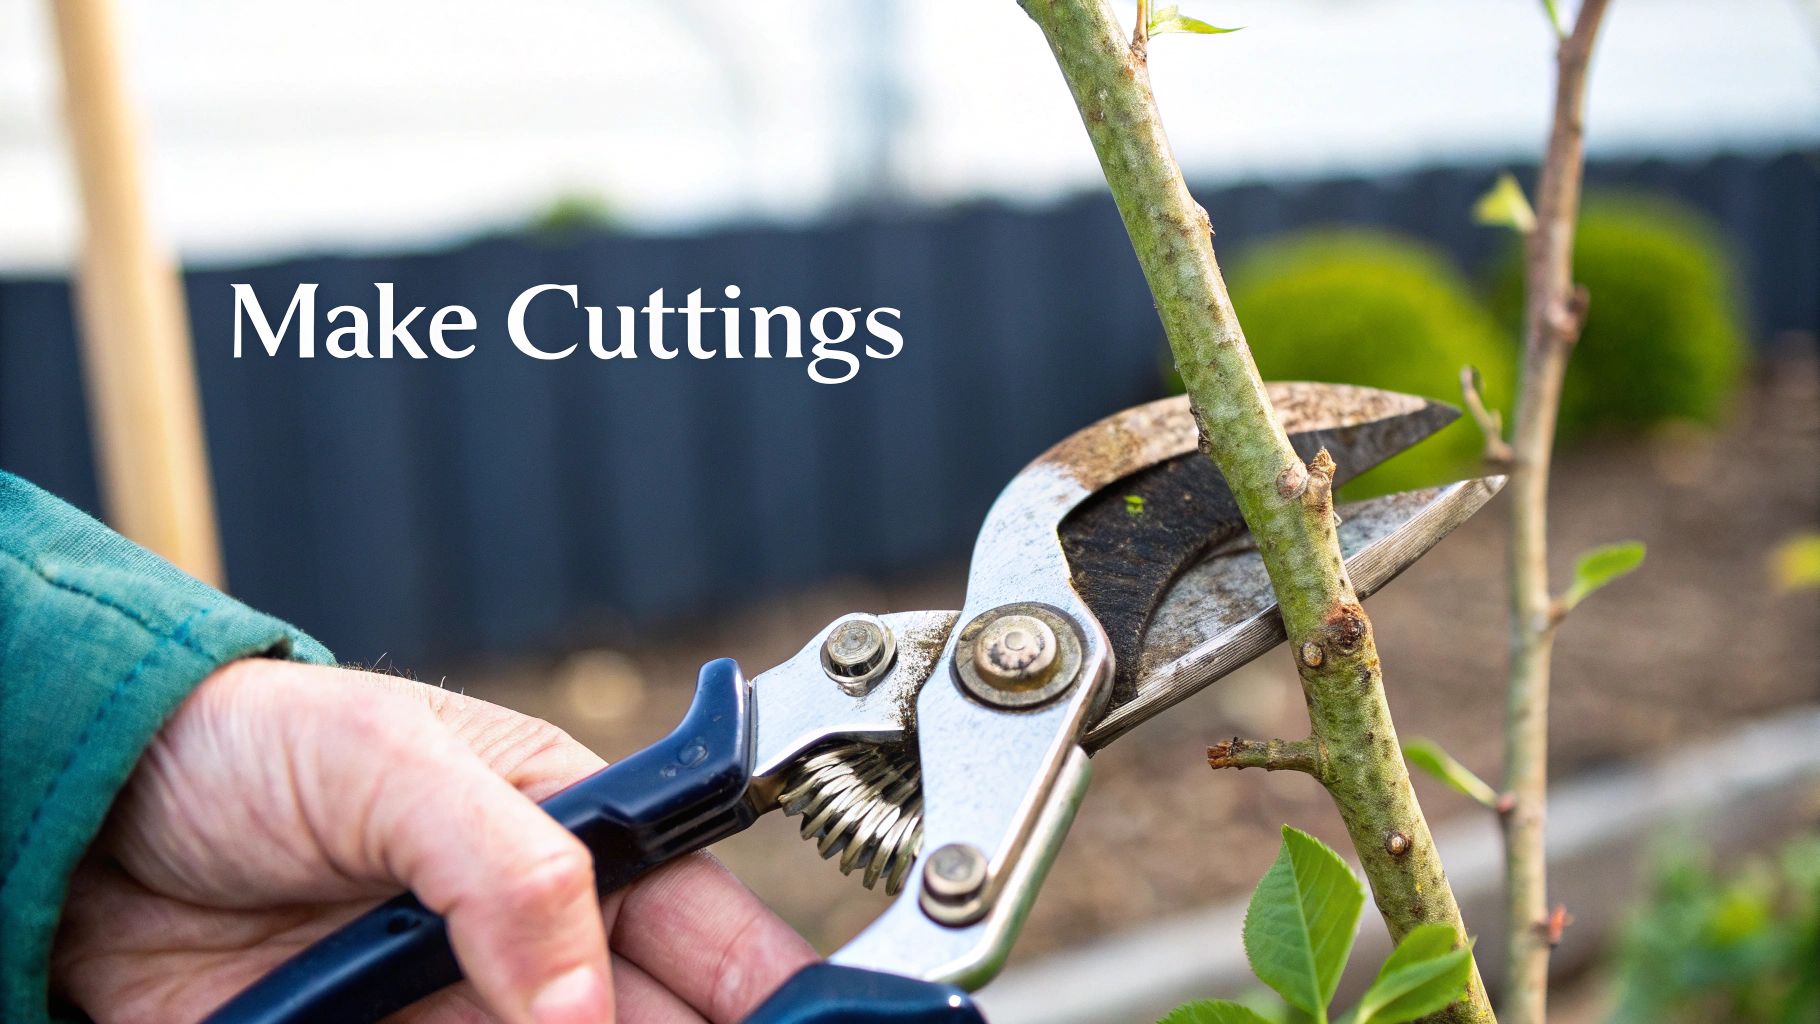
Taking stem cuttings is one of the most satisfying ways to make more plants. It’s a classic propagation technique that feels a little like magic—turning a small piece of a plant you love into a whole new one. The secret to success starts long before you even make a cut. You need to pick the right parent plant. Look for one that's full of life and pushing out healthy, vigorous growth, not one that's stressed, wilting, or yellowing.
Once you’ve spotted a good candidate—maybe a long, trailing vine on your Pothos—the next step is making a clean cut. Grab a pair of sharp, sanitized scissors or pruners. You’ll want to snip the stem about a quarter-inch below a node, which is that little bump on the stem where a leaf emerges. I always cut at a 45-degree angle; this little trick increases the surface area for new roots to form.
Now, you need to prep your cutting. Gently pinch off the bottom one or two leaves. This is a critical step. If you leave them on, they'll end up submerged in water or soil and will rot, which can quickly foul the water and kill your cutting. A little bit of prep work here goes a long way in setting your future plant up for success.
From Cutting to Brand New Plant
With your cutting prepped, you have a choice to make: root it in water or plant it directly in soil. If you're just starting out, I'd suggest trying water propagation first. It's incredibly straightforward, and you get the satisfaction of watching the roots sprout and grow day by day. We actually have a whole guide dedicated to this if you want a deeper dive into how to propagate plants in water.
This simple graphic shows how cuttings fit into the broader world of propagation.
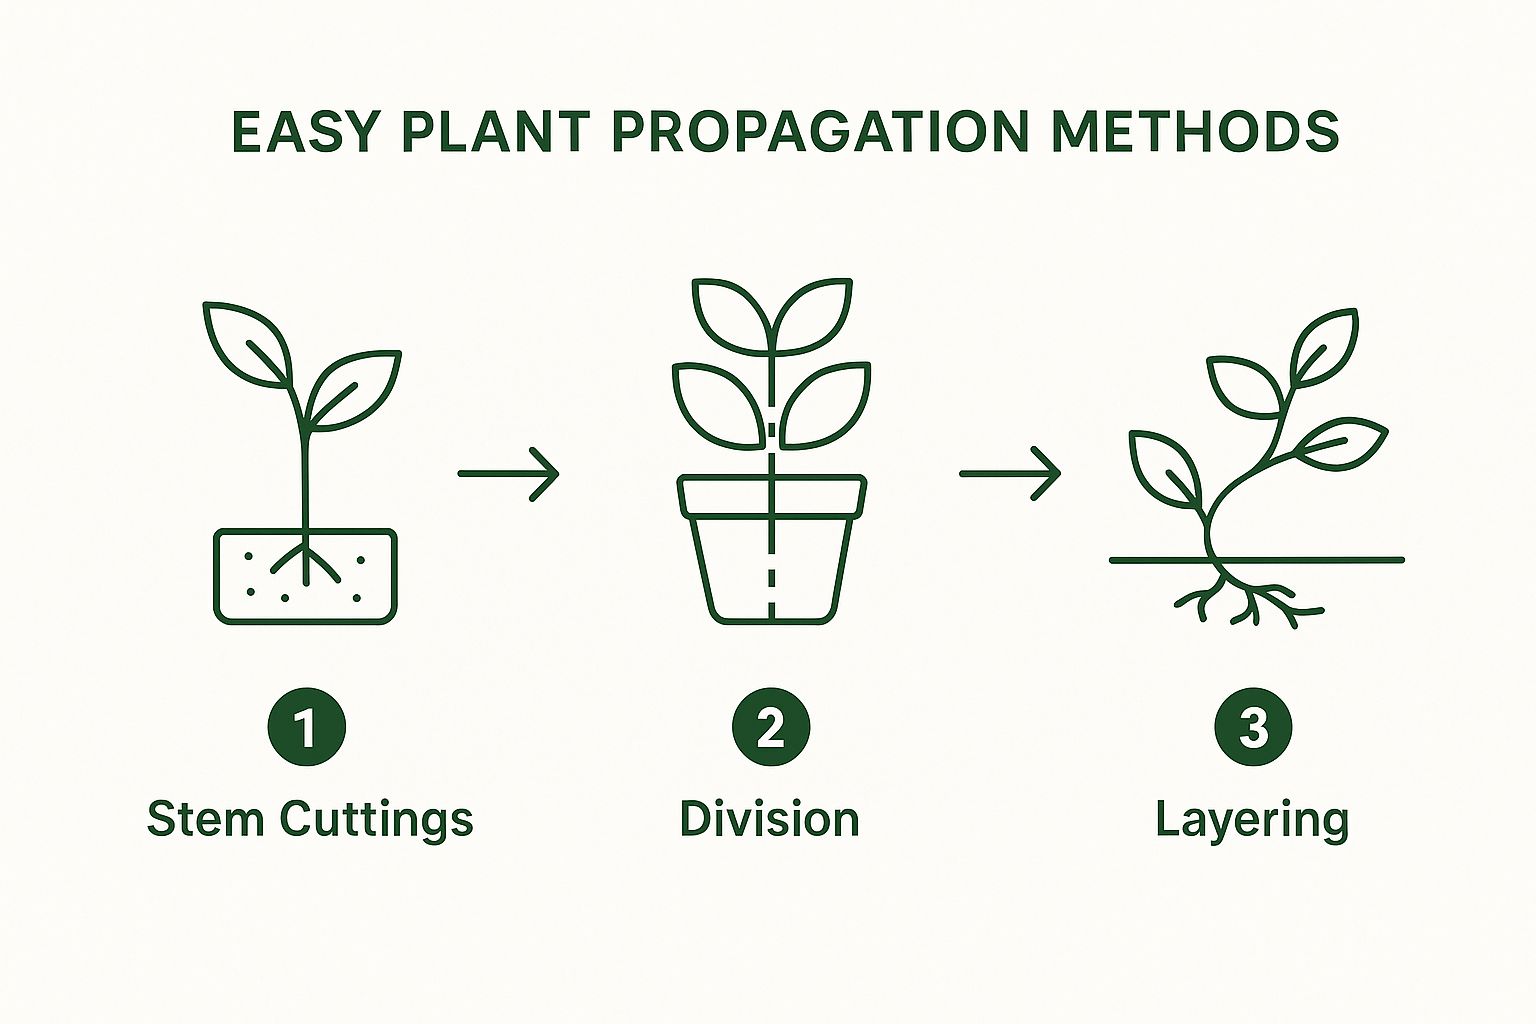
As you can see, stem cuttings are often the gateway for gardeners. Once you master this, you'll feel confident trying other methods like division or layering.
Want to give your cuttings an edge? Try dipping the cut end into a rooting hormone. It’s not strictly necessary for famously easy-to-root plants like Spider Plants or Tradescantia, but for anything with a slightly woodier stem, it can make a huge difference in how quickly roots develop and can seriously boost your success rate.
My Go-To Tip: I always create a makeshift greenhouse to ramp up the humidity. High humidity is a game-changer for encouraging root growth. Just loosely place a clear plastic bag over your pot or jar. This traps moisture and creates a perfect, humid little bubble for your cutting to get started.
Multiplying Your Plants by Dividing Roots
When you’ve got a plant that's happily spreading out and starting to crowd its pot, root division is the most straightforward way to multiply your stock. I love this technique because it delivers instant results—one big, happy plant becomes several smaller, happy plants in a matter of minutes. It’s my go-to for many perennials and houseplants that naturally form clumps, like Hostas, Daylilies, and Snake Plants.
So, how do you know when it’s time to intervene? The plant will usually tell you. If you see a web of roots poking out of the drainage holes, that’s a big clue. Another classic sign, especially with perennials in the garden, is when the center of the clump starts to look a bit sad and dies back, even as the outer edges flourish. That’s your plant waving a little flag, asking for more elbow room.
Making the Division
Once you've decided it's time, the process itself is surprisingly simple. Your first move is to carefully ease the plant out of its container or lift the whole clump out of the garden bed. Lay it down on a tarp or newspaper and get a good look at the root ball. You're looking for natural places to separate it into smaller chunks, making sure each new piece has a good amount of both roots and leafy growth.
With many plants, like ferns or ornamental grasses, you can often just use your hands. Find a natural point of separation and gently tease the root sections apart. Think of it like detangling a knot—go slow, and be patient.
For those with really dense, tough root systems, don't hesitate to bring out a tool. A clean, sharp knife or even a spade can make quick work of a tangled mass. A few decisive, clean cuts are far better for the plant than tearing and damaging the delicate root structure.
Expert Tip: When you're dividing, be bold. A tiny division with only a few roots will struggle to get established. I always aim for new sections that are at least the size of my fist; this ensures they have enough root power to support the foliage and start growing right away.
This hands-on method is often much faster and more reliable than taking cuttings, especially for plants that are built to clump. While it's perfect for many perennials, some plants, like succulents, prefer a different approach. For a deep dive into that topic, check out our guide on how to propagate succulents.
After you've made your divisions, simply pot each one up individually or plant it in a new spot in the garden. Give them a good drink of water, and that's it—you've successfully expanded your plant collection for free.
What's Next in Plant Propagation?
Ever walk through a garden center and wonder how they get thousands of plants to look so perfectly identical and vibrant? The answer isn't just a well-kept secret—it’s science. These large-scale operations are using techniques that are shaping the future of gardening for all of us, making easy plant propagation more achievable than ever before.
Many of these methods go way beyond what we can do on our kitchen windowsill. We're talking about processes like micropropagation and tissue culture. In a sterile lab, technicians can take a tiny piece of a plant, sometimes just a few cells, and coax it into a full, healthy plant. This ensures every single new plant is a perfect, disease-free replica of its parent. It’s a big reason why nursery plants are often so uniform and robust.
Ultimately, these advanced methods are helping create more resilient plants that are fundamentally easier for us home gardeners to care for and propagate ourselves.
Here Come the Smarter Plants
Beyond simply making clones, technology is also redesigning plants to be stronger from the ground up. The most talked-about tool in this field is CRISPR, a gene-editing technology that allows scientists to make incredibly precise tweaks to a plant's DNA. This might sound like it belongs in a sci-fi movie, but it has very real benefits for your backyard garden.
Think about a tomato plant that can naturally fend off common blights, or a hydrangea that isn’t so thirsty during a dry spell. These are the kinds of improvements being developed right now. The goal is to produce plants that are simply hardier and more forgiving, especially for those of us who are still learning.
The scale of this innovation is staggering. The global market for plant breeding and CRISPR plants was valued at approximately $12.9 billion in 2025. By 2034, it’s expected to explode to $41.7 billion. These numbers show just how much investment is pouring into creating better, more resilient plants for agriculture and home gardens alike.
While we're focused on these futuristic techniques, it's fascinating how discoveries from the past continue to inform our work. For instance, the recent identification of the largest amber preserved flower gives us new insights into ancient plant life. It’s all connected—science is paving the way for a future where our gardens are filled with tougher, more beautiful, and more reliable plants.
Avoiding Common Plant Propagation Mistakes
We've all been there. You take what looks like a perfect cutting, place it in water, and come back a week later to find a sad, mushy mess. It's frustrating, but these propagation hiccups are completely normal and, more importantly, almost always fixable.
The secret isn’t just knowing what went wrong, but why it happened. Let's dig into some of the most common propagation pitfalls I've seen over the years and what you can do to sidestep them.
One of the biggest culprits, especially with water propagation, is stem rot. You'll know it when you see it: the bottom of your cutting turns soft, brown, or even black. This is a classic sign of a bacterial party you didn't want to host.
My Personal Tip: Change the water every 3-5 days, religiously. When you swap it out, give the submerged part of the stem a gentle rinse under the tap. This washes away the slimy film that bacteria love and keeps the environment fresh for root development.
Why Your Cuttings Aren't Rooting
What if your cuttings just... sit there? They don't die, but they don't grow roots either. While patience is a gardener's best friend, a few environmental tweaks can often give them the nudge they need.
- Low Humidity: Many of our favorite houseplants are tropicals that expect a humid environment. Dry air tells a cutting to focus all its energy on survival, not on growing new roots. The fix is simple: pop a clear plastic bag or a glass cloche over the pot to create a mini-greenhouse.
- Not Enough Light: Photosynthesis is the engine that powers root growth. Without enough bright, indirect light, that engine stalls. A dark corner is a surefire way to stop propagation in its tracks.
Another classic challenge is transplant shock. This often happens right after you move a water-rooted cutting into soil or after you've divided a larger plant. The new, delicate roots are still learning how to pull water from the soil efficiently.
The key during this transition is to keep the soil consistently moist but never soggy. Think of it like a damp sponge. Proper watering is a skill, and understanding the fundamentals can make all the difference. For more on this, check out our guide on the best time to water your garden, as the principles apply here, too.
By learning to spot these issues, you can stop problems before they start and turn potential failures into a whole new generation of thriving plants.
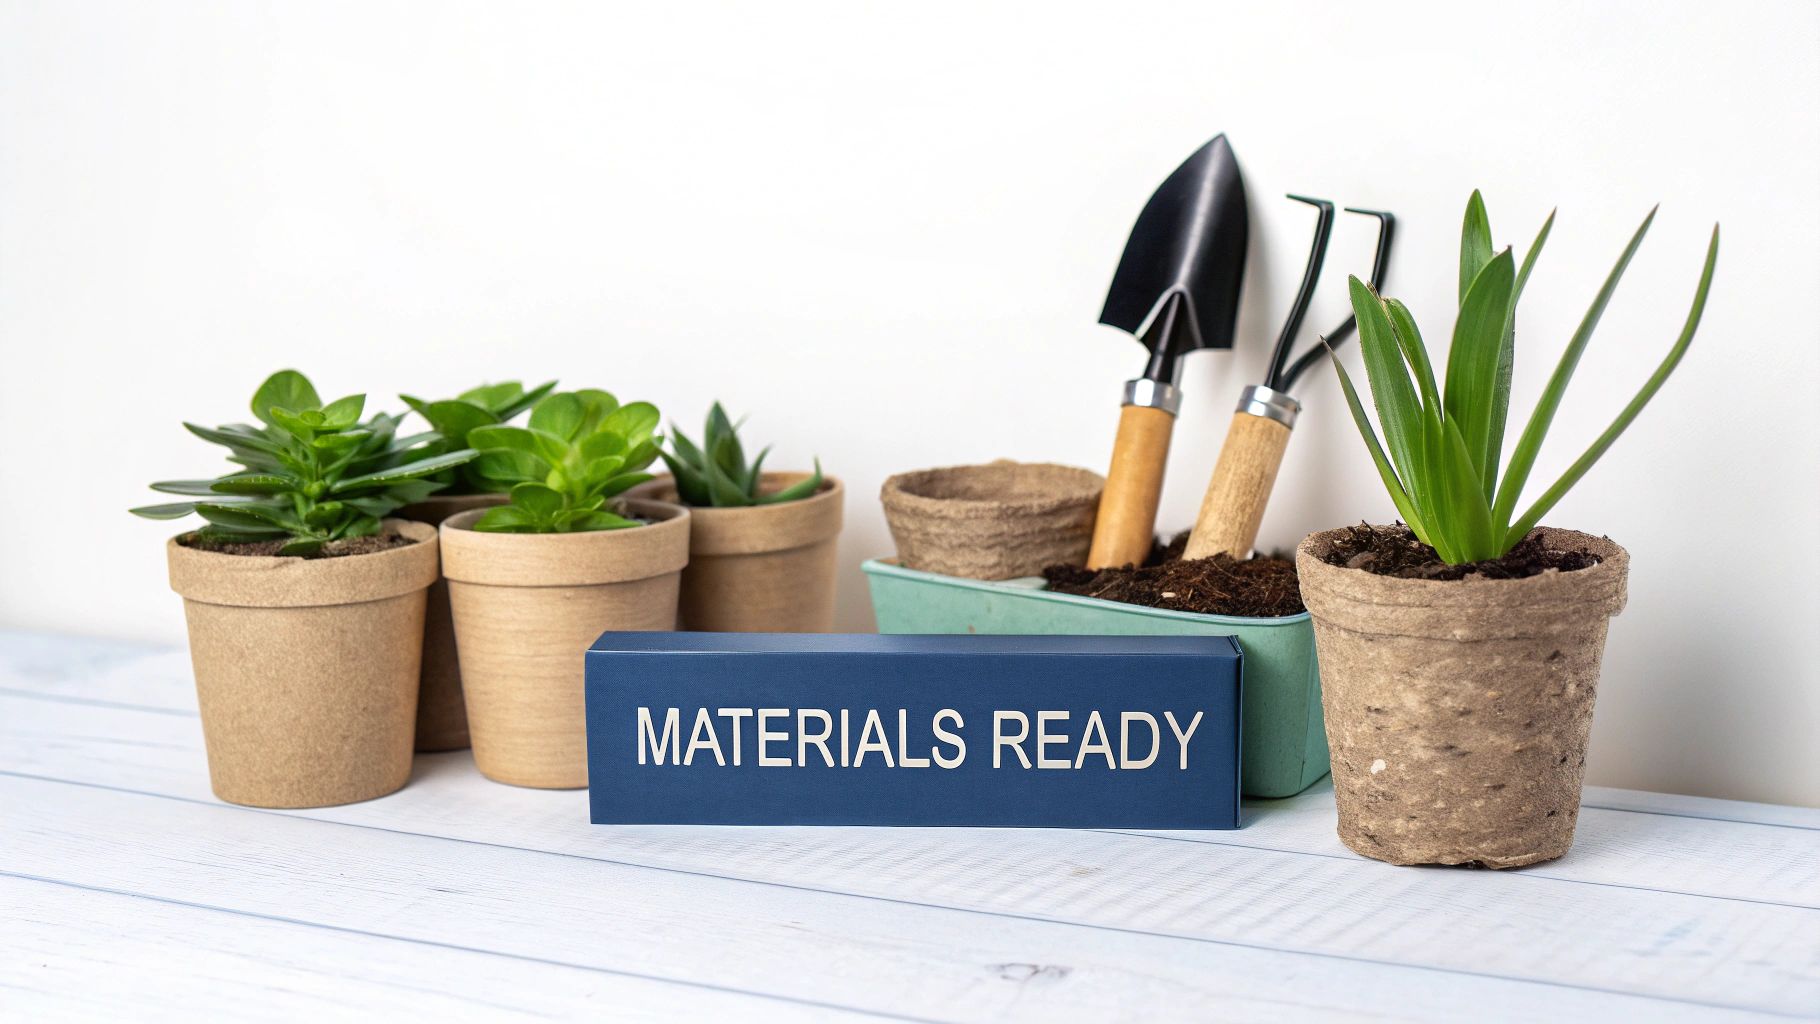
The Gear You Actually Need for Plant Propagation
You really don't need a high-tech laboratory to clone your favorite plants. Honestly, a few simple, well-chosen tools can make all the difference between a successful new plant and a failed attempt. It's less about spending a ton of money and more about giving your new cuttings the best possible shot at life from the very beginning.
First things first: you absolutely need a sharp, clean cutting tool. This is non-negotiable. Using dull kitchen scissors or a grimy knife will crush the plant's delicate tissues and introduce nasty bacteria, which almost always leads to rot. I keep a dedicated pair of pruning shears just for propagation and give the blades a quick wipe with rubbing alcohol before I make a single cut. It's a small step that prevents a lot of heartache.
Giving Your New Roots a Home
Once you have your cutting, where you put it is just as important as how you took it. Sure, plenty of plants will root just fine in a glass of water, but using the right growing medium can seriously speed things up and boost your success rate.
- Sphagnum Moss: This stuff is my go-to for cuttings that hate sitting in water. It holds a ton of moisture without getting soggy, which is perfect for preventing rot.
- Perlite: Think of this as lightweight volcanic popcorn for your plants. It creates little air pockets in the soil, which roots absolutely love. I often mix a handful into my potting soil for new cuttings to improve aeration.
For plants that are a bit more stubborn, a little dusting of rooting hormone on the freshly cut end can work wonders. It gives the cutting a hormonal nudge to start producing roots, often much faster than it would on its own.
Here's a trick I swear by: grab a clear plastic storage bin and use it as a makeshift humidity dome. Just pop your potted cuttings inside, put the lid on (or crack it slightly for air), and you've created a mini-greenhouse. This simple, cheap setup has saved so many of my cuttings by keeping the humidity high while they focus on growing roots.
Answering Your Top 3 Propagation Questions
When you're just starting out with plant propagation, a few key questions always seem to pop up. It’s completely normal! Getting these sorted out from the beginning is the best way to build your confidence and turn that initial excitement into a collection of brand-new, thriving plants.
So, let's tackle the big ones I hear all the time.
1. What Are the Easiest Plants to Propagate?
If you want to feel like a pro right away, give one of these famously forgiving plants a try. They're known for rooting quickly and don't require a lot of fuss, which is perfect for building momentum.
- Spider Plant (Chlorophytum comosum): You've probably seen these with their little "plantlets" or "spiderettes" dangling down. All you have to do is snip one off and pop it in a glass of water or a small pot of soil. It’s that simple.
- Pothos (Epipremnum aureum): This is a classic for good reason. Just take a cutting from any piece of vine that includes a node (the little brown bump where a leaf grows), and it will almost certainly root in a jar of water on your windowsill.
- Tradescantia (Inch Plant): An incredibly eager grower. Cuttings from this plant root so easily that you can often just stick them right back into the soil of the mother plant to make it look fuller.
2. Do I Really Need to Use Rooting Hormone?
This is a hot topic in the gardening world, but the answer is actually pretty straightforward: it depends on the plant. Rooting hormone is basically a product that gives cuttings an extra boost of auxins, which are the natural compounds that tell a plant to grow roots.
For the super-easy plants I just mentioned, you can absolutely skip it. They have more than enough natural get-up-and-go to root on their own.
However, when you start taking cuttings from woodier plants like roses or figs, or from anything known to be a bit finicky, a little dab of rooting hormone powder or gel can make a huge difference. It dramatically increases your odds of success and can really speed things up.
My Rule of Thumb: If the cutting is soft, green, and fleshy, you're probably fine without it. If it’s a bit woody, or if you've tried and failed with that plant before, using rooting hormone is cheap insurance.
3. How Long Does Propagation Take?
Remember to be patient. Seeing the first signs of roots can take anywhere from one week to over a month. It all depends on the plant type, the amount of light it gets, and the ambient warmth. Keep the conditions stable, and you'll be rewarded for your efforts soon enough.
Ready to start making more plants? At Homegrown Garden, we have everything you need, from heirloom seeds to beginner-friendly kits. Find your next favorite plant and get growing today
Prefer to start fresh rather than propagate? You can also try growing from seed, an easy way to fill out your garden.

