

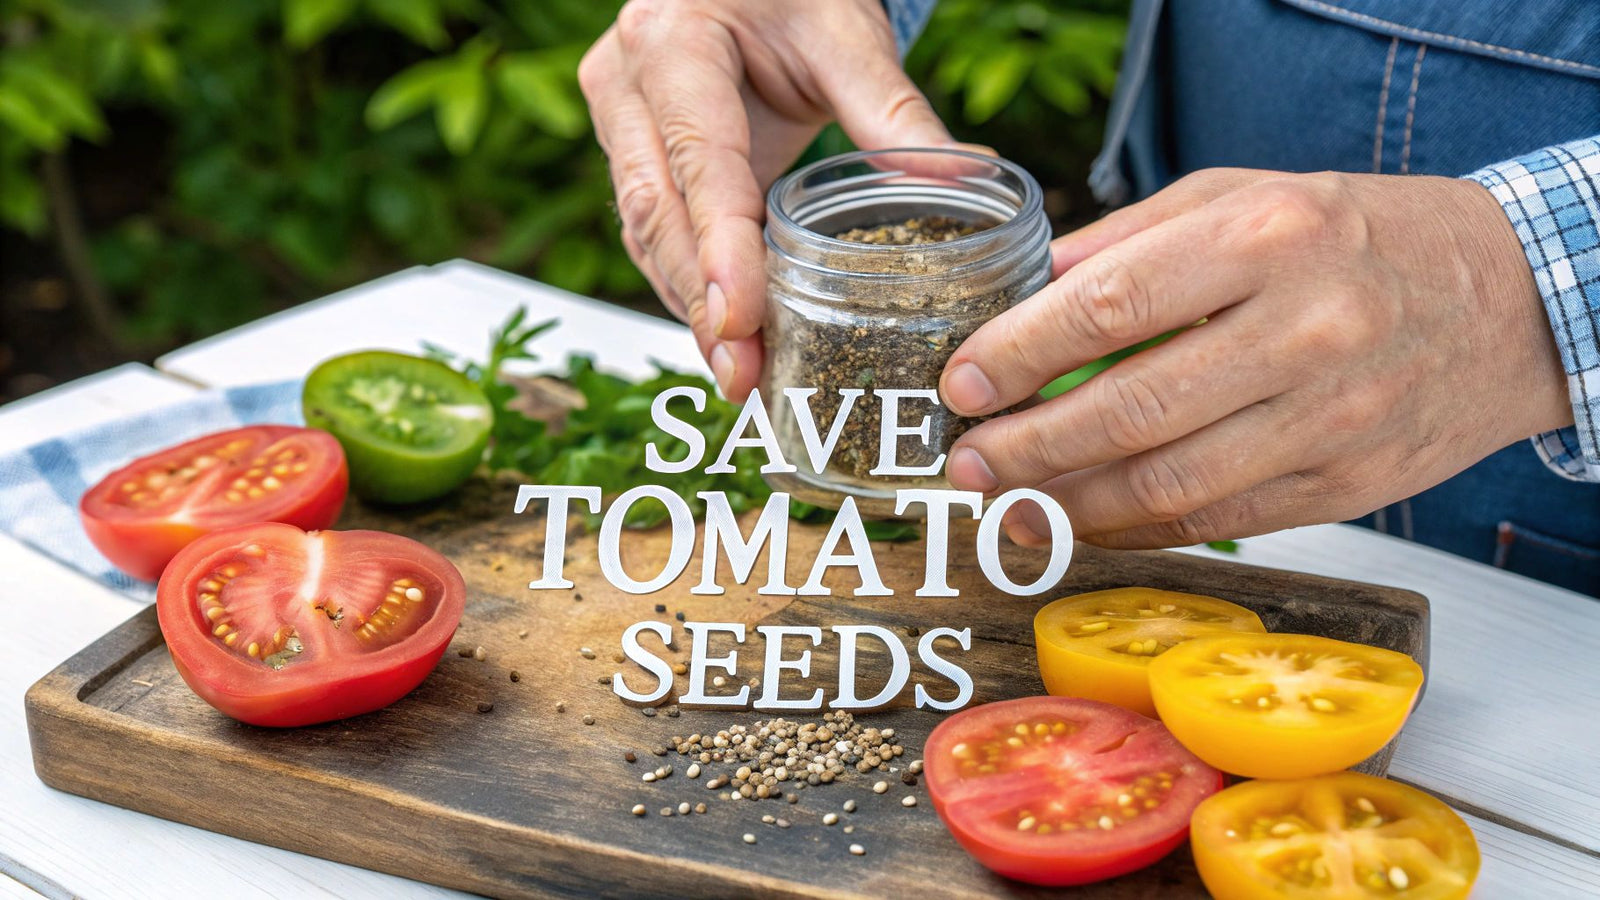

Saving seeds from your favorite heirloom tomatoes is a time-honored tradition. It's really just a simple process of fermenting the seeds to get rid of that slimy gel coating, then giving them a good clean, drying them out, and storing them for next year. This simple ritual allows you to grow the exact same tomato you fell in love with, year after year, preserving a little piece of garden history.
Why Saving Heirloom Seeds Is Worth the Effort
Diving into seed saving is one of the most satisfying things a gardener can do. It's more than just a practical skill; it's about stepping into the role of a garden steward, a keeper of history and flavor. The secret lies in the fact that heirloom tomatoes are open-pollinated, unlike their hybrid cousins. This is the whole key.
Because they're open-pollinated, the seeds you save will produce plants that are true to the parent. A ‘Cherokee Purple’ will give you more ‘Cherokee Purple’ tomatoes. Seeds from a hybrid, on the other hand, are a genetic gamble and often won't give you anything close to the fruit you started with. This is why heirloom gardeners get so passionate about saving their own seeds. You can learn more about the specifics of this process at Traditional Cooking School.
Adapt Varieties to Your Garden
Here’s where it gets really interesting. Every time you save seeds from your strongest, tastiest, most productive plants, you're unconsciously selecting for tomatoes that love your garden. Over a few years, you're not just growing a ‘Brandywine’—you're growing your ‘Brandywine,’ a strain that’s perfectly suited to your soil and microclimate. You just can't buy that kind of resilience in a seed packet.
Think of it as a partnership with nature. You are actively guiding the evolution of your favorite tomatoes, creating a personalized legacy one delicious harvest at a time. This level of connection is what makes gardening so fulfilling.
The benefits here are huge, and they go way beyond saving a few bucks on seeds. You're also gaining:
- Flavor Preservation: You get to lock in those incredible, complex flavors that made you fall in love with heirlooms in the first place.
- Self-Sufficiency: Imagine not worrying about seed catalogs or supply chains. Your food security is right in your own hands.
- Biodiversity: You become a guardian of genetic diversity, protecting unique varieties that might otherwise disappear.
Of course, before you can save great seeds, you have to grow great tomatoes. To get the best possible harvest from your plants, take a look at our complete guide on how to grow heirloom tomatoes.
1. Selecting Your Best Tomatoes for Seed Saving
The secret to a fantastic harvest next year doesn't start with tilling the soil; it begins right now, with the tomatoes you choose to save. This is where you play the role of a breeder, hand-picking the genetic legacy for your future garden. Think of it less as just picking a nice tomato and more as selecting the blueprint for next season's entire crop.
Walk through your garden and scout for your star performers. I'm talking about those plants that are just thriving—vigorous, loaded with fruit, and seemingly shrugging off the pests and diseases that might have plagued their neighbors.
A little trick I learned years ago is to tie a colorful ribbon or a piece of flagging tape to the healthiest-looking plants early in the season. It’s a simple visual reminder that says, "Hey, this one's special!" and it stops you from accidentally slicing up your prime seed-stock for a sandwich.
What to Look for in the Perfect Tomato
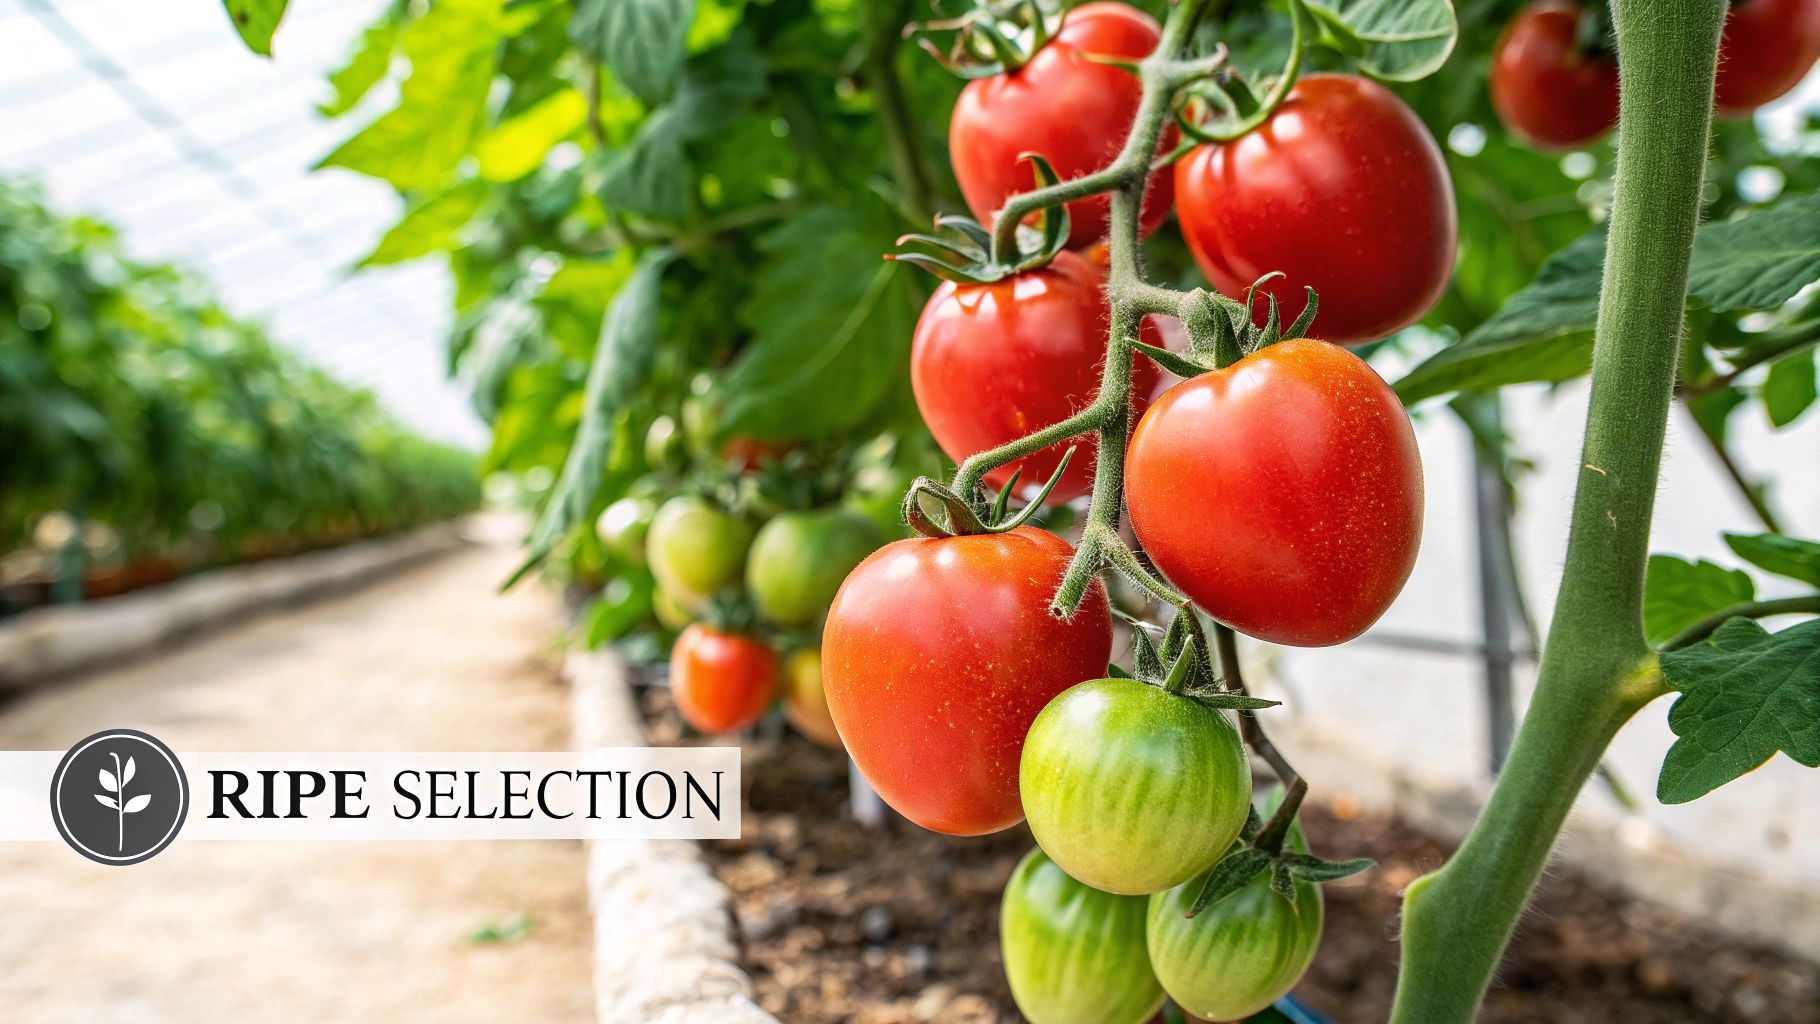
When you're ready to harvest for seeds, you want a fruit that truly embodies the best qualities of its variety. The tomato should be perfectly ripe, maybe even a day or two past its prime eating stage. That extra time on the vine is crucial because it allows the seeds inside to reach full maturity, which significantly boosts their chances of sprouting next spring.
Resist the urge to save seeds from that first, giant, oddly-shaped tomato or one with a blemish on the side. While those are perfectly fine to eat, they aren't your best candidates for seed saving. You're aiming to pass on excellence, not the quirky or subpar traits.
Your goal is to replicate excellence. By selecting fruit from your healthiest plants, you are actively choosing traits like disease resistance, robust flavor, and high productivity for future generations.
When you're making your final selection, keep an eye out for these key traits:
- Peak Ripeness: The tomato should be fully colored, firm but with a slight give, signaling that the seeds inside are mature and ready.
- Disease-Free: Only choose fruit from plants that show no signs of blight, wilt, or other common tomato problems. Healthy parents make for healthy offspring.
- Ideal Form: Pick a tomato that is a picture-perfect example of its variety in terms of size, shape, and color. This ensures you're preserving the true characteristics of that heirloom.
2. Fermenting the Seeds to Remove the Gel Coat
If there's one step you absolutely can't skip when saving heirloom tomato seeds, it's fermentation. This might sound intimidating, but it's a completely natural process that makes a world of difference for your future garden.
Essentially, fermentation breaks down that slimy, gel-like sac surrounding each seed. This coating is nature's way of preventing the seed from sprouting inside the tomato, so it's packed with germination inhibitors. Fermenting not only removes this layer but also helps kill off common seed-borne diseases, giving you much cleaner and healthier seeds.
Think of it as mimicking what happens when a tomato drops from the vine and slowly decomposes in the garden. We're just recreating that process in a controlled way—right in your kitchen. If you want to dive deeper into the science, the Traditional Cooking School has a great article on the topic.
The journey begins by simply scooping out the seeds and surrounding pulp from your best-looking ripe tomatoes.
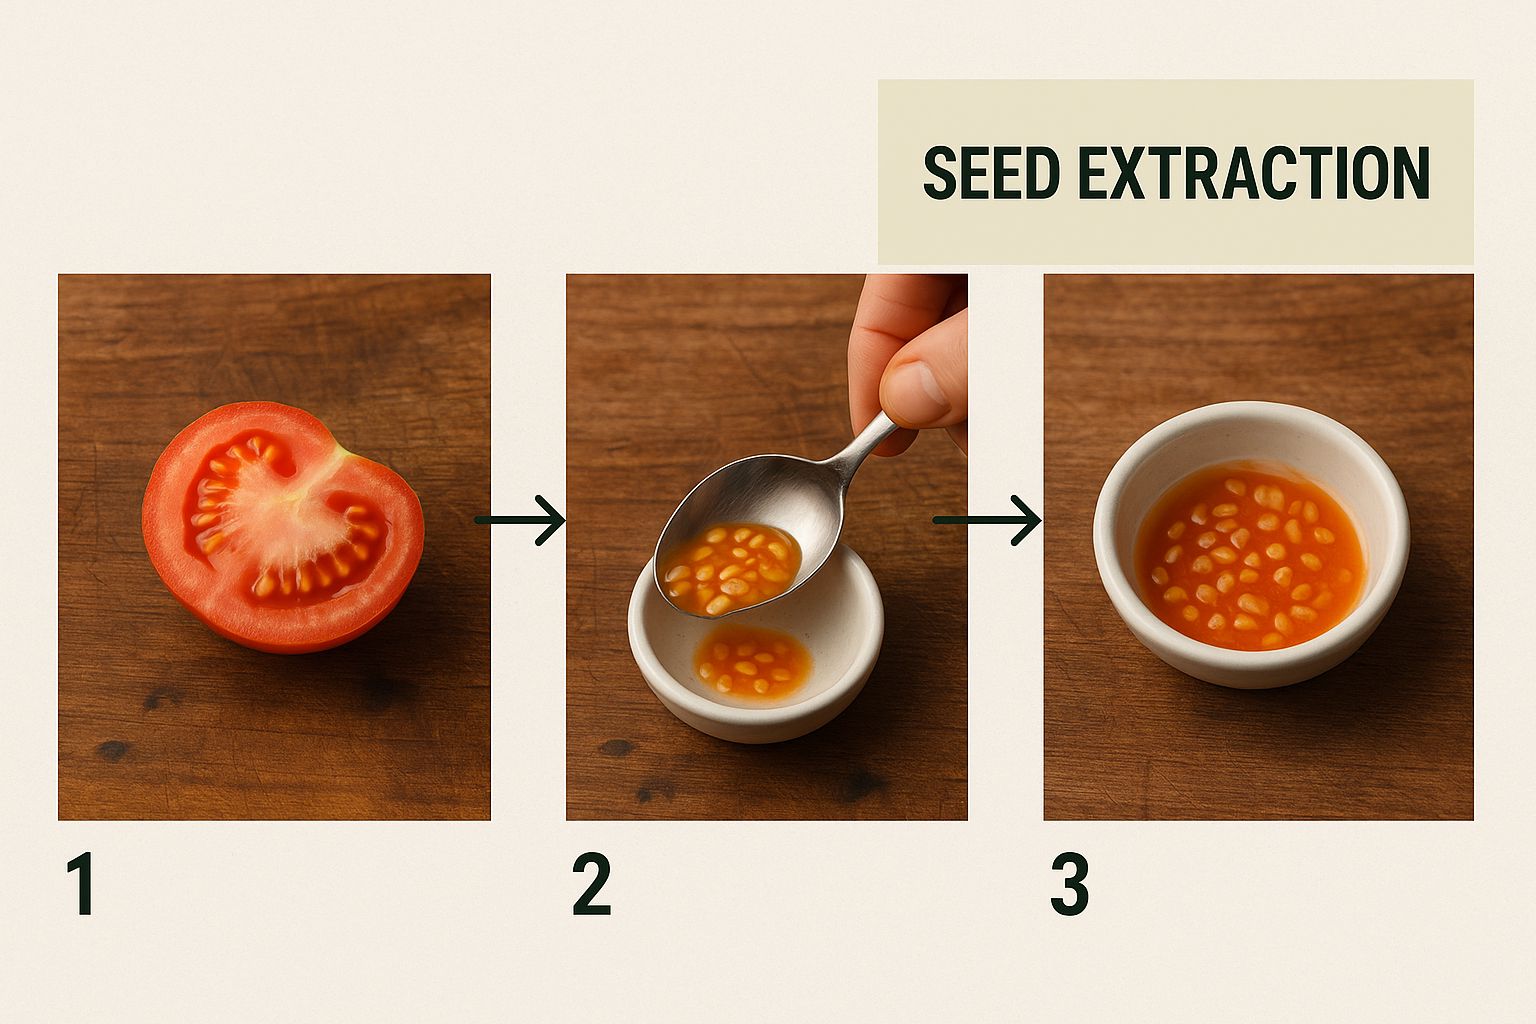
This image shows that first, simple step. Get all that gooey, seed-filled goodness into a container, and you're ready to start the fermentation process.
Your Guide to Fermenting Tomato Seeds
First things first, squeeze the seeds and pulp from your tomatoes into a small glass jar. I find a small jam jar works perfectly. Add just a splash of water—enough to make the mixture a bit soupy. Swirl it around, and don't forget to label the jar with the tomato variety. Trust me, you'll thank yourself later when you're not trying to guess if you're holding a Brandywine or a Cherokee Purple.
Now, cover the jar's opening. You can use a coffee filter and a rubber band, a small piece of cloth, or just set the metal lid on top without screwing it down. The goal is to let air in but keep pesky fruit flies out.
Find a warm spot for your jar, away from direct sunlight, and let it sit for about 3 to 5 days. The timeline isn't exact; a warmer room will speed things up, while a cooler spot might take a little longer.
Be prepared for things to get a bit smelly. The fermentation gives off a distinct, funky odor, which is totally normal. You'll likely see a layer of white or grey mold form on the surface, too. That's actually a sign that everything is working just as it should!
So, how do you know when it's done? Two key things will happen:
- The good, viable seeds will have dropped to the bottom of the jar.
- The watery pulp, any bad (floating) seeds, and the moldy film will all be on the surface.
Once you see this clear separation, it's time to pour off the gunk and give your future seeds a good rinse.
3. Rinsing and Cleaning Your Future Harvest
https://www.youtube.com/embed/hQQdRa6KAcA
After a few days, the funky smell of fermentation will give way to a clear separation in your jar. This is the moment we’ve been waiting for! It's the satisfying part where you get to wash away all that pulp and gunk, revealing the clean, viable seeds that hold the promise of next year's garden.
If you look at your jar, you should see a top layer of moldy water and floating pulp. All the good stuff—the heavier, healthy seeds—will have settled neatly at the bottom. The first thing you'll do is carefully pour off that top layer of liquid. Go slow so you don't lose the precious seeds resting below. Don't sweat it if a couple of floaters escape; the vast majority are safe at the bottom.
Getting Your Seeds Perfectly Clean
Once you've poured off the initial scum, it's time to get your seeds looking pristine. This is just a simple rinsing process that you’ll repeat until only clean seeds are left.
-
Add fresh water to the jar until it's about halfway full. This will stir everything up again and help loosen any stubborn bits of pulp clinging to the seeds.
-
Give it a gentle swirl in a circular motion. This is the key to separating the seeds from the remaining debris. Let the jar sit for about 30 seconds to give the good seeds time to sink back down.
-
Carefully decant the water. As you pour, you'll see the murky water, lighter pulp, and any non-viable seeds wash right out, leaving the good seeds behind.
-
Repeat this process of adding water, swirling, and pouring another 2 to 3 times. You'll know you're finished when the water you pour off is almost completely clear.
Here’s a little trick I’ve learned over the years: for the final rinse, pour the seeds into a fine-mesh strainer. This guarantees you won't accidentally wash any of your collection down the drain. Just give them one last good rinse under cool, running water.
4. Getting Your Seeds Perfectly Dry for Storage
Now that you've got your seeds all cleaned up, we're onto the final, and arguably most important, step: getting them bone dry. This is where patience really pays off. Any moisture left behind is a welcome mat for mold, which will destroy your entire batch of seeds. I've seen many new seed-savers trip up at this stage by rushing it.
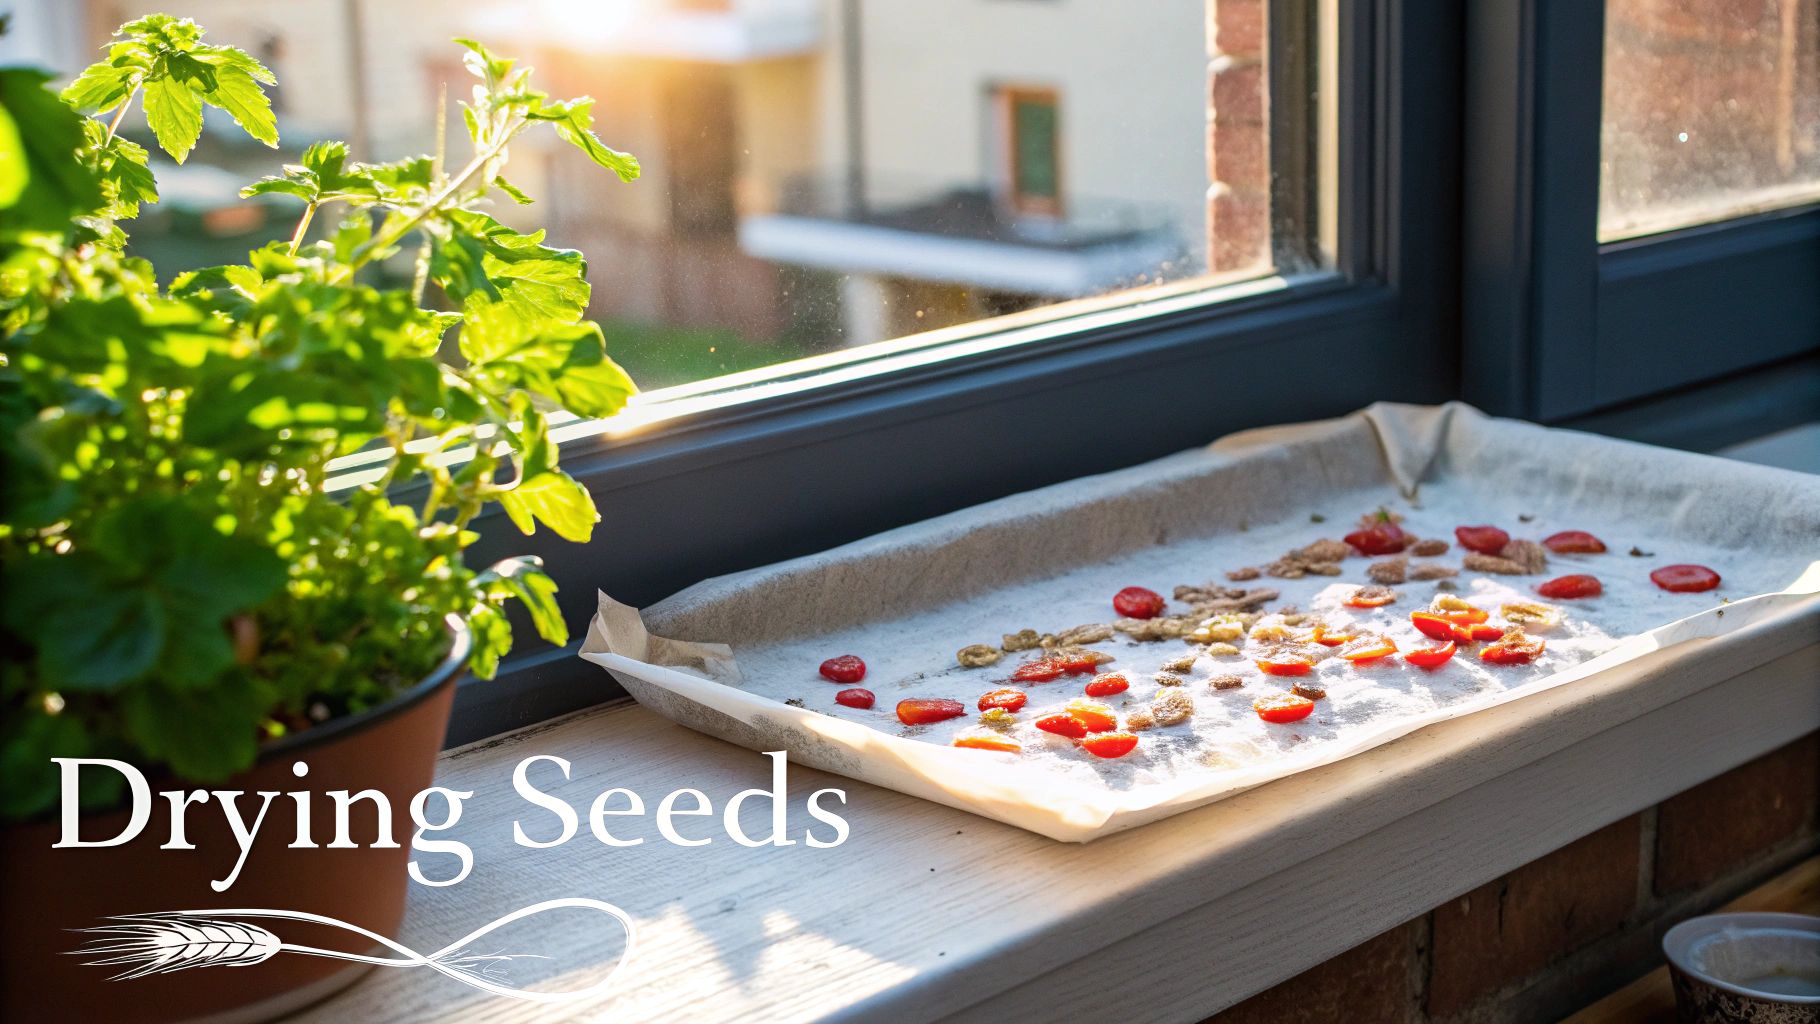
The surface you choose for drying matters more than you’d think. A common mistake is to spread them on a paper towel. It seems logical, but as the seeds dry, they'll fuse to the paper fibers like superglue. Trying to peel them off later often damages the seed coat.
Picking the Right Drying Surface
You want something non-stick that lets air move around freely. Spread the clean seeds out in a single layer on your chosen surface, making sure they aren't touching. A little space goes a long way.
Here are a few go-to options that have always worked well for me:
- Ceramic or Glass Plates: Simple, effective, and something everyone has. Once the seeds are fully dry, they'll pop right off.
- Coffee Filters: The tight weave of a coffee filter is fantastic. It wicks away moisture without the seeds sticking.
- Fine-Mesh Screens: If you have a small window screen or a dedicated seed-drying screen, this is the gold standard. It provides the best airflow from all sides, which can really speed things up.
Once they're spread out, find a cool, dry spot with decent ventilation. Keep them out of direct sunlight, as the heat can cook the delicate embryo inside the seed.
When you're choosing a surface, it's helpful to think about what you have on hand and how many seeds you're drying.
Here is a quick comparison of the most common options.
Seed Drying Surface Comparison
| Drying Surface | Pros | Cons |
|---|---|---|
| Ceramic/Glass Plate | Readily available; completely non-stick when dry; easy to clean. | No air circulation from below; can be slow. |
| Coffee Filter | Inexpensive; seeds don't stick; wicks away moisture. | Can get flimsy when wet; not ideal for very large batches. |
| Fine-Mesh Screen | Excellent air circulation on all sides; fastest drying time. | May need to be purchased specifically for this task. |
| Wax or Parchment Paper | Better than paper towels; seeds stick less. | Can still stick slightly; doesn't absorb moisture. |
Ultimately, a ceramic plate or coffee filter is a perfectly reliable choice for most home gardeners.
Here's a pro tip for checking if they're ready: Pick up one of the larger seeds and try to bend it. If it’s properly dry, it will be brittle and snap cleanly in two. If it has any give or feels leathery, it needs more time.
This final drying phase usually takes about 5 to 7 days, sometimes a little longer if you live in a humid climate. Once they pass the "snap test," your heirloom seeds are officially ready for storage, prepared to bring you a beautiful harvest next year.
5. Storing Heirloom Seeds to Maximize Lifespan
You've done the hard part—harvesting, fermenting, and carefully drying your heirloom seeds. Now for the final step, which is just as crucial: storing them correctly to protect all that effort. This is about more than just tucking them away; it’s about preserving their genetic potential so you get fantastic germination rates for years.
Think of your dried seeds as being in a deep, dormant sleep. Your goal is to create the perfect environment for them to rest without interruption. The three cardinal rules of seed storage are simple but absolute: keep them cool, dark, and dry. If you let any of these conditions slip, you risk waking the seeds up too early or, even worse, inviting mold that will ruin your entire collection.
Finding the Perfect Storage Spot
The right container is your first line of defense. I’ve always had the best luck with simple paper envelopes or those small coin envelopes you can get anywhere—they’re breathable, which is a big plus. Once I have my seeds packeted, I place them all inside a larger, airtight container. A big glass jar with a tight-fitting lid or even an old metal tin works wonders. This two-layer system keeps everything organized and doubly safe from moisture.
Your main job here is to protect your seeds from their three biggest enemies: heat, light, and moisture. A cool, dark closet or a dedicated drawer in a cool room is often all you need.
Don't even think about skipping the labeling. Trust me, you'll thank yourself later. Every single packet needs to be clearly marked with the tomato variety and, just as important, the year you saved the seeds. This information is key for tracking viability, because even perfectly stored seeds don't last forever.
With the right care, you can expect your tomato seeds to remain viable for 4 to 6 years, and I’ve personally had some varieties sprout after even longer.
If you’re really serious about building a long-term seed bank, toss a desiccant into your airtight container. A small, food-safe silica gel packet will absorb any sneaky ambient moisture that might get in, giving you that extra bit of insurance. We cover this and other techniques in our comprehensive guide on how to store seeds long term.
6. Preventing Cross-Pollination
The great thing about tomatoes is that they're mostly self-pollinating, which makes them a fantastic starting point for any new seed saver. But every now and then, a particularly busy bee or other pollinator can move pollen between different varieties you've planted near each other.
To make sure your seeds stay true-to-type, all you really need is a bit of space. In a typical home garden, leaving a gap of 10 to 20 feet between different heirloom varieties is more than enough to keep cross-pollination to a minimum. If you're aiming for absolute genetic purity, some serious seed savers will isolate plants by much greater distances or even use special blossom bags to protect the flowers.
Don't sweat it if you end up with an odd-looking tomato next season. You might have just created your very own accidental hybrid! It’s one of the fun surprises that makes gardening so interesting.
7. Knowing How Long Your Seeds Will Last
Properly stored heirloom tomato seeds can last a surprisingly long time. If you keep them cool, dark, and dry, you can count on solid germination rates for 4 to 6 years. I’ve personally heard from old-timers who’ve successfully sprouted seeds that were over a decade old! It all comes down to giving them the right storage conditions.
When your fermentation goes wrong, it's usually an easy fix. Here are a couple of common scenarios and what to do:
- There’s No Mold: If a few days pass and you don't see that fuzzy layer forming on the surface, your kitchen is likely just a little too chilly. Try moving the jar to a warmer spot to get the natural yeasts and bacteria going.
- Seeds Are Sprouting in the Jar: Whoops! This means you left them fermenting a bit too long, and the process completely broke down the natural growth inhibitor on the seed coat. Rinse them and get them drying immediately. Their long-term shelf life might be a little shorter, but many will still be viable. When you're ready to plant them, our guide on how to sprout seeds can help you get them started.
At Homegrown Garden, we believe everyone can be a successful gardener. Explore our wide selection of heirloom seeds, starter kits, and expert guides to cultivate the garden of your dreams. Find everything you need at https://www.homegrown-garden.com.

