

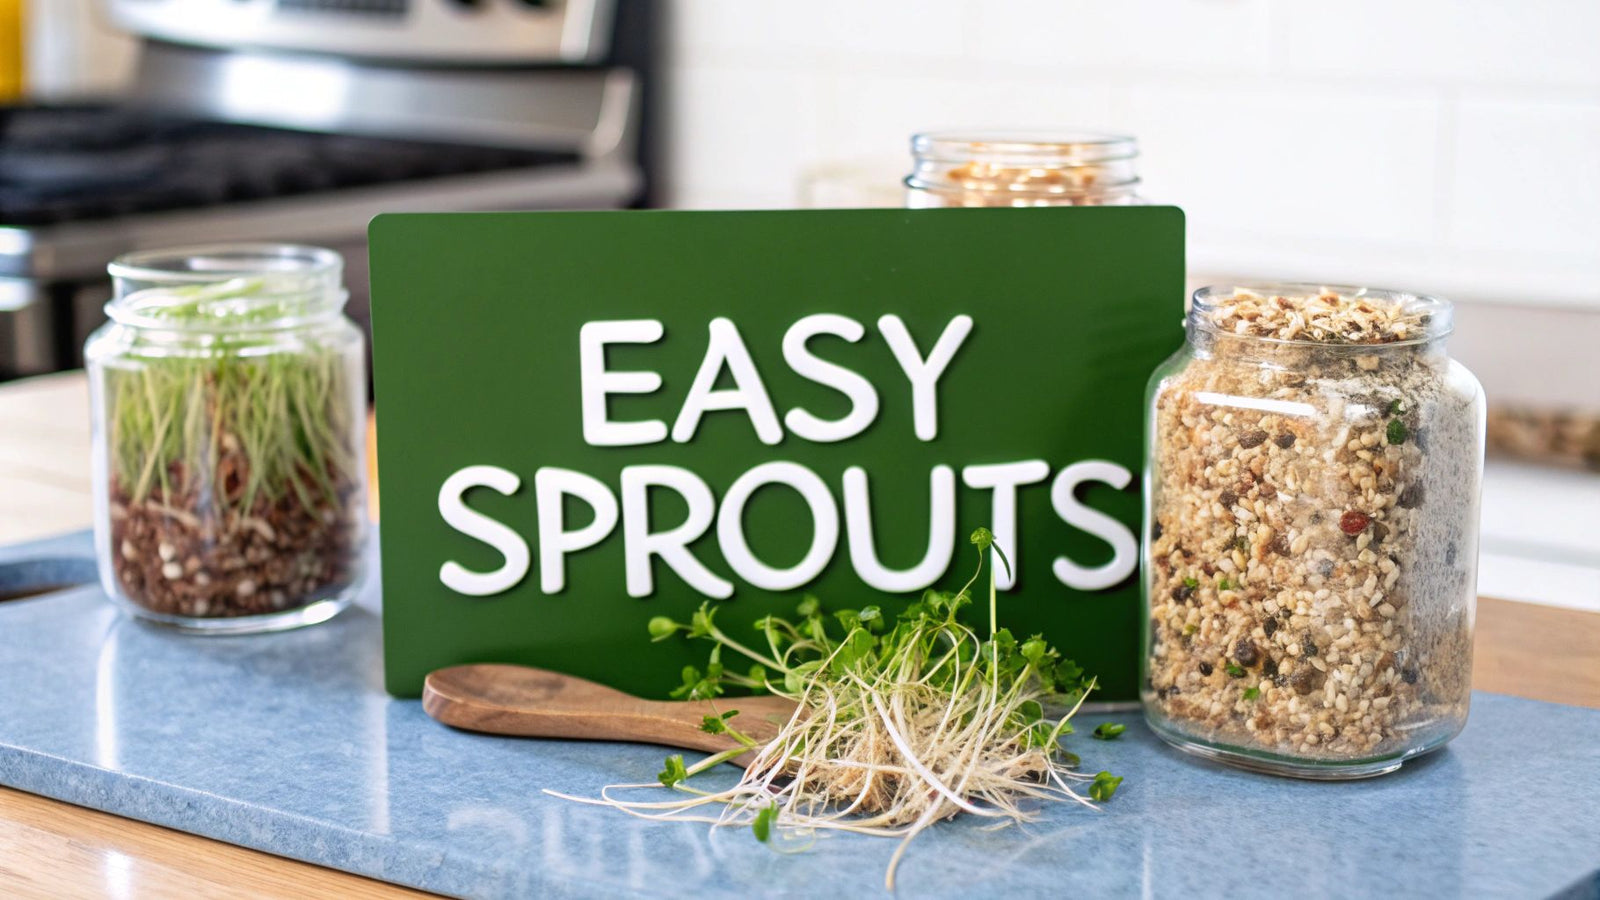

What if you could harvest fresh, incredibly nutritious food right from your kitchen counter? That's exactly what you get with sprouting. It’s a wonderfully simple process: you soak some seeds, give them a daily rinse, and within just a few days, you have tiny, edible plants ready to eat. It's one of the easiest ways I know to get a serious nutritional boost without needing a garden.
Why You Should Start Sprouting Seeds Today
Getting into sprouting is more than just a neat little kitchen project; it's a practical step toward better health and a bit more food independence. When you sprout a seed, you're essentially waking it up from its dormant state, kickstarting a process that turns it into a living powerhouse of vitamins and enzymes.
This germination process makes all the good stuff inside the seed more bioavailable, which is just a fancy way of saying your body can absorb it all much more easily. For instance, sprouts are absolutely loaded with:
- Essential Vitamins: They’re particularly high in Vitamin C and K.
- Active Enzymes: These are fantastic for helping with digestion and nutrient absorption.
- Key Minerals: Think iron, magnesium, and potassium, all ready for your body to use.
More Than Just a Garnish
Aside from the clear health perks, growing your own sprouts is genuinely satisfying and a real money-saver. A single small bag of seeds can yield batch after batch of fresh sprouts, costing you a tiny fraction of what you'd pay at the grocery store. This simple habit makes healthy eating feel both affordable and completely within reach.
There's a real connection you get from sprouting your own food. You oversee the entire process, from seed to sprout, guaranteeing that what you eat is fresh, clean, and grown exactly the way you want it—right there on your windowsill.
This isn't just a niche hobby, either. It’s part of a growing global movement toward more sustainable and nutrient-rich food options. The global seeds market is actually projected to hit USD 59.3 billion by 2025, and sprouting seeds are a big reason for that growth, thanks to a worldwide increase in health awareness. If you're curious, you can explore more data on this agricultural trend.
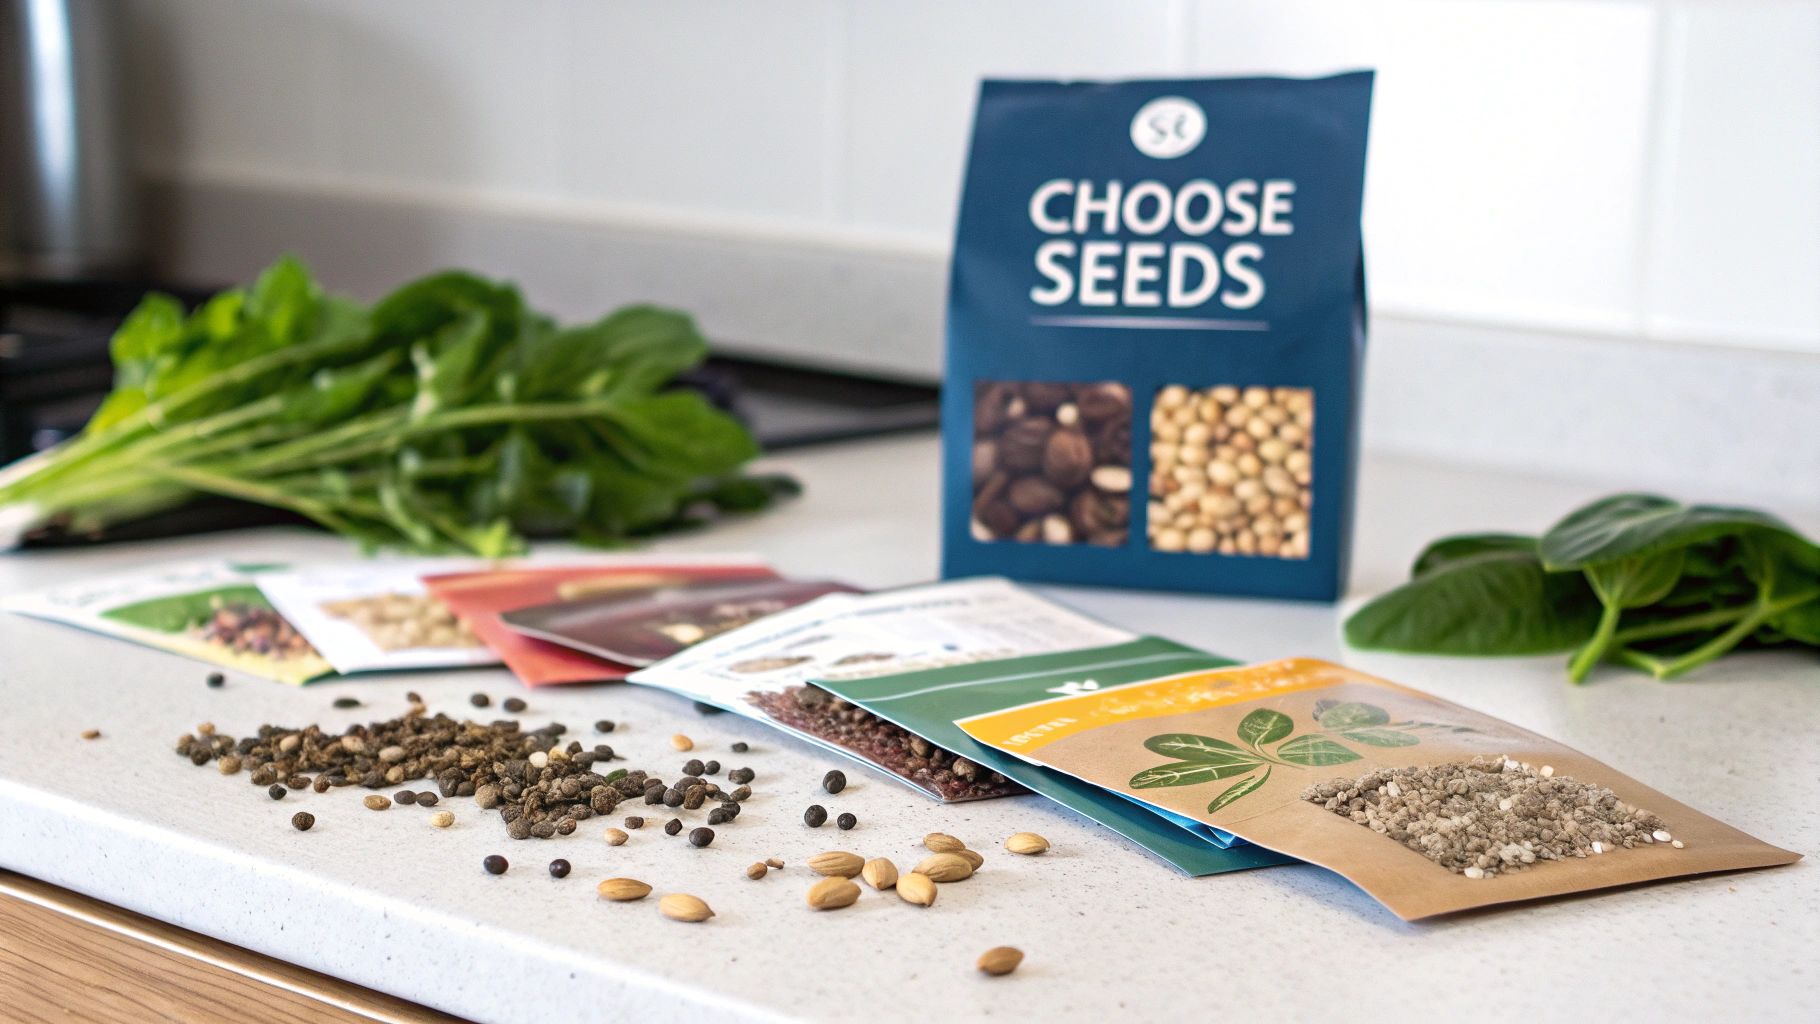
Your Simple Sprouting Toolkit: 2 Easy Methods
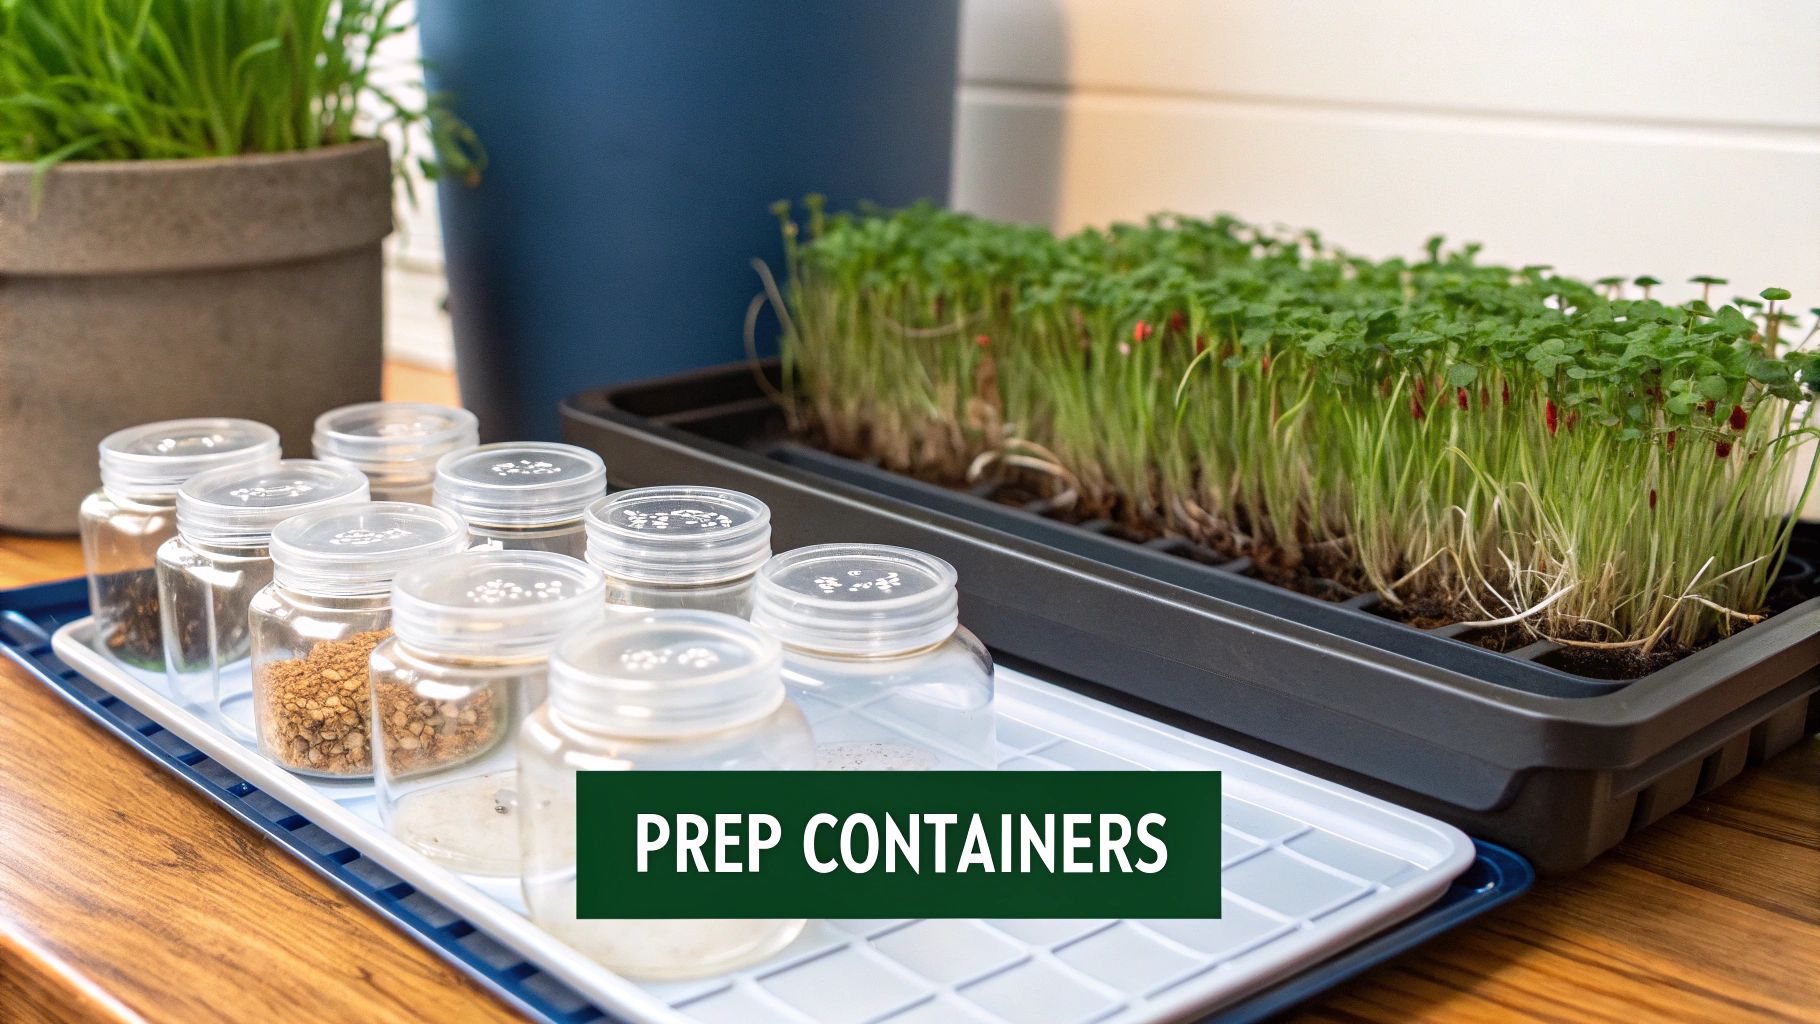
Here's some great news: you absolutely do not need any expensive, fancy gadgets to start sprouting. The real beauty of growing your own sprouts is how simple it is, and you can get started with things you likely already have sitting in your kitchen.
Let's look at the two most popular methods for beginners: the classic jar and the super-efficient tray.
1. The Classic Jar Method
For the jar method, all you need is a standard quart-sized mason jar. It’s the perfect size for growing a nice handful of alfalfa or broccoli sprouts. You'll also need something breathable to cover the top, like a piece of cheesecloth or a fine mesh screen, held on with a simple rubber band. That’s it!
2. The Efficient Tray Method
Then there's the tray method. This approach gives your seeds a bit more room to breathe, which really helps prevent them from clumping up. It’s my go-to for zesty radish or mung bean sprouts. You can find dedicated multi-level sprouting trays online, but honestly, a clean takeout container with a few holes poked in the bottom for drainage works just as well.
The most important thing is not to overthink the gear. Your goal is simply to create a clean, moist environment—but not a soggy one—with plenty of fresh air. A basic jar or tray does this job perfectly.
One of the reasons it's so easy to get started today is the incredible quality of seeds available. Thanks to advancements in agriculture, seeds now have much higher germination rates and are more resistant to disease. These improvements make success almost a given for home sprouters. You can dive deeper into how modern farming is improving seed quality over at Straits Research.
4 Steps to Mastering the Sprouting Process
Alright, this is where the magic happens—turning those little seeds into a jar full of fresh, crunchy sprouts. It’s not about following a strict, complicated recipe. Instead, think of it as a simple four-part rhythm: soak, rinse, drain, and harvest.
Each one of these stages is essential for waking up the seeds and encouraging them to grow. Once you understand the why behind each action, you'll be sprouting with confidence in no time.
Step 1: The Soaking Phase
First things first, you need to give your seeds a good, long drink. This initial soak is the signal that tells the seed it's safe to wake up from its slumber and kick off the germination process. It's the alarm clock for your future sprouts.
Soaking times aren't one-size-fits-all. Smaller seeds like alfalfa or broccoli are usually happy with about 4-6 hours. For larger, tougher seeds like mung beans or lentils, you’ll want to give them a longer soak, typically around 8-12 hours. If you're in a real hurry, there are some tricks for how to germinate seeds faster, but a proper soak always builds the best foundation for healthy sprouts.
Step 2: The Rhythm of Rinsing
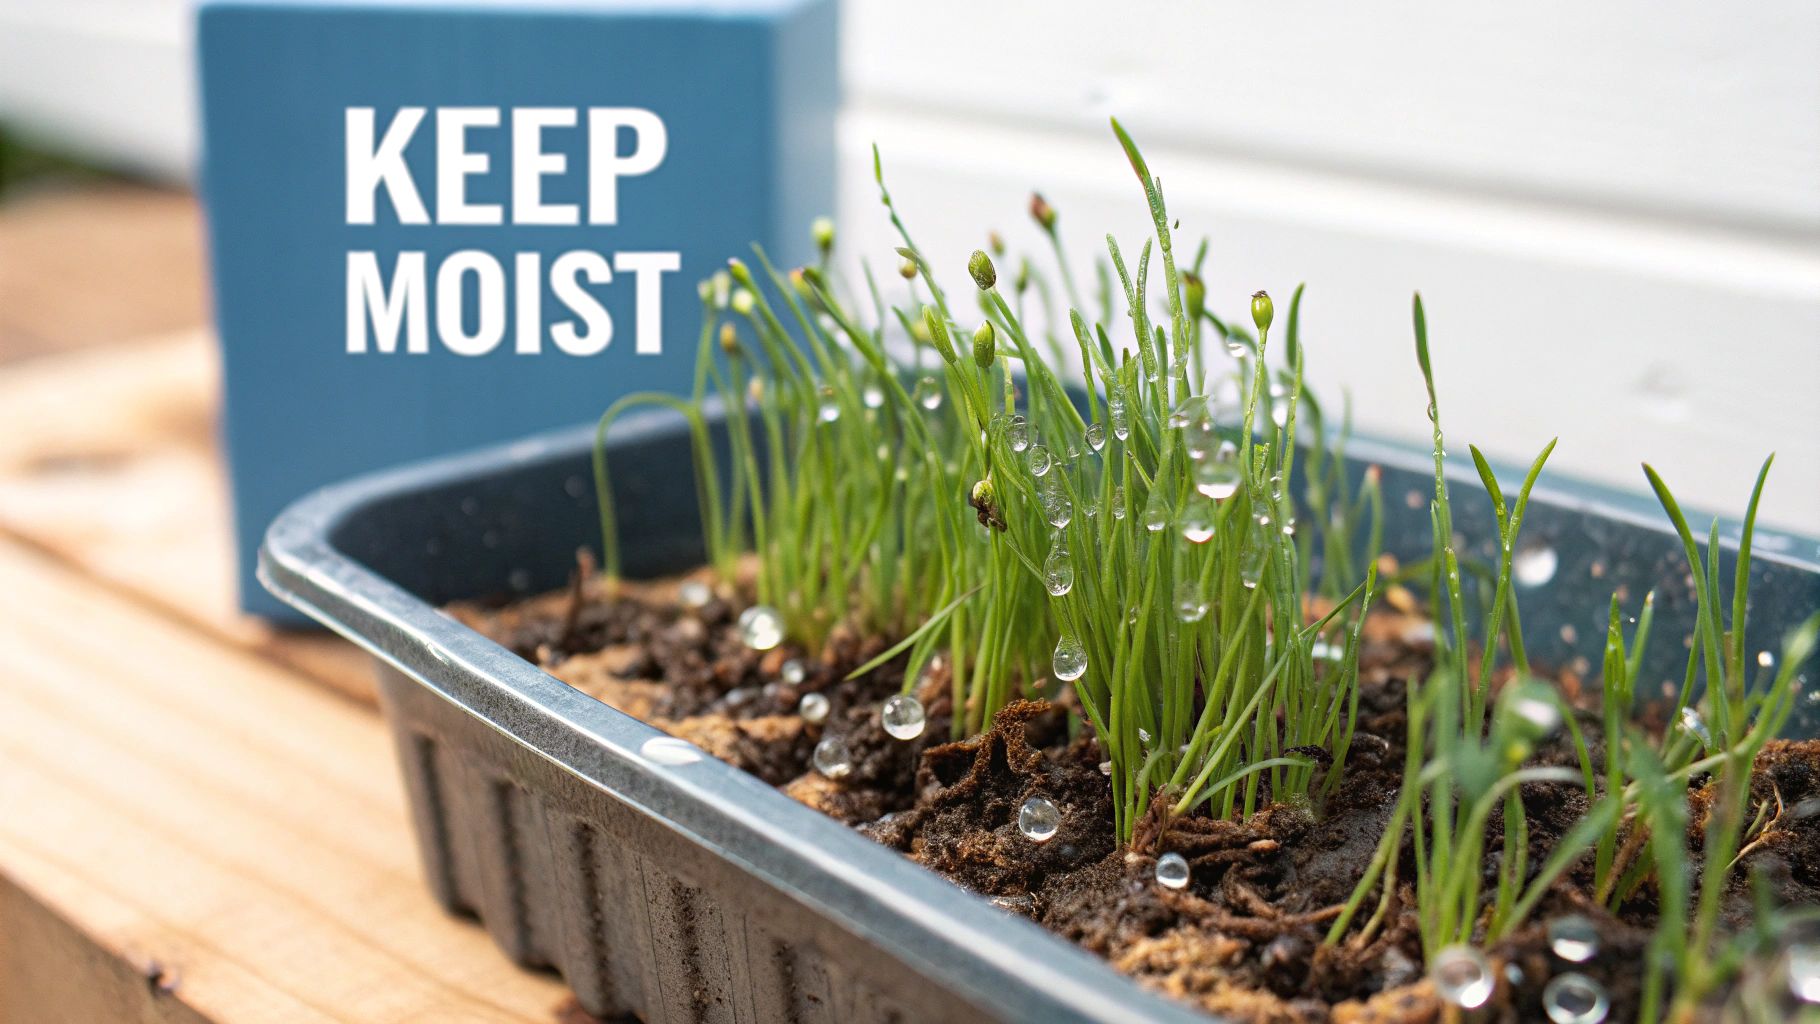
After their initial bath, your seeds settle into a daily cycle of rinsing. Honestly, this is the most critical routine to get right. It gives your growing sprouts the moisture they crave while preventing nasty mold or bacteria from setting up shop. The main goal is to keep them damp, not drowning.
A consistent twice-a-day rinse is the sweet spot. A quick wash in the morning and another in the evening provides plenty of hydration and keeps the sprouting environment clean and fresh.
Step 3: The Importance of Draining
Draining properly is just as important as rinsing. You have to make sure there's no standing water left in your jar or tray, as that's a one-way ticket to rot. Here's a pro tip I swear by for the jar method: prop it upside down at an angle in a bowl. This simple trick lets all the excess water drip out but still allows for fantastic airflow—the perfect environment for happy, healthy growth.
This visual breaks down that core timeline, from the first soak to the first few days of growth.
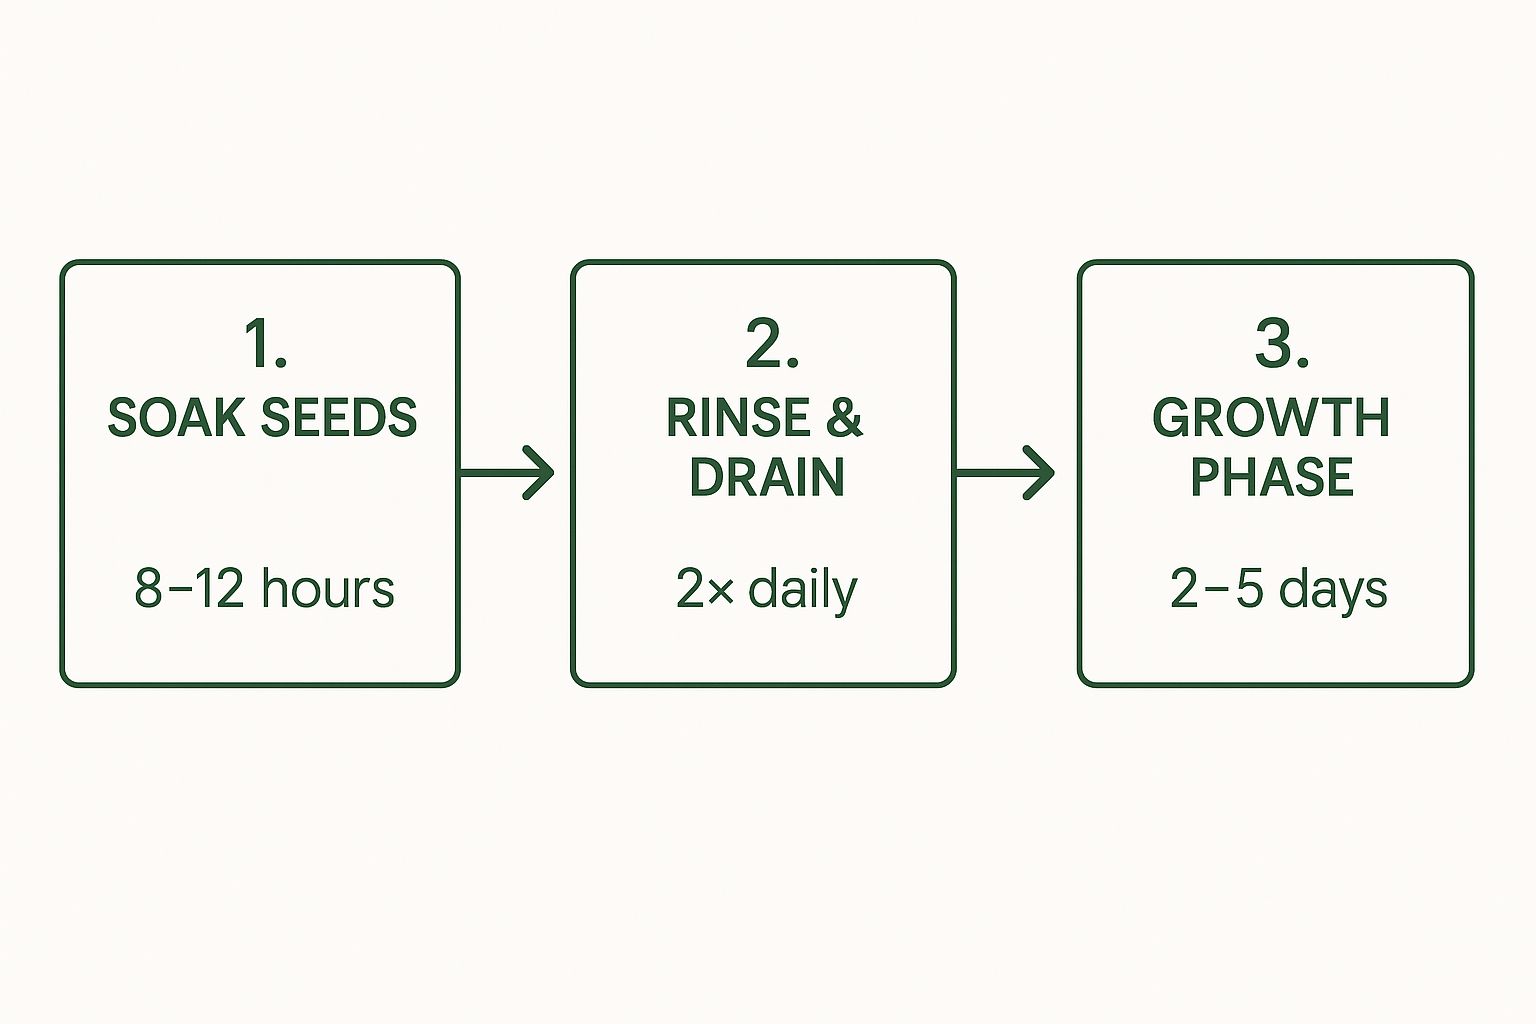
As you can see, it's really just a simple loop of care that brings you to a tasty harvest in just a handful of days.
Step 4: Harvesting at Peak Freshness
In about 2 to 5 days, you'll have a jar or tray brimming with vibrant little sprouts. The tell-tale sign they're ready for harvest is when they’ve developed their first tiny set of leaves (these are called cotyledons). At this point, they've hit their peak in both nutrition and flavor.
All that's left is to give them one final rinse, get them as dry as you possibly can (a salad spinner is a game-changer for this), and they’re ready to be tossed into your favorite salads, sandwiches, and stir-fries.
11 Easy Seeds for Your First Sprouting Success
Jumping into the world of sprouting can feel a little daunting, but the secret is to start with seeds that are practically eager to grow. The right seeds will give you a quick, delicious win and the confidence to keep going. I’ve put together this list of 11 reliable varieties that are known for being forgiving, fast, and incredibly rewarding—perfect for anyone just starting out.
Think of your first few batches as practice rounds. Success here builds the foundation for more adventurous sprouting down the road.
The Classics: Mild & Crunchy
If you want a classic, all-purpose sprout, these are the ones to grab. Their mild flavors and satisfying crunch mean they play well with just about any food, from sandwiches to salads.
- Mung Beans: These are the OG sprouts you see in stir-fries. They grow into thick, crunchy shoots in just 2-4 days and have a fantastic, slightly sweet flavor. An absolute staple.
- Alfalfa: Picture the delicate, wispy sprouts piled high on a deli sandwich—that’s alfalfa. They have a fresh, nutty taste that’s subtle enough to add to anything.
- Lentils (Green or Brown): Don’t sleep on lentil sprouts! They’re earthy, a little peppery, and add a fantastic protein boost and texture to soups or grain bowls. So easy.
- Chickpeas (Garbanzo Beans): Sprouting transforms chickpeas into crisp, nutty, and buttery morsels. They are wonderful eaten raw in salads, offering a completely different experience than their cooked counterparts.
The Flavor Kickers: Zesty & Bold
Ready for a little more personality? These seeds pack a punch and can wake up any dish. They’re just as easy to grow as the mild varieties but bring some serious flavor to the party.
My Personal Takeaway: One of the best parts of sprouting is discovering these intense, fresh flavors. A small handful of radish sprouts, for example, can add more zing to a taco than you'd ever expect from something so tiny.
- Radish: A personal favorite of mine for a spicy kick. Radish sprouts have that same peppery bite as a full-grown radish and add a beautiful pinkish hue to your plate.
- Broccoli: Famous for their health benefits, broccoli sprouts have a surprisingly mild but distinct peppery flavor. They're a powerhouse of nutrition and taste.
- Clover: These look a lot like alfalfa sprouts but pack a slightly sweeter, more robust flavor. I love using them as a "green" base for a mixed sprout salad.
- Fenugreek: This one is a game-changer. Fenugreek sprouts offer a unique bittersweet, almost curry-like flavor that is absolutely incredible in Indian-inspired dishes or wraps.
Beyond the Basics: Grains & Nuts
Remember, you can sprout more than just beans and greens! Grains and seeds offer unique textures and nutritional profiles that are definitely worth exploring.
- Quinoa: Sprouted quinoa is softer and livelier than cooked quinoa, with a mild, earthy taste. It’s a fantastic way to add raw, living-food energy to a salad.
- Sunflower: Use hulled sunflower seeds for this one. You’ll get thick, crunchy, and nutty sprouts that are substantial enough to be the star of their own sprout salad.
- Wheat Berries: When sprouted, wheat berries become wonderfully chewy and sweet. Many people use them to make sprouted grain bread, but they’re also great tossed into cereal for extra fiber.
Easy Sprouting Seeds Comparison Chart
To help you pick your first winner, here’s a quick-reference chart. It breaks down the flavor, timing, and best uses for some of the most popular beginner-friendly seeds.
| Seed Type | Flavor Profile | Average Sprout Time (Days) | Best For |
|---|---|---|---|
| Mung Bean | Mild, slightly sweet, crunchy | 2-4 | Stir-fries, salads, hearty dishes |
| Alfalfa | Fresh, mild, nutty, delicate | 4-6 | Sandwiches, salads, garnishes |
| Radish | Peppery, spicy, bold | 3-5 | Tacos, sandwiches, adding a kick to anything |
| Lentil | Earthy, peppery, substantial | 2-4 | Soups, grain bowls, salads |
| Broccoli | Mildly peppery, "green" | 3-5 | Smoothies, salads, health-focused meals |
No matter which you choose, you're on your way to a fresh, homegrown harvest. Happy sprouting!
Once you’ve mastered these, you might get the itch to expand into a full indoor garden. When you’re ready, you can learn more about the next steps by reading our guide on when to start seeds indoors.
3 Common Sprouting Issues & How to Fix Them
https://www.youtube.com/embed/h7rJoowB-kI
Even the most seasoned sprouters run into a few snags now and then, so don't get discouraged if your first few attempts aren't perfect. Think of it as part of the learning curve. Most problems are simple to solve and teach you exactly what to look out for next time.
Let's walk through some of the most common hiccups you might encounter.
1. Bad Smells or Rot
A funky, sour smell is probably the number one issue people run into. If your jar starts to smell unpleasant, it’s almost always a sign that water isn't draining properly or you aren't rinsing enough. That standing water is a perfect playground for bacteria. Make sure you're rinsing thoroughly at least twice a day and, just as importantly, tilting your jar or tray at a sharp angle so every last drop can escape.
Good airflow is just as crucial. Your sprouts are alive, and they need to breathe!
2. Mold vs. Root Hairs
Okay, let's talk about the classic beginner's panic: "Is this fuzz mold?" It's a rite of passage, but telling the difference between harmless root hairs and true mold is actually pretty straightforward.
- Root Hairs: These look like a delicate, fuzzy white halo right around the root of the sprout. They are a totally normal, healthy part of the plant's growth. The easiest way to check? They'll flatten down and seem to disappear when you rinse them.
- Mold: This looks more like a tangled mess of cobwebs spreading throughout the entire batch of sprouts. Mold also has a distinct musty smell and won't wash away with a rinse. If you see this, your best bet is to toss the batch, sanitize your gear, and start fresh, focusing on better airflow for your next go.
Key Takeaway: Fuzzy roots are good; fuzzy cobwebs are bad. When in doubt, give them a rinse. Healthy root hairs are a sign your sprouts are growing vigorously!
3. Seeds Not Sprouting
What if your seeds don't sprout at all? The usual suspects here are old seeds that have lost their viability or the wrong temperature. For a deeper dive into getting more of your seeds to pop, check out our 10 tips for sowing and germination.
As more people discover the joy of home sprouting, there’s also been a greater focus on safety. This has pushed the commercial industry toward much stricter standards, including testing for pathogens. For your peace of mind, always buy your sprouting seeds from a reputable supplier who takes these safety measures seriously.
3 Common Sprouting Questions Answered
As you get into the rhythm of sprouting, a few questions always seem to come up. Let’s walk through some of the most common ones I hear, so you can feel confident you’re on the right track.
1. Can I Just Sprout Beans from the Grocery Store?
This is probably the number one question people ask, and it's a good one. While it might be tempting to grab a bag of lentils or beans from the bulk aisle, I really advise against it. It's always best to use seeds that are specifically packaged and sold for sprouting.
Here’s why: seeds meant for sprouting have been professionally cleaned and tested for harmful pathogens like E. coli and Salmonella. Grocery store beans don't go through this same screening process, so the risk is higher. Plus, some of those beans may have been treated to prevent them from germinating, meaning you might not get any sprouts at all.
2. What's the Best Way to Store My Sprouts?
Once your sprouts are ready, the goal is to get them cool and dry as quickly as possible. After their final rinse, I find that a salad spinner is the absolute best tool for the job—it gets them surprisingly dry without bruising them.
From there, store them in your refrigerator's crisper drawer. You can use a container with a paper towel at the bottom to absorb any extra moisture or a special breathable produce bag. Handled this way, most of your sprouts should stay crisp and delicious for up to a week.
The secret to long-lasting sprouts is keeping them cool, dry, and able to breathe. If you trap moisture in the container, they'll get slimy and spoil in just a couple of days.
3. Do My Sprouts Need Sunlight?
Nope, sprouts don't need any light to actually germinate and grow. In fact, keeping them in direct sunlight is a bad idea—it can easily overheat and cook your delicate sprouts before they even get started.
Just find a spot on your kitchen counter that gets plenty of air circulation but is out of direct sun. If you want your sprouts to "green up" a bit with chlorophyll (like with alfalfa or broccoli sprouts), you can move them into indirect light for a few hours on the very last day. It's totally optional but does add a bit of color and a slight nutritional boost.
For everything you need to start your home sprouting adventure, from premium seeds to complete kits, explore the collection at Homegrown Garden. Start growing today!

