


So, what exactly is an indoor seed starting setup? Think of it as a dedicated nursery right in your own home. It’s a station designed to give your seeds the perfect conditions to sprout and thrive—plenty of light, consistent warmth, and a stable environment. Typically, this involves grow lights, seed trays, and a specific soil mix. With this setup, you can start your plants weeks, or even months, before they could handle the great outdoors, giving you a serious head start on the growing season.
Unlock Your Garden's Full Potential
Imagine picking ripe, juicy tomatoes from your own garden while your neighbors are still just putting their tiny plants in the ground. An indoor seed starting setup can make that happen. By creating a controlled, cozy environment, you’re not just getting a jump on the season; you're giving your seedlings a major strategic advantage. You can shield them from the unpredictable chaos of spring weather and keep them safe from common garden pests.
But it's not just about getting an early start. This method opens up a whole new world of gardening possibilities. You gain access to an incredible array of unique heirloom and rare seed varieties that you'll almost never find at a local garden center. There's also a deep satisfaction that comes from nurturing a plant from a tiny, dormant seed into a thriving seedling. Plus, it can save you a surprising amount of money compared to buying starts from a nursery. It really shifts your gardening from a simple pastime to a smart strategy for a bigger, better harvest.
Why Start Seeds Indoors?
Starting seeds inside isn't just a fleeting trend—it's a fundamental technique that more and more gardeners are embracing. In fact, the global indoor farming market, which includes home setups like these, was valued at USD 22.3 billion in 2024 and is expected to nearly double by 2033. You can read more about this growing market on imarcgroup.com. This massive growth reflects a shift toward year-round production and greater control over how our food is grown, something any home gardener can easily tap into.
The real magic is control. You become the master of the light, temperature, and moisture, taking all the guesswork and risk out of direct sowing in early spring. This means higher germination rates and healthier, more resilient plants.
4 Key Advantages for Home Gardeners
Here are 4 reasons why an indoor seed starting setup is such a game-changer for your garden:
- A Longer Growing Season: You can get heat-loving plants like tomatoes and peppers going a full 6-8 weeks early. The result? Earlier and more abundant harvests.
- Access to Amazing Varieties: Online seed catalogs offer thousands of options you just won't find as nursery starts, from exotic vegetables to rare, beautiful flowers.
- Healthier, Stronger Plants: Seedlings raised in a stable environment develop strong, robust root systems without the stress of wild temperature swings or harsh weather.
- Pest and Disease Prevention: By starting seeds in a sterile mix, you dramatically reduce the risk of soil-borne diseases like damping-off, which can quickly kill off new sprouts outdoors.
The 7 Essential Items for Your Seed Starting Station
Putting together a solid indoor seed starting setup doesn't have to be complicated or expensive. When you're just starting out, it’s easy to get lost in all the gadgets and gear. I’ve learned from experience that focusing on just a few key pieces of equipment makes all the difference.
Let's walk through the seven core components you'll need to build a station that will give you strong, healthy seedlings ready for the garden.
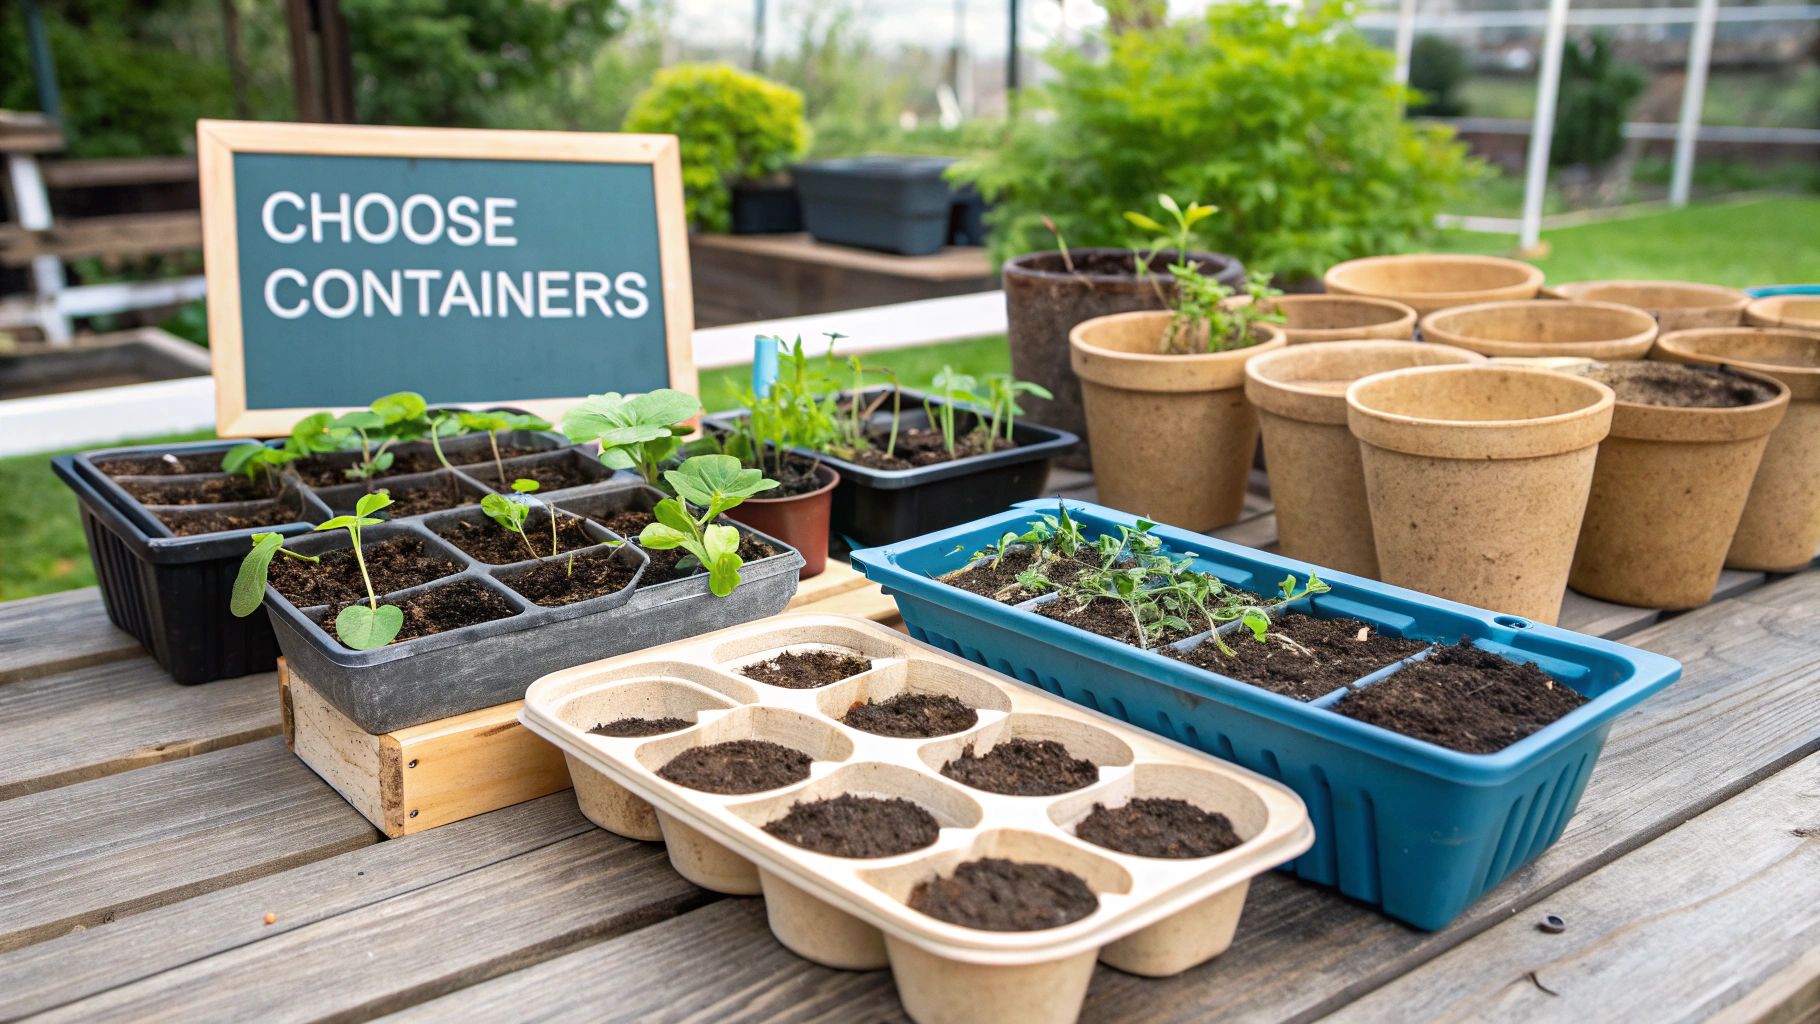
1. Seed Trays and Humidity Domes
Think of this combo as a personal greenhouse for your seeds. The seed trays—whether you choose cell packs, open flats, or individual pots—are where your plants will spend their first few crucial weeks. I recommend looking for sturdy, reusable plastic trays that won't crack after just one season.
The clear humidity dome is the other half of the equation. It fits snugly over the tray to trap warmth and moisture, creating the perfect steamy environment that most seeds need to wake up. This simple cover is a huge factor in successful germination because it stops the soil surface from drying out. Once you see most of your seeds have sprouted, it's time to take it off to get some air flowing.
2. A Quality Seed Starting Mix
This is non-negotiable. You absolutely must use a specialized seed starting mix. Grabbing soil from your garden or using a regular potting mix is a common rookie mistake. Garden soil is far too dense for delicate new roots and often contains fungi that cause "damping-off," a disease that can kill an entire tray of seedlings overnight.
A good seed starting mix is sterile, lightweight, and has a fine texture. This gives new roots the freedom to grow without a struggle and keeps your seedlings safe from common soil-borne diseases.
Look for bags specifically labeled for seed starting from brands like Jiffy or Pro-Mix. The key is that it's formulated for this exact purpose.
3. Full-Spectrum Grow Lights
If you invest in one thing, make it this. A sunny windowsill just won't cut it, I promise. It almost always leads to pale, "leggy" seedlings that stretch desperately for light and lack the strength to survive outdoors. To grow stocky, robust plants, you need to provide 14-16 hours of consistent, direct light.
Look for lights with a Kelvin rating between 4500K and 6500K, which effectively mimics the full spectrum of natural sunlight. Simple LED shop lights are a fantastic, energy-efficient, and affordable option that works perfectly.
To give you a quick overview, here's a checklist of the core components we've discussed and will cover.
7-Part Seed Starting Component Checklist
| Component | Primary Function | Key Feature to Consider |
|---|---|---|
| Seed Trays & Domes | Create a mini-greenhouse environment. | Durable, reusable plastic; clear dome for visibility. |
| Seed Starting Mix | Provide a sterile, lightweight medium. | Fine texture, sterile, and free of pathogens. |
| Grow Lights | Offer consistent, full-spectrum light. | LED lights with a 4500K-6500K Kelvin rating. |
| Heat Mat | Warm the soil to speed up germination. | Thermostat control for precise temperature. |
| Light Timer | Automate the daily light cycle. | Simple, programmable outlet timer. |
| Oscillating Fan | Strengthen stems and improve air circulation. | Gentle, indirect breeze setting. |
| Plant Labels | Keep track of plant varieties. | Waterproof marker and durable stakes. |
This table serves as a great shopping list and a reminder of why each piece is important for your setup.
4. A Seedling Heat Mat
While you can get by without one, a heat mat is a true game-changer, especially for heat-loving plants like tomatoes, peppers, and eggplants. Most seeds germinate fastest when the soil is a cozy 75-85°F (24-29°C)—that's much warmer than the average room. For reliable and quick sprouting, a seedling heat mat like the Cultiv8 Heat Mat can make a world of difference.
5. A Simple Light Timer
Consistency is everything for seedlings. A cheap outlet timer is one of the best investments you can make for your setup. It takes all the guesswork and remembering out of the equation. Just set it to turn your lights on and off for a 14 to 16-hour cycle, and you can rest easy knowing your plants are getting the light they need, every single day.
6. An Oscillating Fan
This one might sound strange, but a gentle breeze works wonders. The constant, gentle air movement helps prevent mold and fungus from taking hold in the humid environment. More importantly, it mimics the wind, which forces your seedlings to build thicker, stronger stems. This little bit of stress helps them become far more resilient for their eventual move outdoors.
7. Plant Labels
Trust me on this: label everything the moment you plant it. You’ll be sure you can remember which tomato variety is in which row, but a few weeks later, it all becomes a sea of green. A pack of simple plastic stakes and a permanent marker is all you need to save yourself a major headache down the line.
3 Steps to Assemble Your Setup for Peak Performance
Alright, you've got all your gear. Now comes the fun part: putting it all together to create the perfect little nursery for your future plants. The goal here is to build a station that practically runs itself, giving your seeds every advantage right from the start.
First things first, find a good spot. This doesn't have to be anything fancy—a spare closet, a corner of the basement, or even a utility room will do. What you're looking for is a space where you can control the light and temperature without too much interference.
Once you've picked your location, get that shelving unit built. I'm a big fan of standard wire utility racks. They're sturdy, promote great air circulation, and make hanging your grow lights an absolute breeze. Just make sure the shelf is perfectly level; you don't want water pooling at one end of your seed trays.
The infographic below really nails the relationship between your light source, how long it's on, and how close it is to your plants. Getting this balance right is key.
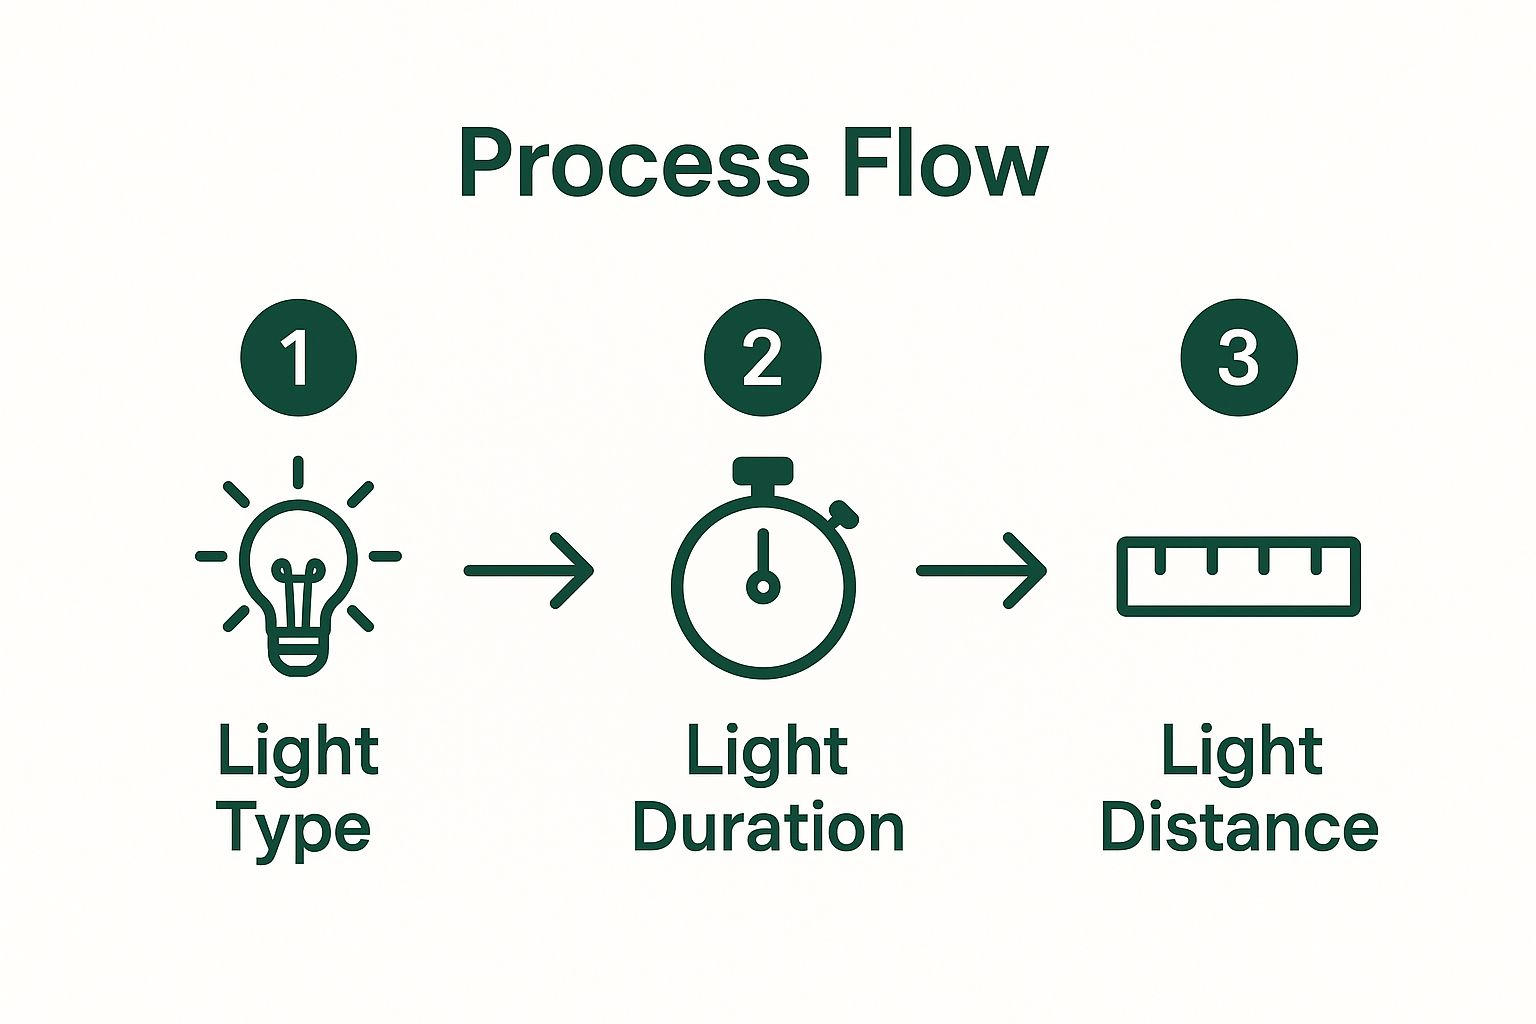
As you can see, successful lighting isn't just about flipping a switch—it's a thoughtful process.
3 Tips for Optimizing Your Components
With the basic frame up, it's time to dial in the details. These are the small adjustments that separate okay results from fantastic ones.
-
Heat Mat Placement: Lay your heat mat directly onto the wire shelf, then place your seed tray right on top. This direct contact efficiently warms the soil where the seeds are. A crucial tip: once you see most of your seeds have sprouted, turn the mat off. Too much bottom heat can lead to weak, "leggy" seedlings.
-
Grow Light Height: This is non-negotiable. Your lights need to be adjustable, so use the chains or pulleys they came with. Position them just two to three inches above the tops of your seed trays or humidity domes. As your seedlings get taller, you'll need to raise the lights to maintain that perfect distance.
-
Cord Management: Don't skip this. A tangle of cords near water is a bad idea. Use zip ties or velcro straps to bundle everything neatly. I like to mount the power strip to the side of the shelving unit, keeping it off the floor and safe from spills.
The real game-changer is automation. Hooking up your lights to a timer and your heat mat to a thermostat lets you create a consistent, hands-off environment. This "set it and forget it" method is the secret weapon for growing strong, uniform seedlings day after day.
Finally, plug your lights into a basic outlet timer and set it for a 14-16 hour daily cycle to mimic long summer days. For even more pro-level tips for starting seeds indoors, our detailed guide has you covered. Now your setup is perfectly tuned for success before you've even planted a single seed.
A 2-Step Practical Guide to Sowing Seeds
Alright, your indoor seed-starting station is all set up. Now for the fun part—getting those seeds in the soil. Before you rip open those seed packets in a fit of excitement, a little bit of careful prep will make all the difference. Think of it as the bridge between having the right gear and seeing a tray full of happy, green sprouts.
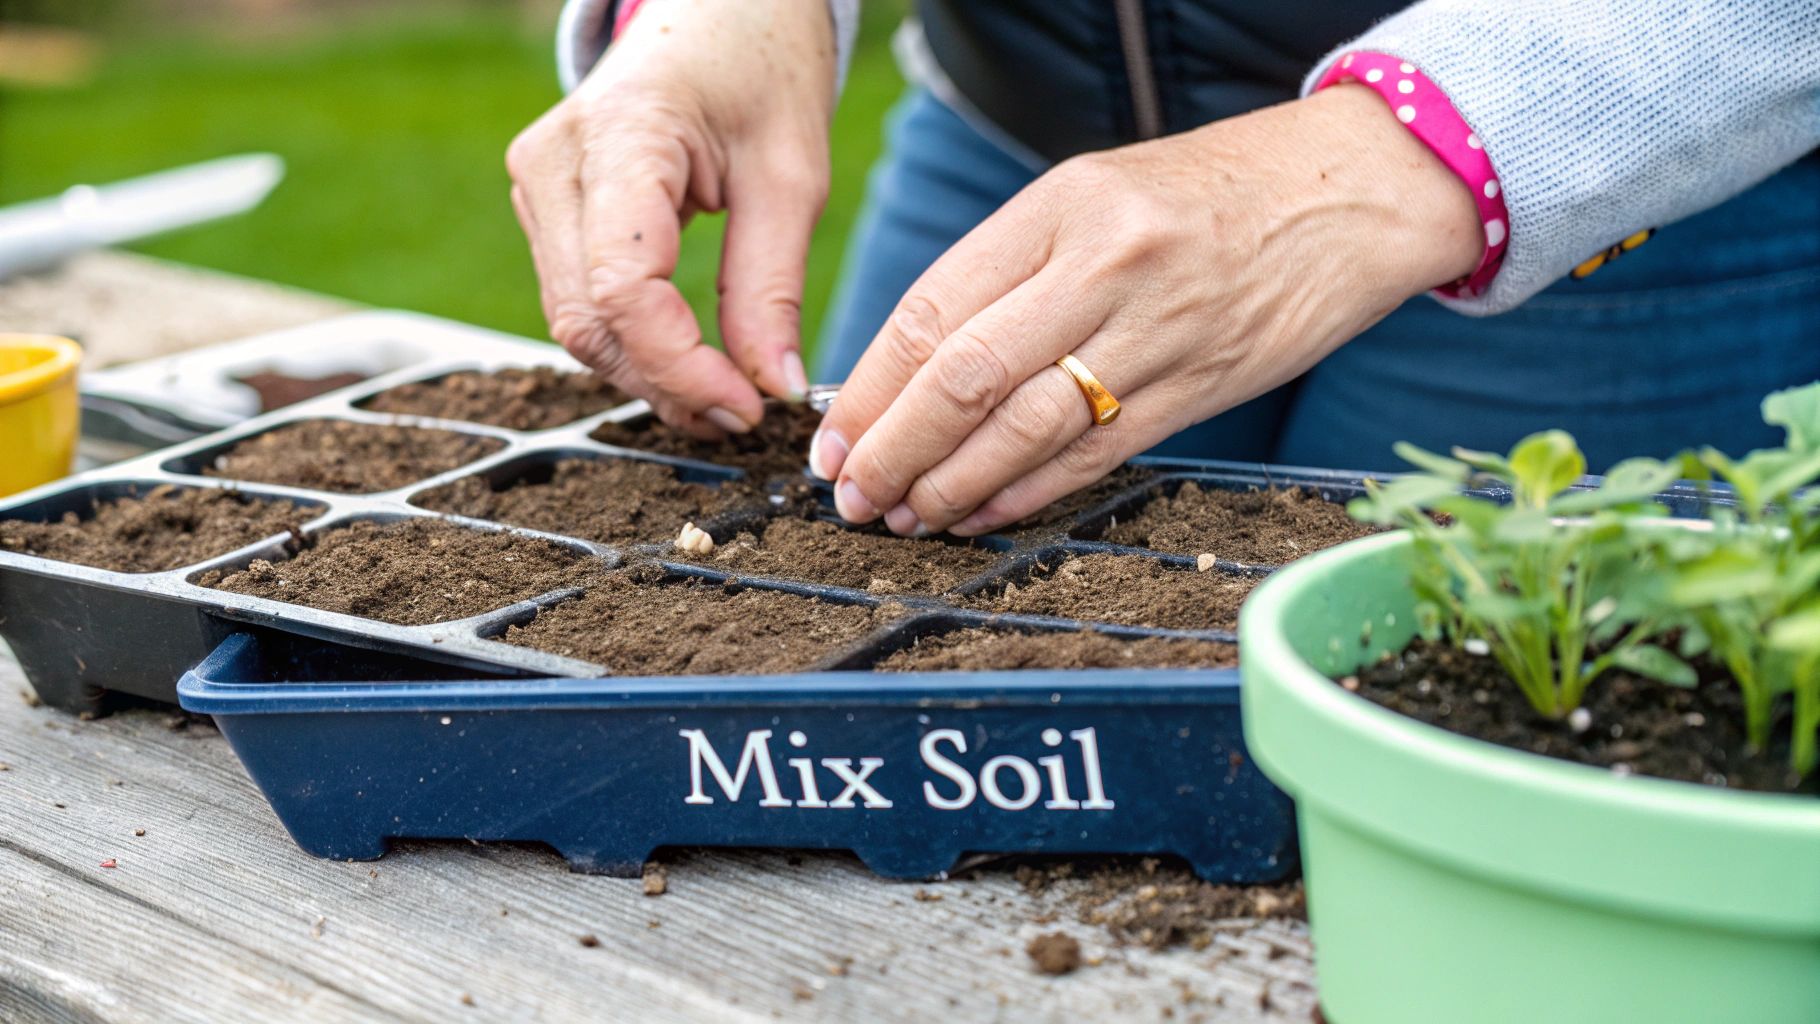
Your journey starts with the growing medium. Grab your bag of seed starting mix and pour some into a clean tub or bucket. Slowly add water and mix it all together with your hands. What you're looking for is the texture of a damp, wrung-out sponge. It should be moist enough to hold a shape when you squeeze it, but not so wet that water drips out. Getting this right from the start ensures your seeds have evenly hydrated soil from day one.
1. Planting Your Seeds With Care
Once your soil is perfectly moistened, gently fill your seed trays. A light tap on the counter will help it settle into the cells. Whatever you do, don't pack it down! Compacted soil is tough for tiny, delicate roots to push through.
Now, it’s time to consult your seed packets. They are your best friend here, holding all the secrets to success. The packet will tell you exactly how deep to plant.
- A good rule of thumb: Plant a seed about twice as deep as it is wide.
- For tiny seeds (like lettuce or snapdragons): A simple press onto the surface of the soil is often all they need.
- For larger seeds (like squash or peas): You’ll want to poke a proper hole with your finger or a pencil eraser to get them to the right depth.
Here's a tip I learned the hard way: Label everything. Immediately. The second you finish planting a cell or a row, stick a plant stake in it with the variety written down. Trust me, what seems obvious now becomes a sea of confusing green sprouts in a few weeks.
2. Planning Ahead for a Successful Season
Knowing what to do is one thing, but knowing when to do it is just as critical. The timing of your indoor sowing connects directly to your local climate and your last frost date. For a full breakdown, check out our guide on when to start seeds indoors. This simple step ensures your seedlings are ready for the garden at the perfect moment.
It’s also pretty cool to think about how your small indoor setup is part of a much bigger picture. The indoor farming market was recently valued at USD 42.08 billion and is projected to keep growing. Home gardeners like us, using controlled setups to grow food, are part of that trend! You can see more data on this incredible growth at grandviewresearch.com.
3 Keys to Keeping Your Seedlings Healthy and Strong
Watching those first green shoots emerge is an exciting moment for any gardener. But getting seeds to sprout is only the first step—the real work of nurturing strong, healthy plants is just getting started. This next phase is all about paying close attention and providing consistent daily care.
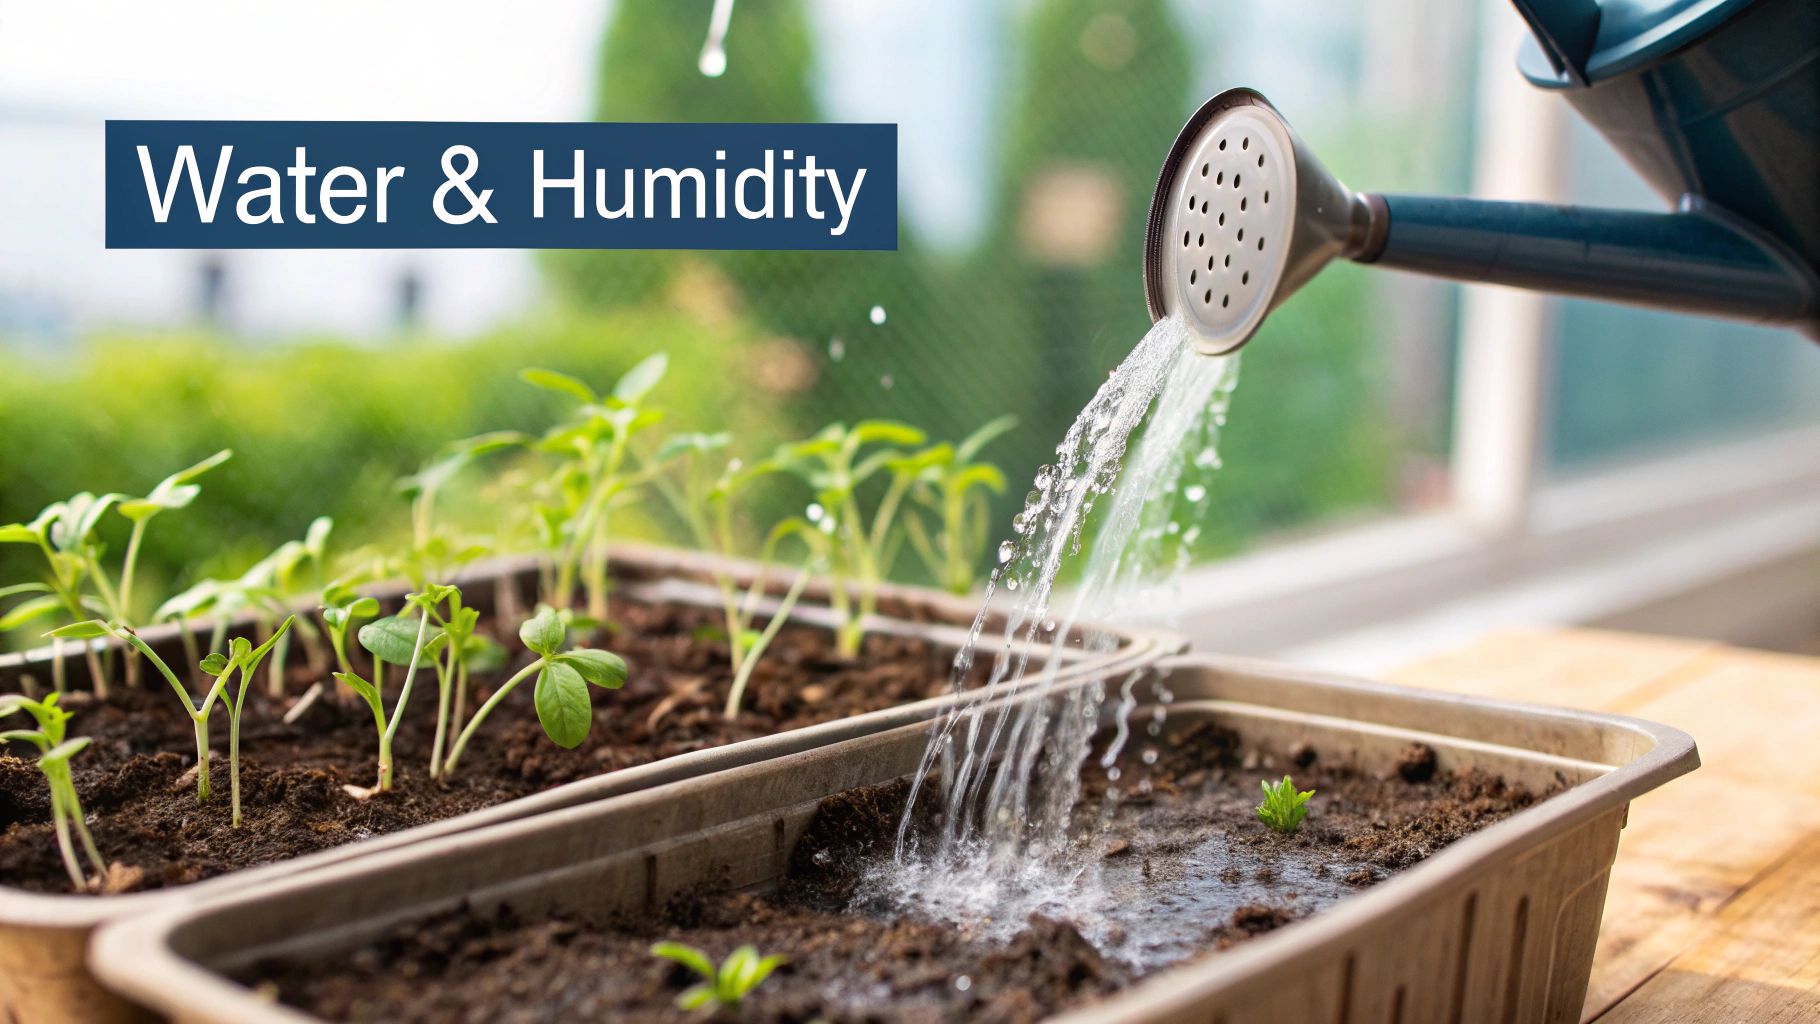
One of the best habits you can get into is bottom watering. Forget watering from the top; that can easily dislodge tiny seedlings or compact the soil. Instead, pour water directly into the bottom tray and let the soil wick it up from below. This simple trick encourages roots to dig deep in search of moisture, building a much stronger foundation for the plant. It's also a fantastic way to prevent common fungal issues like damping-off.
1. Knowing When to Adjust Their Environment
Your seedlings' needs change quickly as they grow. The cozy, high-humidity environment that helped them germinate can actually hinder their development if you leave it for too long.
- Remove the Humidity Dome: Once you see green sprouts popping up in most of your cells, it’s time to take the lid off. This immediately improves air circulation around the plants and helps prevent mold from taking hold.
- Turn Off the Heat Mat: The heat mat’s job is done once your seeds have sprouted. Continued bottom heat can cause seedlings to grow tall and spindly, resulting in weak, "leggy" stems. They just don't need it anymore.
If you want to dig deeper into the initial stages, you can learn more about mastering the art of seed germination at home in our comprehensive guide. This kind of hands-on knowledge is why smart indoor gardening is booming, with the market valued at USD 2.51 billion in 2025 and projected to reach USD 3.88 billion by 2032.
2. The All-Important Final Step: Hardening Off
Before your seedlings can be planted in the garden, they need to go through a crucial process called "hardening off." This is where you gradually introduce them to the realities of the great outdoors.
Think of it this way: your seedlings have been living in a climate-controlled nursery. You can't just toss them out into the unpredictable world of sun, wind, and fluctuating temperatures without some preparation.
Start slowly. On the first day, place them in a shady, protected spot outside for just an hour or two. Over the next 7 to 14 days, gradually increase their time outdoors and slowly expose them to more direct sun and wind. This methodical process toughens them up and prevents the shock that can stunt or even kill unacclimated plants. It's a final, patient step that makes all the difference for a successful transplant.
3. Troubleshooting Common Problems
Even seasoned gardeners run into a few hiccups when starting seeds indoors. It’s all part of the process! The video below walks through some of the most common issues and how to solve them, so you can get your seedlings back on track.
https://www.youtube.com/embed/FFWWRzP6xoU
- Problem: Leggy Seedlings. This is a sign your plants are stretching for more light. The fix is to move your grow lights closer (just 2-3 inches above them) and ensure they are on for 14-16 hours daily.
- Problem: When to Start. Work backward from your area's last average frost date. If your seed packet says "start indoors 6-8 weeks before last frost," simply count back from that date on your calendar.
- Problem: White Fuzz on Soil. This is harmless mold, but it indicates a lack of air circulation. Remove the humidity dome, let the soil surface dry out a bit, and use a small fan to create a gentle breeze.
A sunny windowsill just won't cut it. I've seen countless gardeners try this, and it almost always leads to weak, stretched-out plants that don't survive the shock of transplanting. A dedicated grow light is truly a non-negotiable piece of equipment for strong seedlings.
Ready to get your hands dirty? Homegrown Garden offers a wonderful selection of heirloom seeds, complete starter kits, and all the gear you need. You can find everything for your indoor seed starting setup on their site.

