So, you're ready to bring some green into your life? That's fantastic. There’s something truly special about watching a plant grow and thrive under your care. But if you're feeling a little intimidated, you're not alone. The secret isn't some magical green thumb—it's just understanding what your plants actually need.
Forget rigid rules and complicated science for a moment. Successful plant care really boils down to getting a handle on seven key areas. Think of them as the building blocks for a happy, healthy indoor garden.
The houseplant boom is more than just a passing trend. It's a real shift towards making our homes feel more alive and connected to nature. It’s become a massive industry—valued at around USD 20.68 billion globally—because more and more of us want the beauty and air-purifying perks that plants bring. You can see just how much this market is growing by checking out the latest industry research.
7 Pillars of Great Plant Care
When you start thinking about plant care, it's easy to see it as a list of chores. Watering on Tuesday, fertilizing on Friday... but it's much more interconnected than that. Each element—from the light in your window to the pot you choose—works together to create a tiny ecosystem for your plant.
Nail these seven fundamentals, and you'll sidestep most of the common frustrations that new plant owners face.
To help you get started, here's a quick overview of what we'll cover. Think of this table as your cheat sheet—a simple summary of the seven pillars that are the foundation of all good plant care.
Quick Guide to the 7 Pillars of Plant Care
| Pillar | Key Action | Why It Matters |
|---|---|---|
| 1. Light | Match the plant to the light you have. | This is a plant's food source. Wrong light equals a struggling plant. |
| 2. Water | Water when the soil is dry, not on a schedule. | Overwatering is the #1 killer. It suffocates roots and causes rot. |
| 3. Soil | Use a high-quality, well-draining potting mix. | Good soil provides air, moisture, and nutrients for strong roots. |
| 4. Pot | Always choose a pot with a drainage hole. | Drainage is non-negotiable. It prevents water from pooling and killing the plant. |
| 5. Humidity | Group plants together or use a humidifier. | Most houseplants are tropical and crave more moisture than our homes offer. |
| 6. Fertilizer | Feed your plants during their growing season. | Think of it as a vitamin boost to support new leaves and vibrant growth. |
| 7. Repotting | Give your plant a bigger home when it's root-bound. | Fresh soil and more space allow the roots to expand and absorb nutrients. |
By getting a feel for how these seven elements interact, you stop being a plant owner and become a plant parent. You learn to read your plants, spot problems before they get serious, and build an indoor jungle that truly thrives.
11 Practical Tips for Light and Watering
Light and water are the absolute fundamentals of keeping your indoor plants happy, but they’re also where most new plant parents stumble. The real secret? Toss out those rigid schedules and start learning to read what your plant is telling you. These 11 tried-and-true tips will help you finally master the delicate dance of light and hydration.
Decoding Your Home's Light
1. The Hand Shadow Test This is one of the oldest tricks in the book because it just works. To get a quick read on your light intensity, hold your hand about a foot above where you plan to put your plant. A crisp, clearly defined shadow means you've got direct light. If the shadow is softer and a bit fuzzy, that's bright indirect light. A faint, barely-there shadow points to low light.
2. Rotate, Rotate, Rotate Plants are hardwired to chase the sun, which is why they often start leaning toward the nearest window. To keep your plant growing straight and full, just give it a little quarter-turn every time you water. It’s a simple habit that prevents that lopsided look and makes sure every leaf gets a little time in the sun.
3. Get to Know Your Windows The direction your windows face has a huge impact on the kind and quality of light coming through.
- South-facing windows are powerhouses, delivering intense, direct sun for most of the day. This is prime real estate for sun-worshippers like cacti and most succulents.
- West-facing windows get hit with strong, hot afternoon sun. It's great light, but can be a bit much for more delicate plants.
- East-facing windows provide that lovely, gentle morning light—perfect for plants that thrive in bright but indirect sun, like a Fiddle Leaf Fig.
- North-facing windows give the softest, most consistent light, making them a safe bet for low-light tolerant plants like the Snake Plant or ZZ Plant.
4. Don't Be Afraid to Relocate If you see scorched leaves or your plant looks pale and stretched out, it’s a clear sign its current spot isn't working. Don't feel bad about moving it! Sometimes shifting a plant just a few feet can make all the difference. If you're really struggling with dark corners, there are some great expert tips on increasing natural light in your home that can help turn things around.
Overwatering is, without a doubt, the #1 killer of houseplants. The mistake isn't usually about the amount of water you give at once, but how often you give it. When in doubt, it is always safer to wait another day or two.
Mastering the Art of Watering
5. Ditch the Rigid Schedule A plant's thirst changes with the seasons, the weather, and how much light it's getting. Watering every Saturday just doesn't work. Your best tool is your own finger. Stick it about 1-2 inches into the soil. If it comes out dry, it's time to water. If you feel any moisture, hold off.
6. Use Room-Temperature Water Think about jumping into an ice-cold pool—it's a shock! It's the same for your plant's roots. Water that's too cold or too hot can seriously stress the root system. Tepid, room-temperature water from the tap is always the gentlest and safest choice.
7. Water Deeply, Not Lightly When it's time to water, commit to it. Give your plant a thorough soak, letting water run evenly over the soil until you see it flowing freely out of the drainage holes at the bottom. This ensures the entire root ball gets a drink and helps flush out any mineral salts that have built up in the soil.
8. Give Bottom-Watering a Try For plants with fuzzy leaves that hate getting wet (like African Violets) or if you just want to guarantee an even soak, bottom-watering is fantastic. Just set the pot in a basin or saucer with a few inches of water and let it sit for 15-30 minutes. The soil will wick up exactly what it needs. Once the soil surface feels damp to the touch, it's done.
9. Know the Signs of an Overwatered Plant A drowning plant will give you plenty of warning signs. Look for yellowing leaves (especially lower ones), a funky, musty smell coming from the soil, or soft, mushy stems near the base. Ironically, the plant might also look wilted, because the waterlogged roots are suffocating and can no longer do their job.
10. Spotting a Thirsty Plant An underwatered plant looks exactly how you'd expect: sad. You’ll see crispy, brown edges on the leaves, droopy stems, and soil that's so dry it has started to pull away from the sides of the pot. Many drought-loving plants are built for this, and our guide on how to care for succulents indoors covers their specific needs.
11. Always Empty the Saucer Letting a plant sit in a puddle of water is one of the fastest ways to cause root rot. Think of it as forcing your plant to stand in wet socks—nobody likes that. After watering, wait about 30 minutes, then come back and dump out any excess water that has collected in the drainage tray.
5 Things to Know When Choosing Soil and Pots
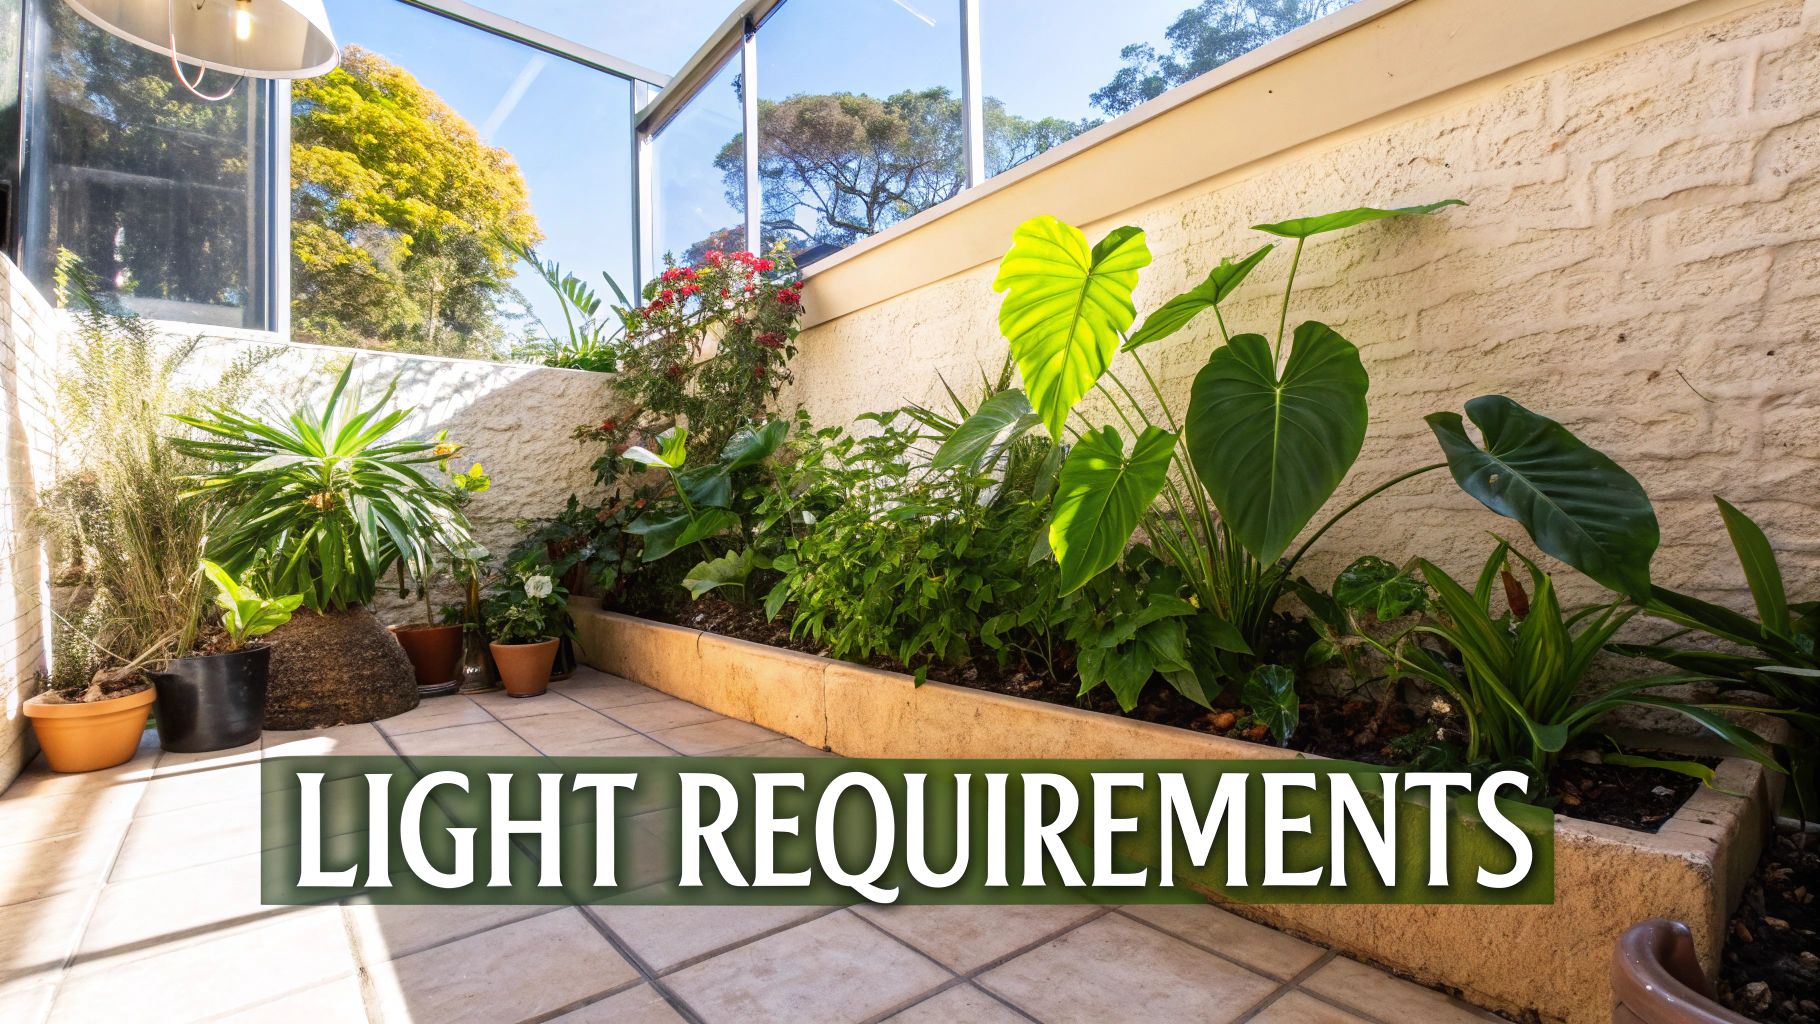
Once you’ve got a handle on light and water, the next step is giving your plant a proper home. A plant’s health is literally rooted in its soil and its pot. These two elements work in tandem to provide stability, nutrients, and the right balance of moisture and air for the roots.
Think of it like building a house. A weak foundation will doom the entire structure, no matter how beautiful the rest is. It's the exact same for your plants. Let’s walk through the 5 key things you need to know to get this foundation right.
5 Things to Know About Potting Mix
1. Garden Soil is a No-Go I see this all the time. It seems logical to just scoop some dirt from the backyard, but this is one of the biggest mistakes you can make for an indoor plant. Outdoor soil is far too heavy and compacts in a pot, choking the roots. It's also a free-for-all of pests, weeds, and fungi you don't want in your house.
Always, always use a commercial potting mix. It isn't really "soil" at all, but a sterile, soilless blend of ingredients specifically engineered for container life. This stuff is lightweight and gives roots the perfect balance of aeration and moisture they need to breathe and grow indoors.
2. The 3 Core Ingredients Most potting mixes you find at the store are based on a few key components. Knowing what they do will help you grab the right bag for your specific plant.
- Peat Moss or Coco Coir: This is the fluffy, brown base of the mix. It’s fantastic at holding onto moisture and nutrients, creating a reservoir for the plant's roots. Coco coir, a byproduct of coconut processing, is a more sustainable and renewable alternative to peat moss.
- Perlite or Pumice: Those little white specks that look like Styrofoam? That's perlite (or sometimes pumice). It’s a super-light volcanic rock that creates tiny air pockets throughout the mix, preventing it from becoming a dense, compacted brick. This aeration is non-negotiable for healthy roots.
- Vermiculite: This flaky, golden mineral is another great addition. It acts like a tiny sponge, absorbing water and nutrients and then releasing them slowly over time.
3. Match the Mix to the Plant There's no such thing as a one-size-fits-all potting mix. A fern has completely different needs than a cactus, and using the wrong mix is a common path to plant failure.
- For Succulents & Cacti: Look for a bag labeled "Cactus & Succulent Mix." It will feel gritty and sandy because it has a lot more perlite or pumice. This ensures water drains out almost instantly, just like in their native desert homes.
- For Tropicals & Ferns: These guys are thirsty. A standard "Houseplant Potting Mix" is usually a great choice, as its higher ratio of peat moss or coco coir holds onto moisture much more effectively.
- For Orchids: Orchids are a special case. They’re epiphytes, meaning they grow on the sides of trees, not in soil. They need a super chunky mix of bark, charcoal, and perlite that provides maximum airflow to their unique roots.
A classic beginner mistake is planting a succulent in a moisture-retentive houseplant mix. This is a fast track to root rot—the number one killer of houseplants—where the roots literally drown in soggy soil.
4. Check for Built-In Fertilizer Some potting mixes come with a slow-release fertilizer already blended in. This can give your plant a great head start for the first few months. Just make a mental note of it so you don’t accidentally over-fertilize by adding more plant food too soon.
5. Pick the Perfect Pot The single most important feature is a drainage hole. Without one, water has nowhere to go. It pools at the bottom, suffocates the roots, and leads to guaranteed root rot. If you fall in love with a decorative pot that has no hole, just use it as a "cachepot"—a decorative outer pot. Simply place your plant in a cheap plastic nursery pot (with holes!) and set it inside the prettier one.
- Terracotta pots are porous, helping soil dry out faster—great for succulents and overwaterers.
- Glazed ceramic & plastic pots are non-porous and hold moisture longer—excellent for thirsty tropicals.
5 Easy Ways to Master Fertilizer and Humidity
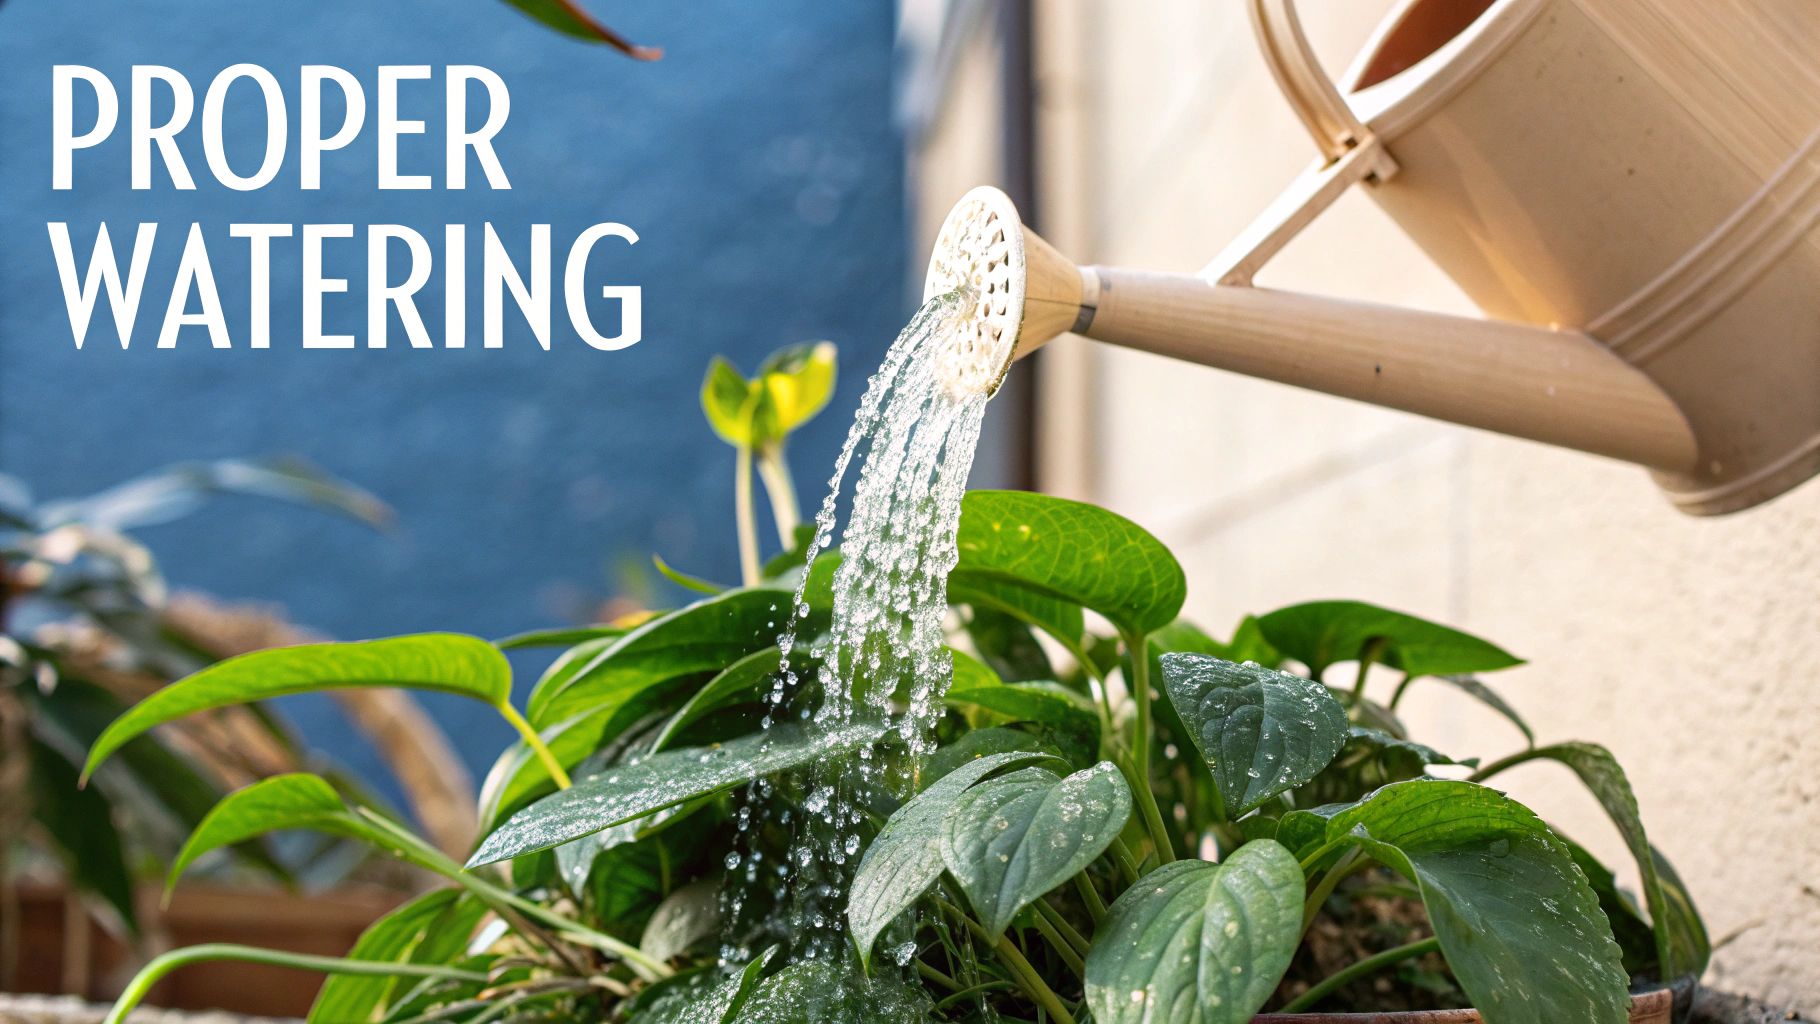
Once you've got a handle on soil and pots, it's time to talk about two things that often trip people up: fertilizer and humidity. I like to think of fertilizer less as "food" and more like a multivitamin for your plants—it’s that extra boost they need for really strong growth. And humidity? That’s the invisible comfort blanket that makes most houseplants, especially the tropical ones, feel right at home.
Nailing these two elements can be the difference between a plant that’s just getting by and one that’s truly thriving. So let's dig into these 5 simple ways to feed your plants properly and create the moist air they secretly crave.
How to Feed Your Plants
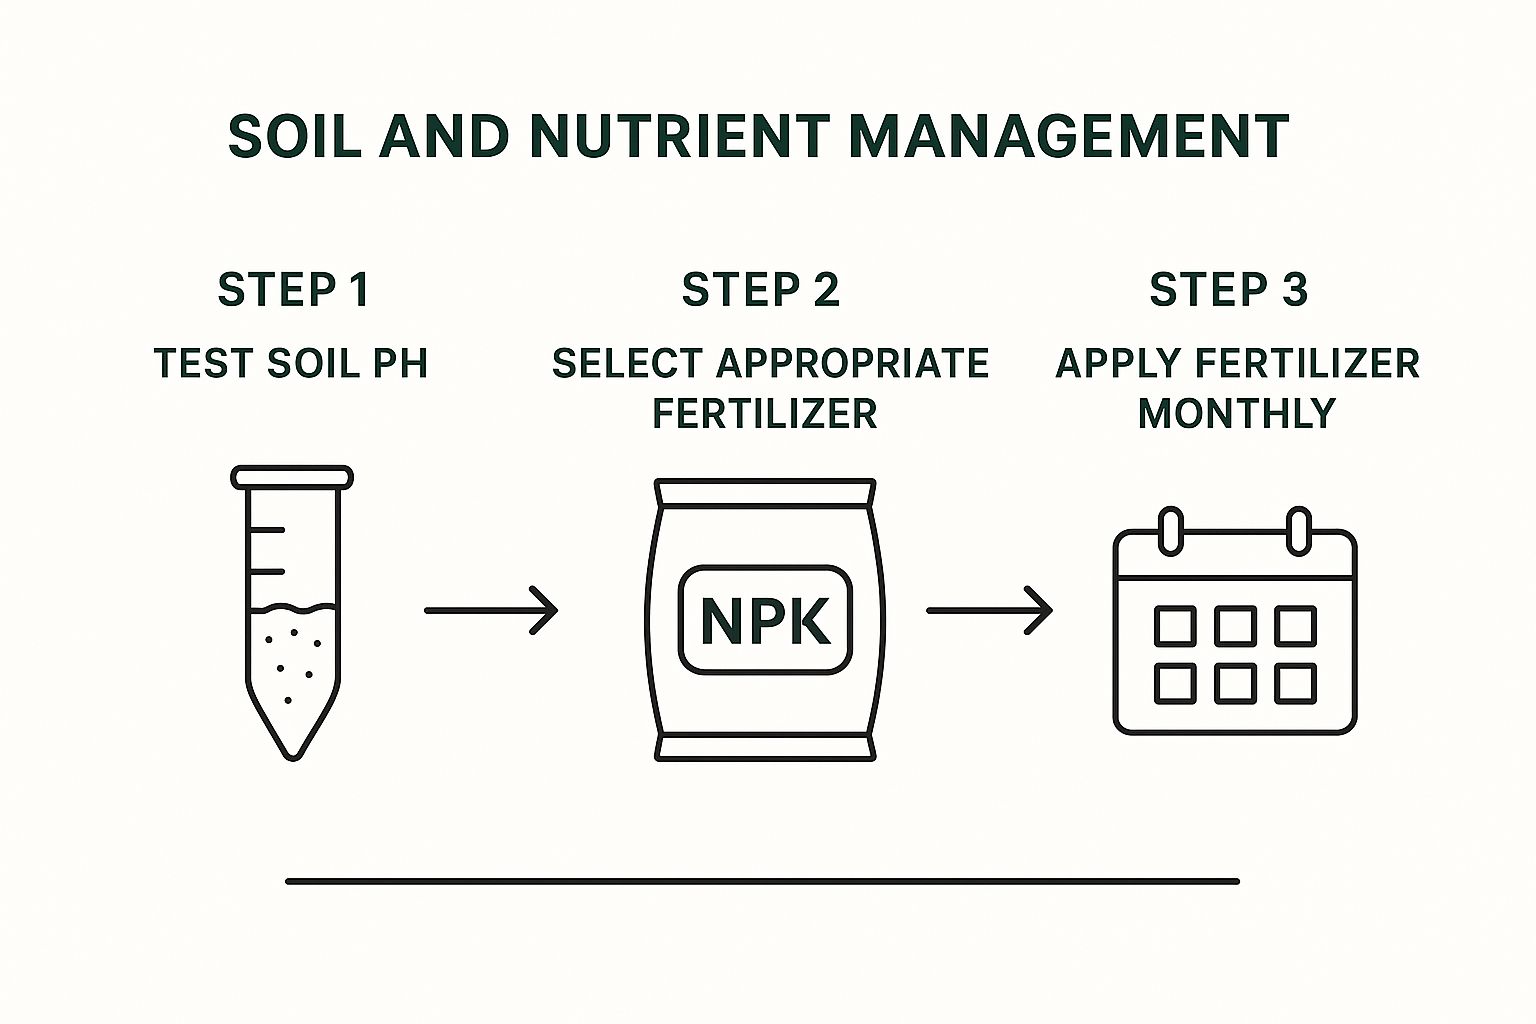
To start, you only need to know the N-P-K ratio on fertilizer labels. For most leafy houseplants, a balanced 10-10-10 formula works great. Remember that less is always more; dilute liquid fertilizer to half-strength to avoid burning the roots. Only feed plants during their active growing season (spring and summer) and stop in the fall and winter to let them rest.
5 Easy Ways to Boost Humidity
Most of our homes are too dry for tropical plants. If you see brown, crispy leaf edges, it's a cry for more moisture in the air. Luckily, you don't need expensive gear to fix this.
1. Group Your Plants Together Plants naturally release water vapor from their leaves through a process called transpiration. When you cluster several plants together, you create a little humid microclimate around them. It's the easiest—and most decorative—way to make your plants feel more comfortable.
2. Use a Pebble Tray This is a classic for a reason: it works. Just grab a shallow tray, fill it with pebbles, and add water just below the top of the stones. Set your plant pot right on top (not in the water). As the water evaporates, it creates a constant little cloud of humidity right under your plant.
One of the most common signs of low humidity is brown, crispy tips or edges on the leaves, especially on thin-leafed tropical plants. If you see this, it’s a clear signal that your plant is begging for more ambient moisture.
3. Misting (With a Small Catch) Misting your plants does give them a temporary humidity boost. It's a nice ritual, but the effects are very short-lived. If you do mist, do it in the morning so the leaves have all day to dry, which helps prevent fungal spots.
4. Move Plants to Humid Rooms Why not use what you already have? Your bathroom is a natural paradise for humidity-loving plants like Boston Ferns, thanks to all the steam from showers. The kitchen is another great spot, with moisture from cooking or running the dishwasher.
5. Invest in a Small Humidifier If you're serious about your tropicals or live in a really dry area, a small, cool-mist humidifier is an absolute game-changer. Placed near your plant collection, it can maintain the perfect humidity level with almost no effort on your part.
9 Simple Steps for Repotting and Pruning
Sooner or later, every happy plant is going to outgrow its home. Repotting and pruning are two of those essential jobs that can feel a bit daunting at first, but they are absolutely key to your plant’s long-term health. Giving a plant fresh soil and more space prevents it from becoming root-bound and starved for nutrients, while a good trim encourages lush, new growth.
Think of it this way: repotting is like moving your plant into a bigger apartment with a fully stocked fridge. Pruning is like a great haircut that gets rid of all the split ends. Let's break these down into 9 simple, stress-free actions.
When to Repot Your Plant
Before you even think about pulling your plant from its pot, you have to learn to spot the signs. Repotting too soon can shock the plant, but waiting too long will definitely stunt its growth. Here’s what to look for:
- Check the Roots: This is your most reliable clue. Carefully slide the plant out of its pot. If you see a dense, tangled mess of roots wrapping around the bottom, your plant is root-bound and needs more room.
- Look for Slowed Growth: Has your once-vigorous plant hit a wall during its growing season? If light and water are perfect, it might be that the roots have run out of real estate.
- Water Runs Straight Through: When you water, does it pour right out of the drainage hole almost instantly? That’s a classic sign that the pot is filled with more roots than soil.
The Gentle Art of Repotting
Once you've confirmed it's time for a new home, the process itself is pretty straightforward.
- Choose the Right New Pot: Pick a new pot that is only 1-2 inches larger in diameter than the old one. Too much extra soil holds moisture and can cause root rot. And, of course, make sure it has a drainage hole.
- Gently Remove the Plant: Tip the plant on its side and tap the bottom of the pot to loosen the root ball. Never yank it out by the stem.
- Settle It In: Add a layer of fresh potting mix to the new pot. Center the plant inside, fill in the gaps around the sides with more fresh soil, and give it a good drink. For specific instructions, learn how to repot succulents to avoid common pitfalls.
Pruning for Health and Shape
Pruning isn’t just about tidying up; it’s about redirecting the plant’s energy to create healthier, bushier growth.
- Use Clean, Sharp Tools: Always work with sharp, sterile scissors or pruning shears. Wipe the blades with rubbing alcohol to prevent spreading disease.
- Remove the Unhealthy Bits: Snip off any leaves and stems that are yellow, brown, or completely dead. This stops the plant from wasting energy on dying parts.
- Shape for Fuller Growth: To get a bushier plant, prune just above a leaf node (the little bump on the stem where a leaf grows). This signals the plant to send out new side shoots from that spot.
Pro-Tip: The absolute best time to repot or do any major pruning is during the spring or early summer. This is the plant's active growing season, meaning it will bounce back from the stress much faster.
5 Common Houseplant Pests and How to Get Rid of Them
Even with the best care in the world, unwanted visitors can sometimes find their way into your indoor garden. Finding pests on a plant you’ve nurtured is always a bit discouraging, but trust me, it’s a rite of passage for every plant owner.
The trick is to catch them early and act fast before a small problem becomes a full-blown infestation. Let's walk through the 5 most common culprits you're likely to encounter, how to spot them, and what to do about it.
Know Your Enemy: The 5 Most Common Invaders
Your first move is always a positive ID. Different pests require slightly different tactics, so knowing what you're dealing with is half the battle.
-
1. Spider Mites: These arachnids are so tiny you’ll probably see their damage before you see them. Look for fine, silky webbing and a stippled pattern of tiny yellow dots on the foliage.
-
2. Mealybugs: These guys look like little bits of white, fuzzy cotton. You’ll find them hunkered down in new growth, leaf joints, and stems, causing yellowing leaves and stunted growth.
-
3. Scale: At first glance, you might not even realize these are bugs. Scale insects look like small, brown, immobile bumps firmly attached to stems and the undersides of leaves.
-
4. Aphids: These are the small, pear-shaped insects—often green, but sometimes black or yellow—that love to cluster on tender new leaves and flower buds, causing new growth to look distorted.
-
5. Fungus Gnats: The adult gnats are those annoying little black flies you see buzzing around the soil. Their larvae thrive in moist soil, feeding on organic matter and delicate plant roots.
As soon as you spot any pest, your first and most important step is to isolate the affected plant. Get it far away from your other houseplants immediately to stop the infestation from spreading while you figure out your treatment plan.
Your Action Plan for Treatment and Prevention
Once you’ve identified the pest, you can move on to treatment. I always recommend starting with the least aggressive methods first; you can often solve the problem without reaching for harsh chemicals.
For a more in-depth look at specific solutions, check out our complete guide on how to get rid of plant pests.
A simple spray made from insecticidal soap or neem oil works wonders on soft-bodied pests like aphids, mealybugs, and spider mites. When you spray, be thorough. You have to coat the entire plant, paying special attention to the undersides of leaves where pests love to hide. You'll likely need to repeat this every week for a few weeks to catch all the life cycles.
Of course, prevention is always better than a cure. A healthy plant is a resilient plant. Making sure your plant gets the right light, water, and food is its best defense. I also make a habit of regularly wiping down my plants' leaves. It keeps them glossy, helps them breathe, and lets me wipe away dust and any would-be pests before they get a foothold.
3 Answers to Your Top Plant Care Questions
Even with the best intentions and a solid care routine, plants have a way of throwing us curveballs. It’s all part of the fun! If you've run into a confusing issue, you're not alone. Let's tackle 3 of the most common questions that pop up on the journey to a thriving indoor garden.
1. Is Tap Water Okay for My Plants?
For most of your green friends, tap water works just fine. A great pro tip is to let it sit out overnight in your watering can. This simple step allows any chlorine to evaporate, which can sometimes be a bit harsh.
However, if you're caring for more sensitive plants—think Calatheas, Prayer Plants, or carnivorous varieties—you might notice brown, crispy leaf tips. These plants are often sensitive to the fluoride and other minerals in tap water. For these drama queens, switching to distilled water or even collected rainwater can make all the difference and keep their foliage pristine.
2. Why Are My Plant’s Leaves Turning Yellow?
Ah, the dreaded yellow leaf. It's the most frequent cry for help from plant owners, and the answer almost always comes back to water.
- Overwatering: This is the usual culprit. If the soil feels soggy and the lower leaves are turning yellow and mushy, you're probably being too generous with the watering can. This essentially drowns the roots, cutting off oxygen.
- Underwatering: On the flip side, if the leaves are yellowing but also feel brittle and dry, and the soil is pulling away from the sides of the pot, your plant is begging for a drink.
- Nutrient Deficiency: If your watering routine seems spot on, the yellowing could be a sign that your plant is hungry. This is especially likely if you haven't fertilized in a while during the spring or summer growing season.
3. Why Are My Plant’s Leaves Curling?
This is typically a sign of thirst or low humidity. Try giving the plant a good drink, and if the problem persists, consider increasing ambient moisture with a pebble tray or humidifier. It can also be a sign of pests hiding on the undersides of the leaves, so a quick inspection is always a good idea.
Ready to start your own thriving indoor jungle? At Homegrown Garden, we have everything you need, from heirloom seeds and beginner-friendly kits to the perfect decorative pots. Explore our collection and get all the support you need to grow with confidence.


