

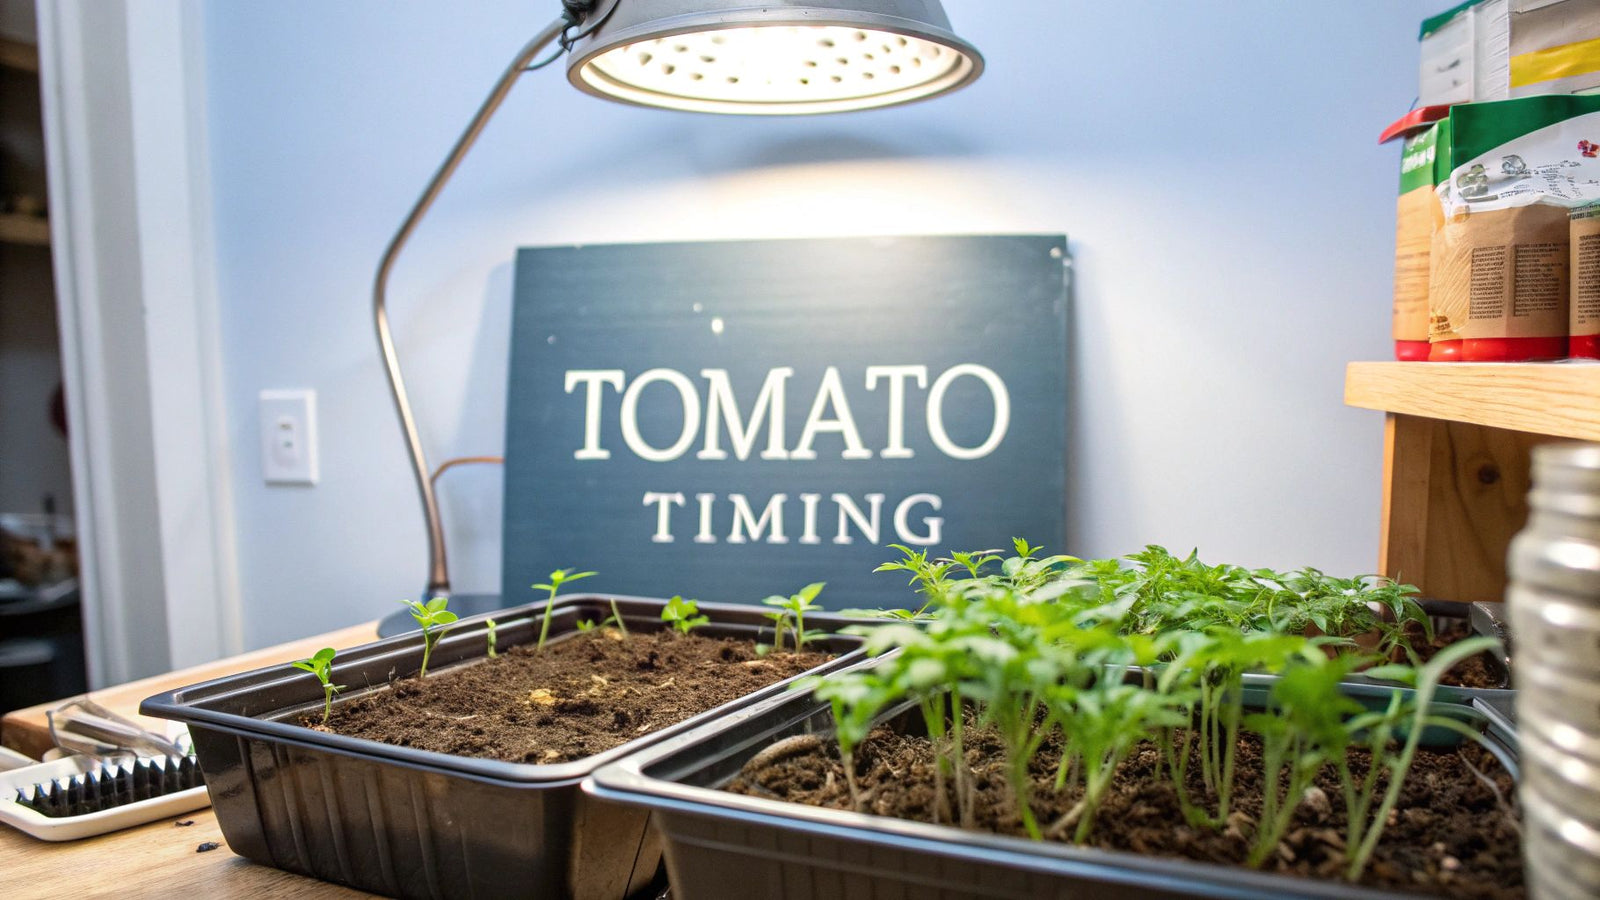

Ask any seasoned gardener, and they'll tell you the secret to a fantastic tomato harvest isn't about what you do in May, but what you do in March. It all boils down to timing.
The golden rule for when to start planting tomatoes indoors is 6 to 8 weeks before your area's last average frost date. This window is your sweet spot. It gives the seedlings enough time to develop into strong, stocky little plants without getting too big for their britches and becoming root-bound.
1. Perfect Your Tomato Timing
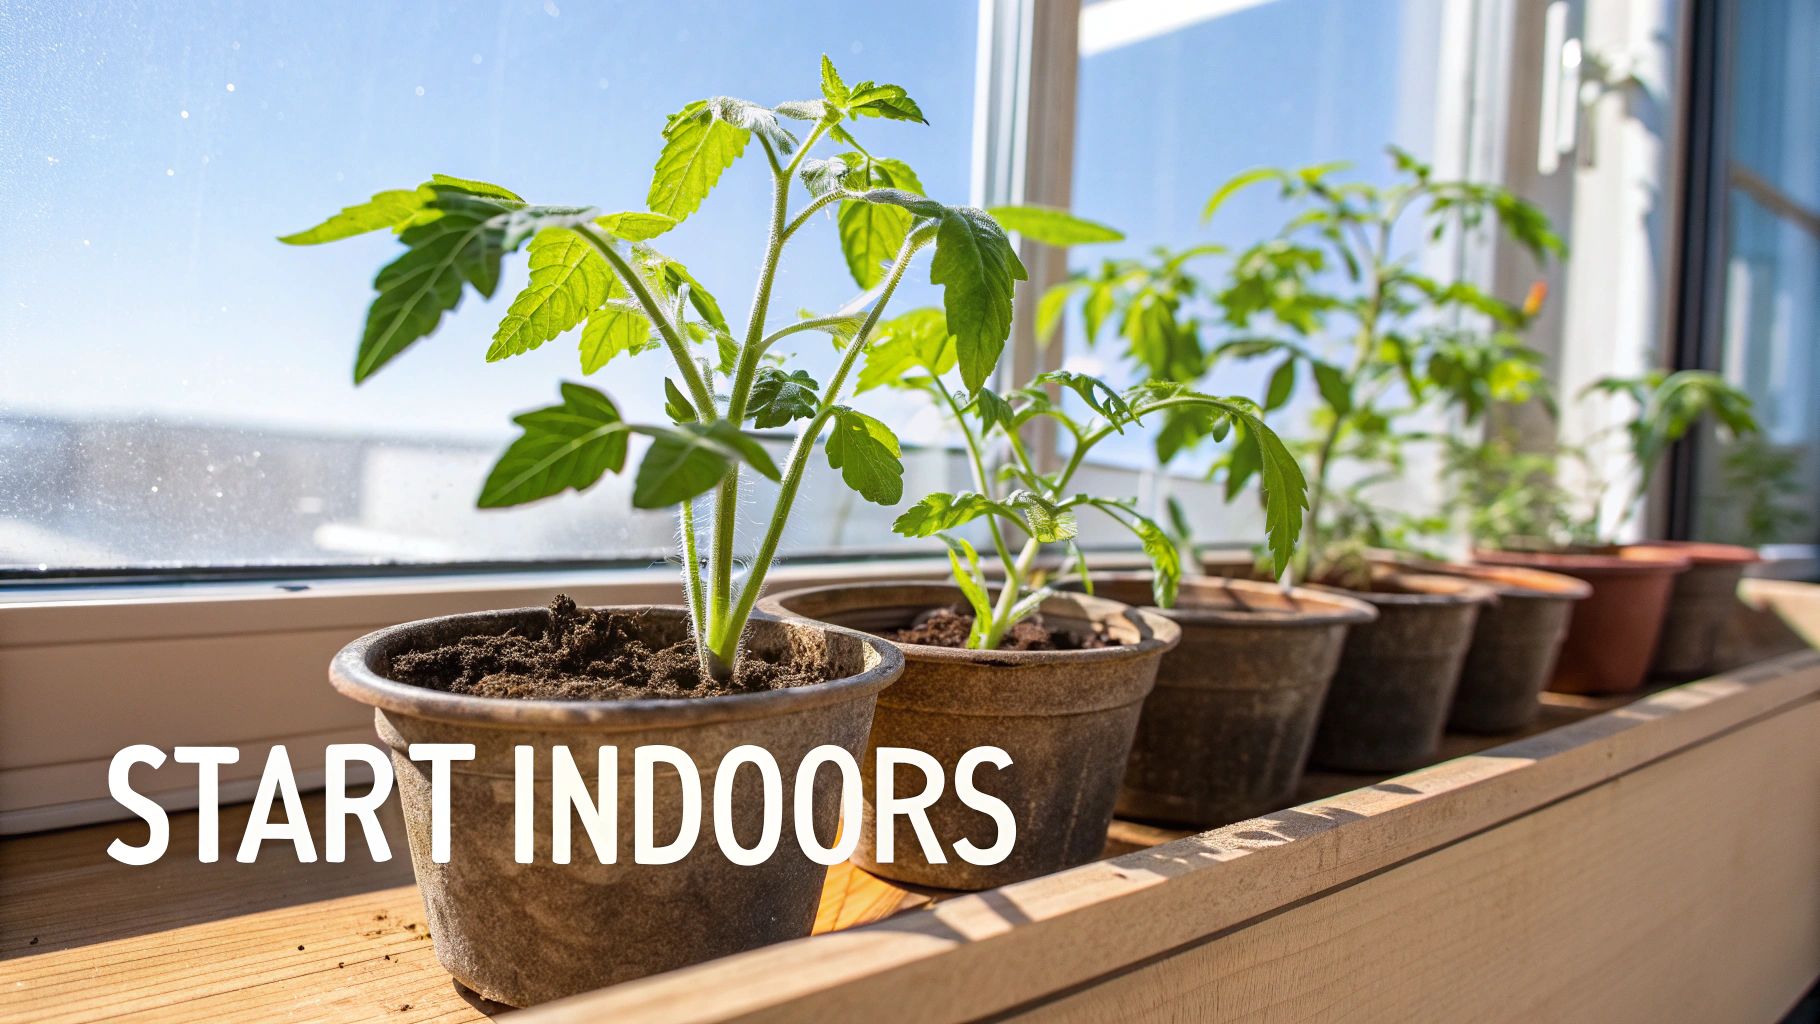
Starting tomato seeds on a sunny windowsill or under grow lights gives you a crucial head start, especially if you live somewhere with a short growing season. You’re essentially creating a controlled, safe nursery for your baby plants, protecting them from the wild, unpredictable weather of early spring.
The entire indoor seed-starting calendar hinges on one key date: your last local frost. The 6 to 8-week timeline isn't just a random number; it perfectly syncs with a tomato's natural growth cycle. It takes about 60 days for a tomato to go from a speck of a seed to a transplant-ready plant.
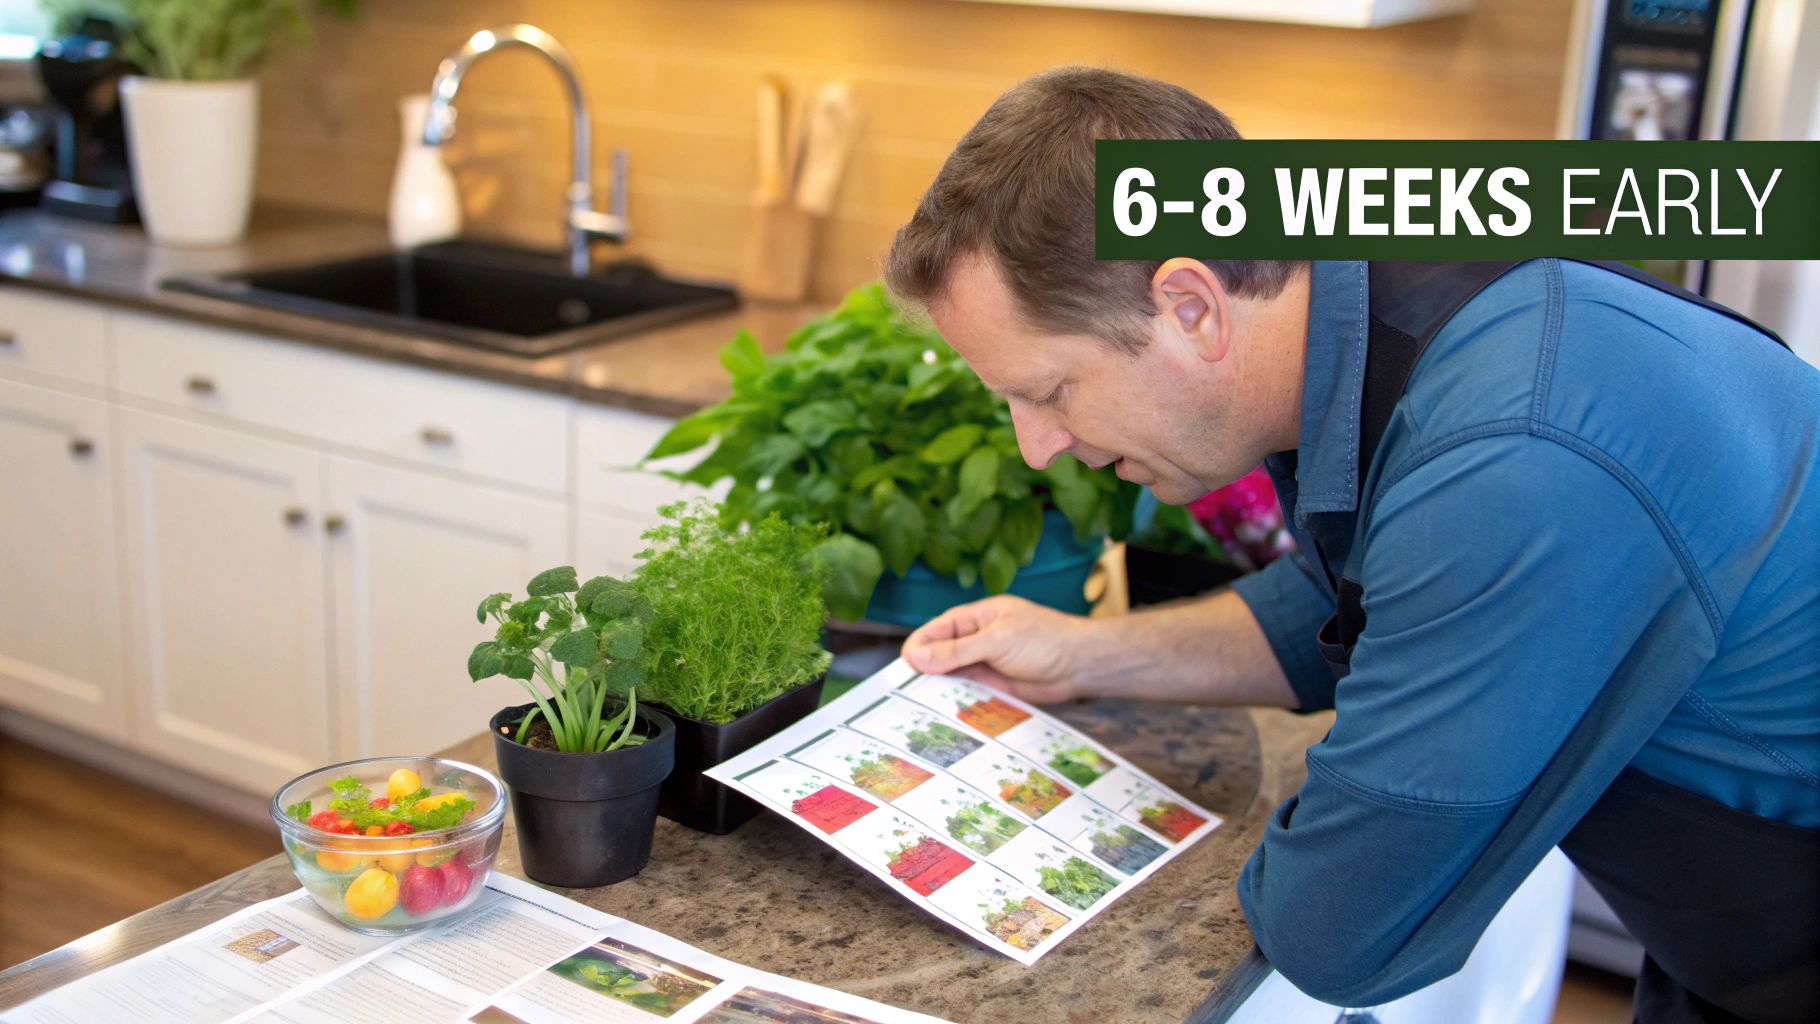
For instance, I garden in USDA Hardiness Zone 6a, where my last frost is usually around May 15th. Counting back 8 weeks, I know my ideal sowing date is right around March 20th. If you're in a warmer climate like Zone 8b, with a last frost date closer to April 15th, you'd be looking at starting your seeds between late February and mid-March. You can find more details about how to adjust your seed starting schedule based on regional frost dates to nail this down for your specific area.
This handy visual breaks down the timeline, showing you exactly what should be happening as you count down to transplanting day.
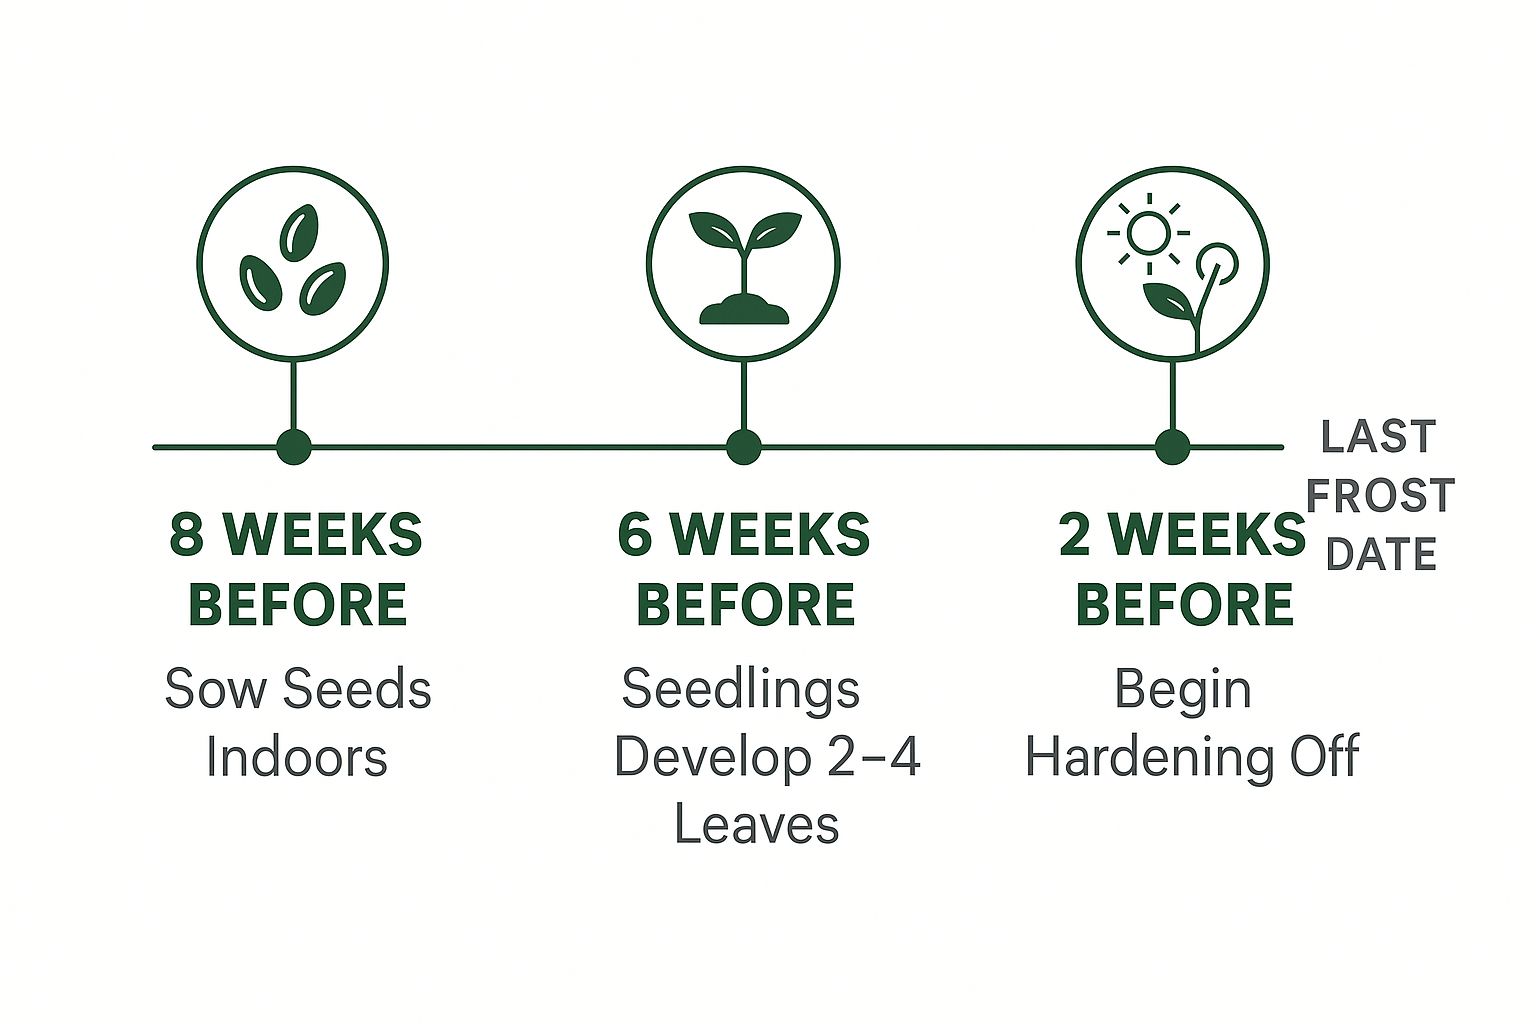
As you can see, it’s a simple, structured countdown that ensures your plants hit every milestone at just the right time.
Tomato Indoor Sowing Timeline at a Glance
To make it even clearer, this table breaks down the ideal activities during the crucial 6 to 8-week period before your last frost. It's a quick-reference guide to keep your seedlings on track.
| Time Before Last Frost | Ideal Activities | Seedling Stage Goal |
|---|---|---|
| 8 Weeks | Sow seeds in starter trays. Provide light & warmth. | Germination and development of the first true leaves. |
| 7 Weeks | Keep soil moist. Ensure 14-16 hours of light. | Strong cotyledon growth and initial stem thickening. |
| 6 Weeks | Transplant into larger pots if needed ("potting up"). | Development of a robust root system and more true leaves. |
| 4-5 Weeks | Begin light fertilization. Monitor for legginess. | Sturdy, stocky stems and healthy, green foliage. |
| 2-3 Weeks | Start the hardening-off process. | Acclimatizing plants to outdoor sun, wind, and temps. |
| 1 Week | Continue hardening off, leaving outdoors longer. | Toughened plants ready for the shock of transplanting. |
| 0 Weeks (Post-Frost) | Transplant into the garden or final containers. | Seamless transition to outdoor life for rapid growth. |
This schedule sets you up for success, preventing the most common seed-starting mistakes and giving your tomatoes the foundation they need to thrive.
Why Timing Is Everything
It might be tempting to start your seeds even earlier, hoping for an extra-early harvest. Trust me, I've tried it, and it usually backfires. Seedlings that spend more than eight weeks indoors often get "leggy"—stretching into tall, spindly things as they desperately search for more light.
They can also quickly outgrow their starter cells, leading to a tangled mess of roots. A root-bound plant is a stressed plant, and it will often struggle to adapt once it's finally moved into the garden.
A healthy, well-timed seedling focuses its energy on developing a strong root system and a sturdy stem, not on trying to produce flowers or fruit while it's still stuck in a tiny pot. A desperate plant is not a productive plant.
On the flip side, waiting too long means your plants won't be mature enough to take full advantage of the summer sun. You'll be shortening your own harvest window. Hitting that 6 to 8-week mark is truly the best of both worlds, giving you strong, healthy plants ready to take off the moment they hit the garden soil.
2. Pinpoint Your Last Frost Date
If there's one piece of information that dictates your entire tomato-starting schedule, it's your area's last average frost date. Think of this date as the cornerstone of your plan. Every other step, from when you first moisten the soil to when you harden off your seedlings, is timed by counting backward from this critical day.
Finding your date is pretty straightforward these days. I usually recommend plugging your zip code into a reliable tool like the one from the Old Farmer's Almanac. If you want a more general sense of your climate, the USDA Plant Hardiness Zone Map is also a great resource for seeing the bigger picture of your region's growing season.
It's an Educated Guess, Not a Guarantee
It’s incredibly important to remember that this date is just an average based on decades of weather data. It isn't a hard-and-fast rule. I’ve seen late-season frosts surprise even the most seasoned gardeners.
Because of nature's unpredictability, I always build in a buffer. A good rule of thumb is to wait an extra one to two weeks after your official last frost date before you even think about transplanting those tender tomato seedlings into the garden. It’s a little bit of patience that can save you a lot of heartache.
Factor in Your Own Backyard's Climate
Your specific garden spot has its own unique microclimate, which can easily shift that frost date. A generic calculator won't account for these little quirks.
Pay attention to your immediate surroundings:
- Elevation: Are you on a hill? Higher spots often stay colder for longer, meaning your real frost date might be later than the one listed for your town.
- Nearby Water: Large bodies of water act like a temperature buffer, often warming the surrounding air and giving you a slightly earlier spring.
- Urban Heat Island: If you're gardening in the city, the concrete and asphalt absorb and radiate heat, which can warm things up faster than in a rural area just a few miles away.
Taking a moment to consider these local factors will help you make a much smarter decision than just going by the book. This timing strategy is foundational for any seed-starting endeavor. For broader advice that applies to all your garden veggies, you can learn more about when to start seeds indoors in our detailed guide.
3. Gather Your Essential Seed Starting Gear
Alright, you’ve pinpointed the perfect time to get your tomato seeds started indoors. Now for the fun part: gathering your supplies. Getting everything organized ahead of time makes the whole process feel less like a chore and more like the exciting start to a new season. You don’t need a professional greenhouse setup, but a few key items are absolutely essential for giving your seedlings a strong start.
The single most important thing is a sterile, high-quality seed-starting mix. I know it’s tempting to just scoop some dirt from your garden, but trust me, don't do it. Garden soil is teeming with microbes and pests that your baby seedlings just can't handle. The biggest risk is a fungal disease called damping-off, which is the number one killer of new sprouts. A sterile mix is your best defense.
Choosing Your Containers
When it comes to what you'll plant your seeds in, you've got options. There isn't one "right" answer; it really comes down to your budget, your space, and what you find easiest to manage. I've had the best results starting seeds in smaller cells and then "potting up" to larger containers as they grow. This helps prevent the soil from getting too soggy, which can rot the seeds.
Here’s a breakdown of the most common choices:
- Reusable Plastic Trays: A solid, long-term investment. They're easy to find, a breeze to sterilize for next year, and come in all sorts of cell sizes. It's worth spending a little more on sturdy trays that won't crack after just one season.
- Peat or Coir Pots: The main benefit here is that you can plant the entire pot in the ground, which reduces transplant shock for the seedling. The downside? They dry out incredibly fast, so you have to stay on top of watering.
- Soil Blocks: This is my personal favorite method for a few reasons. It’s a completely plastic-free approach that encourages amazing, air-pruned roots. It does take a special tool and a bit of practice to get the soil consistency right, but the results are worth it.
Don't Forget the Finishing Touches
A couple of other small items can make a world of difference between a chaotic mess and a well-run seed-starting operation.
Never, ever skip the plant labels. You might think you'll remember which tomato variety is which, but after a few weeks, they all start to look alike. A simple plastic or wooden tag with a permanent marker, written the moment you plant, will save you a headache later.
Finally, make sure you have a humidity dome. That’s the clear plastic lid that usually comes with seed-starting kits. This simple piece of plastic traps warmth and moisture, creating a perfect little greenhouse that significantly boosts germination. Once you see those first green shoots pop up, take the lid off to let the air circulate and prevent mold.
4. Create the Ideal Germination Setup
To wake your tomato seeds from their slumber, you need to give them two things: consistent warmth and moisture. Think of it as creating a perfect, cozy nursery for your future plants. If you nail this environment, you’ll see those little green sprouts emerge in no time.
One of the best tricks I've learned for quick germination is providing bottom heat. Tomato seeds absolutely love it and sprout fastest when their soil is a toasty 75-85°F (24-29°C). A dedicated seedling heat mat is a fantastic investment, but if you're on a budget, the top of your refrigerator can work wonders, offering gentle, consistent warmth from below.
Mastering indoor seed starting is becoming more important than ever. The global tomato seed market, valued at around $1.33 billion in 2023, is expanding fast, largely thanks to advances in greenhouse growing. In fact, over 25% of fresh tomatoes in North America now come from greenhouses, all of which depend on perfectly timed seedlings.
Maintain Perfect Moisture Levels
Getting the moisture right is a delicate dance. You want the soil to feel like a damp, wrung-out sponge—moist, but never soggy. Too much water is a recipe for rotten seeds, while too little will stop them from germinating altogether.
A humidity dome is your best friend during this stage. It traps moisture and warmth, creating a mini-greenhouse effect that drastically improves germination rates. Keep it on until you see the first seedlings pop up.
Once your seeds have sprouted, it's time to take the dome off. This is a crucial step that many beginners miss. Removing the cover boosts airflow, which is essential for preventing fungal diseases and encouraging your seedlings to develop strong, sturdy stems.
For more great advice, check out our guide with tips for starting seeds indoors.
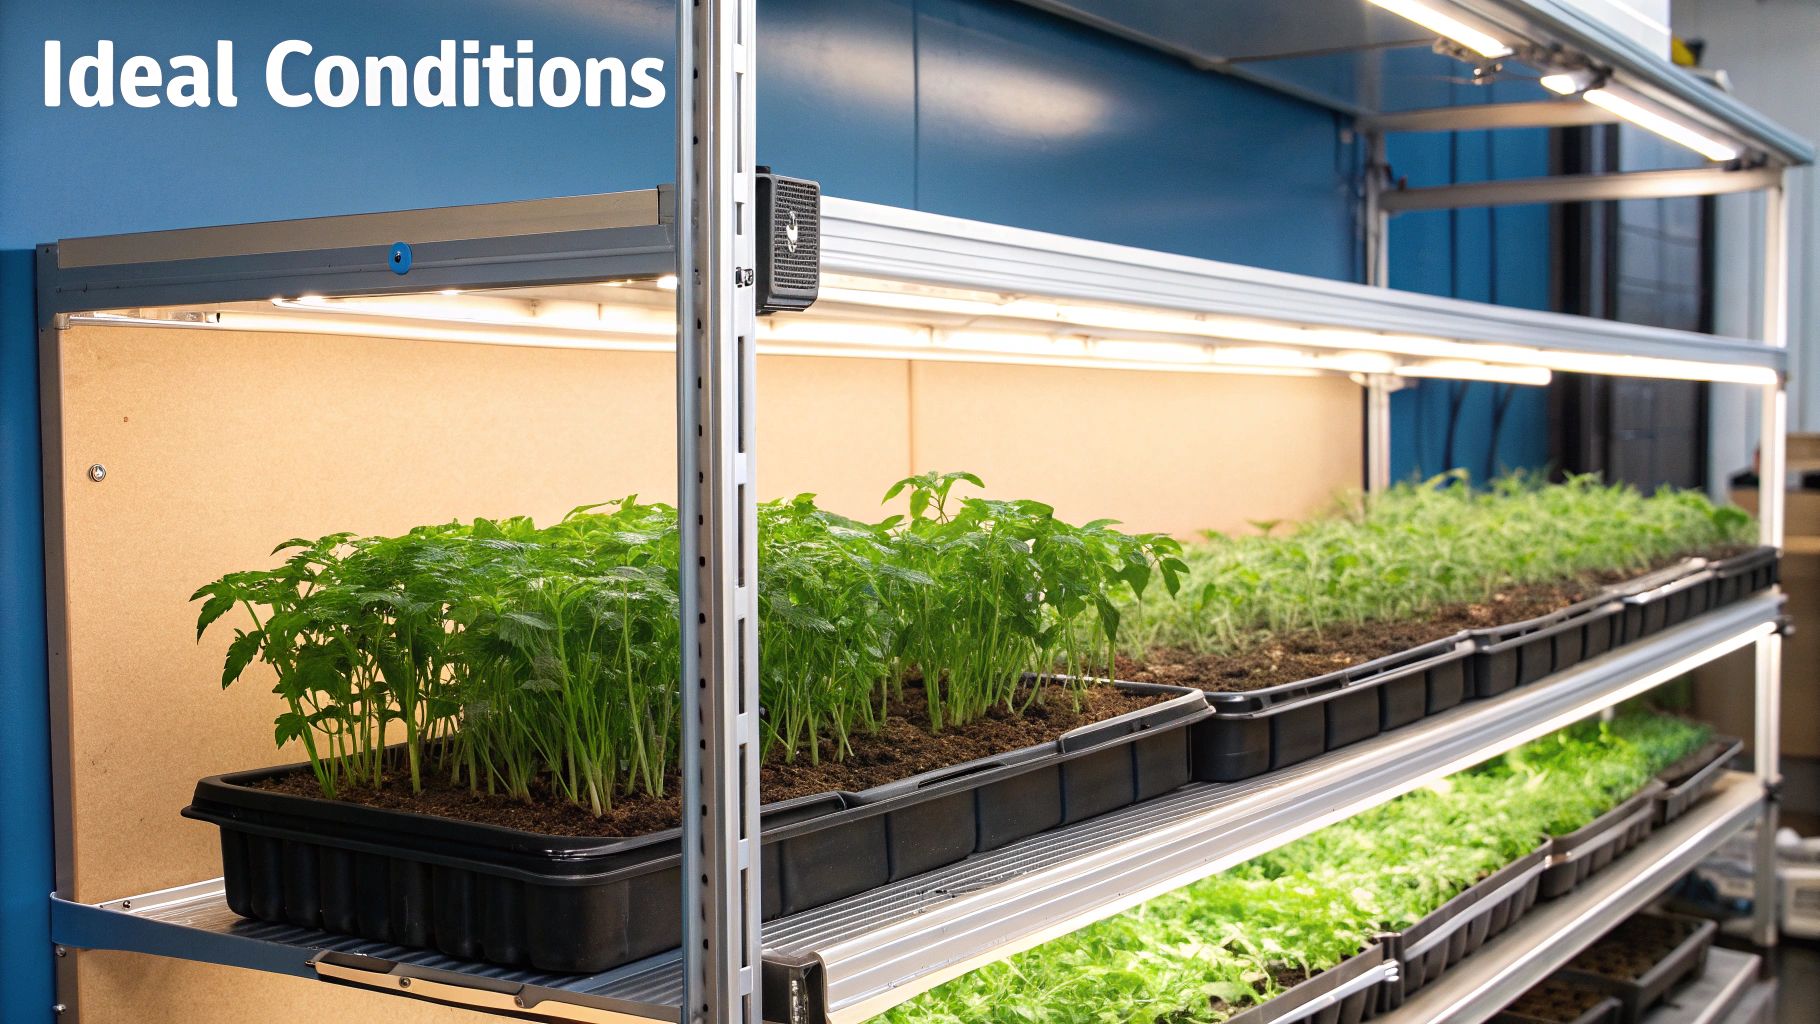
5. Provide the Right Light for Strong Seedlings
https://www.youtube.com/embed/Z3_SxUhOrMw
The moment your tomato seeds pop through the soil, their needs change in a flash. Warmth got them started, but now their one and only priority is light—and lots of it. A sunny windowsill seems like the perfect spot, but trust me, for the kind of sturdy, healthy plants you want, it's almost never enough.
This is the number one reason seedlings get weak and "leggy." They're stretching desperately for a light source that's too weak or too far away, which makes them tall and spindly instead of short and stocky. Giving them the right kind of intense light from day one is the secret to building a strong foundation.
Choosing and Setting Up Your Grow Lights
You don't need to spend a fortune on a high-tech setup. For decades, home gardeners have gotten fantastic results with simple fluorescent shop lights. These days, though, modern full-spectrum LED grow lights are my go-to recommendation. They're far more energy-efficient and are specifically designed to deliver the light wavelengths that fuel plant growth.
No matter which type you choose, what really matters is intensity and duration.
-
Intensity: The light source needs to be close to your plants. Don't worry about the technical specs unless you're a real lighting nerd. Horticultural research points to an optimal Photosynthetic Photon Flux Density (PPFD) of around 240 μmol·m⁻²·s⁻¹ for peak efficiency, but you don't need a light meter to get it right. You can dive deeper into these horticultural light studies if you're curious about the science.
-
Duration: You need to mimic long, sunny summer days.
A quick "hand test" is the best way to set the height. Place your hand, palm-side down, right over the tops of your seedlings. Lower the light fixture until you feel a gentle, pleasant warmth. This sweet spot is usually just 2-3 inches above the plants.
You'll need to stay on top of this, raising the light every few days as the seedlings grow to maintain that crucial distance.
To make life easy, plug your lights into a simple outlet timer. Set it to run for 14-16 hours a day. This consistent, long-duration light cycle is what tells the plant to focus on building strong stems and deep green leaves, setting them up for a successful move into the garden later on.
6. Harden Off Your Seedlings (Don't Skip This!)
You’ve poured weeks into nurturing those little tomato seedlings. They’re looking lush, green, and eager for the garden. But hold on—moving them directly from your stable indoor setup to the wild outdoors is a recipe for disaster.
That sudden blast of intense sun, whipping wind, and fluctuating temperatures can cause serious transplant shock. This can stunt their growth for weeks or, even worse, kill them outright. The bridge between their pampered indoor life and the real world is a process called hardening off.
This is all about gradually toughening up your plants for their new life. I usually start this process about 7 to 14 days before my target planting date. The key trigger is when daytime temperatures are reliably staying above 50°F (10°C).
A Gentle Introduction to the Great Outdoors
Patience is your best friend here. The goal is to slowly acclimate your seedlings to the elements. Rushing this step is one of the most common mistakes I see new gardeners make, and it almost always leads to disappointment. A full week is a good baseline, but if the weather is all over the place, stretching it to two weeks is even better.
Here’s a sample schedule that has always worked well for me:
- Day 1: Find a sheltered, shady spot. Let them hang out for just 1-2 hours and bring them back in. Think of it as a brief field trip.
- Day 2: Same shady spot, but this time for 3 hours.
- Day 3 & 4: Now they can handle 4-5 hours outside. It's time to introduce them to a little bit of gentle morning sun. Avoid the harsh afternoon rays for now.
- Day 5 & 6: We're getting serious. Extend their outdoor stay to 6-8 hours, allowing for more direct sunlight exposure.
- Day 7: If they look happy and healthy, they can stay outside for the full day in their future garden spot.
A Quick Tip from Experience: Until the last day or two of this process, always bring your seedlings back inside at night. A surprise temperature drop can undo all your hard work. If you notice the leaves developing white or pale, papery spots, that’s sunburn. Don't panic! Just move them back into the shade immediately. This simple acclimation period is your ticket to strong, thriving tomato plants that hit the ground running.
7. Troubleshoot Common Seedling Problems
Even the most experienced gardeners run into a few hiccups when starting seeds indoors. It's just part of the process! Don't panic if your tiny tomato plants look a little off—most common issues are surprisingly easy to fix.
Common Problems and How to Fix Them
Leggy, Spindly Stems: This is probably the number one issue people face. If your seedlings look like they're stretching desperately for the sky, they are! It's a classic sign they need more light.
The fix is simple: lower your grow light. You want it just 2-3 inches above the tops of your seedlings. Also, make sure they're getting a solid 14-16 hours of light each day. A simple outlet timer makes this a set-it-and-forget-it task.
Yellowing Leaves: If you spot the lower leaves, known as the cotyledons, turning yellow, it's often a sign that your seedlings are hungry. Once they develop their first set of "true leaves" (the second set of leaves that look like actual tomato leaves), it's time to start feeding them.
A weekly dose of a balanced, liquid fertilizer diluted to half-strength is usually all they need to green right back up.
Seeds That Won't Sprout: Staring at a tray of empty soil is frustrating. More often than not, the culprit is either temperature or moisture. Tomato seeds are a bit particular—they crave consistent warmth, ideally between 75-85°F, and soil that feels like a well-wrung-out sponge, not soggy.
If you're struggling with germination, you might want to check out these tips on how to germinate seeds faster. A few small tweaks can make a huge difference.
Quick Fixes for Seedling Issues
Sometimes you just need a quick diagnosis. Here’s a table to help you rapidly identify what might be going on with your tomato seedlings and how to solve it.
| Problem | Likely Cause | Solution |
|---|---|---|
| Leggy, weak stems | Not enough light | Move grow light to 2-3 inches above seedlings; ensure 14-16 hours of daily light. |
| Yellowing lower leaves | Nutrient deficiency | Begin feeding with a half-strength, balanced liquid fertilizer weekly. |
| No germination | Soil is too cold or too wet/dry | Use a heat mat to maintain 75-85°F; keep soil consistently moist but not waterlogged. |
| White, fuzzy mold on soil | Poor air circulation, overwatering | Increase airflow with a small fan; allow the soil surface to dry slightly between waterings. |
| Seedlings suddenly wilt and die | Damping-off (fungal disease) | Improve air circulation, avoid overwatering, and ensure you're using sterile seed-starting mix. |
Getting a feel for what your seedlings need is a skill that comes with practice. By addressing these key areas, you'll be well on your way to growing strong, healthy tomato plants from the very start.
At Homegrown Garden, we provide everything you need for a successful harvest, from heirloom seeds to expert guides. Start your garden today at https://www.homegrown-garden.com.
Getting a head start indoors? Try our heirloom Beefsteak tomato seeds for a classic, reliable slicer.

