


Understanding What Your Soil Is Really Telling You
 Before you start digging holes for new plants, it’s worth taking a moment to understand the ground you're working with. As any good comprehensive garden planning guide will tell you, your soil is already sending signals about its health. That stubborn brown patch in your lawn might not be thirst; it could be a sign of compacted earth where roots are suffocating. Even the weeds that pop up can offer clues—an army of dandelions often suggests your soil is acidic and low in calcium.
Learning to read these signs is like cracking a code. A classic example is the dreaded blossom end rot on tomatoes. It looks like a disease, but it's really a calcium issue, usually triggered by inconsistent watering or a pH imbalance that prevents the plant from absorbing the calcium that's already there. Seeing these connections is the first real step to figuring out how to test soil at home effectively.
Decoding Natural Soil Indicators
Nature has its own built-in soil testing kit, and you can learn a lot just by observing what’s already going on in your yard. Before you even touch a trowel, pay attention to these natural indicators.
- Water Behavior: Watch what happens after a good rain. Does water sit in puddles for hours? You’re likely dealing with heavy clay or compaction. If it disappears almost immediately, your soil is probably sandy and will struggle to hold onto water and nutrients.
- Indicator Plants: Certain plants are nature’s little whistleblowers. Clover, for example, loves low-nitrogen soil because it can make its own. If you see lots of sorrel or plantain, your soil is probably on the acidic side.
- Seasonal Shifts: Soil changes throughout the year. Its nutrient levels and pH can fluctuate with rainfall, temperature, and microbial activity. This is a key reason our guide on preparing garden soil stresses making seasonal adjustments.
More and more gardeners are catching on to this. The home soil testing market saw huge growth, jumping from USD 3,688.5 million in 2020 to USD 4,949.7 million by 2023. This trend shows a bigger movement toward really understanding and managing soil health. You can dig deeper into the numbers with this soil testing market analysis.
Mastering Kitchen Chemistry for Accurate pH Testing
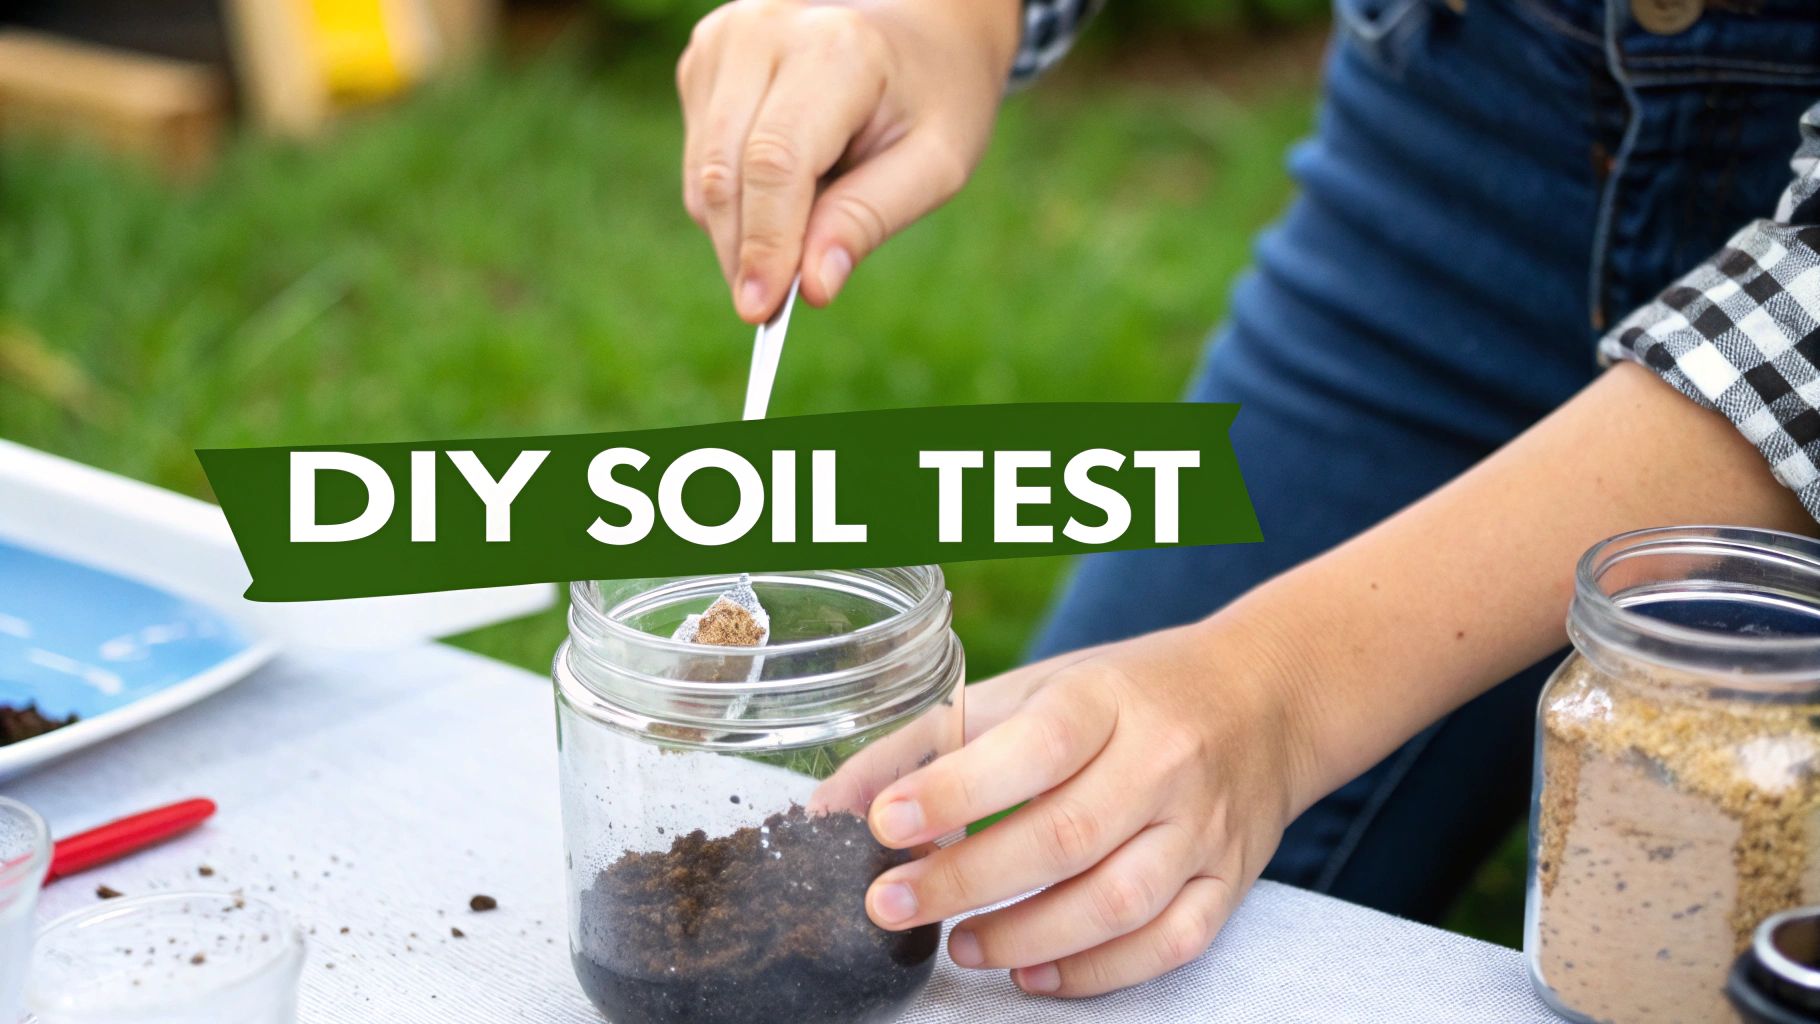
You don't need a lab coat or expensive equipment to figure out your garden's soil pH. Believe it or not, your kitchen cupboards likely hold everything you need. The classic vinegar and baking soda method is a gardener's go-to for a good reason—it’s quick, nearly free, and gives you a solid starting point when you do it right. The real trick isn't just watching for fizz; it's in the prep work.
The Fizz Test: What to Expect
First, grab two separate soil samples from the same garden bed. It's best to dig down about 4-6 inches to get beneath the top layer, making sure to avoid any mulch or fresh compost. You'll want about a half-cup of soil for each test.
In your first container, pour a half-cup of vinegar over the soil. If you see bubbles or hear fizzing, you've got alkaline soil, meaning its pH is above 7.0. For the second sample, mix it with a half-cup of distilled water to create a muddy paste. Then, sprinkle in about a tablespoon of baking soda. A fizzy reaction this time points to acidic soil (a pH below 7.0). If neither test causes a stir, your soil probably has a neutral pH around 7.0, which is fantastic for most vegetable gardens.
This simple process breaks down the journey from grabbing a trowel to understanding the results.
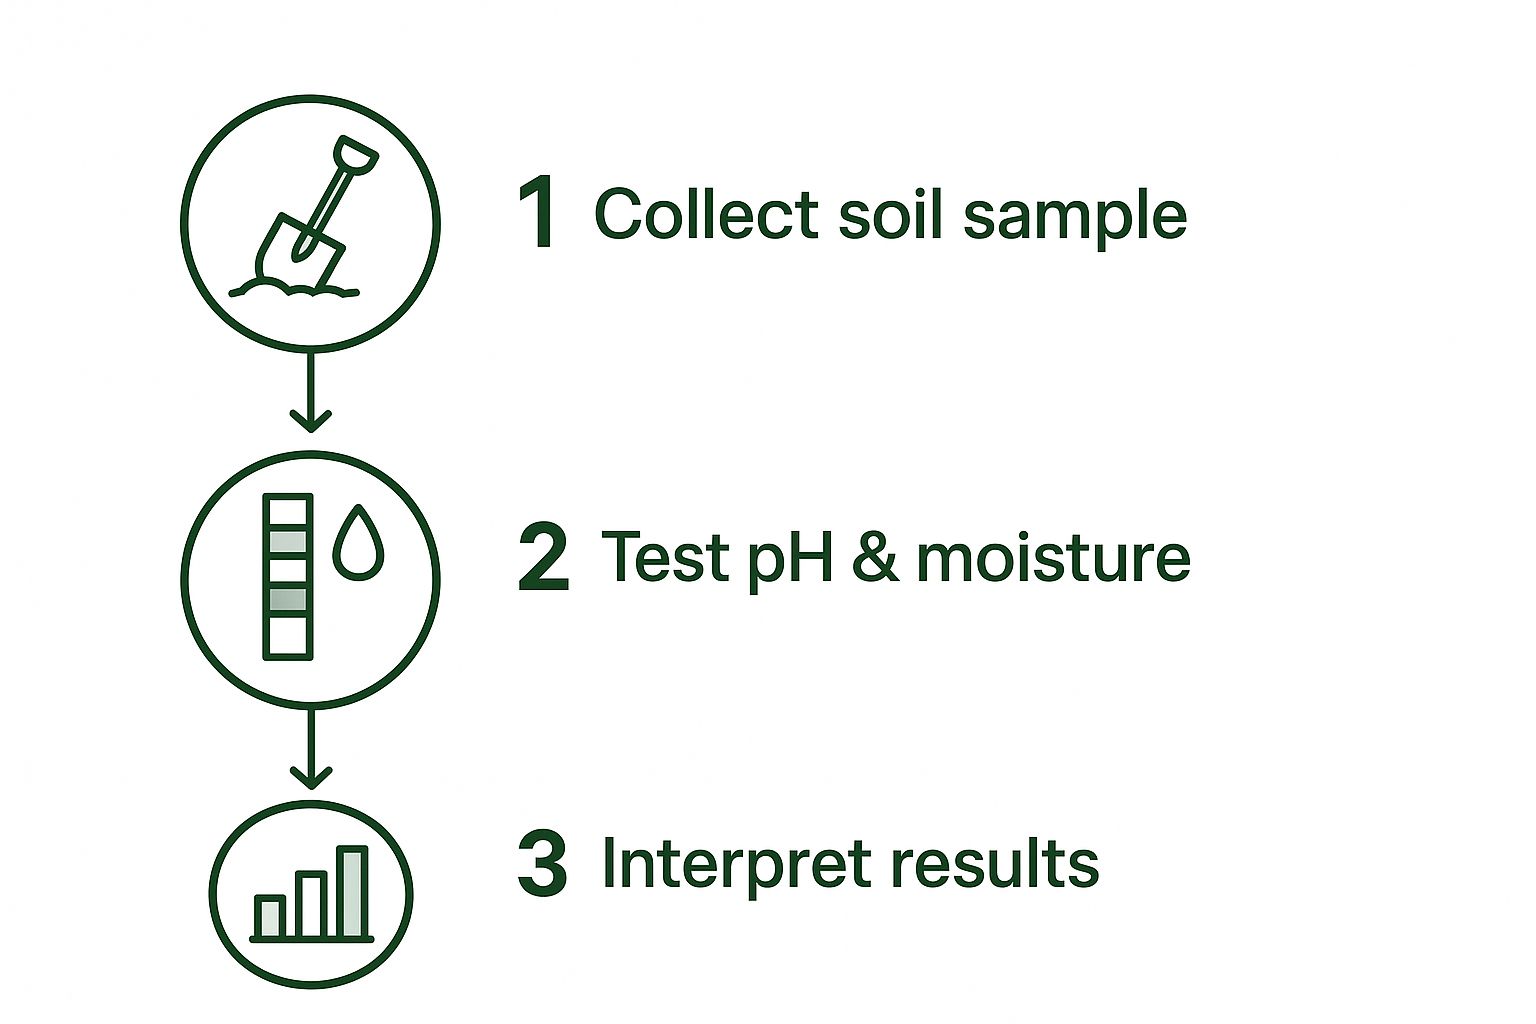
As you can see, it really comes down to three key actions: collecting a quality sample, running the test, and correctly reading the outcome.
Making Your DIY Test More Reliable
While these home tests are great, their accuracy depends on a few small but important details. Always use distilled water for the baking soda test. Tap water often has its own pH, which can throw off your results. For a more complete picture of your garden, take soil from a few different spots, mix it all together, and then test that composite sample.
If your results from the fizz test seem a bit ambiguous, don't worry. There's another fascinating kitchen chemistry trick you can try: using red cabbage juice as a natural pH indicator. It's a bit more involved but can give you a more nuanced reading.
To help you decide which method is right for you, here’s a quick comparison of some popular DIY options.
DIY pH Testing Methods Comparison
| Method | Accuracy Level | Cost | Time Required | Materials Needed |
|---|---|---|---|---|
| Vinegar & Baking Soda | Low | Very Low | 5-10 minutes | Vinegar, baking soda, distilled water, containers, soil |
| Red Cabbage Water | Medium | Low | 1-2 hours | Red cabbage, distilled water, coffee filter, containers, soil |
| Soil Test Strips | Medium-High | Low | 15-30 minutes | Test strips, distilled water, container, soil |
| Digital pH Meter | High | Medium-High | 5 minutes | Digital meter, distilled water, container, soil |
This table shows that while the vinegar and baking soda test is the fastest and cheapest, investing in something like soil test strips or a digital meter can provide more precise results if you need them.
Ultimately, the goal of these home tests is to give you a baseline. They help you decide if you need to take action, like amending your soil, to create the perfect environment for your plants to thrive.
Uncovering Drainage Secrets Your Plants Wish You Knew
While soil pH often steals the spotlight, I’ve found that poor drainage is the silent killer in many gardens. The good news is you don’t need any fancy equipment to figure out what's happening underground. The best ways to test soil at home for drainage and texture only require a shovel, a jar, and your own two hands. These methods give you a surprisingly clear picture of how water moves—or doesn't move—through your soil.
One of the most telling tests is also incredibly straightforward. Just dig a hole about 12 inches wide and 12 inches deep. Fill it to the brim with water and let it drain completely. Once it's empty, fill it again and start a timer to see how long it takes for the water to vanish. If it’s gone within four hours, congratulations, your drainage is in great shape. If it takes longer, you're probably dealing with heavy clay or compacted soil that could suffocate your plant's roots.
Reading the Layers with the Jar Test
For a more detailed breakdown of your soil's makeup, the classic jar test is a fantastic tool. Find a straight-sided glass jar with a secure lid and fill it about halfway with soil from your garden bed. Add water until it’s almost full, leaving about an inch of air at the top. Now, shake it like you mean it for a couple of minutes until all the clumps are dissolved.
Let the jar sit undisturbed and watch the magic happen. Within a few minutes, the heaviest particles will drop to the bottom. This first layer is sand. Over the next couple of hours, you'll see a layer of silt form on top of the sand. Finally, after a day or two, the finest clay particles will settle out. For example, if you end up with a very thick clay layer and just a sprinkle of sand, you’ll have your "aha!" moment about why water always puddles in that part of the yard. This simple visual guide tells you exactly what you’re working with, which is key for choosing the right plants or knowing what amendments to add.
Smart Nutrient Detective Work Without Lab Fees
 While sending a soil sample to a professional lab gives you the most precise data, you can learn a ton about your soil's nutrient levels with a little old-fashioned detective work. Your plants are constantly talking to you, showing you what they need through their leaves and overall growth. For instance, yellowing leaves at the base of a plant often point to a nitrogen deficiency, while a strange purplish tint can be a dead giveaway for a lack of phosphorus.
This hands-on approach to soil health isn't just for hobbyists; it reflects a much bigger trend. The market for soil fertility testing is expected to jump from USD 1,329.1 million in 2024 to USD 2,464.6 million by 2034. This growth shows a clear move toward smarter nutrient management for everyone. You can dig into the numbers and learn more about the global soil fertility market, but you don't need a massive budget to apply these principles in your own backyard.
Using Plants as Nutrient Meters
Think of your plants as living, breathing soil meters. They’ll often reveal what’s missing long before you even need to test soil at home with a kit. Take a walk through your garden and look for these tell-tale signs:
- Nitrogen (N): Are your leaves, especially the older ones at the bottom, looking pale green or even yellow? Stunted, spindly growth is another classic symptom.
- Phosphorus (P): Plants might have a dull, dark green color, sometimes with a purplish cast on the leaves and stems. They'll also grow slowly and take longer to mature.
- Potassium (K): Check the edges of older leaves. If you see yellowing or browning that gives them a burnt or "scorched" appearance, you might be low on potassium.
A Simple Organic Matter Test
Beyond watching your plants, understanding your soil's organic matter is key, as this is where many nutrients are stored and made available. You can get a rough idea of its content with a simple burn test. First, take a small soil sample and let it dry out completely. Weigh it carefully. Then, using a high-flame source (like a propane torch), heat the sample until it no longer produces smoke.
Let it cool and weigh it again. The difference in weight before and after burning gives you a rough estimate of its organic content—the more weight lost, the more organic matter was present. Combining close observation with simple tests like this helps you build a much deeper connection with your garden. It’s just as foundational as mastering the art of seed germination at home and is a huge step toward giving your plants exactly what they need to thrive.
Choosing Store-Bought Kits That Actually Deliver Value
While DIY methods are fantastic for a quick read on pH or drainage, sometimes you need more specific answers without the expense of a professional lab analysis. This is where store-bought kits find their sweet spot, but navigating the crowded shelves at the garden center can feel overwhelming. The key is to find products that deliver genuine value, not just fancy packaging.
Finding the Right Tool for the Job
Before you buy, think about what you really need to know to test soil at home. Are you trying to figure out why your hydrangeas aren't turning blue, or are you starting a brand-new vegetable patch from scratch? Your goal determines the best tool.
- Digital pH Meters: These give you a level of precision that a simple fizz test can't match. When I bought my first one, I learned the hard way to look for models with good reviews on calibration stability. A meter that won't hold its calibration after a few uses is practically useless.
- Test Strips and Chemical Kits: These are excellent for getting baseline readings on the "big three" nutrients: Nitrogen (N), Phosphorus (P), and Potassium (K). They use simple, color-coded charts that give you a clear visual guide. They’re a great middle-ground option for most gardeners.
- Multi-Parameter Probes: Some tools claim to test pH, moisture, and even light levels all in one. While the convenience is tempting, their accuracy for any single measurement can sometimes be less reliable than a dedicated device. I always recommend checking recent gardener reviews before buying one of these.
To help you sort through the options, I've put together a comparison of some popular kits available to home gardeners.
Home Soil Testing Kit Comparison
Analysis of popular home soil testing kits including features, accuracy, and value for money
| Kit Name | Tests Included | Price Range | Accuracy Rating | Best For |
|---|---|---|---|---|
| Luster Leaf Rapitest 1601 | pH, N, P, K | $15 - $25 | Good | Gardeners wanting a solid, all-around nutrient baseline without breaking the bank. |
| Soil Savvy Test Kit | pH, N, P, K, Ca, Mg, S, Fe, Mn, Zn, Cu, B, Al | $30 - $40 | Very Good | Serious gardeners who want a mail-in lab analysis for a fraction of the cost. |
| Apera Instruments AI209 PH20 | pH | $45 - $60 | Excellent | Growers who need precise and repeatable pH readings, like for hydroponics or specific plants. |
| MySoil Test Kit | pH, N, P, K + 10 micronutrients | $30 - $35 | Excellent | Anyone looking for detailed, lab-grade results with specific fertilizer recommendations. |
After reviewing the kits, you can see the trade-off is often between immediate results (like with the Rapitest) and detailed, actionable advice (like from MySoil or Soil Savvy). Your choice depends on how deep you want to go.
The demand for reliable soil information is growing fast. The global soil analysis market was valued at USD 751.2 million in 2024 and is expected to keep expanding. Interestingly, Europe is leading this trend, accounting for over 30% of the market. You can discover more insights about the soil analysis market and its growth. For us home gardeners, this growth is great news—it means more and better products are becoming available, making it easier than ever to understand what's happening beneath our feet.
Turning Test Results Into Garden Success
 Getting the numbers back after you test soil at home is just one piece of the puzzle. The real skill is translating that data into a smart garden plan. This is where a lot of folks get tripped up. For example, what do you do if your soil is extremely alkaline and hard as a rock? It’s two different problems, so where do you even begin?
Creating Your Action Plan
It all comes down to priorities. As a rule of thumb, always tackle structural problems like compaction and poor drainage before anything else. It makes sense when you think about it—even with perfect nutrient levels, your plants won’t thrive if their roots can't breathe or are sitting in a puddle.
Once you’ve loosened things up by aerating and mixing in organic matter like compost, then you can turn your attention to pH levels. Nutrient amendments should be the very last step. Let’s say a gardener discovers their soil has a high pH of 7.8 and is also low in nitrogen. Their first move shouldn’t be to grab a nitrogen fertilizer. Instead, they should focus on lowering the pH with something like elemental sulfur, which can make the existing nutrients in the soil available to the plants.
Working With What You Have
Sometimes, you have to know when to work with nature instead of fighting it. If your soil tests keep showing that it's very acidic, you could be in for a constant battle trying to raise the pH. A more practical approach is to choose plants that naturally thrive in your existing conditions. Think about planting acid-loving beauties like blueberries, azaleas, or rhododendrons.
This kind of strategic planning is a cornerstone of smart gardening and a philosophy we explore in our guide for new gardeners. If you're looking for more tips, check out our Spring Garden 101 article. Embracing your soil’s natural tendencies will save you a ton of time, money, and frustration, ultimately leading to a more vibrant and resilient garden.
Building Your Personal Soil Health System
Turning sporadic soil tests into a regular habit is the secret to creating a truly thriving garden. A personal soil health system doesn't need to be complex; it’s all about finding a simple, repeatable rhythm. A great way to get started is by keeping a small journal where you track your results when you test soil at home. Jot down the date, the weather, and what you discovered. Over time, you’ll begin to see patterns emerge.
A Simple Testing Calendar
When it comes to soil testing, consistency beats intensity every time. You don't need to be out there every week. A realistic schedule might look something like this:
- Early Spring: Before you add any compost or fertilizer, test your soil's pH and the core nutrients (N-P-K). This gives you a baseline for the season.
- Mid-Summer: It's a good idea to check the pH again. Frequent watering and hungry plants can cause it to shift.
- Late Fall: After you've cleared out your garden beds, run a drainage test and see how your organic matter is holding up.
This sample professional soil report shows the kind of detailed analysis you can compare your home results against.
The report gives specific nutrient levels and a precise pH reading, offering clear recommendations—a fantastic goal to aim for with your own system. By keeping your own records, you can build a similar history for your garden, empowering you to make smarter, more effective decisions year after year.
Ready to build your dream garden? Explore our curated heirloom seeds and all-in-one kits at Homegrown Garden to get started today.
Once your soil checks out, put it to work with our vegetable seeds.

