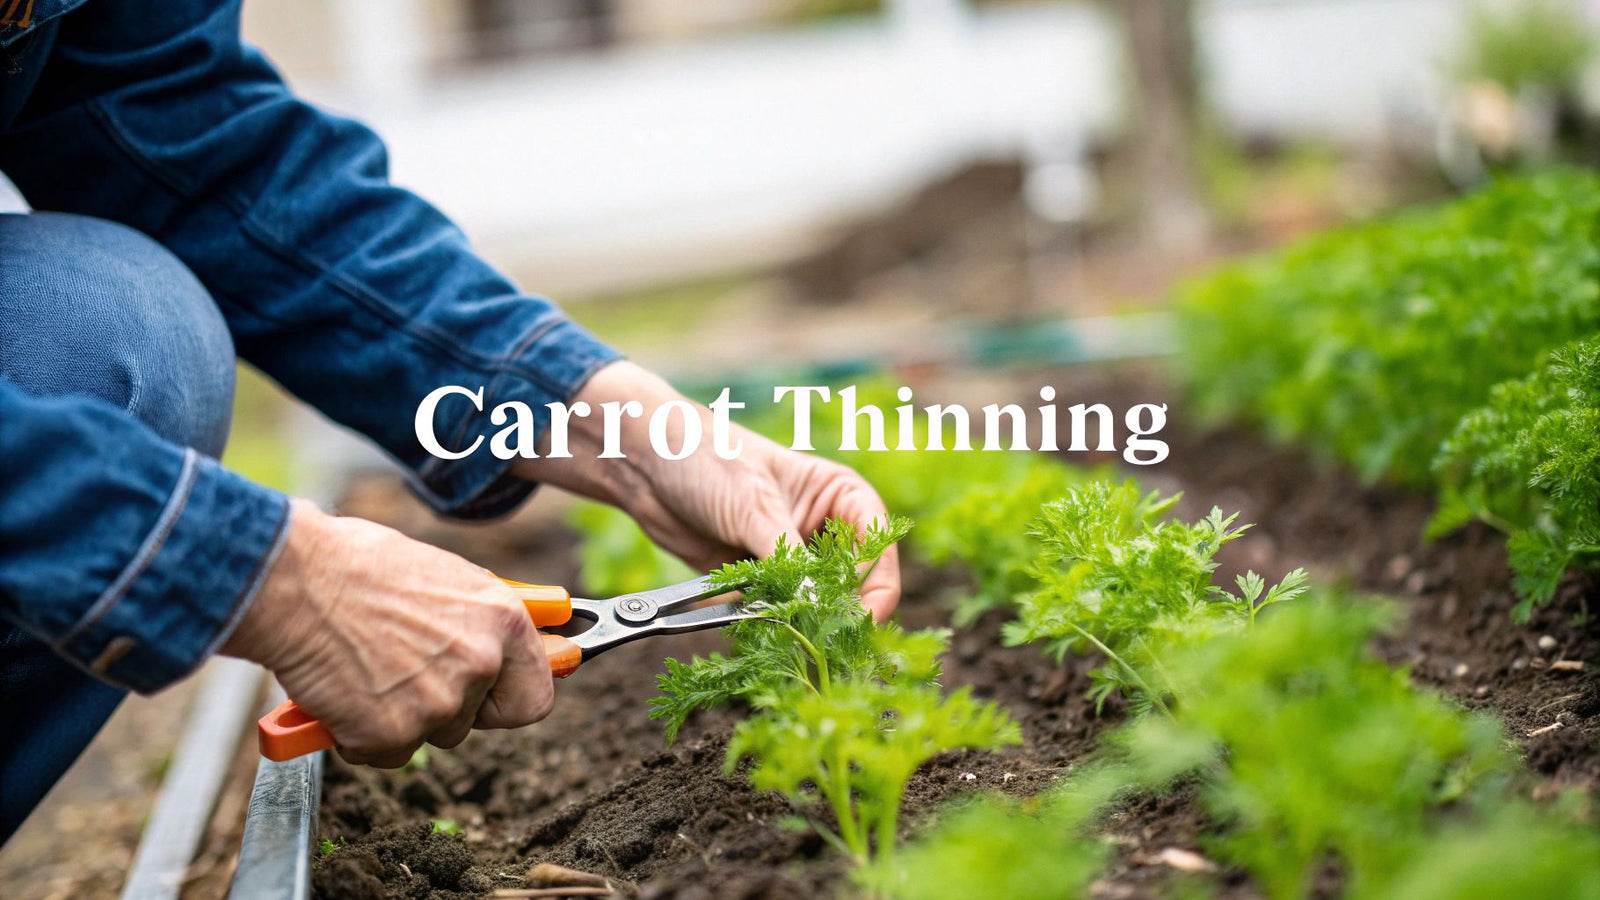

It might feel wrong, almost cruel, to pull out those tiny green sprouts you patiently waited for. But trust me, thinning your carrot seedlings is one of the most important things you'll do to guarantee a great harvest. If you skip this step, you're setting yourself up for a tangled mess of tiny, twisted roots instead of the sweet, crunchy carrots you're dreaming of.
1. Understand Why You Absolutely Must Thin Your Carrots
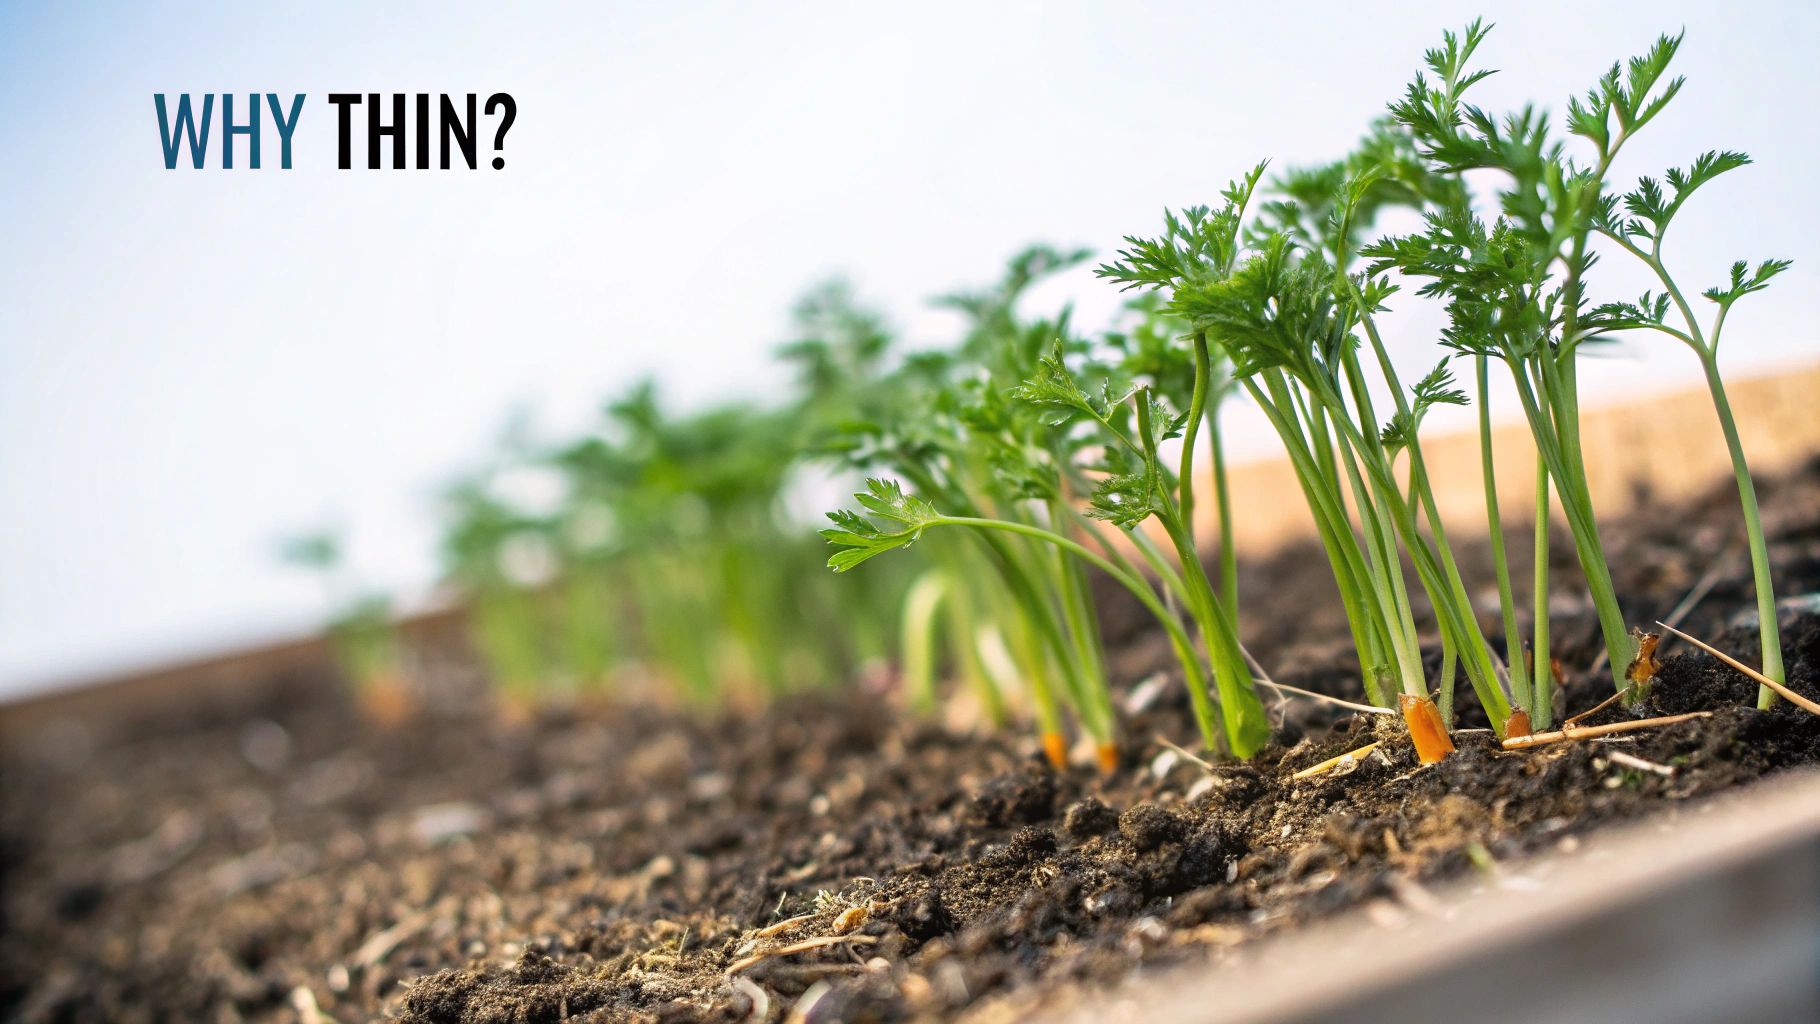
I get it. Plucking perfectly good seedlings from the soil feels wasteful. But try to think of it differently: you're not just removing plants, you're choosing your champions. You're giving the strongest seedlings the space and resources they need to grow into full-sized, delicious carrots.
When carrot seedlings are jammed together, they start competing fiercely for everything they need to survive, and nobody wins.
What Happens in an Overcrowded Carrot Patch
Under the soil, each tiny seedling is in a silent battle with its neighbors for a few key things:
- Space: The main taproot—the part we eat—needs plenty of room to grow straight down. When it’s crowded, it twists, forks, and bumps into other roots, leading to stunted and misshapen carrots.
- Water: A thick clump of seedlings sucks up water like a sponge. This quickly dries out the soil, leaving all the plants stressed and thirsty.
- Nutrients: Carrots are hungry plants. In a crowded bed, there simply aren't enough nutrients to feed everyone, which means you'll end up with weak tops and underdeveloped roots.
This underground competition is no small thing. It’s a make-or-break factor for your crop. Research has actually confirmed that giving seedlings enough space through proper thinning directly leads to more uniform, healthy carrots. There are some great studies on how emergence and density impact carrot growth if you want to geek out on the science.
The single biggest mistake a new gardener can make is skipping the thinning process. It is the difference between harvesting a handful of tiny, mangled roots and a basket full of crisp, perfectly formed carrots.
Giving your carrots room to breathe also improves airflow above ground. Better air circulation keeps the delicate foliage dry, which significantly lowers the risk of fungal diseases that love damp, crowded conditions. So, by sacrificing a few seedlings early on, you're paving the way for a much healthier and more productive patch down the line.
2. Know When to Thin Your Carrots for the Best Harvest
Timing is everything in the garden, and this is especially true when it comes to thinning carrots. If you jump the gun, you won't be able to tell which seedlings are the strongest. But if you wait too long, their roots will get hopelessly tangled, and they'll be locked in a subterranean battle for nutrients and space.
The first pass at thinning should happen when the tiny seedlings have developed their first set of true leaves and are about 2 to 3 inches tall. At this point, their hair-like roots are small enough that pulling out the extras won't disturb the ones you want to keep. The goal here isn't perfect spacing yet—it's just about reducing the crowd and giving everyone a little elbow room.
The 2-Stage Thinning Method
About two or three weeks later, you'll come back for round two. By now, the seedlings are much more established, and it's far easier to spot the most vigorous, promising plants. This is the crucial thinning session where you create the final spacing that lets each carrot reach its full, delicious potential.
A great trick I've learned over the years is to practice ‘harvest thinning’. Instead of just tossing the thinned plants, I pull out the slightly larger ones as tender baby carrots. They make a fantastic, sweet addition to a salad. This gives you a bonus early harvest while making space for the main crop to mature fully.
The most critical window for thinning is between the second and third weeks after seedlings pop up. If you put it off any longer, you risk stunting the whole crop as the roots begin to fuse and compete, which can seriously reduce your final yield.
To help you visualize the process, here's a simple schedule I follow in my own garden.
Carrot Thinning Schedule At a Glance
This table breaks down the two main stages for thinning your carrots, making it easy to know what to do and when.
| Thinning Stage | Seedling Height | Goal | Action |
|---|---|---|---|
| First Thinning | 2-3 inches tall | Reduce initial crowding | Gently pull or snip weaker seedlings, leaving about an inch between them. |
| Second Thinning | 4-5 inches tall | Create final spacing | Thin to the final 2-3 inch spacing. Harvest thinned baby carrots. |
Following this simple two-step process ensures your carrots have all the resources they need to thrive.
Scientific studies actually back up this timing. Research from the Impala Research Station in Botswana confirmed that thinning early directly leads to better growth and a bigger harvest. You can read the study on how thinning timing impacts carrot productivity if you want to dive into the data. This idea of managing growth in stages is a core gardening concept, much like what we discuss in our guide on how to sow and grow wildflowers for a continuous bloom.
3. Master the Best Thinning Techniques
Knowing when to thin is half the battle. Now, let's talk about how to do it without accidentally disturbing the delicate roots of the carrots you’re trying to grow. A clumsy approach can set your entire crop back, but with the right technique, you'll be thinning like a seasoned pro.
Here’s a little trick I’ve picked up over the years: water your carrot patch about an hour before you plan to thin. This makes a huge difference. The water softens the soil, allowing the seedlings you're removing to slide out easily. Trying to pull seedlings from dry, compacted soil is a recipe for disaster—you’ll likely yank out their neighbors, too.
This visual guide shows just how gentle you need to be.
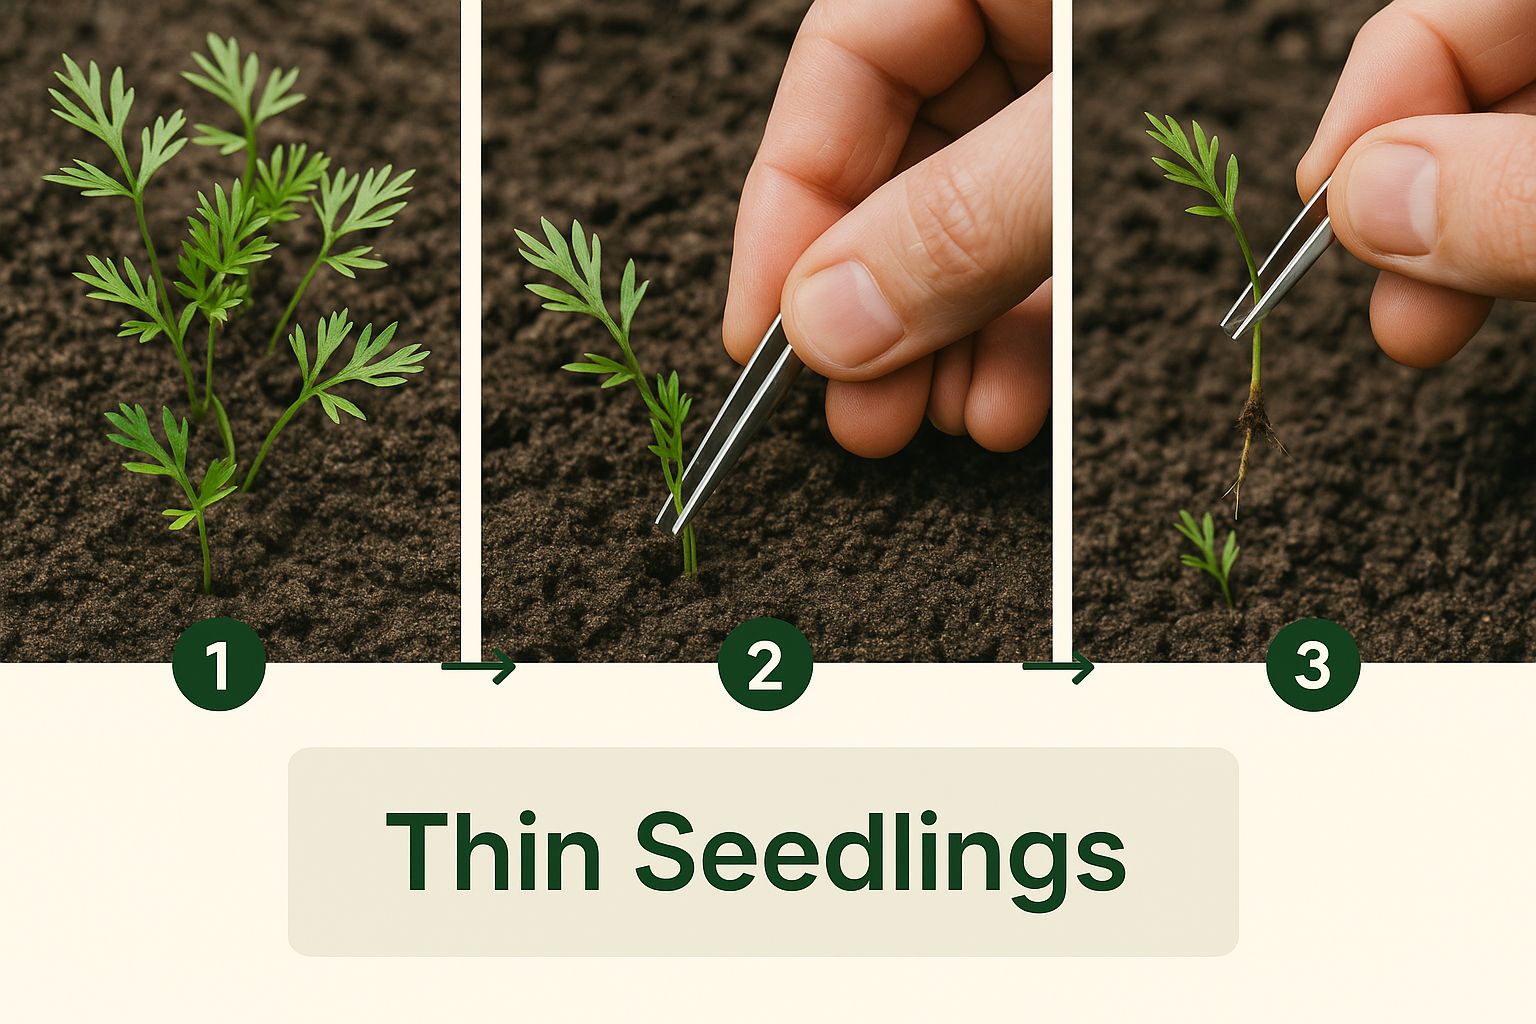
As you can see, precision is key. Whether you use your fingertips or a small tool, the goal is to target one seedling at a time without jostling the whole row.
The 3 Go-To Methods for Thinning Carrots
The best method really depends on your soil and how thickly you sowed your seeds. I find myself switching between these 3 techniques depending on the situation.
-
The Snip: This is the safest bet, hands down, especially if your seedlings are growing in a tight bunch. Instead of pulling, just take a small pair of scissors or garden snips and cut the unwanted seedlings at the soil line. It leaves the roots of your chosen carrots completely undisturbed. Zero risk.
-
The Pinch: If your soil is nice and moist and you have a steady hand, this is a quick, tool-free way to get it done. Simply pinch the base of a seedling between your thumb and forefinger and snap it off right at the soil level.
-
The Wiggle and Pull: This is the classic approach and works great in properly watered soil. Gently hold the base of the seedling you want to remove, give it a little wiggle to loosen its grip, and then pull straight up. That wiggling motion is the key to helping the root slip out cleanly.
Bonus Harvest Tip: Don't throw those thinnings away! The tiny green tops are essentially carrot-flavored microgreens. They’re delicious and packed with flavor, perfect for tossing into a salad, adding to a sandwich, or using as a fresh garnish. It's a great way to turn a routine garden task into an extra treat.
4. Get the Spacing Just Right for Your Carrots
So, what's the perfect spacing for carrots? Well, that's the million-dollar question, and the answer really boils down to what kind you’re growing. A stubby little 'Paris Market' carrot just doesn't need the same elbow room as a lanky 'Imperator'.
Giving each plant enough space to thrive is one of the most important things you can do for your carrot patch. It's not just about letting the roots grow big and straight; it also improves airflow around the foliage, which is a huge help in preventing common fungal diseases.
Match the Space to the Carrot Type
When I'm out in the garden, I often use my own hand as a quick guide. For most standard carrots, the width of my index finger is a pretty reliable starting point.
Here’s a breakdown of what I recommend based on years of experience:
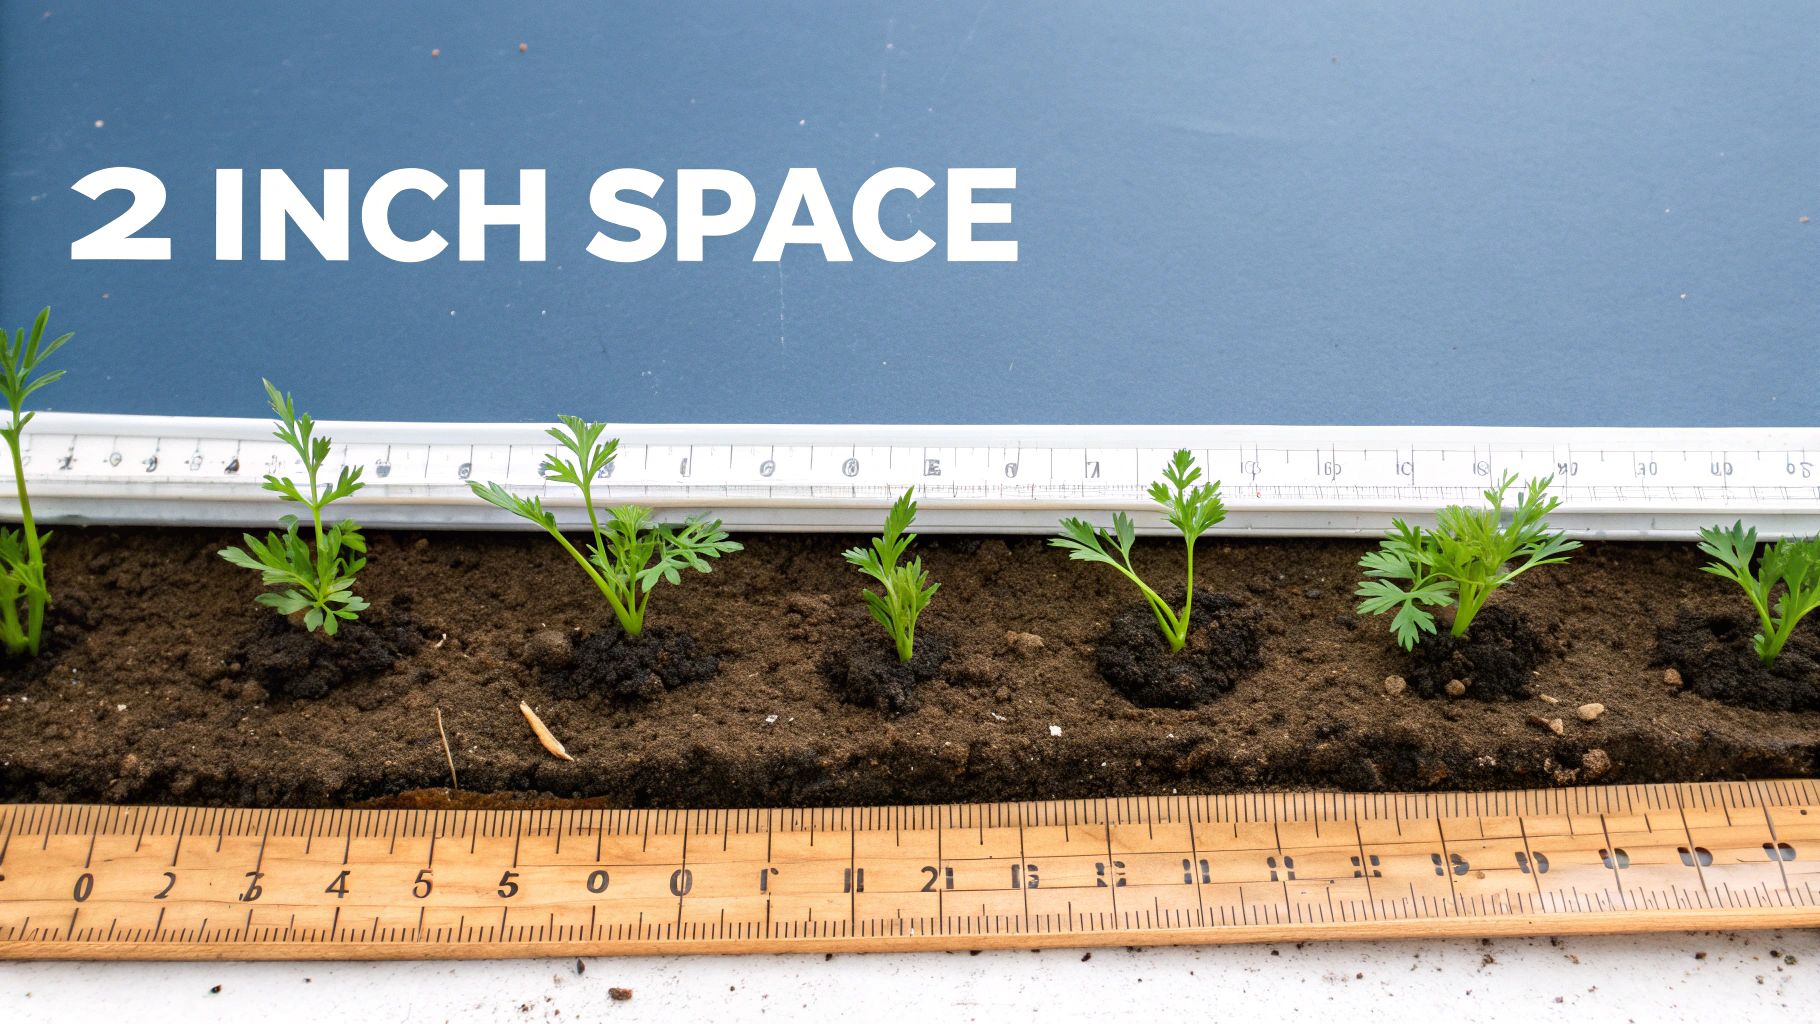
- Standard Varieties (1-2 inches): For your everyday heroes like 'Danvers' or 'Nantes', you'll want to aim for 1 to 2 inches between each seedling. This is the sweet spot for them to develop that classic carrot shape without getting tangled up.
- Large Varieties (2-3 inches): Growing something bigger, like an 'Imperator' or 'Danvers 126'? Be generous and give them 2 to 3 inches. They need that extra real estate to really stretch out and reach their full, impressive size.
- Small or Round Varieties (1 inch): If you've planted charming little round types like 'Paris Market', a single inch between them is all they need.
The logic here is simple: a carrot can only grow as big as the space you give it. If it's crowded, it will either stay stunted or grow into a twisted, disappointing shape, no matter how much you fuss over it with water and fertilizer.
This principle isn't just for backyard gardeners. On a commercial scale, where the global carrot seed market is valued at USD 1.35 billion, smart thinning is absolutely critical. It’s how growers maximize their yield and produce the high-quality carrots we see in stores. You can dig deeper into the global carrot seed market findings if you're curious.
For a complete walkthrough from seed to harvest, don't forget to check out our guide on how to grow carrots.
5. Avoid the 5 Most Common Thinning Mistakes
Even with the best of intentions, a few common slip-ups can turn the simple task of thinning carrot seedlings into a real setback for your crop. I've learned over the years that sidestepping these pitfalls is the key to ensuring your remaining carrots grow strong and healthy.
One of the most frequent mistakes I see is thinning in bone-dry soil. Trying to pull seedlings from hard, compacted earth almost guarantees you’ll rip out the delicate roots of the neighboring carrots you’re trying to save. This shock can stunt their growth or even kill them.
A little trick I swear by is to water the carrot patch about an hour before I even think about thinning. This simple step softens the soil, letting the extra seedlings slide out with minimal disturbance to their neighbors.
Many gardeners, whether they're just starting out or have been at it for years, can fall into the same traps. Here are five of the most common missteps I've encountered and, more importantly, how to avoid them.
-
Pulling Too Aggressively: Brute force is your enemy here. Instead of a hard yank, use a gentle wiggle-and-pull motion. Even better, just snip the unwanted seedling at the soil line with a small pair of scissors. No root disturbance at all.
-
Creating Giant Gaps: While spacing is crucial, leaving huge, empty patches in the row is just a waste of good garden real estate. Stick to the recommended 1-3 inch spacing for your specific carrot variety to make the most of your bed.
-
Thinning on a Hot, Sunny Day: Removing seedlings and disturbing the soil during the peak heat of the day puts a ton of stress on the plants you leave behind. I always try to thin in the cool of the morning or evening.
-
Tossing the Thinnings: Don't just throw away your hard work! Those tiny carrot tops are delicious and packed with flavor. They make fantastic microgreens for salads or a fresh garnish.
-
Forgetting to Water Afterward: Once you're done, give the row a final, gentle watering. This helps the soil settle back in around the roots of the survivors, reducing shock and helping them bounce back quickly.
6. Take the Right Steps After You Finish Thinning
Okay, so you've carefully snipped away the extra seedlings. Great job! But don't walk away just yet. The next few minutes are surprisingly important for the carrots you left behind. Think of it as a little post-op care to help them recover from the disturbance and get on with the business of growing.
The first thing I always do is give the carrot bed a gentle, thorough drink of water. This is non-negotiable. Watering immediately helps settle the soil snugly back around the tiny, delicate roots of the survivors. It collapses any air pockets you might have created, which can dry out roots in a hurry, and gives the remaining plants the moisture they need to bounce back from the shock.
Protect Your Future Harvest
Once the soil is settled, I like to add a light layer of mulch. A bit of straw, some fine wood chips, or even grass clippings will do the trick. This simple step is a real game-changer for a few reasons:
- It locks in that moisture you just added, so you won't have to water as often.
- It's fantastic for keeping weeds down, which would otherwise steal nutrients and water from your carrots.
- It helps keep the soil temperature stable and cool, which carrots absolutely love.
Honestly, these small follow-up steps are like taking out crop insurance. Spending a few extra minutes on watering and mulching helps the remaining plants recover quickly and protects them as they grow, which makes a massive difference in the size and quality of your final harvest.
If you're looking to improve your whole seed-starting game, from the very beginning, we've put together a guide with 10 tips for sowing and germination that will help you get strong seedlings right from the start.
7. Know the Answers to Common Thinning Questions
Even with the best instructions, you're bound to have a few questions once you're actually out in the garden, kneeling over your carrot patch. Getting a handle on these common "what-if" scenarios will help you thin your seedlings with confidence.
Let's clear up some of the things gardeners most often wonder about.
Can I Eat the Carrot Thinnings?
You bet! Tossing those tiny seedlings into the compost is a missed opportunity. The green tops are essentially carrot-flavored microgreens, with a fresh, slightly sweet taste that’s fantastic in a salad or sprinkled over a finished dish.
And if you’ve pulled any that have started to form a tiny root, give it a rinse and pop it in your mouth. It's a super sweet, tender preview of the harvest to come. Turning a garden chore into a quick snack is always a win.
What if I Accidentally Disturb a Carrot I Want to Keep?
It happens to even the most careful gardeners. You snip one seedling and the one next to it wiggles loose. Don't worry, but do act fast.
The trick is to gently firm the soil back around the base of the disturbed carrot with your fingers. You want to make sure the root has good contact with the soil again, with no air pockets. Then, give it a gentle watering right away to help the soil settle. Most of the time, the seedling will bounce back without any issue.
The key is to minimize how long the roots are disturbed. A quick press of the soil and a little water is usually all it takes for the seedling to recover and keep on growing.
Do I Still Need to Thin Pelleted Carrot Seeds?
Most likely, yes, but the job will be much easier. Pelleted seeds are a game-changer because their clay coating makes them bigger and simpler to space out when you're sowing. Still, it's nearly impossible to get the spacing perfect. You might drop two seeds in one hole or just plant them a little too cozily.
Giving your pelleted carrots a quick thinning pass is always worth the effort. It’s the final step to guarantee that every single root has the room it needs to grow big and straight, ensuring all your careful planting pays off.
At Homegrown Garden, we believe that a successful garden starts with great seeds and solid advice. Explore our curated collection of heirloom vegetable seeds and comprehensive grow guides to help you cultivate the garden of your dreams. Visit our website to find everything you need for your next planting adventure.