

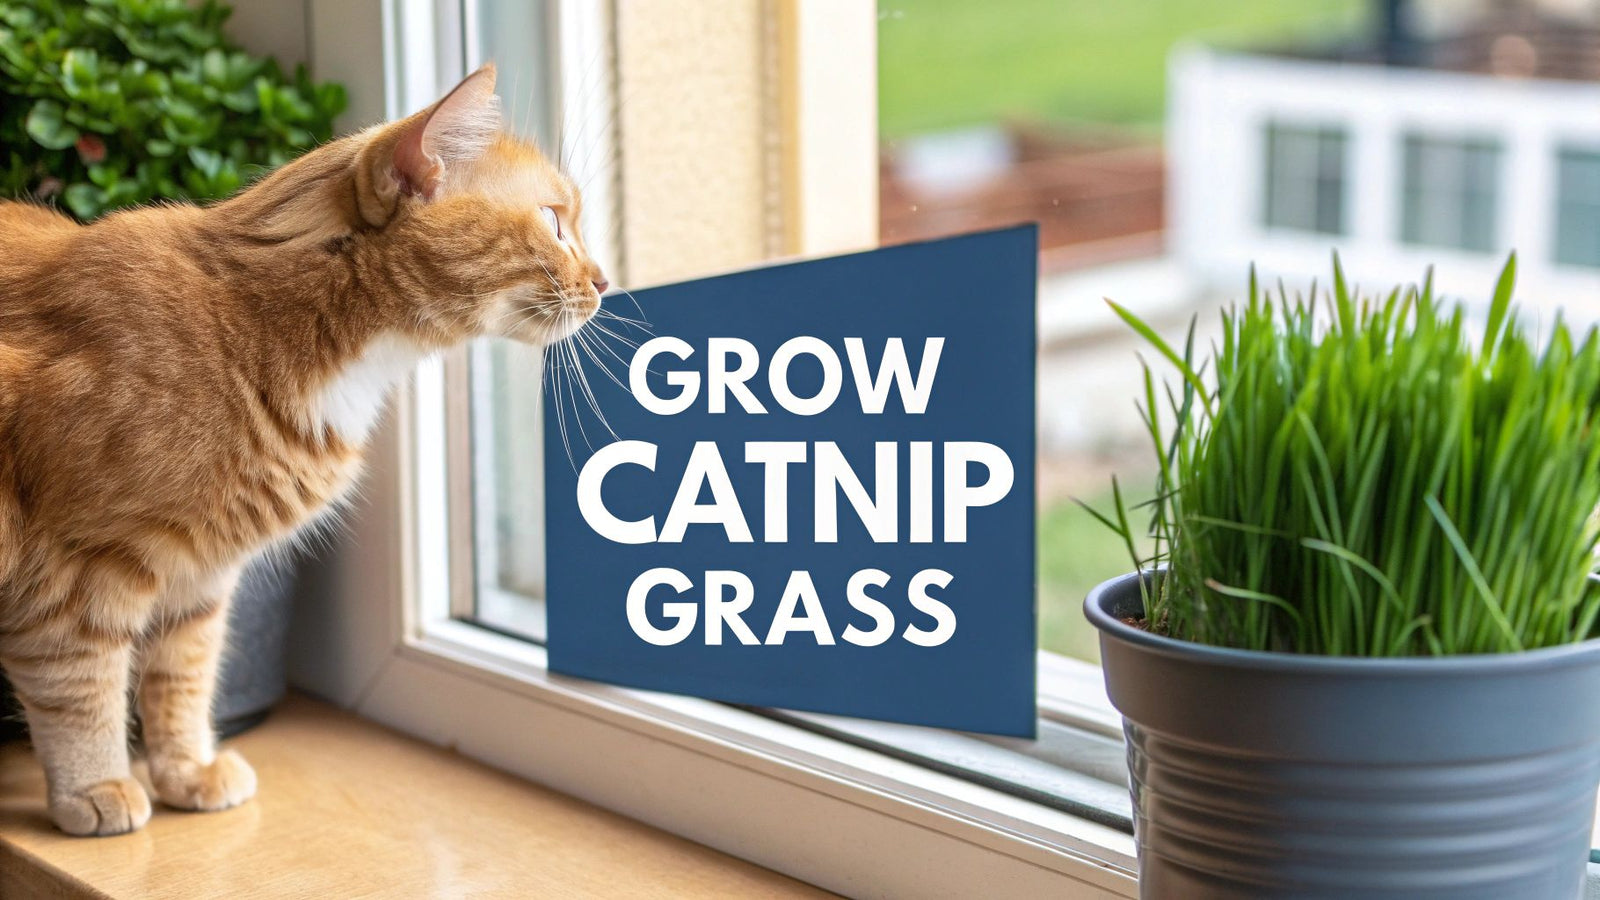

Ever catch your indoor cat trying to sneak a bite of your houseplants? That's a classic sign they're craving some greens. Giving them a safe pot of catnip grass for cats is the perfect way to satisfy that instinct and keep them away from potentially toxic plants. It's such a simple, healthy upgrade to their environment.
Why Your Cat Craves Catnip Grass
When you see your cat munching on blades of grass, you're witnessing a deep-seated, natural instinct at play. This isn't just a weird quirk; it's genuinely part of their well-being. Having a dedicated patch of cat grass is a fantastic form of enrichment that lets them tap into this primal drive right in your living room.
A lot of people mix up cat grass and catnip, but they're completely different things with totally different effects. Catnip (Nepeta cataria) is an herb in the mint family that gives many cats a short-lived, euphoric high. Cat grass, on the other hand, is usually a mix of cereal grasses—like oat, wheat, or barley—that offers real health benefits.
3 Key Benefits of Catnip Grass
Think of cat grass as your cat's very own personal salad bar. It brings a few key advantages to the table for their health and happiness:
- Helps with Digestion: All that fiber helps move food and, more importantly, fur through their digestive system. It's a natural way to help prevent nasty hairballs.
- A Source of Nutrients: Fresh grass contains vitamins and minerals, including folic acid, which plays a role in keeping a cat's circulatory system healthy.
- Redirects Chewing: It provides a safe, approved plant for them to chew on, which can save your decorative houseplants from becoming a snack.
This easy little gardening project is so much more than a treat. It's a vital form of feline enrichment that boosts their mental stimulation and overall happiness by letting them be, well, cats.
This growing focus on pet wellness is backed by some serious numbers. The global market for catnip and cat grass is expected to hit around USD 185.5 million by 2025, which shows just how much cat owners value providing natural enrichment for their pets.
While catnip is more about fun, cat grass is all about health. If you're looking for a complete guide on natural stress relief for cats, it's worth exploring all the ways you can create a more calming home for your furry friend.
7 Essential Supplies for Your Indoor Cat Garden
Ready to spoil your cat with their very own indoor patch of greens? Good news—it’s incredibly simple and you don't need a lot of fancy gear. Getting your supplies together first makes the whole process a breeze, so you can get that kitty salad bar up and running without a hitch.
Here are the seven must-haves I always recommend.
3 Core Components: Pot, Seeds, and Soil
First things first, let's talk about the foundation of your mini-garden.
-
A Sturdy, Low-Profile Pot: Your cat is going to be nudging and nibbling at this pot, so you need something with a bit of weight to it. A heavy ceramic or terracotta pot that’s about 4-6 inches wide is perfect because it won’t tip over easily. The most important feature? Drainage holes. This is absolutely non-negotiable if you want to avoid soggy soil and root rot.
-
High-Quality Cat Grass Seeds: What we call "cat grass" is actually a mix of tasty cereal grains. The most popular choices are oat, wheat, barley, and rye. You can buy pre-made blends or grab a few different types to see which one your cat goes crazy for. If you're looking for great options, you can find a variety of cat grass seeds on our online store to get started.
-
Organic Potting Soil: This one is crucial. Since your cat will be ingesting the grass, you have to use a potting mix that is organic and pesticide-free. Steer clear of any soils with added chemical fertilizers—stick to the clean stuff. Your cat’s health depends on it.
4 Simple Tools for Planting and Care
You don't need a full shed of tools, just a few simple items to make planting and maintenance easy.
-
A Spray Bottle: When seeds are first starting to sprout, a heavy stream of water from a can will just wash them away. A simple spray bottle is your best friend here. It lets you gently mist the soil, keeping it perfectly moist without disturbing those delicate little seeds.
-
Plastic Wrap or a Clear Lid: Want to speed things up? Create a mini-greenhouse. By loosely covering your pot with some plastic wrap or a clear lid, you trap humidity and warmth. This simple trick encourages the seeds to germinate much faster.
Don't skip this! Creating a humid little microclimate for the first few days can seriously cut down on germination time. That means your cat gets their fresh greens that much sooner.
-
Small Trowel or Scoop: Sure, you can use your hands, but a small garden trowel makes filling the pot with soil a much cleaner job. It also helps you get the soil in there evenly without packing it down too tightly.
-
A Pair of Scissors: Once the grass is about four inches tall, a little trim will do it good. Snipping the tips with a pair of scissors encourages the grass to grow back fuller and thicker. It also keeps it from getting too tough or trying to go to seed. Think of it as a little haircut to keep the patch looking its best.
Choosing the Best Grass Seeds for Your Cat
Not all cat grass is created equal, and some cats have definite preferences! Here’s a quick rundown of the four most common types to help you decide which one your feline friend might enjoy the most.
| Grass Type | Key Characteristics | Best For |
|---|---|---|
| Oat Grass | Slightly sweet flavor, wider blades. High in protein and fiber. | Cats who enjoy a chewier texture. Great for aiding digestion. |
| Wheat Grass | Tender, thin blades with a mild taste. Packed with vitamins and minerals. | A good all-rounder for most cats, especially picky eaters. |
| Barley Grass | Thinner than oat grass but still robust. Contains enzymes that help with digestion. | Felines needing extra digestive support or those who like a classic "grassy" taste. |
| Rye Grass | Very durable and grows quickly. Rich in nutrients and has a fine texture. | Active chewers, as it stands up well to nibbling. Also great for quick results. |
Ultimately, the best way to find out is to experiment. You could even plant a small "tasting menu" with a couple of different types to see which one becomes the new favorite.
11 Easy Steps to Get Your Cat Grass from Seed to Sprout
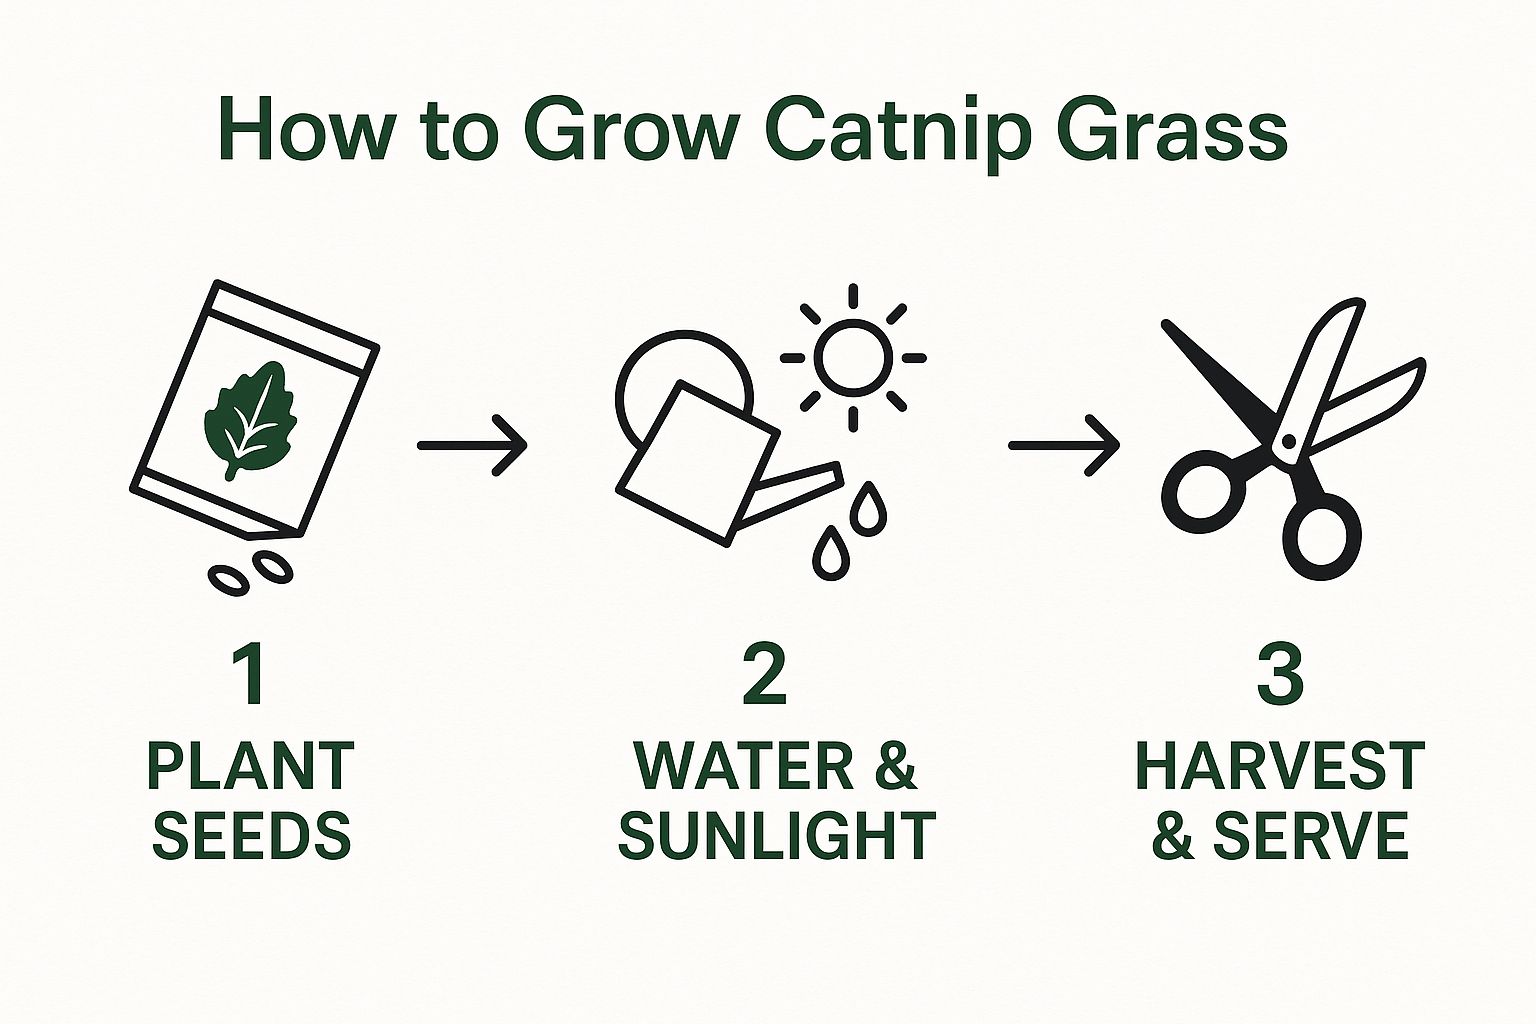
Alright, let's get our hands dirty. This is the fun part—turning a small packet of seeds into a lush, green snack bar for your cat. Growing catnip grass for cats is one of the most satisfying little projects you can do, and it's far easier than you might imagine. I've laid out the whole journey in 11 simple steps that will guide you from seed to a thriving pot of greens.
If you’ve ever tried your hand at learning how to grow microgreens indoors, you'll find this process feels very familiar. The core ideas are the same: get the moisture and light right, and nature does the rest.
Getting Your Seeds and Soil Ready
A little prep work upfront makes a world of difference. Nailing this initial setup ensures everything else goes smoothly.
- Soak Your Seeds: My pro tip? Soak them. Put about two tablespoons of seeds in a bowl with cool water and let them sit overnight, or for at least 6-8 hours. This simple step softens the tough outer shell and signals to the seed that it's time to grow, which can seriously speed up how fast they sprout.
- Fill Your Pot: Grab your pot and fill it with an organic potting mix, leaving about an inch of space from the rim. You don't want to pack the soil down; keep it light and fluffy so the roots have plenty of room to stretch out.
- Moisten the Soil: Now, give the soil a good drink. Water it gently until it's evenly moist—think of a well-wrung-out sponge. If your pot has drainage holes, make sure you let any extra water drip out before you move on to planting.
Sowing the Seeds and Sparking Germination
It’s time to get those seeds into their new home. The goal here is to create a cozy, perfect environment for them to pop.
- Sow the Seeds: Drain the water from your soaked seeds and sprinkle them evenly across the soil's surface. Don't stress about perfect spacing. You’re aiming for a thick, dense carpet of grass, so a generous, even layer is exactly what you want.
- Cover Them Lightly: Once they're scattered, gently press the seeds into the soil with the palm of your hand. Then, cover them with just a whisper-thin layer of soil, about a 1/4 inch deep. Just enough to tuck them in.
- Create a Greenhouse Effect: To really get things going, you’ll want to create a little greenhouse effect. Mist the top of the soil with a spray bottle and cover the pot loosely with some plastic wrap or a clear lid. This traps humidity and warmth, creating the perfect microclimate for sprouting.
- Find a Dark, Warm Spot: For the first 2-3 days, put the covered pot somewhere warm and dark. A spot in the laundry room or a kitchen cabinet is perfect. Keeping them in the dark encourages the seeds to establish strong roots first before they start reaching for the light.
This initial dark period is absolutely crucial. It tricks the seeds into focusing on root development, which builds a much healthier, more stable foundation for the grass. If you skip this, you often end up with weak, leggy sprouts that topple over easily.
From First Sprout to Feline Salad Bar
The moment you spot those first little green shoots, it’s time to change gears and let them soak up the sun.
- Remove the Cover and Find Light: As soon as you see life, take off the plastic wrap. Move your pot to a spot that gets plenty of bright, but indirect, sunlight. A windowsill that avoids the harsh afternoon sun is an ideal location.
- Keep Misting: Your main job now is to keep the soil consistently moist, but never waterlogged. A daily misting from your spray bottle is usually all it takes. Overwatering is a super common mistake and a fast track to mold, so always do a quick finger-check to feel the soil's dampness before you water.
- Rotate the Pot: Plants are natural sun-seekers and will lean towards the light. To keep your grass growing straight and tall, give the pot a quarter-turn each day. It’s a tiny action that prevents a lopsided, sad-looking patch of greens.
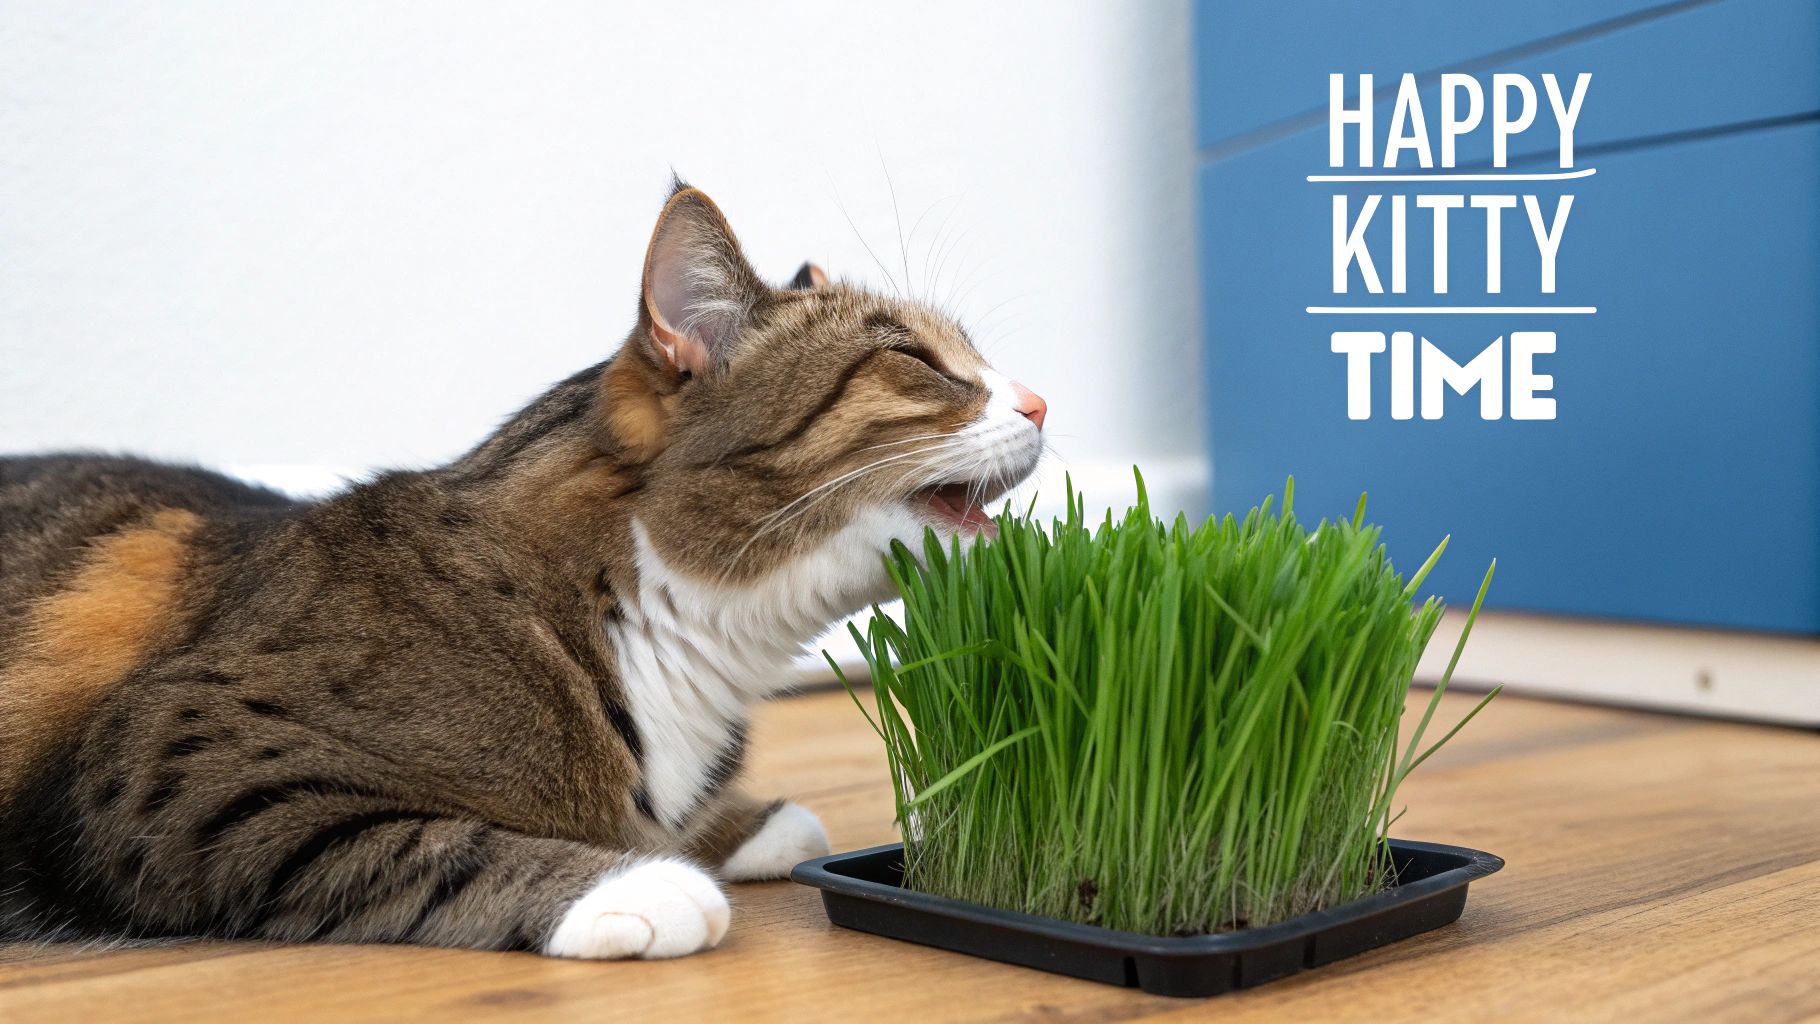
- Serve it Up: Before you know it, the grass will reach about 4 inches high. That's the magic number. It's now officially ready for its biggest fan. You can place the pot down and proudly watch your cat enjoy their fresh, homegrown treat.
9 Nurturing Tips for a Thriving Patch of Green
So, you’ve got sprouts! That delicate green fuzz poking through the soil is a great sign. Congratulations, you're officially a cat grass gardener. Now the real fun begins—nurturing those tiny shoots into a lush, green snack bar that your cat will go wild for. It doesn't take much, just a little attention to detail.
Here are nine of my go-to tips for keeping your cat grass healthy and vibrant.
Mastering the Basics: Water and Light
1. Water Wisely to Avoid Mold This is the big one. Overwatering is the fastest way to kill a pot of catnip grass for cats. When the soil is too soggy, you're just asking for mold and root rot. My advice? Ditch the watering can and grab a spray bottle. A daily misting is all it needs to stay perfectly hydrated without turning the pot into a swamp.
2. Rotate for Even Growth You'll notice your grass will start leaning toward the window, reaching for the light. It's totally natural, but it can create a weird, lopsided patch. The fix is simple: just give the pot a quarter-turn every day. This tiny bit of effort ensures every blade gets its share of sun, encouraging the whole pot to grow straight and strong.
3. Provide Bright, Indirect Sunlight Cat grass loves light, but harsh, direct sun will scorch the delicate blades and turn them yellow. You’re looking for a sweet spot. A windowsill that gets plenty of bright, indirect light is perfect. If all you have is a super sunny window, just pull the pot back a foot or two to diffuse that intense light.
Think of it this way: you want to mimic the gentle, dappled light of a meadow, not the blistering sun of a desert. That soft, consistent light is the secret to getting those deep green, tender blades your cat will love.
Maintenance for Longevity and Freshness
4. Trim the Grass Regularly Once the grass hits about four inches tall, it's time for a trim. Grab a clean pair of scissors and snip about an inch off the top. This does two things: it encourages the grass to grow back thicker and fuller, and it stops it from going to seed, which makes the blades tough and not nearly as tasty.
5. Start a Second Pot Here's a pro tip: cat grass doesn’t last forever. You’ll typically get a few good weeks out of a pot before it starts to fade. The solution is succession planting. It sounds fancy, but it just means you start a new pot of seeds every 2-3 weeks. That way, as one patch is on its way out, a fresh one is ready to take its place.
6. Keep an Eye on the Roots If you notice growth slowing down after a few weeks, the pot is likely "root-bound." The roots have completely filled the container and have nowhere else to grow. When this happens, it's time to thank that patch for its service, toss it in the compost, and start fresh.
Maximizing Your Cat's Enjoyment
7. Let Your Cat Graze Freely Once your grass is a few inches tall and looking lush, just put the pot where your cat can easily find it. Let them decide when it's snack time. Most cats are great at self-regulating and will only nibble when they feel the need.
8. Bring the Garden to Them Have an older or less mobile cat? No problem. You can bring the greenery to them. Just snip a few blades and offer them by hand, or sprinkle them over their dinner for a little nutrient-rich treat.
9. Plan for a Continuous Supply Keeping a constant supply of cat grass is a growing trend for a reason—it’s great for our pets. Market analysis shows that the demand for cat grass refill seeds is on the rise, with projected growth of about 6.8% annually through 2033. It’s clear more pet owners are looking for sustainable ways to boost their cat's well-being. You can read the full market report on cat grass seed trends at growthmarketreports.com.
7 Common Cat Grass Problems and How to Fix Them
https://www.youtube.com/embed/AexH-ov8bR8
Growing a little patch of catnip grass for cats is usually pretty simple, but don't feel bad if things go a little sideways. Even those of us with green thumbs run into issues now and then. The good news is that most problems are easy to spot and even easier to fix once you know what you’re looking for.
Let's walk through the seven most common hiccups people face when growing cat grass. We'll get to the root of each problem and find a practical solution to get your cat's personal salad bar thriving again.
1. The Dreaded Fuzzy Mold
Seeing a layer of white or grayish fuzz on the soil is hands-down the most frequent complaint. This is almost always a tag-team effort between poor air circulation and too much water. Soggy soil in a stuffy room is basically an open invitation for mold.
How to Fix It: Start by gently scraping off the visible mold. Then, you need to let the soil dry out more between waterings. I'd recommend switching from pouring water to just giving the soil a light misting each day. Most importantly, move the pot somewhere with better airflow—this alone can make a huge difference.
2. Yellowing Leaves
Are those vibrant green blades starting to look a bit pale or yellow? Think of it as your grass sending up a flare. This is typically a cry for more light, though sometimes it can be a nutrient issue. Plants need sunlight to create chlorophyll, which is what gives them that healthy green color.
How to Fix It: Try moving your pot to a spot that gets more bright, indirect sunlight. If your grass has been growing in the same soil for over three weeks, it's probably just hungry because the nutrients are depleted. At that point, it’s best to compost the old batch and start fresh with new soil.
Here's a little trick I've learned: a simple sprinkle of cinnamon on the soil's surface acts as a great natural antifungal. It's perfectly safe for your cat and helps stop mold from returning after you've corrected the watering.
3. Wilting or Droopy Blades
When your grass looks sad, limp, and droopy, it can be a bit confusing. This is a classic symptom of both overwatering and underwatering. If the soil is a swamp, the roots are effectively drowning and can't take up water. If the soil is bone-dry, the plant is just parched.
How to Fix It: The finger test is your best friend here. Stick your finger about an inch into the soil. If it feels wet, hold off on watering until it dries out. If it feels completely dry, give the pot a good, thorough drink until water runs out the bottom, then go back to a lighter daily misting routine.
4. The Grass Refuses to Sprout
You did everything right, but you're just staring at a pot of dirt. Germination failure usually boils down to one of three things: old seeds, the wrong temperature, or not enough moisture while the seeds are trying to sprout.
How to Fix It: Always start with fresh seeds, as their germination rate drops over time. Soaking them overnight before planting can give them a real head start. For the first few days, I recommend keeping the pot covered in a warm, dark place to create a humid little greenhouse that encourages them to pop. For a deeper dive, our complete cat grass grow guides have tons of extra tips.
5. Unwanted Pests Appear
Have you noticed tiny flying insects, like fungus gnats, buzzing around your cat grass? They absolutely love consistently damp soil. While they won't hurt your cat, they are definitely an annoyance. Their presence is a flashing neon sign that your soil is staying too wet for too long.
How to Fix It: The solution is simple: let the soil dry out more between waterings. This breaks their life cycle, as their larvae can't survive in drier soil.
6. Slow or Stunted Growth
If your grass sprouts but then just... stops... it’s almost certainly a lighting issue. Without enough light, the grass can't perform photosynthesis, which is how it creates the energy needed for healthy, vigorous growth.
How to Fix It: Find a brighter home for your pot. An east-facing window that gets that gentle morning sun is often the perfect spot.
7. The Grass Dies Quickly
A pot of cat grass naturally has a pretty short lifespan, usually around two to four weeks. If your patch is giving up the ghost sooner than that, it's often because the pot is too small and the roots have nowhere to go, or the nutrients in the soil have been all used up.
How to Fix It: Make sure you're using a pot that's at least 4-6 inches wide to give the roots room. Even better, get into the habit of succession planting—just start a new pot every couple of weeks. This way, you'll always have a fresh, delicious batch ready for your kitty.
Your Top 3 Questions About Catnip Grass Answered
Let's dive into some of the most common questions people have when they start growing greens for their feline friends. Getting straight answers can make all the difference, so I've gathered the queries I hear most often from fellow cat parents.
1. How Is Catnip Grass Different From Regular Catnip?
This is a great question, and the answer comes down to purpose and effect. The biggest distinction is what they do for your cat.
Classic catnip (Nepeta cataria) is that herb famous for containing nepetalactone, the chemical that sends many cats into a state of playful, goofy bliss. Think of it as a fun, recreational treat that stimulates their senses.
Cat grass, on the other hand, is usually a blend of gentle cereal grasses like wheat, oat, or barley. Cats instinctively eat this for its health benefits—primarily the fiber, which is fantastic for digestion and helps move hairballs along. So, while catnip is the life of the party, cat grass is more like a healthy, satisfying salad.
2. How Much Catnip Grass Can My Cat Eat?
When it comes to cat grass, moderation is key, just like with any treat. It’s completely safe and healthy, but a cat who goes overboard might end up with a bit of a tummy ache.
For most cats, a few nibbles here and there throughout the day is plenty. I always suggest just putting the pot out and letting your cat decide. They’re pretty good at self-regulating. If you find your cat is mowing down the whole pot in one sitting, just take it away for a few hours. It’s a supplement, not a main course.
The goal is to provide a healthy enrichment activity. Letting your cat graze as they please empowers them to follow their instincts, which is a key part of their well-being.
3. Why Does My Cat Vomit After Eating Cat Grass?
Seeing your cat throw up after munching on their grass can be alarming, but try not to panic. More often than not, this is a completely normal and even helpful biological process.
The grass is packed with fiber, and when they eat it, it can help them dislodge and bring up indigestible material that's been hanging out in their stomach—we're usually talking about wads of fur from all that meticulous grooming. It’s basically nature’s own little internal housekeeping service.
That said, if the vomiting happens all the time or you notice other symptoms like lethargy or a lack of appetite, it’s always a good idea to check in with your vet to make sure nothing else is going on.
While your cat is enjoying their special greens, you might be wondering how to keep your other houseplants safe from curious paws. For some great advice on that, check out these tips on how to keep cats out of other potted plants. And if you have more questions about your growing setup, you can always find more answers on our full Frequently Asked Questions page.
Ready to start your own indoor garden? Homegrown Garden has everything you need, from premium heirloom seeds to complete growing kits. We make it easy to bring a little green into your home for both you and your feline friend. Explore our collection at https://www.homegrown-garden.com.
Ready to grow a fresh salad bar for your cat? Our cat grass seeds (oat, barley and alfalfa) are the easy way to get started.
Prefer the classic herb that gives cats their happy buzz? You can also grow catnip from seed for a treat alongside the grass.

