


Imagine walking over to your kitchen windowsill to snip a few leaves of fresh, fragrant basil for your pasta sauce or some mint for a cup of tea. Growing your own herbs from seed right inside your home isn't just a great way to save money; it opens up a world of unique flavors you won't find at the grocery store. I'm here to walk you through it, step-by-step, and show you that anyone can create a thriving indoor herb garden with just a few simple supplies.
Why Bother with an Indoor Herb Garden?
Starting herbs from seed is one of the most satisfying things a home cook can do. It's more than just having fresh ingredients on hand—it's your gateway into gardening. You're in the driver's seat for the entire journey, from picking out interesting seed varieties to knowing for sure that they're grown organically, without any pesticides. If you've tried and failed at gardening before, don't worry. This is a fresh start.
And it seems a lot of people are catching on. The global market for indoor herb gardens was recently valued at around USD 1.2 billion and is only expected to grow. This boom is all thanks to a renewed love for home cooking and the need for fresh, easy-to-grab ingredients, especially for those of us living in cities. You can dig into more of this data over at HTF Market Insights.
The Real Perks of Growing Herbs Indoors
There's something special about starting your herbs from a tiny seed. You get to watch the entire lifecycle unfold, creating a real connection to the food you eat. It's a game-changer.
- Flavor That Can't Be Beaten: The moment an herb is cut, it starts losing its essential oils and, with them, its flavor. When you snip what you need just seconds before using it, you're getting peak freshness and a taste that store-bought herbs just can't compete with.
- A Seriously Smart Way to Save: A packet of seeds might set you back a couple of dollars, but it can yield dozens of plants. Compare that to buying those little plastic clamshells of herbs at the store or even a single starter plant from a nursery, and the savings are huge.
- Fresh Herbs All Year Long: Forget about seasons. An indoor garden means you can have a steady supply of basil for summer pestos, mint for cozy winter teas, and parsley for garnishes whenever you want, no matter what the weather is doing outside.
The best part is having total control. When you grow from seed, you decide what goes into your plants. You can keep them completely organic and free of weird chemicals, giving you total peace of mind about what's going onto your plate.
Step 1: Choose from 11 of the Best Herbs to Grow Indoors
Picking the right herbs is your first big win for a thriving indoor garden. While plenty of plants can live inside, some are much more forgiving, especially when you're starting them from seed. This list covers 11 of my go-to choices, mixing some easy, quick-growing herbs with a few that need a little more patience.
Easy And Fast-Growing Herbs
Let's kick things off with the crowd-pleasers. These are the herbs that sprout fast and won't throw a fit if you make a few mistakes along the way. They're perfect for building your gardening confidence.
- Basil: You can't have a kitchen garden without basil. Its sweet, peppery flavor is the soul of pesto and so many Italian dishes. Basil seeds are impressively quick, germinating in just 5 to 10 days. You'll be pinching off leaves before you know it.
- Mint: Famous for its aggressive growth, mint is one herb you’ll want to keep in its own container unless you want it to take over everything. It's perfect for mojitos and fresh teas. The trick is to keep its soil consistently moist but never soggy.
- Chives: With their mild, oniony kick, chives are ridiculously easy to grow. They sprout without fuss and aren't picky about light. Just snip them with scissors to sprinkle over eggs, potatoes, or soups.
- Cilantro: This is the gift that keeps on giving, offering fresh leaves for tacos and coriander seeds for cooking. Cilantro prefers cooler indoor temperatures and can bolt (flower too early) if it gets too warm. Harvest leaves frequently to keep it producing more.
A classic rookie mistake is planting herbs with different water needs together. For instance, thirsty basil and drought-loving rosemary make terrible roommates. Grouping plants with similar preferences is a simple hack for a happier garden.
Herbs With Classic Flavors
These herbs are the backbone of Mediterranean and European cooking. They might take a bit longer to get going than basil, but their rich, aromatic flavors are absolutely worth the extra time.
- Parsley: Whether you like the flat-leaf Italian kind or the curly variety, parsley is a kitchen must-have. It’s a bit slow to germinate—sometimes taking up to three weeks—so don't lose hope. Soaking the seeds overnight before planting can give them a helpful head start.
- Dill: With its feathery fronds and unique anise-like flavor, dill is fantastic with fish, pickles, and potatoes. It grows a long taproot, so make sure to give it a deeper pot than you would for herbs with more shallow roots.
- Oregano: A non-negotiable for pizza and pasta sauce, oregano loves warmth and a sunny spot. It’s a slow starter from seed, but once it gets established, it's a tough and productive little plant.
The infographic below gives you a good idea of how much harvest times can vary. It's why I always recommend planting a mix of fast and slow-growing herbs.
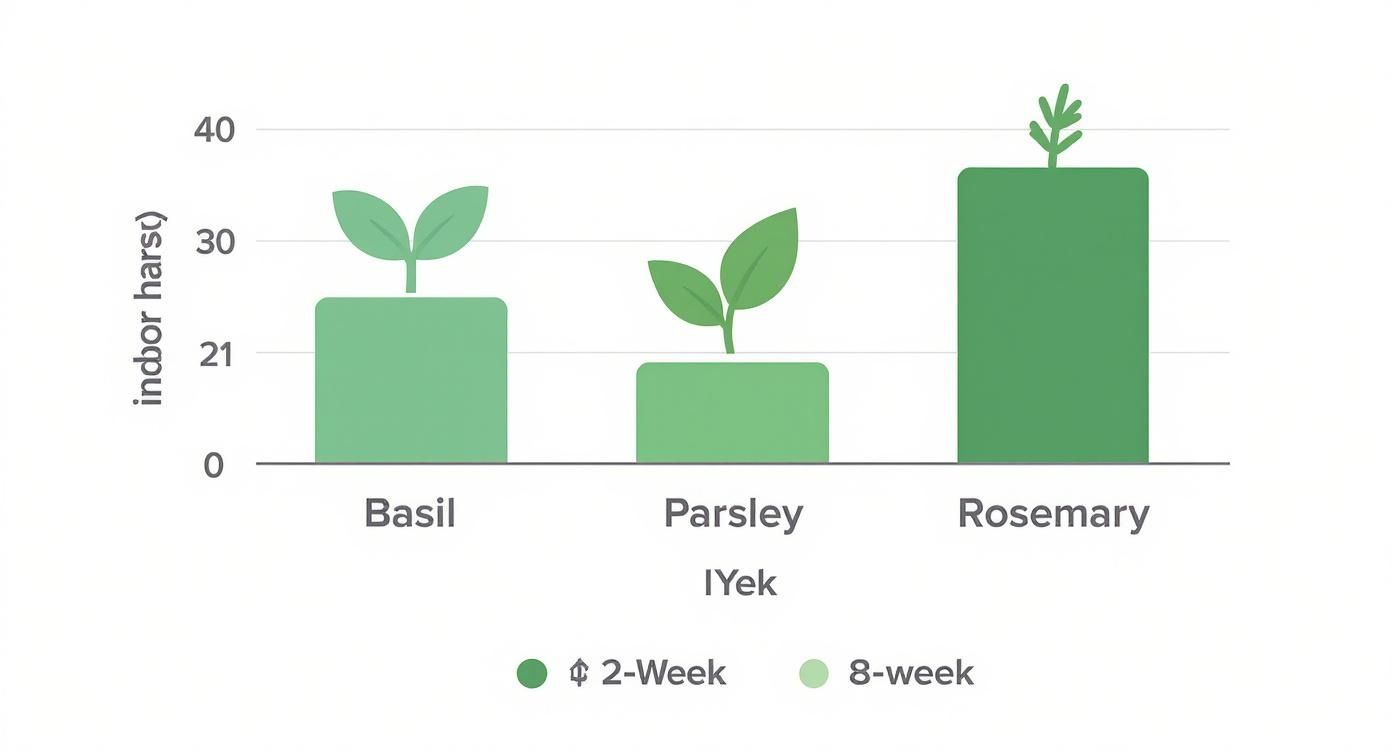
As you can see, you could be enjoying fresh basil in just a few weeks, while an herb like rosemary is more of a long-term project.
Aromatic and Woody Herbs
These perennial herbs bring those robust, earthy flavors to your cooking. They generally take longer to sprout and grow, so they definitely demand more patience during their seedling stage. For more ideas on what to plant, check out our guide on the easiest herbs to grow indoors.
- Thyme: These tiny seeds produce a plant with a powerful, earthy fragrance. Thyme insists on well-draining soil and lots of light. Be very careful not to overwater, as it’s quite susceptible to root rot.
- Sage: Known for its soft, velvety leaves and savory flavor, sage is perfect for fall dishes, poultry, and sausage. It needs strong light and good air circulation to really thrive indoors.
- Rosemary: Okay, I'll admit it—this is the toughest one on the list to start from seed. Germination can be slow and patchy. But successfully growing your own rosemary plant from scratch is one of the most rewarding feelings.
- Lemon Balm: A member of the mint family, this herb smells incredible with its bright, citrusy scent. It's easy to grow and makes a wonderfully calming tea. Just like mint, it’s best to give it its own pot to control its spread.
Herb Seed Germination and Harvest Timelines
To help you plan your indoor garden, here's a quick-reference chart. It gives you a realistic idea of how long you'll wait for sprouts and your first harvest.
| Herb | Germination Time (Days) | Time to First Harvest (Weeks) | Difficulty Level |
|---|---|---|---|
| Basil | 5-10 | 4-6 | Easy |
| Mint | 10-15 | 8-12 | Easy |
| Chives | 10-14 | 8-10 | Easy |
| Cilantro | 7-10 | 4-6 | Easy |
| Parsley | 14-21 | 10-12 | Medium |
| Dill | 7-14 | 6-8 | Medium |
| Oregano | 8-14 | 10-12 | Medium |
| Thyme | 14-28 | 12-16 | Medium |
| Sage | 10-21 | 12-16 | Medium |
| Rosemary | 15-30 | 16-20 | Hard |
| Lemon Balm | 7-14 | 8-10 | Easy |
Remember, these timelines are just estimates. Factors like light, temperature, and soil quality can speed things up or slow them down. Happy growing
Step 2: Set Up Your Indoor Seed Starting Station

Before you even think about sowing a seed, you'll need to set up a dedicated nursery area. This doesn’t need to be fancy or expensive—the real goal is to create a stable, protected environment for your seeds to germinate. I like to think of it as a cozy, all-inclusive resort for my future herb garden. A simple setup on a spare table or a shelf near a window can work perfectly.
If you're tight on space like I am, consider going vertical. Using something like light-duty multi-use trolley racks for plants is a game-changer. It helps you make the most of a small footprint and lets you easily move your seedlings to chase the best light throughout the day.
Choosing Your Seed Containers
The pots you pick will be your seedlings' very first home, and let me tell you, drainage is everything. Soggy roots are the fastest way to kill young herbs before they even have a chance. Luckily, you have a ton of great options.
- Peat Pots or Pellets: These are fantastic because you can plant the entire pot directly into the garden or a larger container later. This seriously cuts down on transplant shock.
- Plastic Seed Trays: A classic for a reason. They're reusable, often come with humidity domes to lock in moisture, and make it simple to water a bunch of seedlings at once.
- Recycled Containers: Don't be afraid to get creative! Yogurt cups, egg cartons, and plastic food containers work great, but you must poke drainage holes in the bottom. This is non-negotiable.
Whatever you choose, make sure it's clean. A quick scrub with soap and water is all it takes to get rid of any lingering bacteria that could harm your delicate sprouts. For a deeper dive, check out our complete guide on creating an indoor seed starting setup.
The Right Soil Makes All The Difference
One of the most common mistakes I see people make when growing herbs from seed indoors is scooping up soil from their backyard. Garden soil is far too heavy, compacts easily in small pots, and can harbor pests or diseases that will decimate your seedlings.
Always, always start with a sterile, lightweight seed-starting mix. This stuff is specifically designed for the job. It’s finely textured, holds moisture without becoming waterlogged, and is free of pathogens. This gives your seeds the clean, airy environment they need to develop strong, healthy roots.
Pro Tip: Want to mix your own? It's easy. A great recipe is one part peat moss (or coco coir), one part perlite (or vermiculite) for aeration, and one part screened compost for a gentle nutrient boost. Mix it all together, and you're good to go.
Creating a Humid Haven
To wake up from dormancy, seeds need two key things: warmth and humidity. You can easily create a mini-greenhouse environment to kickstart the germination process. Just cover your pots or trays with a clear plastic dome or even a loose sheet of plastic wrap.
This simple trick traps moisture and warmth, creating the perfect steamy conditions for sprouting. As soon as you see those first little green shoots pop up, take the cover off. This allows for good air circulation and helps prevent mold from taking hold.
Step 3: Sow Seeds for Successful Germination
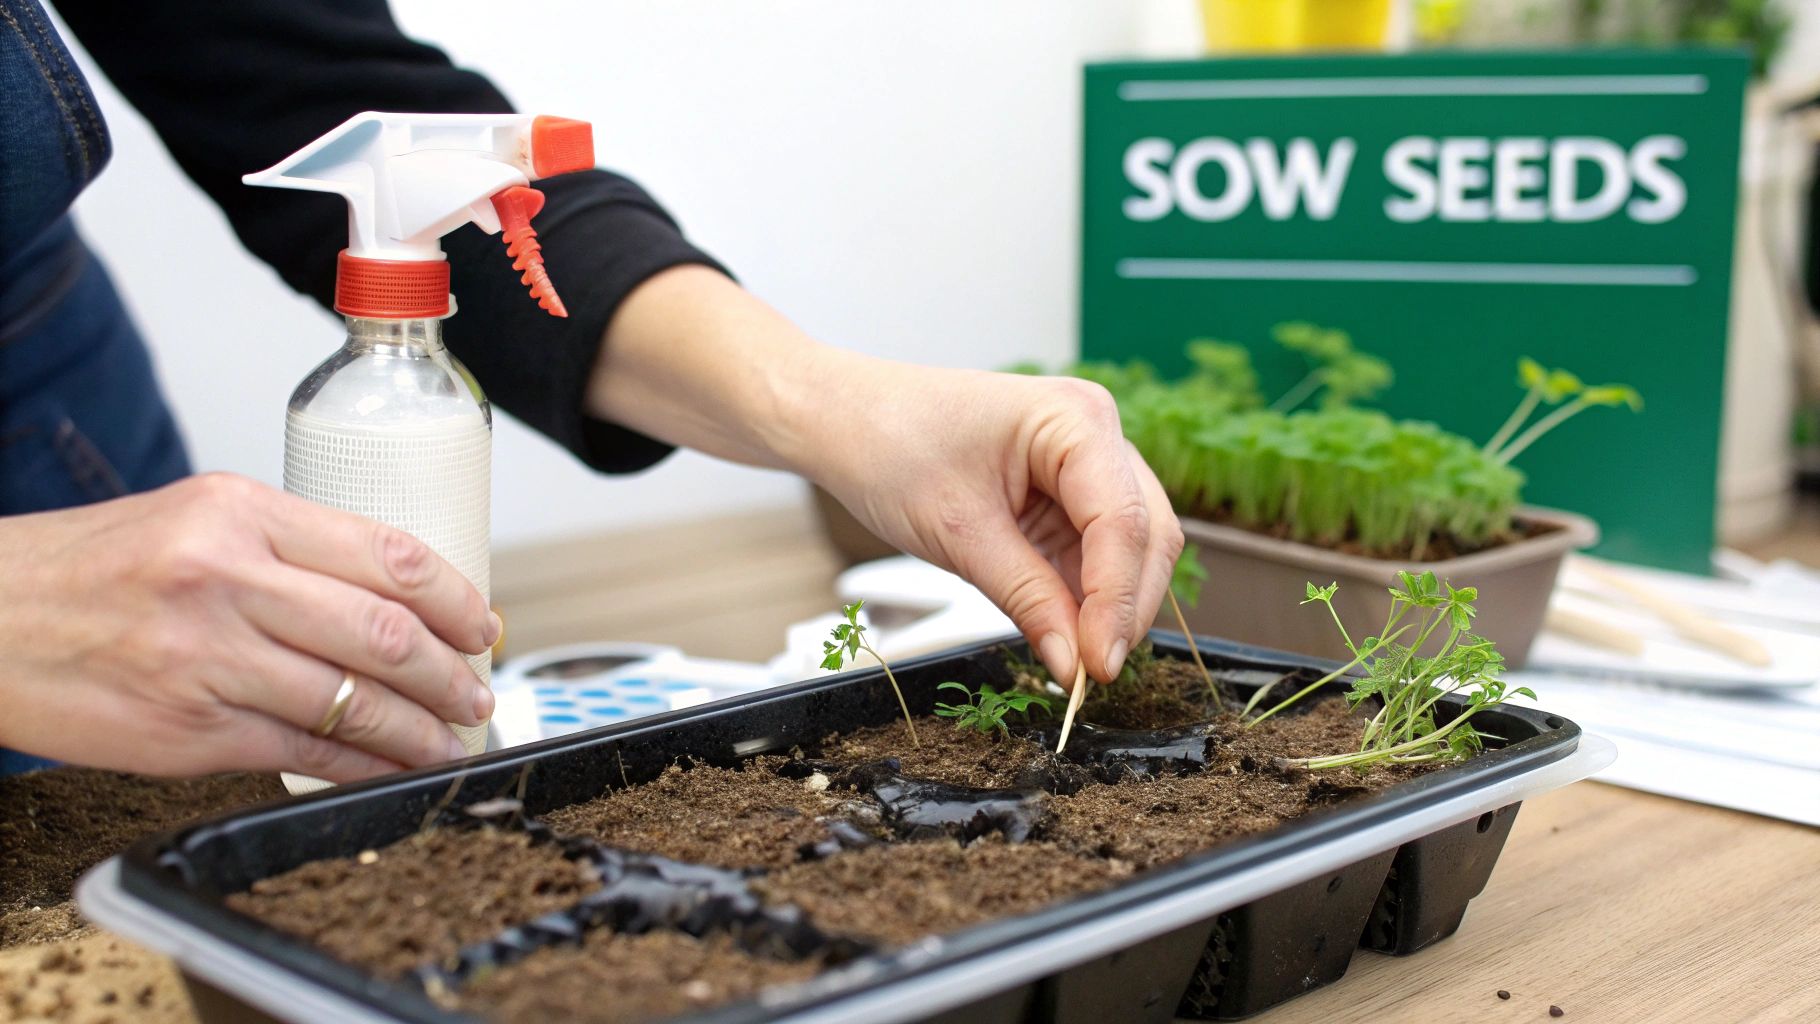
Alright, this is where the fun really starts. With your station prepped and your soil ready, it's time to get those seeds into their new home and coax them to life. The whole idea here is to create a perfect little environment that tells the seed it's safe to sprout.
One of the best habits I ever learned was to moisten the seed-starting mix before putting it in the pots. I just dump the mix into a bucket, add water a little at a time, and mix it with my hands until it has the consistency of a wrung-out sponge. This makes a huge difference, ensuring the soil is evenly damp without the risk of washing away your seeds with that first watering.
After filling your pots or trays with this pre-moistened mix, you can finally get to sowing. Pay close attention here, because how deep you plant is a game-changer.
Getting Planting Depth Just Right
A good rule of thumb that's served me well for years is to plant a seed about twice as deep as it is wide. For most herb seeds, that’s barely anything! If you’re working with minuscule seeds like oregano or chamomile, just gently press them onto the surface and sprinkle the finest layer of soil over them.
Planting too deep is one of the most common mistakes people make when growing herbs from seed indoors. A tiny seedling only has a finite amount of energy to push its way up toward the light. If you bury it too deep, it'll run out of gas before it even sees the sun.
To hedge your bets, I always recommend planting two to three seeds in each cell or small pot. It’s good insurance in case one is a dud. We’ll talk about how to deal with the extra seedlings a bit later.
A quick but crucial tip: label everything immediately. Grab a popsicle stick or a plant tag and write down the herb's name and the date you sowed it. Take it from me, in a couple of weeks, you will have absolutely no idea what you planted where.
Creating the Perfect Environment for Germination
Once your seeds are sown and everything is labeled, your job shifts to providing the right conditions and having a little patience. At this stage, seeds are looking for two main things: consistent moisture and warmth.
- Keep It Moist: The soil needs to stay consistently damp but never waterlogged. A spray bottle is your best friend here—misting gently keeps the surface moist without dislodging the seeds.
- Bring the Heat: Most common herbs germinate best when the soil temperature is between 65°F and 75°F (18-24°C). An easy way to achieve this is by placing the trays on top of your refrigerator or investing in a seedling heat mat, which can really speed things up.
If you want to get specific, especially for fussier herbs like lavender or rosemary, it’s worth checking out a detailed seed germination temperature chart. It can help you dial in the exact conditions for better success.
The moment you see those first little green sprouts breaking through the soil is a huge milestone! It's your cue to remove any plastic dome or covering you were using. This gets the air moving and helps prevent a common seedling killer called "damping-off," a fungal disease that thrives in stagnant, overly wet conditions. Now, your focus shifts from warmth to light.
Step 4: Give Your Seedlings the Right Light and Water
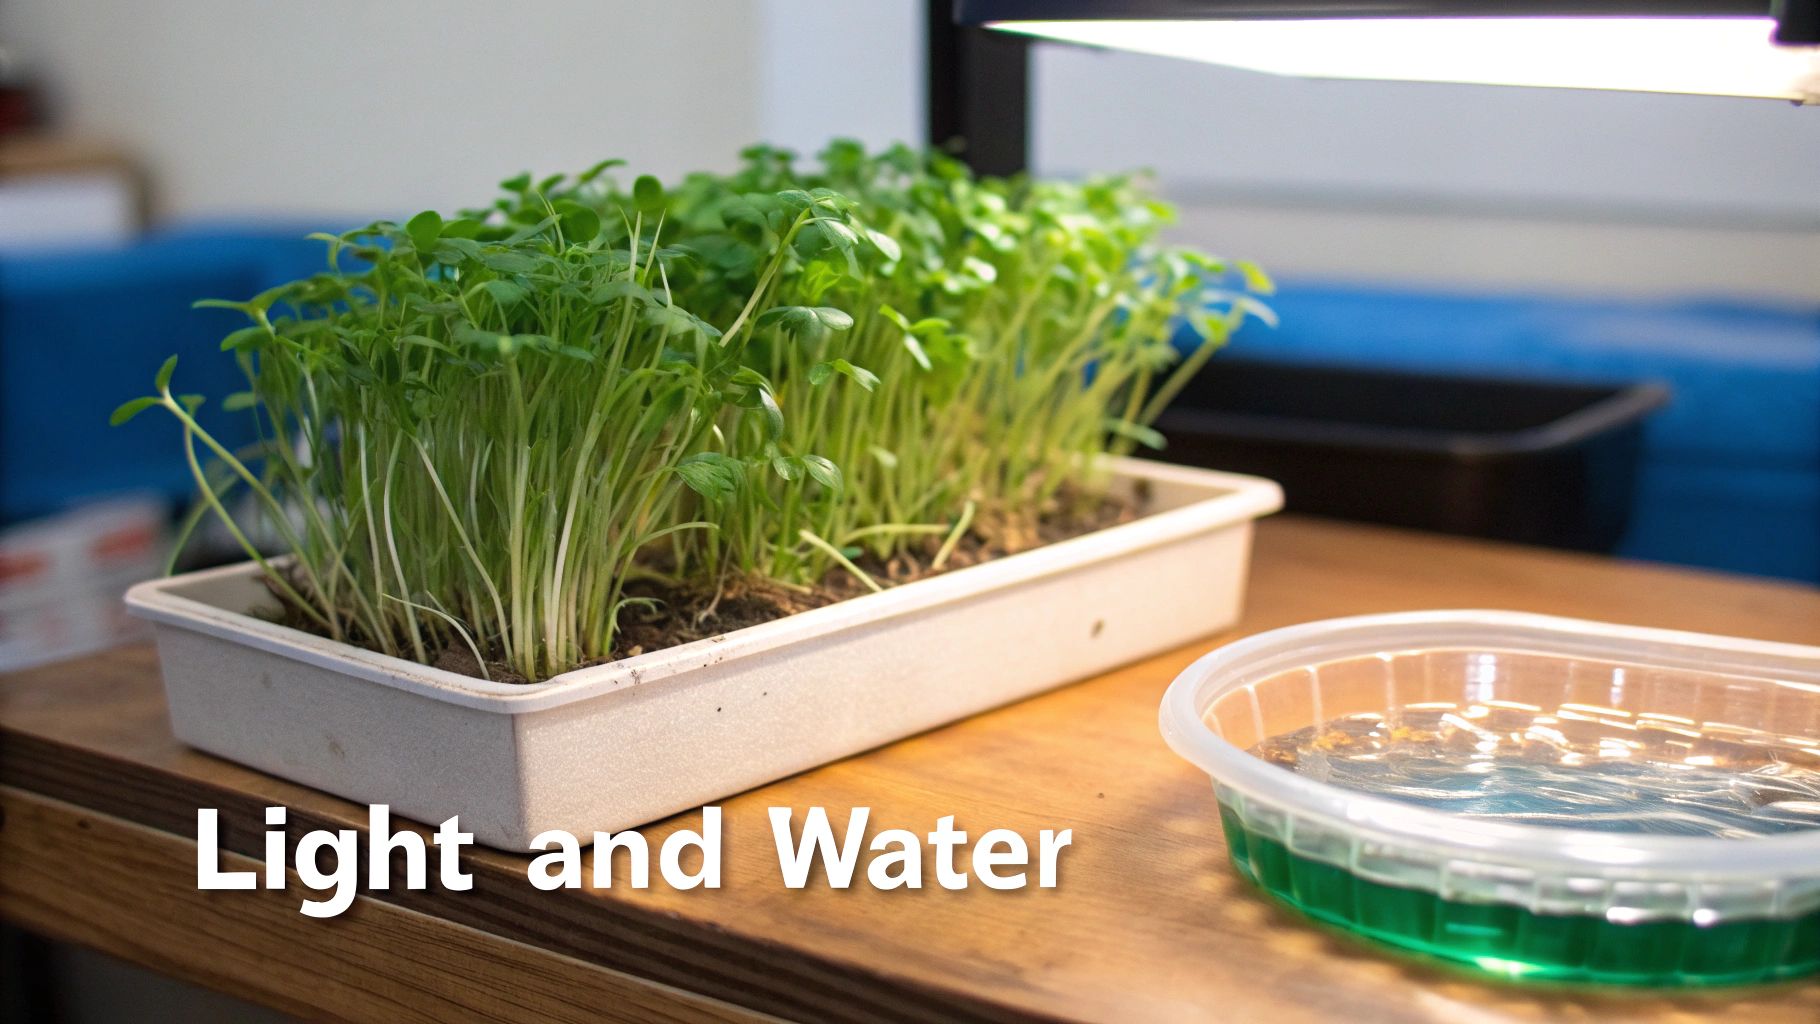
Alright, your seeds have sprouted! This is where the real fun begins. From this point forward, your main job is to master the delicate dance of light and water. Getting this balance right is truly the secret to growing herbs from seed indoors successfully.
Many first-timers think a sunny windowsill is all they need, but that’s a common pitfall, especially during the shorter days of winter. If you see your seedlings getting tall and skinny with pale leaves, that’s a classic sign of "legginess." They're desperately stretching for more light, which creates weak, fragile stems that often can't support the plant as it grows.
Getting the Lighting Just Right
The best way to grow strong, compact seedlings and avoid that dreaded legginess is to use a grow light. You don’t need a fancy, expensive setup—a simple full-spectrum LED light will make a world of difference for your tiny herbs.
Position your light just two to three inches above the tops of your seedlings. This close range provides the intensity they need without the risk of scorching them. As your plants get taller, you'll need to adjust the light's height to maintain that sweet spot.
Herbs, even as babies, are light-hungry plants. Here’s a good routine to follow:
- Duration: Give them 12 to 16 hours of light every single day.
- Consistency: I highly recommend using a basic outlet timer. It automates the schedule and ensures your seedlings get what they need, even when you’re busy.
- Rest Period: Plants need their beauty sleep, too. Make sure they get at least 8 hours of darkness to properly develop.
Don't forget about natural light, either. Knowing when to use light filtering or blackout shades can help you control the environment and protect young plants from intense, direct sun. It's no wonder the smart indoor garden market, valued at USD 151 million and growing, is booming—automated lighting makes this whole process so much easier.
Mastering the Art of Watering
If there's one mistake that dooms more seedlings than any other, it's overwatering. Their delicate little root systems are incredibly prone to rot if the soil is constantly waterlogged. A great way to avoid this is to switch from watering overhead to bottom-watering.
It’s easy. Just set your pots or seed trays in a larger, shallow tray filled with an inch or two of water. Let them sit for 15-30 minutes. The soil will soak up just the right amount of moisture through the drainage holes. This also encourages the roots to grow downward, building a much stronger foundation.
So, how do you know when it's time to water? I always rely on the good old "knuckle test." Gently stick your finger about an inch into the soil. If it feels dry, it's time for a drink. If you feel any dampness at all, wait another day. This simple trick takes all the guesswork out of it.
Step 5: Transplant and Care for Young Plants
Your seedlings have made it through the most delicate stage and are starting to look like real plants. Now it's time to guide them into young adulthood. This next phase is all about giving them the space and nutrients they need to grow into the lush, productive herbs you've been picturing.
Time to Thin the Herd
The first step can feel a little brutal, but it's one of the most important parts of growing herbs from seed indoors: thinning. You probably planted two or three seeds in each little pot or cell, and now you have to play favorites. It’s time to choose the strongest-looking seedling and get rid of its competition.
Don't just yank the weaker ones out, though. Pulling them can damage the fragile roots of the seedling you want to keep. The best approach is to take a small pair of scissors and simply snip the unwanted seedlings right at the soil line. This leaves the "winner" with all the space, light, and nutrients to itself.
When Is It Time for a Bigger Pot?
So, how do you know when your seedling is ready to move out of its starter home? Look for its "true leaves."
The very first pair of leaves that pop up are called cotyledons—they are part of the seed's embryo and look pretty generic. The next set of leaves that grow will actually look like tiny versions of the adult herb's leaves. Those are the true leaves, and they're your signal.
Once a seedling has at least two sets of these true leaves, its root system is developed enough to handle being transplanted. It’s ready for a pot that will likely be its final home on your windowsill.
Pro Tip: When you move the seedling, handle it by its leaves or the root ball—never by the stem. The stem is incredibly fragile and can easily be crushed, which is a death sentence for a young plant.
To get it out, gently squeeze the sides of the starter cell to loosen the soil. Then, carefully lift the entire plug of soil and roots out. Pop it into its new pot, which should be filled with a good quality potting mix (it's time to graduate from the seed-starting mix), and fill in the gaps around the sides. A gentle watering will help the roots settle in.
Feeding Your Young Herbs (and Other Options)
About two weeks after you've transplanted it, your little herb will have used up most of the nutrients that were in its new soil. This is the perfect time to start a feeding routine.
Grab an all-purpose liquid fertilizer, but don't go full-strength just yet. Dilute it to half the strength recommended on the bottle. Feed your herbs with this mixture every two to three weeks to give them a steady, gentle supply of food.
If you're looking for a faster, more high-tech route, you might consider a home hydroponics system. It's a popular method for a reason. Herbs grown hydroponically can mature up to 30% faster than those grown in soil and use a staggering 90% less water. It’s an incredibly efficient way to get a big harvest. You can learn more about this growing market on MarketsandMarkets.com.
Step 6: Troubleshoot Your Indoor Herb Garden
Even the most seasoned gardeners run into a few hiccups along the way. When you're growing herbs from seed, a few common questions tend to pop up. Let's get them sorted out.
Why Are My Seedlings So Tall and Skinny?
Ah, the classic case of "leggy" seedlings. If you see your baby herbs looking long, pale, and stretched out, they're practically screaming for more light. This legginess happens when they desperately reach for a light source, which results in weak, spindly stems that can easily snap.
The fix is usually simple: lower your grow light so it's just a few inches above the tops of your seedlings. You also need to make sure they're getting a solid 12 to 16 hours of light every single day. This encourages them to grow stout and strong, not tall and flimsy.
Can I Just Use Soil From My Garden?
I know it's tempting to scoop up some dirt from the backyard, but trust me on this one—don't do it. Garden soil is far too heavy and dense for tiny, delicate roots to push through.
Worse yet, it's often a hiding place for pests, fungal diseases, and a whole bunch of weed seeds you definitely don't want sprouting in your pots. Stick with a sterile, lightweight seed-starting mix. It gives your seeds the clean, airy, and safe environment they need to get off to a great start.
Step 7: Harvest and Enjoy Your Fresh Herbs
Congratulations! You've successfully nurtured your plants from tiny seeds into productive herbs. Now for the best part: harvesting. Regular trimming doesn't just give you ingredients for your meals; it also encourages your plants to become bushier and produce even more leaves. Start harvesting once your plant is well-established, usually around 6-8 weeks old. Use clean scissors or your fingertips to snip off what you need, but never take more than one-third of the plant at a time. This ensures it has enough foliage left to keep growing strong.
At Homegrown Garden, we're passionate about setting you up for success with high-quality heirloom seeds and all the know-how you need. Check out our curated herb kits and start your own thriving indoor garden at https://www.homegrown-garden.com.
Ready to start your own kitchen garden? Our Indoor Herb Garden Starter Kit (5 varieties) gives you seeds and everything you need to grow herbs from seed on the windowsill.

