


Ready to bring the joy of a fresh herb garden indoors? Growing your own herbs from seed is one of the most satisfying things you can do, and it's much easier than you might think. It really boils down to four key things: picking the right seeds, giving them a good home in the right soil, making sure they get enough light and water, and knowing when to move them to a bigger pot.
I'll walk you through exactly how I do it, so you can have fresh flavors at your fingertips, right on your windowsill.
7 Easy Herbs to Kickstart Your Indoor Garden
There's something special about snipping fresh basil for a pasta sauce or grabbing a few sprigs of mint for your evening tea, all without leaving your kitchen. It’s not just a hobby; it’s a simple way to bring fresh, sustainable ingredients into your home. This is more than just a passing trend.
The global indoor plants market, which includes herbs, was valued at a massive USD 20.68 billion in 2024 and is on track to hit USD 30.25 billion by 2032. This tells us that people everywhere are embracing the benefits of having plants at home. If you're curious, you can explore more about these global plant trends and see how home cultivation is becoming a bigger part of our lives.
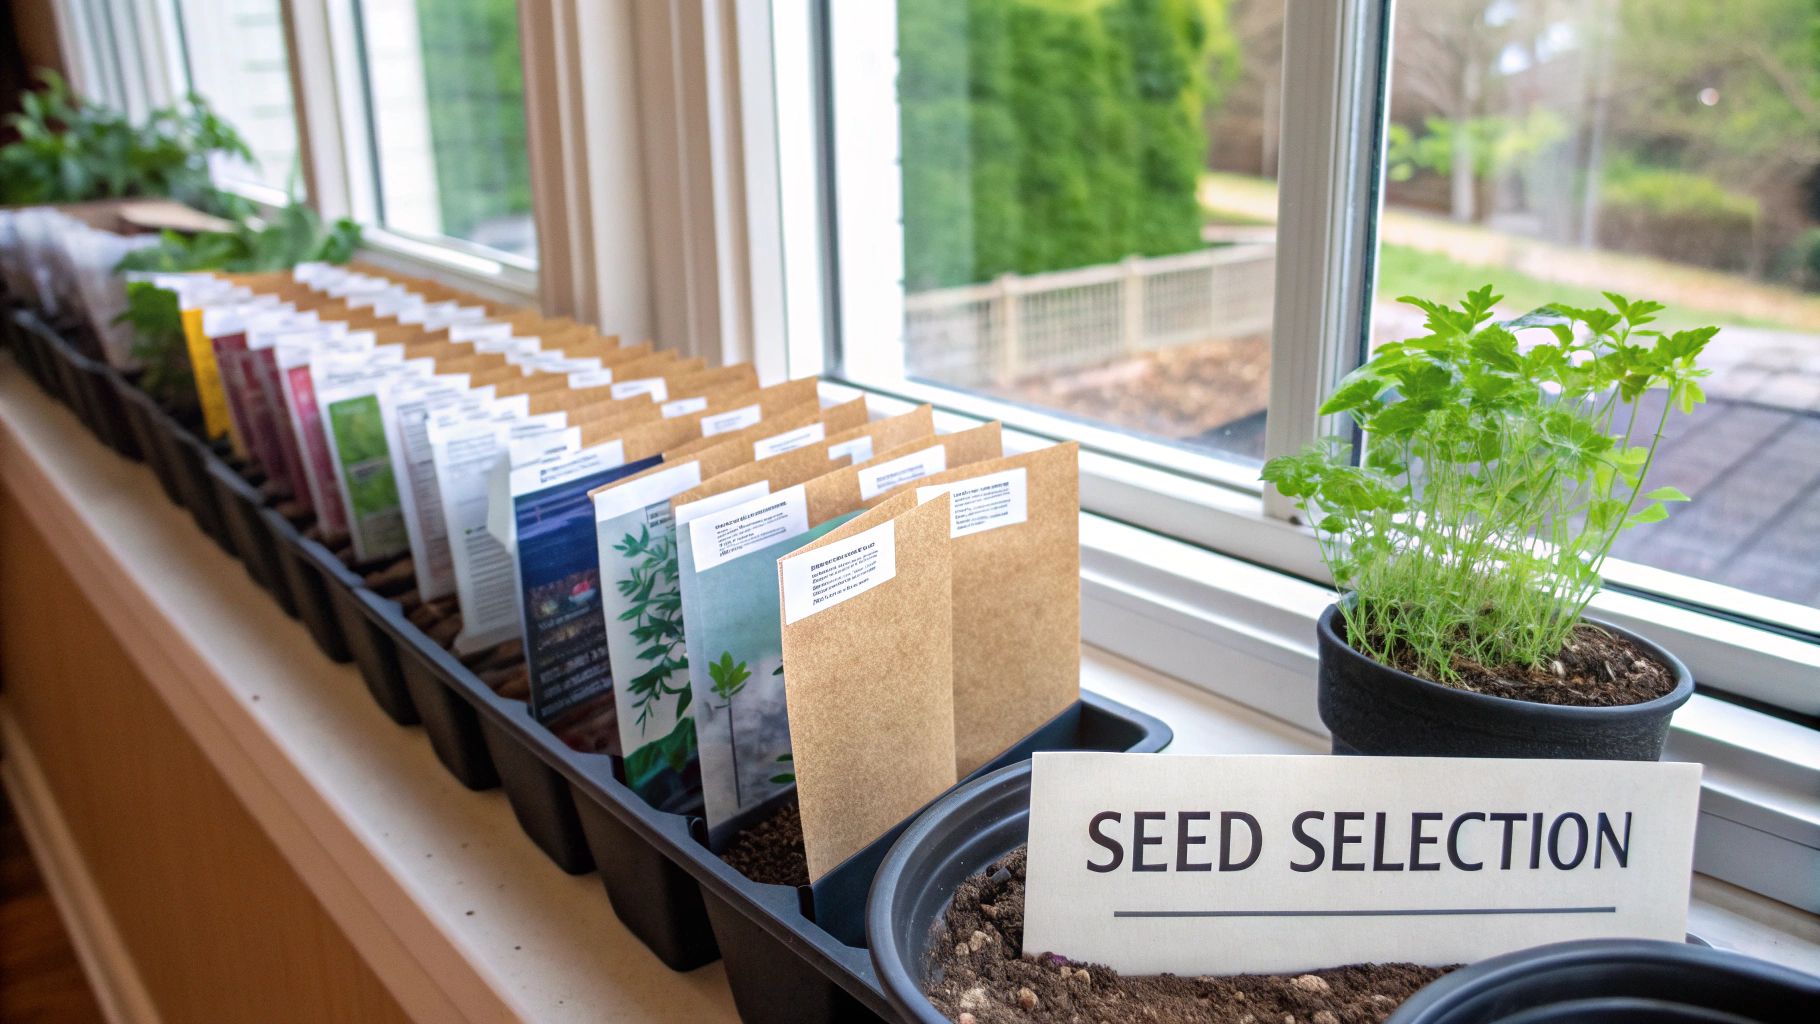
Choosing Your First Herbs
The real secret to getting started successfully is to pick herbs that are forgiving and don't mind living indoors. Some varieties can be a real headache to start from seed, but others practically jump out of the soil. When you start with the easy ones, you build confidence and get a taste of success, which makes you want to keep going.
I've seen it time and again: new gardeners get frustrated because they start with something too challenging. Nail the easy stuff first—like basil or chives—and you'll build the momentum to experiment with trickier herbs down the road.
To get you started, I’ve put together a quick guide to some of the easiest and most popular herbs you can grow inside.
Top 7 Easiest Herbs to Grow Indoors from Seed
This table breaks down my top picks for beginners. I've included how long they typically take to sprout (germinate), how much light they need, and some of my favorite ways to use them in the kitchen.
| Herb | Difficulty | Germination Time | Light Needs | Best For |
|---|---|---|---|---|
| Basil | Easy | 5-10 days | 6-8 hours/day | Pesto, pasta sauces, salads |
| Mint | Easy | 10-15 days | 4-6 hours/day | Teas, cocktails, desserts |
| Chives | Easy | 7-14 days | 6-8 hours/day | Garnishes, eggs, potatoes |
| Parsley | Easy | 14-21 days | 6-8 hours/day | Sauces, salads, garnishes |
| Oregano | Moderate | 8-14 days | 6-8 hours/day | Pizza, pasta, Greek dishes |
| Cilantro | Moderate | 7-10 days | 6-8 hours/day | Salsa, tacos, curries |
| Thyme | Moderate | 14-28 days | 6-8 hours/day | Soups, roasts, marinades |
Looking at this list, you can see that even the "moderate" herbs are completely doable. The main difference is usually a slightly longer germination time. Don't let that discourage you; a little patience is all it takes! Pick a couple that you know you'll use, and let's get planting.
4 Essential Items for Your Seed Starting Kit
Before you can get your hands dirty and start sowing seeds, you'll want to gather a few key supplies. Think of it as your pre-flight check. Getting everything organized beforehand makes the whole process a lot more fun and sets your future seedlings up for success.
You don't need a full-blown commercial greenhouse setup, but these 4 items are absolutely essential for coaxing those little seeds into vibrant, healthy herbs.
-
Seed-Starting Mix and Containers: The first and most important choice you'll make is the soil. It's so easy to just scoop up some soil from the garden or use a regular bag of potting mix, but trust me, that's a classic rookie mistake. Those soils are far too dense for tiny roots. What you really want is a proper seed-starting mix. It’s light, fluffy, and sterile, which is crucial for preventing nasty fungal diseases. This airy texture gives new roots the space they need to grow strong. If you want a deeper dive, we have more tips for starting seeds indoors that get into the nitty-gritty of soil prep. For containers, you can use seed trays, biodegradable peat pots, or DIY solutions like yogurt cups (just poke drainage holes in the bottom!).
-
Watering Can or Spray Bottle: A small watering can with a gentle "rose" sprinkler head or even a basic spray bottle is ideal. This lets you water the soil thoroughly without washing your tiny seeds away. Bottom-watering trays are also an excellent option.
-
Plant Labels: Don't forget plant labels! It seems like a small detail, but you'll thank yourself later when you're staring at a dozen identical green sprouts and can't remember which one is the parsley and which is the cilantro. A popsicle stick and a sharpie do the job perfectly.
-
Seedling Heat Mat (Optional but Recommended): For a little extra insurance, especially with heat-loving herbs like basil, a seedling heat mat can make a huge difference. It provides gentle warmth from underneath the tray, which can dramatically speed up germination, sometimes cutting the wait time in half.
I can't stress this enough: drainage is everything. If water has nowhere to go, you'll end up with soggy soil and root rot, which is a death sentence for any young seedling.
While this hands-on approach is incredibly rewarding, it's interesting to see how technology is making indoor gardening even easier. The smart indoor garden market was valued at about USD 151 million in 2024 and is expected to more than double by 2034. These all-in-one systems handle the lighting and watering for you, which is a fantastic option for busy people.
Sowing Your Herb Seeds: A 3-Step Guide for Perfect Germination
This is where the real fun begins—turning a handful of tiny seeds into a future harvest. Getting your seeds sown correctly is the foundation for everything else. It really comes down to these 3 simple but critical techniques that give your herbs the best possible start.
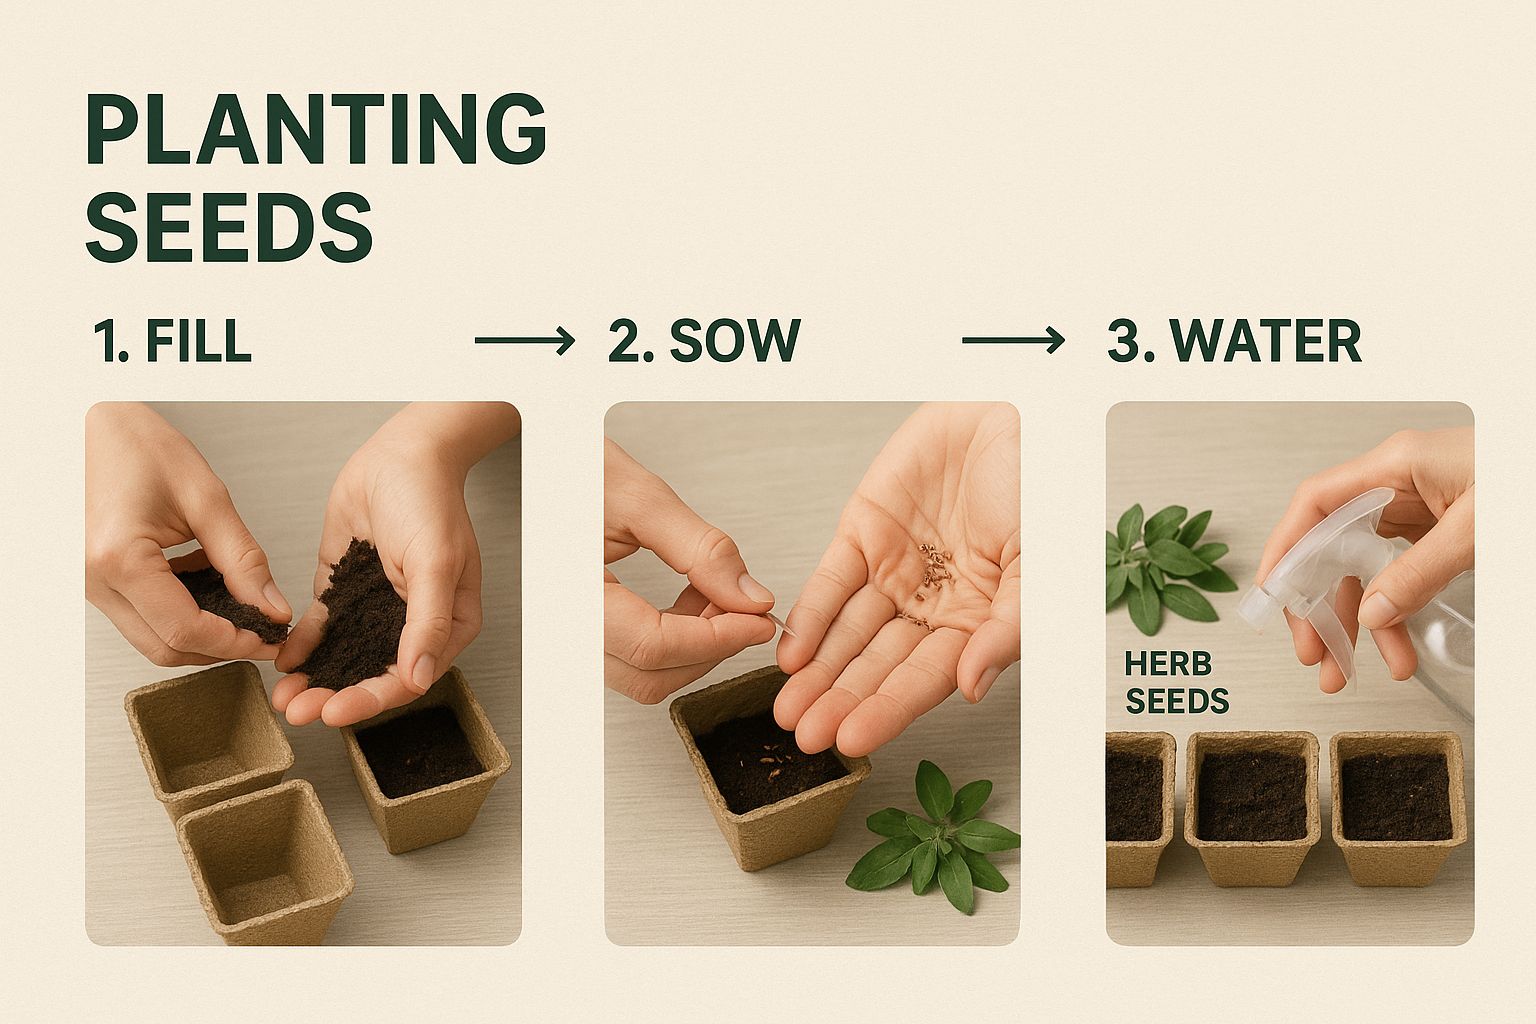
Step 1: Pre-Moisten Your Soil
First things first, let's get that growing medium ready. You're aiming for a mix that's consistently moist but definitely not soaking wet. The best analogy I've heard is a well-wrung-out sponge. To get there, dump your dry seed-starting mix into a bucket or a large bowl. Slowly pour in some warm water and mix it all together with your hands. Keep adding a little water at a time until the mix clumps together when you squeeze it, but doesn't drip more than a drop or two. Taking the time to pre-moisten is a total game-changer; it guarantees every single seed is nestled in moisture.
Step 2: Plant Seeds with a Gentle Touch
One of the most common mistakes I see is planting seeds too deep. A good rule of thumb is to plant a seed only about twice as deep as its diameter. For really tiny seeds like oregano or mint, this means they barely need any covering at all.
- Tiny Seeds (Oregano, Mint): These need light to germinate, so just sprinkle them on the surface and press down gently to ensure good contact with the soil.
- Medium Seeds (Basil, Parsley): Aim for about 1/8 inch deep. Use a pencil tip to make a tiny indent, drop in a seed or two, and lightly dust some mix over the top.
- Large Seeds (Cilantro, Dill): These can go a bit deeper, around 1/4 inch. Making a small hole with your finger or a dibber works perfectly.
Step 3: Cover and Wait
After placing your seeds, gently press down on the soil surface one last time. This simple action gets rid of any air pockets and creates that all-important seed-to-soil contact. It’s this connection that allows the seed to draw up the moisture it needs to start growing. Once sown, cover your seed tray with its clear plastic humidity dome or even just a sheet of plastic wrap. This creates a mini-greenhouse, locking in the warmth and humidity. Find a warm spot for the tray—it doesn't need sun just yet. On top of the refrigerator or on a seedling heat mat are both great options.
Getting Light and Water Just Right: A 2-Part System
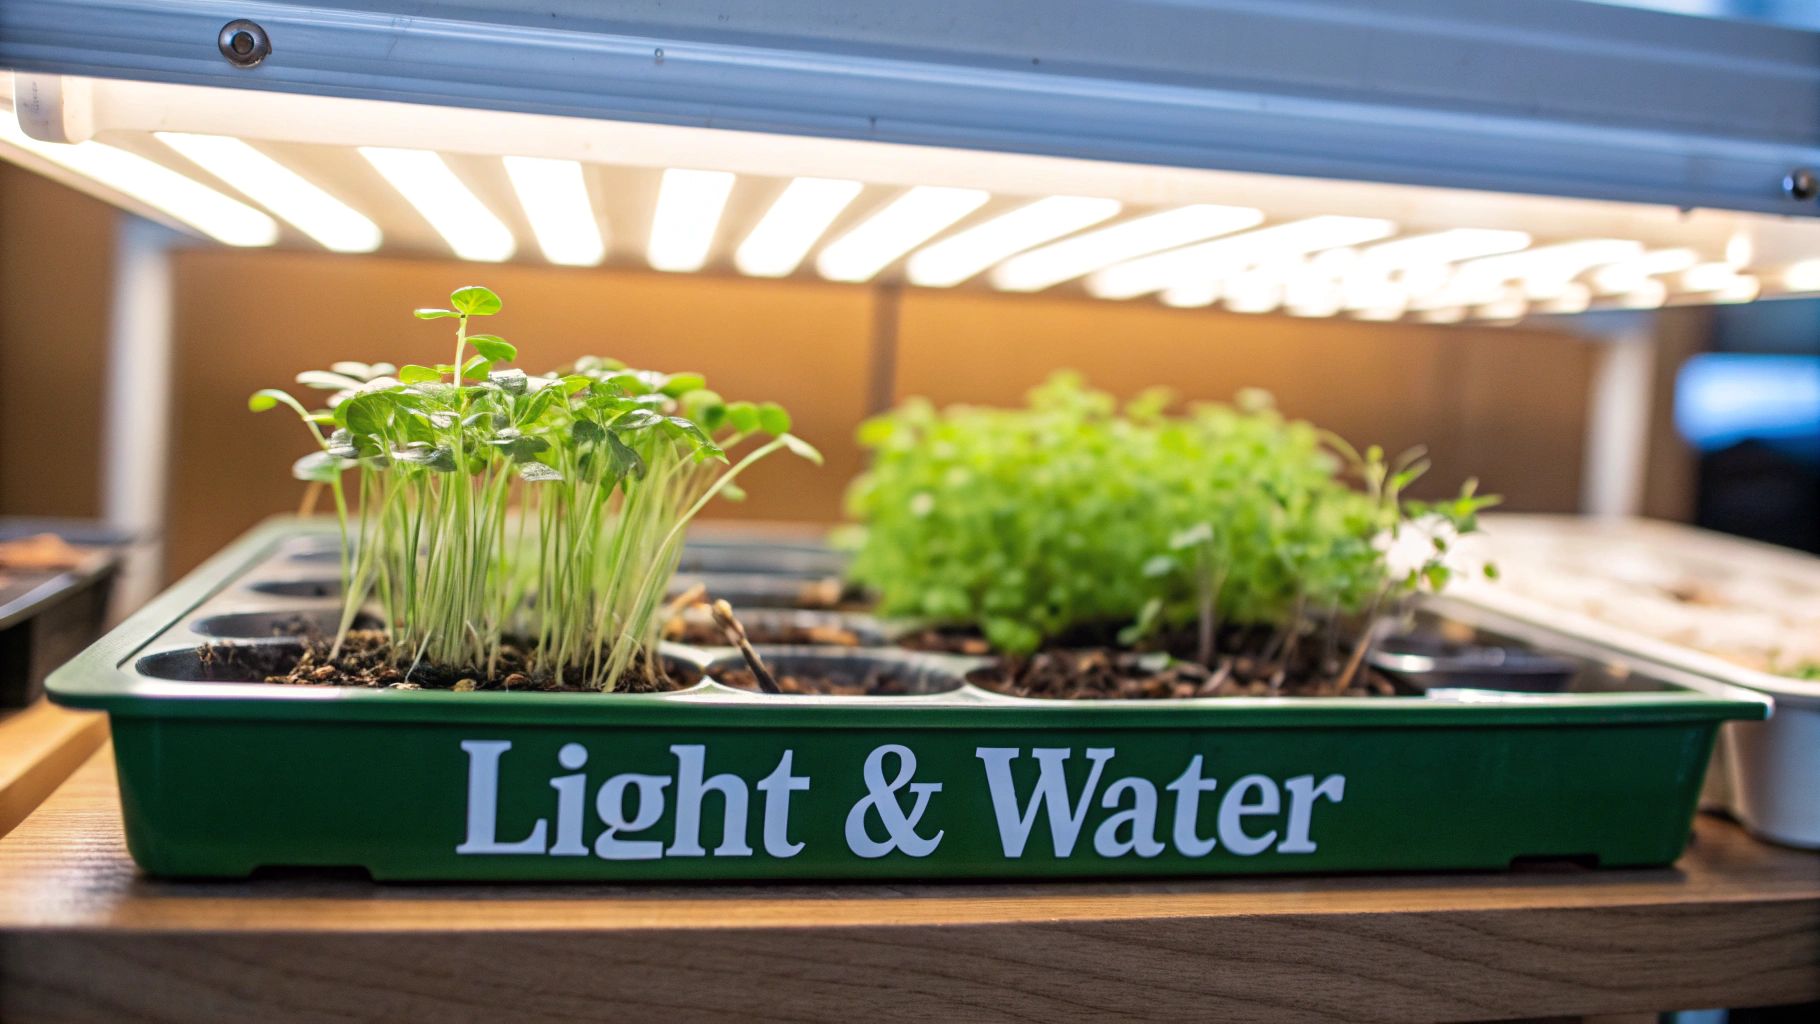
Alright, you’ve got sprouts! Seeing those first little green shoots poke through the soil is always a thrill. At this stage, it all comes down to two things: light and water. Getting this balance right is what separates lush, bushy herbs from weak, spindly ones. A lot of people think a sunny windowsill will do the trick, but that's rarely enough. Indoor sunlight is surprisingly weak and causes seedlings to stretch and strain, a condition we call getting "leggy."
Part 1: Give Them the Light They Crave
To avoid leggy seedlings and promote sturdy, compact growth, consistent overhead light is a must. This is where a simple grow light setup becomes your best friend. A basic full-spectrum LED light will work wonders.
Hang the light just a few inches above your seedlings. A good way to check is to put the back of your hand under the light at the same height as your plants. If you can feel any significant warmth, it's too close.
- How Long: I give my seedlings 14-16 hours of light every single day.
- Time to Rest: Just as important, they need 8-10 hours of total darkness to process all that energy.
- Set It and Forget It: I can't recommend an outlet timer enough. They're cheap, easy to set up, and guarantee your plants get a consistent day/night cycle.
Expert Tip: Don't forget to adjust your light as the seedlings grow! You'll want to keep that sweet spot of 2-3 inches between the top of the plants and the light fixture.
Part 2: Master the Gentle Art of Watering Seedlings
Overwatering is probably the fastest way to kill seedlings. Their tiny roots are extremely vulnerable to root rot if they sit in soggy soil. The goal is to keep the soil consistently moist, but never, ever waterlogged. Ditch the watering can for now and bottom water instead.
Here’s my simple process:
- Set your seed tray or small pots inside a larger, waterproof basin.
- Pour about an inch of room-temperature water into the outer basin.
- Let the trays sit and soak. The dry soil will pull the water up through the drainage holes (10-30 minutes).
- As soon as you see the surface of the soil is damp, take the pots out and let any excess drain away.
This method does more than just prevent overwatering; it actively encourages the roots to grow downward and deep as they seek out moisture, creating a much stronger root system.
Starting herbs from seed is a small part of a huge movement. The global indoor farming market was valued at USD 22.3 billion in 2024 and is expected to explode to USD 47.2 billion by 2033. This growth is all about new technologies making it easier for everyone to grow their own food right at home. If you're curious about the bigger picture, you can learn more about the indoor farming market and the innovations shaping our food's future.
Transplanting and Harvesting: A 2-Phase Guide to Success
You’ve done the hard part. Your tiny seedlings have pushed through the soil, and you've kept them happy with just the right amount of light and water. Now for the exciting part: moving them to bigger pots and enjoying your very first harvest. This is where your fragile sprouts start to look like the lush, delicious herbs you've been waiting for.
The secret to a smooth transition is timing. It’s not about how tall they are; it's all about their leaves and roots.
Phase 1: Transplanting Based on 5 Key Signs
Knowing when to transplant is one of the most crucial skills you'll develop. Move them too soon, and their root systems are too delicate to handle the shock. Wait too long, and they’ll get root-bound, which stunts their growth. Keep an eye out for these five tell-tale signs.
- They Have "True Leaves": Wait for the second set of leaves to appear. These are the "true leaves," and they'll look like tiny versions of the mature herb's leaves. Once your seedling has at least two sets of these, it’s ready.
- They're a Decent Size: As a rule of thumb, most herbs like basil or parsley are ready when they're about 2-3 inches tall.
- Roots Are Peeking Out: If you see fine, white roots poking through the drainage holes, that's a crystal-clear sign they're out of room.
- The Seedling Looks Sturdy: A healthy seedling ready for a new home will have a thick, confident stem.
- Growth Has Slowed Down: If a seedling that was growing like a weed suddenly hits a plateau, it's probably "pot-bound."
Choose pots that are roughly 2-4 inches in diameter. Fill the new pots with a quality potting mix, make a well in the center, and gently transfer the seedling, supporting it by its root ball—never by its delicate stem. Water well to help it settle in.
Phase 2: Harvesting with the "Cut and Come Again" Method
After your herbs are settled in their new pots and have put on a few more sets of leaves, you can finally start harvesting! The best approach for this is a technique called "cut and come again."
Instead of just plucking off individual leaves, grab a pair of clean scissors and snip off the top third of the main stem, cutting just above a leaf node (the spot where leaves grow out of the stem). This regular pruning is precisely what signals the plant to become bushier and more productive. It encourages new side shoots to grow from that cutting point, which means more delicious herbs for you to enjoy for months.
3 Common Problems When Growing Herbs Indoors (and How to Fix Them)
Even the most seasoned gardeners run into a few hiccups. It's just part of the process! When you're coaxing tiny seeds into fragrant, delicious herbs on your countertop, questions are bound to come up. Let's walk through 3 of the most common issues I see and how to fix them.
1. Why Are My Seedlings So Tall and Skinny?
Ah, the classic "leggy" seedling problem. This is hands-down the most frequent question I get. Your seedlings shoot up fast, but they look pale, thin, and wobbly. This is a desperate cry for more light. A sunny windowsill rarely provides the intense, direct light that young plants crave.
The fix? Get a grow light. Seriously, it's a game-changer. Position the light just a few inches above your seedlings and keep it on for 14-16 hours a day. This consistent, overhead light encourages your plants to grow stout and strong, not tall and flimsy.
I always tell people to think of it like a workout. Weak, one-sided light is like a half-hearted stretch. A strong, direct grow light is like a full-body workout that builds a sturdy "core" (the stem) to support lush, healthy leaves.
2. What's This White Fuzzy Mold on My Soil?
Spotting a patch of white fuzz on your soil can be alarming, but it's usually a harmless saprophytic fungus that pops up in damp, stagnant conditions. While it won't kill your seedlings directly, it's a big, fuzzy sign that you need to tweak your setup.
- Boost Airflow: That humidity dome is great for germination, but now it's time to take it off for a few hours each day. A small, oscillating fan on its lowest setting also works wonders.
- Ease Up on Watering: You're probably keeping the soil a bit too soggy. Let the top surface of the mix dry out just a touch between waterings. Bottom watering helps keep the top layer drier.
- Add Some Cinnamon: A light sprinkle of ground cinnamon over the soil acts as a natural fungicide.
3. When Should I Start Fertilizing My Seedlings?
Patience is key here. A common rookie mistake is to fertilize way too soon. The seed itself packs all the nutrition a new sprout needs to germinate and push out its very first "seed leaves." Fertilizing at this stage can burn the delicate, brand-new roots.
Wait until you see the first set of "true leaves." These are the second set of leaves that appear, and they'll look like miniature versions of the adult herb's leaves. This is your green light to start feeding. Begin with a balanced liquid fertilizer, but dilute it to one-quarter or half-strength to start. A little feeding like this about once every two weeks gives your herbs the building blocks they need. If you're wondering which herbs are best for starting out, our guide on the easiest herbs to grow indoors is the perfect place to begin.
At Homegrown Garden, we believe everyone can enjoy the satisfaction of growing their own food. Explore our collection of heirloom herb seeds, starter kits, and all the supplies you need to begin your indoor gardening journey today at https://www.homegrown-garden.com.


