

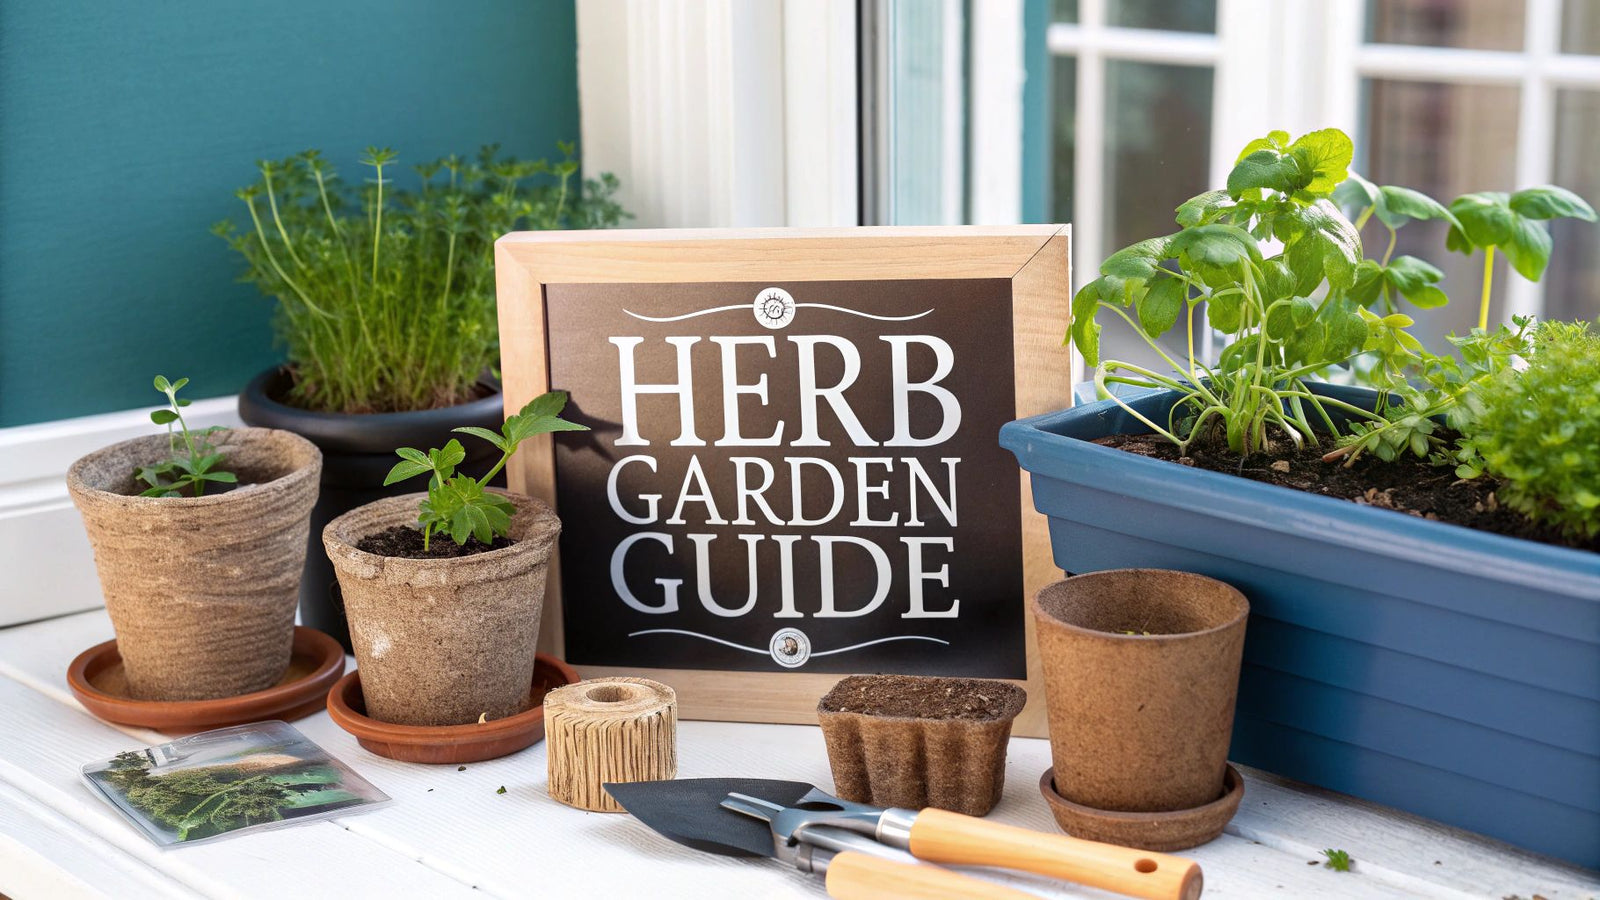

Starting an herb garden is one of the most rewarding things you can do, and it's much easier than you might think. Honestly, it all boils down to four simple things: picking the right herbs, finding a sunny spot, using the right container, and not killing them with kindness. If you can nail those basics, you'll be snipping fresh flavors for your kitchen before you know it.
Your First Steps to a Thriving Herb Garden
There’s something incredibly satisfying about stepping outside to grab a handful of fresh basil for your pasta sauce or mint for your tea. It’s a direct connection to your food that you just can't get from a plastic clamshell at the grocery store. Plus, it's the perfect gateway into gardening. Most herbs are surprisingly tough, don't demand a huge amount of space, and give you quick results. You don't need a massive yard—a sunny balcony, a small patio, or even a bright kitchen window can be transformed into a fragrant, productive little garden.
This isn't just a niche hobby anymore; it's part of a bigger shift toward healthier, more sustainable living. The numbers back it up, too. The global home gardening market is expected to jump from USD 15.78 billion in 2025 to a whopping USD 26.47 billion by 2034. That’s a lot of people discovering the joy of growing their own food! If you're curious, you can discover more insights about the home gardening market and its growth.
Building Your Confidence from the Ground Up
The real secret to starting an herb garden is to keep it simple. It's easy to get bogged down in technical gardening advice, but trust me, most herbs want to grow. They're resilient. Your main job is just to give them a few things that remind them of home—which, for many of our favorite culinary herbs, is the sunny, rocky Mediterranean coast.
To get you started on the right foot, let’s focus on the four things that truly matter:
- Choose Your Plants: Start with the easy ones. I'm talking about herbs that are tough as nails and will give you a confidence boost, like rosemary, mint, oregano, and thyme. They’re forgiving and bounce back from mistakes.
- Find the Perfect Spot: Sunlight is everything. Most herbs need at least six hours of direct sun each day to really thrive and produce those amazing essential oils that give them their flavor. No shortcuts here!
- Containers vs. Garden Beds: Whether you're using a pot or a raised bed, drainage is non-negotiable. This is probably the #1 rookie mistake. Soggy roots lead to root rot, and that's a quick end to your herb garden.
- Simple Care Routines: Believe it or not, herbs often do better with a little neglect. You’re far more likely to kill them by overwatering or over-fertilizing than by forgetting about them for a day or two.
Getting these core elements right from the start sets the stage for a garden that not only survives but flourishes. The real goal isn’t just to grow plants; it's to create a sustainable source of amazing flavors that gets you excited to cook.
To help you stay on track, I've put together a quick checklist that boils down these initial decisions.
Your Herb Garden Quick-Start Checklist
This table is a simple cheat sheet to guide your first few choices. It covers the absolute essentials without getting overwhelming.
| Key Decision | What to Consider | Beginner's Best Bet |
|---|---|---|
| Location | Sun exposure is the top priority. Watch the spot for a full day. | A south-facing window, patio, or balcony that gets 6+ hours of direct sun. |
| Plant Selection | Start with hardy, forgiving herbs that grow well in your climate. | Mint, oregano, rosemary, thyme, or basil. Buy healthy-looking seedlings. |
| Container Choice | Drainage is critical. Material (terracotta, plastic, etc.) is less important than holes in the bottom. | A 10-12 inch terracotta pot with a large drainage hole. |
| Soil | Herbs hate "wet feet." The soil must drain quickly. | A high-quality potting mix designed for containers. Avoid heavy garden soil. |
| Watering Plan | Overwatering is the most common mistake. | Water deeply only when the top 1-2 inches of soil feel dry to the touch. |
Think of this as your game plan. Focusing on these fundamentals will pay off big time as your garden grows.
What Really Matters for Beginners
For now, forget about fancy soil amendments or complex fertilizer schedules. Your entire focus should be on creating a healthy environment where your herbs can put down strong roots.
For example, if you fall in love with a decorative pot that has no drainage holes, you have to add them. Get out a drill and make a few yourself. I can't stress this enough—this one tiny action can be the difference between a lush, thriving garden and a sad, waterlogged mess.
The same goes for sunlight. Before you plant a single thing, play detective for a day. Watch how the sun moves across your yard or balcony. That spot that looks bright and sunny at 9 AM might be in deep shade by 2 PM. An east-facing spot is great for herbs that like a gentler morning sun, while a south-facing wall can provide the intense, all-day heat that sun-worshippers like rosemary and thyme absolutely crave.
Get these foundational pieces right, and you're not just planting herbs; you're building a sustainable, aromatic, and delicious garden that will reward you all season long.
Step 1: Choose From 11 Forgiving Herbs Perfect for Beginners
The secret to a successful first herb garden isn't a green thumb—it's picking the right plants. You want herbs that are generous, bounce back from the occasional mistake, and reward you with tons of flavor. Choosing the right ones from the start builds your confidence and keeps your kitchen stocked.
It's no surprise that more people are getting into gardening. The global market for herb seeds was valued at around USD 1.21 billion in 2024 and is expected to hit USD 1.77 billion by 2032. That's a lot of gardeners! This growth means better, more reliable seeds are available to everyone. If you're curious, you can read the full research on the herb seeds market to see how the industry is evolving.
Ready to get started? This visual guide highlights some of the best herbs for your first garden.
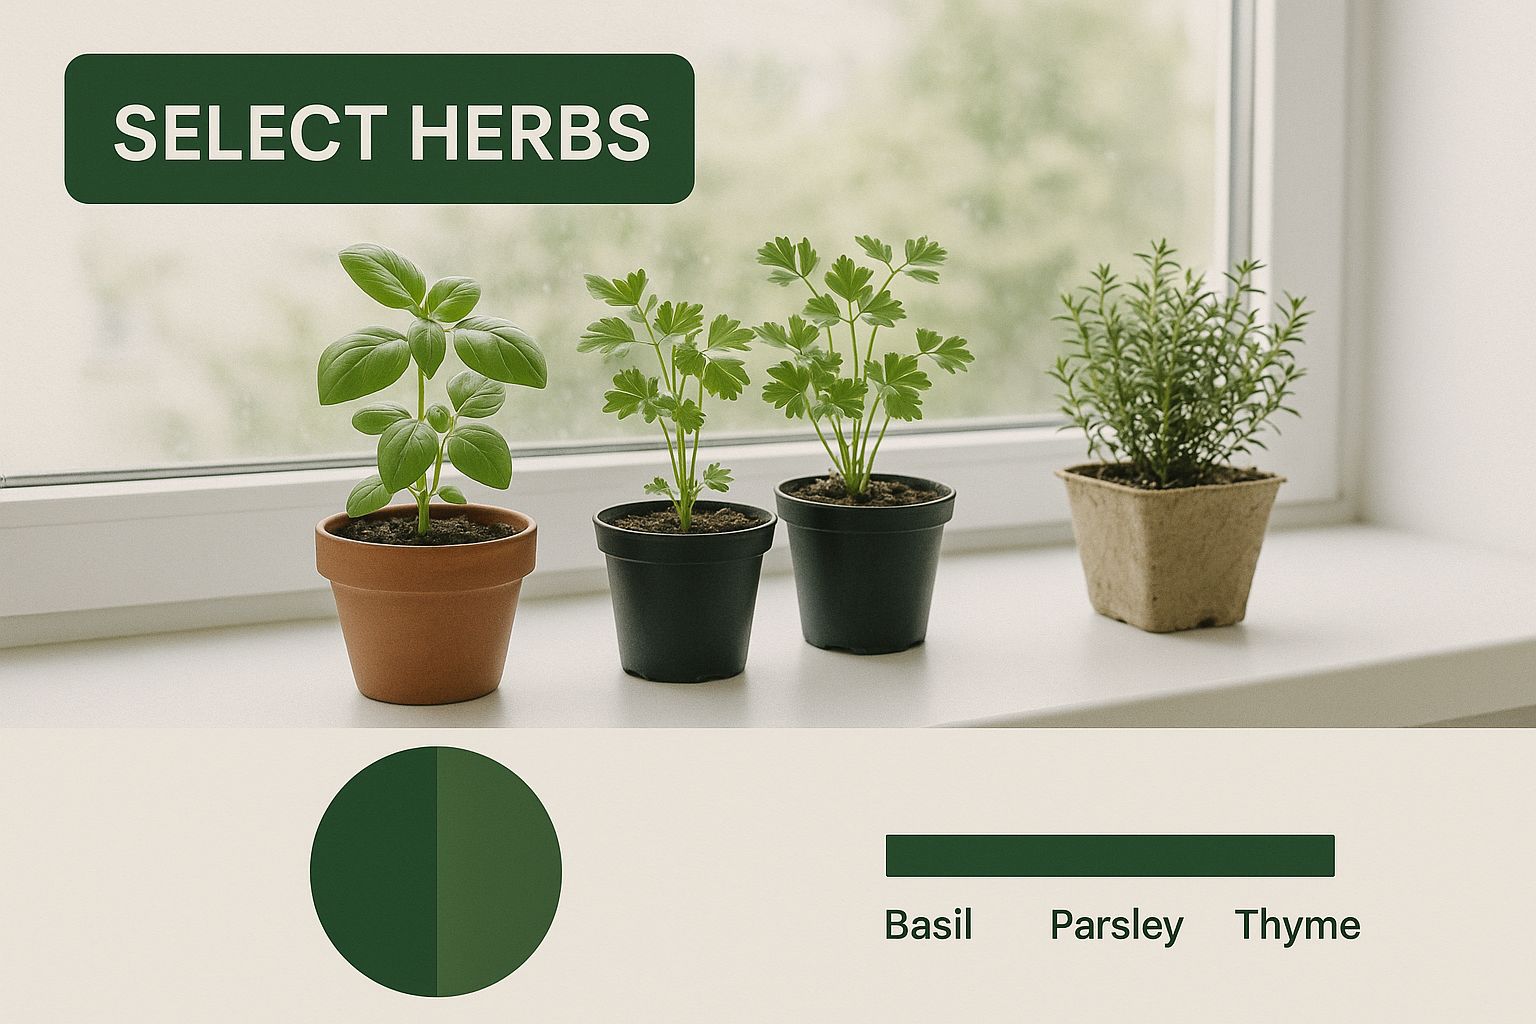
Starting with a few of these is a great way to gain momentum and see some quick success.
Mediterranean Powerhouses
Many of our favorite culinary herbs come from the hot, dry climate of the Mediterranean. This makes them incredibly tough, forgiving, and low-maintenance. They thrive on a bit of neglect.
- Rosemary: This woody, fragrant herb loves the sun and hates having "wet feet." Plant it somewhere it can get at least six hours of direct sun and make sure the soil drains well. Once it’s established, it’s remarkably drought-tolerant.
- Thyme: A fantastic, low-growing herb that's perfect for spilling over the edges of a container or even as a fragrant ground cover. Just like rosemary, it prefers full sun and doesn't like to be overwatered.
- Oregano: If you love Italian food, you need oregano. This is another sun-worshipper that does best in dry conditions. The more you harvest it, the bushier and more productive it becomes.
- Sage: With its beautiful, fuzzy, gray-green leaves, sage adds wonderful texture to the garden. It absolutely must have full sun and excellent drainage to stay healthy and avoid mildew.
These four are a fantastic starting squad. They all have similar light and water needs, so they make great companions in the same pot or garden bed.
Lush and Leafy Favorites
Not all herbs want to bake in the sun. Some prefer a bit more attention and consistent moisture to produce those tender, flavorful leaves we love.
- Basil: The undisputed king of summer herbs. Basil needs plenty of sun to get going but also requires consistently moist soil—just be careful not to make it soggy. Pinching off the flower buds as they appear will force the plant to put all its energy into making more delicious leaves.
- Cilantro: This one has a distinct, love-it-or-hate-it flavor profile. Cilantro prefers cooler weather and will quickly "bolt" (go to seed) in the summer heat. For the best leaf production, plant it in early spring or fall.
- Parsley: Whether you prefer curly or flat-leaf, parsley is a workhorse. It does well in rich soil with regular watering and can even handle a little afternoon shade, which is a big help in hotter climates.
A Little Planning Goes a Long Way: Always group herbs with similar needs. Planting sun-loving, drought-tolerant rosemary right next to moisture-loving basil is a recipe for a watering nightmare. One will always be unhappy.
The Unstoppable Spreaders & Unique Flavors
Some herbs are so vigorous and easy to grow that they almost need a warning label, while others offer unique tastes you just can't get at the store.
- Mint: Famous for its aggressive nature, mint should always be planted in its own container. Seriously. Its runners will spread underground and take over your entire garden in a single season. Confined to a pot, it’s an absolute joy, giving you an endless supply for drinks and dishes.
- Lemon Balm: As a member of the mint family, lemon balm shares that same unstoppable growth habit. Its bright, citrusy scent is amazing in teas and desserts. Just like its cousin, keep it contained!
- Chives: These are practically indestructible. Chives are perennials that come back bigger and better every year. You can snip them all season long for a mild onion flavor in salads, eggs, and potatoes. They’re one of the easiest herbs to start from seed.
- Dill: With its delicate, feathery foliage, dill is as beautiful as it is tasty. The one thing to know is that it grows a long taproot, so give it a nice, deep pot to stretch out in.
Even if you're short on outdoor space, don't worry. Many of these herbs do wonderfully inside on a sunny windowsill. For more tips on that, check out our guide on the easiest herbs to grow indoors.
Comparing Popular Beginner Herbs
To help you decide what to plant where, here’s a quick-reference table that breaks down the needs of some of the most popular beginner-friendly herbs.
| Herb Name | Sunlight Needs | Watering Frequency | Best Use |
|---|---|---|---|
| Basil | 6-8 hours (full sun) | Every 2-3 days; keep soil moist | Pesto, salads, Italian dishes |
| Mint | Full sun to part shade | Every 2-3 days; likes moisture | Teas, cocktails, desserts |
| Rosemary | 6-8 hours (full sun) | Every 1-2 weeks; let soil dry out | Roasting meats, potatoes, breads |
| Thyme | 6-8 hours (full sun) | Every 1-2 weeks; drought-tolerant | Soups, stews, marinades |
| Parsley | 4-6 hours (sun or part shade) | Every 3-4 days; keep soil moist | Garnish, salads, sauces |
| Chives | 6-8 hours (full sun) | Every 3-4 days; keep soil moist | Eggs, potatoes, salads |
| Oregano | 6-8 hours (full sun) | Every 1-2 weeks; let soil dry out | Pizza, pasta sauce, Greek dishes |
Using this as a guide can help you group plants with similar needs together, making your watering and care routine much simpler from the very start.
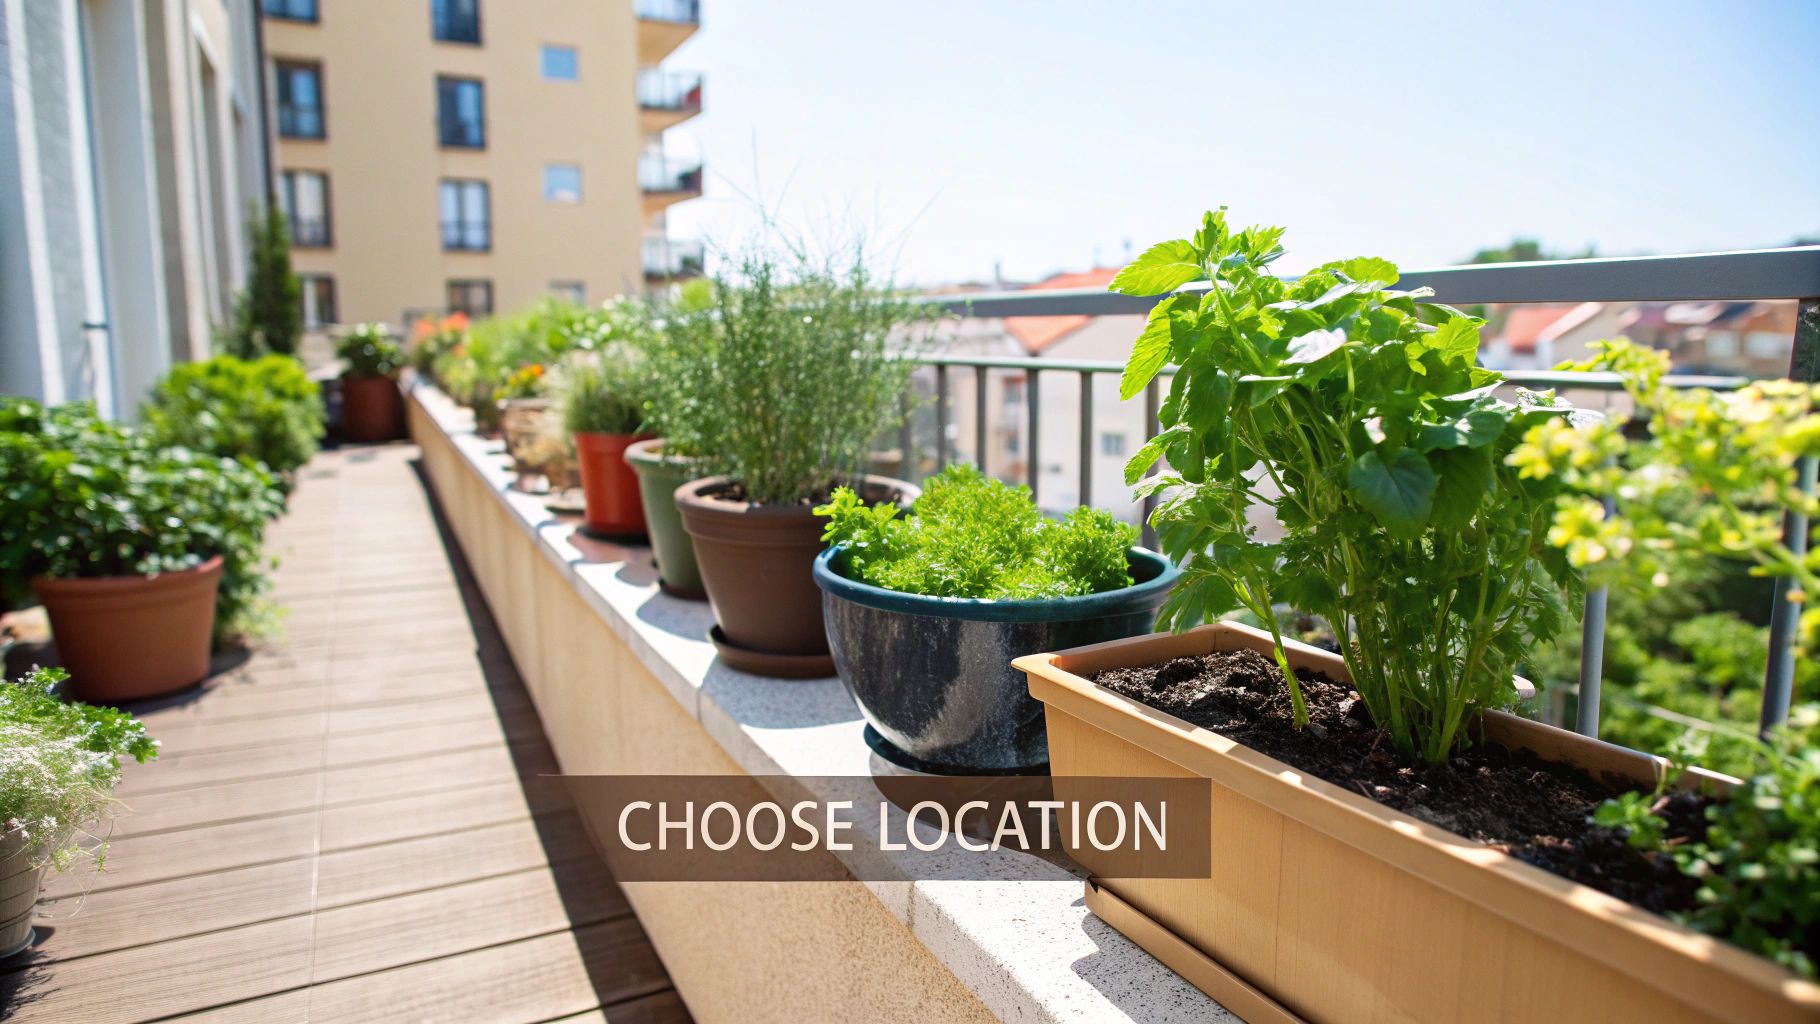
Step 2: Find the Right Spot and Container
Deciding where to plant your herbs is every bit as important as which ones you choose to grow. Get the location right from the get-go, and you'll save yourself a world of trouble later on. The whole idea is to give your herbs a home that feels like their native environment—for most of the culinary classics, that means lots of sun and soil that doesn't stay soggy.
Think of it this way: your herb garden’s success really boils down to three things: sunlight, drainage, and accessibility. If you nail these, you're already halfway to a thriving, fragrant garden.
Chasing the Sun
Most common herbs, especially those with Mediterranean roots like rosemary, thyme, and oregano, are total sun-worshippers. They need at least six hours of direct sunlight every day to really flourish and produce the essential oils that pack them with flavor and aroma. Without enough light, they get all stretched out and "leggy," and their taste becomes disappointingly weak.
Before you even think about planting, play detective for a day. Watch the sun move across your yard or patio. A spot that’s drenched in sunlight at 9 AM might be in deep shade by 2 PM. A south-facing location is usually your best bet for consistent, all-day sun.
Container Choices and Why Drainage Is King
If there's one non-negotiable rule in container gardening, it's drainage. Herbs absolutely hate having "wet feet," and letting them sit in waterlogged soil is a fast-track ticket to root rot, a usually fatal condition.
I don't care how beautiful a pot is—if it doesn't have holes in the bottom, it's not a planter. It's a plant killer. You must choose containers with plenty of drainage, or be ready to get out a drill and make some yourself.
The material of your container also plays a big role in how often you'll need to water.
- Terracotta Pots: These are a classic for a reason. The porous clay lets air and water pass through the sides, which helps the soil dry out more quickly. This makes them a perfect match for drought-tolerant herbs like sage and rosemary.
- Glazed Ceramic or Plastic: Because these are non-porous, they hold onto moisture for much longer. They can be a great choice for thirstier herbs like basil and mint, but you have to be careful not to overwater.
- Window Boxes: A fantastic space-saver if you're working with a balcony or a sunny windowsill. Just make sure they're mounted securely and have—you guessed it—drainage holes.
- Raised Beds: If you've got the room, a raised bed is a top-tier option. It provides fantastic drainage and the soil warms up faster in the spring, giving your herbs a nice head start.
Looking for more creative ways to use containers? Check out these 10 container gardening ideas to try in 2025.
Getting the Size and Placement Just Right
The size of your pot matters, too. While most herbs have fairly shallow roots, a container that's at least 6-8 inches deep and wide is a good starting point. This gives the roots room to spread out and keeps the soil from drying out in a flash on a hot day. For bigger herbs or those with long taproots like parsley and dill, you'll want to go even bigger—a pot that's at least a foot deep is ideal.
Finally, think about convenience. Put your herb garden somewhere you'll walk by every day. Having your basil, mint, and chives right outside the kitchen door makes it so much more likely that you'll actually snip them off and use them while you cook. When your garden is easy to get to, it stops being a chore and becomes a simple, delicious part of your daily routine.
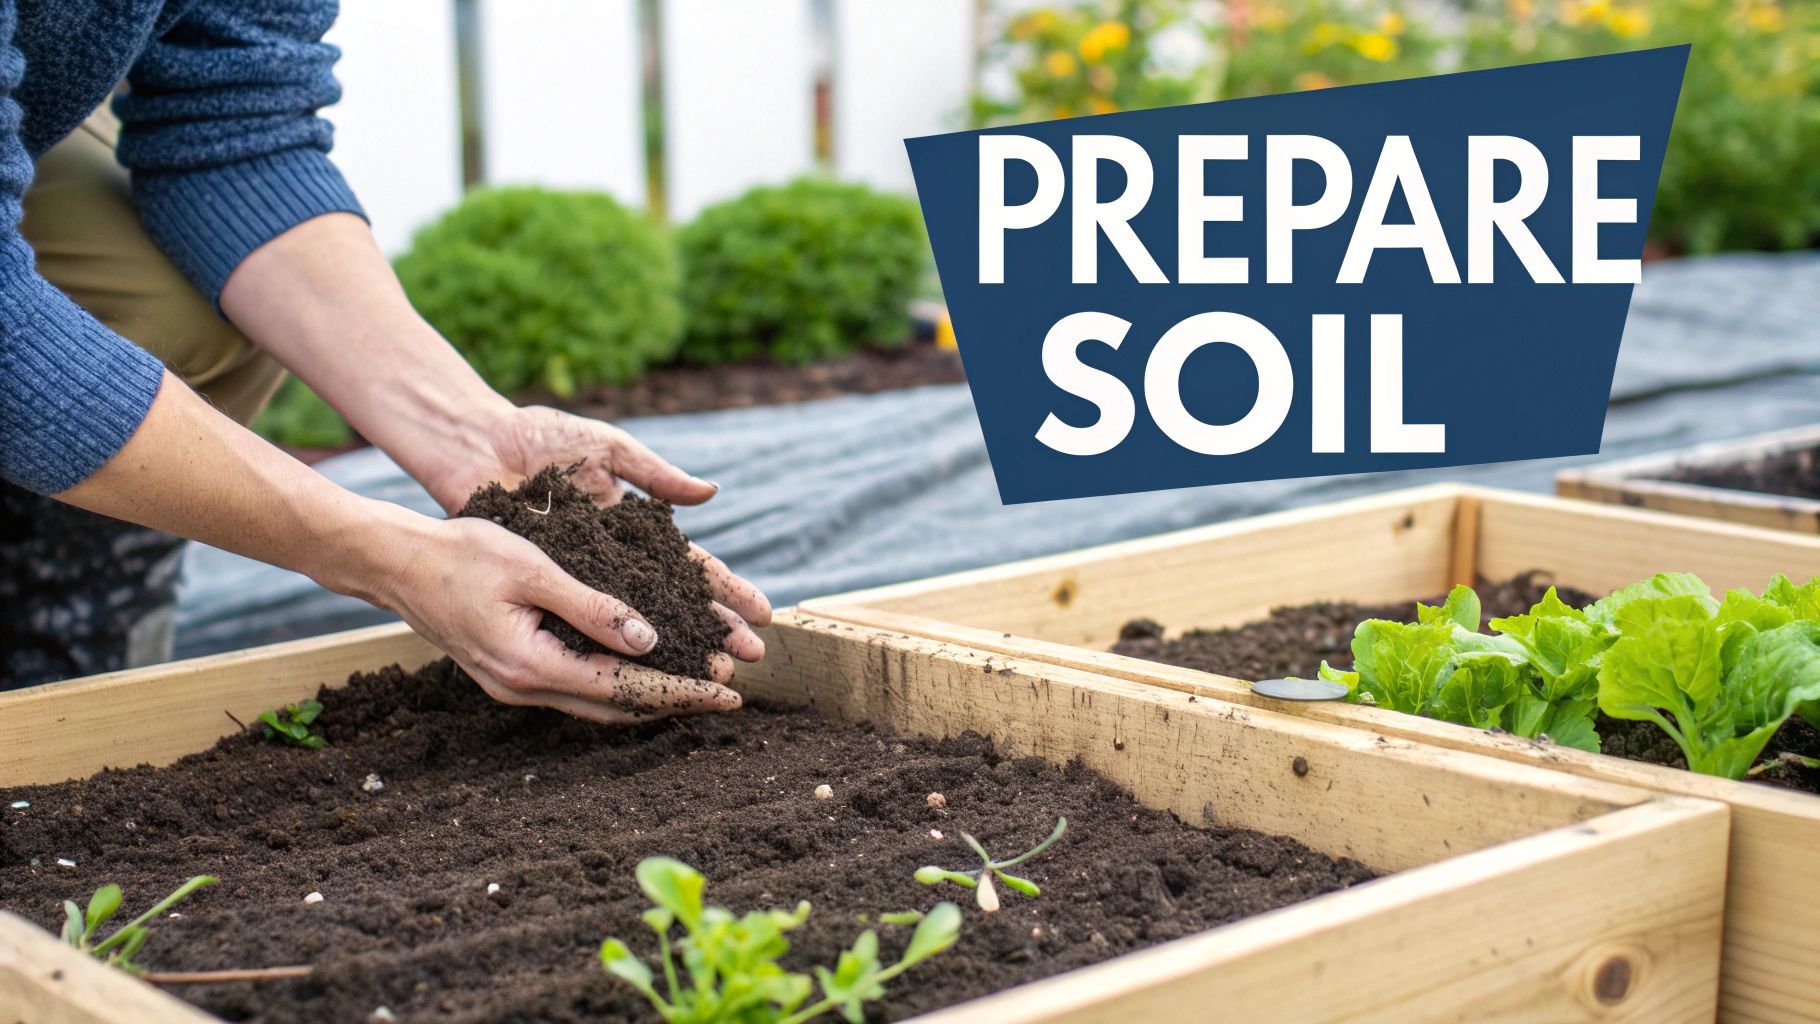
Step 3: Create the Perfect Soil for Healthy Herbs
Let's get one thing straight: amazing soil is the secret sauce to a flavorful, productive herb garden. While that might sound intimidating, the truth is most herbs are pretty low-maintenance. They actually prefer soil that drains well and isn't loaded with fertilizer, much like the rocky Mediterranean hillsides where many of them originated.
In fact, soil that's too rich can backfire, giving you lots of lush green leaves with very little of that amazing aroma and taste you're after.
The real goal is to create a soil structure that lets roots breathe and prevents water from just sitting there, which is a recipe for root rot. Whether you're planting in pots or in the ground, getting the soil right from the start is a game-changer.
The Ideal Potting Mix for Container Herbs
For herbs destined for pots, window boxes, or raised beds, mixing your own soil is the best way to control their environment. You can grab a bag of high-quality potting mix as a great starting point, but I always elevate it with a couple of key ingredients to create the perfect blend for happy herbs.
Here’s a simple, foolproof recipe I've used for years that works for just about any herb:
- Potting Soil (3 parts): This is your base. Make sure to use an all-purpose potting mix, not heavy garden soil. Garden soil compacts like crazy in containers and will suffocate your plant's roots.
- Perlite or Coarse Sand (1 part): This is the magic ingredient for excellent drainage. Perlite looks like tiny white styrofoam balls and is brilliant at creating air pockets in the soil, letting excess water escape freely.
- Compost (1 part): A little bit of good compost offers a slow-release buffet of nutrients without being too aggressive. If you want to dive deeper, there's detailed information on compost that really explains how it builds a healthy soil ecosystem.
Just toss these ingredients together in a big bucket or wheelbarrow and mix them up. You’ve just made a premium potting mix that will give your herbs the perfect balance of moisture, aeration, and gentle nutrition all season long.
Improving Your In-Ground Garden Soil
Planting directly in the ground? First, you need to play detective with your existing soil. Here's a quick and dirty test I always recommend: dig a small hole, fill it with water, and time how long it takes to drain. If there's still a puddle in there after an hour, you're likely dealing with heavy clay soil that needs some help.
Amending your garden bed is where the real transformation happens. You can dramatically improve its texture and drainage by working a few inches of organic matter—like compost or well-rotted manure—into the top 6-8 inches of soil.
For a complete walkthrough on getting your garden beds prepped and ready, check out our guide on preparing garden soil.
Step 4: Plant and Nurture Your New Garden
With your site selected and the soil ready to go, we've arrived at the best part—planting! Whether you’re starting with tiny seeds or transplanting seedlings you bought from a nursery, how you get them in the ground (or pot) sets them up for a healthy, productive life.
It's no surprise that herb gardening has taken off. People are more interested than ever in natural wellness, and fresh herbs are a huge part of that. The global medicinal herbs market was valued at USD 227.65 billion in 2025 and is expected to soar to USD 478.93 billion by 2032. That's a massive jump, and it shows just how much we've come to appreciate what these plants can do.
A Gardener’s Guide to Planting and Nurturing Herbs
Getting your garden to thrive doesn't require a green thumb, just a few good habits. Think of these as the simple routines that will make all the difference between a sad-looking plant and a flourishing one.
Getting Your Herbs Settled In
-
Plant at the right depth. If you’re planting seeds, a good rule of thumb is to bury them about twice as deep as they are wide. For seedlings, make the new hole just big enough to comfortably fit the root ball, planting it at the same depth it was in its original pot. Planting too deep can suffocate the roots.
-
Give them some breathing room. It’s tempting to cram a bunch of plants together for that full, lush look right away, but you'll regret it later. Overcrowding blocks airflow and makes your herbs compete for light, water, and nutrients. Check the plant tag, but most herbs do well with 6 to 12 inches of space between them.
-
Water them in gently. After planting, give your herbs a good, thorough drink. Water the soil around the base of the plant—not the leaves—until you see water coming out of the container’s drainage holes. This simple step helps settle the soil and gets rid of any air pockets around the roots.
Establishing a Healthy Routine
-
Don't over-fertilize. This is a mistake I see all the time. Unlike tomatoes or peppers, most herbs actually develop a more intense flavor when they aren't grown in overly rich soil. A single dose of a balanced, slow-release fertilizer when you first plant is often all they need for the entire season. Too much fertilizer can lead to lots of leaves with very little flavor.
-
Harvest early and often. This is the secret to a bushy, productive herb garden! Once a plant has a few sets of leaves and looks well-established, start snipping. Regular trimming encourages the plant to branch out, creating a fuller shape and, more importantly, more delicious leaves for you.
-
Keep an eye out for pests. Take a moment every few days to check your plants, especially the undersides of leaves where pests like aphids love to hide. If you spot any trouble, a quick spray of soapy water is usually enough to handle the problem without reaching for harsh chemicals.
-
Think about how you'll use your bounty. As your plants start taking off, you'll have an abundance of fresh herbs at your fingertips. Why not get creative? This is the perfect time to start exploring different herb seasoning blends, such as garlic herb seasoning. Having a plan for your harvest makes the entire experience that much more rewarding.
My Go-To Watering Tip: Forget a strict schedule. Your finger is the best moisture meter you own. Stick it about an inch or two into the soil. If it feels dry, it’s time to water. If you feel any moisture, hold off for another day. It's that simple
Step 5: Master the Art of Watering
Forget a strict watering schedule. The best tool you have for checking if your herbs are thirsty is your own finger.
Just stick your index finger about an inch down into the soil. If it comes out dry and clean, it’s time to give your plant a drink. If you feel any moisture, hold off for another day. It’s that simple.
A tiny terracotta pot basking in the hot afternoon sun might need a daily splash, while the same herb in a large, self-watering planter could be happy for a week. Weather, pot size, and even the maturity of the plant all play a part. One pro tip: always water the soil, not the leaves. This little habit helps keep fungal diseases from taking hold.
Step 6: Troubleshoot Common Problems
As you get your hands dirty, you're bound to run into a few issues. That's a great sign! It means you're learning. Most people starting out bump into the same few hurdles.
Help! Why Are My Herb's Leaves Turning Yellow?
Seeing yellow leaves? Nine times out of ten, the culprit is too much love in the form of overwatering. It’s the classic rookie mistake.
When soil stays soggy, the roots can't breathe. They're essentially drowning, which leads to root rot and those dreaded yellow leaves. Before you jump to any other conclusion, check your soil moisture and make absolutely sure the pot's drainage holes aren't clogged.
I tell every new gardener this: Overwatering is the fastest way to kill an herb. These plants are tough and can bounce back from being a little thirsty, but they have a very hard time recovering from constantly wet feet. If you’re ever unsure, it’s always better to wait another day.
What’s the Deal With These Bugs on My Plants?
First thing's first: don't freak out. A bug or two is just part of having a garden. For herbs, you’re most likely to encounter aphids—those tiny little green or black insects that love to hang out on fresh, new stems.
Here’s how to handle them:
- The Gentle Approach: For a minor get-together, a surprisingly strong jet of water from a spray bottle or hose is often all it takes to send them packing.
- The Next Step: If they're a bit more stubborn, mix a few drops of plain dish soap into a spray bottle filled with water. A quick spray on the affected areas (don't forget under the leaves!) will usually do the trick without resorting to harsh chemicals.
Can I Fix a Plant That’s Gotten Tall and “Leggy”?
A "leggy" plant—one with long, spindly stems and sparse leaves—is practically screaming for one thing: more light. It's literally stretching itself out, trying to find the sun.
While you can't magically shorten those existing stems, you can absolutely encourage the plant to grow back fuller and bushier.
Start by moving your herb to the sunniest spot you've got, one where it can soak up at least six hours of direct sunlight every day. Then, take a deep breath and give it a haircut. Prune those long, leggy stems back by about one-third. This feels drastic, but it signals the plant to push out fresh, compact growth from its base.
Step 7: Enjoy Your Harvest
This is the best part! Regularly harvesting your herbs not only gives you fresh flavors for your meals but also encourages the plants to become bushier and more productive. For leafy herbs like basil and mint, snip off the top few inches of a stem, right above a set of leaves. This will encourage the plant to branch out from that point. For herbs like chives and parsley, you can cut the outer leaves at the base. Aim to never harvest more than one-third of the plant at a time to ensure it has enough foliage to keep growing strong.
Ready to start your own garden with confidence? At Homegrown Garden, we're all about setting you up for success with high-quality heirloom seeds, easy-to-use kits, and all the support you need. Come explore our collections and find everything you need for a thriving herb garden at https://www.homegrown-garden.com.

