


The secret to a fantastic onion harvest isn't a secret at all—it’s all about timing. Knowing when to plant onion seeds is the single most important factor, and it all boils down to your specific climate and the onion's need for a certain amount of daylight.
Generally, you'll be starting seeds indoors about 8-12 weeks before your last frost date, but the exact schedule depends entirely on matching the right onion variety to your garden's location.
Your 7-Step Guide to Perfect Onion Timing
Success with onions is less about luck and more about a little bit of science called photoperiodism. It's a fancy word, but the concept is simple: an onion variety is hard-wired to start forming a bulb only when the days reach a specific length. This is, without a doubt, the number one reason gardeners get frustrated with tiny bulbs and thick, scaly necks. Plant the wrong type, and you're fighting a losing battle from the start.
To make sure you're set up for success, you first need to get familiar with the three main categories of onions.
- Long-Day Onions: These champs need a solid 14-16 hours of daylight to get the signal to start bulbing. They are the perfect fit for northern gardeners, think USDA zones 6 and colder.
- Short-Day Onions: Requiring just 10-12 hours of daylight, these are the go-to for southern gardeners in zones 7 and warmer, where the growing season is long and hot.
- Day-Neutral Onions: Also called intermediate-day onions, this is the most adaptable group. They form bulbs with 12-14 hours of daylight, which makes them a fantastic, reliable choice for those of us gardening in the middle of the country, typically in zones 5-7.
This onion planting timeline gives you a great visual for mapping out your season, from starting those tiny seeds inside all the way to transplanting and the final, satisfying harvest.
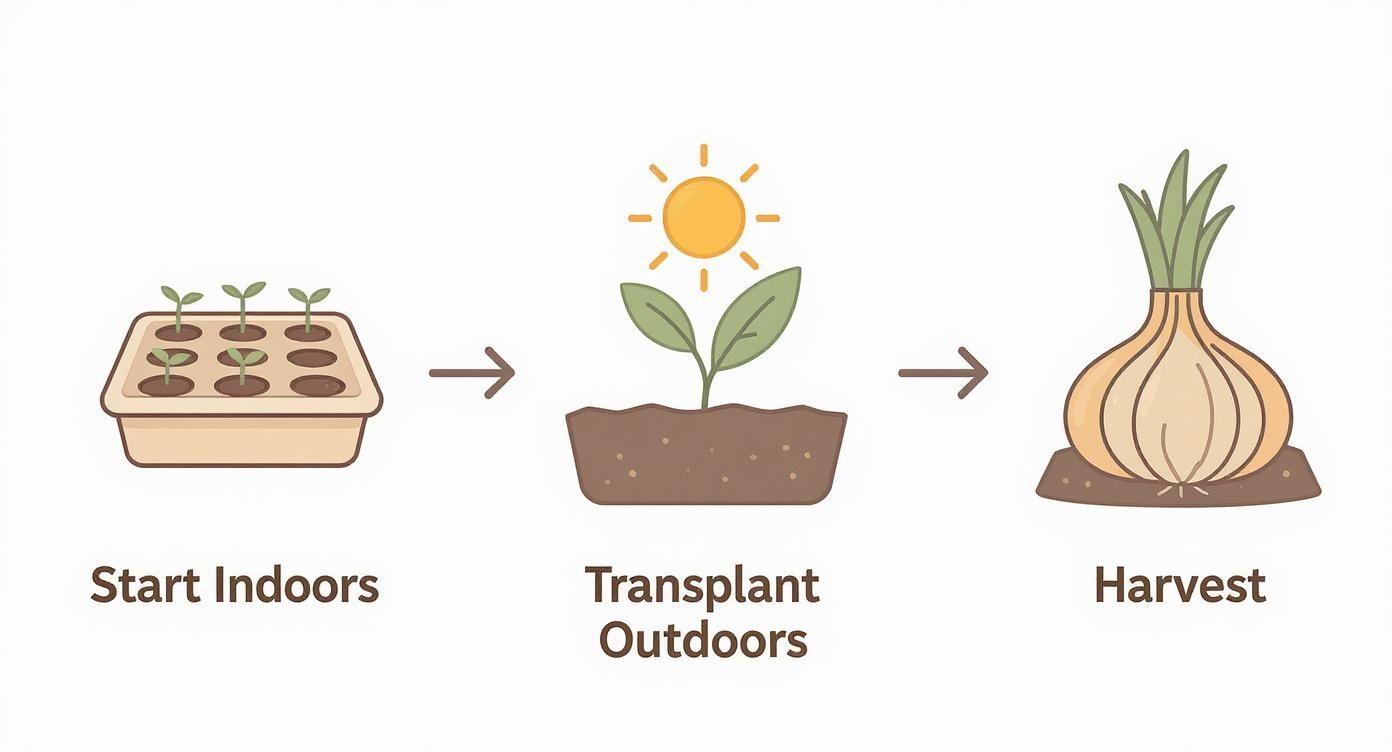
As the infographic makes clear, getting a head start by sowing seeds indoors is the critical first step if you're aiming for those big, beautiful, fully-cured bulbs.
This strategy isn't just for home gardeners; it's how commercial growers operate worldwide. Onion seeds are almost always planted in late winter to early spring, with the exact timing dictated by climate and that all-important day-length sensitivity.
For example, in the United States, growers in southern states get their short-day onions in the ground from January through February. Meanwhile, their counterparts in northern states are sowing long-day varieties in early spring, usually around March or April. This is part of a global system, and you can find more insights into the onion seed market and its planting schedules if you're curious.
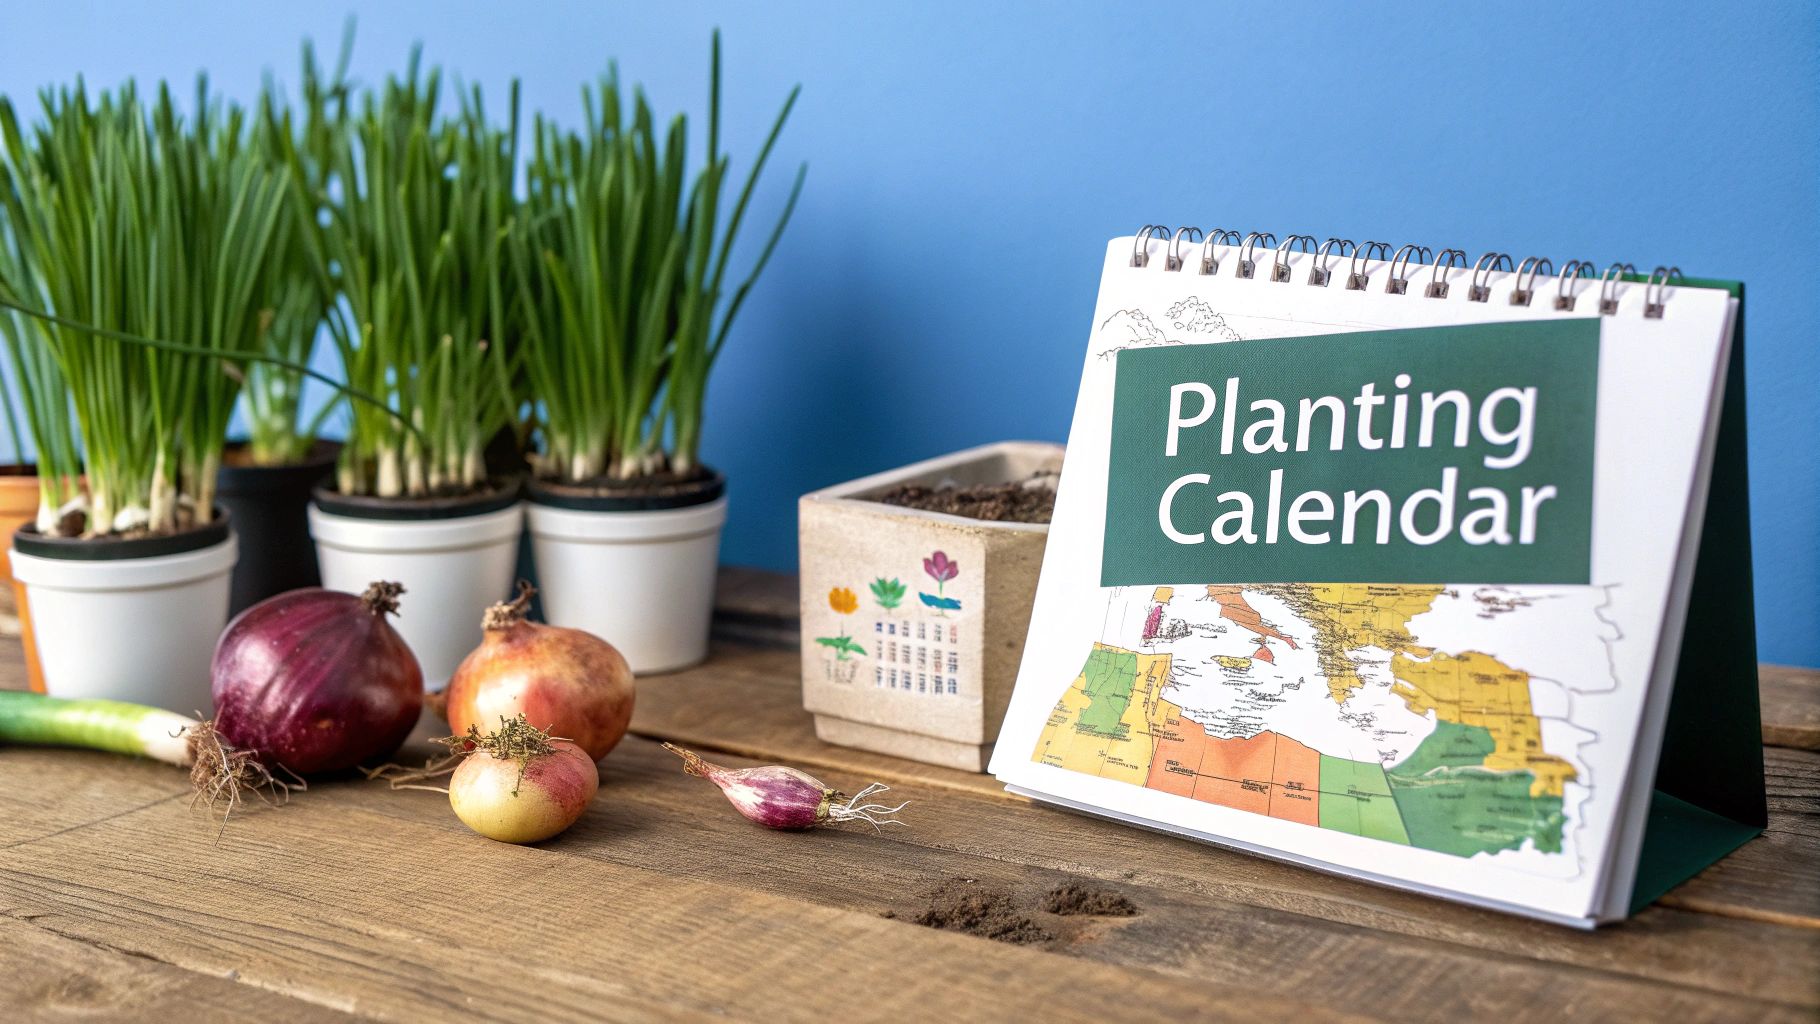
Quick Onion Planting Calendar by Day-Length and Region
To simplify things, here's a quick reference table. Use this as a starting point to dial in the perfect timing for your specific garden.
| Onion Type | Best For (US Regions) | Start Seeds Indoors | Plant Seedlings Outdoors |
|---|---|---|---|
| Short-Day | South (Zones 7+) | Late Fall / Early Winter | January - February |
| Day-Neutral | Middle (Zones 5-7) | Late Winter | March - April |
| Long-Day | North (Zones 6 & below) | Late Winter / Early Spring | April - May |
Remember, this is a general guide. Always check your specific last frost date and the recommendations on your seed packet for the best results.
Step 1: Decode Your Onion's Day-Length Needs
Before you even start thinking about your last frost date or checking soil temperatures, there’s one thing that will make or break your onion harvest. Get this right, and you're on your way to big, beautiful bulbs. Get it wrong, and you'll end up with a patch of disappointingly small onions. It all comes down to day-length.
Onions are what we call "photoperiodic." In simple terms, the amount of daylight they get each day is a trigger. For the first part of its life, an onion seedling pours all its energy into growing green, leafy tops. Here's a pro tip: each one of those leaves will become one ring in the onion bulb. More leaves mean a bigger potential onion.
Then, when the days get just long enough, a switch flips. The plant gets a signal to stop making leaves and start sending all that energy down into the ground to form a bulb. This is the make-or-break moment. If you've planted a variety that isn't suited to the daylight hours in your specific part of the world, that signal will come at the wrong time, and your harvest will suffer for it.
The Three Onion Categories
You absolutely have to know which category your garden falls into. It’s not an exaggeration to say that 90% of onion crop failures for home gardeners happen because they planted the wrong type for their latitude.
-
Long-Day Onions: These are the champs of the north. They need a solid 14 to 16 hours of daylight to get the signal to start bulbing. If you're gardening in USDA zones 6 or colder, these are for you. Think of classics like 'Walla Walla' and 'Yellow Sweet Spanish'.
-
Short-Day Onions: Down south, these are the go-to. They only need 10 to 12 hours of daylight to start making a bulb. This lets them size up before the intense summer heat sets in. Gardeners in zones 7 and warmer have great luck with varieties like 'Texas Grano' and 'Red Creole'.
-
Day-Neutral Onions (Intermediate): These are the adaptable middle-grounders. Needing 12 to 14 hours of daylight, they work beautifully across a huge swath of the country, usually in zones 5 through 7.
The most common mistake I see is a gardener planting a variety simply because they've heard of it, without checking if it's right for their area. A gardener in Vermont who plants a short-day 'Texas Grano' will watch it start to bulb way too early in the season. The plant just won't have had enough time to grow its leafy tops, resulting in tiny, marble-sized onions.
Real-World Planting Scenarios
Let's put this into practice. Imagine a gardener in Florida—a classic short-day region—plants 'Walla Walla' onions, which are famously a long-day variety. Even on the longest day of the year, Florida might only get about 13.75 hours of daylight. That's just not enough to trigger the bulbing process in a 'Walla Walla' that’s waiting for a 14-hour signal. What happens? The plant grows lots of lovely green tops but never actually forms a proper bulb.
Now, take that same 'Walla Walla' and plant it in Idaho, a long-day region. It has all the time in the world to grow big and leafy. Then, when the long summer days arrive—often exceeding 15 hours of daylight—it gets the perfect cue to start bulbing. This precise timing is why certain regions become famous for their specific onions.
The lesson here is simple: always read your seed packet. It will tell you the day-length requirement, giving you the power to choose a variety that’s basically guaranteed to succeed right where you are.
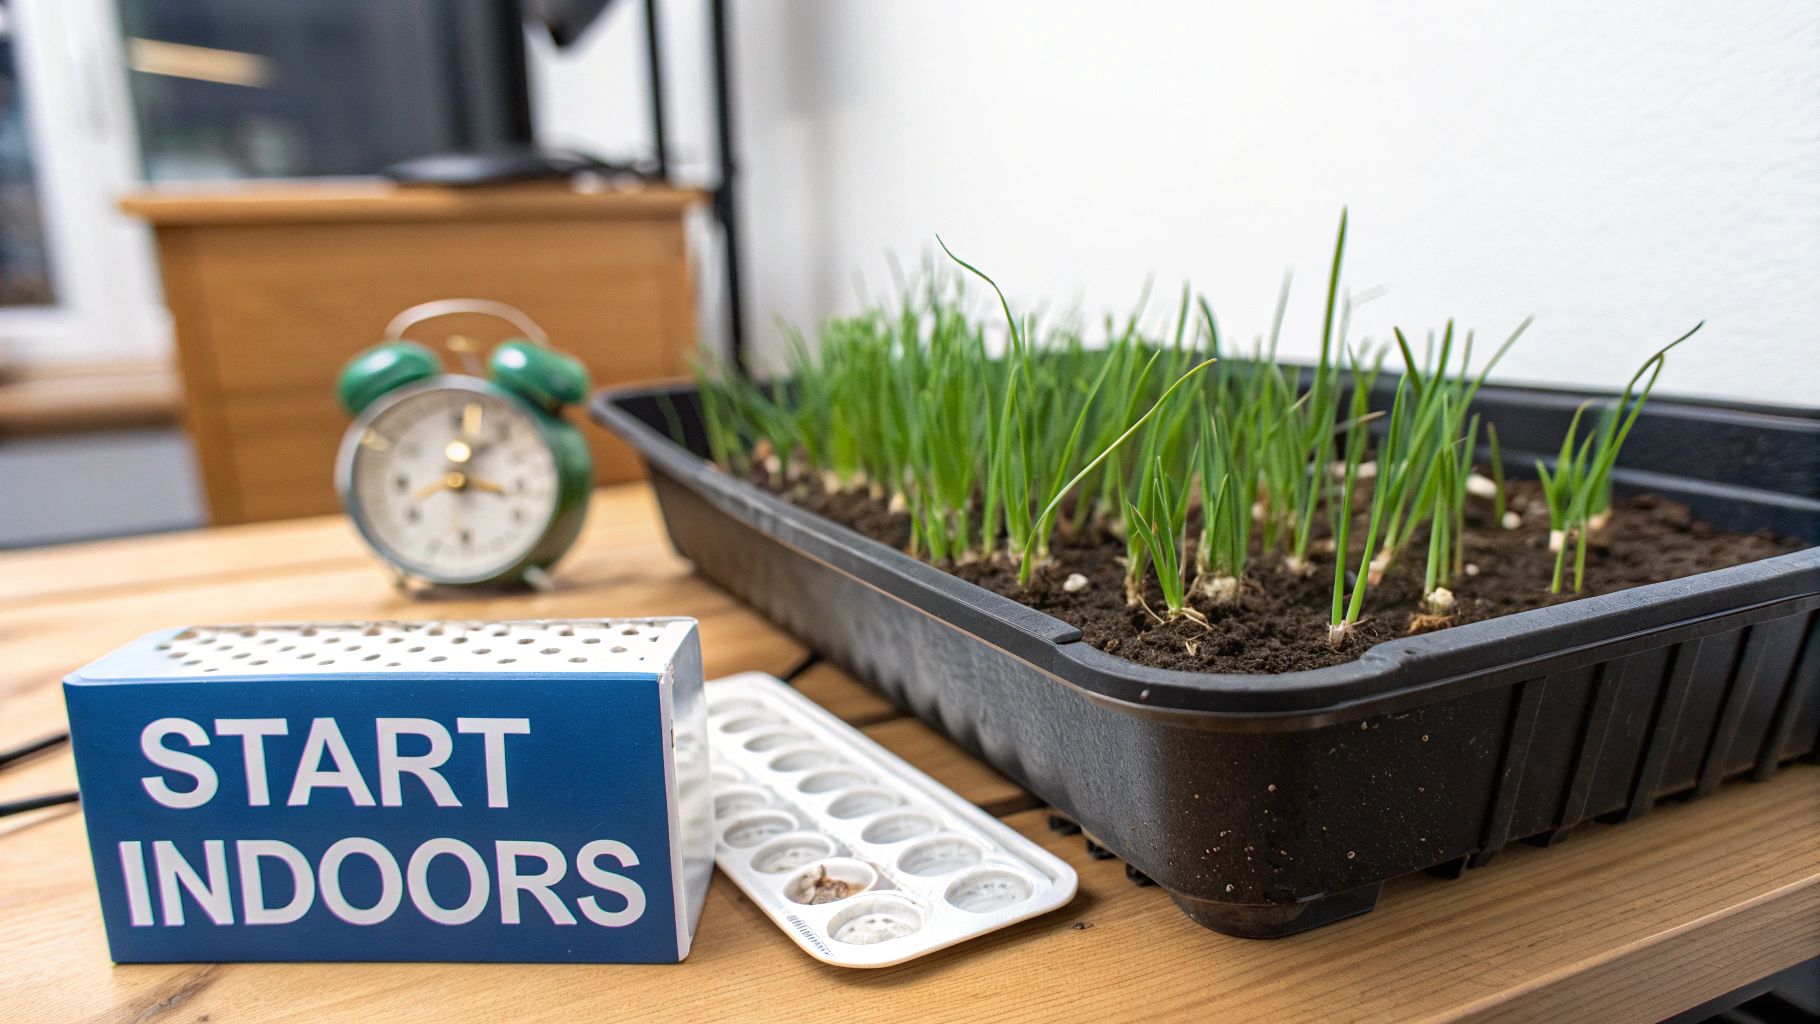
Step 2: Master the Indoor Seed Starting Timeline
If you want to grow truly impressive bulbing onions, you’ll need to give them a head start indoors. This isn't just a friendly suggestion—it's the secret to getting those big, dense bulbs every gardener dreams of. By starting seeds inside, you're basically tricking the plants into a longer growing season. This gives them plenty of time to grow big, healthy green tops, which is exactly what they need to fuel bulb formation later on.
The trick is to work backward from your area's average last frost date. Onions are slowpokes, often needing 90 to 100 days to mature from seed. To make that happen, you’ll want to get those seeds sown indoors a good 8 to 12 weeks before you can safely plant them outside.
So, if your last frost is around May 15th, you should be starting your seeds sometime between late February and mid-March. Hitting this window is key. It ensures your seedlings are strong and ready for the garden, but not so big they get stressed out and leggy.
Setting Up for Success
When you're ready to plant, don't just grab any old pot. Onion seedlings, for all their delicate appearance, send down surprisingly deep roots. You'll want to use trays that are at least 2 to 3 inches deep. This space keeps the roots from getting cramped, which can seriously stunt their growth down the line. A standard 1020 tray with cell inserts or even just an open flat will do the job perfectly.
Once they're planted, light becomes your most important job. A sunny windowsill rarely cuts it for onions; they’ll stretch and get weak, or "leggy," reaching for the sun. A dedicated grow light is your best friend here. Keep the light just a few inches above the seedlings and run it for 14 to 16 hours a day. This intense, direct light mimics long summer days and encourages them to grow stout and strong right from the get-go.
For a deeper dive into the whole indoor sowing process, our guide on when to start seeds indoors covers all the essentials, including lighting setups.
The All-Important Onion Haircut
Here’s one of my favorite tricks for growing strong onion transplants: give them a haircut. It sounds strange, but it works. As your seedlings grow, they'll start looking like a patch of unruly grass—long, thin, and floppy. Once they hit about 5 inches tall, it’s time for a trim.
Grab a clean pair of scissors and snip the tops off, leaving about 3 to 4 inches of green. This simple trim accomplishes two critical things:
- It stops the seedlings from falling over and tangling into a mess.
- More importantly, it redirects the plant's energy from growing tall leaves to developing a thicker base and a more robust root system.
Don't be shy with the scissors. I give my onion seedlings a little trim every couple of weeks. It keeps them stocky and tough, and they'll be much better prepared to handle the shock of being transplanted into the garden.
This whole indoor timeline is a technique used by experienced growers everywhere. The goal is to get the timing just right so that the bulbing phase lines up perfectly with the right number of daylight hours. Planting too early in cold soil can stall them out, but planting too late means they won't have enough time to size up. By mastering this indoor start, you're setting yourself up for a fantastic harvest.
Step 3: Nail Your Direct Sowing Window
For those of us in milder climates or anyone growing bunching onions, sowing seeds directly into the garden is a fantastic, low-fuss way to go. While starting seeds indoors is pretty much non-negotiable for getting big bulbing onions in most places, direct sowing still requires getting your timing just right. Hit that window, and you’re setting yourself up for a crop of strong, healthy seedlings.
When it comes to direct sowing, there’s one thing that matters more than anything else: soil temperature. Onion seeds need a bit of warmth to wake up and get going. Tossing them into cold, soggy soil is a surefire way to get poor germination or, even worse, have them rot before they even start. This is where a simple soil thermometer becomes your best friend in the garden.
Check Your Soil Temperature
Before you even think about tearing open that seed packet, you need to get a read on your soil. I recommend checking the temperature for a few days in a row to make sure it’s stable. You’re looking for a consistent range of 55°F to 75°F (13°C to 24°C) about two inches deep. Waiting for the soil to hit this sweet spot is the single most important thing you can do for a direct-sown crop.
I get it—it feels productive to get out there and plant on the first warm day of spring. But if your soil is still hovering around 45°F, you're just wasting your time and seeds. They'll just sit there, dormant and vulnerable, until things warm up. A little patience now pays off big time with faster, more even sprouting.
Once the soil is ready, you can prep the perfect seedbed. Onions absolutely hate competition, so your first job is to create a totally weed-free zone. Rake the surface to get a fine, crumbly texture, and pull out any rocks or clods of dirt. This kind of precision isn't just for home gardeners; it’s what drives the entire industry. The global onion seed market was valued at about USD 2.5 billion in 2022, a number that reflects just how critical optimized planting is. You can learn more about the growth of the onion seed market to see how timing impacts production on a massive scale.
Sowing and Thinning for Success
With your bed prepped, make a few shallow furrows—don't go any deeper than 1/4 inch—and carefully sow your seeds. Cover them with a light dusting of soil, gently pat it down to make sure the seeds are making good contact, and then water carefully.
Now for the step that feels the most brutal but is absolutely essential: thinning. After your seedlings have popped up and are a few inches tall, you have to thin them out. For bulbing onions, you'll want them spaced 3 to 4 inches apart. It hurts to pull out healthy little plants, I know. But if you skip this, you'll end up with a tangled clump of tiny, underdeveloped bulbs all fighting for the same food and water. Give each one its space, and you’ll be rewarded with proper, full-sized bulbs.
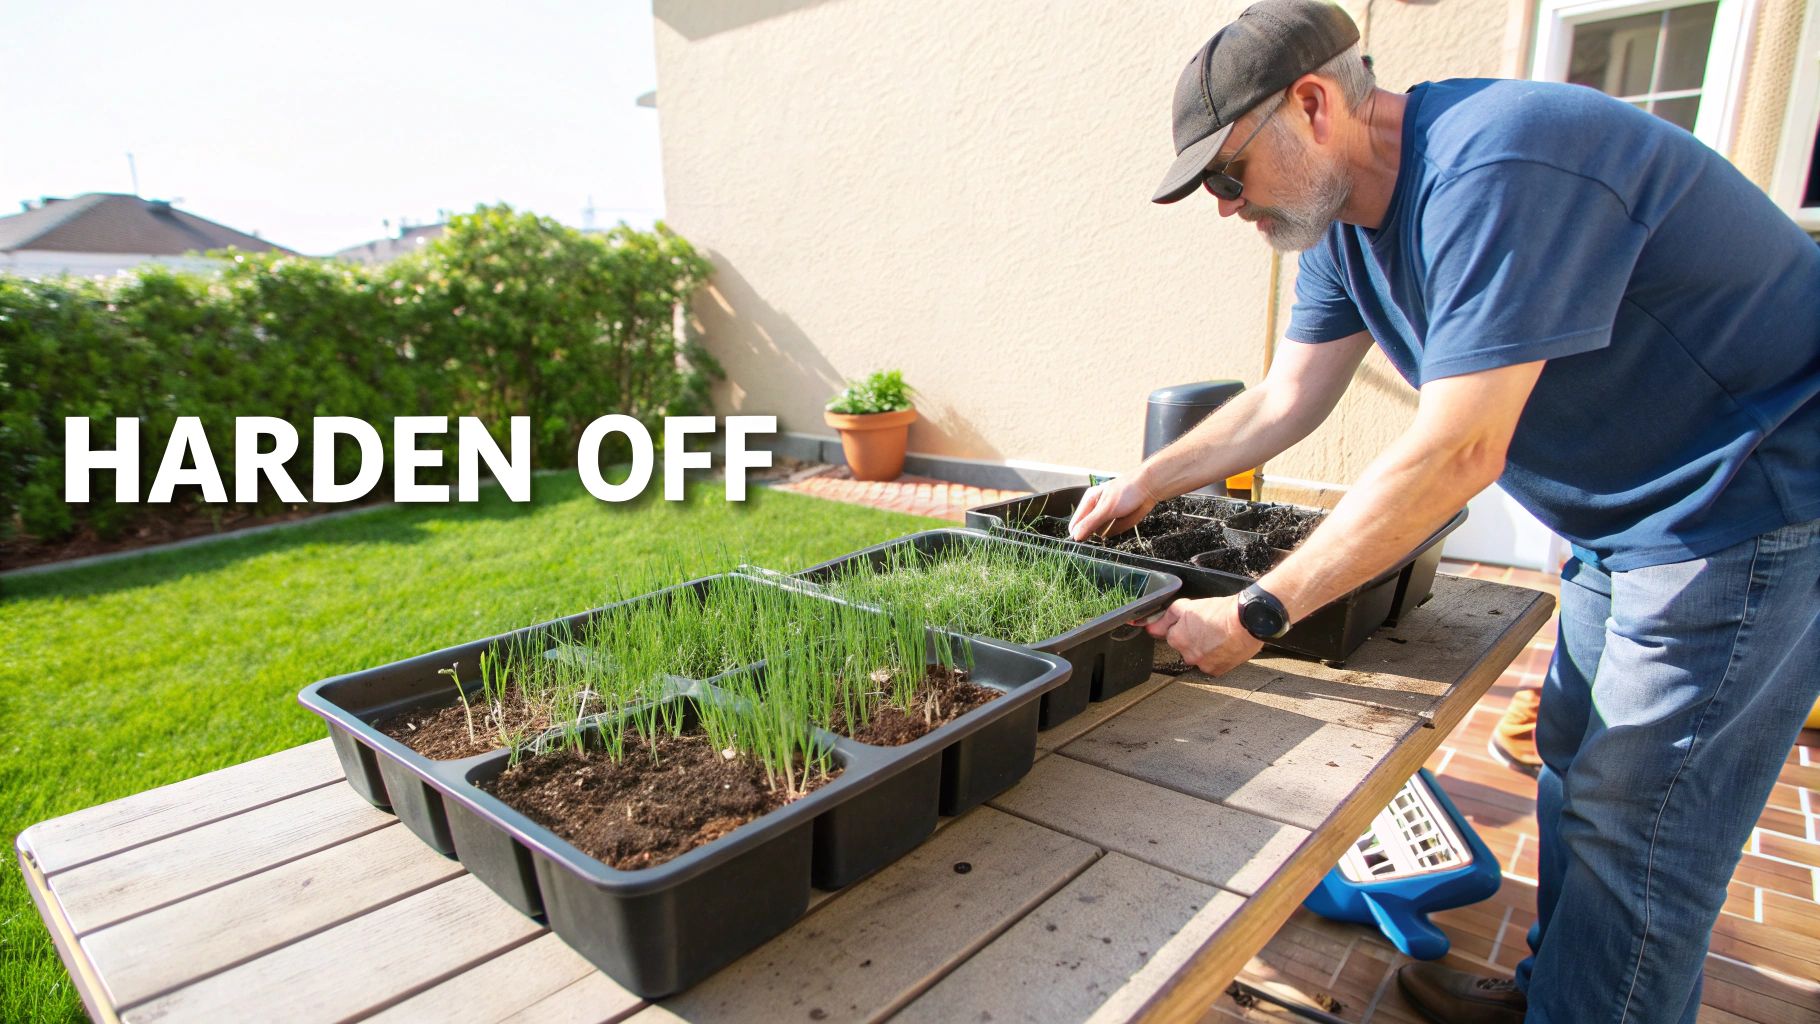
Step 4: Master the Hardening Off Process
Moving your delicate onion seedlings from their cozy indoor setup to the great outdoors can be a real shock to their system. This crucial transition period is called hardening off, and skipping it is one of the biggest mistakes a gardener can make. It’s the difference between thriving plants and ones that get sunburned, wind-whipped, or stalled by transplant shock.
Think of it as boot camp for your onions. You're slowly getting them used to the real world of bright sun, gusty winds, and fluctuating temperatures. The whole process usually takes about a week, and it’s worth every minute.
My Go-To 7-Day Hardening Off Schedule
Gradually exposing your seedlings to the elements toughens them up, making their cell walls more resilient. This schedule is my trusted blueprint, but always keep an eye on your plants and the weather forecast. If it’s unexpectedly windy or cold, give them an extra day or two of gentle treatment.
Here’s a simple plan that works like a charm:
- Days 1 & 2: Find a protected spot that gets dappled shade. Leave the seedlings out for just 2-3 hours in the morning, then bring them back inside. Easy does it.
- Days 3 & 4: Up their outdoor time to 4-5 hours. They can now handle a little direct morning sun, but make sure they're back in the shade before the intense afternoon rays hit.
- Days 5 & 6: Now they can stay out for most of the day. Let them experience more direct sunlight and a bit of a breeze to strengthen their stems.
- Day 7: This is the final exam. If the forecast looks good, leave them outside for a full 24 hours. Just make sure the overnight temperature is predicted to stay above 40°F (4°C).
Want to dive deeper into the science behind this? Check out our complete guide on how to harden off seedlings for even more tips and tricks.
The absolute worst thing you can do is take your seedlings from a windowsill and plop them into the garden under the blazing midday sun. It's a recipe for disaster and will fry them in a heartbeat. Always, always start in the shade.
What to Do on Transplanting Day
Once your onions have passed their hardening-off test, they're ready for their permanent home in the garden. I always try to transplant on an overcast day or in the late afternoon. This gives the plants time to settle in without the stress of intense heat.
Proper spacing is everything for good bulb formation. Give each seedling about 4-6 inches of space on all sides so they have plenty of room to swell. When you tuck them into the soil, plant them just 1 inch deep. You want to cover the small white bulb at the base but not bury the stem, which can hinder growth.
After you have all your seedlings in place, give them a good, long drink of water. This helps settle the soil, gets rid of any air pockets around the roots, and gives them the moisture they need to get established and start growing.
Step 5: Use Succession Planting for Endless Onions
Why have one big onion harvest when you can have a fresh supply all season long? That’s the simple, brilliant idea behind succession planting. Instead of planting all your seeds at once, you stagger them over time to ensure you always have something ready to pull from the garden.
This trick is a game-changer for fast-maturing crops, and it’s especially perfect for bunching onions (you might know them as scallions or green onions). Rather than sowing a massive patch in April that all matures at once, try this: plant a small row of seeds every two to three weeks.
This simple rhythm creates a continuous, rolling harvest that can take you from the first days of spring right up until the first hard frost of fall. It’s the secret to garden-fresh onions whenever a recipe calls for them.
Imagine this: never buying scallions from the grocery store again. By dedicating just a small section of a garden bed to this method, you can have crisp, flavorful bunching onions ready for salads, stir-fries, and garnishes all season.
Keep the Harvest Going All Year
Succession planting isn't just for spring and summer. If you live in a region with milder winters, you can really take this strategy to the next level.
By picking out a few specific cold-hardy bunching onion varieties, you can sow another round of seeds in the fall. They’ll get established before the cold sets in, go dormant, and then spring back to life as soon as the weather warms. This gives you an incredibly early harvest, long before your main spring plantings are even thinking about being ready. It’s a savvy move for getting the absolute most out of a small space.
This backyard strategy actually mirrors what the pros do. Commercial growers in North America plant around 125,000 acres of onions each year, all on tightly synchronized schedules to keep grocery stores stocked. You’re just applying the same smart timing principles to your own garden.
Step 6: Avoid Common Planting-Time Pitfalls
Even if you get the timing perfect, a few simple missteps can trip up your onion harvest. Honestly, learning what not to do is just as important as knowing when to plant. Let's walk through the critical blunders to avoid for that beautiful, bountiful crop you're after.
So many gardeners get the big picture right but stumble on the small stuff. These little mistakes might not seem like a big deal at the time, but they can have a huge impact on your final harvest, leaving you with weak plants and sad, tiny bulbs.
Here are the top three errors I see all the time:
- Sowing Seeds Too Deep: Onion seeds are tiny—they don't have a lot of gas in the tank to start with. Planting them any deeper than 1/4 to 1/2 inch makes the seedling fight way too hard to reach the sunlight. More often than not, they'll either fail to sprout or emerge as weak, spindly things that never catch up.
- Ignoring Soil Temperature: I know it's tempting to get out there on the first warm day, but patience is key, especially if you're direct sowing. Tossing seeds into cold, soggy soil that's below 50°F (10°C) is just asking for them to rot. Always, always check with a soil thermometer first.
- Forgetting to Thin Your Seedlings: This one is tough for a lot of gardeners, but it's absolutely non-negotiable. If you leave your onions crowded, they'll go to war with each other for water, nutrients, and light. If you don't give them their space—about 3-4 inches apart—you won't get bulbs. You'll get a tangled mess of thick-necked scallions.
I can't tell you how many times I've seen a garden bed full of what look like slightly overgrown green onions at the end of the season. That's what happens when the plants never get the right conditions to really start bulbing. The whole season's effort is wasted.
Step 7: Use Pro Tricks for a Strong Start
Alright, now for the fun part. These are the little secrets that give your onions a real head start. A few simple techniques can kickstart growth and build resilience in your young plants, paving the way for a much easier season and a better harvest.
A fantastic little hack is pre-sprouting your seeds. Before you even think about putting them in soil, just lay the seeds out between a couple of damp paper towels, slide them into a plastic baggie, and leave it somewhere warm. In a few days, you'll see tiny white roots poking out. Not only does this tell you which seeds are viable, but it can also shave a full week off their germination time in the soil.
Another game-changer is mulch. Once your transplants are in the ground, tuck them in with a light layer of straw or shredded leaves. Mulch is a triple-threat: it keeps the soil moist, smothers pesky weeds, and helps keep soil temperatures from swinging wildly.
Finally, give your seedlings a little boost to get them established. About a week after they go in the ground, water them with a weak, high-phosphorus liquid fertilizer. Something gentle like a compost tea or a diluted fish emulsion is perfect. It gives their roots a kickstart, helping them build a strong foundation for the rest of the season.
Common Questions About Planting Onion Seeds
Even the most seasoned gardeners run into questions. Here are some of the most common ones I hear about getting onion timing just right, so you can plant with confidence.
Can I Just Sow Onion Seeds Directly in the Garden?
You definitely can, but it’s a strategy that works best in specific scenarios. Direct sowing is fantastic for bunching onions (scallions) since you're not trying to grow a massive bulb. It can also work for bulbing onions if you live somewhere with a really long, mild growing season.
For this to have any chance of success, your soil needs to be reliably warm—think 50-55°F (10-13°C).
Honestly, though, for getting those big, beautiful storage onions, starting seeds indoors 8-12 weeks before your last frost date is the way to go. That head start is crucial for the plant to develop enough leafy green top growth before the summer sun tells it to start making a bulb.
What Happens If I Start My Onion Seeds Too Late?
This is probably the single biggest reason gardeners get stuck with tiny, marble-sized onions at harvest time. Onions are completely driven by day length; it's the trigger that tells them to stop making leaves and start forming a bulb.
If you plant too late, the onions simply won't have enough time to grow a big, bushy top before that signal hits. The result? You'll often see thick necks and disappointingly small bulbs. Sometimes, the stressed-out plant will just give up on making a bulb and "bolt" by sending up a flower stalk instead.
A late start is the fastest way to a small onion harvest. An onion's size is directly related to the number of leaves it grows before bulbing begins. If you miss that window, it just doesn't have the green engine to produce a big bulb.
How Deep Should I Plant Onion Seeds?
Barely cover them. Onion seeds are tiny and don't have much stored energy. The sweet spot is just 1/4 inch deep.
Pushing them down any further forces the seedling to waste all its energy just trying to break through the soil. This often results in weak, stringy plants that never really take off, or they might not even germinate at all.
At Homegrown Garden, we know a great harvest starts with great seeds and the right know-how. From heirloom onion varieties suited for your specific day length to in-depth growing guides, we've got you covered. Check out our full collection of high-quality seeds and garden supplies at https://www.homegrown-garden.com.

