


Hardening off is the essential process of preparing your seedlings for the great outdoors. Think of it as a gradual bootcamp for your young plants, slowly introducing them to the realities of sun, wind, and changing temperatures. This isn't a step you want to rush; a good hardening-off process usually takes about 7 to 14 days and makes all the difference in preventing transplant shock.
Step 1: Understand Why You Can't Skip Hardening Off
I've seen it happen too many times: a gardener spends weeks nurturing beautiful seedlings indoors, only to watch them wither and die within a day of being planted outside. It's a heartbreaking, but completely avoidable, mistake. Skipping this crucial transition is a recipe for disaster.
Your seedlings have been living a sheltered life. Indoors, they've been treated to:
- Consistent, cozy temperatures.
- Soft, filtered light from a window or grow lamp.
- Zero wind to test their strength.
- Water on a perfect schedule.
It's the plant equivalent of a luxury spa. Moving them straight from that environment into the garden is like pushing someone out of a warm house into a blizzard wearing only a t-shirt. The shock can be fatal.
Toughening Up for the Real World
Outdoors is a whole different ballgame. The sun is brutally intense compared to any artificial light, a gentle breeze can feel like a gale to a fragile stem, and temperatures can swing wildly. This sudden stress is what we call transplant shock, and it shows up as sunburned leaves, wilting, stunted growth, and often, dead plants. Planning your garden layout can also play a role in plant success; some people even explore the considerations of artificial turf versus natural grass to create zones that best support their plants' needs.
By slowly increasing their exposure to these elements, you're essentially coaching your seedlings to toughen up. This process triggers them to develop thicker leaves (a waxy layer called a cuticle) to prevent sun-scald and dehydration, and their stems become stronger and more flexible to handle the wind. It also encourages their roots to get ready for the hard work of seeking out water and nutrients in the garden bed.
Think of it this way: you’re not just moving your plants, you’re training them. This gradual exposure tells them it's time to build their defenses for a much less forgiving world, which is the secret to a thriving, productive garden.
Ultimately, taking the time to harden off your seedlings is the critical bridge between a promising start and a bountiful harvest. It's the final, essential step before you can confidently learn how to transplant seedlings into their permanent homes.
Step 2: Set Your Seedlings Up for Success
Getting your seedlings ready for their big move outdoors is all about smart preparation. Before they ever feel a real breeze or the full sun, a little bit of prep work will make the entire hardening-off process go smoothly.
When to Start the Process
Timing is everything here. You’ll want to kick things off only after the danger of the last frost has well and truly passed for your area.
The seedlings themselves also need to be ready. I always wait until my plants have at least two sets of "true" leaves. These are the more complex leaves that pop up after the initial, simpler-looking seed leaves (called cotyledons). A strong, well-developed plant is always going to handle the transition better.
A Quick Pre-Flight Check
Before you even think about taking them outside, pull up the 10-day forecast. Starting this process right before a surprise cold snap, a blistering heatwave, or a high-wind advisory is a recipe for disaster. What you're looking for are a few mild, calm days to get started.
A couple of hours before their very first trip outdoors, give your seedlings a good drink of water. The goal is moist soil, not a soggy mess. This ensures they're fully hydrated and can better handle the initial shock of a new environment.
A well-watered seedling is a less-stressed seedling. Plants that are properly hydrated have a much-needed buffer against the drying effects of wind and sun, which is critical for a successful first day.
This simple prep, combined with the strong foundation from your indoor seed starting setup, creates the perfect conditions for your seedlings to thrive as they transition from your home to the garden.
Step 3: Follow a Day-by-Day Schedule
Alright, this is where the real work begins. Think of the next 7 to 10 days as a training camp for your seedlings. It's less about a rigid, set-in-stone schedule and more about being a patient, observant coach. The whole point is to gently introduce them to the big, wide world without shocking their system.
This visual guide is a great quick-reference for the key things to keep an eye on before and during the process.
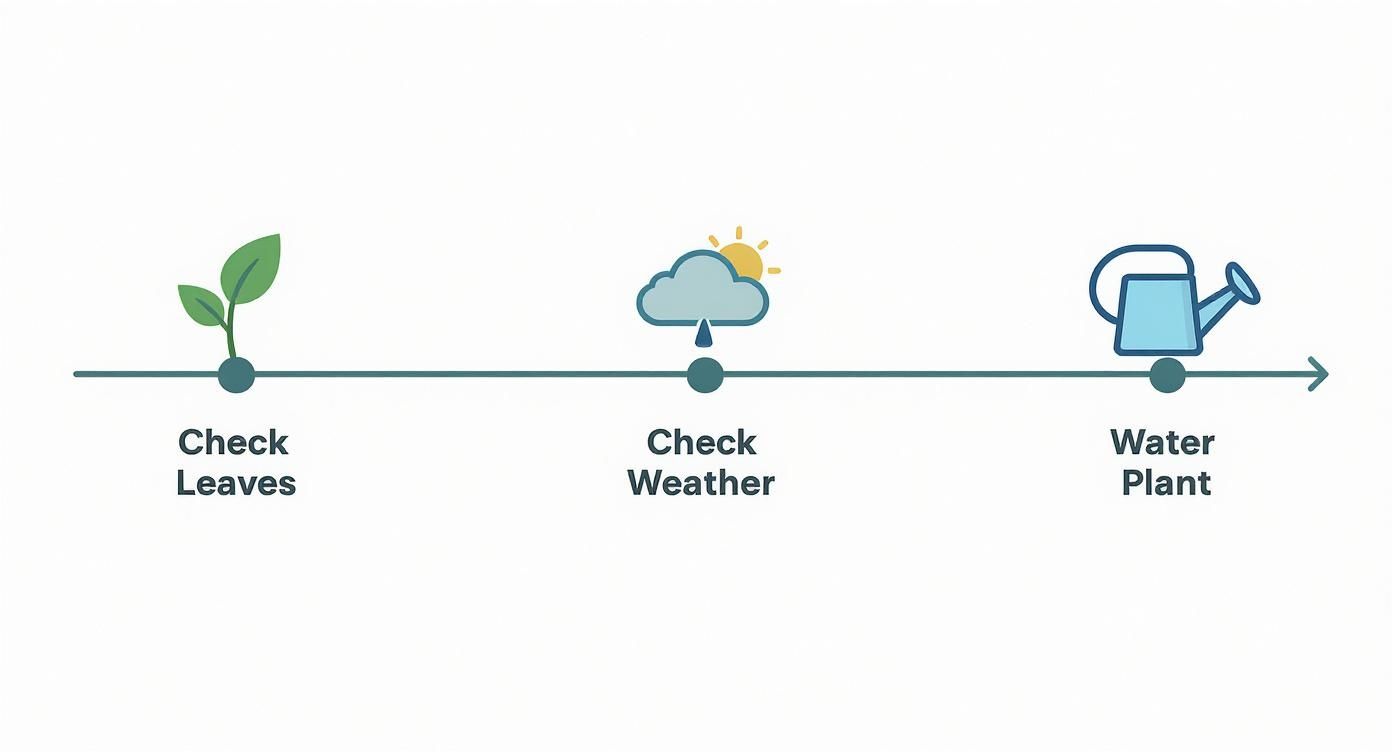
As you can see, it really boils down to three things: making sure your plants are ready, watching the weather like a hawk, and keeping them properly watered.
Days 1-3: The Gentle Introduction
The first few days are just about getting a feel for the outdoors. We're aiming for a gentle hello, not a trial by fire. Your main job is to find a spot that’s completely protected from direct sun and gusty winds. Think of places like a covered porch, the shady north side of your house, or even tucked under a big patio table.
- Day 1: Set the seedlings out in their sheltered spot for just one hour. Seriously, that's it. Then bring them right back inside.
- Days 2 & 3: Gradually bump their outdoor time up to two or three hours each day. It's crucial they stay in full shade during this time. They're just getting used to the temperature shifts and air movement.
Days 4-6: Introducing Dappled Sunlight
Now that your little plants are used to the temperature changes, it’s time to let them see some sun. But not all sun is the same. The gentle morning sun is your best friend here; the harsh afternoon sun will still scorch those tender leaves.
Start moving them to a spot that gets filtered or dappled sunlight. Under the canopy of a leafy tree is perfect, as is a spot beneath a lattice patio cover.
- Day 4: Let them get about one hour of direct morning sun, then move them back to a shady spot for another three to four hours.
- Days 5 & 6: Push the direct morning sun exposure to two or three hours. Their total time outside can now stretch to about five or six hours. Just be sure to get them back into the shade before the sun gets too intense in the afternoon.
Keep a close eye on the soil moisture during this stage. The combination of sun and wind dries out those little pots much faster than you're used to indoors.
Days 7-10: The Final Stretch
By now, your plants should be looking noticeably tougher. Their stems will feel sturdier and their leaves should have a richer, deeper green color. This is the home stretch, where we ramp up their exposure until they can handle a full day outside.
- Day 7: Give them a good four to five hours of direct sun, letting them experience some of that slightly stronger midday light.
- Day 8 & 9: It's time for a full day's work. Leave them out from morning until evening. If you can, put them in the exact spot where they'll eventually be planted so they can get a feel for their new home.
- Day 10: If the weather looks good and nighttime temps are staying above 50°F (10°C), you can let them stay outside overnight. Once they’ve made it through a full 24-hour cycle without wilting or showing signs of stress, you've done it! They are officially hardened off and ready to go into the ground.
Step 4: Navigate Sun, Wind, and Water
Think of hardening off as a delicate dance between your seedlings and the elements. You're playing the role of chaperone, carefully managing their exposure to the big three: sun, wind, and water. Get this balance right, and you'll have tough, resilient plants ready to thrive in the garden.
Shielding from Wind
A steady breeze is an invisible threat to coddled seedlings. It relentlessly wicks moisture from their leaves, leading to dehydration much faster than they're used to. It can also physically batter and even snap those tender stems that haven't yet built up any strength.
The best defense is a simple windbreak. Tuck your seedling trays on the sheltered side of your house, behind a fence, or even next to a few large, established shrubs. This creates a buffer zone, diffusing the wind's power and letting your plants acclimate without getting knocked around.
I've learned from experience that a little bit of wind stress is a good thing. It actually signals the plant to thicken its cell walls, resulting in a stockier, more robust stem. By introducing it slowly, you're training them to be tough.
Introducing Sunlight with Care
Sunlight is what this is all about, but it's a classic case of too much of a good thing. The direct, unfiltered sun is packed with UV rays that can scorch tender foliage, a condition called sunscald. You'll see it as white, papery patches on the leaves. This happens because indoor seedlings lack the protective waxy coating they need to handle the intensity.
Start them out in a gentle spot. Dappled shade under a leafy tree is perfect, as is a spot that only gets the soft, early morning sun. The harsh afternoon sun, especially between noon and 4 p.m., is the enemy here. By gradually increasing their exposure, you give them the time they need to build up that natural sunscreen.
Adjusting Your Watering Routine
This might seem a bit backward, but you actually want to dial back the water slightly during the hardening-off period. You never want the seedlings to completely dry out and wilt, of course, but letting the soil get a little drier than usual sends a powerful signal to the plant.
This mild water stress encourages the roots to grow stronger and deeper as they "search" for moisture. It’s a bit of tough love that prepares them for the less consistent watering they'll experience in the garden. The aim is for soil that's consistently moist, not perpetually waterlogged. It’s a subtle shift, but it makes a huge difference in their long-term resilience.
Step 5: Spot and Fix Common Problems
Even when you follow the rules, your seedlings might hit a rough patch. Think of these little signs of stress as your plants talking to you—they’re telling you what they need. Learning to read the signals means you can step in quickly and get them back on track.
Wilting is probably the most common issue you'll see. A little bit of drooping in the hot sun is perfectly normal, especially if the leaves perk right back up once they're in the shade. But if the whole plant looks limp and exhausted, it's a clear cry for help.
Your immediate move for any serious wilting should be to get that seedling back into a fully shaded, protected spot. It's a sure sign of too much sun or wind, too fast. Let it recover before trying again.
Identifying Specific Issues
Your seedling's leaves are like a billboard for its health. Pay close attention to them, because they’ll show you exactly what’s wrong.
-
Sunscald: See any white, yellow, or almost translucent patches on the leaves? That’s a classic plant sunburn. It means you jumped into direct sun too quickly. The solution is simple: dial back the sun exposure for a couple of days, keeping them in dappled light only.
-
Windburn: If the edges of the leaves look dry, brown, and crispy, you're likely dealing with windburn. This happens when the wind pulls moisture from the leaves faster than the roots can supply it. Find a spot with a better windbreak to give them some relief.
Catching these problems early makes all the difference. Most plants are surprisingly resilient and will bounce back with a few simple adjustments. It’s just another reminder that "slow and steady" is the mantra for hardening off.
If you notice some plants are struggling more than others, it's also a great time to check for overcrowding. Knowing when to thin seedlings gives the strongest ones the space and resources they need to thrive.
Step 6: Troubleshoot Your Toughest Questions
Even with the best plan, you’re bound to have questions pop up. It happens to every gardener. Think of this as your go-to guide for those little "what-if" moments that inevitably arise when you're getting your plants ready for the great outdoors.
Here are a few of the most common curveballs and how to handle them.
What if a Sudden Cold Snap or Storm Hits?
You've been following your schedule perfectly, and then you see it: a forecast for unexpected frost, a nasty storm, or high winds.
The answer is simple: hit pause.
Bring every single one of your seedlings back inside to a protected spot. Don't even think about leaving them out. It’s always better to add an extra day or two to your hardening off timeline than to lose all your hard work to one rough night. Once the weather system has passed and conditions are stable again, you can pick up right where you left off.
Can I Speed Up the Process? I'm in a Hurry.
I get it, it’s tempting to rush things along. But this is one area in gardening where patience is truly a virtue.
Trying to cram hardening off into less than 7 days is a recipe for disaster. It dramatically increases the risk of transplant shock, sunscald, and windburn. Your seedlings need that full week or more to make critical physical changes, like thickening their cell walls and growing a waxy cuticle on their leaves to protect them. For more great tips, exploring additional plant care insights can really round out your gardening knowledge.
The hardening off period is a biological necessity, not an optional step. Rushing it undermines all the careful work you've put into nurturing your seedlings from the start.
I Forgot to Bring My Seedlings in! What Do I Do?
First off, don't panic! It happens.
Start by assessing the situation. If they were left out overnight during the first few days and got hit with cold, look for any signs of wilting, limpness, or discoloration.
Bring them inside immediately. Give them a full day or two to recover in a sheltered spot away from intense light. If they perk up and look fine, you can probably resume your schedule. I’d suggest repeating the previous day's exposure level just to be safe before moving on to the next step.
Step 7: Finish Strong by Transplanting
You've made it! Once your seedlings have successfully spent a full 24-hour period outside (including overnight) without any signs of stress like wilting or discoloration, they are officially hardened off. This is the moment you've been working toward. Now, they are ready for their permanent homes in your garden. Plant them in their final spots, give them a good watering to help settle the soil around their roots, and watch them thrive.
At Homegrown Garden, we believe a thriving garden starts with strong, healthy plants. Our heirloom seeds and detailed guides are here to help you navigate every stage with confidence, from that first sprout to the final transplant. Start your garden journey today!

