

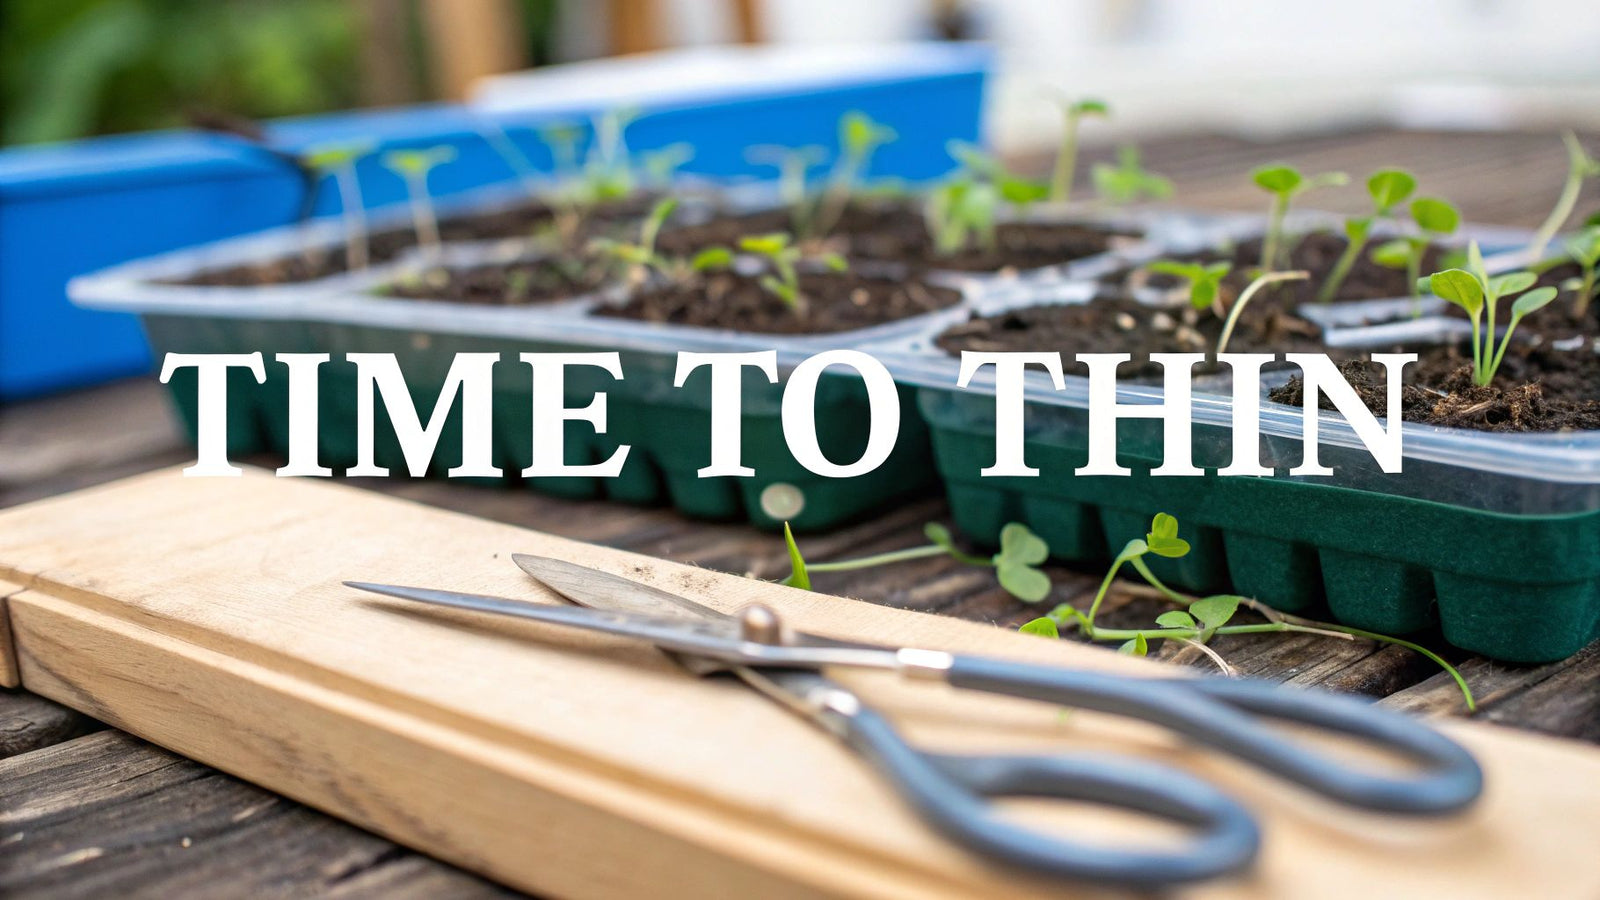

As a gardener, I know it can feel almost painful to pluck out perfectly good-looking seedlings. We put so much effort into getting them to sprout, so why undo the work? But trust me, this is one of the kindest and most productive things you can do for your garden.
Think of it less as a sacrifice and more as picking your champions. By thinning, you’re giving the strongest, most vigorous seedlings the room, light, and nutrients they need to grow into healthy, productive plants.
When seedlings are left to grow in a crowded clump, they're forced to compete. This struggle leads to a tangle of weak, spindly plants that are far more likely to struggle with disease and produce a disappointing harvest. Thinning prevents this battle before it even begins.
When Is the Right Time to Thin?
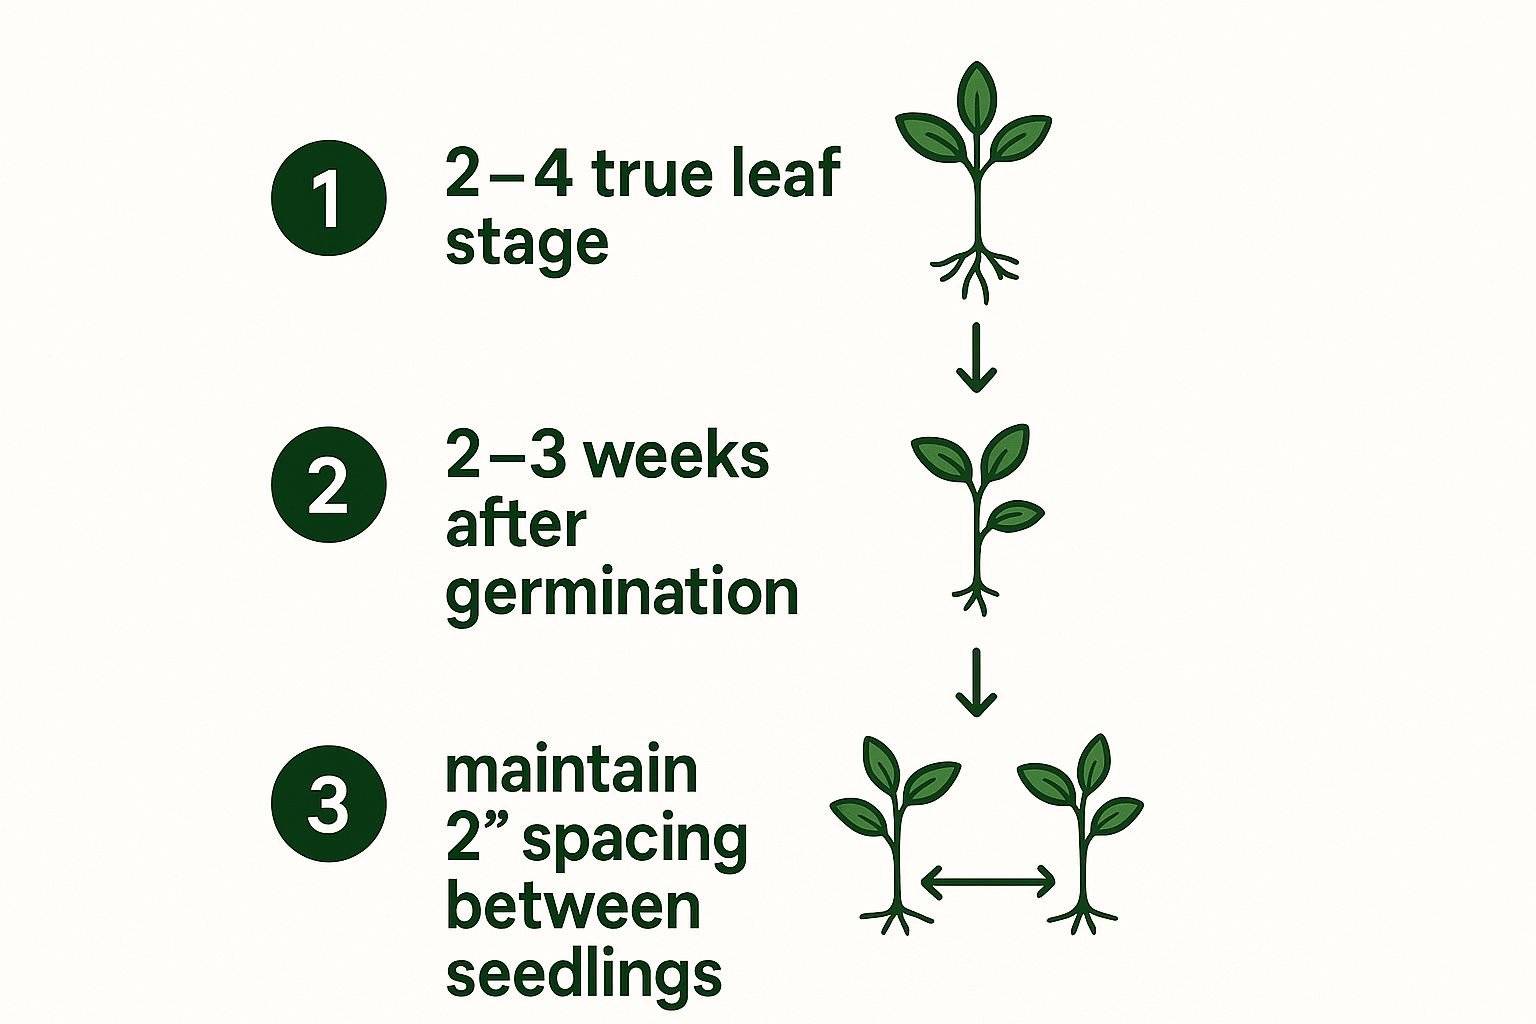
Knowing when to step in is the key. The perfect time is when your seedlings have developed their first set of true leaves and are about 2-3 inches tall. This is the clearest sign that the tiny plants are established enough to handle the change and are ready for their own space.
Don't be fooled by the very first leaves that pop up after germination! Those are called cotyledons, or "seed leaves," and they look very simple and generic. They're just there to provide the initial burst of energy. The leaves that appear after that first pair are the true leaves, and they’ll actually start to resemble the leaves of the mature plant. That's your signal to get started.
At 2-3 inches tall, the seedling's stem is sturdy and its root system is just developed enough to stay put after you remove its neighbors. This is especially true when you're working with a controlled indoor seed starting setup.
For most common garden vegetables, you'll hit this sweet spot about one to three weeks after the seeds sprout. It's a small window, but getting the timing right makes all the difference.
Studies have shown just how much this matters. In commercial Chile pepper farming, for instance, thinning at just the right moment—between the cotyledon stage and the appearance of the second true leaf—can boost the final harvest by 10-20%. It’s a small task with a huge payoff. To see how this fits into the bigger picture for a popular plant, check out this excellent guide on growing tomatoes.
If you’re interested in the science behind this, researchers at NMSU's College of Agricultural, Consumer and Environmental Sciences have explored how timing impacts crop yields.
Seedling Thinning Cheat Sheet
To make it even easier, here’s a quick reference table. Keep these visual cues in mind every time you check on your seedlings.
| The Sign | What It Looks Like | Why It's Time to Thin |
|---|---|---|
| First True Leaves Appear | A second set of leaves emerges above the initial, simple "seed leaves." These new leaves look like miniature versions of the adult plant's leaves. | This signals the plant is now photosynthesizing on its own and has enough energy to recover from the thinning process. |
| Seedlings Are 2-3 Inches Tall | The seedlings have some height and their stems look sturdy, not flimsy. They can stand on their own without flopping over. | The root system is developed enough to be stable, so removing neighbors won't easily dislodge the "keeper" seedlings. |
| They're Getting Crowded | The leaves from neighboring seedlings are beginning to touch or overlap. | This is the very beginning of the competition for light. Thinning now prevents them from getting leggy and weak as they stretch for the sun. |
Once you see these signs, it's time to act. It’s a simple step that sets your garden up for a season of strong, healthy growth.
Why Thinning Is a Gardener's Best Kept Secret
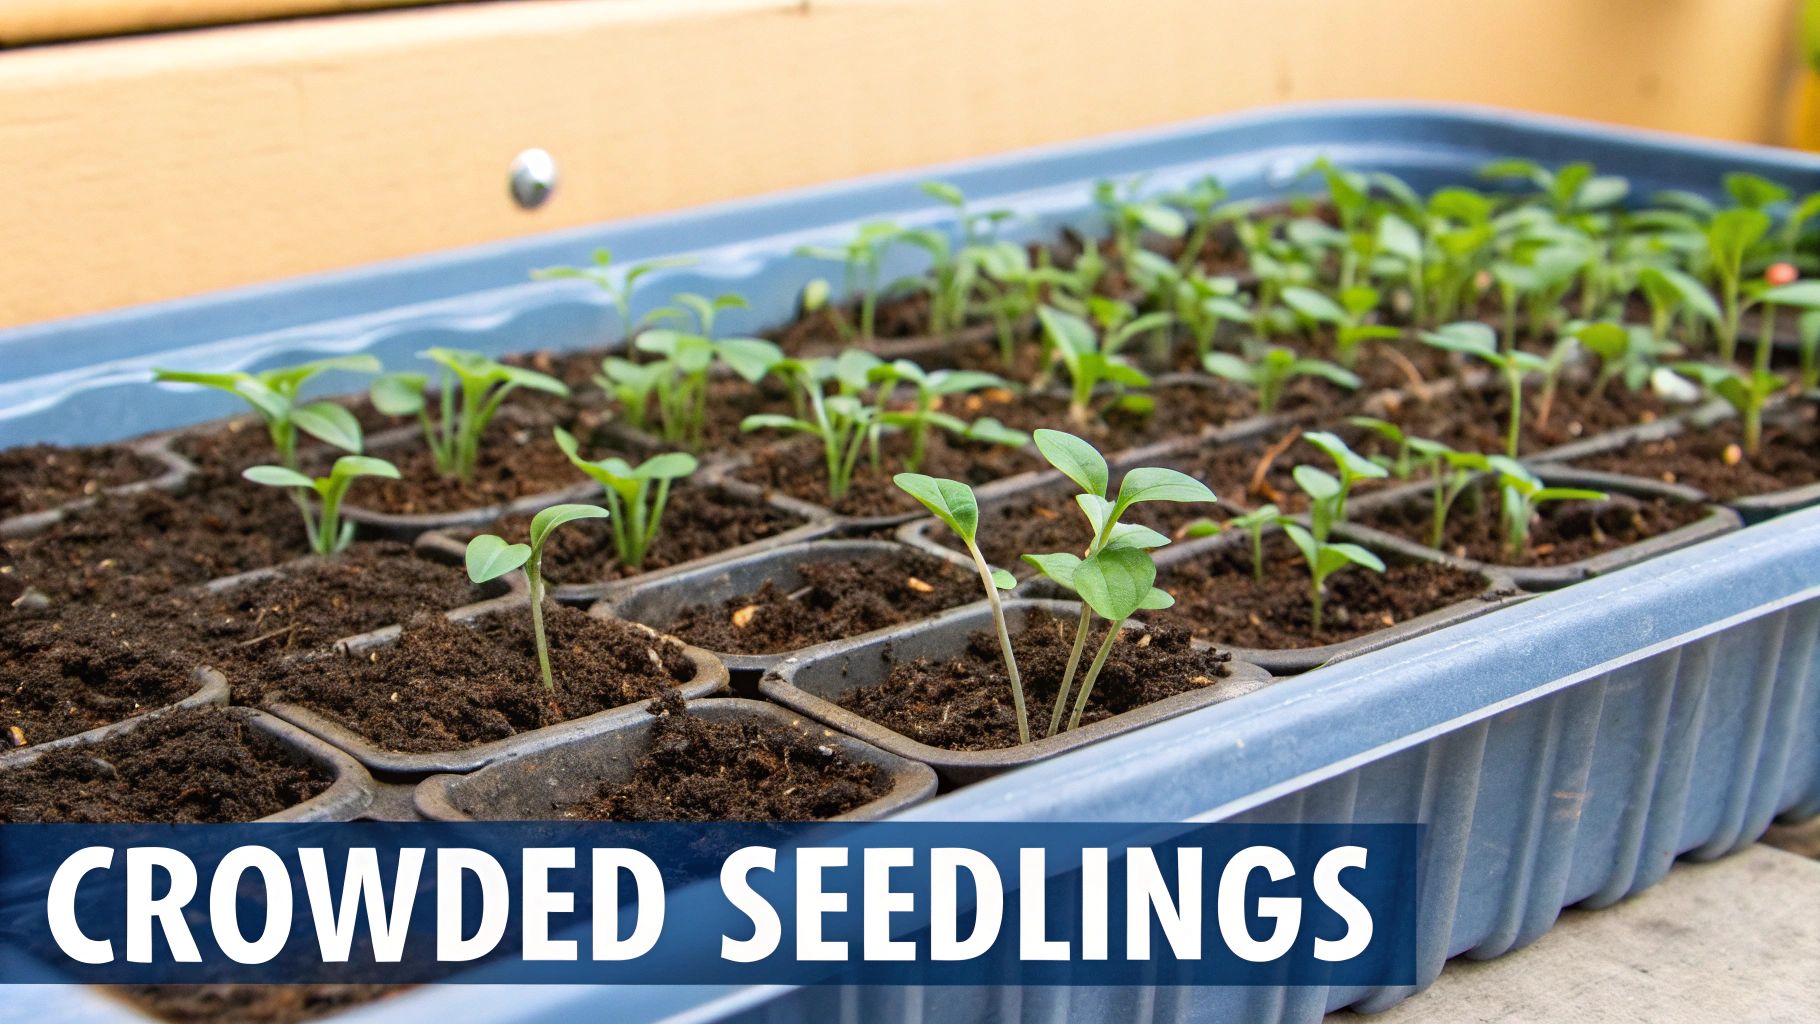
It’s an age-old gardener's dilemma. You sow a few extra seeds, just in case, and suddenly you’re staring at a thick carpet of green sprouts. Your first instinct might be to let them all grow, but pulling some out is one of the kindest things you can do for your future garden.
Think of it this way: when seedlings are crammed together, they’re locked in a silent but fierce battle for survival. Every single plant is desperately competing for three things: sunlight, water, and nutrients. It’s a ton of stress for a tiny plant.
The Problem with Crowding
Without elbow room, a seedling can't establish the strong, deep root system it needs to thrive. Instead, the plants grow stunted and "leggy"—all tall, spindly stems—as they stretch frantically for any ray of light they can find. These weaklings are far more likely to fall prey to pests, diseases, or a sudden hot spell later in the season.
On top of that, a dense mat of leaves is a magnet for trouble. It traps humidity and blocks airflow, creating the perfect damp environment for fungal diseases. You’ve probably heard of damping-off; it can wipe out a whole tray of seedlings in a heartbeat, and poor air circulation is a major cause.
Thinning isn't about waste. It's about playing favorites for the good of the harvest. You’re picking the strongest contenders and giving them everything they need to grow big and productive.
When you nail down when to thin seedlings, you start to see it differently. You aren't just pulling out extras; you're making a strategic investment in the health and vigor of your garden. This one simple task ensures the plants that remain have the best possible shot at becoming the robust, healthy specimens you’ve been dreaming of.
The 7 Signs It's Time to Thin Your Seedlings
Knowing exactly when to thin your seedlings is more of an art than a science. Forget staring at the calendar; it's all about watching your plants and learning to read their signals. This is one of those skills that separates novice gardeners from seasoned pros, and getting the timing right is key to a bountiful harvest.
This quick guide covers the basics—true leaves, timing, and spacing—to help you nail it.
The main takeaway here is patience. You want to give your seedlings a chance to get established before you start pulling their neighbors. Intervene too early, and you risk damaging the fragile survivors.
1. The True Leaf Milestone
This is the big one—the most reliable signal you'll get. When your seedlings first pop up, they’ll have a set of simple, often rounded leaves called cotyledons. These are just the starter pack. You're waiting for the next set of leaves, the true leaves, which will look like tiny versions of the adult plant's foliage. Once a seedling has at least two true leaves, it's sturdy enough to handle the thinning process.
2. The Crowded Canopy
Take a bird's-eye view of your seedling tray. Do you see a sea of green where individual plants are hard to distinguish? If the leaves are starting to touch or overlap, the battle for sunlight has already begun. Think of a patch of baby lettuce or beet greens forming a dense carpet—that's your cue to step in and give everyone some breathing room.
This is a critical window. Research shows the sweet spot is when seedlings have two to three true leaves, as they’re developed enough to cope with the disturbance. You can dive deeper into the science behind this in this detailed study on plant development.
3. The "Leggy" Look
Are your seedlings looking a bit lanky and pale, like they’re stretching for the sky? That's what gardeners call "leggy." It's a classic sign of overcrowding. They're desperately trying to outgrow their neighbors to find more light. Thinning them out now will give the remaining plants the direct sun they need to grow short, stocky, and strong.
4. Spotting the Strongest Contenders
Now it’s time to play judge. Scan the clumps of seedlings and look for the clear winners. You’re not just looking for the tallest one; you're looking for the healthiest.
- Sturdy Stems: Look for thick, robust stems, not thin, wobbly ones.
- Vibrant Leaves: Pick the seedlings with well-formed, deep green leaves. Skip any that look yellow, pale, or misshapen.
- Good Placement: In a cell tray, the seedling closest to the center often has the best-developed root system.
Remember, the tallest seedling isn't always the strongest. A stocky, compact plant is a much better bet than a lanky, leggy one.
5. What Your Seed Packet Says
Don't toss that seed packet! It's a goldmine of information. It will almost always tell you the ideal final spacing for your plants, with instructions like "thin to 6 inches apart." This gives you a clear target and helps you visualize just how much space each mature plant really needs to thrive.
6. Checking for Root Crowding
This applies mostly to seedlings started in cell trays or small pots. If you’re curious, you can gently slide a soil plug out of its container. Do you see a dense web of white roots, maybe even circling the bottom? That's a sign they're about to become root-bound. Thinning now frees up resources and prevents that tangled mess from stunting growth later on.
7. The Right Weather for the Job
Your timing isn't just about the plant's stage—it's also about the weather. The absolute best time to thin is on a cool, overcast day or in the late afternoon/early evening. This gives the remaining seedlings a chance to recover from the stress without battling the heat and intense sun. Thinning in the middle of a hot, sunny day is a recipe for wilting and transplant shock.
How to Thin Seedlings Without Harming Your Plants
Alright, you've figured out when to thin, so let's get down to the how. The whole point is to remove the extra seedlings with absolutely zero damage to the roots of the one you’ve chosen to keep. This is a delicate operation, but it's simpler than it sounds.
I've found there are two reliable ways to do this, and the one you choose depends on the type of plant you're growing.
My Preferred Method: The Snip
Honestly, this is my go-to technique for about 90% of the seedlings I thin, especially for plants with fragile roots that hate being disturbed, like carrots and most leafy greens. It’s practically foolproof.
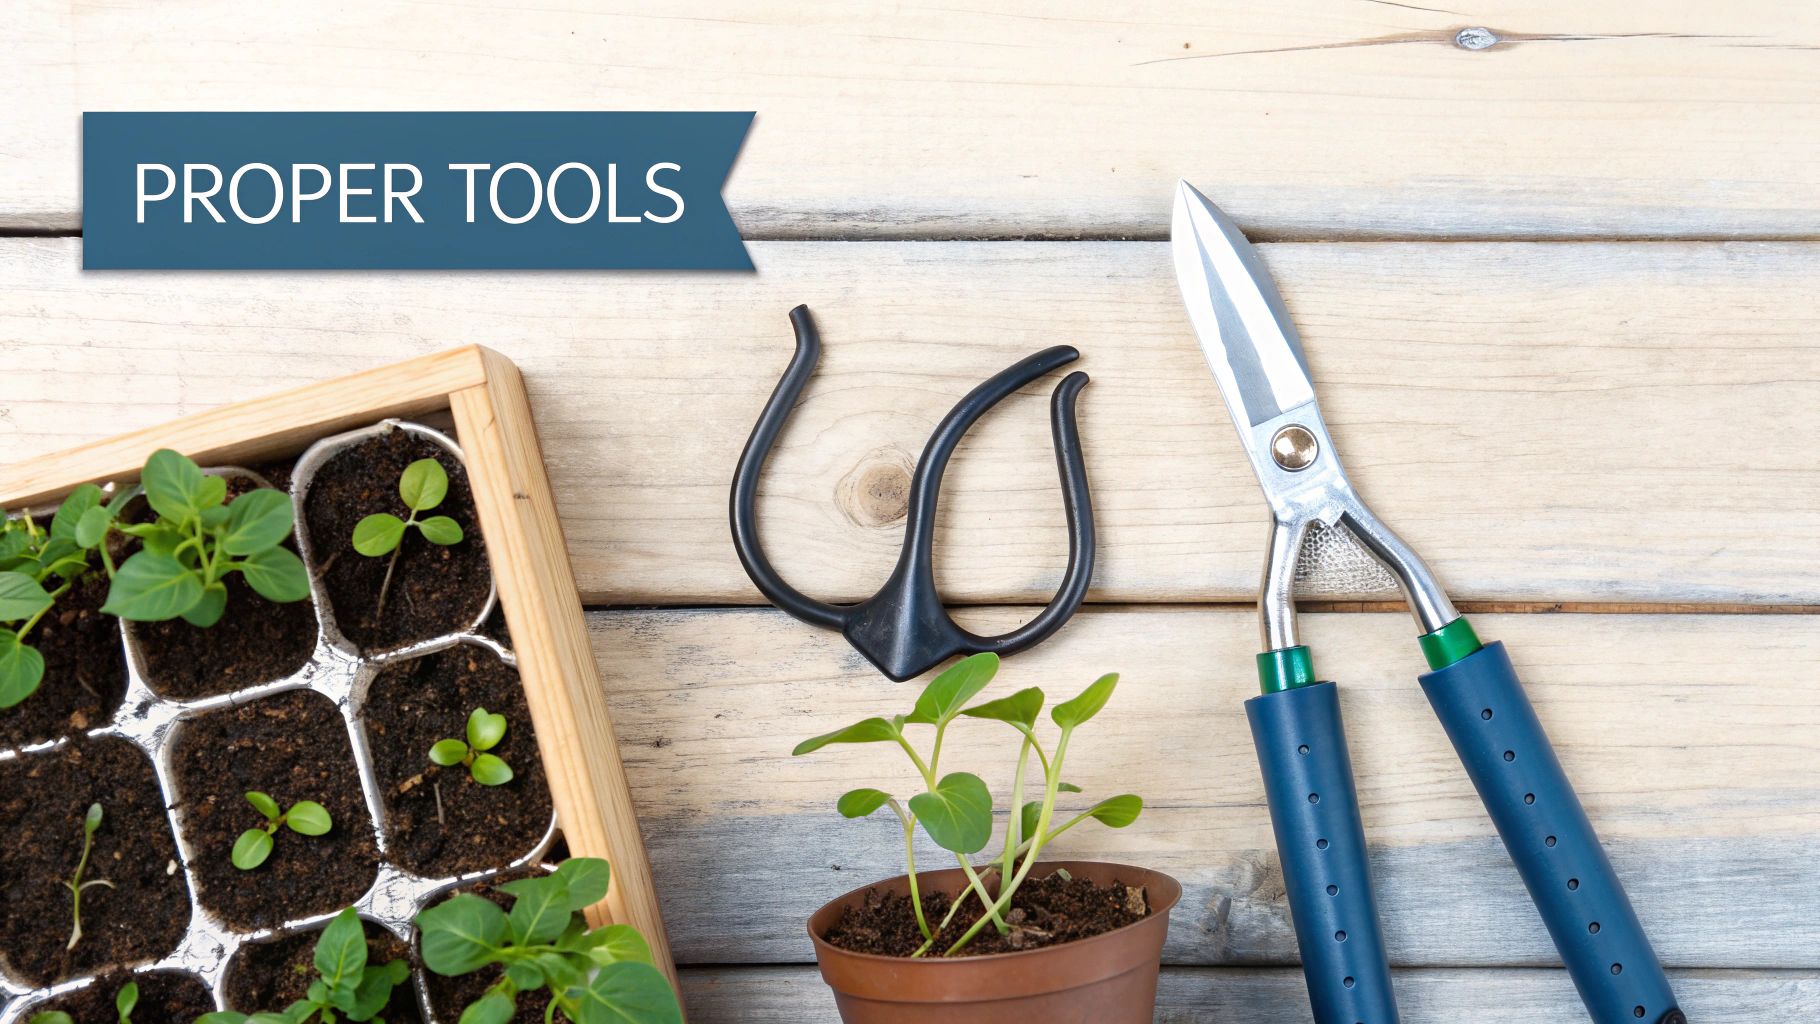
All you need is a small, sharp pair of scissors or garden snips. Simply get down to soil level and snip the unwanted seedlings right at their base.
The beauty of this method is that the roots of the culled seedlings are left in the soil to decompose. This means no root disturbance for your chosen survivor, which is exactly what we want. If you're dealing with a thick patch of tiny sprouts, our guide on thinning carrot seedlings has some extra tips for that specific challenge.
The Alternative: The Gentle Tug
Your other option is to gently pull the unwanted seedlings out. This works best for plants with more robust root systems—think sunflowers, squash, or beans. It’s also the method to use if you’re brave enough to try and transplant the extras.
If you go this route, a little prep work makes all the difference.
Pro Tip: Water the soil well about an hour before you start. Damp soil is much looser, allowing roots to slide out cleanly instead of tearing and taking their neighbors with them.
When you're ready to pull, grab the seedling by the base of its stem and pull straight up with slow, steady pressure. I like to use my other hand to gently press down on the soil around the seedling I'm keeping, just to make sure it stays put.
Choosing Your Champion
So, which seedling gets to stay? Don't just default to the tallest one! You’re looking for the strongest, not necessarily the lankiest.
Your ideal candidate will be:
- Stocky with a sturdy stem.
- Vibrant green with healthy-looking leaves.
- Well-spaced from its neighbors, if possible.
It's fascinating how far seeds have come. Research into ancient seeds reveals that over thousands of years, their coats have become thinner, leading to faster, more uniform germination. This evolution gives us a better crop of strong seedlings to choose from right from the start. You can explore more on this fascinating research about seed evolution if you want to geek out on the science behind it.
Common Thinning Mistakes and How to Avoid Them
It’s one thing to know how to thin seedlings, but it’s another to avoid the common pitfalls that can trip up even experienced gardeners. We've all been there. Learning what not to do is just as important as learning the right steps.
Getting the timing right, picking the strongest survivors, and protecting their delicate roots will make all the difference between a sparse garden and a truly abundant one.
Mistake #1: Waiting Too Long
This is probably the most frequent mistake gardeners make. It's tempting to put it off—the seedlings look so small and fragile. But waiting is a recipe for disaster.
When you delay, the seedlings' roots have more time to grow and get tangled up with their neighbors. Trying to separate them at that point is like performing surgery. You almost always end up damaging the roots of the very plants you want to keep, which can stunt their growth or even kill them.
That window of opportunity after the first true leaves appear is your golden moment. Don't miss it.
Mistake #2: Thinning Too Much
Yes, it's possible to be too enthusiastic. While plants like tomatoes and squash demand plenty of personal space, not everything does. Root vegetables like carrots and beets can often be thinned less aggressively, and bunching onions or leeks actually do quite well growing in tight clusters.
Before you start clearing out seedlings, double-check your seed packet. It will have specific spacing recommendations tailored to that variety.
Mistake #3: Picking the Wrong Survivor
It's natural to want to save the tallest seedling—it looks like the winner, right? But this is often a trap.
A tall, spindly seedling is what gardeners call "leggy." This is a huge red flag. It means the plant was stretching desperately for light, and as a result, its stem is weak and it lacks good structure.
Look for the seedling with the thickest, sturdiest-looking stem. A stocky, compact plant with vibrant green leaves is almost always stronger and healthier than its lanky neighbor.
Mistake #4: Damaging the Keepers
The whole point of thinning is to help the remaining seedlings thrive, but it's incredibly easy to harm them in the process. Pulling out an adjacent seedling can rip and disturb the delicate root system of the one you're trying to save, setting it back for weeks.
Here’s how to make sure your survivors stay safe and sound:
-
The Snip Method: This is the safest way, hands down. Use a small pair of scissors or garden snips and cut the unwanted seedlings off right at the soil line. Their roots will simply decompose in the soil, leaving your chosen seedling's roots completely undisturbed.
-
The Careful Pull: If you absolutely must pull them out, water the soil about an hour beforehand. Moist soil is much looser and more forgiving. When you pull, use one hand to gently press down on the soil around your "keeper" to hold it in place while you ease the other one out.
Common Questions About Thinning Seedlings
Even after you know when to thin, you might still have a few lingering questions about the how and why. It’s a part of gardening that can feel a bit counterintuitive at first. Let's walk through some of the most common queries I hear from fellow gardeners.
What Should I Do With the Seedlings I Pull Out?
Don't just toss them in the compost! Those tiny greens are a delicious bonus harvest.
Many thinned seedlings—like beets, kale, radishes, and lettuce—are basically microgreens. They're packed with flavor and make a fantastic, peppery addition to salads, sandwiches, or even as a simple garnish. Think of it as your garden's first little gift.
Can I Replant the Seedlings I Thin?
This is probably the number one question people ask, and I get it. It feels wasteful to just get rid of a perfectly good little plant. The short answer is: you can try, but it's often not worth the effort.
Most seedlings are incredibly fragile. When you pull them up, their delicate root systems are almost always damaged, which sends them into shock. While some seriously tough plants like tomatoes or marigolds might survive the move, most just won't re-establish themselves. For the health of your garden bed, snipping is almost always the safer bet.
My Advice: Unless you're dealing with a particularly forgiving plant and feel like experimenting, just snip the extras. Your energy is better spent focusing on the strong seedlings you've chosen to leave behind.
Do I Ever Need to Thin More Than Once?
Sometimes, yes! For certain crops, thinning in stages is actually a smart strategy. It can feel less drastic and even give you a few extra mini-harvests along the way.
A great example is beets. When they first sprout, you might thin a crowded row so the seedlings are about one inch apart. A few weeks later, you can come back and pull every other one to use as tender baby beets. This leaves the remaining plants with their final, proper spacing to grow into big, beautiful roots.
This gradual approach works well for carrots and some lettuces, too. For a closer look at the entire process from the very beginning, our guide on mastering the art of seed germination at home is a fantastic resource.
At Homegrown Garden, we believe everyone can grow a thriving garden. We're here to provide the heirloom seeds and expert guidance to help you succeed. Start your journey by exploring our seed collections and kits at https://www.homegrown-garden.com.

