


Tackling clay soil is all about embracing what you have and making it better. The goal isn't to replace it, but to work with its natural ability to hold onto nutrients. The secret is breaking up its dense, compacted structure by adding plenty of organic matter, like rich compost. This creates vital air pockets, improves drainage, and ultimately transforms that heavy clay into the fertile, loamy soil every gardener dreams of.
First, Get to Know Your Clay Soil
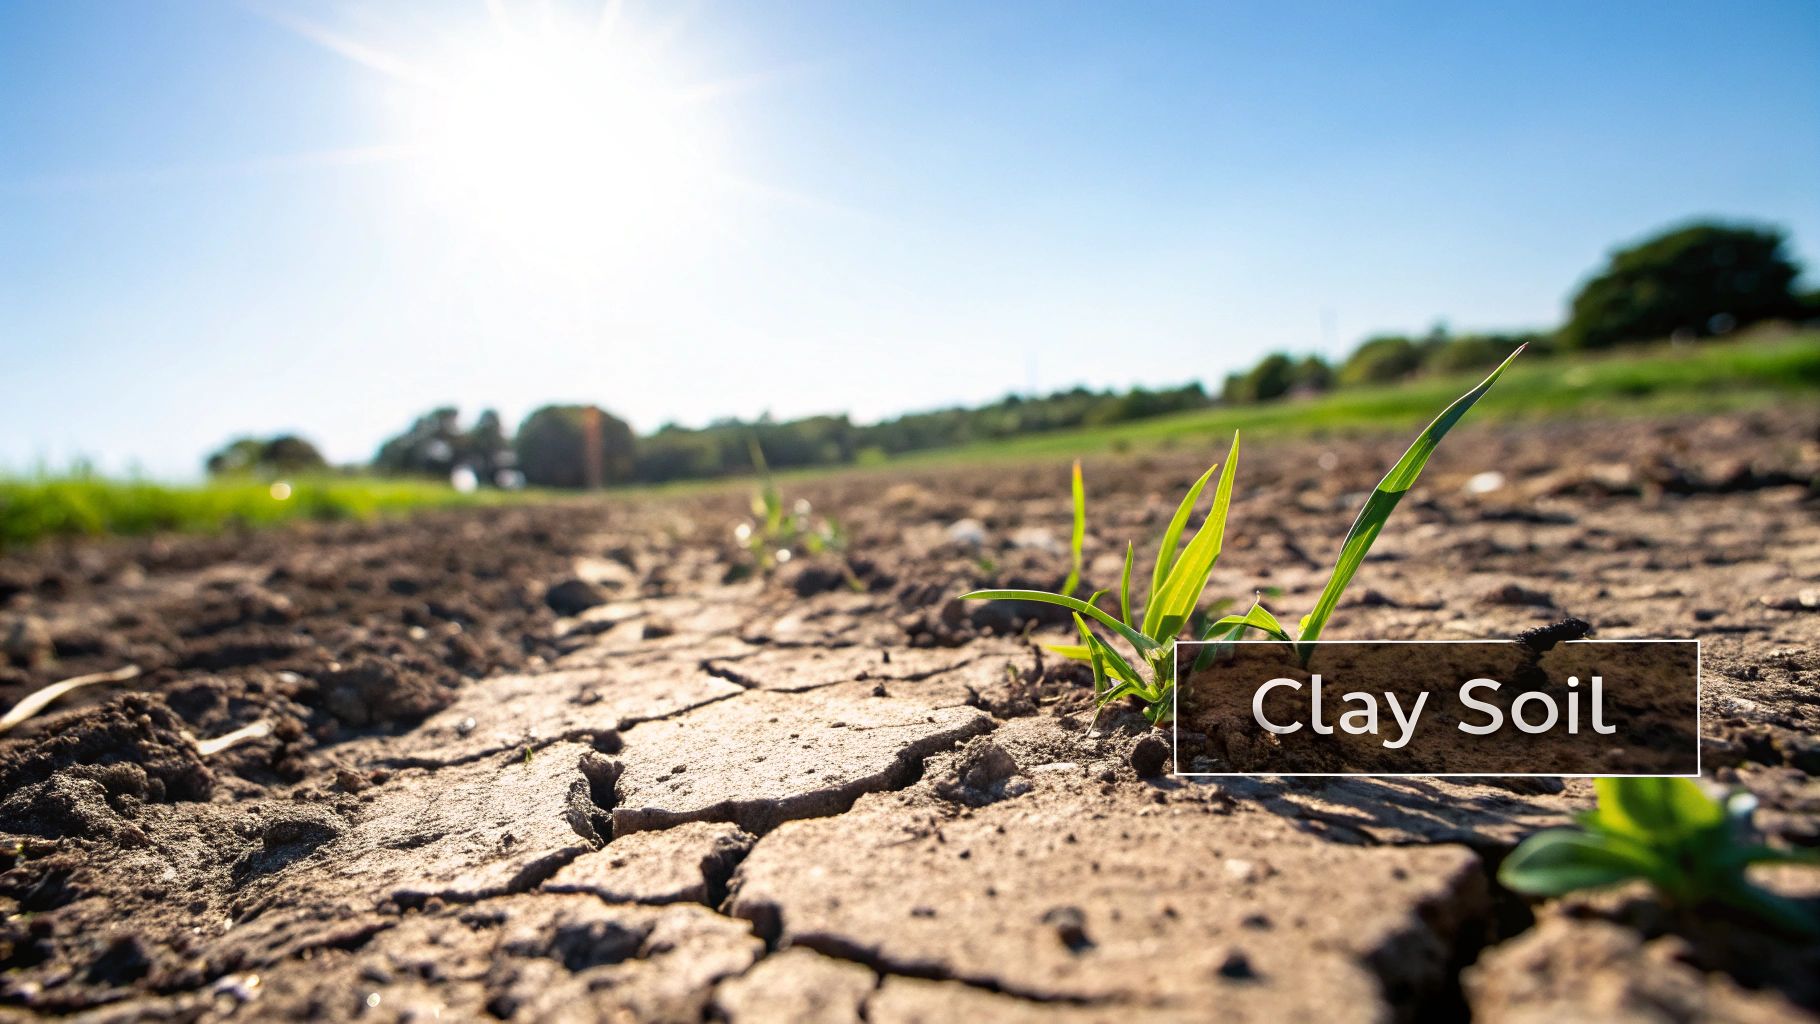
Before you grab a shovel, it’s worth taking a moment to appreciate what you're working with. Clay soil often gets a bad rap, but it has some fantastic qualities. Those tiny, tightly packed particles are brilliant at holding onto water and essential plant nutrients. This means once your garden is established, you'll likely spend less time watering and fertilizing.
The real challenge, as any gardener with clay will tell you, is its structure. When it's wet, it turns into a sticky, heavy mess that’s a workout to dig. Then, when it dries out, it can harden into a brick-like surface full of cracks, which can be brutal on delicate plant roots. This dense structure is what leads to slow drainage and compaction, starving roots of the oxygen they need to thrive.
Do You Really Have Clay?
The easiest way to find out is a simple hands-on test. Grab a small handful of damp soil (not sopping wet) and roll it into a ball in your palm. If it feels slick and sticky and you can easily form it into a long, thin ribbon between your thumb and forefinger, you’ve definitely got clay.
For a more in-depth look at what's going on beneath the surface, you can dive deeper with our guide on how to test your soil at home.
The Sand Myth: A Gardener's Cautionary Tale
You'll often hear people suggest adding sand to "lighten up" heavy clay. Please don't do this. It's one of the biggest mistakes you can make. The fine clay particles just fill in the spaces between the larger sand grains, effectively creating a low-grade concrete. You'll end up with a drainage and compaction problem that's even worse than before.
Why Organic Matter Is Your Best Friend
The true key to unlocking your soil’s potential is organic matter. There's a reason the organic segment leads the global soil amendments market, which was valued at around USD 4.69 billion. Materials like compost, aged manure, and leaf mold work wonders. They encourage the tiny clay particles to clump together into larger aggregates, which opens up the soil structure and creates those crucial pore spaces for air and water to move freely.
Before we get into the "how-to," it helps to have a clear picture of what you're up against and what you're aiming for. Let's break down the good and the bad of clay soil.
Clay Soil Characteristics Quick Guide
Here’s a quick summary of the inherent pros and cons of working with clay soil. Understanding these will help you focus your efforts where they matter most.
| Characteristic | Pros (The Good) | Cons (The Challenge) |
|---|---|---|
| Particle Size | Tiny particles create a huge surface area. | So small they compact easily, leaving little room for air. |
| Nutrient Retention | Excellent at holding onto essential minerals. | Can lock up nutrients if the pH is imbalanced. |
| Water Retention | Holds water well, reducing the need for frequent watering. | Drains very slowly, leading to waterlogged roots. |
| Workability | Can be molded and shaped when moisture is just right. | Becomes sticky and heavy when wet; brick-hard when dry. |
| Soil Structure | A stable foundation for plant roots once established. | Poor natural aeration suffocates roots and beneficial microbes. |
Knowing these characteristics helps you see that the goal isn't a total soil replacement. Instead, it's about adding the right ingredients to enhance the good and mitigate the challenging. With the right approach, your clay soil can become your garden's greatest asset.
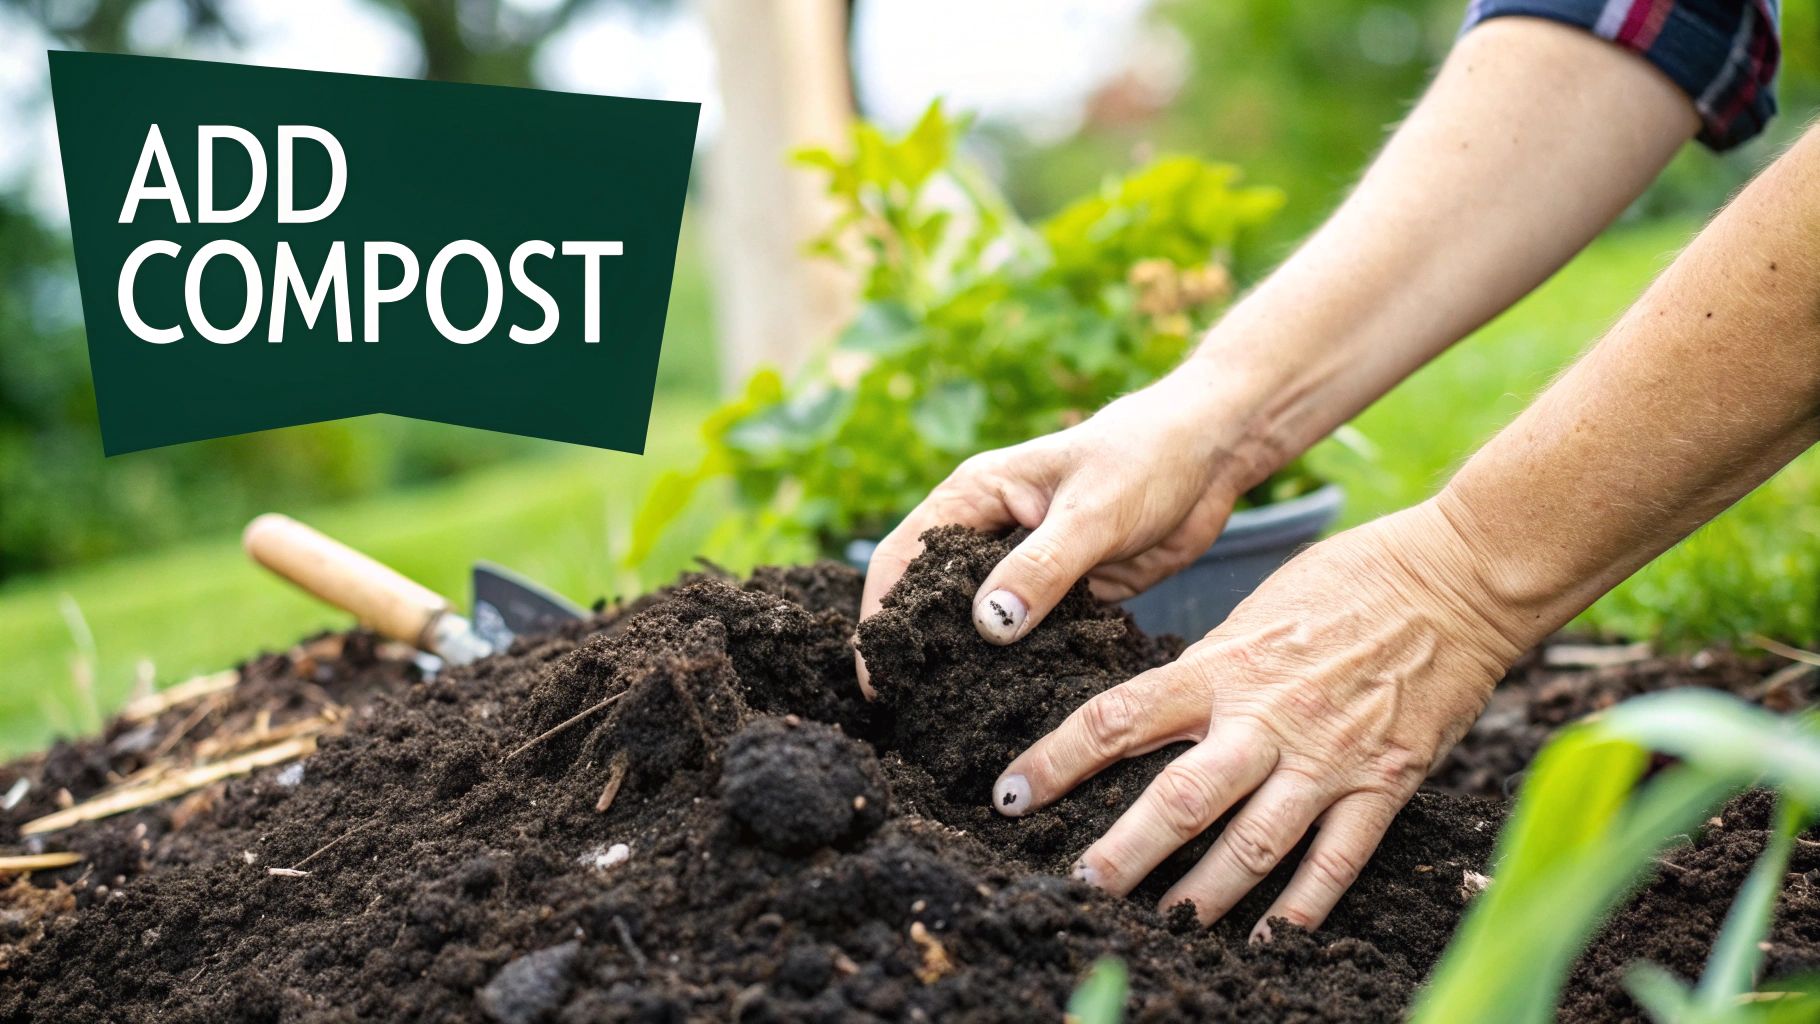
1. Add Compost and Organic Matter
When you're trying to figure out how to improve clay soil, there's one thing that stands above all else: adding organic matter. This isn't just a helpful tip; it's the single most powerful thing you can do. Think of compost as the ultimate soil conditioner. It forces those tiny, flat clay particles apart, preventing them from sticking together like a brick.
What organic matter does is create a network of air pockets and channels. Suddenly, water has a place to go, and plant roots have room to breathe and stretch out. This process, called flocculation, is the secret sauce—it encourages clay particles to clump into larger, more stable aggregates. That's the foundation of healthy, fertile soil.
The Best Organic Amendments for Clay Soil
While "compost" is a great catch-all term, not all organic matter is created equal. I've found that using a mix of different materials gives the best long-term results, creating a really balanced and rich soil structure. The good news is, you don't have to be a soil scientist to get this right. Just start adding what you can.
Here are some of the most effective options I've used over the years:
- Finished Compost: This is the gold standard, no question. Well-rotted compost is alive with beneficial microbes that break down compacted clay and unlock nutrients for your plants. It's a powerhouse for improving both drainage and moisture retention.
- Aged Manure: If you can get your hands on it, manure from herbivores like cows, horses, or chickens is an amazing source of nitrogen. The key is to make sure it's well-rotted—at least six months old—otherwise, its high nitrogen content can burn your plants.
- Leaf Mold: Don't throw away those fall leaves! Shred them and let them decompose for a year or two, and you'll get a light, fluffy amendment that soil loves. Leaf mold is fantastic for improving structure and is like an open invitation for earthworms to move in.
- Shredded Bark or Wood Chips: These are the slow-and-steady workers. They break down over a very long time, which means they provide lasting structural benefits by creating permanent air pockets in the dense clay.
Before you start adding anything, it helps to know what you're working with. This infographic gives a great overview of a simple way to test your soil.

As the visual shows, getting a handle on your soil's texture and pH is the first step to figuring out exactly what it needs most.
How Much and When to Add Amendments
Consistency is far more important than getting the amount perfect. A good rule of thumb is to spread a 2- to 4-inch layer of organic matter over the surface of your garden beds every year. This creates a steady diet for the soil organisms that do the heavy lifting for you.
You can add compost pretty much any time, but fall is the ideal season for a heavy application. I like to spread a thick layer after I've cleared out my summer garden. This gives the winter freeze-thaw cycles, earthworms, and microbes a head start on mixing everything into the clay. By the time spring rolls around, the soil is noticeably looser and so much easier to work with. Our guide on preparing garden soil dives deeper into these seasonal strategies.
Gently Mixing It In
I know the temptation is strong to rent a big rototiller and just churn it all together. Please don't. Tilling, especially when clay soil is wet, can completely destroy the soil structure you're trying so hard to build, leaving you with a compacted mess.
The best approach is a gentle one. I use a garden fork or a broadfork to lightly work the compost into just the top few inches of soil. After that, I let nature's own engineers—the worms and microorganisms—do all the deep mixing for me.
This low-till method protects the delicate fungal networks and worm tunnels that are absolutely vital for aeration and plant health. By layering new amendments on top each year, you're essentially mimicking how soil is built in a forest, gradually creating a dark, crumbly, and wonderfully fertile topsoil that will help your garden thrive.
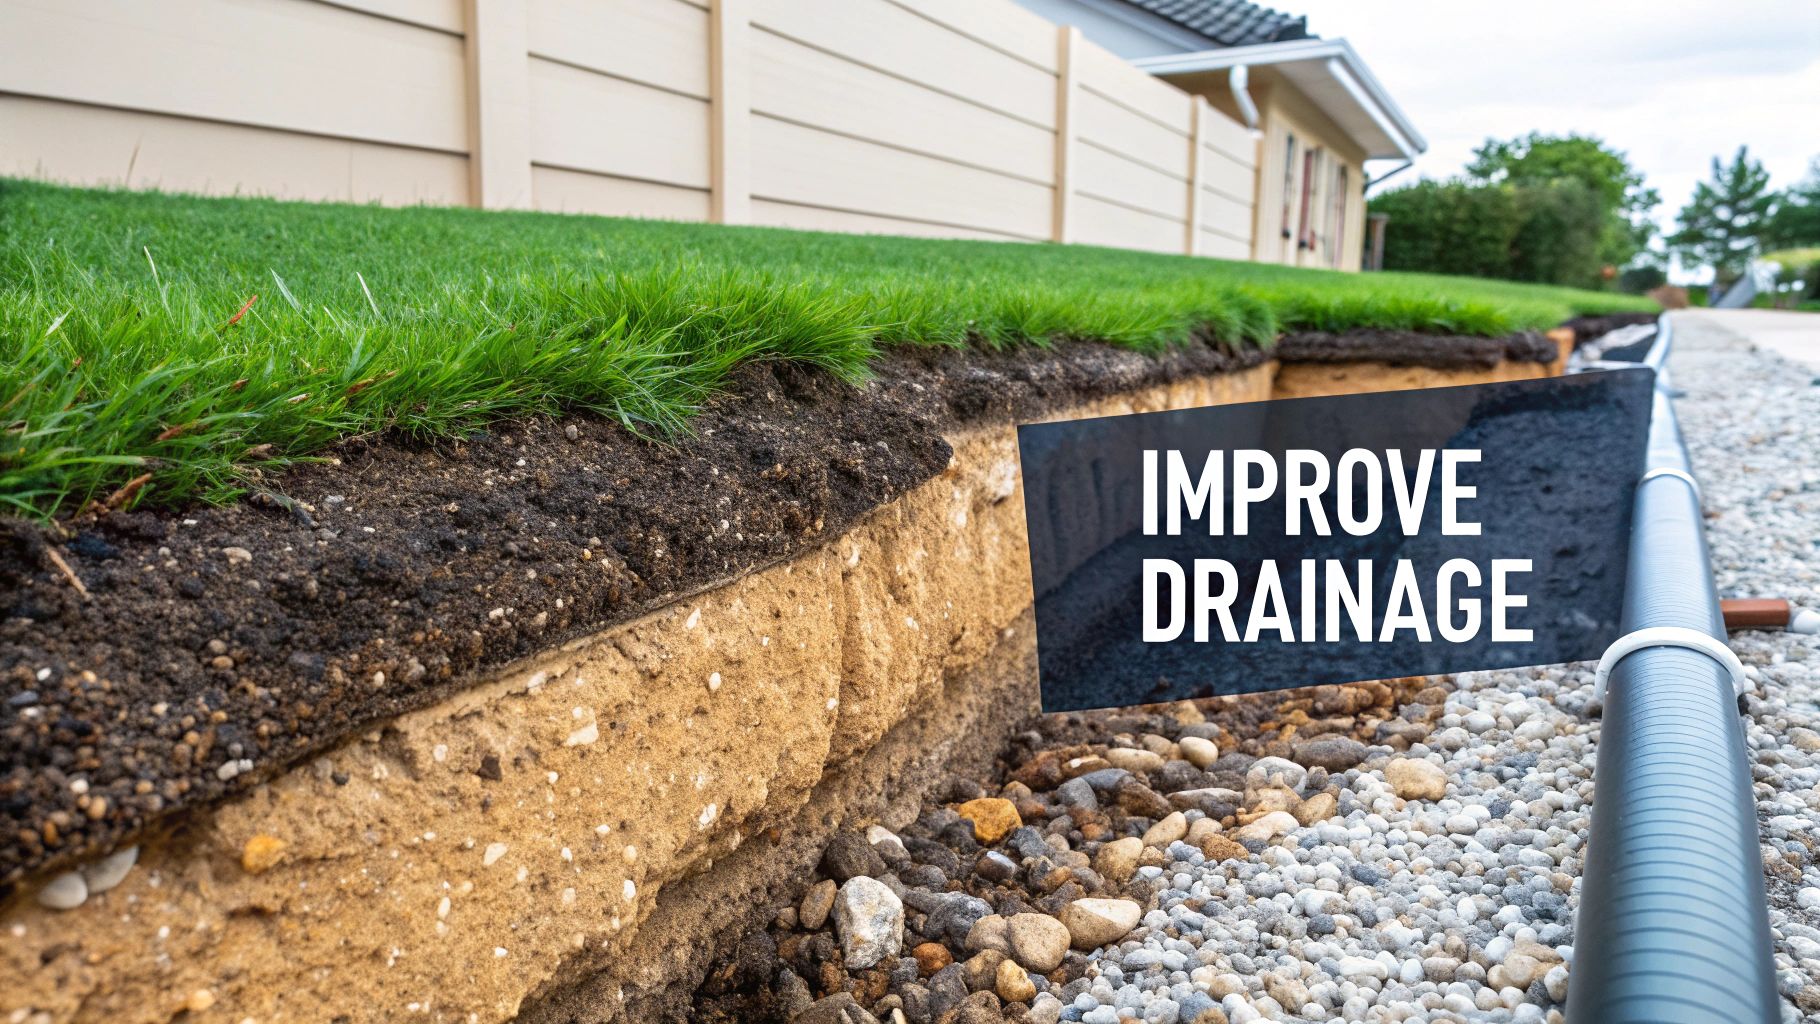
2. Aerate the Soil to Improve Drainage
While mixing in compost is the cornerstone of fixing clay, sometimes the soil itself needs a physical intervention. Dense, compacted clay can act like a concrete slab, suffocating plant roots and turning your garden into a swamp after every rain. Our goal here is to mechanically create pathways for air and water to move freely.
This isn't just about brute-force digging; it's about strategically loosening the soil without wrecking the delicate ecosystem you're trying to build. When you improve aeration, you also supercharge nutrient availability. In fact, research shows that properly amending clay can boost nitrogen availability by an incredible 51%. To see the science for yourself, you can read the full research about these nutrient findings.
See How Bad the Drainage Really Is
Before you grab a shovel, it’s worth finding out just how stubborn your soil is. A simple percolation test—we just call it a "perc test" in the field—gives you a clear, no-nonsense baseline.
It’s an easy way to see how quickly (or, more likely, slowly) water disappears.
- Dig a hole. Aim for about a foot deep and a foot wide. A post-hole digger makes it clean, but a regular shovel works just fine.
- Soak it first. Fill the hole with water and let it drain completely. This pre-soak saturates the surrounding soil so your actual test is more accurate.
- Time the drain. Refill the hole and pop a ruler or stick inside. Now, just check it every hour and note how far the water level drops.
A healthy soil should drain at a rate of about 1-2 inches per hour. If you're seeing less than an inch of movement per hour, you’ve got a significant drainage problem on your hands and it's time to bring in the heavy hitters.
The Best Tool for the Job: The Broadfork
When it comes to breaking up compaction without destroying your soil, nothing beats a broadfork. Forget the rototiller, which pulverizes soil structure into dust. A broadfork gently lifts and loosens the soil, creating deep vertical channels for air and water to penetrate.
Think of it as physical therapy for your garden beds. You just step on the crossbar to sink the tines deep into the ground, then pull back on the handles to gently pry the soil upward. You don't flip it over; you just create fractures that break up that solid clay pan. This method leaves the soil layers intact, protecting the homes of earthworms and beneficial microbes—your most important partners in this whole endeavor.
My go-to strategy is to use the broadfork once or twice a year, especially in the fall right before I top-dress the beds with a thick layer of compost. It’s a solid workout, but the results are absolutely worth it.
3. Build Raised Beds for a Fresh Start
Look, sometimes the battle isn't worth fighting. If your garden is in a low-lying spot or sits on top of intensely compacted subsoil, you could be amending for years with little progress. If your perc test shows the water is still sitting there after several hours, raised beds are your best bet.
For gardeners wrestling with impossible clay, raised beds are a game-changer:
- You control the drainage. You fill them with the perfect soil mix from the get-go. No more guesswork.
- The soil stays fluffy. Because you never walk on the growing area, compaction becomes a non-issue.
- You get a head start. The soil in raised beds warms up much faster in the spring, which can extend your growing season by weeks.
You don't need a fancy setup. A simple frame built from untreated wood or stacked stones, filled with a good mix of compost, topsoil, and some peat moss or coconut coir, creates an instant, ideal growing environment. It lets you completely bypass the problem soil and give your plants the perfect start they deserve.
4. Choose Plants That Thrive in Clay
After putting in all that effort to amend and aerate your soil, it’s finally time for the best part—planting. But here’s a pro tip that will save you a world of frustration: work with your soil, not against it. Choosing plants that naturally do well in heavy conditions is one of the smartest things you can do. The plants themselves become your partners in soil improvement.
Think about it. Many plants have evolved to handle dense, challenging soils. Some send down powerful taproots that act like organic drills, busting through compacted layers. Others develop dense, fibrous root systems that weave a network of channels through the soil, boosting its structure from the inside out. When you pick these varieties, you're not just decorating your garden; you're actively continuing the soil transformation process.
Perennials That Love a Challenge
Perennials are a fantastic investment for any garden, but especially in clay. They come back stronger every year, and as their root systems expand, they do more and more to improve your soil’s health. Luckily, many garden favorites are perfectly happy to call clay home.
Here are a few of my tried-and-true picks:
- Black-Eyed Susan (Rudbeckia): These cheerful, daisy-like flowers are tough as nails. Their strong, fibrous roots help hold the soil together, and they don't mind the wet winters or dry summers that clay often brings.
- Coneflower (Echinacea): Famous for its stunning purple or pink petals, the coneflower has a deep taproot that can muscle its way through compacted soil. Once it’s established, it’s also incredibly drought-tolerant.
- Daylily (Hemerocallis): You can find a daylily for just about any garden style. Their thick, fleshy roots are great at storing water, helping them handle the classic clay soil swing from waterlogged to bone-dry.
- Hosta: If you have shady spots with heavy soil, hostas are your best friend. They absolutely thrive in the moisture-retentive conditions, and their broad leaves are great for shading out weeds.
These plants don't just tolerate clay—they flourish in it. You get beautiful blooms year after year while their roots are busy doing the hard work underground.
Shrubs and Trees That Anchor Your Garden
For an even bigger impact, look to shrubs and trees. Their massive root systems can permanently change the structure of your soil, creating deep, lasting channels for air and water to penetrate.
Viburnum is a real standout, offering gorgeous flowers, great foliage, and often berries for birds. It’s incredibly adaptable, and its root system is a powerhouse for breaking up heavy ground. Another fantastic choice is the Serviceberry (Amelanchier), a small, multi-season tree that isn’t picky about its soil.
The secret to success is proper planting. When you dig the hole, make it twice as wide as the root ball but no deeper. This forces the roots to grow outward into your native soil instead of just circling around in a cozy pocket of amended soil.
By picking the right plants, you move from fighting your garden to working in harmony with it. These clay-loving varieties won't just look great; they'll help you build a healthier, more workable soil for years to come.
Top Plant Picks for Clay Soil Gardens
To make it even easier, I've put together a quick-reference table of plants that are known to perform well in heavy soil. This isn't an exhaustive list, but it's a great starting point for planning a beautiful and resilient garden.
| Plant Type | Examples | Why It Thrives in Clay |
|---|---|---|
| Perennials | Coneflower, Black-Eyed Susan, Daylily, Hosta | Many have deep taproots or fibrous systems that break up compaction and improve drainage. |
| Shrubs | Viburnum, Dogwood, Spirea | Their extensive root systems provide excellent soil aeration and stability over the long term. |
| Grasses | Switchgrass, Little Bluestem | These have deep, dense root systems that are fantastic for creating air channels and preventing erosion. |
| Trees | Serviceberry, Birch, Hawthorn | Strong root systems penetrate deep into the soil, permanently improving its structure and water flow. |
These plants offer a mix of color, texture, and seasonal interest, proving that you don't have to sacrifice beauty just because you have clay soil. With a little strategic selection, you can create a thriving landscape.
5. Plant Cover Crops and Let Nature Do the Work
Tired of all the heavy lifting and endless bags of soil amendments? There's a better way. One of the smartest, most sustainable methods for transforming heavy clay is to plant cover crops and let nature take over.
These aren't plants you grow to eat; they're grown purely for the soil. Think of them as a living, breathing soil conditioner. While they're growing, they blanket your garden beds, shielding them from being pounded by winter rain. Once their season is over, you simply chop them down and let them decompose right where they are, infusing the soil with a massive dose of organic matter. It's a brilliant way to mimic how healthy soil is built in the wild.
The Underground Secret to Breaking Up Clay
The real transformation happens out of sight, deep in the soil. Cover crops get right to the heart of clay's biggest problems—compaction and poor structure—and they do it with surprising power.
Different plants tackle the job in different ways, which is why a mix often gives you the best results.
- The "Bio-Drillers": Plants like daikon or tillage radishes are famous for their aggressive taproots. These roots are like natural augers, drilling down several feet through dense, compacted clay. When the plant dies back in the winter, that big root rots away, leaving behind a perfect channel for air, water, and the roots of next year's vegetables.
- The Soil Weavers: On the other hand, grasses like winter rye and oats develop a thick, fibrous web of roots just below the surface. This dense mat is incredible at grabbing individual clay particles and clumping them together into larger aggregates. That's how you get that crumbly, workable soil structure every gardener dreams of.
This whole approach is a cornerstone of what's called regenerative gardening. Instead of fighting the soil with constant tilling, you're using plants to build it up from within. The result is a healthier, more resilient garden that gets better every year.
Picking the Right Cover Crop for Your Garden
The perfect time to sow cover crops is usually late summer or early fall, right after you’ve pulled out your tomatoes and squash. This gives them plenty of time to sprout and get established before the cold really hits.
Here are a few of my go-to choices for busting up clay:
- Legumes (Clover, Vetch, Winter Peas): These are your fertilizer factories. They have the unique ability to pull nitrogen right out of the air and store it in their roots. When they decompose, they release that nitrogen back into the soil, giving your spring crops a free meal.
- Grasses (Winter Rye, Oats): If you just need sheer bulk, nothing beats the grasses. They grow fast and produce a ton of organic matter. Winter rye is especially tough and will even keep growing through a mild winter.
- Broadleaves (Daikon Radish, Buckwheat): These are the true compaction busters. As I mentioned, those radish taproots are amazing for aeration. Buckwheat is a fantastic summer option that grows incredibly fast, smothering weeds while conditioning the topsoil.
While these organic methods are the gold standard for home gardeners, it's fascinating to see how soil science is tackling these challenges on a larger scale. Some cutting-edge research is looking at combining nanomaterials and fibers to strengthen clay for construction purposes. One study found that adding just 1.0% nano-magnesium oxide with 1.5% fibers could boost the load-bearing capacity of clay by 3.07 times. You can discover more about these material science findings to see where the technology is headed.
For those of us with a shovel and a pair of gloves, though, starting with nature's own tools is still the most powerful first step.
6. Keep It Covered With Organic Mulch
Once you've put in the hard work of amending and aerating your clay, the last thing you want is for it to revert to its old, compacted self. This isn't a one-and-done job; think of it as starting a long-term relationship with your soil. The single best way to protect your progress and keep improving the soil is by mulching.
A thick layer of organic mulch is so much more than a cosmetic touch. It’s a protective blanket for your soil. It shields the surface from being hammered into a dense crust by heavy rain and drastically slows down water evaporation, keeping moisture locked in where plant roots can access it.
Mimicking Nature's Blueprint
Ever walked through a forest? The ground is soft and spongy, covered in a rich layer of decomposing leaves, twigs, and other organic bits. That’s what we’re trying to replicate in the garden. Mulching is our way of creating that same protective, life-giving layer.
Applying a 2- to 4-inch layer of mulch works wonders. It insulates the soil, buffering it against extreme temperature swings—cooler in the summer, warmer in the winter. This stable environment is a paradise for the earthworms and beneficial microbes that are your partners in building great soil. As they do their work, they'll gradually pull the decomposing mulch down into the clay, continuously improving its structure all year long.
The Golden Rule for Clay Soil
Whatever you do, never walk on your garden beds when they're wet. Each step you take can crush the air pockets you worked so hard to create, compacting the soil and setting you back. Stick to pathways, or if you absolutely must step into the bed, lay down a wide, sturdy board to distribute your weight.
Choosing the Right Mulch for Clay
Not all mulches are created equal, but when you're battling clay, organic options are the only way to go. They protect the soil while breaking down over time, constantly replenishing the organic matter that your heavy soil craves.
Here are a few of my go-to choices:
- Shredded Leaves: This is my absolute favorite. It's free, readily available every fall, and breaks down beautifully to build a rich humus layer.
- Wood Chips or Bark: These are workhorses for perennial beds or around trees and shrubs. They last a long time and foster a fantastic environment for beneficial fungi.
- Straw or Hay: Lightweight and easy to apply, straw is a classic for vegetable gardens. It's great for keeping the soil cool and preventing soil-borne diseases from splashing up onto your plants.
- Compost: Why not mulch with the good stuff? A layer of finished compost is a double-win, protecting the soil surface while delivering a direct dose of nutrients and microbial life.
The right mulch can really elevate your garden's health. If you're growing food, you might want to dig a bit deeper into the options in our guide on the best mulch for vegetable gardens.
7. Follow a Simple Annual Rhythm
Keeping your clay soil in great shape is all about consistent, gentle effort. Forget the back-breaking tilling every year. Instead, adopt a simple annual rhythm that will build on your progress with minimal fuss.
Late Fall
After you’ve cleared out the summer crops, top the beds with a generous layer of compost and shredded leaves. This is also a great time to gently loosen the soil with a broadfork before adding your amendments. Consider planting a cover crop to protect the soil over winter.
Early Spring
About a month before you plan to plant, you can simply chop down your winter cover crop and leave the residue on the surface to act as a "green" mulch. A light top-dressing of compost will give your spring seedlings a great start.
Early Summer
Once your plants are established and growing strong, apply your chosen mulch for the season, like straw or wood chips. This will lock in moisture for the hot months ahead, suppress weeds, and keep the root zone cool.
8. Avoid Compaction at All Costs
This is a simple but crucial rule: stay off the soil. Walking on wet clay soil is one of the fastest ways to undo all your hard work. The pressure from your feet squeezes out the air pockets you’ve carefully created, compacting the soil back into a dense, airless mass.
Create dedicated pathways in your garden using wood chips, stones, or mulch. When you need to work in the beds, use a plank of wood to distribute your weight evenly. This small habit makes a huge difference in maintaining the loose, airy structure your plants need to thrive.
9. Be Patient and Consistent
Transforming heavy clay is a marathon, not a sprint. While you'll notice improvements in the first season, building deep, rich, loamy soil takes time. Plan on a consistent approach for three to five years.
Every year, as you add more compost, plant cover crops, and keep the soil mulched, you are feeding the soil food web. The earthworms, bacteria, and fungi are your underground workforce, and they will gradually turn that heavy clay into the fertile garden of your dreams. Your patience will be rewarded with healthier plants and a more resilient garden ecosystem.
Common Questions About Improving Clay Soil
Working with clay soil for the first time? You've probably got questions. Let's tackle some of the most common ones I hear from fellow gardeners, clearing up the confusion so you can get your hands dirty with confidence.
Can I Just Add Sand to My Clay Soil?
Absolutely not. This is probably the biggest and most damaging myth in gardening, and it can turn your soil into something closer to concrete.
When you mix sand directly into heavy clay, the tiny, sticky clay particles just fill in all the gaps between the larger sand particles. The result is a dense, rock-hard material that's even worse for drainage and root growth than what you started with. Stick to organic matter—it's the only real solution.
How Long Does It Take to See Real Improvement?
You'll see some encouraging signs in the very first season. The top few inches will be easier to work, and your plants will have an easier time getting established. That's the good news.
But transforming heavy clay is a marathon, not a sprint.
Real, deep, and lasting change takes time. You should plan on three to five years of consistent effort—adding compost every year, using cover crops, and keeping a good mulch layer—to build truly fantastic, loamy soil. Every season, it will get a little bit better.
Is It Better to Amend in the Fall or Spring?
You can add organic matter anytime, but if I had to pick one, fall is the absolute best time to amend clay soil.
By adding a thick blanket of compost, manure, or shredded leaves in the autumn, you let winter do the hard work for you. The natural freeze-thaw cycles, along with earthworms and microbes, will work that material right into the clay. Come spring, you'll be greeted with soil that’s much more friable and ready for planting.
Missed the fall window? No worries. Amending in the spring is still a huge help. Just be sure the soil isn't waterlogged when you work it to avoid compaction.
If you end up with a large amount of old turf or excess soil from your project, you'll need a plan to get rid of it. For helpful information on disposing of garden waste, including soil, you can find practical options to handle the cleanup efficiently.
At Homegrown Garden, we believe anyone can build a beautiful garden, no matter the soil they start with. We're here to help with heirloom seeds, starter kits, and guides packed with real-world advice. Find everything you need to get growing at https://www.homegrown-garden.com.
With workable soil ready to plant, browse our heirloom vegetable seeds and start your garden.

