


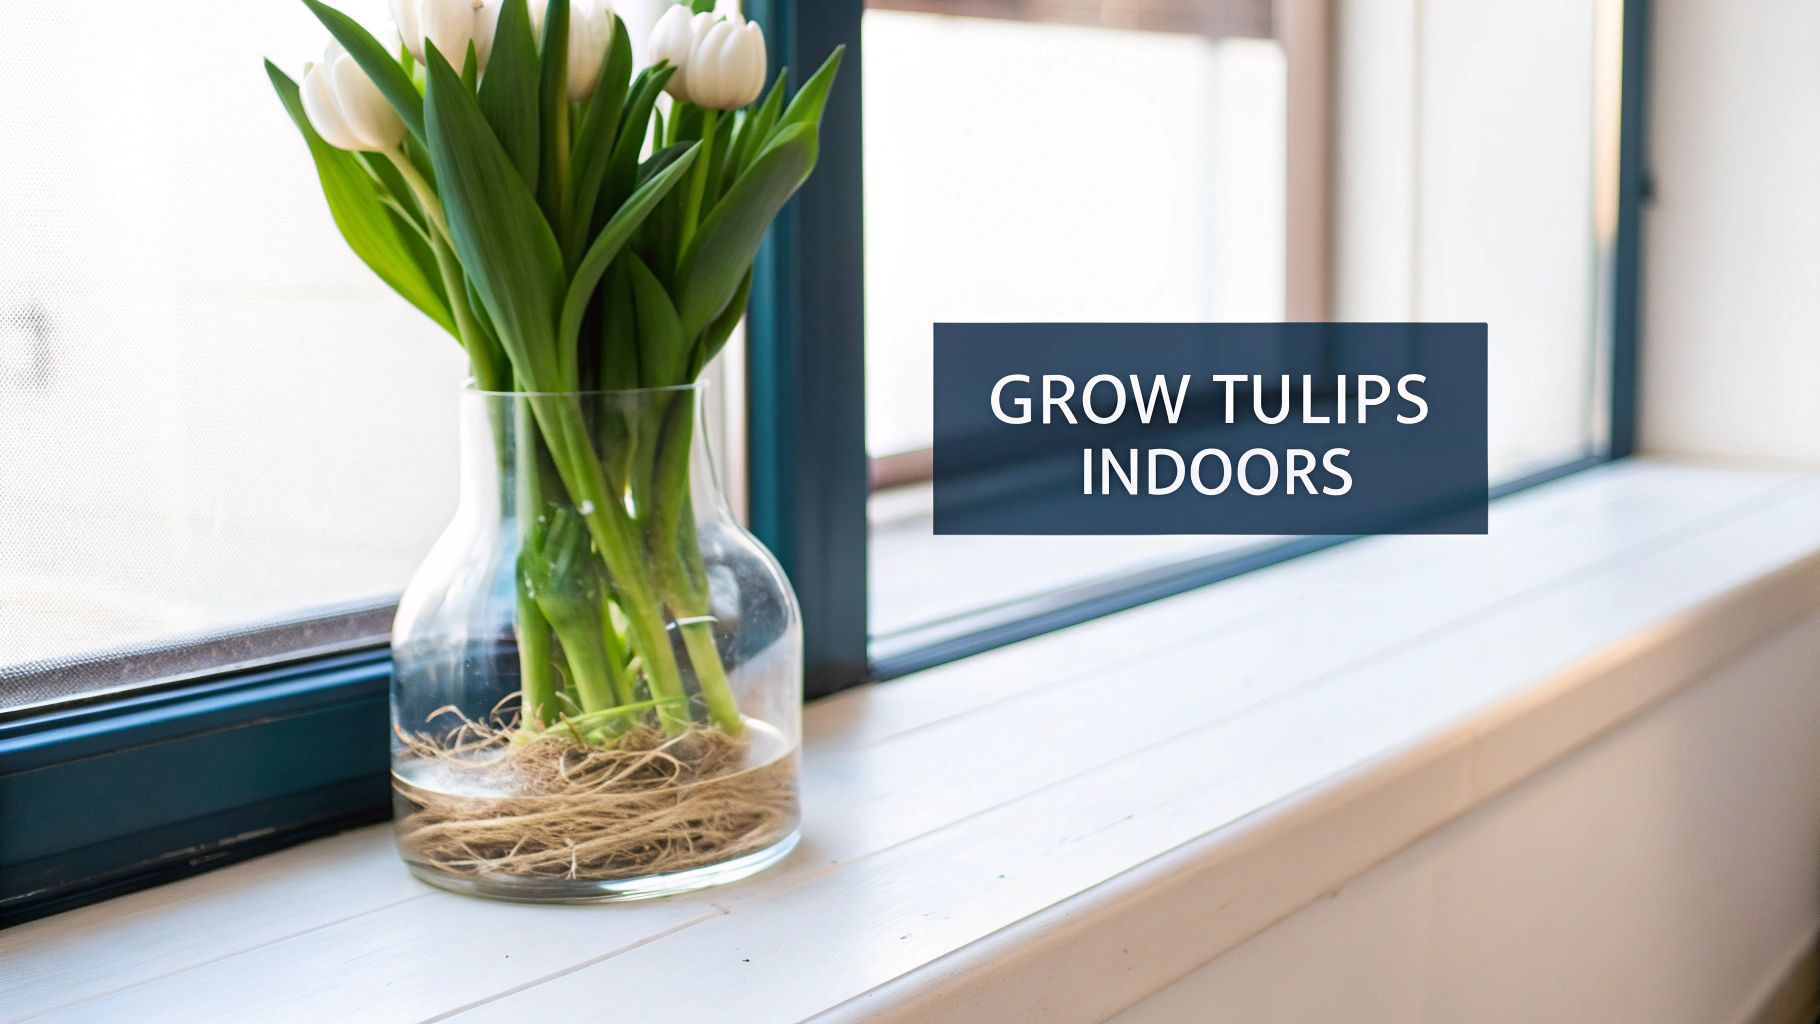
Yes, you absolutely can grow tulip bulbs in just water, and it's one of the most rewarding ways to bring a touch of spring indoors while it's still cold outside. This process is called "forcing," and it essentially tricks the bulbs into thinking winter has passed, encouraging them to bloom months ahead of schedule.
You simply chill the bulbs for 12-16 weeks to simulate a cold season, then place them in a vase where only the roots can reach the water. It’s a clean, soil-free method that puts the entire growing process on beautiful display.
Your 7-Step Guide to Growing Tulips Without Soil
Imagine brilliant splashes of color brightening your home long before the last frost has disappeared. Forcing tulip bulbs in water makes this a reality. It’s a fantastic project that sidesteps the mess of potting soil and gives you a front-row seat to watch the bulb’s entire life cycle, from delicate roots emerging to the final, glorious bloom.
While growing flowers in water feels modern, the Dutch have been masters of bulb cultivation for centuries, producing an incredible 8.5 to 9 billion flower bulbs every year. Adapting this expertise to a simple vase of water has become a favorite technique for home gardeners everywhere.
This guide will walk you through everything you need to know in 7 simple steps, from picking the right bulbs to caring for your blooming tulips. We'll cover all the essentials to ensure you get a stunning display.
What You Will Learn in This Guide
- Why Chilling is Crucial: We’ll break down the science behind forcing and why this cold period is the key to unlocking blooms.
- Choosing Your Supplies: Learn how to spot the healthiest bulbs and select the perfect container for a show-stopping arrangement.
- The Forcing Process, Simplified: I'll guide you step-by-step, from setting up your bulbs to managing water levels for optimal growth.
- A Week-by-Week Timeline: Discover what to expect as your tulips progress from the first green shoots to full-on flowers.
This project is a perfect fit for anyone, whether you're a seasoned gardener or just starting out. All you really need is a vase, some water, and a bit of patience. The payoff is immense—watching the roots weave their way through the water and the first green tips emerge is pure magic.
To help you keep track of the key elements, here’s a quick checklist. Getting these few things right from the start makes all the difference.
Tulip Forcing Success Checklist
| Component | Requirement | Why It's Important |
|---|---|---|
| Bulb Quality | Large, firm, and free of blemishes. | Bigger bulbs have more stored energy, leading to stronger stems and larger flowers. |
| Chilling Period | 12-16 weeks at 35-48°F (1-9°C). | Mimics winter and signals the bulb that it's time to start the blooming cycle. |
| Container Choice | A vase with a narrow neck or a shallow dish. | Supports the bulb and keeps it from being submerged, which prevents rot. |
| Water Level | Just touching the base of the bulb. | Encourages root growth without causing the bulb itself to rot from over-saturation. |
| Light Exposure | Indirect, bright light once shoots appear. | Promotes healthy green growth and vibrant flower color without scorching the plant. |
Think of this table as your recipe for success. With these components in place, you’re well on your way to a beautiful indoor display.
By the end of this guide, you'll have all the know-how to create your own living bouquet. And if this project sparks a love for soilless gardening, you might want to read our expert guide on how to propagate plants in water, which covers techniques for all sorts of houseplants.
Let's get started and bring that springtime feeling home.
Step 1: Choose From the 7 Best Tulip Varieties for Water Forcing
When you're growing tulips in water, the single most important decision you'll make is choosing the right variety. This isn't the time to grab just any bulb off the shelf. Many of the tulips famous for their spectacular show in the garden grow far too tall and lanky for this soil-free method. Without soil to anchor them, they'll just flop over, unable to support the weight of their own blooms.
The trick is to stick with categories known for shorter, sturdier stems. These tulips have been bred for a more compact and resilient growth habit, making them ideal candidates for the unique environment of a forcing vase. Your best bet is to look for varieties from the Single Early and Triumph groups.
Single Early Tulips
Just as their name suggests, Single Early tulips are some of the first to pop up in the spring. They’re prized for their strong, reliable stems and classic, cup-shaped flowers. Growing to an average height of just 10 to 16 inches, they are wonderfully stable and perfectly proportioned for growing in water.
- ‘Christmas Dream’: A stunning, vibrant pink that really does live up to its festive name. It’s a dependable choice that brings a cheerful, bold splash of color right into your home.
- ‘Princess Irene’: This one is a real showstopper. It features brilliant orange petals dramatically flamed with a deep purple base. It's an award-winning variety for a reason and looks absolutely incredible in a simple glass vase.
Triumph Tulips
Triumph tulips are a fantastic hybrid, a cross between Single Early and Darwinhybrid types that gives you the best of both worlds. They come in a massive range of colors and, most importantly, have exceptionally strong, medium-length stems that stand up tall and proud in a vase.
The demand for beautiful and reliable tulips is immense. The global tulip market was valued at roughly USD 5 billion in 2022 and is projected to hit nearly USD 9.60 billion by 2033. This incredible growth shows just how much people love this flower for everything from garden design to indoor decorating. You can find more insights on the expanding tulip market at dataintelo.com.
Here are a few top-notch Triumph choices to get you started:
- ‘Apricot Beauty’: A truly delicate and elegant option. Its soft apricot-rose petals have an almost silvery sheen. It’s also wonderfully fragrant, adding another lovely sensory layer to your indoor display.
- ‘White Dream’: For a timeless, sophisticated look, you simply can’t go wrong with 'White Dream'. Its pure white, perfectly formed blooms are the very definition of elegance.
- ‘Purple Prince’: This variety boasts a rich, royal purple that is both deep and luminous. It looks fantastic on its own or paired with white or pink tulips for a more dynamic arrangement.
Other Excellent Choices
While Single Early and Triumph tulips are your most reliable bets, a couple of other types are also well-suited for water forcing because of their unique growth habits.
- ‘Monte Carlo’ (Double Early): If you love a fuller, more lavish look, this is the tulip for you. 'Monte Carlo' is a peony-flowered variety with layers upon layers of sunny yellow petals. It’s fragrant, and its shorter stature keeps the heavy blooms from becoming top-heavy.
- ‘Red Riding Hood’ (Greigii): Famous for its distinctive mottled or striped foliage, this tulip adds visual interest long before it even blooms. The brilliant scarlet flowers sit on very short, sturdy stems, making it one of the most foolproof options for a small vase or container.
How to Select the Healthiest Bulbs
Once you’ve settled on a variety, the next step is picking out the individual bulbs. The quality of the bulb you start with has a direct impact on the quality of the flower you'll get. Always, always choose the largest bulbs available for the variety you’ve chosen.
A bigger bulb means more stored food and energy, which directly translates to a bigger, more vibrant flower. Think of the bulb as a pre-packaged bloom kit; everything the tulip needs to flower is already tucked away inside.
When you're at the garden center, here’s what you should be looking for:
- Size: Go for the biggest and plumpest ones in the bin.
- Weight: It should feel heavy for its size. This indicates it’s full of moisture and nutrients, not dried out.
- Firmness: Give the bulb a gentle squeeze. A healthy one will be firm to the touch, much like a fresh onion. Steer clear of any that feel soft, spongy, or hollow.
- Condition: Check the outer skin, called the tunic. It should be mostly intact, without deep gashes, mold, or mushy spots. A little flaking of the papery skin is completely normal and nothing to worry about.
Step 2: Give Your Tulips a Proper Winter Chill
If there's one secret to successfully forcing tulips in water, this is it: you absolutely cannot skip the chilling period. Think of it as a mandatory hibernation. This cold treatment is the biological alarm clock that tells the bulb, "Winter is over, it's time to wake up and grow!" Without it, you'll likely get a few sad-looking leaves and no flower, or worse, the bulb will do nothing at all.
This process is called vernalization. In nature, it stops tulips from sprouting during a warm spell in October, only to be zapped by the first hard frost. When we bring them indoors, we have to become Mother Nature and create this fake winter. It's the foundational work that sets the stage for a stunning bloom.
Creating a Fake Winter in Your Home
To trick your tulips, you need to give them a long, cold, dark nap. The sweet spot for temperature is between 35-48°F (or 2-9°C). This is cool enough to signal winter but safely above freezing, protecting the delicate flower embryo tucked inside.
Time is just as crucial as temperature. Tulips need a solid 12 to 16 weeks of this cold treatment. I know it feels like a long time, but cutting it short is the number one reason forcing fails. Mark your calendar the day you put them in to chill—it’ll help you resist the temptation to pull them out too early.
One of the most common mistakes is impatience. Try to see this 12-week stretch not as waiting, but as the very first, invisible stage of growth. All the magic is happening inside that bulb.
Where to Chill Your Bulbs (and a Critical Warning)
For most of us, the refrigerator is the easiest place to chill bulbs. It's convenient and temperature-controlled. But there's a huge catch: you must keep them away from ripening fruit. Apples, bananas, and avocados are notorious for releasing ethylene gas, a hormone that will sterilize the flower bud inside your tulip. Game over.
Here’s how to do it right in the fridge:
- Go with paper, not plastic. Pop the bulbs into a paper bag. This lets them breathe and prevents moisture from building up, which can invite mold. A plastic bag is a recipe for rot.
- Designate a fruit-free zone. A crisper drawer is perfect, as long as no fruit gets tossed in with it. Even better? That second "beverage" fridge in the garage or basement is an ideal, ethylene-free haven.
- Do a quick check-in. Once a month or so, take a peek. You're looking for mold (fuzzy white or gray stuff) or shriveling. If you see mold, just wipe it off with a paper towel. If the bulbs feel a bit light and dry, a very light mist of water inside the bag will help.
No Room in the Fridge? No Problem.
If your fridge is already packed, you've got other options. Any spot that stays consistently cold and dark will work.
| Chilling Location | The Good | The Bad |
|---|---|---|
| Unheated Garage | Great for chilling lots of bulbs at once. Usually dark and out of the way. | Temperatures can swing more than a fridge. Might be too warm in milder climates. |
| Basement or Cellar | Often holds a very stable, cool temperature. | Can sometimes be too humid, which means you'll need to watch for mold more closely. |
| Cold Frame | The best way to mimic natural conditions while still offering protection. | You have to build one, but it's a fantastic tool for any serious gardener. |
For the DIY-inclined gardener, learning how to build a cold frame is a game-changer. It’s the perfect long-term solution for chilling bulbs, hardening off seedlings, and extending your growing season.
Whichever method you pick, the mission is the same: a steady, dark chill for 12 to 16 weeks. This investment of time and patience is what unlocks the vibrant, gorgeous blooms you’re dreaming of. Once the chill period is over, your bulbs are primed and ready for their big debut.
Step 3: Set Up Your Tulips in Water
After weeks of chilling, your tulip bulbs are finally ready for their big debut. This is the fun part—setting up their watery home and watching the magic begin. Think of it as creating a living piece of art. Getting this stage right is the key to strong, healthy tulips with breathtaking blooms.
Let's walk through everything you need to do, from picking the perfect vase to getting the water level just right.
Choosing Your Container
The vessel you choose is half the fun and plays a big role in your success. A classic tulip forcing vase is a fantastic, no-fuss option. Its signature hourglass shape is specifically designed to hold the bulb perfectly, suspending it just above the water line. You really can't go wrong with one of these.
But don't feel limited! Any clear glass container can become a stunning home for your tulips. A simple bowl, a wide-mouthed jar, or even a beaker works beautifully. The real joy is in the transparency—watching that intricate web of roots grow is one of the most rewarding parts of the whole process.
If you go with a wider container that doesn't have a narrow neck, you'll just need to add a base layer to prop up the bulbs.
Water Forcing Methods Compared
Choosing between a dedicated vase and a more DIY approach with a bowl and pebbles comes down to aesthetics and ease of use. Here’s a quick breakdown to help you decide.
| Feature | Forcing Vase | Glass Bowl with Pebbles |
|---|---|---|
| Ease of Use | Extremely easy; designed for the task. | Simple, but requires more careful setup. |
| Bulb Support | Built-in neck holds a single bulb perfectly. | Pebbles provide a stable base for multiple bulbs. |
| Water Level | Easy to see and maintain the correct level. | Requires checking to ensure water doesn't touch bulbs. |
| Aesthetics | Classic, elegant look. Showcases a single specimen. | Natural, rustic feel. Allows for group arrangements. |
| Root Viewing | Excellent, unobstructed view of root growth. | Roots grow down into the pebbles, creating a beautiful effect. |
Both methods produce fantastic results. The forcing vase is a bit more foolproof, while the pebble method offers more flexibility for creating a lush, multi-bulb display.
Creating a Stable Foundation for Your Bulbs
If you’re not using a forcing vase, you'll need to give your bulbs a sturdy base. This little bit of engineering keeps them stable and positioned correctly so they don't drown. A layer of pebbles, marbles, smooth river rocks, or even colorful glass beads works perfectly.
Just add a layer about 2 to 3 inches deep at the bottom of your container. This gives the roots something to anchor into as they grow and holds the bulbs securely in place. Always give your chosen material a good rinse before adding it to the vase—this gets rid of any dust that might cloud up your water later.
For the crafty and creative, you can even design a custom vessel. If that piques your interest, you can explore mastering the art of 3D printed vases for a truly one-of-a-kind display.

Arranging the Bulbs for a Beautiful Display
Now it's time to place your chilled bulbs. Nestle them gently onto the pebbles or settle one into the neck of your forcing vase. The goal is to have them close enough to look like a full bouquet, but with enough space for air to circulate. They shouldn't be jammed tightly against each other.
Here’s a little trick I’ve learned for an extra-graceful look: find the flat side of each tulip bulb. If you arrange the bulbs so this flat side faces the outer edge of the container, the first big leaf will grow outward, creating a beautiful, cascading effect over the rim. It's a small detail that makes a huge difference.
Getting the Water Level Just Right
This step is critical, so pay close attention. Carefully pour cool, fresh water into the container until the water level is just barely touching the very bottom of the bulbs. You don't want the base of the bulb sitting in the water; you want it hovering just above it.
The idea is to tempt the roots to grow down toward the water without soaking the bulb itself. If the bulb sits in water, it will rot. That's the number one killer of water-forced tulips, and it's completely avoidable.
Check the water level every couple of days. It will drop as the roots drink it up and from simple evaporation.
A Final Cool, Dark Rest
With everything set up, the bulbs need one last quiet period to focus on growing roots before they start pushing up leaves. Move your container to a cool, dark spot—a basement, an unheated garage, or even a cool closet works well. The sweet spot for temperature is between 40-50°F (4-10°C).
Leave them here for about one to two weeks. You’ll soon see a network of bright white roots stretching down into the water. Once you have a healthy root system and see the first pale green shoots reaching about an inch tall, it’s showtime! You can then move your vase into the light.
If your home doesn't get a lot of bright, indirect sunlight, you might want to supplement. For tips on that, you can learn more about the best grow lights for indoor plants.
Step 4: Follow the 4-Week Journey from Shoot to Bloom
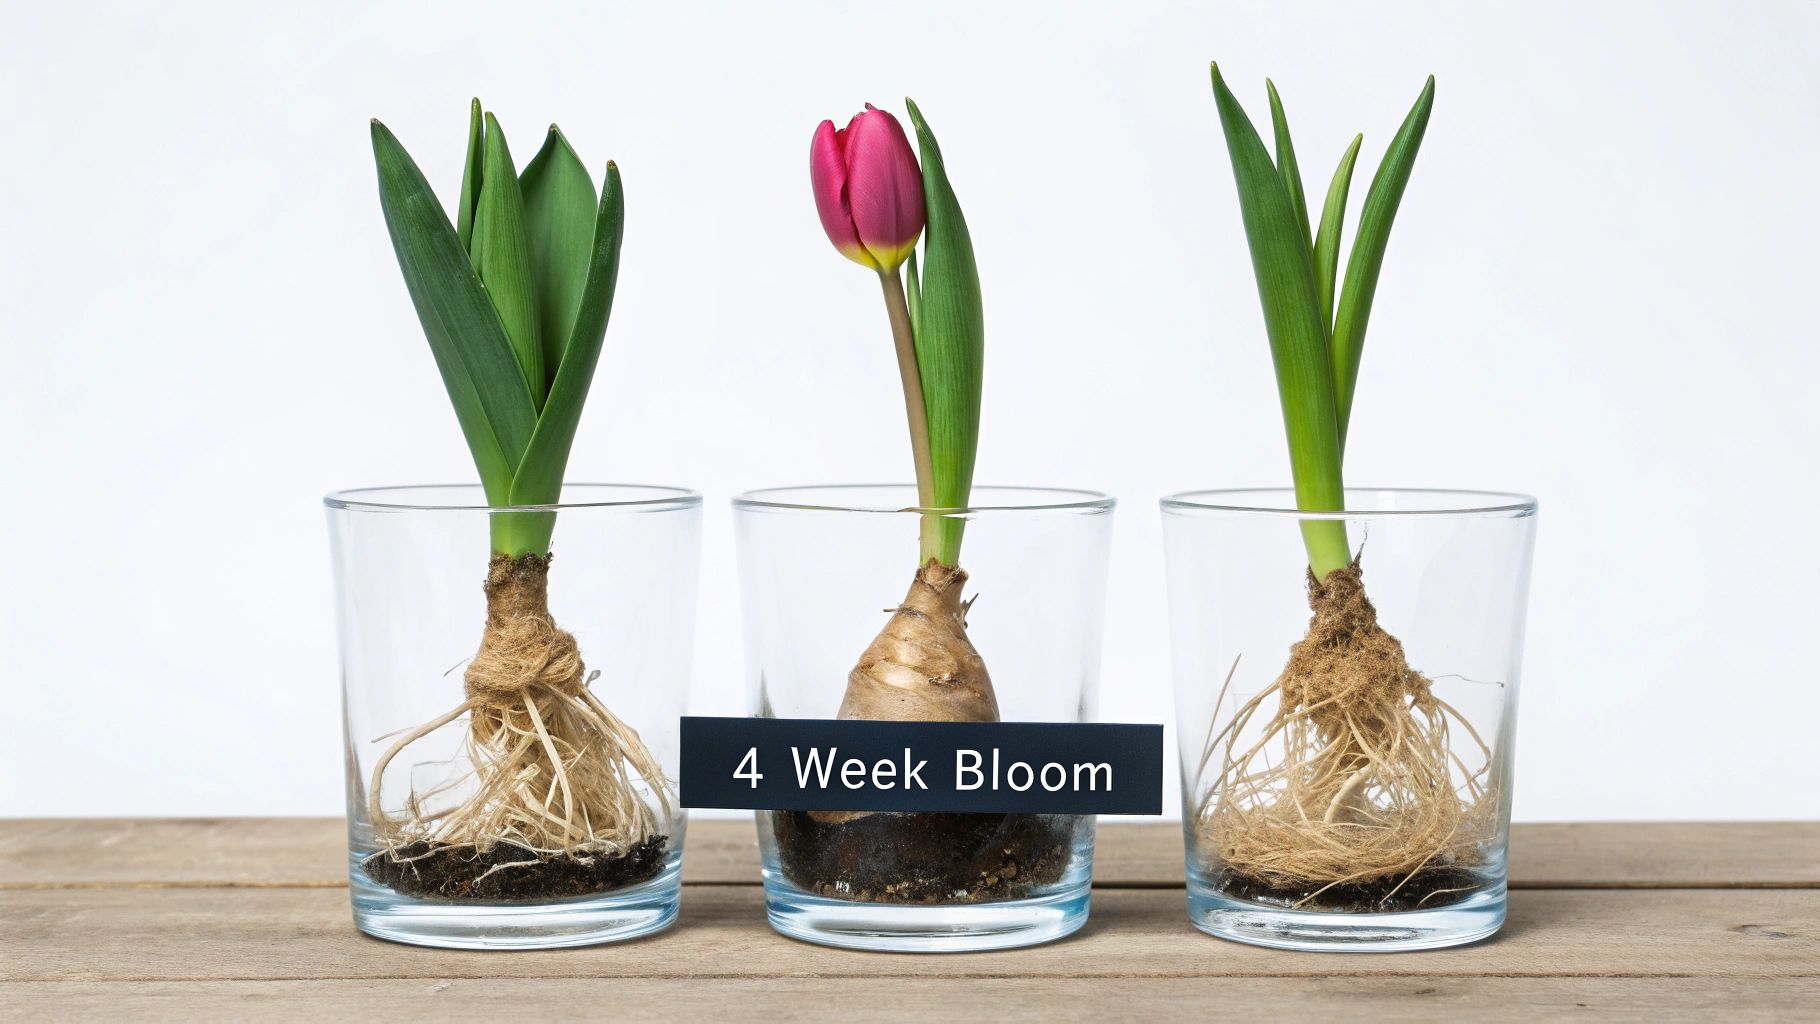
After all that patient chilling and setup, the real show is about to begin. Over the next month, you get to watch the magic happen as those dormant bulbs wake up and race toward a stunning finish.
This weekly guide will give you a good sense of what to expect, so you’ll know if your tulips are right on track. The first couple of weeks are all about what’s happening below the surface, building a strong foundation before the real upward growth kicks in.
Week 1: The Root Takeover
Once your chilled bulbs are settled in their vase, find them a cool, dark spot. You’re looking for a place that stays between 40-50°F (4-10°C). An unheated garage, a chilly basement, or even a dark closet often works perfectly. This cool, dark environment is the bulb's cue to focus all its energy on growing roots.
Within the first 7 to 10 days, you should see a fantastic network of thick, white roots reaching down into the water. Don't be surprised if you only see a tiny, pale green tip peeking out from the top of the bulb—that’s a great sign. It means the bulb is getting its support system established first. Your only job right now is to check the water every other day, topping it off so it just barely kisses the base of the bulbs.
Week 2: Reaching for the Light
By the beginning of week two, you should have a solid mass of roots and a green shoot that's stretched to about 1 to 2 inches tall. This is your green light! It's time to move your tulips out of the dark and into a brighter spot.
Bring the vase into a room that gets plenty of bright, indirect sunlight. A spot near a window but shielded from harsh, direct sun is ideal. The light tells the shoots to green up and really start growing. If they don't get enough light at this stage, you might end up with pale, leggy stems that are too weak to hold up a flower.
Keeping the water fresh is key from here on out. To head off any bacterial growth and keep the roots happy, I make it a habit to change the water completely once a week. Just gently lift the bulbs, dump the old water, give the vase and pebbles a quick rinse, and refill with fresh, cool water.
Week 3: The Green Growth Spurt
Now things really start to accelerate. During week three, you'll see changes almost daily as the leaves unfurl and the flower stem shoots up above the foliage. You'll notice the stem getting thicker, bulking up to support the coming bloom. It's totally normal to see several inches of growth in a single week.
Keep the vase in bright, indirect light and give it a quarter-turn every couple of days. Tulips instinctively lean toward the light, and rotating the vase encourages them to grow straight and tall.
- Water Watch: Your plant is much thirstier now that it's growing so fast, so keep a close eye on that water level.
- Temperature Tip: A cool room is your friend. Warmer temperatures can make the tulips bloom and fade much faster than you'd like.
Week 4: The Grand Finale
This is the moment you've been waiting for! As week four kicks off, you should be able to spot a distinct flower bud tucked inside the leaves. Over the next few days, that bud will swell up and start showing a blush of color.
Then, almost overnight, it will open into a glorious tulip.
From start to finish, the whole process after chilling takes about 3 to 4 weeks. Once your tulips have bloomed, you’ll want to enjoy them for as long as possible. For some great tips on making them last, check out this advice on how to make cut flowers last longer. A few simple tricks can help you enjoy your beautiful blooms for a week or more.
Step 5: Troubleshoot Common Tulip Forcing Issues
Even with the best intentions, things can sometimes go sideways when you're forcing tulips in water. Don't panic! Most of the common hiccups are surprisingly easy to diagnose and fix. Let's walk through what you might encounter and how to get your indoor blooms back on track.
Think of this as your personal troubleshooting guide for happy, water-grown tulips.
My Tulip Stems Are Long and Floppy. What Gives?
This is probably the number one frustration I hear about. You’ve done everything by the book, but now you’re looking at long, gangly stems that can’t hold up the flower, causing them to droop over the edge of your vase. The culprit is almost always a lack of light, a condition called etiolation.
When a plant isn't getting enough bright light, its survival instincts kick in, and it starts stretching desperately toward the nearest source. This results in weak, pale stems instead of the short, sturdy ones we want.
As soon as you spot about an inch of green growth, it's time to move your vase into the brightest spot you have that gets indirect sunlight. A south-facing window with a sheer curtain to diffuse the harshest rays is often the perfect location.
A few other tricks can help keep those stems strong and upright:
- Give the Vase a Daily Turn: A simple quarter-turn each day keeps the plant from leaning in one direction. It encourages the stem to grow straight and build strength evenly.
- A Cooler Spot is Better: Warm rooms can make tulips bolt, encouraging faster, weaker growth. A cooler location slows things down, leading to a more compact, robust plant.
- The Vodka Trick (Yes, Really): It sounds like an old wives' tale, but a tiny bit of clear alcohol works wonders. Adding a splash of vodka or gin (at a ratio of 1 part alcohol to 7 parts water) can stunt stem growth by up to 30% without affecting the bloom size. It puts the plant under slight water stress, which slows down that leggy growth.
Why Are My Bulbs Rotting or Getting Moldy?
Finding a soft, mushy bulb or fuzzy mold is a gut-wrenching moment for any gardener. In 99% of cases, the problem is simply too much water. The goal is to have only the roots touching the water, never the base of the bulb itself.
If the bulb sits in water, it can't breathe. This waterlogged environment is a perfect breeding ground for the fungus and bacteria that cause rot.
The golden rule is this: the water should just kiss the bottom of the bulb's basal plate. That’s just enough to entice the roots to grow down toward it. Once the roots are established, you can even let the water level drop a bit so only they are submerged.
If you notice a little surface mold on the papery outer skin before planting (maybe during chilling), you can usually just wipe it off with a dry paper towel. But if the bulb itself has gone soft in the vase, it’s a lost cause. Remove it immediately to prevent it from affecting the other bulbs in your arrangement.
The Water in My Vase is Cloudy and Smells Bad
Fresh, clear water is vital for healthy roots. If your vase water turns cloudy, slimy, or starts to smell a bit funky, it’s a clear signal that bacteria are having a party.
This is a very common issue, but luckily, it's also a very easy fix. Stagnant water is an open invitation for microorganisms that can harm the roots and the whole plant.
The solution is all about routine maintenance:
- Change the Water Weekly: Don't just top it off. Once a week, carefully lift the bulbs out of the vase.
- Wash Everything: Dump the old water and give the vase a good scrub with soap and water. Don't forget to rinse any pebbles or support material you're using, too.
- Rinse the Roots: Gently run the tulip's roots under cool tap water to wash away any bacterial slime.
- Refill and Replace: Put everything back in the vase and add fresh, cool water to the correct level.
This weekly refresh keeps the growing environment clean and gives the roots the fresh oxygen they need to thrive.
Step 6: Decide What to Do After They Bloom
Ah, the question every gardener asks after watching a beautiful forced flower fade. It feels like such a waste to just toss the bulb. Unfortunately, for water-forced tulips, the answer is almost always no when it comes to replanting.
Forcing a bulb in water completely drains its energy reserves. The bulb pours every last bit of its stored power into producing that single, stunning bloom, leaving it utterly spent. Unlike a bulb in the garden, it hasn't had leaves soaking up sunlight all season to recharge for next year.
It helps to think of a forced bulb as a beautiful, single-use battery. It's built for one spectacular, short-lived performance. Once the show is over, the best thing you can do is add it to your compost pile. There, it can break down and contribute to the health of your future garden. Trying to replant it will only lead to disappointment.
Step 7: Enjoy Your Beautiful Indoor Spring Display
Congratulations! You've successfully guided your tulips from dormant bulbs to stunning, vibrant blooms. Now is the time to sit back and enjoy the splash of spring color you've brought into your home. Place your vase in a prominent spot where you can admire it daily. Taking care to keep the water fresh and the room cool will help you enjoy the show for a week or more. This simple process is a wonderful way to brighten the last days of winter and a rewarding project for gardeners of all levels.
At Homegrown Garden, we believe that everyone can experience the joy of gardening, whether you have a sprawling backyard or a sunny windowsill. Explore our curated selection of high-quality seeds, starter kits, and gardening supplies to begin your next growing adventure. Visit us at https://www.homegrown-garden.com to find everything you need to cultivate your own green oasis.
Once your tulips fade, you can keep the color going. Explore our flower seed collection to grow blooms from seed.

