


There's nothing quite like the satisfaction of growing a garden from seed. It all starts with a few simple choices, but getting them right makes all the difference. Understanding the fundamentals—like choosing between annuals and perennials or deciding whether to start seeds inside or sow them directly in the garden—is the real secret to a season full of vibrant blooms.
11 Tips for a Garden That Truly Blooms
Jumping into the world of seed starting can feel a little daunting, but it's one of the most rewarding things a gardener can do. I've broken down the whole process into 11 practical tips that will guide you from a tiny seed to a thriving flower bed. We'll go beyond the basics and get into the kind of insights that experienced gardeners rely on, from picking the perfect seeds for your zone to nailing the timing.
Think of this as your personal roadmap. It’s designed to help you avoid the common pitfalls and give you the confidence to grow gorgeous, healthy flowers.
Making Your Initial Gardening Decisions
Before a single seed meets the soil, a couple of key decisions will set the course for your entire gardening year. Are you looking for a single season of explosive color from annuals, or do you prefer the steady return of perennials year after year? Each type has its own rhythm and needs.
Likewise, the choice to start seeds indoors versus sowing them directly in the garden is a big one. It really depends on your local climate and the specific flowers you've chosen. Some delicate seeds need the gentle, controlled environment of an indoor start, while heartier varieties are perfectly happy being planted straight into the ground once the soil warms up.
The best piece of advice I can give a new gardener is this: a "green thumb" isn't some magical gift. It's simply about making smart, informed choices. When you understand what your plants need from day one, you're setting them up for success.
It seems more and more people are discovering this joy for themselves. The global flower seed market was valued at around USD 1.6 billion in 2023 and is expected to climb to USD 2.3 billion by 2032. This incredible growth just goes to show how many of us are finding fulfillment in cultivating our own little patch of earth.
If you're interested in learning more about cultivation on a larger scale, you can find a wealth of agriculture and farming resources that cover broader practices.
To help you get started, the table below breaks down these initial decisions, giving you a clear path forward.
Key Decisions for Planting Flower Seeds
This table summarizes the fundamental choices every gardener makes before planting, helping you decide on the best approach for your specific garden goals and climate.
| Decision Point | Option A | Option B | Best For... |
|---|---|---|---|
| Plant Lifespan | Annuals | Perennials | A: Gardeners seeking vibrant, single-season color and the flexibility to change designs yearly. B: Those who want plants that return each year, creating a long-term garden structure. |
| Starting Method | Indoor Sowing | Direct Sowing | A: Cold climates with short growing seasons or for delicate seeds that need a head start. B: Hearty, fast-growing flowers or gardeners in warmer climates with long seasons. |
| Light Exposure | Full Sun | Part Shade/Shade | A: Sun-loving flowers like sunflowers and zinnias that need 6+ hours of direct light. B: Flowers like impatiens or hostas that thrive with morning sun or dappled light. |
Thinking through these points before you buy your first seed packet is the first step toward a garden you can be proud of. It's all about matching the plant to the place and the process.
1. Choose Seeds That Will Thrive in Your Garden
The magic of a stunning garden doesn't start with a shovel; it begins with that humble seed packet. Choosing the right seeds is the single most important decision you'll make. It’s about looking beyond the pretty picture on the front and really understanding which flowers are a perfect match for your specific corner of the world.
This choice sets the stage for everything that follows. When you match the right plant to the right place, you’re working with nature, not against it. That means less work for you and a garden bursting with healthier, more vibrant blooms.
Understanding Annuals, Perennials, and Biennials
One of the first things to figure out is the flower's life cycle. This choice fundamentally shapes how your garden looks and feels from one year to the next.
-
Annuals live for one growing season. They put all their energy into a spectacular show of flowers and seeds before dying off with the first frost. Think of zinnias or marigolds—they provide an explosion of color but need to be replanted each year. This is perfect if you love redesigning your garden beds every spring.
-
Perennials come back year after year, with roots that survive the winter underground. Flowers like coneflowers and lavender might take a season or two to really hit their stride, but they provide a reliable, long-term backbone for your garden. Their return is always a welcome sign of spring.
-
Biennials have a two-year plan. The first year, they focus on growing strong roots and a healthy clump of leaves. Then, in the second year, they put on their show, flowering, producing seeds, and then dying. Foxglove and Sweet William are classic examples that reward a little patience with incredible beauty.
Decoding the Seed Packet
That little paper envelope is packed with critical information. Learning to read it is like getting a cheat sheet for your future flowers. You have to look past the beautiful photo and find the key details that spell the difference between success and a whole lot of frustration.
You’ll find details on sun requirements (full sun means 6+ hours of direct light), ideal soil conditions, and crucial spacing guidelines. Don't be tempted to ignore spacing! Overcrowded plants compete for resources, get poor air circulation, and are far more likely to struggle with disease. Also, pay close attention to the "days to germination" and "days to bloom" to create a realistic timeline for your garden.
Native Plants: Your Garden's Best Friends
Choosing plants native to your region is one of the smartest things a gardener can do. These are the plants that have evolved over thousands of years to thrive in your local climate, soil, and ecosystem.
What does this mean for you? They are naturally resilient to local pests and diseases and require much less water and fertilizer once they're established. Better yet, they provide essential food and habitat for local pollinators like bees and butterflies, turning your garden into a vital part of the local environment.
A garden filled with native plants isn't just beautiful; it's a living ecosystem. You're not just planting flowers; you're restoring a small piece of the natural world, and the wildlife will thank you for it.
Heirloom, Hybrid, or Open-Pollinated Seeds
The type of seed you choose also impacts your gardening experience, especially if you ever dream of saving seeds for next year.
Heirloom seeds are open-pollinated varieties that have been passed down for generations, often for at least 50 years. They're prized for their unique colors, fragrances, and history. The best part? If you save seeds from an heirloom plant, they will grow "true to type," meaning the baby plants will look just like their parents. You can dive deeper into flower seeds for every garden in our detailed guide.
Open-pollinated seeds, a broader category that includes heirlooms, are simply pollinated naturally by insects, wind, or themselves. Their seeds will also produce plants very similar to the parent, as long as they don't cross-pollinate with another variety of the same species nearby.
Hybrid seeds are created by intentionally cross-pollinating two different parent varieties to produce a new plant with the best traits of both, like knockout colors or fantastic disease resistance. While they are amazing for a single season, the seeds they produce will not grow true to type. This innovation is a huge driver in the gardening world; in fact, you can see its impact on the global flower seed market on Fortune Business Insights, where traits like climate adaptability are prized by home gardeners and commercial growers alike.
2. Decide: Start Seeds Indoors or Plant Them Straight Outside?
One of the first, and most important, decisions you'll make is when and where to sow your flower seeds. Do you give them a pampered head start on a sunny windowsill, or do you let them tough it out directly in the garden soil? This isn't just a random choice—it's a strategy that depends entirely on your climate, the flowers you've chosen, and frankly, how much time you want to spend.
Some flowers just need that extra TLC. Anything with a really long germination time or a delicate nature, like petunias or finicky snapdragons, really thrives with an indoor start. You're basically giving them a safe haven from unpredictable spring frosts, hungry squirrels, and bully weeds. It gives them a strong, healthy foundation before they have to face the real world. For a deeper dive, our complete guide covers the specifics of when to start seeds indoors.
On the flip side, many flowers are tough as nails and actually prefer to be sown right where they’ll bloom. Think of poppies with their super-sensitive taproots that hate being disturbed, or fast-growers like zinnias and cosmos. Direct sowing is simpler, requires less gear, and is perfect if you’re aiming for a more low-maintenance garden.
This chart can help you quickly sort out which path to take based on the type of flower you're growing.
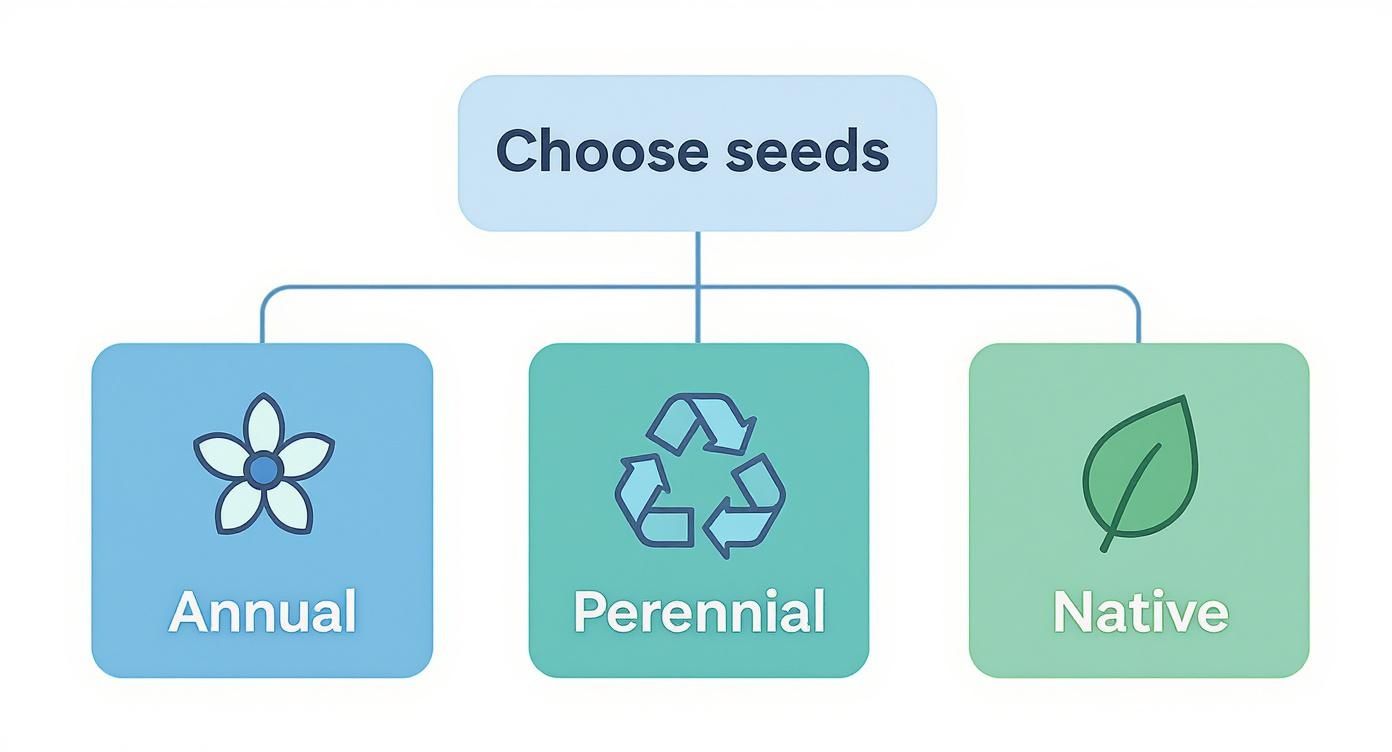
As you can see, knowing whether you have an annual, perennial, or native seed is the first step in deciding its best start in life.
The Indoor Advantage: Giving Tender Flowers a Head Start
Starting seeds indoors is your secret weapon, especially if you live in a colder climate with a frustratingly short growing season. Sowing seeds indoors 6-8 weeks before your last frost date can be the difference between a garden that’s finally blooming in August and one that’s bursting with color by late June.
You don't need a fancy setup, either. Even a simple system, like creating a greenhouse with reclaimed materials, can dramatically extend your season and give your seedlings the perfect start.
The real benefit of starting seeds indoors is total control. You become the master of temperature, light, and moisture, protecting those fragile baby plants from the wild mood swings of early spring weather.
This method isn't just for hobbyists. Globally, the demand for high-quality flower seeds is booming. The Asia-Pacific region, for instance, has seen its ornamental seed market project growth of around 7.1% annually, a trend fueled by both large-scale growers and passionate home gardeners just like us.
The All-Important "Hardening Off" Process
Okay, so you’ve lovingly raised these seedlings indoors. You can’t just toss them out into the garden and wish them luck. They need to be acclimated to the great outdoors gradually. This critical transition is called hardening off.
Think of it like this: you wouldn't spend all winter inside and then go sit in the direct sun for eight hours on the first hot day. You’d get a wicked sunburn. Your plants are no different.
Here’s a simple schedule to follow:
- Days 1-3: Find a sheltered, shady spot outside and let your seedlings hang out for an hour or two. Then, bring them back in.
- Days 4-6: Increase their time outside and let them get a taste of some gentle morning sun.
- Days 7-10: Keep extending their outdoor time, slowly introducing them to more direct sun and a bit of wind.
- After 10-14 days: By now, they should have spent a full 24-hour cycle outside without wilting or looking stressed. They’re finally ready to be planted in their permanent home.
Rushing or skipping this step is a classic rookie mistake. It can lead to transplant shock, which stunts growth, scorches leaves, and can easily kill your beautiful seedlings. A little patience here goes a long way.
Should You Start These Flowers Indoors or Out?
To make it even easier, here’s a quick-reference table for some of the most popular garden flowers. I've found this is what works best for me, but always double-check your seed packet for variety-specific advice.
| Flower Type | Best Sowing Method | When to Start Indoors | When to Direct Sow |
|---|---|---|---|
| Marigold | Either | 6-8 weeks before last frost | After last frost |
| Zinnia | Direct Sow | Not recommended | After last frost |
| Cosmos | Direct Sow | Not recommended | After last frost |
| Petunia | Indoors | 8-10 weeks before last frost | Not recommended |
| Sunflower | Direct Sow | Not recommended (sensitive roots) | After last frost |
| Poppy | Direct Sow | Not recommended (hates transplanting) | Early spring or fall |
| Sweet Pea | Either | 4-6 weeks before last frost | Early spring or fall |
| Snapdragon | Indoors | 8-10 weeks before last frost | Not recommended |
Ultimately, whether you start indoors or out, the key is understanding what your specific flower needs to get the best possible start.
3. Get the Foundation Right: Soil and Containers
Every incredible garden starts from the ground up. That foundation is your soil. Whether you're sowing seeds straight into the garden or giving them a head start indoors, getting the growing environment just right is the secret to developing strong, healthy roots that will support a season of beautiful flowers.
Your garden soil isn't just dirt; it's a living, breathing ecosystem. Getting to know its personality is the first step. A simple soil test can tell you a lot, from its basic texture (sandy, silty, or clay) to its pH level. Most flowers are happiest in soil that's slightly acidic to neutral, somewhere in the 6.0 to 7.0 pH range.

Crafting the Perfect Soil Mix
No matter what your soil test reveals, the answer for improving it is almost always the same: add plenty of organic matter. A few inches of well-rotted compost, leaf mold, or aged manure can work wonders. This simple addition helps break up heavy clay so it drains better, and it gives sandy soil more substance so it can hold onto moisture and nutrients.
If you want to really dig into improving your garden's base, our guide on preparing garden soil has all the details you'll need. Think of compost as a superfood that slowly feeds your plants, encourages beneficial microbes, and creates that perfect, crumbly texture that roots absolutely love.
When you're starting seeds indoors, the game changes. Bringing garden soil inside is a big no-no—it’s far too dense and can carry diseases that will wipe out your delicate seedlings before they even get going. For indoor sowing, you need a sterile seed-starting mix.
Using a sterile mix is the one rule I never break for indoor sowing. It's the best defense against "damping-off," a fungal disease that rots tiny seedlings at the soil line. It's a clean slate for your seeds.
These commercial mixes are specifically designed to be light, airy, and free of any weed seeds or pathogens. They hold moisture consistently without becoming waterlogged, giving your seeds a safe, competition-free environment to sprout.
4. Choose from 7 Great Container Options for Starting Seeds
The pots you choose for starting seeds indoors can make a surprising difference. They affect how often you water, how easily you transplant, and the overall health of your seedlings. Here are seven of my favorite options.
-
Peat Pots: These biodegradable pots are made of compressed peat. The huge advantage here is that you can plant the entire pot in the ground, which drastically reduces transplant shock. I swear by them for fussy plants with sensitive roots, like poppies and sweet peas.
-
Cow Pots: Similar to peat pots but made from composted cow manure. They're also fully biodegradable and give your plants an extra nutrient boost as they break down in the soil.
-
Soil Blocks: This is a fantastic, zero-waste method where you use a special tool to form compressed blocks of soil. No pot needed! This encourages incredibly healthy roots through "air pruning"—when a root tip reaches the edge of the block, it stops growing and branches out, preventing the plant from becoming root-bound.
-
Plastic Cell Trays: The classic for a reason. These are reusable, efficient, and let you start a ton of seeds in a small footprint. It's worth investing in sturdy ones that will last you for many seasons.
-
Newspaper Pots: A great DIY project and a perfect way to recycle. You can roll your own pots using a small can as a form. They decompose right in the garden, but keep an eye on them—they can dry out faster than plastic.
-
Yogurt Cups or Egg Cartons: Put your recycling to work! Just make sure you poke drainage holes in the bottom of any container you repurpose. Cardboard egg cartons are especially handy because you can tear the cups apart and plant them directly.
-
Fabric Grow Bags: While you might think of them for potatoes or tomatoes, small fabric bags are excellent for starting larger seeds like sunflowers or nasturtiums. They offer unbeatable aeration and drainage.
Ultimately, the right container is one that drains well, fits your plant, and works for you. Just remember, cleanliness is crucial. If you’re reusing any plastic trays or pots, give them a good scrub with soap and hot water to kill off any lingering pathogens from last year.
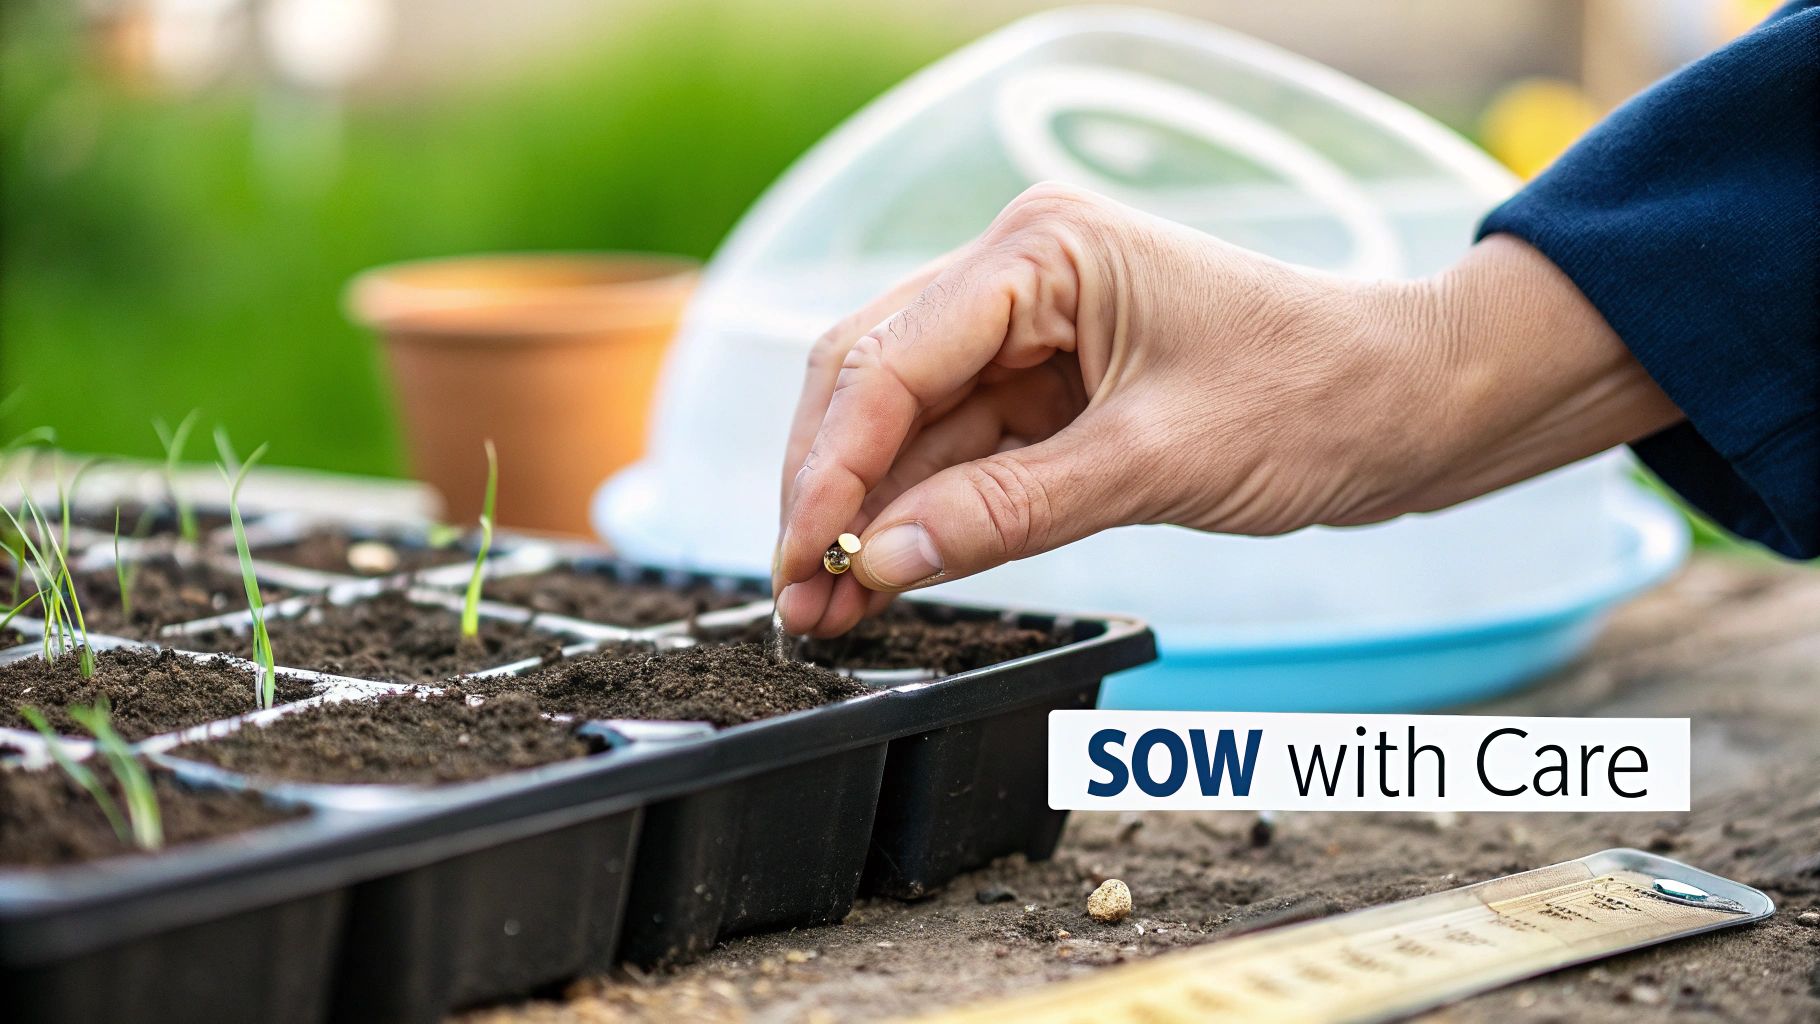
5. Master Sowing Depth, Spacing, and Early Care
This is it—the moment you place your seeds in the soil. It's a small action, but everything that follows depends on it. Getting the depth, spacing, and initial care right from the start is what separates a thriving flower bed from a frustrating one. It gives your seeds the absolute best chance to become the strong, vibrant plants you’re picturing.
It's easy to get lost in the details, but a simple rule of thumb works wonders for most seeds: plant them to a depth of about twice their diameter. That means those tiny, dust-like seeds from petunias or snapdragons barely need any soil on top—just a whisper-thin layer. In fact, some seeds shouldn't be covered at all.
Why Some Seeds Need Light to Sprout
You'll find that certain flower seeds, like poppies and some begonias, are what we call light-dependent germinators. They have a special light-sensitive pigment inside called phytochrome that works like an on-off switch. When light hits it, the pigment tells the seed it's safe to wake up and start growing.
If you bury these seeds, they'll just sit there, waiting for a signal that never arrives. For these types, all you need to do is gently press them onto the surface of the soil. A light dusting of fine vermiculite can help keep them in place without blocking that crucial sunlight. Always, always check your seed packet for this instruction—it’s one of the most common and easily avoidable mistakes.
6. Understand 5 Reasons Proper Spacing Is a Game-Changer
I know it's tempting to sow seeds thickly, thinking you'll guarantee something grows. But from my experience, that strategy almost always backfires. Giving your seeds the right amount of room from day one is non-negotiable.
- Less Competition for Resources: When plants are too close, they’re all fighting for the same limited water, nutrients, and sun. The result? Everyone grows up weak and stunted.
- Better Air Circulation: Good airflow is your best defense against common fungal diseases like powdery mildew. Space allows air to move freely between the leaves.
- Room to Grow: Every plant has a mature size. Proper spacing lets them reach their full, beautiful potential without getting tangled up with their neighbors.
- Easier Garden Maintenance: Weeding, watering, and checking for pests are a whole lot simpler when you aren't trying to navigate a dense jungle.
- No Root Wars: Under the soil, crowded roots become a tangled mess, battling for every drop of moisture. A strong root system is the foundation of a healthy plant, and it needs space.
When you give a seed the right amount of space, you're not just planting for today. You're planning for the robust, healthy plant it will become in three months. It's a small act of foresight that pays off with bigger, better blooms.
7. Nurture Your Newly Sown Seeds
Once the seeds are tucked in, the next few days are critical. Your job is to create a stable, nurturing environment that coaxes them to sprout. This really boils down to three things: water, humidity, and light.
First, be gentle with your watering. A heavy stream from a watering can will dislodge those tiny seeds, washing them away or burying them too deep. I always use a spray bottle on a fine mist setting. Another great method is bottom-watering: just set your seed trays in a shallow pan of water and let the soil wick moisture up from below. No disturbed seeds.
To keep that moisture consistent, a humidity dome is your best friend. This clear plastic cover traps moisture and warmth, creating a perfect little greenhouse for germination. But as soon as you see the first sprouts emerge, get that dome off! You need to restore airflow immediately to prevent rot and disease.
Finally, light becomes a big deal the moment those first green shoots appear. A sunny windowsill might seem like enough, but it often produces "leggy" seedlings that stretch and weaken reaching for the sun. For the strongest, stockiest plants, a dedicated grow light is a game-changer. Position the light just a few inches above the seedlings and keep it on for 14-16 hours a day. This mimics long summer days and encourages compact, vigorous growth.
8. Know What to Do When Seed Starting Goes Wrong
Even seasoned gardeners run into trouble now and then. Don't be discouraged if things don't go perfectly! Spotting the signs early is half the battle, turning a potential disaster into a valuable lesson. Let's walk through some of the most common hiccups, from stubborn seeds that won't sprout to seedlings that just look sad.
https://www.youtube.com/embed/KscIXoMvgFw
Help! My Seeds Didn't Sprout.
It’s one of the most common frustrations in gardening: a tray full of soil with zero signs of life. Before you toss the batch and blame the seeds, let's play detective. More often than not, the environment is the real culprit.
First, think about temperature. Many popular flower seeds, like zinnias or marigolds, are waiting for a signal of warmth to wake up. If your soil temperature is consistently below 65°F (18°C), they’ll just sit there, dormant. A simple heat mat tucked under your seed trays can make all the difference.
Watering is another big one. The soil needs to stay consistently moist—think of a well-wrung-out sponge—but it should never be a swamp. If the soil surface dries out completely, even for a few hours, it can halt the germination process for good.
Last but not least, revisit the seed packet. Did those seeds need light to germinate? If so, burying them was the problem. Some seeds need total darkness, while others just want to be lightly pressed onto the soil's surface. That planting depth isn't just a suggestion; it’s a rule for success.
9. Prevent Damping-Off: The Seedling Killer
There’s nothing more heartbreaking than seeing your brand-new seedlings suddenly keel over. This is likely damping-off, a fungal disease that attacks the tender stem right at the soil line, causing it to look pinched, mushy, and weak. It can wipe out a whole tray seemingly overnight.
The good news is that it's almost entirely preventable. Here’s how to stop it before it starts:
- Sterile Soil Only: Never, ever scoop soil from your garden to start seeds indoors. Always use a fresh, sterile seed-starting mix.
- Get the Air Moving: The moment you see sprouts, take off the humidity dome. A small fan on a low setting pointed near your trays works wonders to keep the soil surface dry and air circulating.
- Don't Drown Them: Let the top of the soil dry out a little bit between waterings. I’m a big fan of bottom-watering to get moisture to the roots without soaking the delicate stems.
Damping-off loves cool, damp, and stagnant air. Your job is to create the opposite: a warm, bright environment with plenty of airflow. Prevention is truly the only cure here.
10. Fix the Mystery of Leggy Seedlings
Ever had seedlings that shoot up, looking tall, pale, and so skinny they can barely stand? That’s what we call leggy seedlings. It’s a desperate cry for more light. They are literally stretching themselves thin trying to find the sun.
A sunny windowsill, as bright as it may seem to us, often doesn't cut it. The light is weak and comes from only one direction, causing the plants to strain.
The fix is to give them a much better light source, and fast. The best solution is a simple grow light positioned just 2-3 inches above the tops of your seedlings. Keep it on for 14-16 hours a day. You'll be amazed at how quickly they respond. As a temporary measure, you can also gently brush the tops of the seedlings with your hand a few times a day. This mimics a breeze and signals the plant to grow sturdier, shorter stems to withstand the "wind."
11. Get Answers to 7 Common Seed Starting Questions
Even the most experienced gardeners run into questions when starting flowers from seed. It’s just part of the process! Let's walk through some of the most common puzzles that pop up so you can feel confident and tackle any issues that arise.
1. Can I Plant Seeds Straight from a Flower Head?
Absolutely, but there’s a critical step you can't miss. The seeds have to be fully mature and dry before you even think about planting them. If the seed head is still green or feels fleshy, the seeds inside are still developing and just won't sprout.
You’ll need to let the flower head die back and dry out completely on the plant. Wait until it’s brown, brittle, and practically falling apart. That’s when you know the seeds are ready for their next chapter.
2. How Do I Know if My Old Seeds Are Still Good?
It's heartbreaking to sow a whole tray of seeds only to get nothing. Luckily, you can easily test their viability with a quick germination test.
Just place ten seeds on a damp paper towel, fold it over them, and pop it into a sealed plastic bag. Leave it in a warm spot for about a week or two (7-14 days). Count how many sprout. If you get six little sprouts, you've got a 60% germination rate. If the rate is low, don't toss the seeds—just sow them more thickly than you normally would to make up for the duds.
3. What Is Stratification and Do I Actually Need to Do It?
Think of stratification as a man-made winter. It's a process of giving seeds a cold, damp chill period to break their natural dormancy. Many perennials from colder climates, like lavender, coneflowers, and milkweed, have evolved to expect this cold snap before they'll wake up and grow.
Stratification is nature’s alarm clock. It tells the seed that winter has passed and it's safe to start growing. Skipping this step for seeds that require it is a common reason for germination failure.
To stratify seeds, just mix them with some damp sand or a moist paper towel, place them in a sealed bag, and stick them in the fridge for 4-8 weeks. Your seed packet will always tell you if this is a necessary step.
4. Why Can’t I Save Seeds from My Hybrid Flowers?
Technically, you can save them, but what you get will be a complete surprise—a genetic lottery, really. Seeds from hybrid plants don't grow "true to type." This means the new plants will likely look wildly different from the parent plant in their color, size, or even flower shape.
For predictable, beautiful results year after year, it's best to stick with heirloom or open-pollinated varieties when saving seeds.
5. What Does "Days to Maturity" Mean on a Seed Packet?
This number is your best friend for garden planning. It’s the average time it takes from the day you sow the seed until the plant starts producing its first flowers. Use it as a guide to map out when different parts of your garden will come into bloom.
6. Is It Okay to Use Egg Cartons to Start Seeds?
They can work in a pinch, especially for small, fast-growing seeds. But honestly, they're not ideal. The cardboard compartments are tiny, so seedlings will outgrow them very quickly and need to be transplanted sooner. They also have a tendency to get soggy and can sometimes encourage mold growth, which is the last thing you want around delicate seedlings.
7. Can I Start Seeds in My Garden Soil Indoors?
I’d strongly advise against this. Garden soil is heavy, compacts easily in containers, and is usually full of weed seeds and pathogens. These pathogens can cause fungal diseases like damping-off, which is fatal to young, vulnerable seedlings.
For your best shot at success, always use a sterile, lightweight seed-starting mix specifically designed for indoor sowing.
At Homegrown Garden, we believe everyone can grow a beautiful garden from seed. Explore our curated collection of heirloom flower seeds, starter kits, and detailed grow guides to begin your journey today. Find everything you need at https://www.homegrown-garden.com.

