


Starting an indoor herb garden is way easier than you might think. It really just comes down to picking the right plants, giving them enough light, and making sure their pots have good drainage. Nail those three things, and you'll be snipping fresh herbs for your kitchen in just a few weeks.
Why Anyone Can Grow Herbs Indoors
Forget the myth of the "green thumb." The secret to growing herbs indoors isn't some innate talent—it’s just about understanding what these plants need to thrive. The good news is that many culinary herbs are tough little plants that do surprisingly well in containers, which makes them perfect for beginners.
You don't need a huge backyard or a fancy greenhouse to get started. Honestly, a sunny windowsill is often all it takes. That's why this is such a great project for anyone, no matter where you live.
Embrace the Simplicity
The real beauty of an indoor herb garden is that you get to control everything. This hands-on approach removes a lot of the typical frustrations you'd face with an outdoor garden.
- No Weeds: You won't be in a constant battle with pesky weeds stealing nutrients from your plants.
- Fewer Pests: Growing inside dramatically cuts down the risk of insect problems that can ruin an outdoor garden.
- Year-Round Harvests: Forget seasons. With a stable indoor setup, you can have fresh parsley in December and basil in February.
This controlled environment is exactly what makes growing herbs indoors for beginners so rewarding. It’s a fantastic way to learn the basics of plant care without feeling overwhelmed.
I see it all the time—new gardeners overcomplicate things. Your main job is to give your herbs what they'd get in nature: plenty of sunlight and soil that drains well. If you get those two things right, you're already halfway there.
Even if you’re working with a small space, you can still have an incredible garden. We've got a whole guide with tips for starting an herb garden for an apartment that will help you make the most of what you've got.
My goal here is to give you a clear, no-fuss plan. We’ll walk through picking the right plants, setting them up in the perfect pots, and mastering the fundamentals of watering and light. It's time to ditch the idea that you need special skills—you just need a little guidance to get growing.
Step 1: Pick from these 7 Easy-to-Grow Herbs
Getting started with an indoor herb garden is a ton of fun, and the real secret to success is picking plants that are happy to grow with you. Not every herb is cut out for life in a pot, but thankfully, many of them absolutely thrive on a sunny windowsill. I’ve put together a list of the 7 most dependable and rewarding herbs that are just about perfect for anyone new to this.
Think of this as more than just a list—it's a quick introduction to each plant's personality. We'll touch on their flavor, what they’re great for in the kitchen, and exactly what they need to stay happy and healthy in your home.
It’s no surprise that indoor gardening is taking off. There’s something special about snipping fresh ingredients for your meals right when you need them. In fact, the global indoor plants market, which includes herbs, was valued at around USD 20.68 billion and is expected to grow to USD 30.25 billion. People are clearly eager to bring more green indoors, and a few low-maintenance herbs are the perfect way to get your feet wet.
This infographic is a great visual starting point for choosing your first green companions.
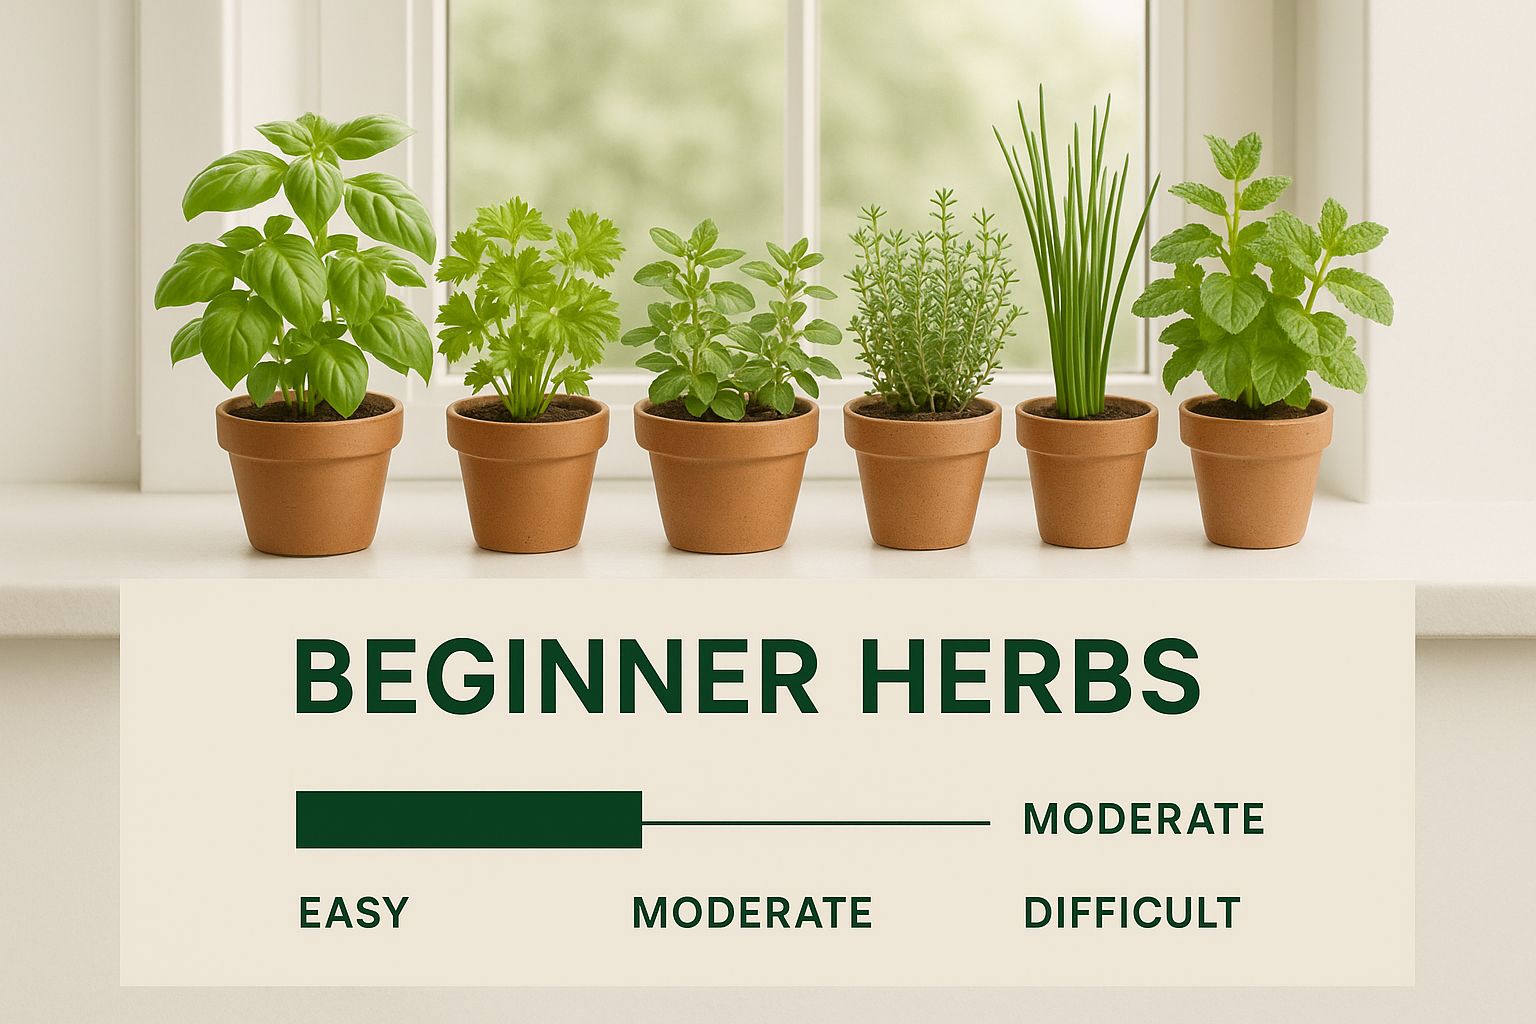
As you can see, classics like basil, mint, and parsley are fantastic picks. They not only taste great but also look beautiful soaking up the sun.
To make things even easier, here is a quick cheat sheet to help you decide which herbs will fit best into your kitchen and lifestyle.
Beginner's Herb Cheat Sheet
This table breaks down the easiest herbs to grow indoors, highlighting their essential needs so you can pick the perfect ones for your home.
| Herb | Light Needs (Hours/Day) | Watering Frequency | Best For (Culinary Use) |
|---|---|---|---|
| Basil | 6-8+ (Loves sun) | Keep soil moist | Pesto, pasta sauces, Caprese salads |
| Mint | 4-6 (Tolerates shade) | Keep soil consistently moist | Teas, cocktails, desserts, garnishes |
| Chives | 4-6 (Bright, indirect) | Water when top inch is dry | Eggs, potatoes, soups, salads |
| Parsley | 4-6 (Bright, indirect) | Keep soil moist | Garnish, soups, stews, sauces |
| Oregano | 6-8+ (Loves sun) | Let soil dry between waterings | Pizza, pasta sauces, Mediterranean dishes |
| Rosemary | 6-8+ (Full sun) | Let soil dry out completely | Roasted meats (chicken, lamb), potatoes, bread |
| Thyme | 6-8+ (Full sun) | Let soil dry between waterings | Soups, stews, roasted vegetables, poultry seasoning |
With these basics in mind, you can confidently choose a few herbs that will reward you with fresh flavors for months to come.
Basil: The Kitchen Staple
If there’s one herb every kitchen needs, it’s basil. Its sweet, slightly peppery flavor is the soul of so many Italian dishes, from fresh pesto to a classic marinara.
The trick to keeping basil bushy and productive is to pinch off the top sets of leaves regularly, right above a spot where two leaves meet. This little trim encourages the plant to grow outwards instead of just getting tall and leggy. It loves a sunny spot and soil that stays consistently moist but never waterlogged.
Mint: The Vigorous Spreader
Mint is so easy to grow that your main job is often just keeping it contained! Its wonderfully refreshing flavor is a game-changer in teas, cocktails, and desserts.
Pro Tip: Whatever you do, plant mint in its own pot. Its roots are aggressive travelers and will quickly choke out any neighbors. Giving mint its own space is the number one rule for preventing a garden takeover.
When you're growing popular herbs like mint, you'll have plenty of fresh sprigs for all sorts of delicious recipes.
Chives: The Subtle Onion Flavor
Chives are part of the onion family but bring a much more delicate, mild flavor to the table. They’re fantastic snipped over scrambled eggs, baked potatoes, or stirred into soups and salads at the last minute.
These grass-like herbs are incredibly low-maintenance. To harvest, just give them a haircut with scissors, snipping the leaves about an inch from the base. They’ll regrow in no time, giving you a near-endless supply.
Parsley: The Versatile Garnish
So much more than a forgotten sprig on the side of a plate, parsley adds a clean, bright flavor that can wake up almost any savory dish. You’ll usually find two types: curly and flat-leaf (often called Italian). I find the flat-leaf variety has a richer, more robust taste.
Parsley is happiest with bright, indirect light and consistently moist soil. When you need some, snip the outer stems first. This allows the new growth in the center to keep maturing, keeping your plant productive for months.
Oregano: The Mediterranean Powerhouse
A true staple of Mediterranean and Mexican cooking, oregano has a bold, earthy flavor that’s essential for a good pizza sauce or meat marinade. It’s a must-have for anyone who loves robust flavors.
This hardy herb is pretty self-sufficient. It actually prefers its soil to dry out a bit between waterings and loves soaking up direct sun. Giving it a regular trim will keep the plant from getting woody and encourage the tender new leaves, which pack the most flavor.
Rosemary: The Aromatic Shrub
With its fragrant, needle-like leaves, rosemary brings a distinct piney aroma and flavor to the kitchen. It’s absolutely beautiful with roasted chicken, lamb, and potatoes.
Being a Mediterranean native, rosemary thrives in two conditions: lots of bright, direct sun and well-draining soil. It’s very drought-tolerant, so the biggest mistake you can make is overwatering it. Seriously, let the soil dry out completely before you even think about giving it a drink.
Thyme: The Delicate Earthy Herb
Thyme's tiny leaves carry an incredible amount of earthy, slightly minty flavor. It’s a wonderfully versatile herb that works in everything from slow-cooked stews and soups to roasted vegetables and poultry.
This low-growing herb is another sun-worshipper that likes to stay on the dry side. Just like rosemary and oregano, let the soil dry out between waterings. Trimming it regularly not only gives you sprigs for cooking but also helps the plant stay full and healthy.
Step 2: Set Up Your Pots and Soil for Success
Think of your herb's pot as its home. For your herbs to really thrive, they need the right container and soil to build a strong, healthy root system. Getting this foundation right from the very beginning is probably the single most important part of growing herbs indoors for beginners.
It's about more than just finding a pot that looks good on your windowsill. The right container creates the perfect little ecosystem for your plant, and matching the material to the herb can make a world of difference.
2.1 Choose the Perfect Container
You'll generally run into two main options at the store: terracotta (classic clay) and plastic. Neither one is automatically "better" than the other; they just serve different plants in different ways.
-
Terracotta Pots: These are the classic, reddish-brown clay pots. They're porous, which is a fancy way of saying they breathe. Air and water can move right through the walls, helping the soil dry out faster. This is a huge plus for Mediterranean herbs like rosemary, thyme, and oregano that absolutely despise sitting in wet soil. The only catch is you'll find yourself watering them a bit more often.
-
Plastic or Glazed Ceramic Pots: Because these pots aren't porous, they hold onto moisture for a lot longer. This makes them a great fit for thirsty herbs like mint, parsley, and basil, which prefer to stay consistently moist. You just have to be extra careful not to go overboard with the watering can.
No matter what you choose, the absolute, non-negotiable feature is drainage. If your pot doesn't have holes in the bottom, it's a decorative bowl, not a planter. Excess water has to have an escape route, otherwise you're just setting the stage for root rot.
For size, a good starting point for a single herb is a container that’s at least 6 inches deep and wide. This gives the roots plenty of room to stretch out. That depth is especially key for herbs like parsley and cilantro, which grow a long central root called a taproot.
2.2 Don't Use Your Garden Soil
It’s tempting to just go outside and scoop some dirt from the garden to fill your pots, but this is one of the biggest mistakes new gardeners make. Outdoor soil is a whole different ballgame. It's heavy, compacts into a brick inside a container, and can be chock-full of pests, weed seeds, and funky bacteria you don't want in your kitchen.
When packed into a pot, garden soil becomes so dense that it suffocates the roots, blocking out the air and water they desperately need. Your herbs require a light, fluffy mix that lets their roots breathe and grow easily.
This is exactly what potting mix is for. You can find bags of it at any garden center—just look for something labeled "potting mix" or "container soil." These are specifically blended to give potted plants the right balance of drainage and water retention.
2.3 Craft the Ideal Soil Mix in 3 Steps
If you want to get your hands a little dirty, mixing your own soil is surprisingly simple and gives you total control. Most herbs, especially the Mediterranean ones, are happiest in soil that drains really, really well. A dense, soggy soil is their worst nightmare.
Here’s a foolproof DIY recipe that creates the kind of gritty, fast-draining home your herbs will love:
- Start with a base: Use one part of any high-quality potting mix.
- Add aeration: Mix in one part perlite or coarse sand. Perlite looks like tiny white styrofoam balls and it’s brilliant for creating air pockets in the soil.
- Boost nutrients: Add one part compost or earthworm castings for a slow, gentle release of nutrients.
Just mix those three ingredients together, and you've got a custom blend that's perfect for herbs. This mix strikes that ideal balance of moisture, air, and nutrition right from the start.
Honestly, once the pot and soil are set up correctly, you’ve already won half the battle. Good plant care is so much easier with a solid foundation. You can learn more about taking care of plants in a plant pot to keep your new green friends happy for the long haul.
Step 3: Find the Right Light for Your Herbs
Light is the fuel your herbs run on. Get this one thing right, and you're well on your way to a thriving indoor garden. It’s often the biggest puzzle for new gardeners, but it’s simpler to solve than you might think.
Before you even pick out a plant, your first job is to become a light detective in your own home. Seriously. Spend a day just noticing where the sun hits and when. Where does it stream in during the morning? Where is it brightest in the afternoon? This quick bit of "light mapping" will show you the prime real estate for your future green friends.
Most of the herbs you'll want in your kitchen are total sun-worshippers. To produce those incredible, flavorful oils that make them so delicious, they need at least 6 to 8 hours of direct sunlight every day.
3.1 Understand Your 4 Window Types
Here’s a secret not everyone realizes: not all windows are created equal. The direction a window faces drastically changes the kind and amount of light it gets, which is a critical piece of the puzzle for growing herbs indoors for beginners.
- South-Facing Windows: This is the jackpot. A south-facing window is like a front-row seat to the sun, getting the most intense, direct light for the longest part of the day. It’s the perfect spot for sun-loving Mediterranean herbs like rosemary, thyme, and oregano.
- East-Facing Windows: These windows get a few hours of lovely, direct morning sun, which is much gentler than the harsh afternoon glare. It's an ideal location for herbs that appreciate good light but can get a bit scorched by intense heat, like basil and parsley.
- West-Facing Windows: Expect hot, direct sun in the afternoon and evening. This spot can be great, but you'll need to keep an eye on your plants and make sure they don't wilt on really hot days.
- North-Facing Windows: This is the shadiest spot in the house, offering only indirect light. Most culinary herbs will struggle here, but you might get away with low-light tolerant plants like mint and chives, though they probably won't grow as vigorously.
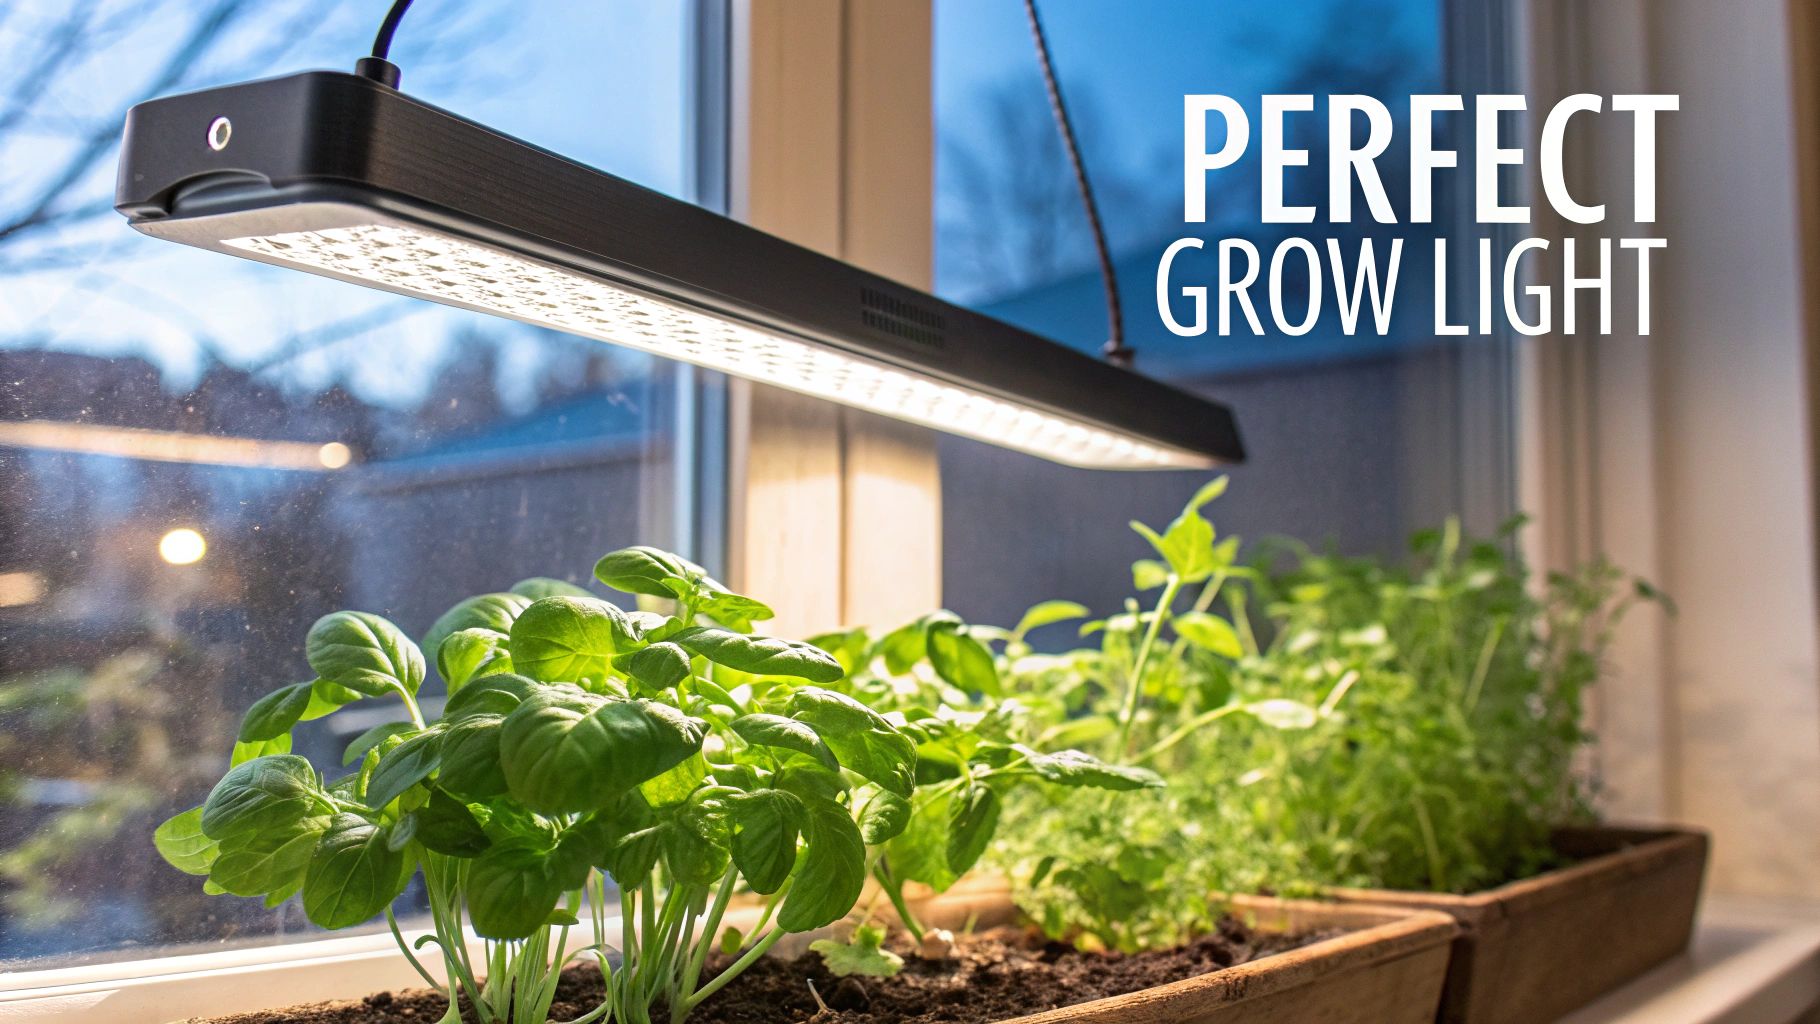
3.2 Use Grow Lights if Natural Light Isn't Enough
What if your home is short on sunny windows? Don’t give up! This is where technology comes to the rescue. The rise of affordable and super-efficient grow lights has completely changed the game for indoor gardeners.
This is part of a bigger shift in home gardening. The global smart indoor garden market, which includes tools that simplify lighting and watering, was valued at around USD 151 million and is projected to grow to USD 302 million. This boom is happening because new tools are making it easier for absolutely anyone to grow plants successfully indoors.
A grow light is essentially a personal sun for your plants, providing the specific kinds of light they crave for photosynthesis. This means you can grow lush, healthy herbs in a dim apartment, a dark kitchen corner, or even a windowless basement.
The most common mistake I see is people trying to force a sun-loving herb like basil to survive in a dark corner. A simple, inexpensive grow light is the difference between a sad, leggy plant and a thriving, productive one.
3.3 Choose a Grow Light in 3 Easy Ways
The world of grow lights can feel a bit technical, but for growing herbs, you really only need to know one term: full-spectrum. This just means the light mimics the full range of natural sunlight, giving your plants the balanced red and blue light they need for both leafy growth and strong roots.
You don’t need a complicated, expensive setup to get started. Here are a few simple and effective options:
- Clip-On LED Lights: These are fantastic for just one or two pots. You can clip them right onto a shelf or the edge of a container and aim the light exactly where it’s needed.
- LED Light Strips: Perfect for mounting underneath a kitchen cabinet to create a dedicated herb station. They provide really even light coverage for a whole row of pots.
- Screwdriver Bulbs: You can buy full-spectrum LED bulbs that fit into any standard lamp. Just pop one into a desk lamp, position it over your herbs, and you have an instant grow light.
Let's imagine you really want to grow basil, but your only available spot is a dim, north-facing window. To keep it happy, you’d need to supplement with a grow light for at least 8 to 10 hours per day. A simple clip-on LED light hooked up to an outlet timer would provide the consistent "sunshine" that the window just can't offer.
To dive deeper into specific models and setups, check out our guide on the best grow lights for indoor plants. With the right light, any spot can become the perfect place for your garden.
Step 4: Water and Feed Without Overthinking It
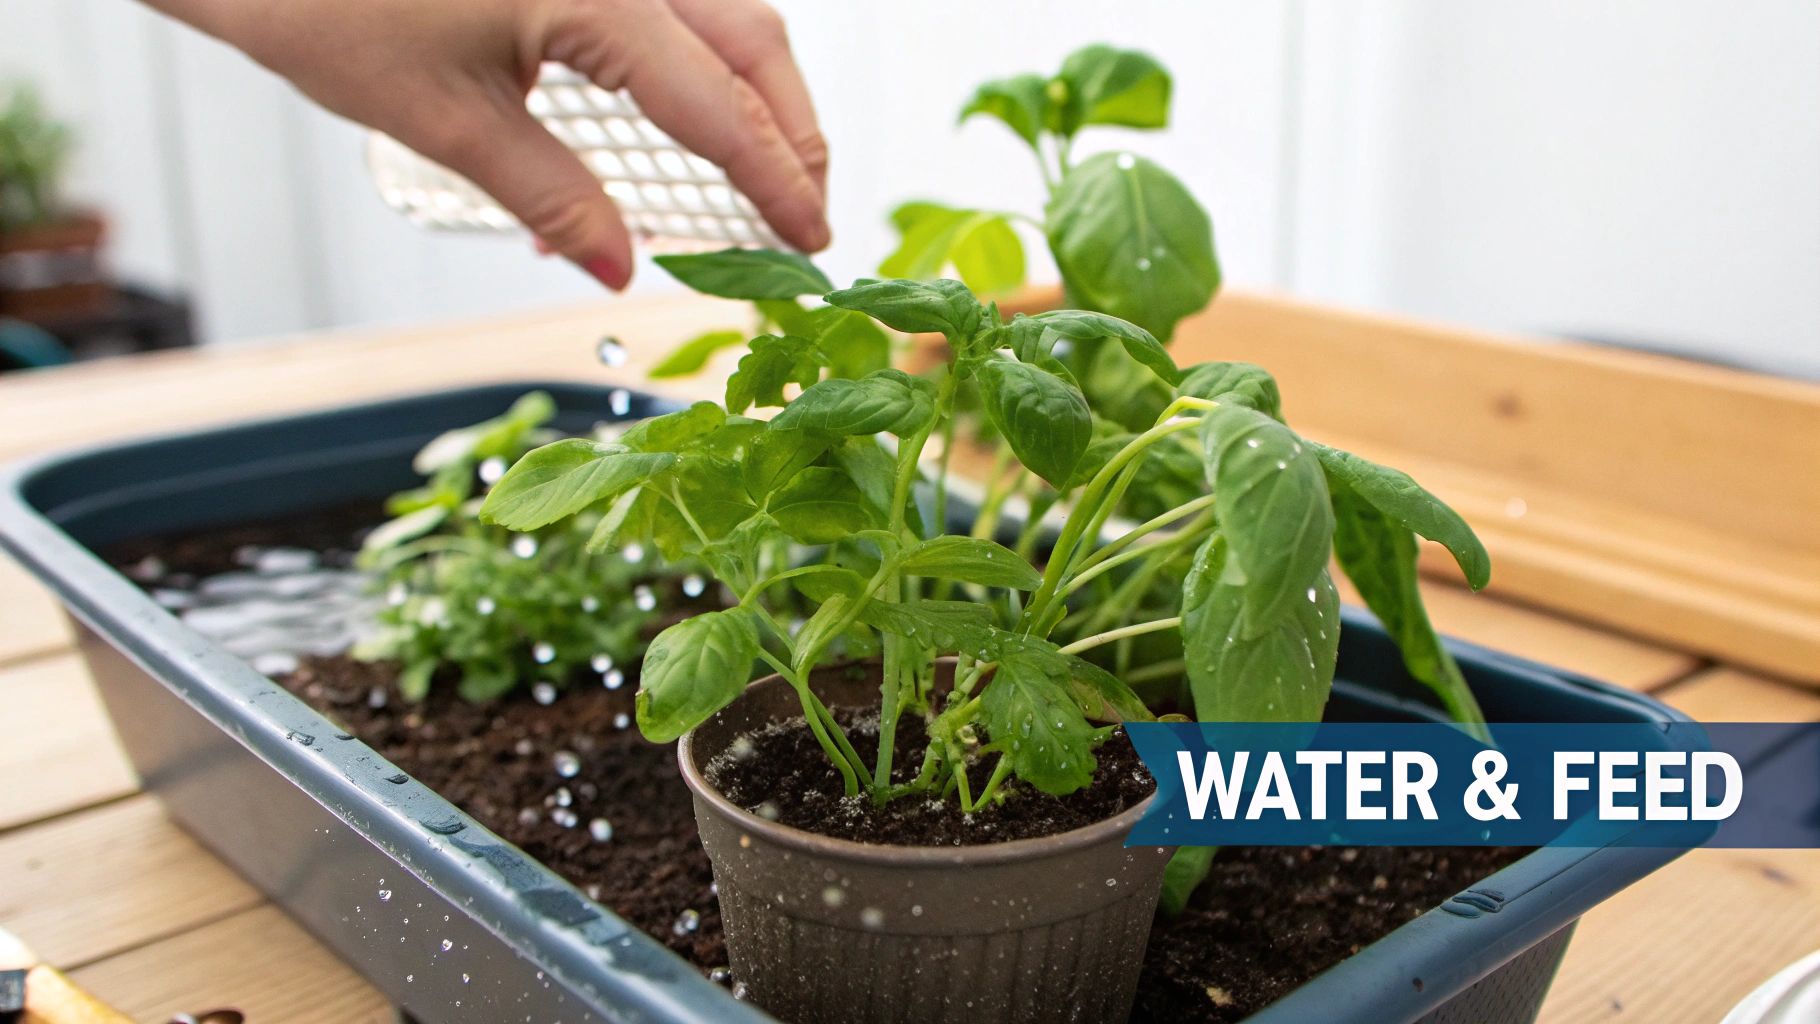
If there’s one mistake I see new herb gardeners make over and over, it’s killing their plants with kindness. Believe it or not, more herbs meet their end from overwatering than almost any other cause. Learning the simple art of when and how to water is a total game-changer for growing herbs indoors for beginners.
The goal is to get out of the habit of a rigid schedule, like automatically watering every Tuesday. Your herbs' needs will change with the seasons, the humidity in your home, and how much light they’re getting. It’s all about learning to listen to your plants.
4.1 Master the 1-Inch Finger Test
The most reliable way to know if your herbs are thirsty is the foolproof "finger test." It couldn't be simpler: just stick your index finger about an inch deep into the soil.
If the soil feels damp, your plant is perfectly happy. Hold off on watering for now.
If it feels dry to the touch, it’s time to give your herb a drink. This quick check prevents the soggy soil that leads to root rot, the silent killer of so many potted plants.
Overwatering is the surest way to kill an herb in a container, especially one with poor drainage. By checking the soil first, you give the plant exactly what it needs, right when it needs it.
Keep in mind that some herbs, like rosemary and thyme, prefer their soil to dry out almost completely between waterings. Others, like basil and mint, are much thirstier and like to stay consistently moist (but never waterlogged!). The finger test works for all of them.
4.2 Use these 2 Watering Methods
Once you’ve decided your plant needs a drink, how you water also matters. Pouring water directly over the leaves can sometimes encourage fungal issues, particularly with fuzzy-leafed herbs like sage.
Instead, aim your watering can at the base of the plant. Soak the soil evenly until you see a little excess water run out of the drainage holes at the bottom. This ensures the entire root ball gets properly hydrated.
Another fantastic technique, and my personal favorite for preventing overwatering, is bottom-watering.
- Grab a shallow tray or saucer and fill it with an inch or two of water.
- Set your potted herb directly into the tray.
- Let the pot sit for 15-20 minutes while the soil wicks up moisture from the bottom through the drainage holes.
This method encourages roots to grow downward in search of water, creating a stronger, more resilient plant. It also guarantees the soil is moistened all the way through, not just on the surface. While most tap water is fine for herbs, if you're concerned about consistent water quality, a whole house water filtration system guide can offer insights into providing purified water for all your needs.
4.3 Follow this 2-Step Feeding Guide
Herbs growing in pots are in a closed system. Unlike plants out in the garden, they can't spread their roots far and wide to find more nutrients. Eventually, they'll use up everything available in their potting mix.
This is where a little bit of fertilizer comes in. But don't worry, you don't need a complex chemical lab to get it right. With herbs, the key is to be gentle.
A balanced, organic liquid fertilizer is your best friend here. I always look for products made from things like fish emulsion, kelp, or worm castings. These natural options provide a slow, steady supply of nutrients without the risk of chemical burn you can get from stronger synthetic fertilizers.
A great rule of thumb to follow is the "feed weakly, weekly" method.
- Dilute your fertilizer: Mix your liquid fertilizer to half the strength recommended on the bottle. Herbs really don't need a full-strength dose.
- Apply during watering: Once a week (or maybe every other week in the winter when growth slows), use this diluted fertilizer solution instead of a regular watering.
This gentle, consistent approach gives your herbs the small boost they need to keep producing lush, flavorful leaves without overwhelming them. It's a simple rhythm that will keep your indoor garden nourished and thriving.
Step 5: Prune and Harvest for Nonstop Growth
Think of harvesting not as the end of the line for your herbs, but as part of a conversation. Every time you snip a few leaves for dinner, you're actually telling the plant to grow back stronger and fuller. This simple, ongoing task is the real secret to turning a few starter plants into a season-long supply of fresh flavor.
The golden rule here is to harvest little and often. Regular trimming is like a healthy haircut for your herbs—it keeps them from getting "leggy" (all stem and no leaves) and encourages them to become bushy and productive. It also stops them from flowering, which can make the leaves taste bitter.
5.1 How to Harvest Your 4 Easiest Herbs
Every herb has its own preference for how it likes to be trimmed. Learning where to make the cut is the difference between a one-time harvest and a plant that keeps on giving.
- Basil: Basil is the classic example of "pruning for growth." Find a main stem and look for a spot where two small leaves are sprouting out from the sides. Snip the stem just about a quarter-inch above that pair of leaves. Before you know it, two brand new stems will sprout from that very spot, doubling your basil supply.
- Parsley: With clumping herbs like parsley, the trick is to harvest from the outside in. Follow the oldest, largest stems down to the base of the plant and snip them off right at the soil line. This opens up space and sends energy to the young, tender leaves in the center, keeping the plant producing for months.
- Rosemary and Thyme: These woody-stemmed herbs are pretty straightforward. You can snip off the top two to three inches of any sprig. This encourages them to branch out and become bushier, rather than just growing into one long, sparse stick.
- Mint: Let's be honest, mint is a beast. It grows so fast you can pretty much trim it wherever you want. Just snip stems right above any set of leaves. The more you cut, the more it will try to take over its pot (and anything nearby!).
The number one mistake I see beginners make is being too shy with the scissors. Don't be afraid to give your herbs a good trim! Harvesting up to one-third of the plant at a time is one of the healthiest things you can do for it.
5.2 Discover 3 Simple Ways to Preserve Extra Herbs
Sooner or later, you'll have more herbs than you can use at once. Don't let that delicious bounty go to waste! Here are a few dead-simple ways to preserve that fresh-picked flavor for months to come.
- Freeze Them in Oil: This is my go-to for herbs like parsley, oregano, or chives. Chop them up, pack them into an ice cube tray, and pour good olive oil over the top until they're covered. Once frozen, you'll have these perfect little "flavor pucks" to drop directly into soups, pasta sauces, or a hot pan.
- Air-Dry the Hardy Ones: Herbs with woody stems like rosemary, thyme, and oregano are incredibly easy to air-dry. Just bundle a few sprigs together with some kitchen twine and hang them upside down somewhere warm and dry with decent airflow. After a week or two, the leaves will be crisp and ready to crumble into a jar for your spice rack.
- Create an Herb Roll: For tender herbs like dill or parsley, this is a game-changer. Finely chop the herbs and mash them into softened butter—maybe with a little minced garlic or lemon zest. Scrape the mixture onto some plastic wrap, roll it into a tight log, and toss it in the freezer. A slice of this compound butter melting over grilled steak, chicken, or steamed veggies is pure magic.
Step 6: Troubleshoot These 4 Common Problems
Even with the best intentions, you're bound to run into a few head-scratchers along the way. Don't worry, it happens to all of us. Let's walk through some of the most common issues new indoor gardeners face and how to fix them.
6.1 What to Do for Yellow Leaves
Yellow leaves are your plant's way of screaming for help, and nine times out of ten, the culprit is overwatering. It's the most common mistake beginners make.
Before you even think about grabbing the watering can, stick your finger about an inch into the soil. If you feel any moisture at all, hold off. Give it another day or two to dry out a bit.
6.2 The Fix for Pots Without Drainage Holes
I’m going to be blunt here: absolutely not. This is one rule you just can’t bend. A pot without drainage is a death sentence for your herbs, plain and simple. Water pools at the bottom, suffocating the roots and leading to a slimy, smelly mess called root rot.
If you've fallen in love with a decorative pot that doesn't have holes, there's an easy workaround. Just use it as a "cachepot"—a pretty outer container. Plant your herb in a slightly smaller plastic nursery pot (the kind with plenty of holes) and nest it inside the decorative one.
6.3 How Often to Use Fertilizer
When it comes to feeding herbs, remember that less is definitely more. Think of it as a light snack, not a three-course meal.
During the active growing season (spring and summer), feed them every 2-4 weeks with a balanced liquid fertilizer diluted to half-strength. Once fall and winter roll around, their growth naturally slows down, so you can stop fertilizing altogether.
The secret to a happy indoor herb garden isn't complicated. If you can mimic a plant's natural outdoor environment—plenty of light, the right amount of water, and great drainage—you've already solved 90% of potential problems.
6.4 How to Fix Tall and Leggy Herbs
If your herbs look long, pale, and stretched out, they’re desperately searching for more light. This "stretching" is a classic sign they aren't getting enough sun to produce bushy, flavorful leaves.
The fix is simple: move them to a brighter spot, ideally a south-facing window. If you don't have one, supplementing with a small grow light for at least 6-8 hours a day will make a world of difference.
Ready to stop dreaming and start growing? Homegrown Garden has everything you need to build a thriving indoor garden with confidence. We offer everything from heirloom seeds to foolproof starter kits, all with expert guides to help you succeed. Find your perfect starter kit today.

