


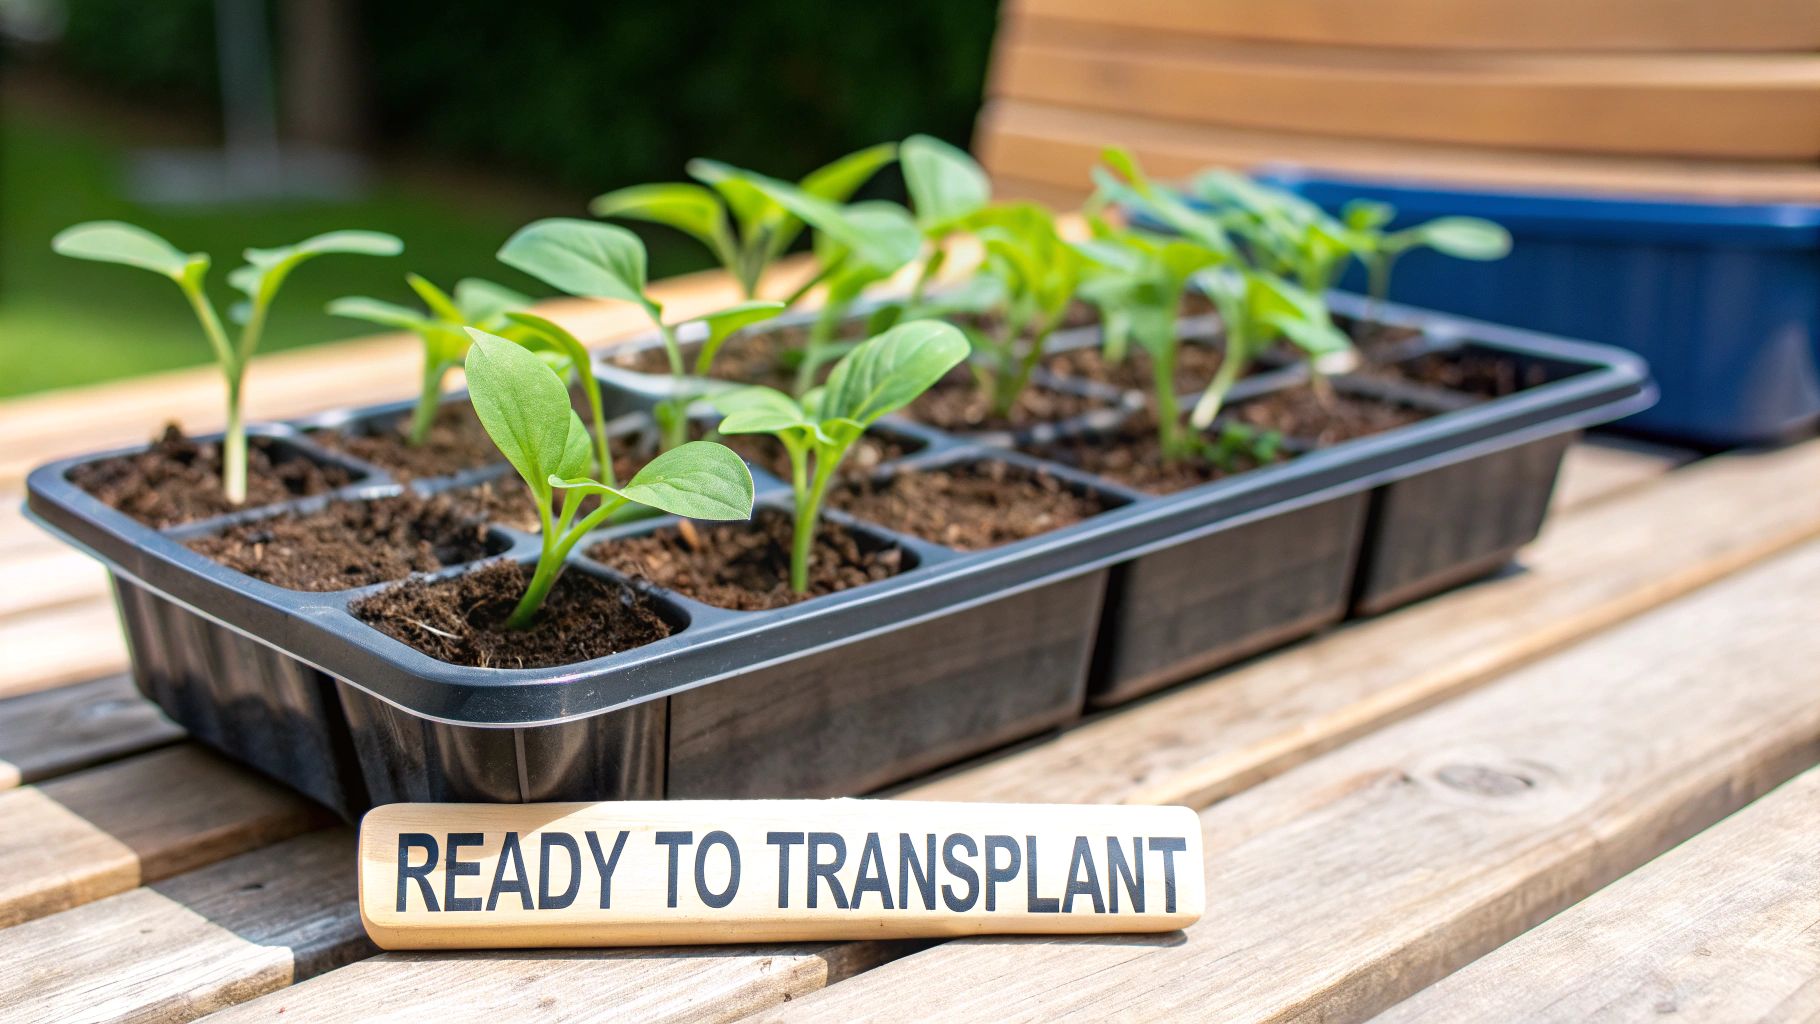
Knowing when to move your seedlings from their cozy starter pots into the great unknown of the garden is a crucial skill. Get it right, and they'll barely skip a beat. Get it wrong, and you risk stunting their growth or even losing them to transplant shock. The general rule of thumb I always follow is to wait until they have at least two sets of true leaves and a good, sturdy stem. This tells me the little plant is officially off to the races and ready for a bigger home.
5 Signs Your Seedlings Are Ready for the Move
Timing really is everything in the garden. Rushing a seedling out the door is like sending a toddler off to college—it’s just not ready. The secret to a smooth transition lies in learning to read the signs your plants are giving you. Move them too soon, and their delicate roots can't handle the change. Wait too long, and they become root-bound and stressed, which makes it much harder for them to adapt.
Luckily, your seedlings will tell you exactly when they’re ready to leave the nest. You just need to know what to look for.
1. Look for True Leaves, Not Cotyledons
When a seed first pops up, it unfurls a pair of starter leaves called cotyledons. Think of these as the plant's packed lunch—they come from the seed's embryo and provide the initial burst of energy it needs to get going. They are not true leaves.
The real signal you're waiting for is the appearance of at least two sets of true leaves. These are the leaves that actually look like the foliage of the mature plant. Once you see these, you know the seedling has kicked its own photosynthesis into gear and is becoming self-sufficient. This is my number one indicator that a seedling is robust enough for its new home. If you're planning your season, our guide on when to start seeds indoors can help you time this stage perfectly.
2. Inspect the Stem for Strength
Give the stem a gentle nudge. A seedling that’s ready for the garden should have a thick, sturdy stem that can hold its own. If it’s long, flimsy, and flops over easily (what gardeners call "leggy"), it's a sign it was probably stretching for more light. A weak stem like that won't stand a chance against the first gust of wind or a heavy rain.
A strong stem is the plant's backbone. It has to be tough enough to support all that future growth and resilient enough to handle the move from your sheltered windowsill to the wild outdoors.
3. Check the Root System
The real magic happens below the soil. To see what's going on, gently tip the seedling out of its container and take a look. What you want to see is a nice, solid root ball where healthy, white roots are holding the soil together.
If the soil just crumbles away, the root system isn't developed enough yet. Put it back gently and give it another week or so. On the other hand, if you see a thick web of roots circling the bottom of the pot, your plant is root-bound and overdue for a move. Don't panic! You can still plant it, but be sure to gently tease those circling roots apart with your fingers before you put it in the ground. This encourages them to grow outward instead of continuing to spiral.
A quick guide to checking roots:
- Underdeveloped: The soil falls apart. It needs more time.
- Just Right: The soil holds its shape, and you can see white roots throughout. Perfect!
- Root-Bound: A dense mat of roots is circling the pot. Time to transplant, ASAP!
4. Observe the Overall Plant Vigor
You can tell a lot just by looking at the plant as a whole. Does it look vibrant, green, and eager to grow? That initial vigor is a great predictor of future success. A fascinating study on the high-mountain daisy, Pulsatilla robusta, found that seedlings with longer initial leaves had much higher survival rates after transplanting. While the initial survival was a high 89%, only 36% were still around after three seasons. This really drives home how vital it is to start with the strongest, healthiest plants you can. You can read more about these transplant survival findings on PMC.
5. Pick the Perfect Transplanting Day
Finally, check the weather forecast. The day you choose to transplant can make all the difference. An ideal day is calm, cool, and overcast. If you don't get a cloudy day, transplanting in the late afternoon or early evening works just as well. This gives your seedlings the entire cool, dark night to settle in and recover before getting blasted by the sun.
Trying to transplant on a hot, sunny, or windy day is practically asking for transplant shock. Give your plants the gentle introduction they deserve.
2 Key Steps for Hardening Off Your Seedlings
Think about what it would be like to go from a quiet, temperature-controlled room straight into a blizzard. It would be a huge shock to your system, right? Your delicate seedlings feel the exact same way when they move from a cozy windowsill into the wild, unpredictable garden. This is why "hardening off" isn't just a good idea—it's an absolutely essential step for transplant success.
This process is basically boot camp for your plants. You're gradually introducing them to the real world of direct sun, wind, and fluctuating temperatures, toughening them up for life outdoors. So many gardeners skip this and then wonder why their plants have sunburned leaves, stunted growth, or just give up entirely. Taking 7 to 14 days to ease them into their new home makes all the difference.
This simple flow chart shows how you can gradually build up their outdoor time over a couple of weeks.
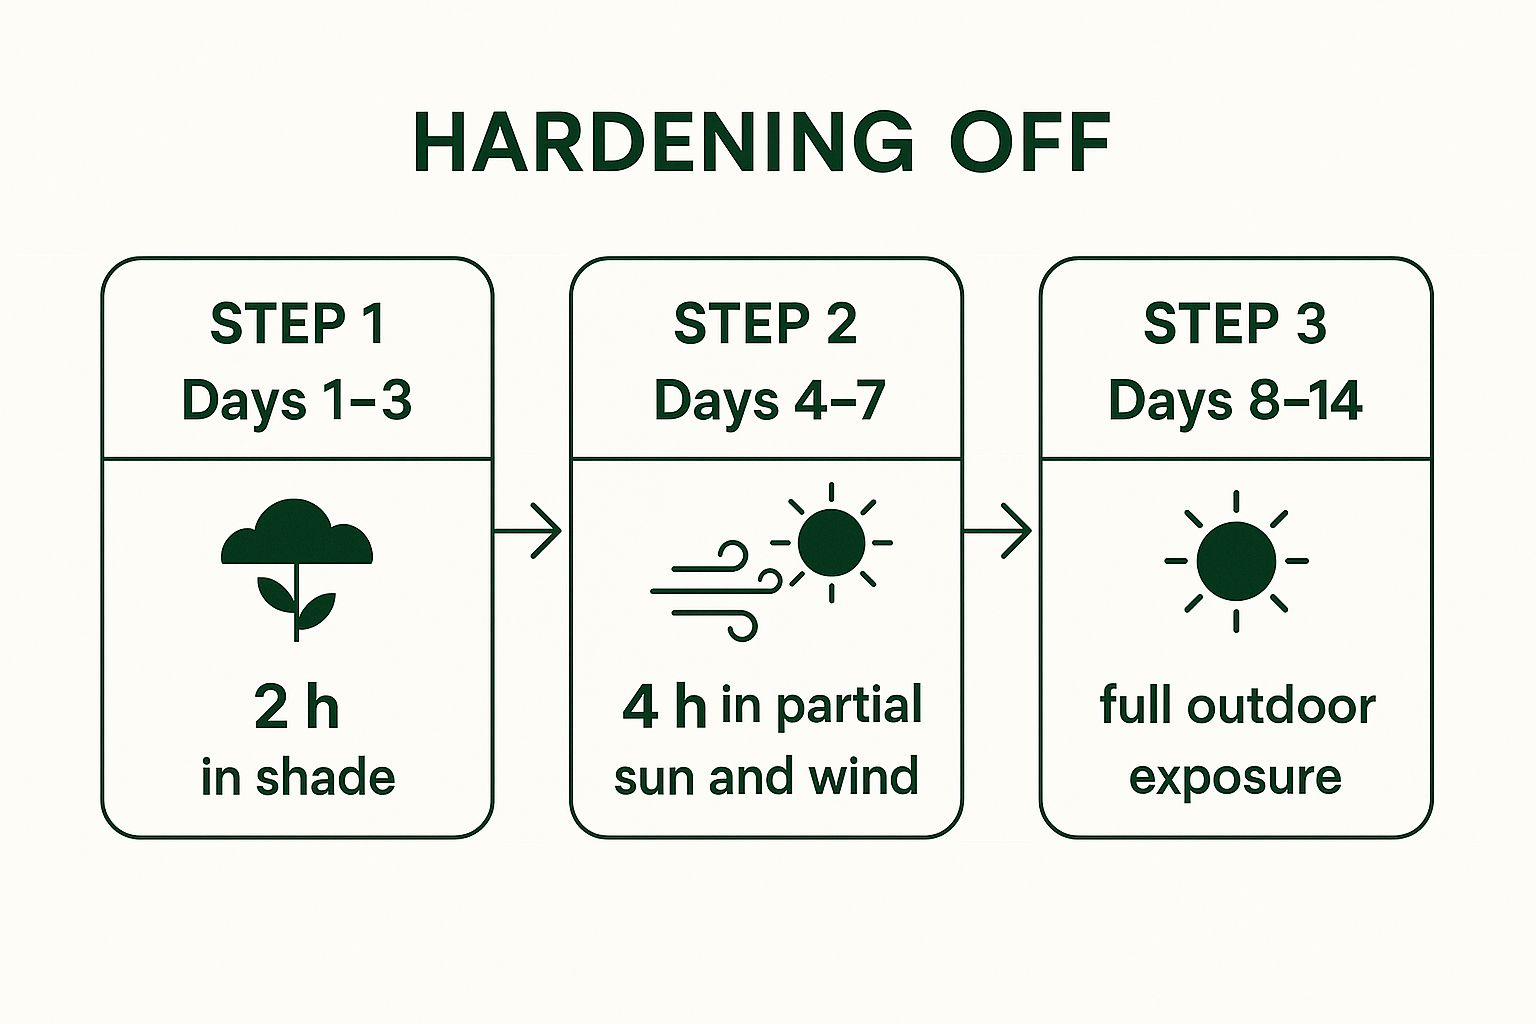
As you can see, the key is a slow and steady increase in exposure. You want to avoid any sudden changes that could stress out your young plants.
6. Create a Gentle Transition Schedule
The whole idea behind hardening off is gradual exposure. You just can't rush it. Your best tool here is patience.
Start by finding a sheltered, shady spot—maybe on a covered porch or under the canopy of a big tree. On the first day, leave your seedlings there for just a couple of hours. This gives them their first taste of the outdoors without getting blasted by harsh sun or wind.
Over the next week or two, you'll slowly increase both their time outside and the amount of sunlight they get. Just add an hour or two each day. After a few days in deep shade, you can move them to a spot with gentle morning sun, then work your way up to the more intense afternoon light.
Sample 7-Day Hardening Off Schedule
This table gives you a practical, day-by-day plan to follow. While a 10-14 day schedule is ideal, a week is the absolute minimum you should aim for to help your plants build resilience and avoid transplant shock.
| Day | Exposure Location | Duration | Key Action |
|---|---|---|---|
| 1 | Full shade, protected from wind | 1-2 hours | This is just a taste of the outdoors. Keep a close eye on them. |
| 2 | Full shade, protected from wind | 2-3 hours | Increase the time slightly. Still in a very sheltered spot. |
| 3 | Dappled sun/shade | 3-4 hours | Introduce them to filtered sunlight. Under a leafy tree is perfect. |
| 4 | Morning sun, afternoon shade | 4-5 hours | Let them feel some direct morning sun, but protect them from the harsh afternoon rays. |
| 5 | Morning sun, afternoon shade | 5-6 hours | Add another hour of morning sun. Check soil moisture—they'll dry out faster now. |
| 6 | Full sun, protected from strong wind | 6-8 hours | Let them experience a nearly full day, including some stronger sun. |
| 7 | Full sun | All day | Leave them out all day. If night temps are above 50°F (10°C), you can leave them out overnight. If not, bring them in for one more night. |
By the end of this process, your plants will have developed thicker leaves to hold in moisture and a much stronger structure to handle the elements.
Remember, the goal isn't just survival; it's about building robust, resilient plants. A properly hardened-off seedling will experience little to no transplant shock and will begin its new life in the garden with vigor and strength.
7. Listen to Your Plants and the Weather
Pay close attention to how your seedlings are reacting. Are their leaves turning white or pale? That’s a classic sign of sunburn. If they look wilted and sad, they might be getting too much sun or wind too fast.
These are your plants telling you to slow down. If you see signs of stress, just move them back to a more sheltered spot and cut back their outdoor time for a day or two. And don't forget to water! The sun and wind will dry out those little pots much faster than they did inside.
The initial health of a seedling is everything. Even large-scale reforestation programs struggle when starting with subpar plants. In fact, research shows that conifer mortality rates can swing between 40% and 70% in the first year after transplanting, with poor seedling quality being a major cause. You can read more about the foundations of transplant success from this research. This really highlights why it's so important to start with strong seedlings and give them the best possible transition.
Ultimately, this conditioning ensures your plants are tough enough to handle whatever your garden throws at them. It’s a small investment of time that pays off big with a healthy, productive garden.
3 Essential Steps for Preparing Your Garden Bed
A successful transplant begins well before you even pick up a seedling. Think of it like building a house—the foundation is absolutely critical. If you give your young plants a fantastic new home right from the start, you're setting them up for a season of vigorous growth and drastically reducing the stress of the big move.
The idea here is to create a garden bed that’s the equivalent of a five-star resort for plant roots. It needs to be nutritious, easy for roots to spread out in, and free from any pesky competition. That means we'll focus on three things: improving the soil, clearing out every last weed, and giving each plant the space it needs to shine.
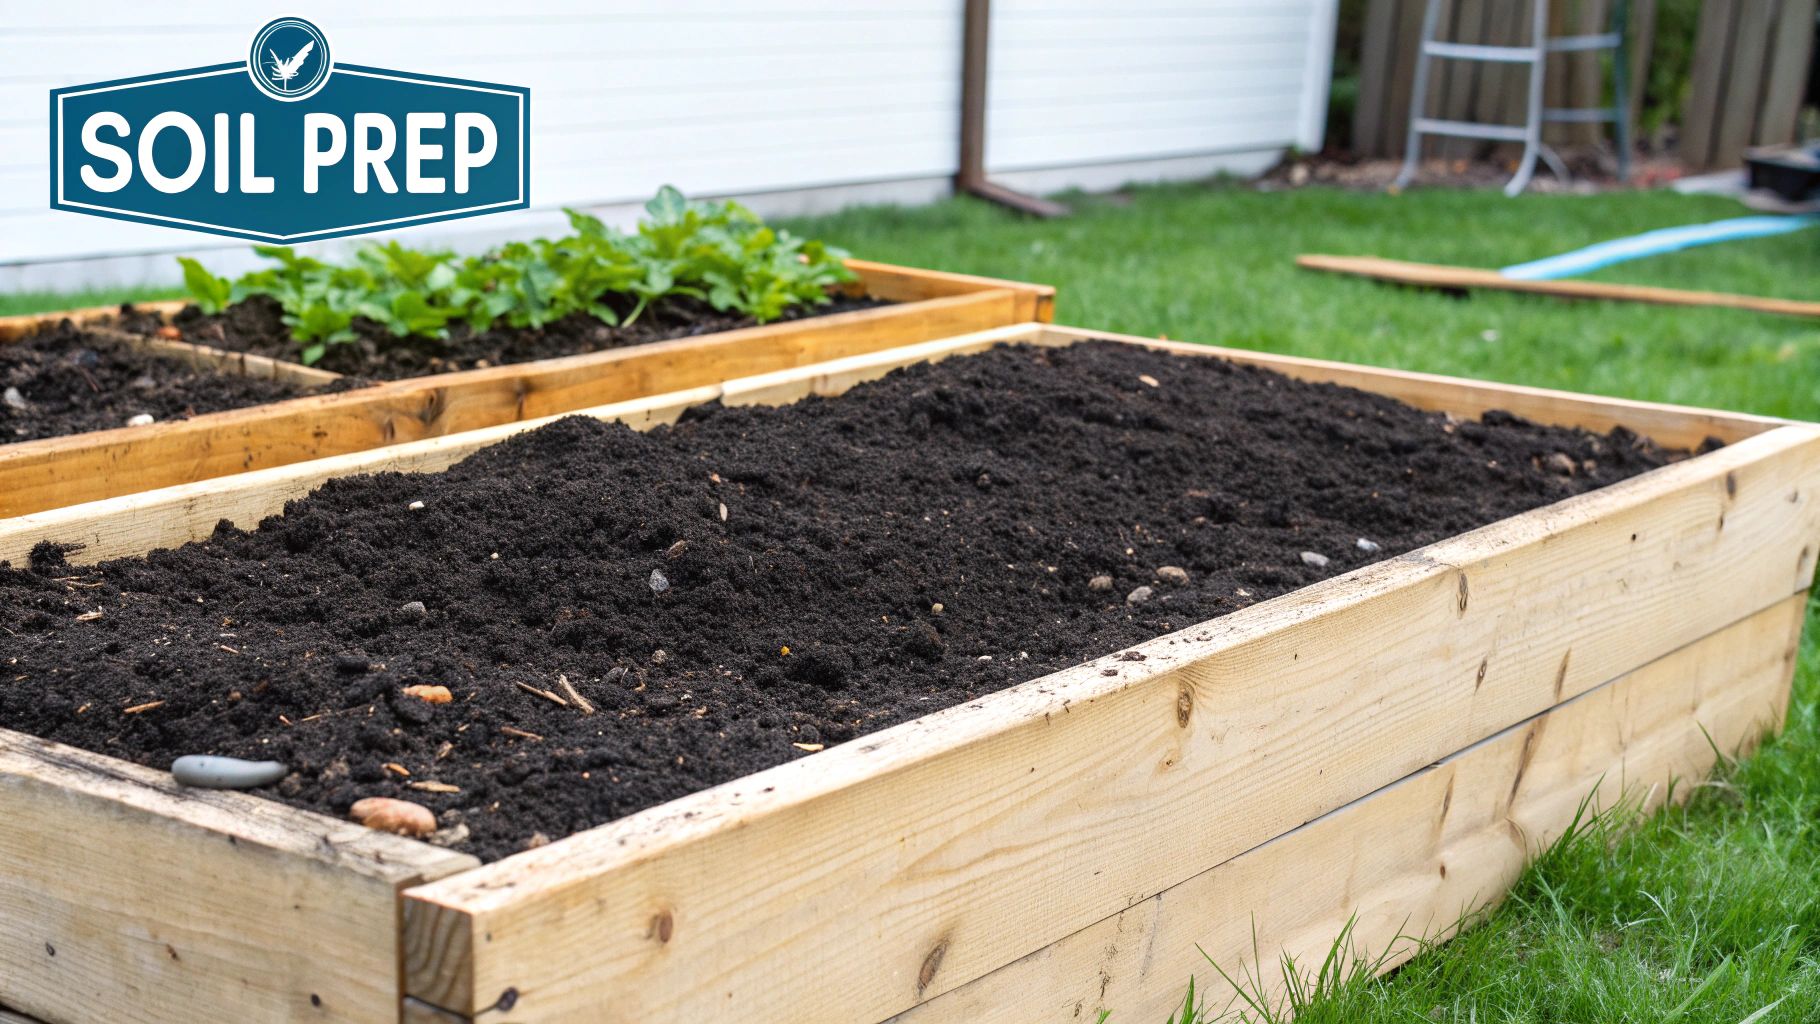
8. Build Up Rich, Healthy Soil
Great soil is alive. It’s teeming with beneficial microorganisms that are essential for feeding your plants. Let’s be honest, most garden soil could use a little help, especially before you introduce new seedlings. The number one priority is to add plenty of organic matter, which works wonders for both nutrition and soil structure.
Amending your soil is actually pretty straightforward. Just spread a 2 to 3-inch layer of good-quality, well-rotted compost or aged manure right on top of your garden bed. Grab a garden fork or a tiller and gently mix it into the top 6 to 8 inches of soil. This simple act accomplishes several things at once:
- Adds Key Nutrients: Compost is a fantastic slow-release fertilizer, giving your plants a steady diet.
- Improves Drainage: If you're dealing with heavy clay, organic matter creates air pockets. This helps excess water drain away and saves roots from rot.
- Boosts Water Retention: In sandy soil, it’s the opposite. The organic matter acts like a sponge, holding onto moisture right where your plants can get to it.
Want to take it a step further and reduce waste? Making your own compost is a game-changer. There's a ton of great advice out there on how to compost at home, turning your kitchen scraps into black gold for the garden.
9. Weed Thoroughly to Create a Clean Slate
Weeds aren't just ugly; they're thieves. They steal the water, nutrients, and sunlight your brand-new seedlings desperately need. Before a single plant goes in the ground, you have to get rid of every single weed.
My favorite time to do this is after a good rain when the soil is soft and the roots pull out easily. For bigger patches, a trusty hoe or a garden fork will speed things up. The key is to get the entire root. Many weeds are stubborn and will happily regrow from just a tiny piece left behind. A clean bed means your seedlings get 100% of the available resources without having to compete.
Creating a weed-free zone is one of the most impactful things you can do to ensure your young plants get a strong, unhindered start. It's a bit of upfront work that pays off all season long.
10. Give Them Room to Grow with Proper Spacing
It’s so tempting to cram your seedlings close together, trying to squeeze as much as possible into your garden space. I’ve been there. But trust me, it's a classic beginner mistake that leads to trouble down the road. Overcrowding blocks airflow, creating a perfect environment for fungal diseases like powdery mildew.
Proper spacing is non-negotiable. It guarantees each plant gets enough sun, water, and air to grow to its full potential. Always double-check the seed packet or plant tag for specific advice, but here are a few common examples from my own garden:
- Indeterminate Tomatoes: These guys become huge vines. Give them 24-36 inches of personal space.
- Peppers: They are a bit more compact and are happy with 18-24 inches between them.
- Zucchini: Don't underestimate these space hogs. They need at least 36 inches to spread their massive leaves.
A little trick I use is to lay out the empty seedling pots on the soil surface, using a measuring tape to get the spacing right. This helps me visualize the final layout before I even start digging. It’s a simple step that makes all the difference in preventing future problems.
1 Final Step for Settling Seedlings In
This is it—the moment all your careful preparation has led to. It’s time to give your seedlings their permanent home in the garden, and getting this part right is absolutely vital for a smooth transition. The whole game is about creating the perfect planting hole, setting the seedling at just the right depth, and giving it that first, life-sustaining drink of water.
You've hardened off your seedlings and prepped the garden bed, so you're ready for the big move. While the process itself is pretty straightforward, paying attention to a few small details can make a world of difference in how fast your plants get established and really start to take off.

11. Dig, Plant, and Water Correctly
The size of the hole you dig directly impacts how easily your seedling’s roots can stretch out into their new home. You want to make it as welcoming as possible for them.
Using a hand trowel, dig a hole that is slightly wider and just as deep as the root ball. You don't need a massive crater, but giving the roots a little elbow room on the sides encourages them to grow outward instead of continuing to circle like they did in the pot. Then, place the seedling in the hole at the same depth it was in its pot (except for tomatoes, which can be planted deeper). Backfill the hole with soil and gently firm it down to remove air pockets.
The very last thing you do after planting is arguably the most important. You must give your new transplant a deep, thorough watering immediately. This isn't just about hydration. That initial drenching settles the soil around the root ball, collapses any remaining air pockets, and creates a perfect bond between the roots and the earth. This connection is what lets the plant start drawing up moisture right away.
Use a watering can with a gentle spray or a hose on a low setting to give the area a good soak. This helps the seedling bounce back from the shock of the move and kickstarts its new life in the garden. Don't skip this step—it’s non-negotiable for success.
3 Tips for Post-Transplant Care
Getting your seedlings into the ground is a huge step, but the real work has just begun. The next couple of weeks are absolutely critical. Think of this as the recovery phase—your gentle aftercare will help those little plants overcome the stress of the move and establish a strong root system in their new home.
Your main goal right now is to minimize transplant shock. It's that all-too-common period where plants look a bit sad, wilted, or just stop growing after being moved. With the right approach to water, soil protection, and nutrients, you can help them bounce back quickly and get on with the business of growing.
1. Water Consistently Without Drowning Roots
A freshly transplanted seedling needs one thing above all else: consistent moisture. Its roots have been disturbed and aren't great at absorbing water just yet, leaving the plant vulnerable to drying out.
Check the soil every day by poking your finger about an inch deep. If it feels dry, give it a gentle soak. The goal is to keep the soil moist but not soggy, like a well-wrung-out sponge. Overwatering is just as dangerous as underwatering, as it can suffocate the roots and lead to rot.
For a deeper dive into creating the perfect watering routine, check out our guide on the best time to water your vegetable garden. Getting the timing right makes a world of difference.
2. Add a Protective Layer of Mulch
After you’ve watered your seedlings in, one of the best things you can do is add a layer of organic mulch. A 2 to 3-inch layer of straw, shredded leaves, or fine wood chips works wonders.
This simple addition acts as a protective blanket, offering three major benefits:
- Keeps Soil Moist: Mulch significantly slows down evaporation from the soil surface, which means you won't have to water nearly as often.
- Regulates Soil Temp: It acts as insulation, shielding delicate new roots from scorching heat and sudden cold snaps.
- Stops Weeds Cold: A thick layer of mulch blocks sunlight, preventing pesky weed seeds from sprouting and stealing nutrients from your plants.
Applying mulch is like tucking your seedlings into a cozy bed. It protects them from the elements and creates a stable, nurturing environment where their roots can thrive without competition.
3. Introduce Starter Fertilizer at the Right Time
It’s tempting to start feeding your plants right away, but hold off for a bit. The roots are extremely sensitive after transplanting and can easily be "burned" by a dose of strong fertilizer.
Wait at least one to two weeks, or until you see clear signs of new growth—like fresh, new leaves unfurling. This is the plant's way of telling you it has recovered from the move and is ready for a little boost.
When it's time, opt for a diluted liquid starter fertilizer. Look for one that's higher in phosphorus, which is great for encouraging strong root development. Be sure to follow the package directions, or even mix it at half-strength for the very first feeding just to be safe. This gentle approach gives them the energy they need without overwhelming their delicate, still-recovering systems.
3 Common Transplanting Questions Answered
Even with the best preparation, moving seedlings can feel a bit nerve-wracking. A few issues tend to pop up time and again, but don't worry—they're usually easy to fix. Here are some of the questions I hear most often from fellow gardeners.
1. Why Are My Transplanted Seedlings Wilting?
Seeing your freshly moved seedlings suddenly droop can be alarming, but it's completely normal. This is a classic sign of transplant shock. The tiny roots were jostled during the move and are having a tough time pulling up enough water to support the leaves.
The key is to keep the soil consistently moist (but not soggy) and give them a break from the intense afternoon sun for a few days. Most of my seedlings bounce back within a week once their roots get a foothold in their new home.
2. Should I Transplant on a Hot, Sunny Day?
I strongly recommend against it. Transplanting on a blazing hot day is one of the most stressful things you can do to a young plant. Its delicate roots simply can't keep up with the water evaporating from its leaves, a process known as transpiration.
My rule of thumb is to always transplant on an overcast day or in the late afternoon. This gives your seedlings the cool evening and overnight hours to recover before they have to face the stress of direct sun.
3. When Should I Fertilize After Transplanting?
Hold off for a bit. This is a common mistake! After being moved, the roots are sensitive and can easily be burned by a strong dose of fertilizer. You want to give them time to heal and adjust.
I usually wait at least one to two weeks. Once I see fresh, new leaves starting to form, I know the plant is established. At that point, a dose of diluted liquid fertilizer can give it a gentle boost without overwhelming the brand-new roots.
At Homegrown Garden, we believe everyone can grow their own food. Explore our curated selection of heirloom seeds and gardening kits to start your journey today at https://www.homegrown-garden.com.

