


At its core, winterizing your garden is a straightforward three-step dance: clean out the old plants, feed the soil with some good compost, and tuck it in under a thick blanket of mulch. Getting this right not only protects your soil from winter's wrath but also gives you a huge head start for a fantastic spring garden. Here are 7 essential steps to get your garden ready for the cold.
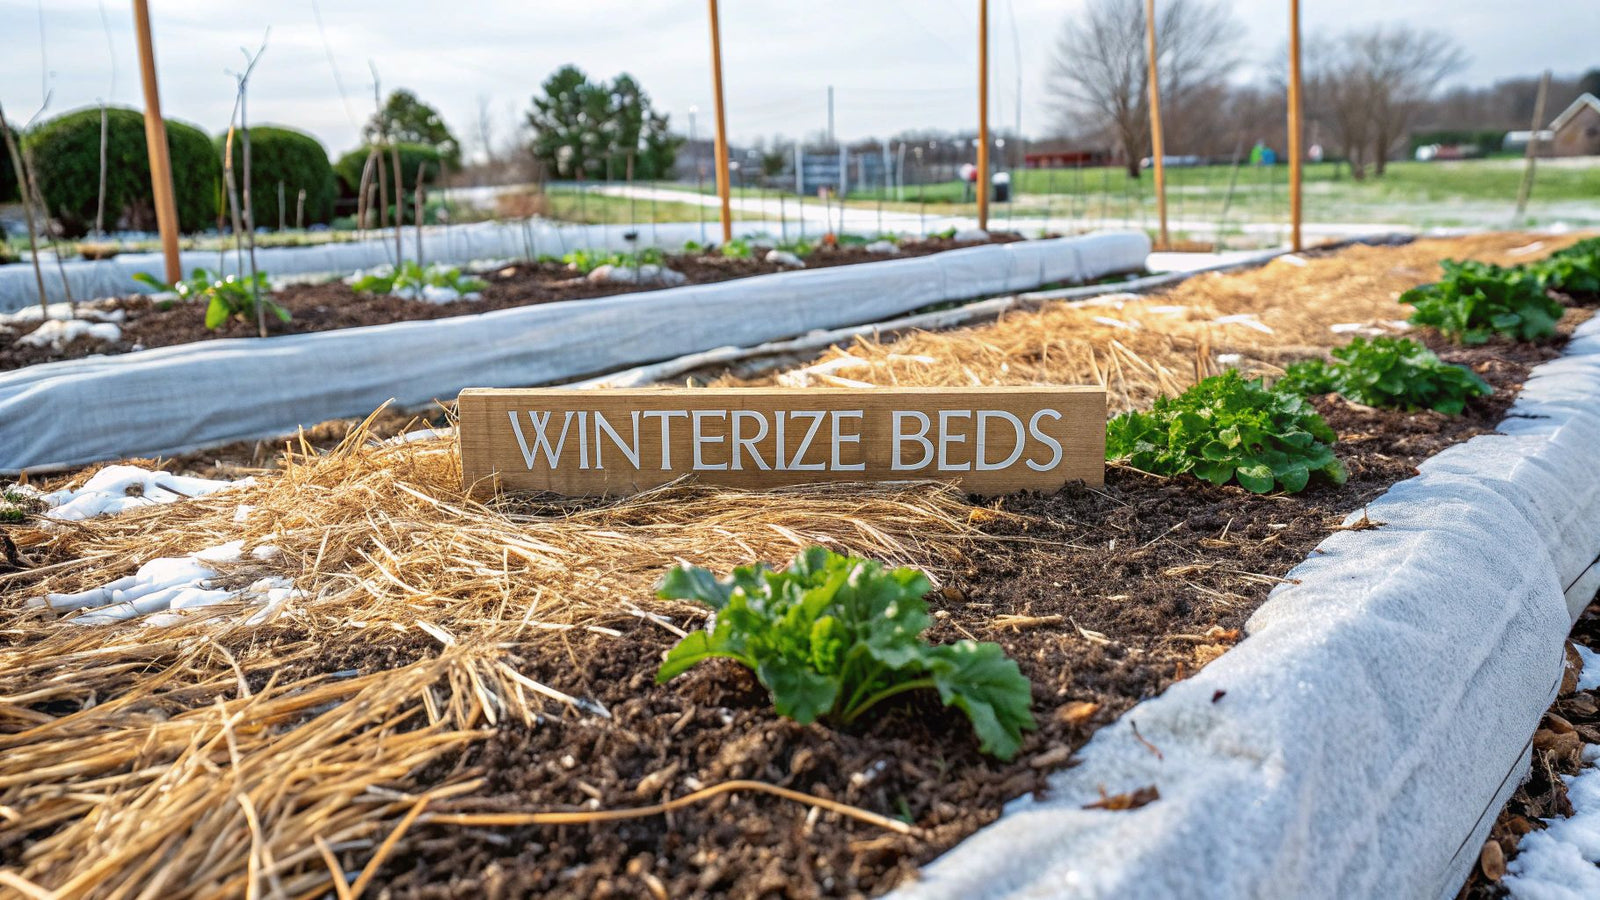
1. Start with a Pre-Winter Garden Cleanup
Before you can put your garden to bed for the winter, you've got to give it a proper cleanup. This fall task is about much more than just making things look tidy; it's one of the most important things you can do to stop pests and diseases from overwintering and causing chaos next spring. Think of it as setting the stage for a healthier, more productive garden come April.
This means pulling out all the finished plants, getting a handle on any lingering weeds, and safely getting rid of anything that looks diseased. When you clear out all that debris, you're taking away the cozy hiding spots that fungal spores and pest eggs rely on to survive the cold. It’s a preemptive strike that gives your future plants a real fighting chance.
Clear Out Spent Annuals and Debris
First things first, it's time to say goodbye to all the annual plants that have run their course. This includes vegetables like tomatoes and squash that have given their last harvest, and flowers like zinnias that have faded. Leaving them in the ground is like putting out a welcome mat for pests.
While you're at it, rake up any fallen leaves, twigs, and other junk that's gathered on the soil. This stuff is a perfect breeding ground for fungal diseases like powdery mildew. In fact, many gardening studies have shown that spending a little time on this in late fall is one of the best ways to prevent pests and diseases from carrying over.
The infographic below breaks down this simple, three-part cleanup workflow.
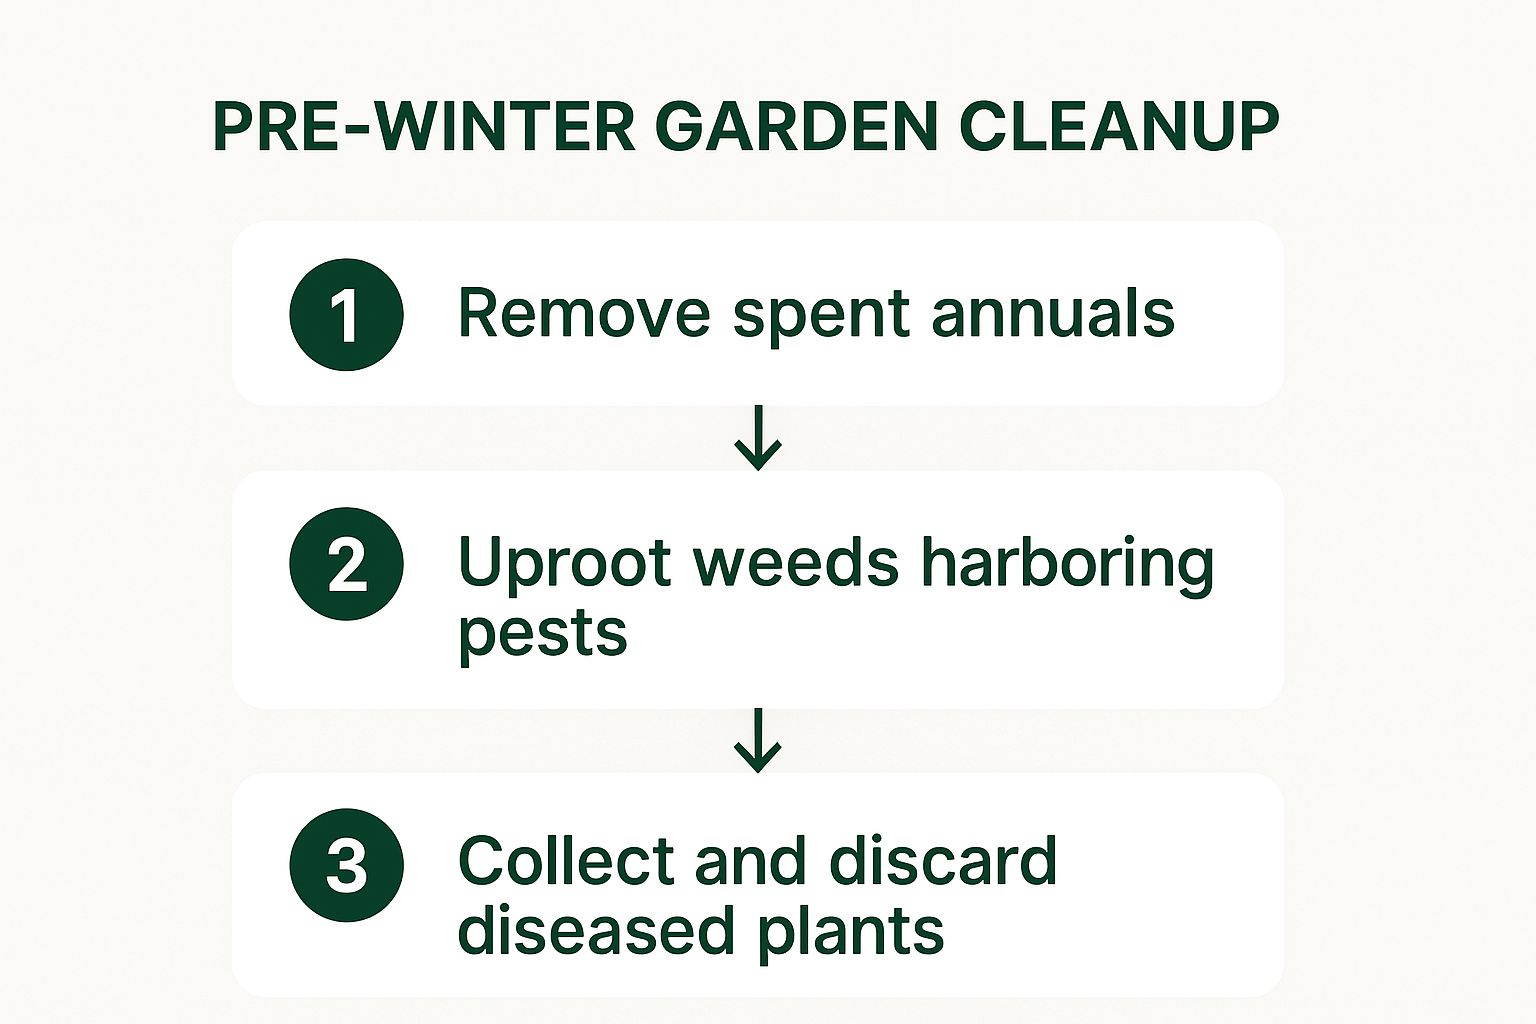
As you can see, following a simple order—annuals, weeds, then diseased plants—makes the whole process methodical and much more effective.
Uproot Weeds and Diseased Plants
Next up: weeds. You might be surprised how many cool-season weeds can thrive in the fall, some even managing to go to seed and create a bigger problem for you next year. Yanking them out now, while the ground is usually still a bit damp and easy to work, is a whole lot easier than dealing with them in the spring.
Be extra vigilant for any plants that show signs of disease—like blight-spotted tomato leaves or squash vines covered in mildew. Whatever you do, don't throw these into your personal compost pile.
The heat in most backyard compost bins just doesn't get high enough to kill off tough pathogens. The safest route is to bag up diseased plants for the trash or burn them (if your area allows it). This ensures you're not just re-infecting your garden next year.
This one simple action is incredibly effective at breaking the disease cycle. Beyond the basics, looking into some clever gardening hacks can give you some great ideas for getting your garden ready for the cold. Taking these steps now means your garden beds will be fresh, healthy, and ready to go when it's time to plant again.
2. Enrich Your Soil for a Nutrient-Rich Spring
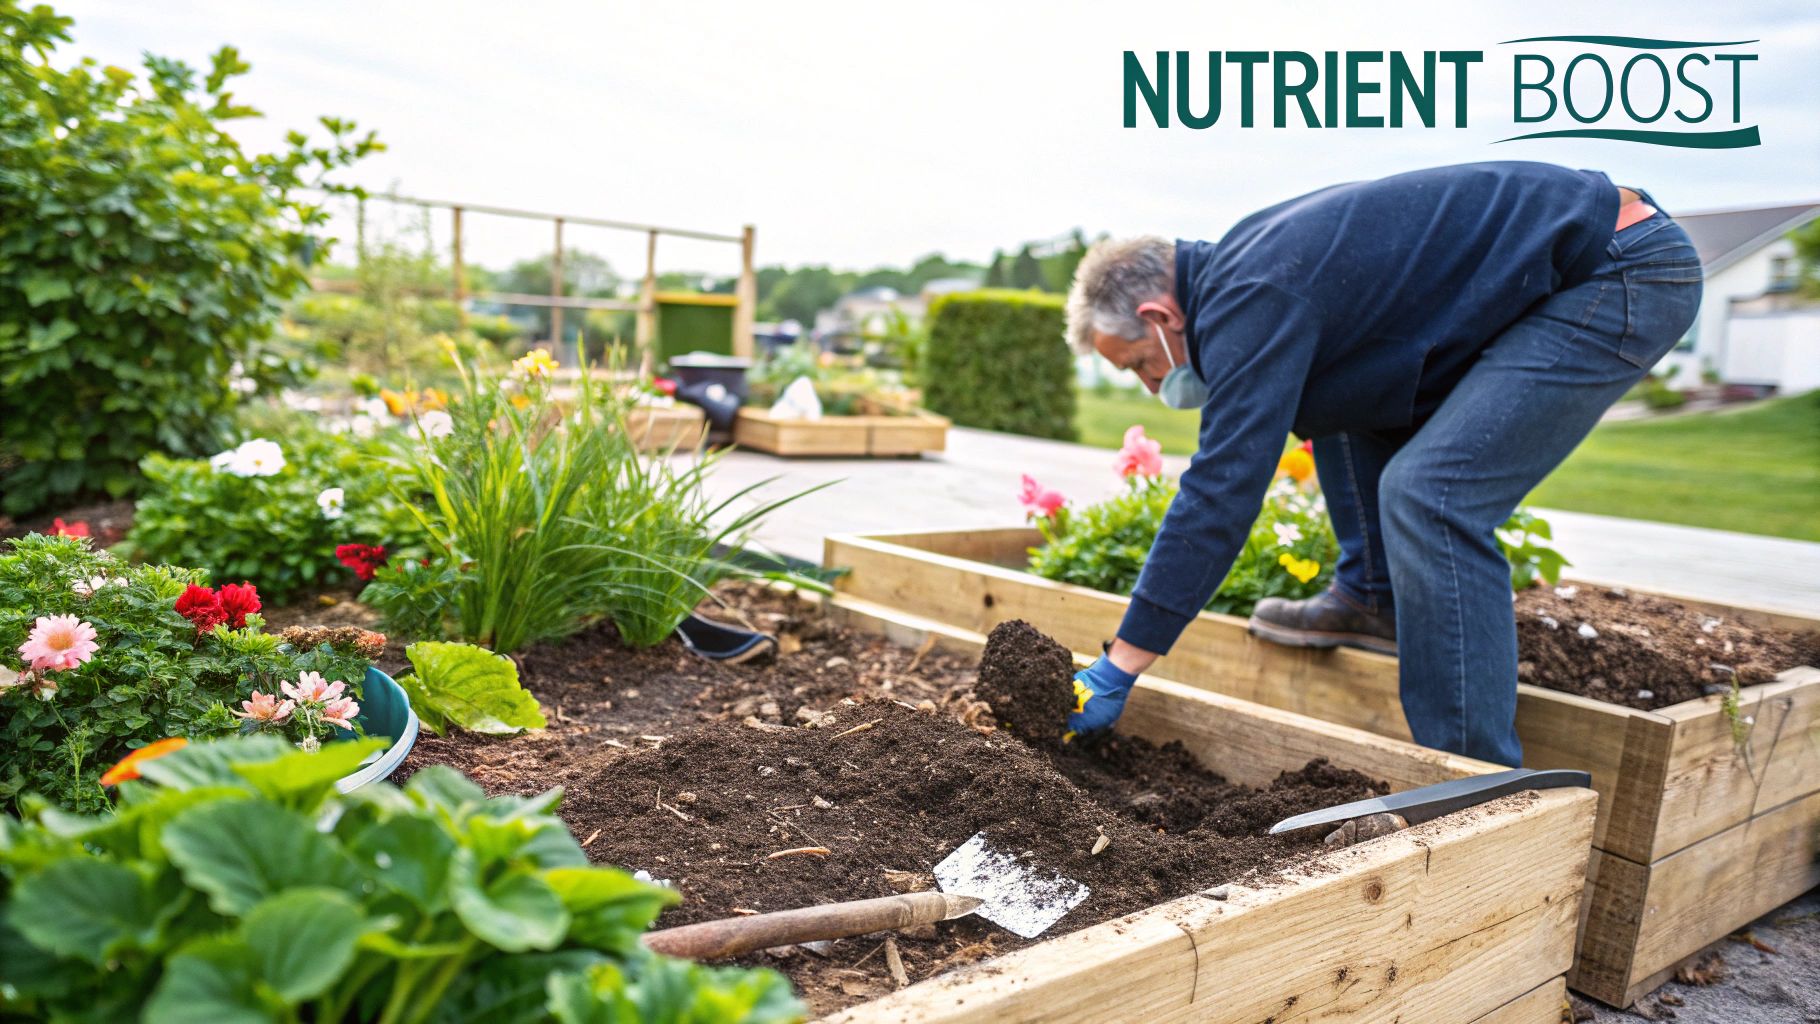
Once your garden beds are cleaned up, it’s time for what I consider the most crucial step in winter prep: feeding the soil. I like to think of winter as a long, slow marination period for the garden. The amendments you add now will have months to break down, creating a perfectly structured, nutrient-dense foundation for next year's plants.
Tackling this in the fall is so much more effective than scrambling to do it in the spring. Adding rich organic matter now gives all those beneficial microbes and earthworms plenty of time to work their magic, slowly weaving nutrients right into the soil. Come planting time, you'll be greeted with that rich, crumbly texture that roots absolutely thrive in.
Choose Your Fall Soil Amendments
The secret to incredible soil, whether you're dealing with heavy clay or loose sand, is organic matter. It’s the one ingredient that improves everything. Luckily, fall gives us some of the best options to work with.
Here are a few of my go-to amendments when putting garden beds to bed for the winter:
- Compost: This is the undisputed champion. Good, well-rotted compost is teeming with a balanced mix of nutrients and microorganisms that bring soil to life.
- Aged Manure: Manure from animals like cows, horses, or chickens is a powerhouse of nitrogen. Just make sure it’s "well-rotted" or aged for at least six months—fresh manure is far too potent and can easily burn your plants.
- Shredded Leaves: Don't bag up those autumn leaves! When you shred them and spread them on your beds, they decompose into a beautiful, earthy material called leaf mold, which works wonders for soil structure.
The biggest mistake I see is leaving soil bare and compacted all winter. This is an open invitation for wind and rain to erode your topsoil, washing away valuable nutrients. A simple layer of organic matter acts like a protective blanket, preserving your garden's most important asset.
Choosing the right amendment can feel overwhelming, but each one has its strengths. Here's a quick breakdown to help you decide what your garden needs most this fall.
Choosing Your Fall Soil Amendments
| Amendment Type | Primary Benefit | Best For | Application Tip |
|---|---|---|---|
| Compost | All-around nutrient balance and soil structure | Virtually all soil types; a perfect general-purpose choice. | Spread a thick layer and let it sit. No need to till it in deeply. |
| Aged Manure | High in nitrogen, boosting leafy growth | Vegetable gardens and beds that need a fertility kick. | Ensure it is fully composted to avoid burning plants. Mix into the top few inches. |
| Shredded Leaves | Improves soil structure and water retention | Heavy clay or compacted soils. Great for building new beds. | Run them over with a lawnmower first to help them break down faster. |
Ultimately, any of these will do your soil a world of good. The key is simply to add something and let nature handle the rest over the winter months.
How to Apply Amendments
One of the easiest and most effective ways to winterize your beds is to add a thick layer of compost. I always aim for a 5 to 8 cm (2 to 3 inch) layer across the entire surface. Applying it in the fall lets the cool weather and winter moisture do most of the work for you.
Simply spread your chosen amendment evenly over the top of the soil. You don't need to till it in deeply; in fact, heavy tilling can disrupt the delicate soil ecosystem you're trying to build. A light fluffing into the top few inches with a garden fork is more than enough. If you want to dive deeper into the basics of soil health, check out our guide on how to get your soil ready: https://homegrown-garden.com/blogs/blog/preparing-garden-soil
To find the best materials for your garden, it's often worth looking into local suppliers of quality mulch, compost, and soils who can provide the perfect blend for a thriving spring garden.
3. Keep Your Soil Safe with Mulch and Cover Crops
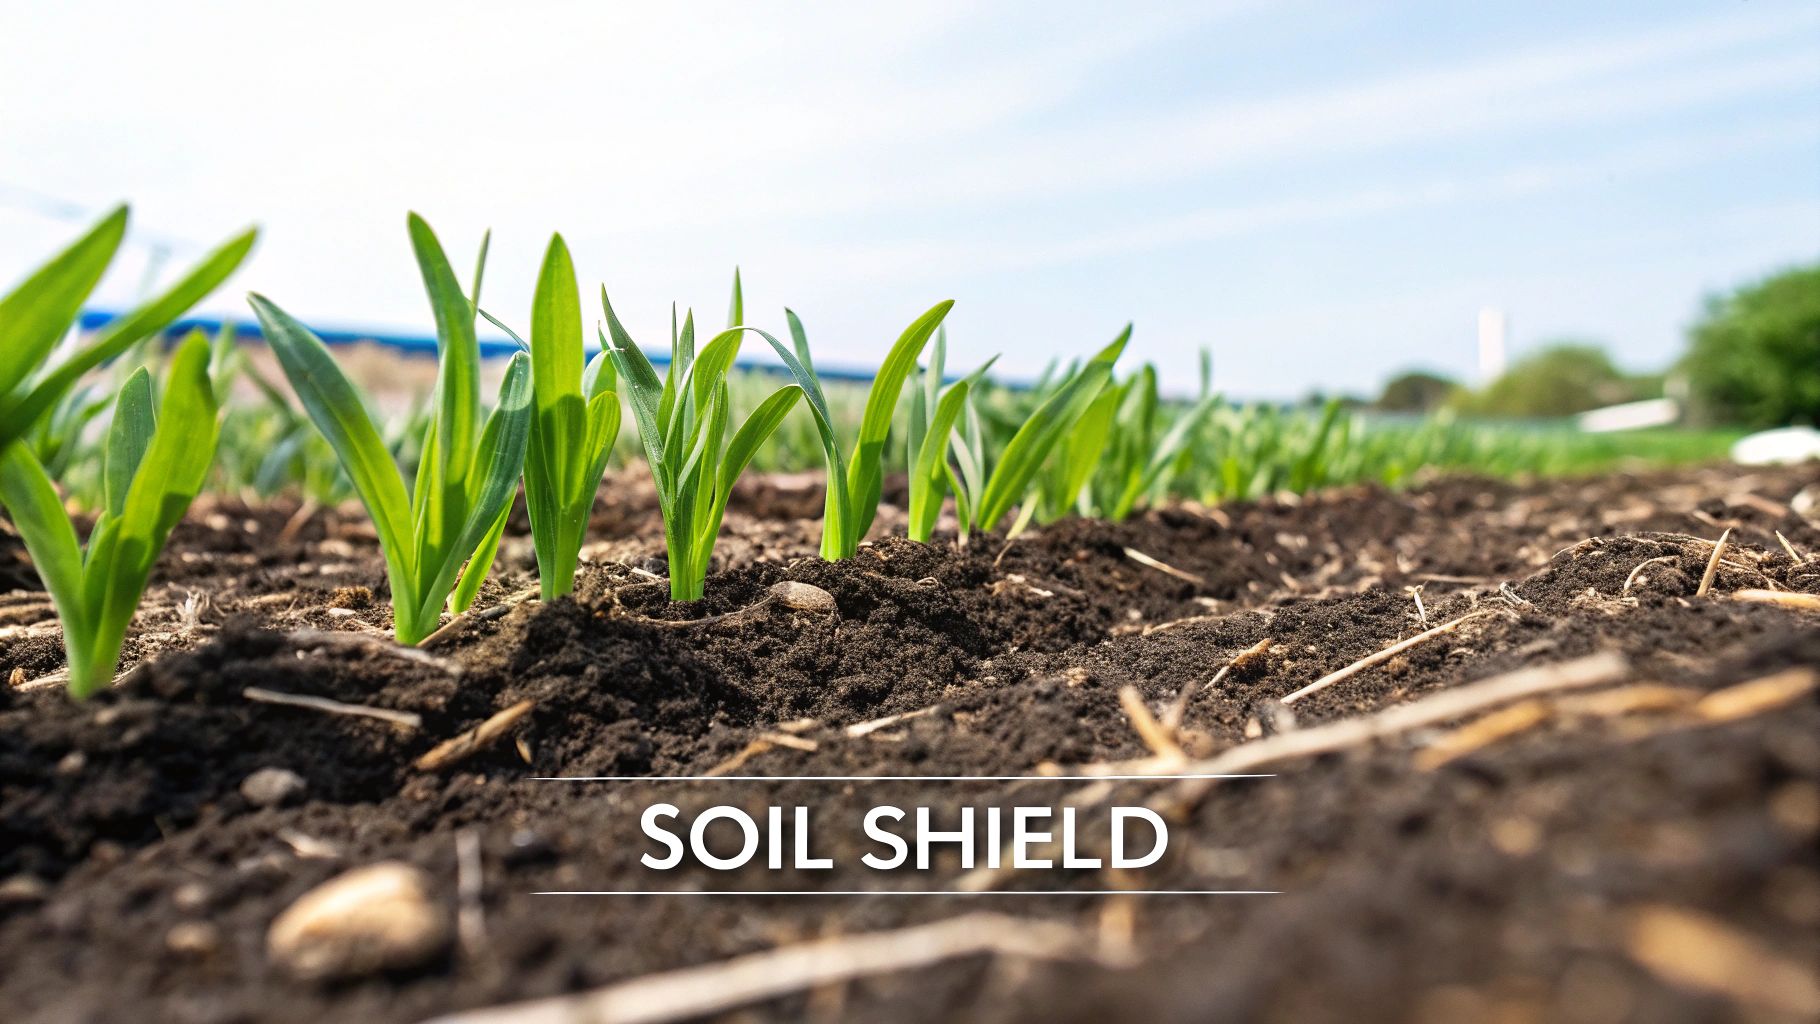
Once you've cleared out the old plants and given your beds a healthy dose of compost, the next move is to tuck them in for the winter. Leaving your soil bare is a recipe for disaster—it's an open invitation for aggressive weeds, harsh weather damage, and nutrient leaching. Think of this step as a down payment on next year's harvest.
You’ve got two great options here: piling on a thick layer of mulch or planting a dedicated cover crop. Both act as a protective blanket over your soil, but they work in slightly different ways. Mulching is the simpler, more passive approach, while cover crops are the proactive choice for actively boosting soil health.
Mulch: The Ultimate Soil Blanket
Applying a heavy layer of mulch is probably the most straightforward and effective way to protect your garden beds over the winter. It’s like a cozy winter coat for your soil, insulating the ground from the brutal freeze-thaw cycles that can heave plants and compact your soil structure.
A good mulch layer also smothers any ambitious winter weeds that try to pop up during a warm spell. Plus, it prevents your precious topsoil from washing away in heavy rain or blowing away in the wind. Come spring, you'll find that the bottom layer has already started to break down, adding rich organic matter right where your new plants will need it most.
You don't need to buy anything fancy. Some of the best winter mulches are probably already in your yard:
- Shredded Leaves: This is my personal favorite—it's free and abundant every fall! Just make sure to run them over with a lawnmower first. Whole leaves can form a dense, water-repellent mat, but shredded leaves are perfect.
- Straw: Clean, seed-free straw is a classic for a reason. It provides fantastic insulation and breaks down beautifully by planting time. Just be absolutely sure you’re getting straw, not hay, which is loaded with weed seeds.
- Wood Chips: These are a great long-term solution, especially for perennial beds or around fruit trees. They decompose very slowly, improving soil structure for years to come.
I see this all the time: people don't use nearly enough mulch. For real winter protection, you need a generous layer—at least 4 to 6 inches (10 to 15 cm) deep. A light sprinkling just won't cut it. That depth is what gives you true insulation and serious weed suppression.
Choosing the right material is especially important for your veggie patch. To dig deeper into the pros and cons of different options, check out our guide on the https://homegrown-garden.com/blogs/blog/best-mulch-for-vegetable-gardens.
Cover Crops: A Living Mulch
If you want to play a more active role in improving your soil over the winter, planting a cover crop is a fantastic strategy. Sometimes called "green manure," these hardy plants grow through the cold months, creating a living, breathing shield for your soil.
Cover crops are true multitaskers. Their root systems are brilliant at holding soil in place, which is a huge help in preventing erosion from winter storms. Many types, like clovers and vetch, are legumes that actually pull nitrogen from the air and store it in the soil, giving you free fertilizer for next year. When you finally chop them down and turn them into the soil in spring, they add an incredible amount of organic matter.
Some of the most reliable winter cover crops include:
- Winter Rye: This stuff is incredibly tough and cold-hardy. Its dense, fibrous root system is a powerhouse for breaking up heavy, compacted soil.
- Hairy Vetch: If you want to add nitrogen, this is your plant. It's a nitrogen-fixing machine, making it perfect for beds where you plan to grow heavy feeders like tomatoes or corn.
- Crimson Clover: Another fantastic nitrogen-fixer that also produces gorgeous red flowers in the spring, which are a magnet for early-season pollinators.
So, should you use mulch or cover crops? It really just depends on your goals for the garden. Either way, you'll be ensuring your soil stays healthy, protected, and ready to burst with life come spring.
4. Prepare Your Perennials and Bulbs for the Cold
https://www.youtube.com/embed/U4NdKJkic74
Winterizing your garden isn't just about the soil and mulch—it’s also about tucking in the plants you want to see again next spring. While you'll be pulling out the annuals, your perennials and bulbs need some thoughtful care to survive the freeze and come back stronger than ever.
Getting this right in the fall is a huge head start. It prevents diseases from overwintering, removes hiding spots for pests, and can even leave you with some beautiful textures to look at all winter long. The trick is knowing what to cut back and what to leave alone.
What to Do With Your Perennials
One of the first questions I get asked is whether to chop back perennials in the fall. Honestly, it depends entirely on the plant.
If you had any battles with pests or fungal diseases like powdery mildew, it's time for a trim. Cut those affected plants back to just a few inches above the ground. This gets rid of any diseased foliage that could cause the same problems again next year.
But many perennials offer fantastic winter interest and even provide food for birds.
- Leave These Standing: Sturdy plants like sedum, ornamental grasses, and coneflowers look gorgeous dusted with snow. Their seed heads are also a welcome snack for local wildlife through the lean months.
- Cut These Back: On the other hand, plants with soft, fleshy leaves—think hostas, peonies, and daylilies—should be cut back after the first hard frost turns them to mush. This little bit of cleanup keeps slugs and other pests from setting up camp in the decaying leaves.
Fall is also a great time to divide any perennials that have gotten a bit too big for their space, like irises or hostas. Digging up and splitting the root ball gives the plant a new lease on life, encouraging more vigorous growth and giving you more plants to spread around the garden for free.
My rule of thumb is simple: cut back anything that looks ragged or diseased, but leave anything with a strong, interesting structure. This way, you get the best of both worlds—a clean, healthy garden and the natural beauty of a winter landscape.
Handling Your Bulbs: Tender vs. Hardy
When it comes to winter care, bulbs are split into two camps: those that can take the cold and those that will die if left in the ground. Knowing which is which is the key to seeing beautiful blooms or losing your investment.
Tender bulbs, like dahlias, gladioli, and cannas, are not built for freezing temperatures and will turn to mush if left in the soil. You have to dig them up. Wait until the first frost has killed off the foliage, then carefully lift them out. Let them air dry for a few days before storing them in a cool, dark place like a basement, packed in peat moss or sawdust to keep them from drying out.
Hardy bulbs, on the other hand, need that cold winter nap to bloom properly. Tulips, daffodils, and hyacinths are perfect examples. Fall is precisely when you should be planting them. This gives them just enough time to set down roots before the ground freezes solid, perfectly positioning them for a spectacular show in the spring.
5. Insulate Raised Beds and Container Gardens
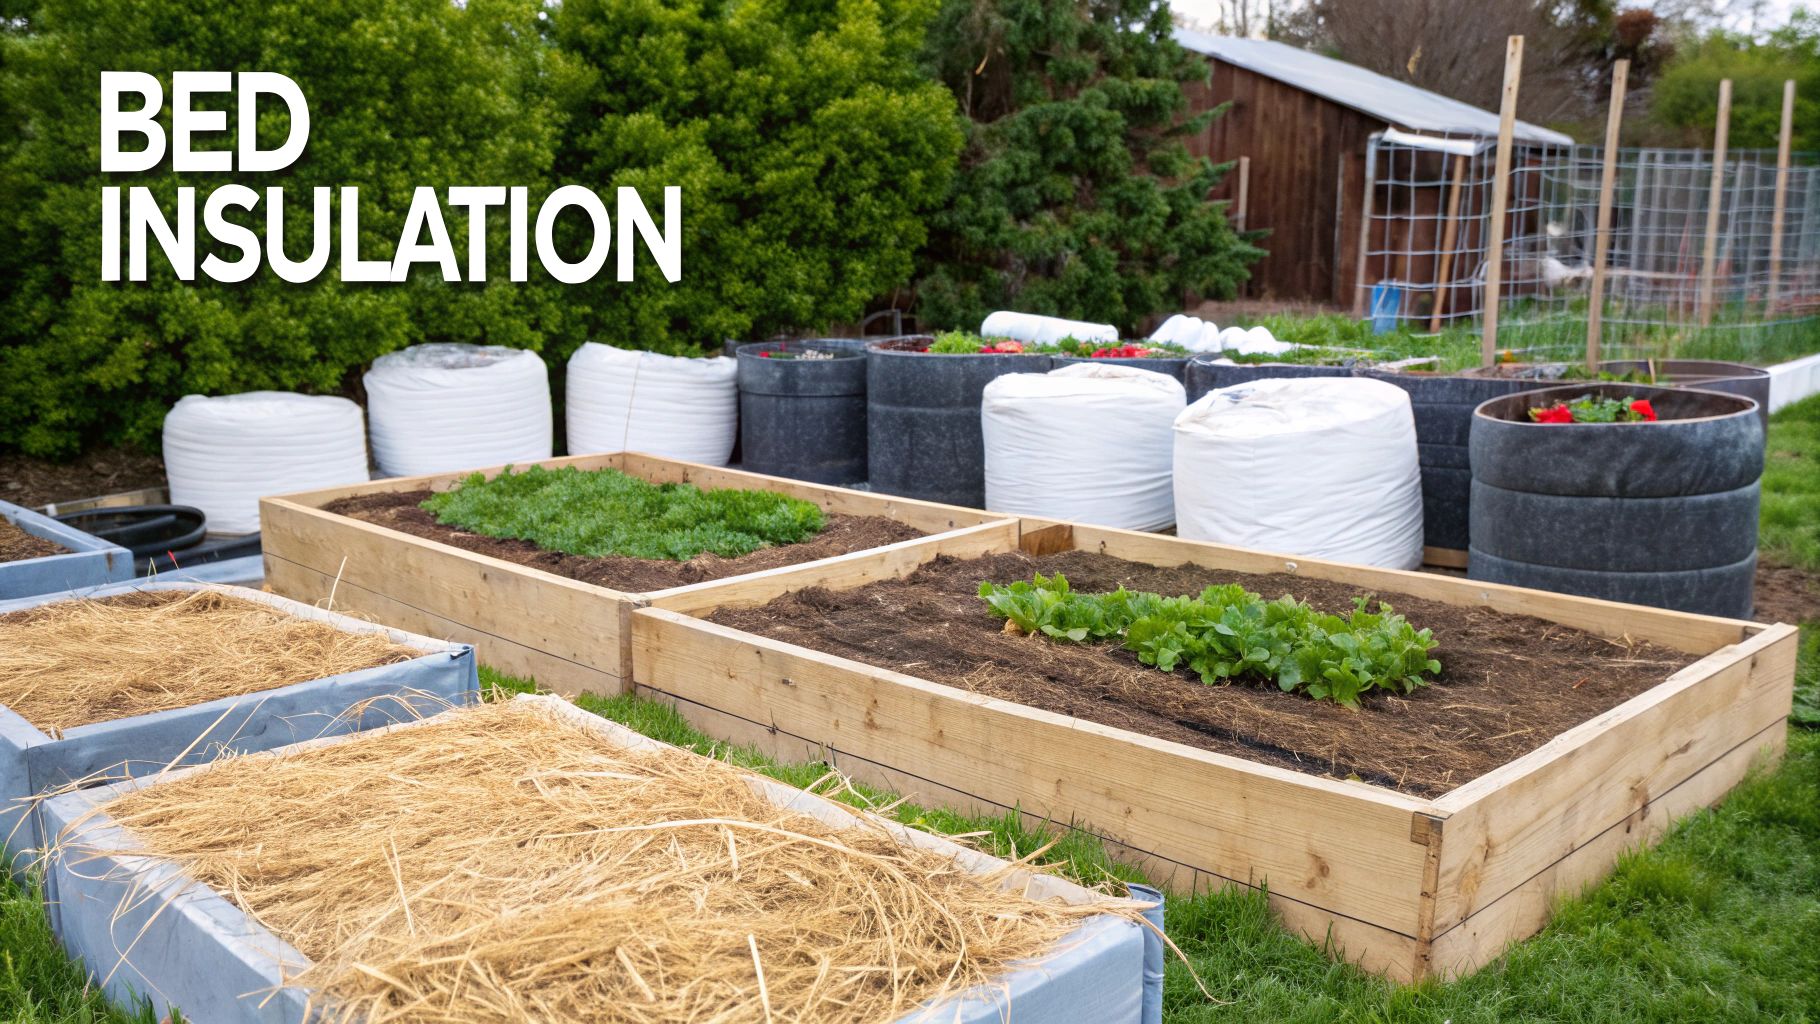
Raised beds and container gardens are a dream for controlling soil and making the most of your space, but they have an Achilles' heel in winter. Since the soil is exposed to cold air on all sides, it freezes far more quickly and deeply than the earth in a traditional garden. This leaves plant roots incredibly vulnerable to damage, making insulation a critical winter chore.
When you don't add a protective barrier, the constant cycle of freezing and thawing puts immense stress on roots and can even crack your expensive containers. Luckily, insulating these garden setups is pretty simple and can often be done with materials you already have on hand. Your main goal is to create a thermal buffer that acts like the great, steady warmth of the earth itself.
DIY Insulation for Raised Garden Beds
When it comes to your raised beds, the name of the game is shielding those exterior walls from harsh winds and wild temperature swings. One of the best—and cheapest—ways to do this is by piling up insulating materials all the way around the frame. Think of it as giving your garden a thick winter coat.
Here are a few of my go-to methods for insulating the walls of raised beds:
- Baled Straw: You can't beat the insulating power of straw bales. Just stack them tightly against the outside walls of your beds. They create a fantastic barrier and are a breeze to clear away come spring.
- Bagged Leaves: Don't kick those autumn leaves to the curb! Rake them into large garbage bags and line them up around the perimeter of your beds. It’s free, it's easy, and it works remarkably well.
- Mounded Compost: Piling a thick layer of compost or even wood chips against the exterior walls adds a great thermal mass, which helps protect the soil inside from sudden, deep freezes.
Remember, a raised bed loses heat from five exposed sides—the top surface and all four vertical walls. Just tossing mulch on top isn't going to cut it. You have to insulate the sides to truly winterize your garden beds and keep your soil healthy.
Protecting Your Container Gardens
If you think raised beds are vulnerable, container gardens are even more so. With a much smaller volume of soil, they lose heat in the blink of an eye. For anyone with potted plants, a little smart placement and wrapping can mean the difference between life and death for your plants. If you're looking for more in-depth advice, our guide on container gardening tips is packed with useful strategies.
A simple trick I use every year is to group my pots together. Find a sheltered spot, maybe against the wall of your house or inside an unheated garage, and huddle them close. This simple act of clustering reduces the exposed surface area and lets the pots share warmth, insulating one another.
For plants that are especially valuable or a bit tender, you'll want to add another layer of defense. Wrap individual pots in burlap, bubble wrap, or even old blankets, securing them with twine. This traps a layer of air that dramatically slows down heat loss, preventing the soil from freezing solid and saving your terracotta pots from cracking in the cold.
6. Clean and Store Your Garden Tools
Taking care of your tools is a small task that pays off big time come spring. First, give everything a good cleaning—get all the caked-on mud off your shovels, trowels, and cultivators. I use a diluted bleach solution to wipe down my pruners and clippers to make sure I don't spread any plant diseases next season.
Once they're clean, take a moment to sharpen any dull blades. You'll thank yourself later. The final, crucial step is rust prevention. Wipe down all the metal surfaces with an oily rag. A little bit of linseed oil is perfect for this. Then, store your clean, sharp, and protected tools somewhere dry, like your shed or garage.
7. Plan for Next Year's Garden
With the physical work done, now is the perfect time to reflect and plan. While the garden rests, your mind can be active. Consider what worked well this past season and what didn't. Did your tomatoes thrive in their spot? Did pests overrun your zucchini? Make notes in a garden journal about successes and failures.
This quiet season is ideal for sketching out new garden layouts, researching different plant varieties you want to try, and ordering seeds for spring. Planning ahead now means you'll be ready to hit the ground running as soon as the soil thaws, ensuring an even more successful garden next year.
Common Questions About Winterizing Garden Beds
Even with the best plan, you'll probably run into a few questions once you start putting your garden to bed for the season. It happens to all of us. Getting those lingering questions answered is the key to moving forward with confidence. Let's tackle some of the most common ones I hear from fellow gardeners.
When Is the Best Time to Start Winterizing My Garden?
Timing is everything. You're looking for that sweet spot in late fall, right after the first light frost has knocked back your tender annuals but before a deep freeze turns the soil into a block of ice. For most of us, that window opens up somewhere between late September and early November, all depending on your specific climate zone.
Getting this timing right makes all the difference. It means you can:
- Pull out old plants and weeds while the soil is still workable and soft.
- Spread your compost and other soil goodies before the ground freezes solid.
- Get cover crops in the ground about 6 to 8 weeks before the first hard frost, which gives them just enough time to get established.
Can I Use Freshly Fallen Leaves as Mulch?
Absolutely! Freshly fallen leaves are one of the best free resources you can get for your garden. But there's a trick to using them effectively: you have to shred them first. If you just pile whole leaves onto your beds, they’ll turn into a slimy, matted mess that water can't get through, essentially suffocating your soil.
The fix is easy—just run your lawnmower over the leaf pile a few times. The shredded leaves will break down beautifully over the winter, feeding your soil with rich organic matter. I usually aim for a fluffy layer about 3 to 4 inches deep, which does a fantastic job insulating the soil and keeping winter weeds down.
So many people just rake leaves to the curb, but they're missing out on black gold for their garden. Taking ten extra minutes to shred them turns yard waste into a powerhouse soil conditioner.
Do I Need to Water My Garden Beds in the Winter?
For most gardeners, the answer is no. If you live in a place that gets any kind of winter rain or snow, your dormant garden beds will be perfectly fine. That nice layer of mulch you added will do an excellent job of holding onto whatever moisture is already there.
The exception is if you're in a drier, milder climate. In that case, it’s a good idea to check your soil every few weeks. Just poke your finger a few inches down. If it feels completely bone-dry, give it a light watering on a warmer day when temperatures are safely above freezing. This is especially helpful for any perennials or bulbs you have overwintering. Just avoid watering if you know a hard freeze is on the way.
At Homegrown Garden, we believe that a great spring garden starts with smart fall preparation. Explore our wide selection of heirloom seeds, gardening kits, and tools to get everything you need for next year's growing season.

