


There's nothing quite like the magic of starting a garden from seed. It’s a process that asks for a little patience but rewards you with vibrant flowers and the freshest food imaginable. Watching a tiny seed sprout and grow into a full-fledged plant connects you to the natural world in a way that buying starter plants just can't match.
Let's walk through everything you need to know in 9 easy steps to get it right from the very beginning.
Step 1: Understand Why You Should Start from Seed
Choosing to grow from seed, rather than grabbing established seedlings from a nursery, is one of the most satisfying things you can do as a gardener. It's about more than just saving money; it’s about watching life unfold right before your eyes. But beyond that magical feeling, there are some very real, practical advantages that appeal to gardeners of all experience levels.
The biggest draw, hands down, is the incredible variety. When you start with seeds, you open the door to a whole universe of unique, heirloom, and hard-to-find plants that you'll simply never see at a big-box garden center. Think about growing striped ‘Tigerella’ tomatoes or the stunningly deep purple ‘Dragon's Tongue’ beans. These are the kinds of special plants that make a garden truly yours, and they're almost always only available as seeds.
4 Real Perks of Seed Starting
It’s also incredibly easy on the wallet. A single packet of seeds, which might set you back just a few dollars, can produce dozens of plants. Compare that to buying individual starters, where the cost can skyrocket pretty quickly. This affordability means you can experiment with more varieties and not worry so much if a few don't make it.
This isn't just a niche hobby, either. The passion for growing at home is booming. The global garden seeds market was valued at around $23.04 billion and is expected to grow to $24.71 billion. It’s clear that more and more people are discovering the joy of sustainable living right in their own backyards. You can dive deeper into the garden seeds market expansion on globenewswire.com.
The best part is that starting from seed puts you in the driver's seat from day one. You control everything—ensuring your plants get a healthy, organic start in nutrient-rich soil, completely free from any pesticides you don't want.
When you boil it down, the reasons to start from seed are compelling:
- Unmatched Variety: Get your hands on thousands of unique and heirloom plant types.
- Significant Savings: Grow an entire garden for a fraction of what you’d spend on nursery plants.
- Total Control: You decide what goes into your soil and onto your plants from the very beginning.
- A Deeper Connection: There’s nothing like experiencing the entire life cycle, from a dormant seed to a bountiful harvest.
Step 2: Choose from 7 of the Easiest Plants to Grow
Choosing your first seeds can feel like a huge decision, but the real secret to getting started is picking plants that are just plain eager to grow. The whole point of your first go-around is to build confidence, and these seven plants are practically guaranteed to give you rewarding results without a ton of fuss. They're resilient, sprout quickly, and are perfect for learning the ropes.
My own gardening adventure began with a packet of radish seeds. I was genuinely shocked by how fast those little red globes appeared, ready to eat in under a month. That one simple success was all the motivation I needed to stick with it and try something more ambitious.
3 Vegetables That Deliver Quick Wins
Let's be honest, for many new gardeners, the goal is to grow something you can actually eat. The trick is to choose vegetables known for their rapid growth, which keeps you excited as you see progress almost daily.
- Lettuce and Leafy Greens: Varieties like 'Black Seed Simpson' or a good 'Buttercrunch' are incredibly forgiving. They'll often sprout in just a few days, and you can start snipping off outer leaves in as little as three weeks while the plant keeps on producing.
- Radishes: As my first success story, I can't recommend radishes enough. A classic like 'Cherry Belle' can go from a tiny seed to your salad bowl in about 25 days. That speed is a massive confidence booster.
- Bush Beans: Forget all the hassle of building a big trellis for pole beans. Bush beans are compact, super productive, and their large seeds are easy for anyone (especially kids!) to handle and plant.
These are fantastic choices because they don't demand perfection. Even if your light setup isn't quite right or you forget to water for a day, they'll usually still give you something to harvest.
4 Flowers and Herbs for Easy Beauty
Gardening isn't just about food; it's also about creating a beautiful, fragrant space to enjoy. Starting flowers and herbs from seed is just as easy and offers a completely different, but equally satisfying, reward.
The best beginner plants are the ones that teach you the rhythm of gardening without punishing every little mistake. They’re resilient enough to bounce back, which is how you really learn.
Here are a few of my favorite non-veggie picks for beginners:
- Sunflowers: The ultimate easy flower. The large seeds are a breeze to plant, and watching them shoot up is a daily spectacle. 'Mammoth' varieties are classics for a reason, but smaller types like 'Teddy Bear' are perfect for pots.
- Zinnias: These vibrant flowers are famous for being almost "plant-and-forget." They adore the heat, come in a wild rainbow of colors, and usually germinate in under a week.
- Basil: An absolute must-have herb for any kitchen, basil grows fast and loves sunshine. You can start pinching off leaves as soon as the plant has a few sets, and the more you trim it, the bushier and more productive it becomes.
- Peas: Here's another plant with big, easy-to-handle seeds. Peas love cooler weather and grow quickly, and nothing beats the reward of snacking on sweet, fresh pods straight from the vine.
If you're looking for even more ideas, check out our guide on the 11 easiest plants to grow from seed. By starting with a few of these tried-and-true varieties, you’re setting yourself up for a really enjoyable and successful first season.
Step 3: Gather Your 11 Essential Supplies
Starting a garden from seed is one of the most rewarding things a gardener can do, and you don't need a professional setup to make it happen. Honestly, getting the right gear is pretty straightforward, and you might already have some of these essentials tucked away at home. Let's walk through the 11 key items that will help you create that perfect, nurturing space for your future plants to get their start.
The Basics: Containers and Growing Medium
First things first, your seeds need a place to live. This is where your seedlings will spend their first few crucial weeks, so getting it right is important.
You'll need some kind of seed trays or containers. Classic plastic cell trays are great, but you can absolutely get creative here. I've used everything from yogurt cups to egg cartons in a pinch. The most important things are that they're clean and have holes for drainage.
A humidity dome is another must-have. It’s just a clear plastic cover that fits over your seed tray, but it works wonders. It traps moisture and warmth, creating a mini-greenhouse that really encourages seeds to sprout.
Finally, you need a sterile seed-starting mix. Please don't just scoop up dirt from your garden! Garden soil is too heavy, can compact easily, and often contains pathogens that are bad news for delicate seedlings. A light, fluffy, soil-less mix made from things like coco coir, vermiculite, and perlite is exactly what you want. It gives those tiny roots a clean, airy place to grow.
This infographic gives you a great visual of how these first pieces come together.
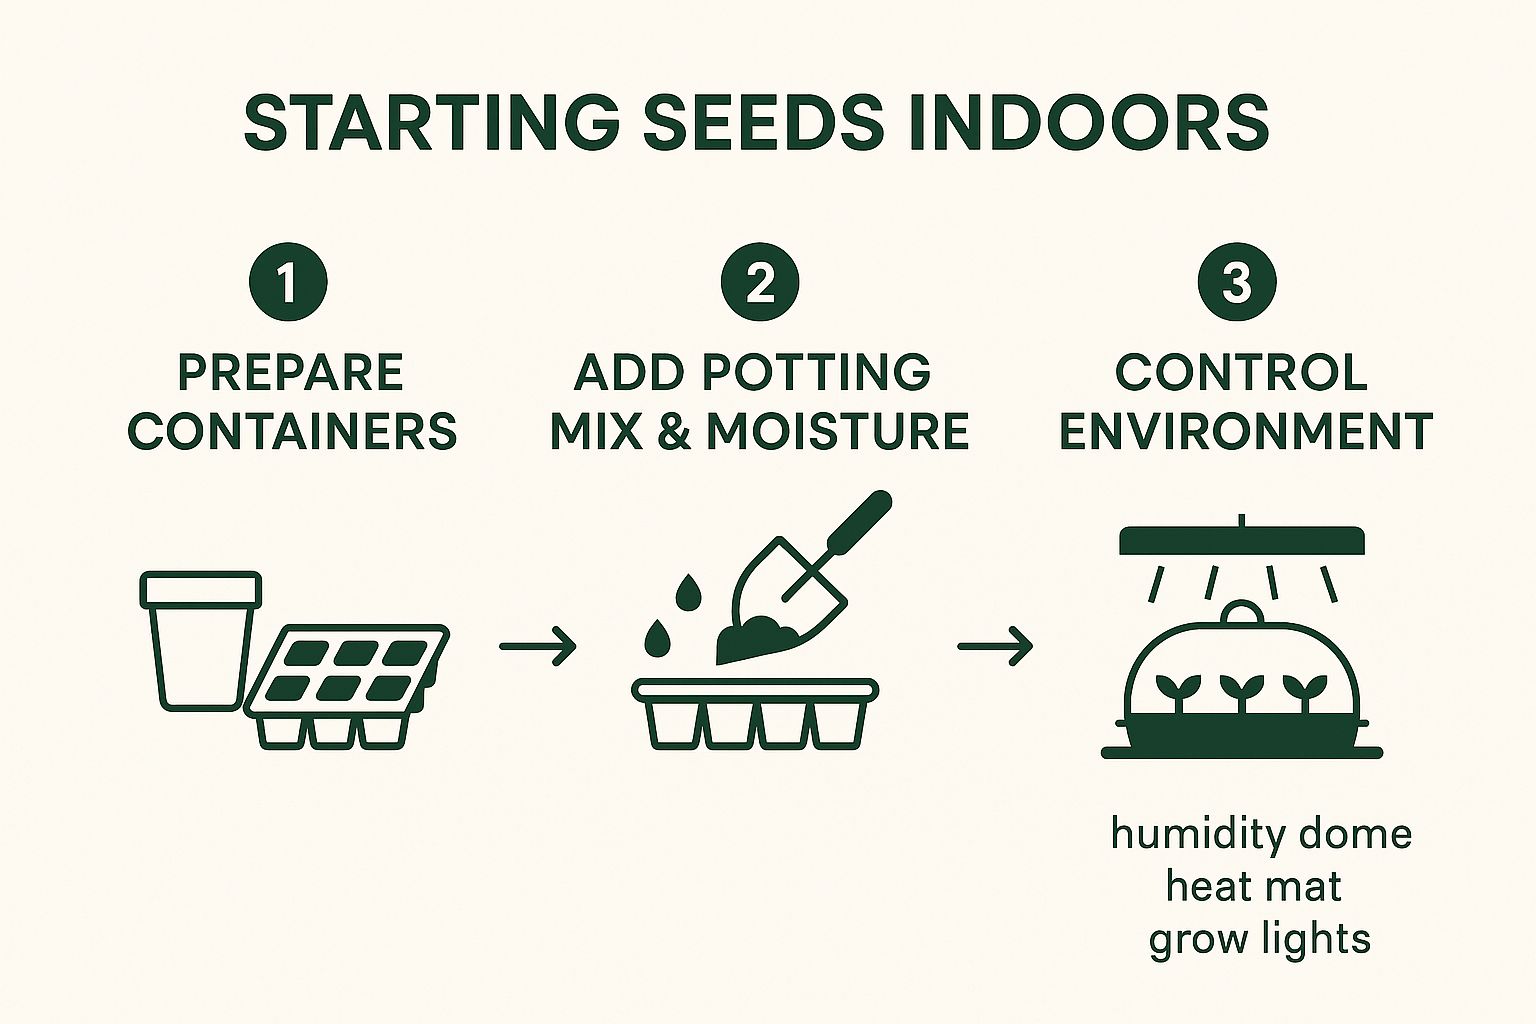
As you can see, success really starts with prepping your containers, filling them with the right medium, and then creating an environment where those seeds can thrive.
Creating the Perfect Environment
Once your seeds are sown, your job is to become a master of their environment. Light, warmth, and water are the three pillars of healthy seedling development, and getting this trio balanced is the key to success.
- Grow Lights: A sunny windowsill might seem like enough, but it almost never is. This is probably the #1 reason people get "leggy," weak seedlings that stretch for the light. Simple fluorescent shop lights or dedicated LED grow lights provide the consistent, direct light young plants crave to grow strong and stocky.
- Watering Can or Spray Bottle: You have to be gentle. A powerful stream of water will send your tiny seeds flying. A simple spray bottle or a small watering can with a fine rose attachment gives you the control you need to water without disturbing anything.
- Heat Mat: This one can feel like a luxury, but for certain seeds, it’s a game-changer. Peppers and tomatoes, in particular, germinate much faster and more reliably with a bit of bottom heat. A seedling heat mat gently warms the soil to just the right temperature, and it can shave days off your germination time.
Tools for Organization and Healthy Growth
With the core setup in place, a few extra supplies will keep your project organized and help your seedlings get ready for the great outdoors.
- Plant Labels: Don't even think you'll remember what you planted where. You won't. Trust me. Grab some popsicle sticks, plastic tags, or even masking tape and label every single container.
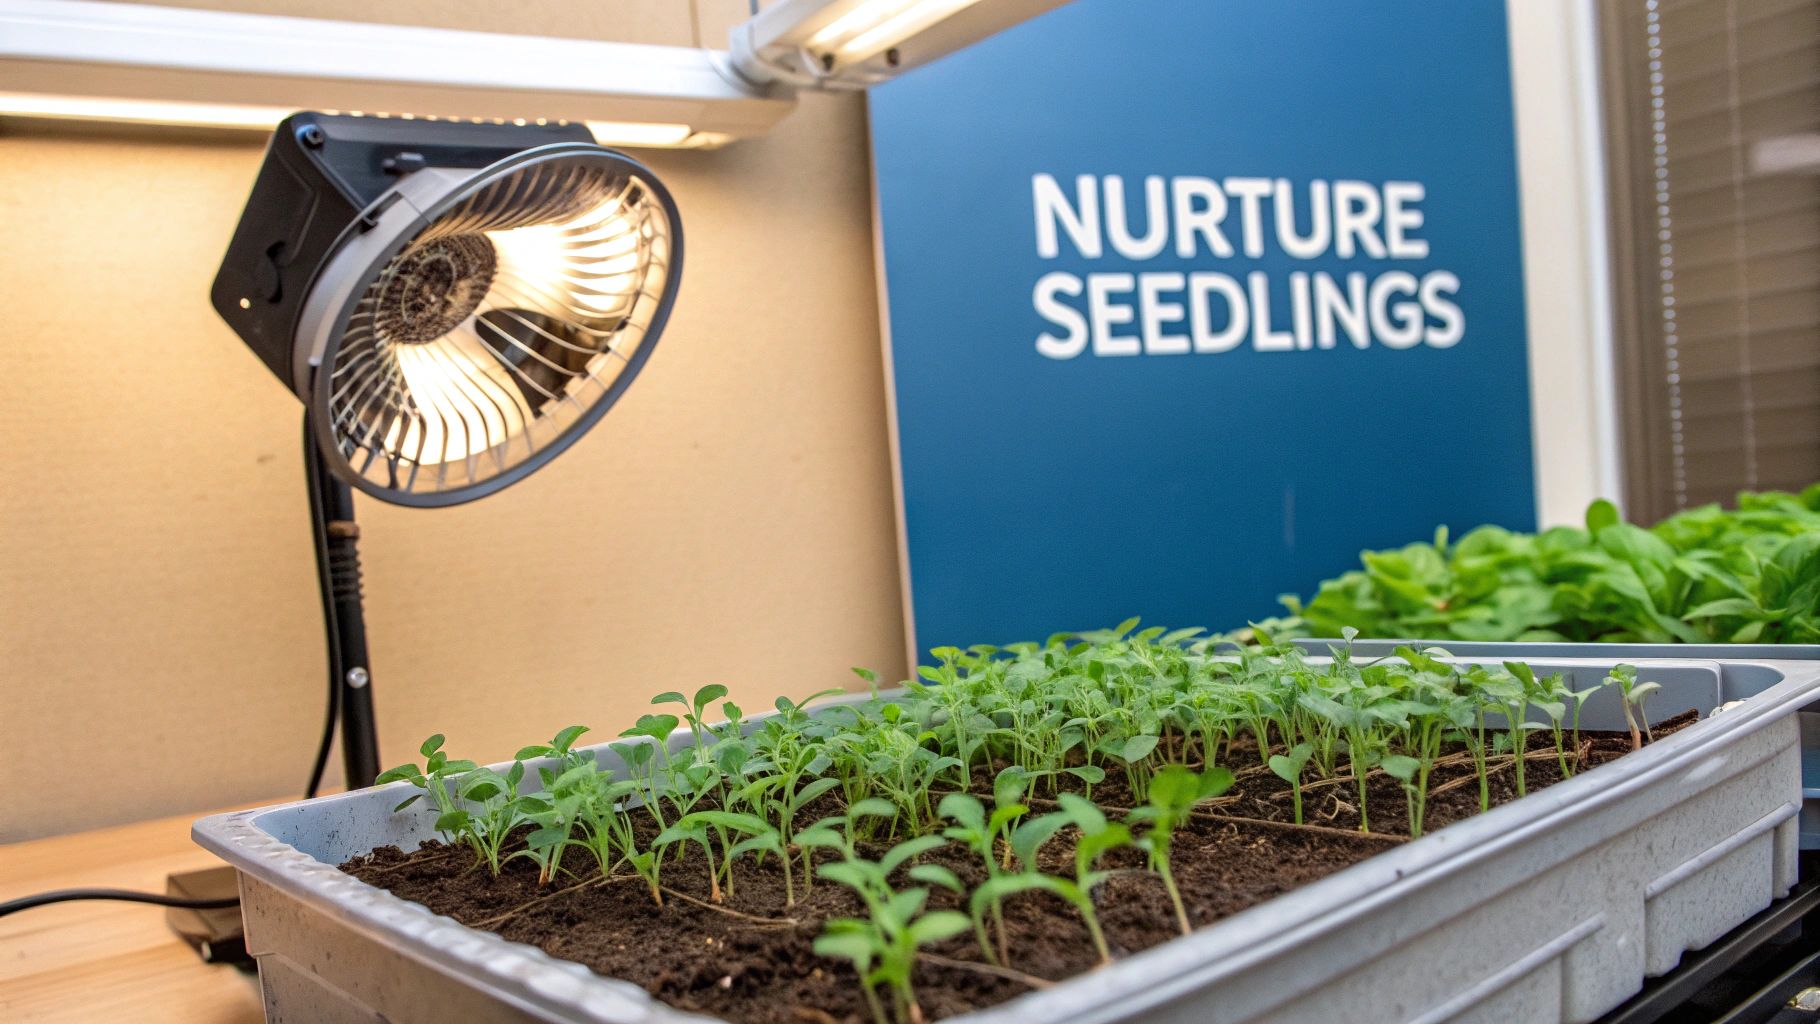
- A Gentle Fan: This is my favorite trick for building strong plants. A small oscillating fan running for an hour or so a day mimics a gentle breeze. This wiggling motion strengthens the seedlings' stems and improves air circulation, which helps prevent disease.
- Waterproof Tray: Simple but essential. Place all your pots and containers in a larger waterproof tray to catch drips and runoff. It keeps your growing area clean and makes bottom-watering a breeze.
- Timer for Lights: Your seedlings need consistency. To give them the 14-16 hours of light they need each day without you having to think about it, a cheap outlet timer is your best friend.
- Fertilizer (for later): Your seeds have enough food packed inside them to get started. But once they develop their first set of "true leaves" (the second set of leaves that appear), it's time for their first meal. A weak, diluted, balanced liquid fertilizer is perfect.
Expert Insight: The growing interest in home gardening isn't just a feeling; it's a huge market. The global seed starter tray industry is valued at around USD 1.5 billion and is projected to hit USD 2.5 billion in the next eight years, largely thanks to the rise of urban farming.
For a deeper dive into arranging all this gear, check out our guide on the 7 steps to your perfect indoor seed starting setup.
5 Essential Seed Starting Supplies: Purchased vs. DIY
You don't need to spend a lot of money to get started. Here’s a quick look at how you can get the job done with either store-bought gear or some clever DIY alternatives.
| Essential Item | Purchased Option Example | Budget-Friendly DIY Alternative |
|---|---|---|
| Containers | Plastic cell trays or peat pots | Yogurt cups, toilet paper rolls, egg cartons (with holes poked in the bottom) |
| Humidity Dome | Vented plastic dome cover | Clear plastic wrap or a clear salad container lid |
| Grow Lights | Full-spectrum LED grow light fixture | Basic fluorescent shop lights with a "cool white" bulb |
| Heat Mat | Commercial seedling heat mat | The top of a refrigerator or another warm appliance |
| Plant Labels | Plastic or bamboo plant stakes | Cut-up yogurt containers, popsicle sticks, or masking tape on the pot |
As you can see, there's always a budget-friendly path. The most important thing is to provide what the seedlings need, not to have the fanciest equipment.
And for those of you who get truly bitten by the gardening bug and want to scale up, investing in a more permanent structure through a professional greenhouse assembly can be the next logical step to extend your growing season even further.
Step 4: Prepare and Sow Your Seeds
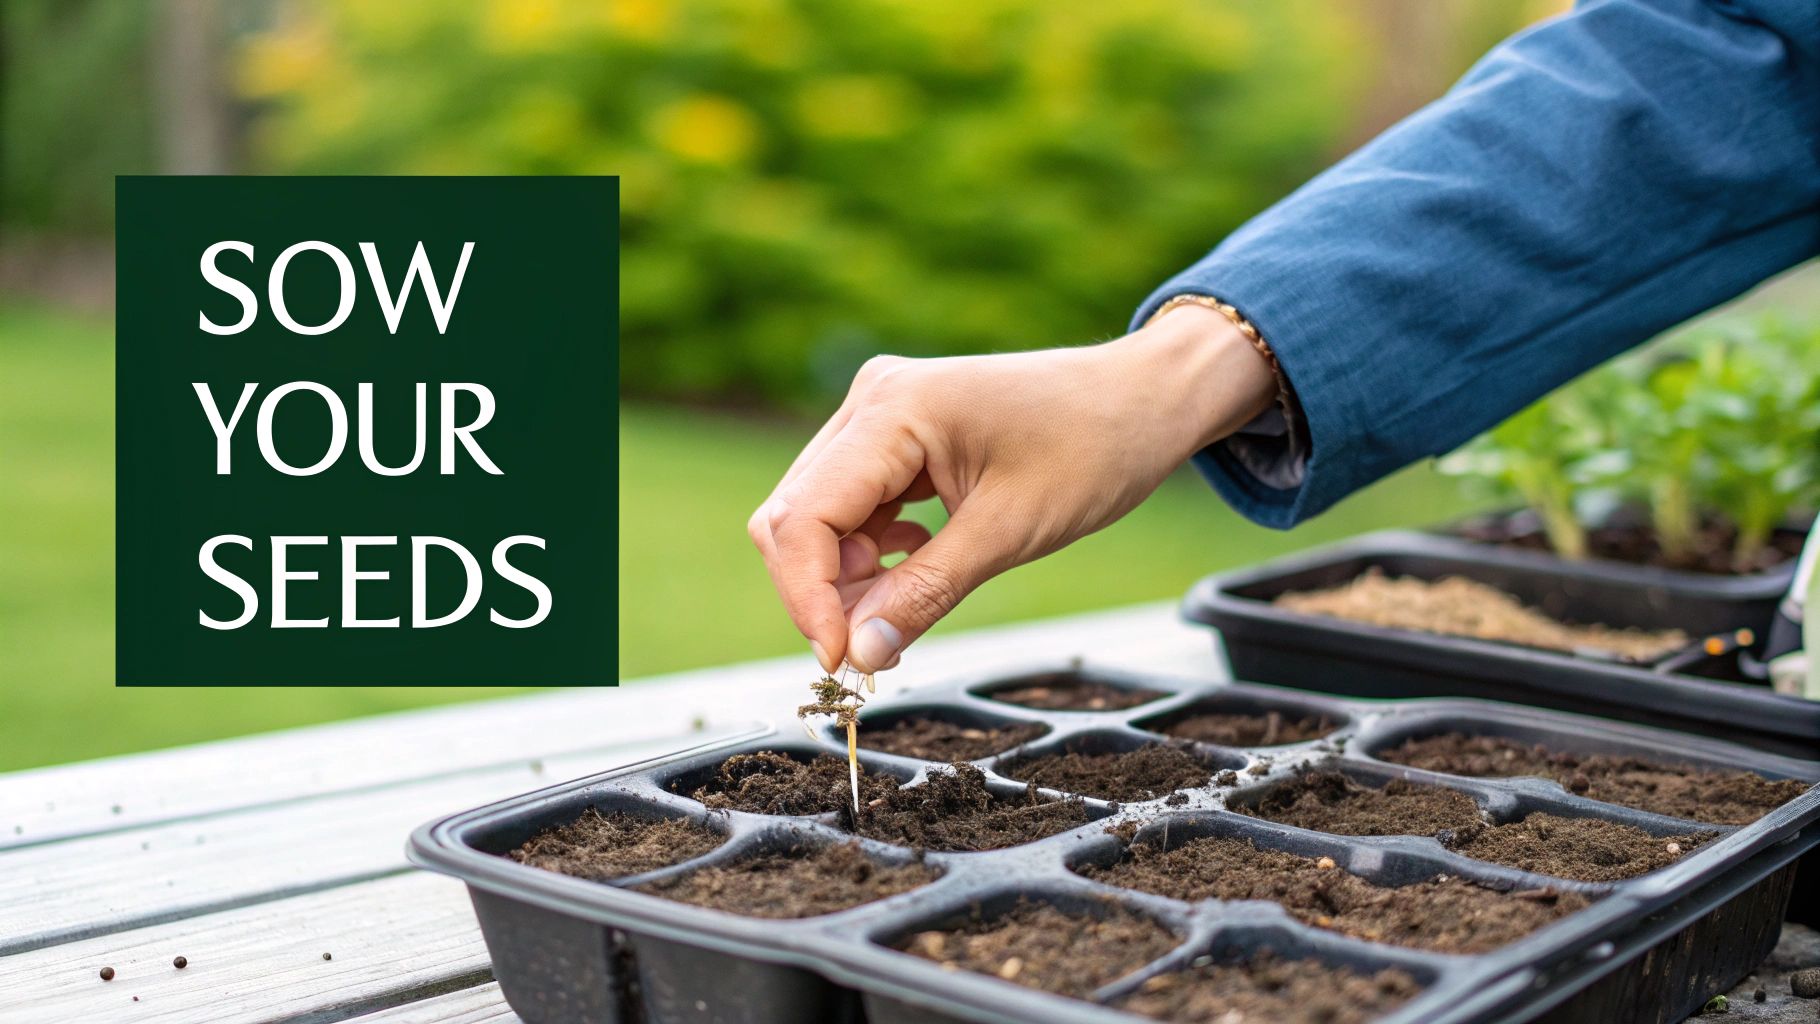
Alright, you've got your supplies, and now it's time for the best part: getting those seeds in the soil. This is where the whole journey really begins. The key is to create a perfect little nursery for your seeds to wake up in, and that starts with getting the moisture in your starting mix just right.
Before you even think about filling your trays, dump some of your mix into a bucket or a big bowl. Slowly add a little water and mix it all up with your hands. What you're aiming for is the texture of a wrung-out sponge. When you squeeze a handful, it should clump together but not drip water. This step is a game-changer because it ensures your seeds have the moisture they need from the get-go.
With your containers filled with that lovely damp mix, grab your seed packets. Think of them as your instruction manuals—they're packed with essential info.
Step 5: Decode Your Seed Packet in 3 Easy Ways
Seriously, don't just rip open the packet and start sprinkling. The details on the back are your roadmap to success, telling you exactly what that specific plant needs to thrive.
- Planting Depth: This is non-negotiable. A great rule of thumb is to plant a seed about twice as deep as it is wide. Tiny seeds like lettuce or poppies often need light to germinate, so they just need a fine dusting of soil on top. A big ol' bean seed, on the other hand, needs to be tucked in about an inch deep.
- Days to Germination: This gives you a rough timeline for when you can expect to see the first signs of life. It’s also a hint about what conditions are needed. For instance, if peppers are taking forever to sprout, it's probably because the soil is too cool—they can easily take 2-3 weeks if they aren't warm enough.
- Spacing: While not super critical when you're just starting them in small cells, this info is crucial for planning your garden layout later on.
One of the most common mistakes I see is planting seeds too deep. A buried seed only has so much stored energy. If it has to struggle too far to reach the surface, it will run out of gas before it ever sees the light.
You can't treat all seeds the same way. Your sowing technique really needs to match the seed size. For bigger, easy-to-handle seeds like peas, squash, or beans, you can just poke one or two into the middle of each cell at the right depth. Simple.
Tiny seeds? That’s where you need a bit more finesse. Trying to plant poppy seeds one by one will drive you crazy. Instead, just sprinkle a few over the soil surface in each cell and gently press them down so they make good contact. Another trick I like is to use the tip of a damp toothpick to pick up and place individual seeds exactly where you want them.
Now for the most important organizational tip: label everything immediately. Trust me on this. Use a permanent marker to write the plant variety and the date on a plant tag for each cell or tray. This one simple step will save you from a major guessing game in a few weeks when you have trays full of identical-looking little green sprouts.
Getting the temperature right is just as important as moisture for germination. For more specifics, check out our complete seed germination temperature chart to give every seed its ideal start.
Step 6: Care for Your New Seedlings
There’s nothing quite like seeing those first tiny green shoots break through the soil. It’s a genuinely exciting moment for any gardener! Now, your job shifts from patient waiter to active nurturer. These first few weeks are critical for setting your plants up for success.
Once you see that about 75% of your seeds have sprouted, it's time to take off the humidity dome. That dome was a huge help for germination, but leaving it on now can do more harm than good. It traps moisture and limits airflow, which can unfortunately invite disease. Taking it off is the first step in getting your seedlings ready for the real world.
Give Them Light (and Avoid the "Leggy" Look)
Right now, what your seedlings crave more than anything is light. A whole lot of it. A classic rookie mistake is just setting the tray on a sunny windowsill. I can almost guarantee this will lead to "leggy" seedlings—those long, pale, and weak-looking plants that are stretching desperately for the sun.
This is where your grow lights become absolutely essential. You'll want to position the lights just 2 to 3 inches above the tops of the seedlings. Yes, that close! This intense, direct light tells them to grow stout and strong, not tall and flimsy. Remember to raise the lights as the seedlings grow, always keeping that small gap. I set mine on a simple timer for a consistent 14-16 hours of light each day.
If there's one thing to get right, it's this: Strong, direct light is the secret to growing stocky, healthy seedlings. Weak light is the number one reason seedlings fail before they even get to the garden.
Water Wisely and Build Strong Stems
It’s so easy to love your seedlings to death with too much water. Overwatering is probably the fastest way to lose them. You’re trying to avoid a nasty fungal issue called damping-off, which thrives in soggy soil and causes the tiny stems to rot right at the soil line. It's heartbreaking to see.
Get in the habit of checking the soil every day, but only water when the top feels dry. A deep, less frequent watering is far better than a little sprinkle every day. My go-to method is bottom-watering, and it works wonders:
- Find a solid tray without holes and place your seedling cells inside it.
- Pour about an inch of water into the outer tray, not directly on the seedlings.
- Let the soil soak up the water from below for about 30 minutes.
- Afterward, pour out any water that’s left over in the tray.
This technique encourages the roots to grow down deep and keeps the delicate leaves and stems dry.
One last pro tip: set up a small fan to blow a gentle breeze over your seedlings for an hour or so each day. This mimics the wind, which helps strengthen their stems and gets them ready for the transition to the great outdoors.
Step 7: Harden Off Your Plants Before Transplanting
Your seedlings have spent their whole lives in a perfect, climate-controlled world indoors. Tossing them straight out into the garden would be a huge shock to their system. The sun, wind, and temperature swings are a lot to handle all at once.
This is where hardening off comes in. It’s the essential process of gradually getting your plants used to the great outdoors. Think of it as a training camp that toughens them up for the real world, making them resilient enough to thrive.
Skipping this step can lead to scorched leaves, stunted growth, or even dead plants. A little patience now pays off big time later.
A Simple 7-Day Guide to Hardening Off
The whole process usually takes about 7 to 14 days. Your main goal is to slowly increase their exposure to sun and wind without causing any stress. Start by finding a sheltered spot, maybe on a covered porch or under the shade of a big tree, where they're protected from the elements.
- Days 1 & 2: Take your seedlings outside for just 1-2 hours in a shady, protected location. Then, bring them back inside. Easy does it.
- Days 3 & 4: Increase their time outdoors to 3-4 hours. Let them get a little taste of gentle morning sun, but keep them out of the intense afternoon glare.
- Days 5 & 6: Now you can push it to 5-6 hours outside, with a bit more time in the direct morning sun. If the nights are mild (staying above 50°F), you can even let them stay out overnight in their sheltered spot.
- Day 7 & Beyond: Your plants should be ready for a full day outside. After a day or two of full exposure without any issues, they’re officially prepared for their new home in the garden.
Pay close attention to how your plants are doing. If you see any signs of stress—like wilting leaves or white, sunburned patches—pull back a bit. Give them a day or two in a more protected spot before you continue the process.
Starting with great seeds makes a world of difference in growing strong plants that can handle this transition. The global demand for high-quality seeds is enormous, with U.S. planting seed exports alone reaching around USD 1.75 billion. This just goes to show how vital a solid genetic foundation is for a successful garden. You can explore more about the global seed supply on fas.usda.gov.
Step 8: Troubleshoot 3 Common Seed Starting Problems
Even with the best instructions, you're bound to have a few questions when you're coaxing tiny seeds to life. It’s just part of the process! Let's walk through some of the most common head-scratchers I hear from fellow gardeners. Think of this as a quick troubleshooting guide to build your confidence.
A big one that always comes up is, "Can I reuse my seed starting mix?" My answer is a cautious "yes." If your last batch of seedlings was perfectly healthy, with no signs of disease or pests, go for it. But if you had any trouble at all—especially with things like damping-off—it's not worth the risk. Just toss it and start with a fresh, sterile mix to give your new seeds a clean slate.
And what about just using soil from the garden? It's tempting, I know. But garden soil is simply too heavy and dense for brand-new roots. It gets compacted, doesn't drain well, and often comes with uninvited guests like weed seeds, fungi, or pests. Stick to a specialized seed starting mix; it’s light, airy, and designed for this delicate job.
Fixing Common Frustrations
Gardening is all about learning from what doesn't work. If you run into a hiccup, don't worry—it happens to all of us. Here are a few common frustrations and how to fix them.
- My seeds didn't sprout. This is almost always a temperature or moisture issue. Is the soil consistently damp, like a wrung-out sponge? Or is it waterlogged? Some seeds, like peppers and tomatoes, need real warmth to get going, so a heat mat can make all the difference. Also, check the date on your seed packet; old seeds just lose their get-up-and-go.
- My seedlings are turning yellow. First, don't panic. If it's just the very first pair of leaves (the little roundish ones called cotyledons), that's totally normal. They're supposed to wither away. If the true leaves are yellowing, you're likely overwatering or they're hungry. Let the soil dry out a bit more and consider giving them a very diluted dose of liquid fertilizer.
- What's this white fuzz on the soil? That's usually a harmless mold that loves damp, stagnant air. It’s a signal to get some air moving. A small fan set on low is perfect for this. It also helps to let the soil surface dry a little between waterings.
Every gardener has failures. The trick isn't to avoid mistakes but to learn from them. Your plants are always telling you what they need; the real skill is learning to listen and adjust.
Step 9: Find the Right Seeds and Get Started
Ready to get your hands dirty? The final step is simply to begin. Find beautiful heirloom seeds for your garden at Homegrown Garden. We have everything you need, from starter kits to expert advice, delivered right to you. Start your growing journey at https://www.homegrown-garden.com.

