


Ever tried to grow something like lavender or milkweed from seed, only to have absolutely nothing happen? It's a common frustration, and the reason is often a fascinating survival trick built right into the seed: dormancy.
This isn't just a stubborn seed. It's an intelligent one. Dormancy is nature's way of keeping a seed from sprouting during a random warm spell in the fall, which would spell certain doom when winter truly hits. It’s a built-in alarm clock, set to go off only after a long, cold, wet season has passed.
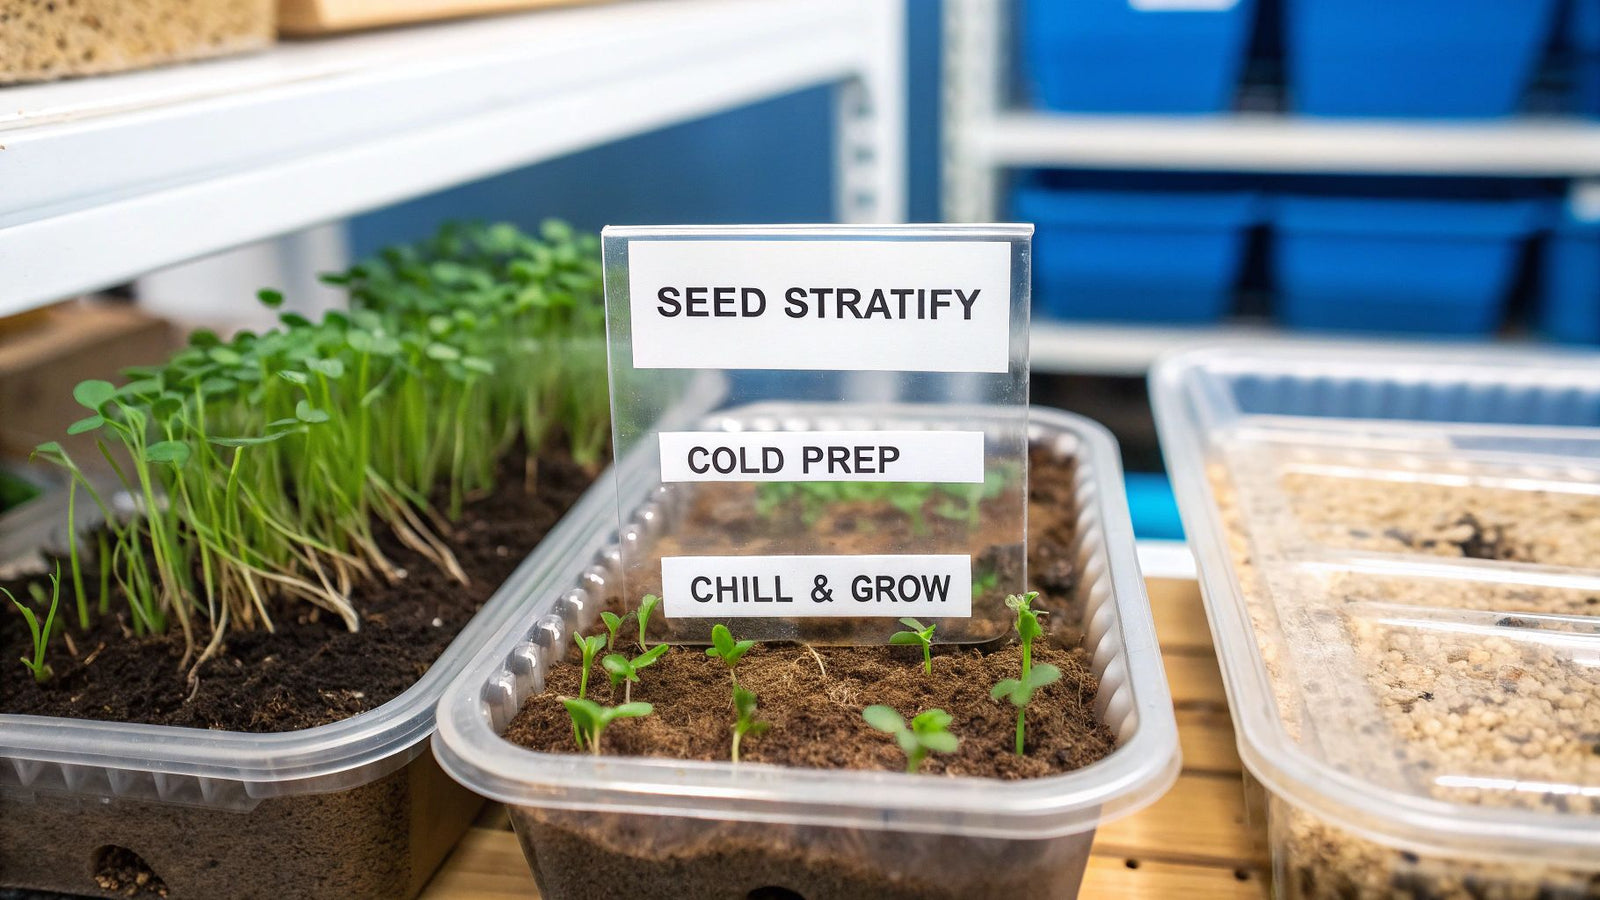
To get these seeds to sprout, we have to fool them into thinking they've already been through winter. This process is called cold moist stratification, and it's a simple but powerful technique that can dramatically boost your germination rates.
The Two Kinds of "Sleepy" Seeds
When you get down to it, there are a couple of main reasons a seed might stay dormant. Understanding which one you're dealing with makes all the difference.
-
Physiological Dormancy: This is the most common kind we run into. The seed's embryo is perfectly fine and ready to go, but it's held back by internal chemical signals that act like a "stop sign." A period of cold and damp conditions breaks down these inhibitors, giving the seed the green light to grow. Think of plants like coneflowers or apple trees—they absolutely need this cold nap.
-
Physical Dormancy: Other seeds have a different problem. Their outer coat is like a suit of armor—so hard or waxy that water can't even get in. While some of these tough seeds also need a cold period, many first require scarification, which just means roughing up the seed coat a bit by nicking it or sanding it down.
For anyone serious about growing perennials or native plants, learning to stratify seeds is a total game-changer. It's a technique used by growers all over the world, and for good reason. For species that require it, proper stratification can take germination rates from a measly 20-30% all the way up to 80-90%. You can dig into more data on seed processing over at the IMARC Group website.
By mimicking nature's cycle, you're not just following a step; you're speaking the seed's language. You're providing the specific environmental cue it has evolved to wait for over millennia, ensuring a much higher success rate for your garden.
7 Steps to Perfectly Stratified Seeds
You can breathe a sigh of relief—stratifying seeds doesn't require any fancy lab equipment. In fact, you probably have everything you need tucked away in your kitchen drawers or garden shed. Here are the 7 key steps to creating a consistently damp, cool, and clean environment for your seeds to thrive.
Step 1: Choose Your Stratification Medium
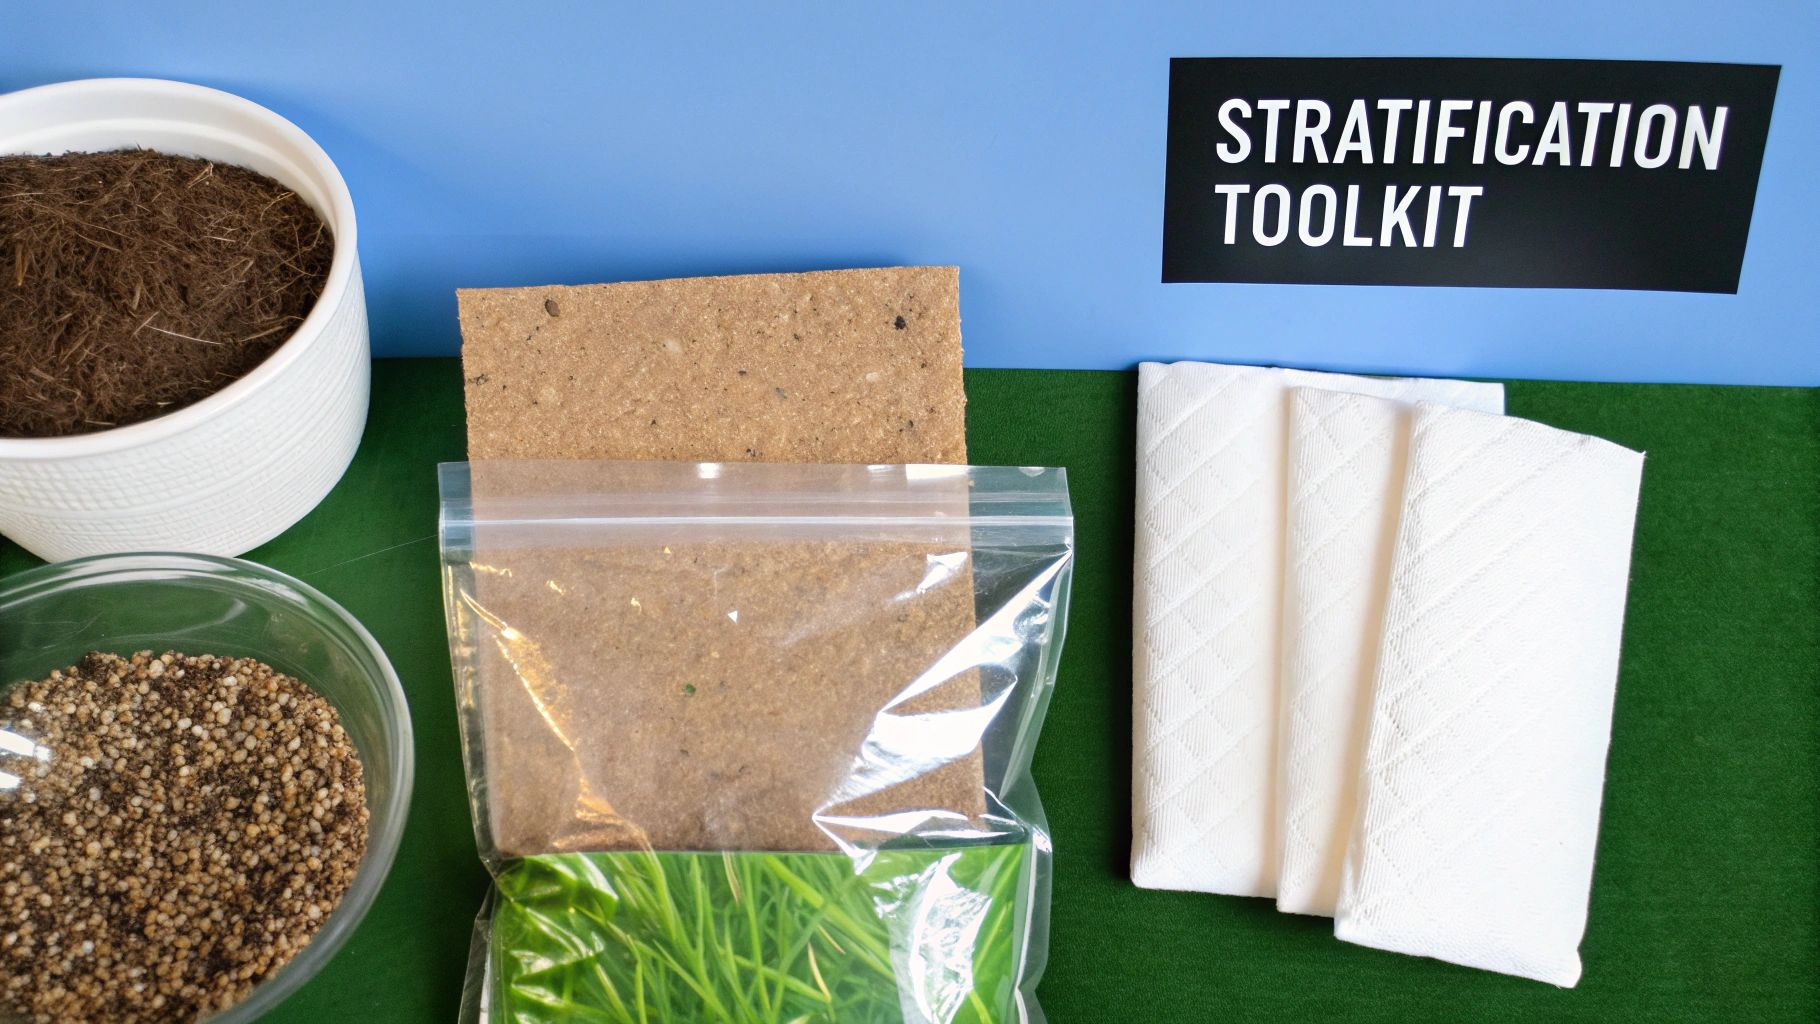
The first step is picking the right material that will hold moisture against the seeds without becoming a soggy, moldy swamp. You've got a few solid, time-tested options depending on the type and quantity of seeds you're working with.
- Paper Towels: Incredibly easy to find and use. You just dampen a sheet, lay the seeds on one half, and fold the other half over. The big advantage here is you can easily peek to see if anything is sprouting. The only catch is they can dry out a bit quicker than other options.
- Sterile Sand or Perlite: Mixing your seeds with damp sand or perlite is my go-to for keeping seeds separated. It ensures every single seed gets consistent moisture and prevents clumping, which makes sowing them later so much easier.
- Peat or Coir: Both peat moss and coconut coir are moisture-retaining powerhouses. Just grab a handful, get it wet, and squeeze it out until it stops dripping. That perfect, fluffy dampness is exactly what you're looking for.
One of the best pieces of advice I ever got was to use distilled or filtered water. Tap water often contains chlorine or minerals that can invite mold, and that's the last thing you want after all this careful prep.
Step 2: Assemble Your Containers and Labels
Once your seeds are nestled in their damp medium, they need a temporary home. For the paper towel method or small batches, a simple sealable plastic zip-top bag is perfect. If you're stratifying a larger quantity of seeds, a small plastic tub with a lid gives you more room to work with.
And now for what I consider the most critical tool in the entire kit: a permanent marker. I can't stress this enough—label every single bag or container. Write down the plant species and the exact date you started the process. Trust me, skipping this step is a recipe for a major headache down the road when you’re staring at three identical-looking baggies. A little organization now prevents a lot of guesswork later.
Step 3: Pick Your Cold Stratification Method
Alright, you've got your supplies. Now for the fun part: picking your game plan. Knowing how to stratify seeds really just means picking the right tool for the job. Are you working with a tiny pinch of precious lavender seeds, or are you trying to start an entire field of native milkweed?
There's no single "best" way to do this. Each approach has its own pros and cons, and your choice will hinge on how many seeds you're dealing with, how much fridge space you have, and frankly, how much you want to fuss with it. Let's look at 3 solid methods.
- The Classic Baggie Method: This is incredibly simple and perfect for small batches. Place your seeds in a damp paper towel or mix with a damp medium inside a labeled zip-top bag.
- The Bulk Container Method: For larger quantities, mix your seeds with a damp medium like sand or peat in a small plastic tub. Poke a few holes in the lid for air circulation.
- Natural Outdoor Stratification: The set-it-and-forget-it approach. In the fall, sow seeds in pots or a prepared garden bed, cover them with a screen to protect from critters, and let winter do the work for you.
This visual guide shows the three primary stratification setups: the baggie method, the container method, and natural outdoor stratification.
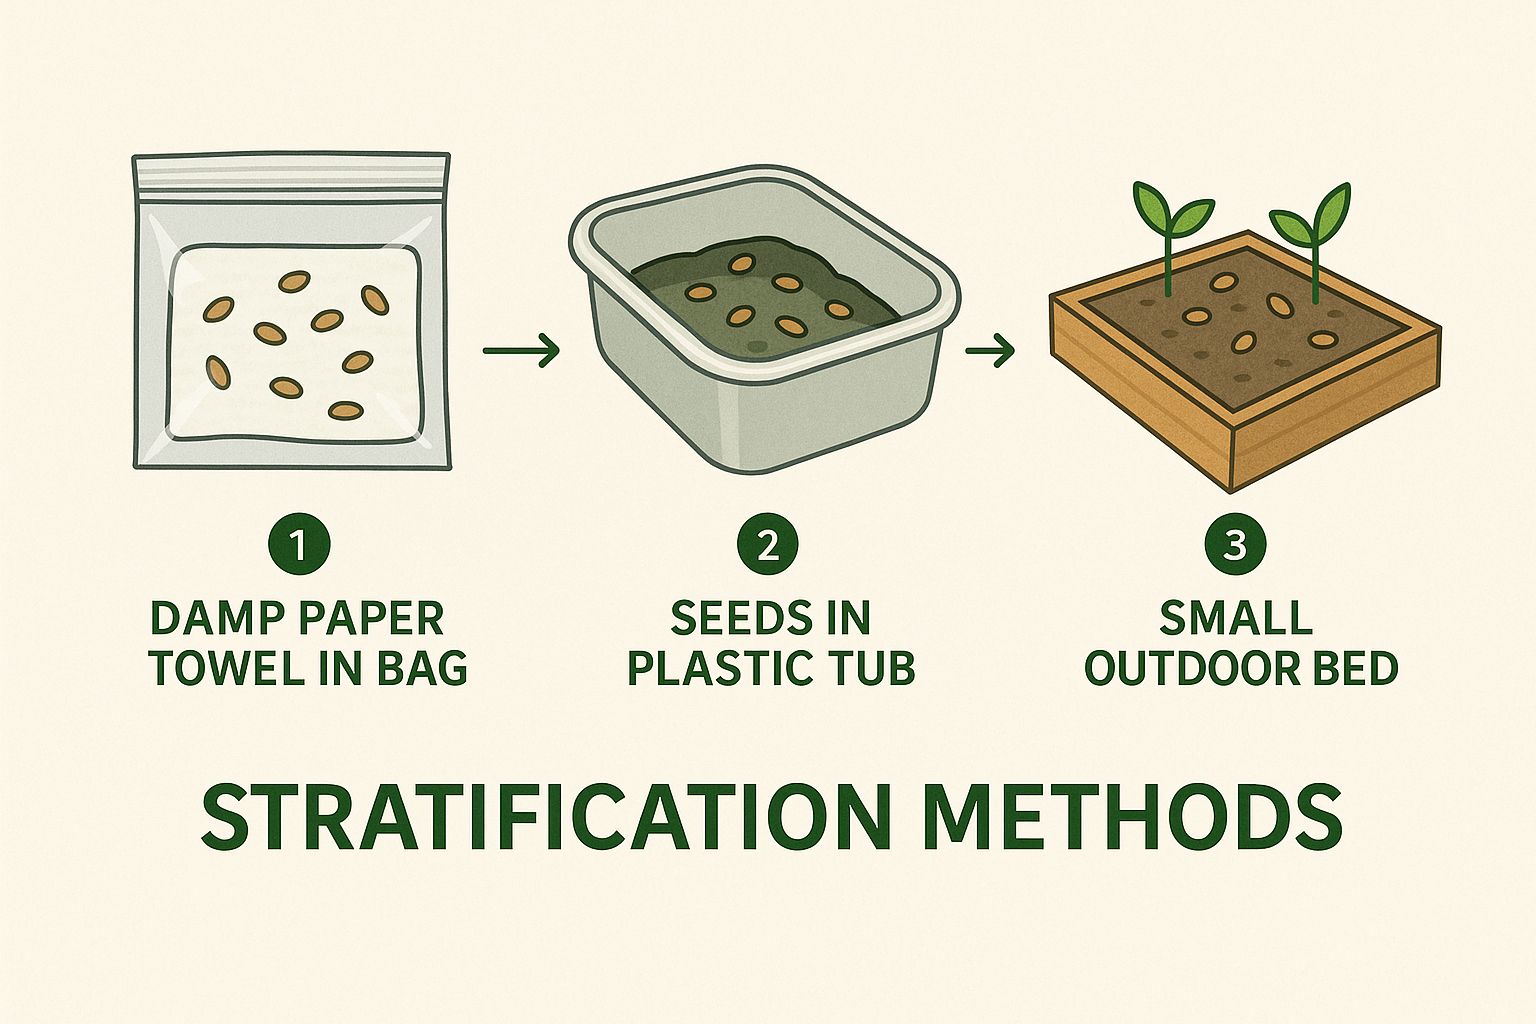
As you can see, the best method really just depends on the scale of your project. Small tests get baggies; bigger jobs get containers.
Step 4: Master the Chilling Period
https://www.youtube.com/embed/-j-rXMRfV_c
Alright, you've got your seeds prepped. Now comes the part that requires patience: the big chill. This step simulates a long, steady winter, and it's where the real magic happens. The goal is to keep them in a consistent temperature range between 33-41°F (1-5°C).
You're looking for the most stable corner of your refrigerator. I’ve had the best luck with these spots:
- The back of a shelf: Tucked away in the back, your seeds will be much less affected by the door opening and closing.
- A crisper drawer: These drawers are literally designed to hold a steady temperature and humidity, which is perfect for keeping your stratification bags or containers from drying out.
Getting this right isn't just a home gardener's trick; it has huge economic implications. The global seed treatment market was valued at about USD 13.4 billion back in 2022. When seed batches fail to stratify correctly, studies from industry sources like Grandview Research show they can lose 40-50% of their germination potential.
Step 5: Know Your Stratification Times
Every seed is a little different. Some need a quick chill, while others require a long, deep sleep. Here’s a quick reference table I’ve put together from my own experience and research to give you a starting point for some common plants.
| Plant Type | Recommended Stratification Period (Days) | Ideal Temperature Range (°F/°C) |
|---|---|---|
| Milkweed (Asclepias) | 30-60 | 34-40°F / 1-4°C |
| Lupine (Lupinus) | 10-14 | 33-41°F / 1-5°C |
| Coneflower (Echinacea) | 30-90 | 34-40°F / 1-4°C |
| Lavender (Lavandula) | 21-42 | 38-41°F / 3-5°C |
| Apple (Malus) | 60-120 | 34-41°F / 1-5°C |
| Rose (Rosa) | 90-120 | 34-40°F / 1-4°C |
Remember, this is a guide. Always double-check the specific needs of your variety, as timing can vary. I recommend setting a weekly or bi-weekly reminder on your phone just to do a quick check-in for moisture, mold, or early sprouting.
Step 6: Troubleshoot Common Problems
Even when you follow the instructions to the letter, things can sometimes go sideways. The key is catching problems early. Here are 3 common hiccups and how to fix them.
- Correcting a Medium That Is Too Wet: If you see pooled water, gently remove the seeds, squeeze all excess water from the medium until it's just damp, and place everything in a fresh, dry bag.
- Reviving a Medium That Has Dried Out: A medium that dries out stops the process. Simply use a spray bottle with distilled water to lightly mist it back to a consistently damp state.
- Dealing with Insufficient Chilling Time: Pulling seeds out too early leads to poor germination. Mark your calendar and trust the timeline. When in doubt, it’s better to leave seeds in for an extra week than to pull them out too soon. To be sure, you can run a quick germination test for your seeds before planting the whole batch.
Step 7: Plant Your Seeds in Soil
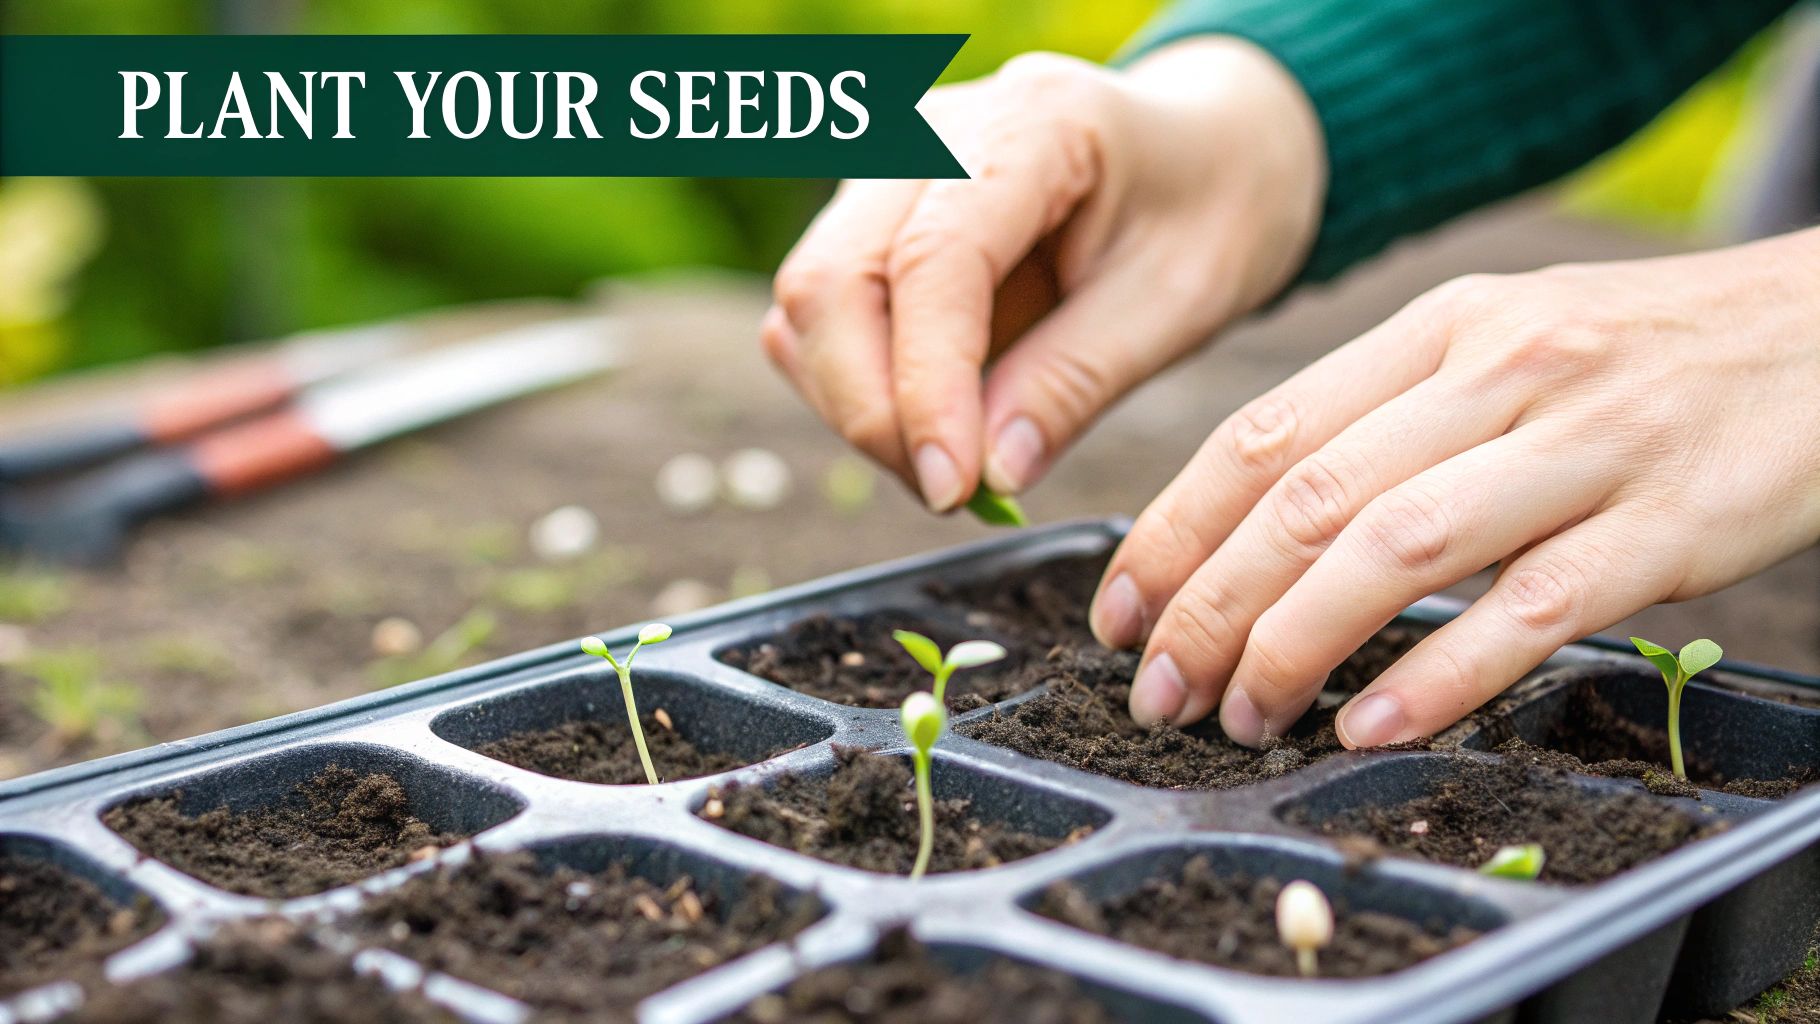
Once your seeds have finished their chilling period, it's time to grow! Moving them from the fridge to warm soil is the final and most exciting step. Get those seeds planted almost immediately after their stratification time is up to prevent them from drying out.
I always recommend using a high-quality, sterile seed-starting mix. If you want to get your soil just right, our guide to preparing garden soil is a great place to start.
When it comes to planting depth, a good rule of thumb is to sow seeds about twice as deep as they are wide. If you find some seeds have already started sprouting in the bag, use tweezers to gently plant them root-down. This delicate touch gives every eager seed the best possible shot at becoming a healthy plant.
Still Have Questions? Let's Dig In.
Even after you've got a plan, a few questions always seem to sprout up once you get your hands dirty. That's perfectly normal. I've heard just about every question there is when it comes to stratification, so let's tackle a few of the most common ones.
Can I Just Toss My Seeds in the Freezer?
This one comes up all the time, but the answer is a hard no. Your freezer is way too cold for this process and should never be used for cold moist stratification. You'll likely just kill the tiny embryo inside the seed.
Remember, we're trying to mimic a natural winter—cool and damp, not a polar vortex. Your refrigerator is perfect for this, hovering right in that sweet spot between 33-41°F (1-5°C). This temperature is just right to break dormancy without freezing the seed solid.
What If I Leave My Seeds in the Fridge for Too Long?
Don't panic! Going a week or two over the recommended time usually won't cause any harm. In fact, for some really stubborn seeds, a little extra chill time can actually give them the final push they need to germinate well.
The biggest "problem" you might face is the seeds starting to sprout right there in the bag. If you open it up and see little white roots poking out, congratulations! It worked. Just be incredibly gentle when you plant them, as those new roots are extremely fragile and can snap easily.
It's always better to stratify a bit too long than not long enough. Cutting the chilling period short is one of the most common reasons for germination failure. When in doubt, give them an extra week.
Do I Need to Stratify Seeds I Bought from a Store?
This is a classic "it depends" situation. Most of the annual flowers and vegetable seeds you grab off the rack are good to go straight into the soil—no cold treatment needed.
But if you're buying seeds for perennials, native wildflowers, shrubs, or trees, stratification is often part of the deal. A high-quality seed packet will usually tell you right on the label if a chilling period is required. If the packet is silent on the subject but you know the plant comes from a cold climate, a quick search on that specific species is your best bet.
At Homegrown Garden, we believe everyone can grow with confidence. Explore our curated collection of heirloom seeds, starter kits, and all the supplies you need to bring your garden to life. Find your next project at https://www.homegrown-garden.com.

