


Every seasoned gardener knows the secret to a killer tomato harvest isn't just about soil or sun—it starts months earlier with a calendar. The golden rule? Count backward 6 to 8 weeks from your area's average last frost date. That's your sweet spot for starting seeds indoors.
This simple calculation gives your seedlings the perfect head start, letting them build strength in a controlled environment before they ever have to face the unpredictability of the great outdoors.
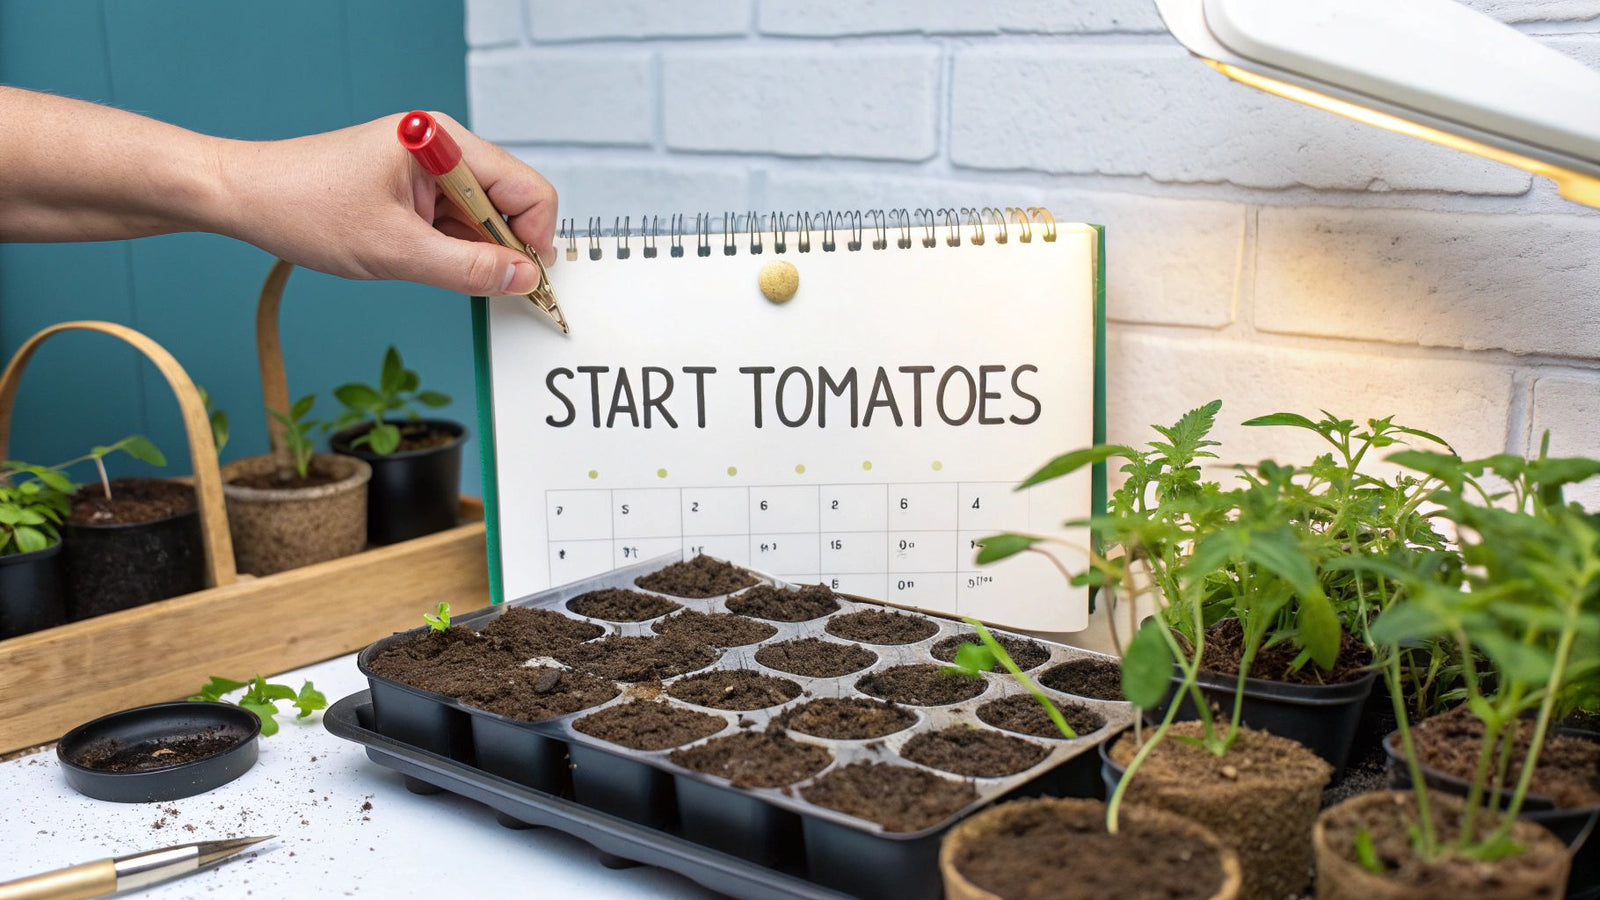
4 Keys to Nailing Your Tomato Seed Timing
Timing is truly everything with tomatoes. Get it right, and you're rewarded with robust plants. Get it wrong, and you'll be fighting an uphill battle all season. Let’s break down how to create a seed-starting calendar that works for you.
1. The 6-to-8-Week Head Start
Why 6 to 8 weeks? This window is the magic number. It gives a tomato seed enough time to germinate, develop a strong root system, and grow into a sturdy little plant that's ready for the garden once the threat of frost has passed.
Think about the huge variation across the country. Gardeners in southern Florida might be looking at a last frost date in late February, while my friends in Minnesota are waiting until mid-May. Your local last frost date is the anchor for your entire schedule.
2. The Dangers of Starting Too Early
I get it. The itch to start gardening in late winter is real. But sowing your tomato seeds more than eight weeks ahead of schedule is a classic rookie mistake, and it almost always backfires.
Seedlings that languish indoors for too long get "leggy"—a term for plants that are pale, spindly, and weak because they’ve been stretching desperately for light. These leggy plants are incredibly fragile and struggle to adapt once you move them outside, often snapping in the wind or scorching in the sun.
Gardener's Tip: If you do end up with leggy seedlings (it happens to the best of us!), don't panic. When you transplant them, just bury a good portion of that lanky stem. Tomatoes are amazing; they'll sprout new roots all along the buried stem, which actually anchors them and helps them become stronger.
3. The Problem With Procrastination
On the flip side, waiting too long can seriously shorten your harvest window. If you only give your seeds four weeks indoors, you'll be transplanting tiny, underdeveloped plants into the garden.
This means you’ll be waiting much longer for your first ripe tomato. For those of us in climates with shorter growing seasons, that delay could mean a significantly smaller harvest before the first autumn frost shuts everything down. The same timing principles apply to most vegetables, which you can read more about in our guide on https://homegrown-garden.com/blogs/blog/when-to-plant-vegetable-seeds.
4. Crafting Your Personal Planting Calendar
The ultimate goal here is to have a batch of stocky, vibrant green seedlings chomping at the bit to go outside right as your weather settles.
To give you a clearer picture, here's a quick breakdown of what that timeline looks like in practice.
Quick Seed Starting Timeline
| Stage | Typical Timing | Key Goal |
|---|---|---|
| Sow Seeds Indoors | 6-8 weeks before last frost | Germination & initial growth in a controlled setting. |
| First True Leaves | 1-2 weeks after sowing | Seedlings are established and need strong light. |
| "Potting Up" | 3-4 weeks after sowing | Moving seedlings to larger pots for root development. |
| Hardening Off | 1-2 weeks before transplanting | Gradually acclimate plants to outdoor conditions. |
| Transplant Outside | After all danger of frost | Move hardened-off plants to their final garden spot. |
By using your last frost date as the finish line and working backward with these stages in mind, you can build a reliable schedule that sets your garden up for a truly epic tomato season.
Finding Your Local Last Frost Date
Everything we're about to do hinges on one single, critical date: your area's average last spring frost. This is the day on the calendar when, historically, the danger of a killing frost has passed, and it's finally safe for tender seedlings like tomatoes to go into the ground.
Think of this date as your finish line. Our whole seed-starting schedule is just a matter of counting backward from there.
3 Reliable Ways to Pinpoint Your Frost Date
Guessing your last frost date is a recipe for heartbreak. A late frost can wipe out all your hard work in a single night. Thankfully, you don't have to guess. Combining broad, scientific data with a little local wisdom is the best way to zero in on the right time.
A great place to start is the official USDA Plant Hardiness Zone Map. By popping in your zip code, you get a solid overview of your region's climate.
While the map itself won't give you a specific date, it tells you the average coldest winter temperature your area experiences. This is the foundational context for understanding your entire growing season.
A Quick Word of Advice: Don't stop at just one source. Your specific yard could have its own microclimate. It might be a few degrees warmer or colder than a town just five miles down the road. The real secret to accuracy is layering a few different sources of information.
Ready to get more specific? Here are the resources I use every single year.
-
Online Frost Date Finders: Websites like The Old Farmer's Almanac have fantastic frost date calculators. You just type in your zip code, and it spits out an estimated last frost date based on decades of data from the nearest weather station. It even gives you probabilities, like a 30% chance of frost after a certain date, which is incredibly helpful for risk-takers (and the risk-averse!).
-
Your County Extension Office: This is a gold mine of hyper-local information. Nearly every county in the U.S. has a university cooperative extension office staffed with agricultural pros who live and breathe local growing conditions. A quick call or a visit to their website can provide insights that a national tool might miss.
-
Veteran Local Gardeners: Honestly, this is my favorite method. Find a local gardening group on Facebook or strike up a conversation at the independent garden center. The folks who have been growing in your soil for 20 years know things the charts don't. They'll tell you when it’s really safe to plant, not just when the data says it should be.
The 3 Must-Haves for Starting Seeds Indoors
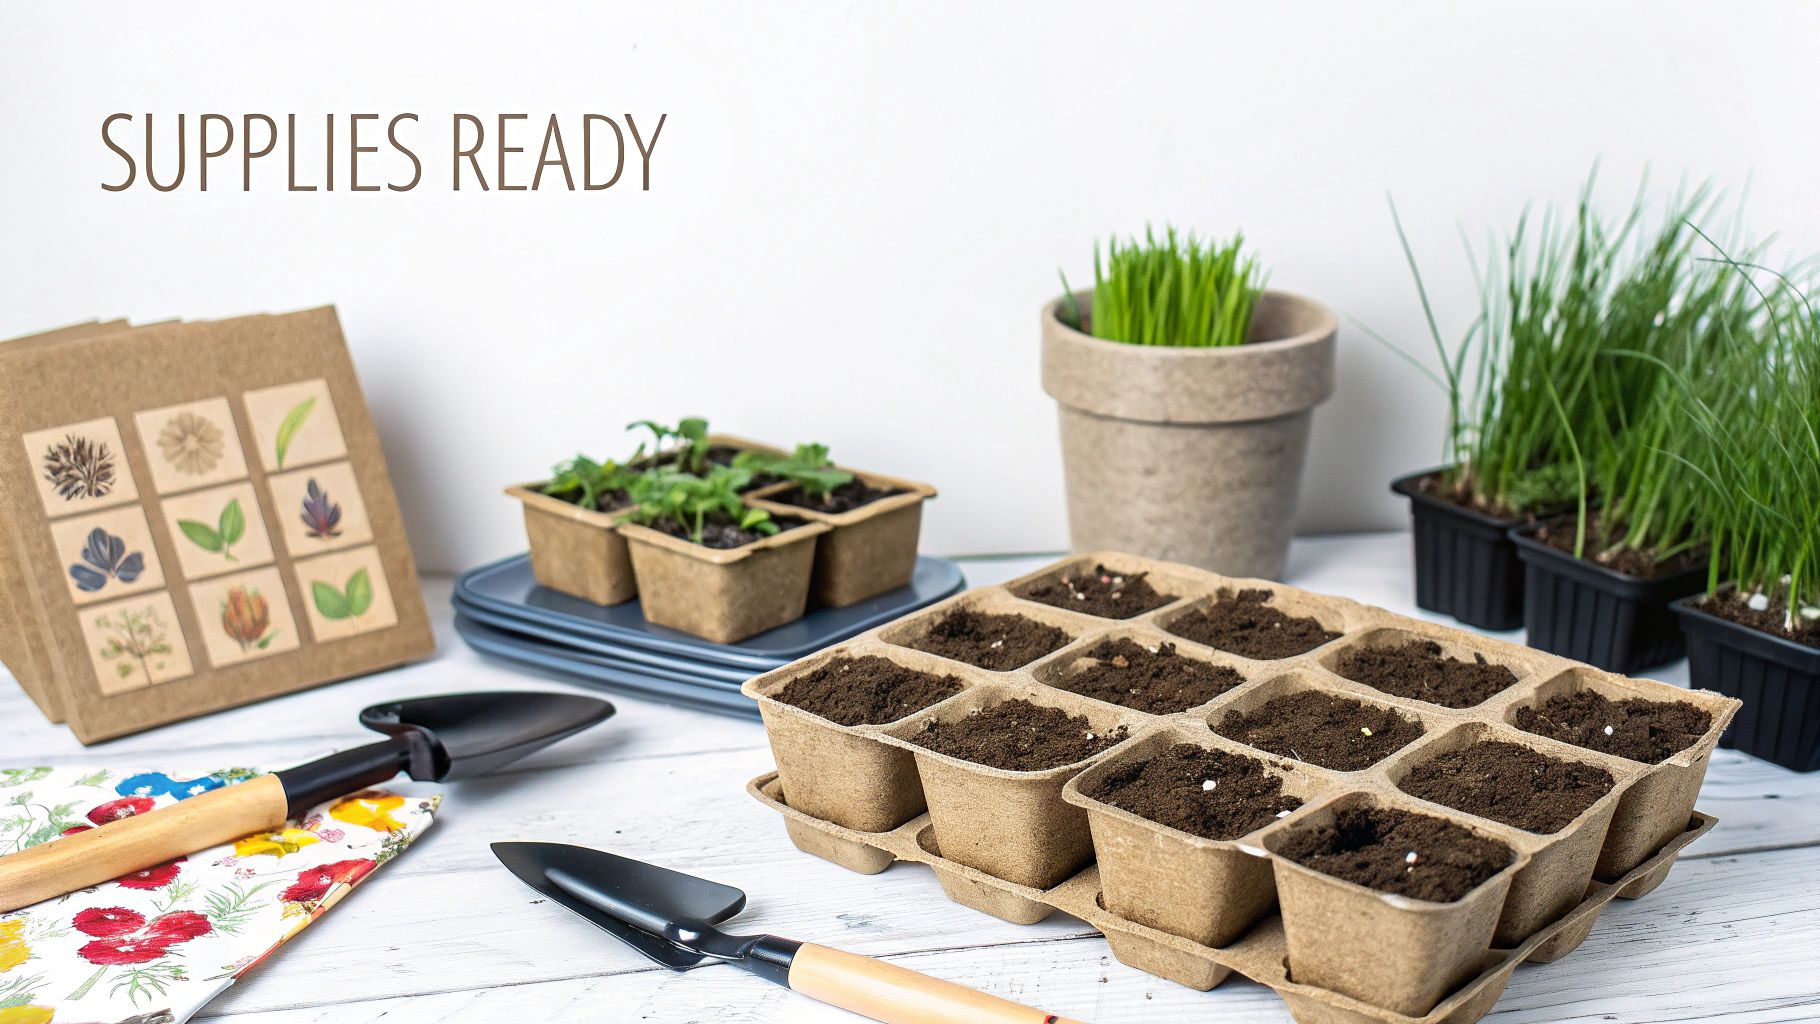
You absolutely don't need a fancy greenhouse to get amazing tomatoes. But I’ve learned over the years that having just a few key supplies can make a massive difference in your success rate. Getting the foundation right from the start is how you avoid a lot of headaches later on.
These are the three things I simply won't start seeds without.
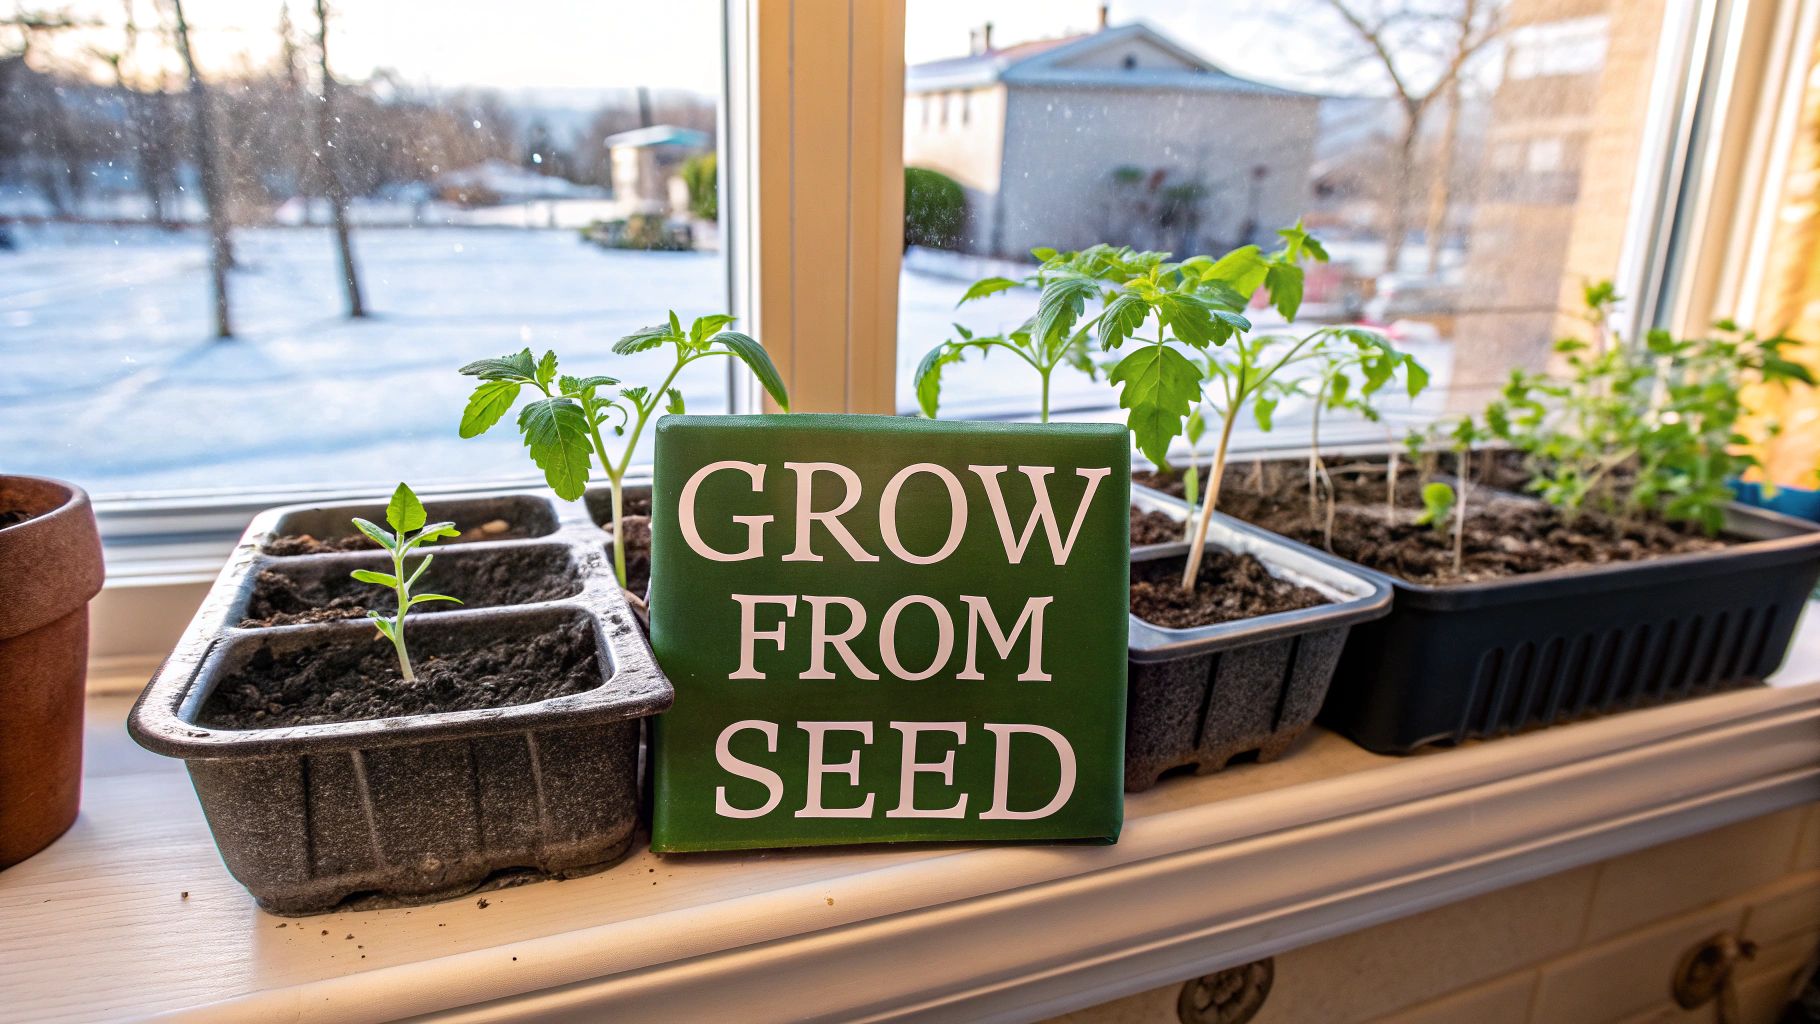
1. A Sterile Seed Starting Mix
I know it's tempting to just go outside and scoop up some garden soil. It feels natural, right? But trust me, this is probably the biggest rookie mistake you can make. Garden soil is heavy and compacts in small pots, and worse, it’s often full of fungal spores that can cause "damping off," a disease that will wipe out your seedlings overnight.
Instead, always grab a bag of sterile, lightweight seed starting mix. It's specifically formulated to be fluffy and clean. This gives delicate new roots room to grow and holds just the right amount of moisture without turning into a soggy mess. It's your best insurance policy against early failure.
2. Containers With Great Drainage
When it comes to containers, function beats fashion every time. You can use plastic cell trays, peat pots, or even upcycled yogurt cups. What matters most is that they have drainage holes. This is non-negotiable.
Without a way for excess water to escape, the soil becomes waterlogged, and the roots literally drown. Healthy roots need oxygen just as much as they need water, and good drainage is what provides it.
My Two Cents: If you're reusing old plastic pots from a nursery, give them a good cleaning first. I soak mine in a solution of one part bleach to nine parts water to kill off any lingering diseases before I put my precious seedlings in them.
3. A Solid Light Source
This is the big one. That sunny windowsill in your kitchen? It's almost never enough light for hungry tomato seedlings. They need a whopping 14-16 hours of consistent, direct light to grow strong. Anything less and you'll get weak, "leggy" seedlings that stretch desperately for the light and often flop over.
You don't need to break the bank here. Even a basic fluorescent shop light hung just 2-3 inches above the seedlings will work wonders. This encourages them to grow stout and stocky instead of tall and flimsy. Investing in a proper light source is probably the single best thing you can do to guarantee you have healthy, garden-ready transplants.
For a deeper dive into my setup, check out the full guide on creating an indoor seed starting setup.
Weaving Germination Time Into Your Schedule
That 6-to-8-week window is a solid rule of thumb, but here's a detail new gardeners often miss: it assumes your seeds sprout instantly. They don't. We need to build in a little buffer for nature to do its thing, otherwise, your entire timeline can get thrown off kilter.
Not all tomato seeds wake up on the same schedule. Some eager varieties might pop up in as little as 5 days, while others take their sweet time, sometimes up to a full 14 days. This isn't a sign of a problem; it's just how they're wired.
Working with Nature's Pace
The age and quality of your seeds make a huge difference, too. Fresh seeds are usually full of vigor and sprout pretty quickly. On the other hand, older seeds, especially if they haven't been stored perfectly, can be sluggish and much less predictable.
This is exactly why I always sow a few extra seeds in each pot. Commercial growers often see germination rates around 80-90%, but it’s just smart practice to plan for a few duds. In fact, one 2017 study that tested nearly 1,600 tomato seeds found an average germination rate of 83.4%, highlighting how freshness matters. You can read more fascinating details about how storage affects seed germination rates at Delectation of Tomatoes.
The Secret to a Fast, Even Start
So, how do we speed things up and get all our seedlings on the same page? The answer is warmth. Tomato seeds really come to life when their soil is consistently held between 75-85°F (24-29°C). That's a lot warmer than the average room temperature, which can leave your seeds sitting in chilly, damp soil for too long.
My absolute game-changer for reliable germination is a seedling heat mat. It's a simple waterproof pad that you place under your seed trays. It provides that gentle, consistent bottom heat that coaxes seeds out of dormancy.
Using a heat mat almost always shaves several days off the germination time. More importantly, it helps ensure that nearly all your seeds sprout within a narrow window. This gives you a uniform tray of seedlings that are all at the same stage, ready for light and water.
Want to see the ideal temperatures for other veggies? Check out our handy seed germination temperature chart.
Mastering the 7-Day Hardening Off Process
Tossing your cozy, indoor-grown seedlings straight into the garden is a sure-fire way to kill them. It’s a huge shock to their system. The sudden exposure to direct sun, gusty winds, and wild temperature swings is just too much for their delicate leaves and stems.
That’s where hardening off comes in. It's the essential transition period that you absolutely cannot skip.
Think of it this way: you wouldn't go from a dark room straight into the brightest sunlight without squinting, right? Your plants need that same slow adjustment. This process gradually toughens up their cell structure, making them sturdy enough to handle the great outdoors. Without it, you’re looking at scorched leaves, snapped stems, and a nasty case of transplant shock that can set them back for weeks.
Your Daily Hardening Off Schedule
The trick is to take it slow. A gradual introduction over 7 to 10 days is what you're aiming for. Rushing it defeats the whole purpose—this is a gentle orientation, not a boot camp.
Here's a simple schedule that I've found works wonders:
- Days 1-2: Find a sheltered spot that gets dappled shade. A covered porch or under a large tree is perfect. Leave your seedlings out for just 1-2 hours where they're protected from harsh sun and wind.
- Days 3-4: It's time for a little sun. Move them into a spot that gets morning sun for about 3-4 hours. Bring them back into the shade before the intense afternoon sun hits.
- Days 5-6: Now they can handle a bit more. Extend their time outside to 5-6 hours, letting them get more direct sunlight and feel a light breeze.
- Day 7+: If the weather is cooperating, you can leave them out for most of the day. Once nighttime temperatures are reliably staying above 50°F (10°C), they can even spend their first night outdoors.
This infographic breaks down the essential indoor care that builds the strong foundation your seedlings need before they even start this outdoor adventure.

As the graphic shows, everything you do inside—providing consistent light, water, and warmth—is what gives your plants the strength to make this transition successfully.
A Quick Tip From Experience: Keep a close eye on the weather forecast. If a surprise cold snap, a windy day, or a heatwave is on the horizon, hold off. It's always better to pause the schedule or add an extra day or two than to push your seedlings too hard and undo all your hard work. After this crucial week, they’ll be more than ready for their permanent spot in the garden.
Answering Your Top 3 Tomato Seed Starting Questions
https://www.youtube.com/embed/qLlek_zdLLM
Even the most meticulous plan can hit a snag—that's just part of gardening. Learning how to navigate those little hiccups is what really takes your skills to the next level. Think of it as turning potential problems into moments of growth for both you and your plants.
Let's walk through some of the most common questions and challenges that pop up when you're starting tomatoes from seed. Nailing these early stages sets the foundation for a strong, productive harvest later.
1. Why Are My Seedlings So Tall and Skinny?
Ah, the classic "leggy" seedling problem. If your baby tomato plants look like they’re stretching for the sky with thin, pale stems, the culprit is almost always a lack of light. They are desperately reaching for a light source that's either too weak or too far away. A sunny windowsill, as bright as it may seem to us, just doesn't cut it for sun-loving tomatoes.
The fix is surprisingly direct. Get your grow light positioned just 2-3 inches above the tops of your seedlings and keep it there as they grow. Run it for a solid 14-16 hours a day. For an extra boost, I like to run a small fan on a low setting for a few hours each day. The gentle breeze mimics wind, which signals the stems to grow thicker and stronger.
2. Can I Just Use Soil From My Garden?
I know it's tempting, but please don't use soil from your garden for starting seeds indoors. I strongly advise against it. Garden soil is heavy, compacts easily in small containers, and makes it incredibly difficult for delicate new roots to push through.
The biggest issue, though, is what you can't see. Garden soil is full of life, including fungal diseases like "damping off" that can wipe out a tray of seedlings overnight. It also has dormant weed seeds and tiny pests. Always start with a sterile, fluffy seed-starting mix—it’s a small investment that prevents a lot of heartache.
3. When Is It Really Safe to Plant Outside?
You've grown beautiful seedlings and hardened them off perfectly. Now for the final step. The most reliable rule of thumb is to wait until nighttime temperatures are consistently staying above 50°F (10°C).
Tomatoes are not fans of the cold. Planting them out too early, even if they survive a chilly night, can shock their system and stunt their growth for weeks. I always keep a close eye on the 10-day forecast before I even think about transplanting. If you can, pick a calm, overcast day to move them to their final home. It’s a lot less stressful than a hot, sunny one.
At Homegrown Garden, we believe anyone can grow amazing food. From unique heirloom tomato seeds to all-in-one kits for beginners, we've got what you need to get your hands dirty. Check out our collection and start planning your best harvest ever at https://www.homegrown-garden.com.

