


Ditching the store-bought bags and making your own potting mix is one of the best things you can do for your plants. At its core, it's just a simple blend of a base (like coco coir), something for aeration (like perlite), and a nutrient source (like compost). The real skill, though, comes from tweaking the ratios of these ingredients to create the perfect home for whatever you’re growing.
You end up with a superior, custom-made growing medium for a fraction of what you'd pay at the garden center. Let me show you how it's done.
7 Reasons to Make Your Own Potting Mix
Before you start mixing, it helps to understand why so many experienced gardeners swear by their own custom blends. It's about so much more than just saving a few bucks; it's about taking control of your plants' health from the ground up.
The global market for potting mix is huge—think around USD 2.5 billion as of 2025—and it's still growing. That tells you people are getting more serious about their gardening. But no commercial product can ever beat a mix you've made yourself.
Tailored Nutrition for Every Plant
This is the big one. A bag of "all-purpose" mix is, by definition, a compromise. It has to work okay for everything, which means it's not perfect for anything. A fern that loves moisture has completely different needs than a succulent that will rot in soil that stays too wet.
When you learn to make your own potting mix, you become the soil chef. You can whip up a rich, dense blend for hungry vegetables or a light, fluffy mix for delicate seedlings just starting out. This kind of customization gives each plant the exact environment it needs to thrive.
You Gain Total Control Over Ingredients
Mixing your own means you know exactly what's going into your pots. This is a game-changer if you're an organic gardener trying to avoid the synthetic fertilizers and chemical wetting agents common in many commercial blends.
You get to choose high-quality, sustainable ingredients. Think rich compost from your own backyard bin, nutrient-packed worm castings, or specific organic amendments. This control gives you peace of mind, knowing your plants are growing in a healthy, chemical-free medium right from the start.
The real benefit isn't just saving money; it's the confidence of knowing you're giving your plants the absolute best foundation. You control the texture, the drainage, and the nutrition—every single element is a deliberate choice.
It's a Significant Cost Saver
Sure, there's an initial cost to buy bulk ingredients like a big bag of perlite or a brick of coco coir. But when you break it down, the cost per pot is dramatically lower than buying pre-made specialty mixes.
A single bag of orchid mix or cactus soil can be surprisingly expensive, and those costs add up fast, especially if you have a lot of containers. Over a single growing season, the savings are undeniable. And once you have your core components on hand, you're set to create custom blends for years.
After you've perfected your mix and your plants are flourishing, you'll want to show them off! For some great display inspiration, check out these Inspiring Outdoor Flower Pot Ideas.
Getting to Know Your Core Potting Mix Ingredients
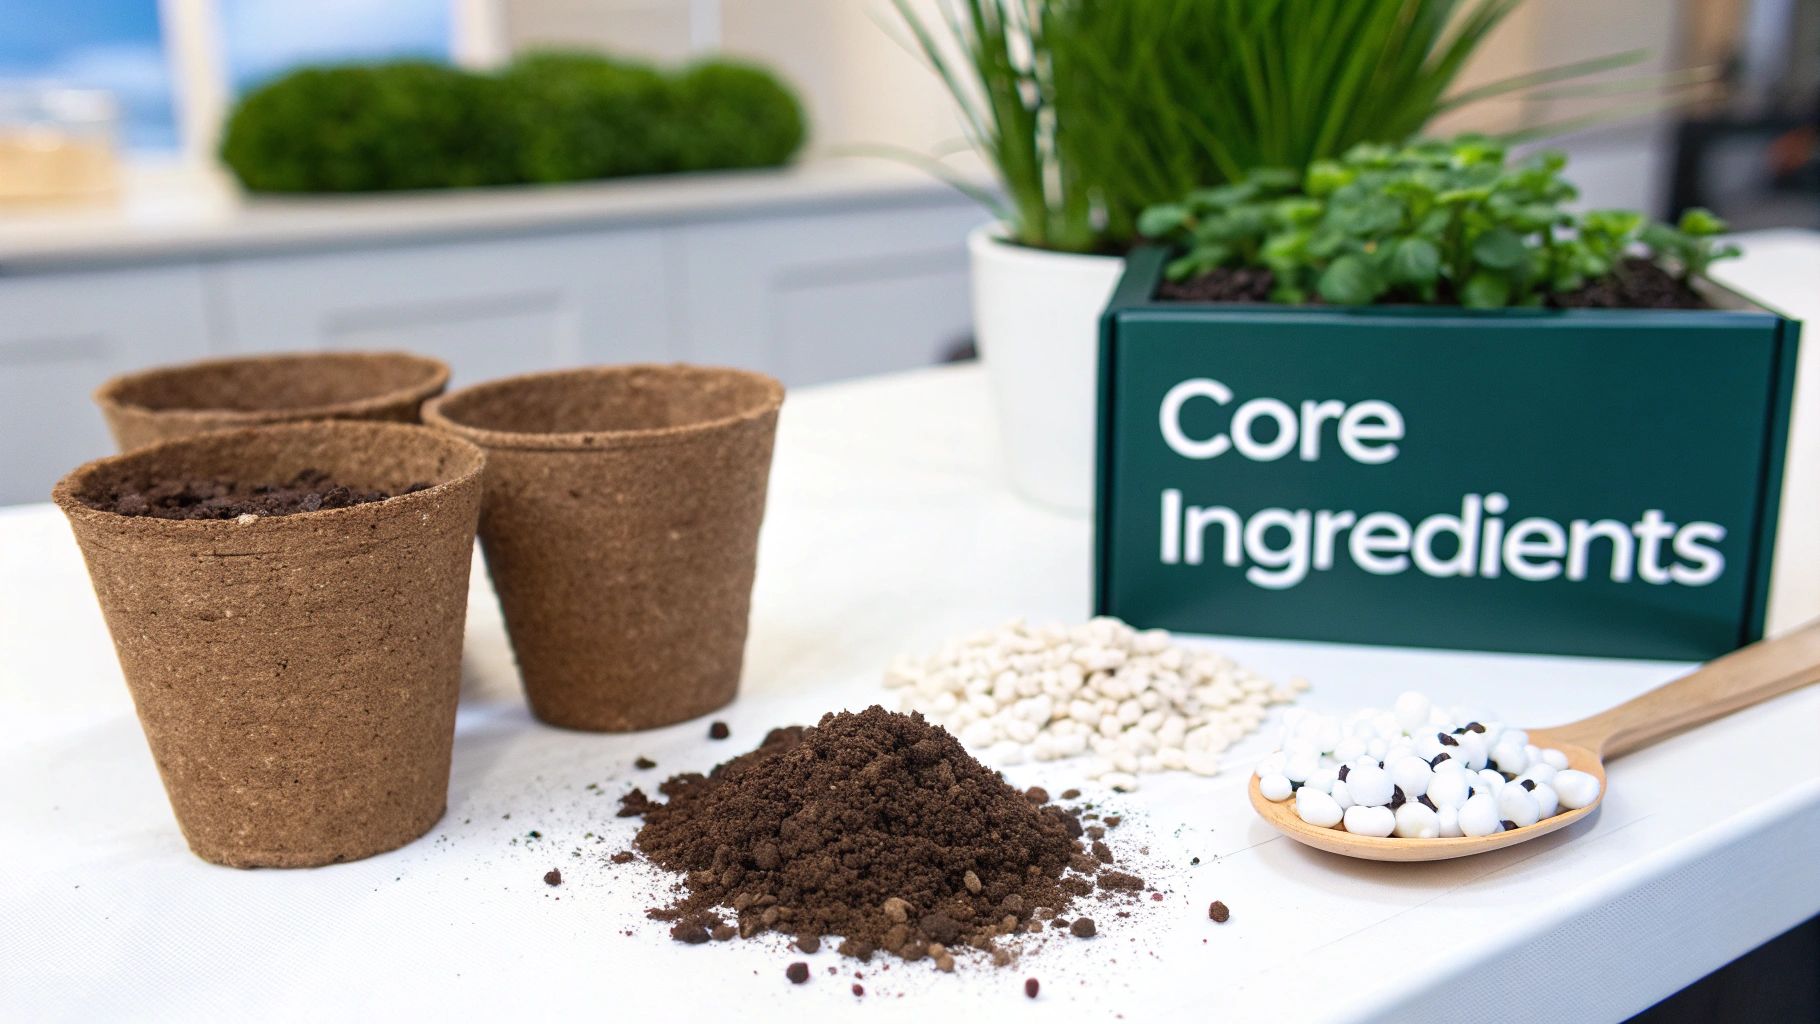
Learning to make your own potting mix is a bit like learning to cook without a recipe. You start to understand what each ingredient does for your plants. It stops being about just filling a pot with "dirt" and becomes about building the perfect home for your plant's roots—a place with good structure, plenty of air, and a well-stocked pantry.
Every great potting mix, no matter how complex, is built on three pillars. Once you get a feel for these, you'll be able to confidently mix up a custom blend for just about any plant that comes your way.
The 3 Building Blocks of a Great Potting Mix
A good mix isn't just a random scoop of stuff. It’s a carefully balanced environment where each component has a specific job. The ultimate goal is to create a medium that holds the plant steady, gives roots access to air and water, and delivers the nutrients it needs to thrive.
Here are the three main players you'll be working with:
- The Base (Structure): This is the bulk of your mix. Its main job is to give roots something to anchor into while holding onto moisture.
- Aeration (Drainage): These are the light, chunky bits that create air pockets. This is absolutely critical for preventing the soil from compacting and suffocating the roots, which is the fast track to root rot.
- Amendments (Nutrition): This is the food. These ingredients range from rich, dark compost to slow-release organic fertilizers that feed your plants over time.
Understanding how these three elements play together is what separates a plant that just survives from one that truly takes off.
Choosing Your Structural Base
The base is the heart of your potting mix. Your choice here really dictates the mix's personality, especially how it handles water. The two most common options are both excellent, but they have their own quirks.
Sphagnum Peat Moss
For years, this has been the go-to for gardeners everywhere. It's a lightweight, sterile, and incredibly absorbent material from peat bogs that can hold up to 20 times its weight in water. That absorbency makes it fantastic for plants that never want to dry out completely.
The downside? Peat moss is naturally a bit acidic, which is great for blueberries or azaleas but might need to be balanced with a little lime for other plants. It can also be notoriously difficult to re-wet once it completely dries out, almost repelling water at first.
Fun fact: Peat moss is a huge player in the gardening world, making up about 37.6% of the North American potting soil market by volume. It just hits that sweet spot of holding plenty of moisture while leaving enough air space for happy roots.
Coco Coir
Coco coir is a fantastic, sustainable alternative that’s quickly gaining popularity. Made from the fibrous husks of coconuts, it functions a lot like peat moss. It holds a ton of moisture but actually allows for better aeration, which makes it a bit more forgiving if you have a heavy watering hand.
A big advantage of coir is its near-neutral pH, making it a great starting point for almost any plant. Plus, it wets easily, so you won't have to fight with it if you forget to water for a bit.
To help you decide which ingredients are right for your mix, here's a quick breakdown of the most common components.
Comparing Core Potting Mix Ingredients
| Ingredient | Type | Primary Function | Best Used For |
|---|---|---|---|
| Peat Moss | Base | Moisture Retention | Thirsty plants, seed starting, acid-lovers |
| Coco Coir | Base | Moisture Retention & Aeration | General purpose, sustainable alternative |
| Perlite | Aeration | Drainage & Air Pockets | Succulents, cacti, preventing compaction |
| Vermiculite | Aeration | Water & Nutrient Retention | Seed starting, moisture-loving tropicals |
| Compost | Amendment | Nutrition & Soil Structure | All-purpose nutrient boost, improving texture |
| Worm Castings | Amendment | Gentle Nutrition & Microbes | Seedlings, houseplants, nutrient-sensitive plants |
Choosing the right ingredients is all about knowing what you want your final mix to do—hold more water, drain faster, or provide a richer diet.
Bringing in Air and Food
Once you’ve got your base, it's time to lighten it up and add some nutrition. Aerators are what keep your mix from turning into a dense, soggy brick, while amendments are the fuel your plants need to grow.
Essential Aeration Ingredients
- Perlite: Those little white specks that look like styrofoam are actually super-heated volcanic glass. Perlite is incredibly lightweight and porous, creating tons of air pockets for fantastic drainage. It's a must-have for succulents, cacti, or any plant that hates having "wet feet."
- Vermiculite: This natural mineral looks like shiny, flaky bits. While it also adds aeration, its real superpower is holding onto both water and nutrients, releasing them back to the plant when needed. This makes it an amazing addition to seed starting mixes and for thirsty tropicals.
Powerful Nutritional Amendments
- Compost: This is the best all-around amendment you can use. Good, finished compost is bursting with microbial life and a wide array of nutrients. It does it all—improves soil structure, helps with moisture retention, and boosts fertility. If you're looking to improve your whole garden, not just your pots, take a look at our guide on preparing your garden soil.
- Worm Castings: Often called "black gold" by gardeners, and for good reason. Worm castings are loaded with nutrients that are immediately available to plants, plus beneficial microbes. They're so gentle you can't burn even the most delicate roots, and they do wonders for the overall health of your potting mix.
Getting Your Gear and Ingredients Ready
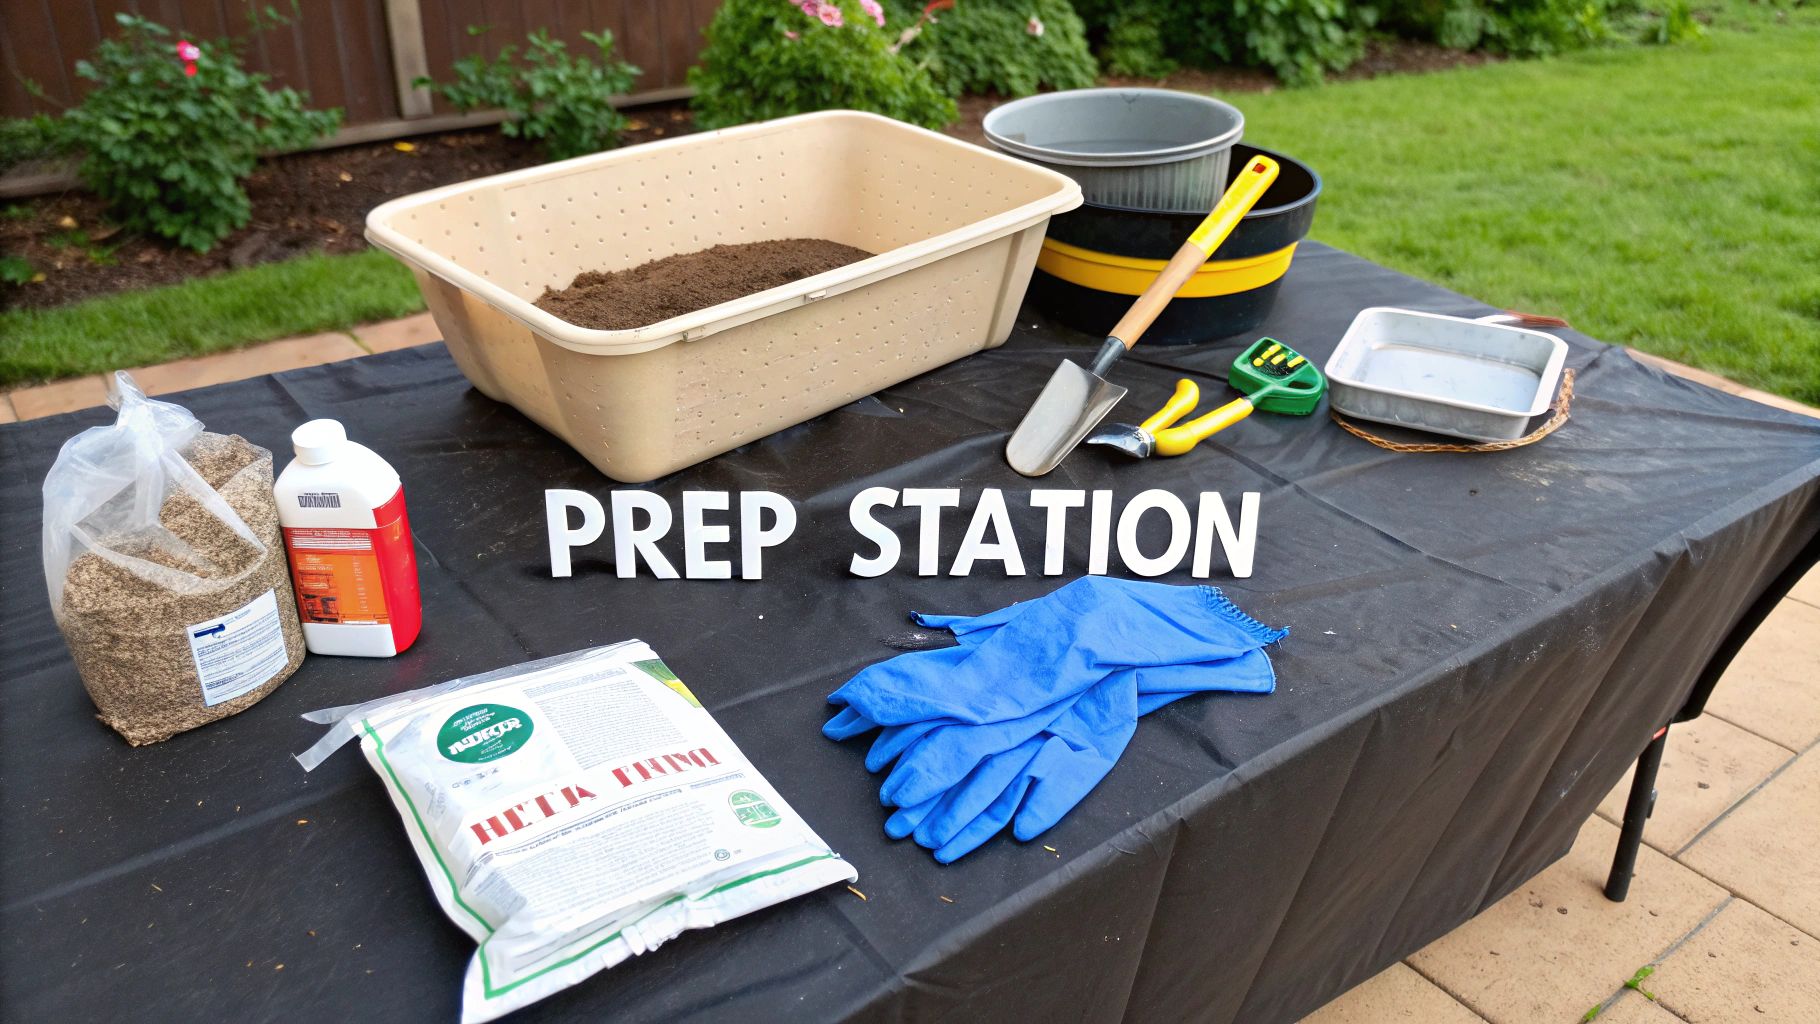
Before you dive in and start mixing up your own custom soil, it pays to get organized. I’ve learned the hard way that a dedicated workstation makes the entire process cleaner, faster, and honestly, a lot more fun. You don’t need anything fancy—most of what you’ll need is probably already hiding in your garage or garden shed.
Setting up a clean space helps you work efficiently without stopping to hunt for a trowel or a measuring cup. Think of it as your personal soil lab, where you can experiment and perfect your blends.
Essential Mixing Tools
Having the right tools on hand from the get-go is a game-changer. It makes measuring a breeze and keeps the mess contained. Trust me, you'll thank yourself for taking a few minutes to gather these before a single bag is opened.
- A Large Mixing Container: A wheelbarrow is my go-to, but a big plastic storage tote or even a sturdy tarp laid on the ground works great. The goal is to have plenty of room to really get in there and combine everything thoroughly.
- Measuring Scoops: Forget precision measuring cups. An old one-gallon nursery pot, a yogurt container, or a coffee can is perfect for measuring out your "parts." The key isn't the exact volume, but keeping your ratio consistent for that batch.
- Durable Garden Gloves: This is a must. You'll want to protect your hands from dirt, pointy bits of bark, and general grime.
- A Dust Mask: This one is non-negotiable, especially when you're working with dry, dusty ingredients like perlite, vermiculite, and peat moss. You really don't want to be breathing in that fine dust.
A little prep work up front saves a huge mess later. Setting up your space properly turns a potential chore into a genuinely satisfying part of gardening.
Your Ingredient Shopping List
Once your tools are ready, it's time to gather the building blocks of your soil. Having everything lined up lets you focus on nailing the ratios for your specific plants instead of running back and forth to the garage.
The Core Components
- Base Material: You'll need either a block of coco coir or a compressed bale of sphagnum peat moss. This will be the bulk of your mix.
- Aeration: Grab a bag of perlite or vermiculite. This is crucial for creating air pockets and ensuring good drainage.
- Nutrition: Have your chosen organic matter ready. High-quality compost or rich worm castings will provide the food your plants need to thrive.
Measuring Your Components for a Perfect Blend
Getting your potting mix just right doesn't require any fancy equipment or complicated math. The easiest, most consistent way to do it is by measuring in parts. This simple concept is the key to getting your ratios correct every single time, whether you're making a tiny batch or a giant one.
A "part" is just a consistent unit of volume. You can use pretty much anything you have lying around—an old coffee can, a yogurt container, a small planting pot, or even just a simple scoop. The only rule is that you must use the same container to measure every ingredient for that specific recipe.
Why Measuring by Parts Just Works
When a recipe calls for two parts coco coir and one part perlite, you'll use your chosen scoop to add two scoops of coir and one scoop of perlite. It’s that straightforward. This method automatically handles the fact that different ingredients have different weights and densities.
For instance, a scoop of peat moss that's a bit damp is a lot heavier than a scoop of bone-dry peat moss. If you were measuring by weight, this would completely throw off your recipe. By measuring with parts, you're focusing on volume, which ensures the final structure of your mix—the important balance of aeration, drainage, and water retention—is exactly what you intended.
The secret to a consistent mix, batch after batch, is this proportional approach. You can scale any recipe up or down without ever touching a calculator.
Scaling Your Recipe from a Single Pot to a Whole Garden
The real beauty of the parts method is how easily it adapts. The same logic applies whether you're mixing up a little soil for one new plant or a huge tub for the entire season.
Think about it this way:
- For a small batch to fill a few herb pots, a one-cup scoop could be your "part."
- For a medium batch perfect for repotting several houseplants, an old quart-sized yogurt container works great.
- For a large batch to fill big planters or a raised bed, a five-gallon bucket can be your "part."
This flexible system is fundamental to learning how to make potting mix that gives you predictable results. It takes all the guesswork out of the equation, letting you create the perfect growing environment for your plants, every single time.
The Right Way to Combine Your Potting Mix
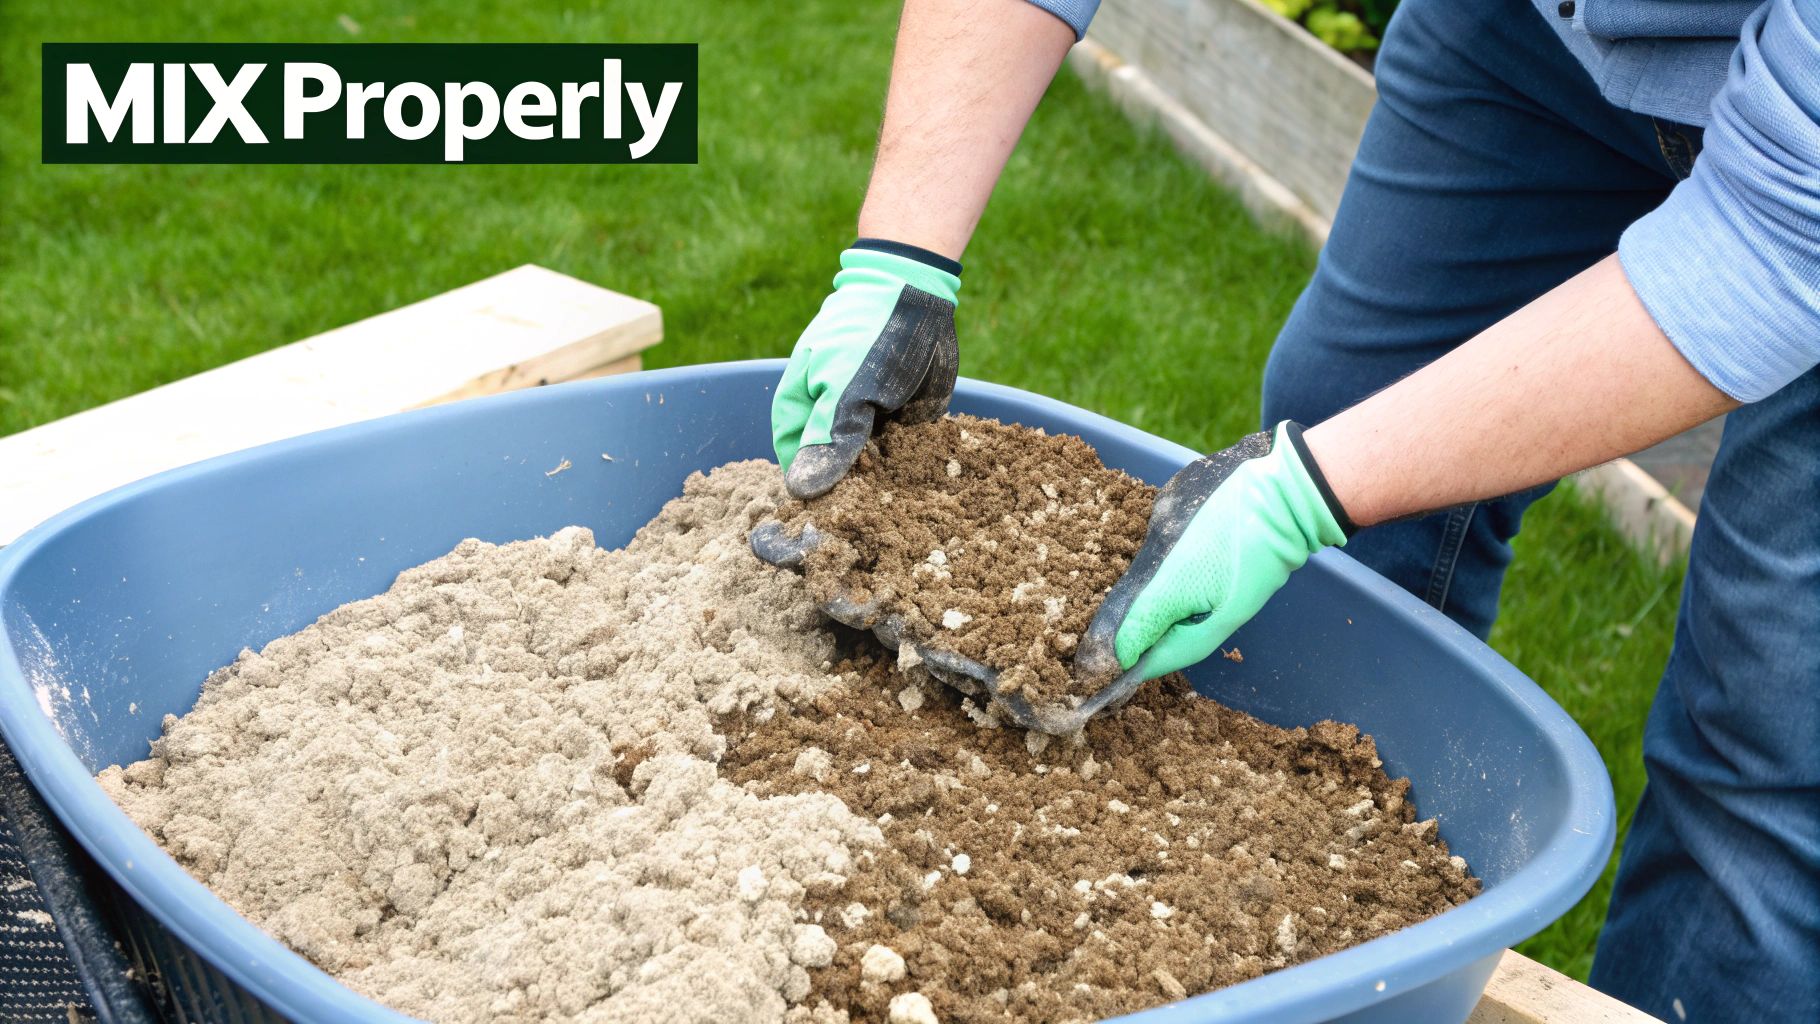
Alright, you've got all your ingredients measured out. Now comes the fun part: mixing them together. But there’s a bit of a technique to it. You’re not just stirring a pot; you're aiming for a perfectly consistent, or homogenous, blend.
This is critical because it means every plant gets the same great start in life. A shoddy mix can lead to all sorts of headaches later on—like pockets of dry peat that just won't soak up water or dense clumps of compost that end up suffocating tiny roots. A few extra minutes here saves you a lot of trouble down the line.
A Layered Approach to Mixing
I've found the best way to get a uniform mix is to layer your ingredients. This simple trick prevents lighter materials like perlite from flying everywhere and keeps the dust down.
Start with your bulkiest stuff first in your mixing tub or wheelbarrow. That’s usually your peat moss or coco coir. Next, add the heavier components like compost or worm castings right on top. Finally, finish with the lightest materials, like perlite and vermiculite, as the top layer. This little bit of strategy makes the whole process go a lot smoother.
Pro Tip: Before you add anything else, lightly dampen your peat moss or coco coir. Just add a bit of water and work it through with your hands until it feels like a wrung-out sponge. This single step makes a huge difference—it cuts way down on dust and helps the mix absorb water evenly once it's in a pot.
The Art of Blending
Now, let's get everything combined. With gloves on, use your hands or a sturdy trowel to start folding the layers together. I always think of it like folding flour into cake batter—you want to be gentle, not aggressive.
Start from the bottom and pull the lower layers up and over the top. Keep folding and turning until you can't see any distinct layers or clumps of any one ingredient. You're looking for a uniform color and texture throughout the entire batch.
If you're making a big batch, your arms will thank you for using a power mixing paddle. Once it's all blended, your custom potting mix is officially ready for action.
When Should You Sterilize Your Homemade Mix?
Making your own potting mix gives you incredible control, but those natural ingredients can sometimes bring along unwanted hitchhikers. While you can usually skip this step for mature, hardy houseplants, sterilizing your mix becomes a non-negotiable when you’re dealing with more vulnerable greenery.
Think of it as setting up a clean-room for your baby plants. When you're starting delicate seeds or rooting fresh cuttings, they don't have a strong defense system yet. Sterilizing the soil wipes out common threats like fungus gnat larvae, dormant weed seeds, and nasty pathogens that cause damping-off—a fungal disease that’s deadly to new seedlings.
For an established pothos or snake plant, forgoing sterilization is generally fine. But for seed starting? It's a simple preventative measure that can make the difference between a tray of healthy seedlings and total failure.
2 Simple Ways to Sterilize Potting Mix at Home
You don’t need any fancy lab equipment to get this done. For small batches of your homemade mix, your kitchen oven or microwave works perfectly. The goal is just to heat the soil enough to kill the bad stuff without completely "cooking" it, which can destroy its beneficial properties.
No matter which method you choose, always start with soil that’s slightly damp—it should feel like a well-wrung-out sponge. This moisture is key because it helps conduct heat evenly throughout the mix. Never, ever try to sterilize bone-dry soil; it’s not effective and can be a fire hazard.
1. The Oven Method
This is my go-to for slightly larger batches. Just spread your damp potting mix in a heat-proof baking dish, like a Pyrex pan or a metal roasting tray, no more than four inches deep. Then, cover it tightly with aluminum foil to trap the steam.
- Set your oven to 180-200°F (82-93°C) and bake for at least 30 minutes.
- Be careful not to go hotter than 200°F. Higher temperatures can actually release toxins from the organic matter in your soil.
- Once the time is up, pull the dish out but leave the foil on. Let it cool completely to room temperature before you uncover it. This keeps any airborne contaminants from getting back in.
2. The Microwave Method
If you just need a small amount of sterile mix in a hurry, the microwave is fantastic. Scoop your damp mix into microwave-safe containers that don’t have any metal. I like to use containers with vented lids, but you can also just cover them loosely to let steam escape.
- Heat the mix on full power for about 90 seconds for every couple of pounds. Your goal is to get the very center of the soil to 200°F (93°C).
- Just like with the oven method, leave the containers covered and let the mix cool down completely before you use it for planting.
Taking this extra step for your most sensitive projects ensures all your hard work creating the perfect mix pays off. For a deeper dive, check out our complete guide on how to sterilize potting soil and give your plants the absolute best start.
4 Essential Potting Mix Recipes to Get You Started
Alright, you've got the rundown on what all those different soil amendments do. Now for the fun part—getting your hands dirty and actually mixing them up. I've found that the key to great DIY potting mix is simply matching the recipe to what your plants really need.
To get you going, here are four of my go-to, battle-tested recipes. I use the "parts" method for all of them, which makes scaling a breeze. Whether you're filling a single tiny pot or a dozen large planters, just grab a scoop, a yogurt container, or even a bucket as your "part" and keep it consistent for each ingredient.
1. All-Purpose Houseplant Mix
This is my workhorse blend. It’s perfect for the vast majority of common foliage houseplants—think pothos, monsteras, philodendrons, and even ZZ plants. It hits that sweet spot of holding just enough moisture to keep them happy while still draining well enough to keep root rot at bay.
Here's all you need:
- 2 parts coco coir or peat moss: This is the foundation, giving the mix structure and retaining the moisture that tropical foliage craves.
- 1 part perlite: Absolutely essential for creating air pockets. This ensures water drains freely and gives the roots room to breathe.
- 1 part compost or worm castings: Think of this as the slow-release fertilizer. It provides a steady, gentle supply of nutrients to fuel growth without overwhelming the plant.
When you're done, the mix should feel light and fluffy. You're basically trying to mimic the rich, airy forest floor where so many of these plants originate.
2. Fast-Draining Succulent and Cactus Mix
If there’s one thing succulents and cacti absolutely demand, it’s excellent drainage. They are incredibly prone to root rot, so their soil must let water pass through quickly and dry out completely between waterings.
To create that perfect gritty, desert-like environment, mix this up:
- 1 part coco coir or peat moss: Use this sparingly. You want just enough organic matter to hold a tiny bit of moisture and nutrients.
- 2 parts coarse sand or horticultural grit: This is the real star of the show, creating a gritty texture that prevents water from hanging around the roots.
- 1 part perlite or pumice: This adds even more aeration and drainage, keeping the mix from compacting over time.
One of the biggest mistakes I see people make is using fine play sand. It actually does the opposite of what you want—it clogs up the pore spaces in the soil. Always go for coarse, gritty sand. The final mix should feel noticeably light and sandy.
3. Nutrient-Rich Vegetable and Herb Mix
Veggies and herbs grown in containers are heavy feeders. They need a rich soil that holds moisture well to support their fast growth, whether they're producing fruit or you're harvesting leaves every week. This recipe creates a fertile foundation for a super-productive container garden.
To fuel your harvest, combine these ingredients:
- 2 parts high-quality compost: This is the powerhouse, delivering a huge diversity of nutrients and beneficial microbes.
- 2 parts coco coir or peat moss: This provides the sponge-like quality needed to keep plants from drying out on those hot, sunny afternoons.
- 1 part perlite or vermiculite: This keeps the mix from getting too heavy and waterlogged, which is crucial for healthy root development.
If you're really looking to create the ultimate blend for your edibles, we have an even more detailed guide on the best soil mix for a vegetable garden.
4. Fine and Light Seed Starting Mix
Starting seeds is a different ballgame. The mix needs to be fine-textured, hold moisture consistently without being soggy, and—most importantly—be sterile. This gives those delicate new roots the perfect environment to get established.
This infographic shows a couple of easy ways you can sterilize your mix at home before you even combine the ingredients.
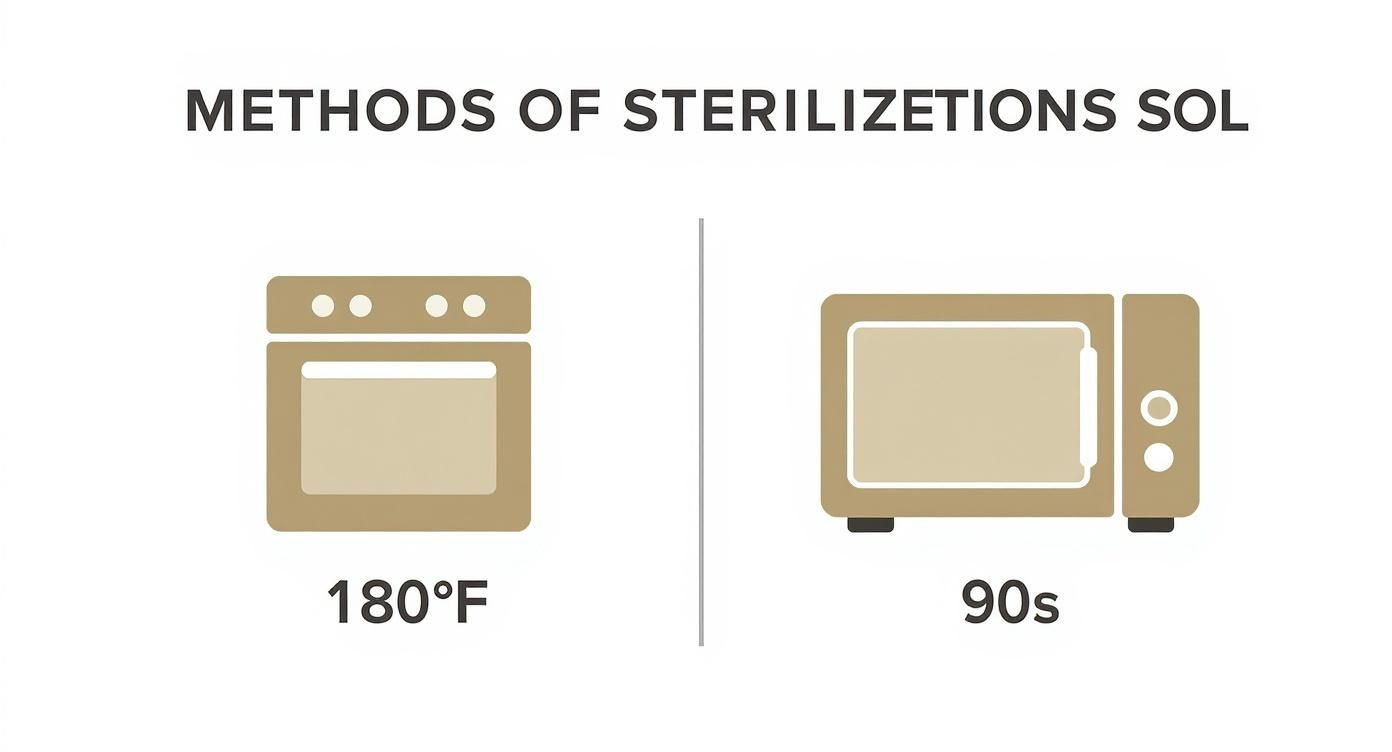
As you can see, you can get this done pretty quickly with tools you already have in your kitchen.
For happy, healthy seedlings, just follow this simple formula:
- 2 parts coco coir or peat moss: This creates that fine, fluffy base that holds moisture right up against the seed.
- 1 part vermiculite: This mineral is a champion at retaining water, which is key for keeping tiny seedlings consistently moist.
- 1 part perlite: This helps keep the mix light and airy, preventing compaction so those fragile new roots can push through easily.
Using a sterile mix like this is your best defense against damping-off, a common fungal disease that can wipe out a whole tray of seedlings overnight.
Storing and Refreshing Your Potting Mix
Making your own potting mix in a big batch is a great way to save time down the road. But what good is that if it spoils before you get a chance to use it? Storing your mix correctly is about more than just keeping your garage tidy—it’s about protecting the moisture, structure, and nutrients you put into it.
Your biggest enemies here are moisture loss and contamination. Leave a pile of mix out in the open, and it will dry into a brick—good luck getting that peat or coir to rehydrate. It also becomes a welcome mat for pests, weed seeds blowing in on the wind, and all sorts of fungal spores.
How to Keep Your Mix Fresh
The trick is simple: you need an airtight, sturdy container. This single step will keep your mix in prime condition for months, sometimes even a whole year. You're basically locking in all that goodness until you're ready to plant.
Here are a few go-to options that have never failed me:
- Plastic Storage Totes with Lids: This is my personal favorite. A heavy-duty tote is tough, easy to stack, and the lid seals everything in, keeping moisture where it belongs and pests out.
- Heavy-Duty Contractor Bags: If you're tight on space, these thick plastic bags work just fine. Just be sure to twist the top and clamp it shut with a zip tie or a sturdy clip to get a decent seal.
- Five-Gallon Buckets with Lids: These are perfect for smaller batches. They’re a breeze to haul around and tuck away neatly on a shelf.
Storing your mix the right way isn't just about saving space. It's about protecting your investment of time and ingredients. A mix that's been stored properly is just as good six months from now as it was the day you made it.
Bringing Old Potting Soil Back to Life
Don't just dump the soil from last year's containers! With a little effort, you can bring it right back to life. It's a great way to save a bit of money and cut down on waste. Most used soil is just tired—the nutrients are gone and the structure is compacted, but it's still a fantastic base to work with.
Start by sifting through the old soil. Get all the old roots, dead leaves, and other junk out of there. Once it's clean, you can start reintroducing the key ingredients it's missing to give it a second chance.
This idea of rejuvenating soil is actually a big deal in the wider world of horticulture. The professional potting soil market, currently valued at around USD 1.8 billion, is driven by the demand for high-quality, sustainable mixes. You can learn more about the professional potting soil market to see how pros are tackling the same challenges on a much larger scale.
Here’s a simple recipe for recharging every five gallons of old soil:
- Add 1 gallon of fresh compost: This puts back essential nutrients and beneficial microbes.
- Add 1 gallon of perlite: This is crucial for restoring the light, airy structure and preventing compaction.
- Mix in 1-2 cups of worm castings: Think of this as a gentle, slow-release multivitamin for your soil.
Mix it all together thoroughly, spritz it with a little water to get it slightly damp, and your old soil is officially reborn and ready for a new season.
Your Potting Mix Questions, Answered
Even after you've got a few great recipes, some questions always seem to come up when you first start mixing your own soil. That's completely normal. I've gathered answers to the most common queries I hear from fellow gardeners to help clear up any confusion and get you mixing with confidence.
Diving into DIY soil can feel like a big leap, but a few clear answers can make all the difference. Let's tackle some of those lingering questions so you can get back to what matters—growing amazing plants.
Can I Just Use Soil From My Garden?
This is easily the question I get asked most, and my answer is always a firm "no." Using dirt straight from your garden is one of the worst things you can do for a container plant. It's just too heavy and dense for the confined space of a pot.
The moment you water it, that garden soil compacts into a brick, squeezing out the air pockets your plant's roots desperately need to breathe. This is a fast track to waterlogged soil and, almost inevitably, root rot.
Beyond its dense structure, garden soil is also a wild card. It’s often loaded with dormant weed seeds ready to sprout, tiny insect eggs, and potential diseases that could wreak havoc on your container plants. A proper soilless potting mix is designed from the ground up to be sterile, lightweight, and perfectly aerated for life in a pot.
How Do I Know if the pH is Right?
Good news: most general-purpose potting mix recipes naturally land in a pH range between 6.0 and 7.0. This slightly acidic to neutral sweet spot is perfect for the vast majority of houseplants, vegetables, and flowers you're likely to grow.
You only really need to worry if you're growing plants with very specific needs, like acid-loving blueberries or azaleas. The easiest way to be sure is with a simple home soil pH testing kit, which you can grab from any garden center.
If you do need to make adjustments, it's pretty straightforward:
- To make it more acidic (lower the pH): Mix in a small amount of elemental sulfur.
- To make it more alkaline (raise the pH): Add a little bit of dolomitic lime or a sprinkle of wood ash.
What's the Real Difference Between Perlite and Vermiculite?
This is a fantastic question because they can look a bit similar but do completely opposite jobs. Both are lightweight, natural minerals that improve the texture of your mix, but that’s where the similarities end.
I always tell people to think of it this way: Perlite is for drainage; vermiculite is for retention. One helps water escape, while the other holds onto it. Your choice depends on whether your plant prefers to dry out quickly or stay consistently moist.
Perlite is those little white, styrofoam-like bits of expanded volcanic glass. It’s incredibly porous but holds almost no water, so its main job is to create air pockets and boost drainage. It’s a must-have for succulents, cacti, and any plant that hates having "wet feet."
Vermiculite, on the other hand, is a brownish, flaky mineral that acts like a tiny sponge. It excels at absorbing and holding on to both moisture and nutrients, releasing them slowly. This makes it ideal for thirsty plants and absolutely essential in seed-starting mixes where consistent moisture is critical for germination.
Is it Actually Cheaper to Make My Own Potting Mix?
The initial sticker shock of buying a big bale of peat moss or a huge bag of perlite can be deceiving. When you compare that to the price of a single, small bag of pre-made soil, it might not seem like you're saving much.
The real savings, however, come from buying in bulk. Your cost-per-pot or cost-per-liter plummets when you mix your own. If you have more than a few plants or do a lot of container gardening, making your own mix will save you a ton of money over the course of a season.
At Homegrown Garden, we believe that giving your plants the best start begins with the perfect soil. That's why we offer everything you need, from heirloom seeds to specialized gardening kits, all backed by comprehensive grow guides to help you succeed. Explore our curated collections and start your growing journey today at https://www.homegrown-garden.com.

