


Red Acre Cabbage seeds are a hands-down favorite for home gardeners, and for good reason. They're famous for their stunning purple-red color, manageable size, and a natural toughness that shrugs off common garden problems. This heirloom variety gives you firm, crisp heads that are fantastic for everything from slaws to pickling, making it as useful as it is beautiful in the vegetable patch.
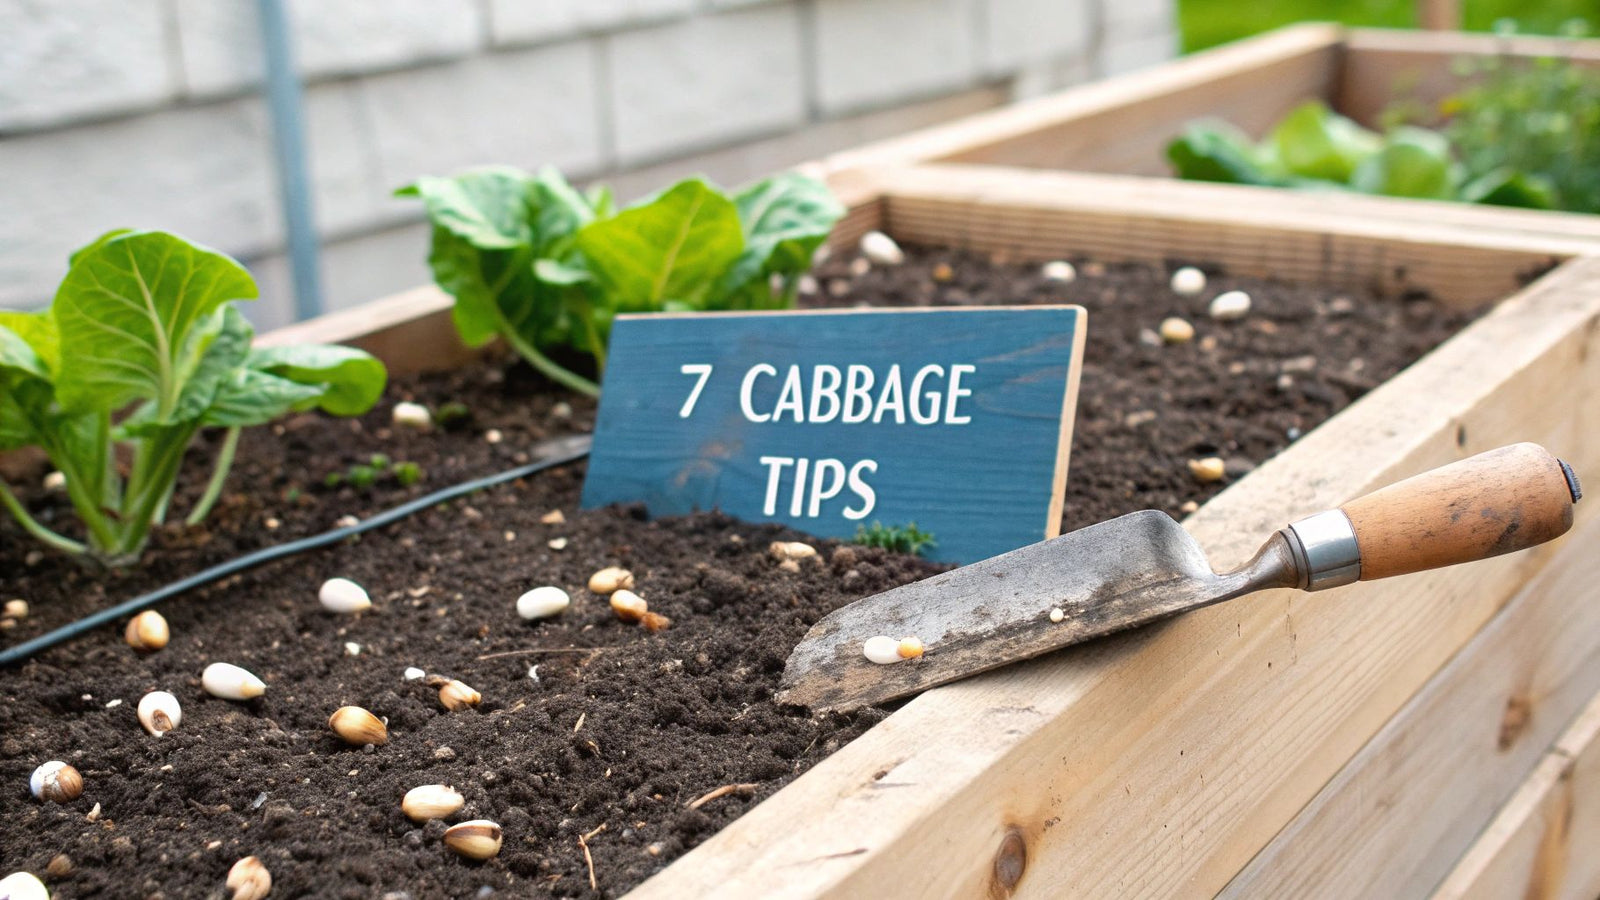
7 Reasons Gardeners Love Red Acre Cabbage
When you're picking out vegetables for your garden, some varieties just prove their worth time and time again. Red Acre Cabbage is definitely one of them, a solid performer that consistently wins over beginners and seasoned gardeners alike. It’s not just about that pop of color; it’s a plant you can count on.
What I especially appreciate is its resilience. Unlike some of the bigger cabbage varieties that can split if you so much as look at them wrong after a heavy rain, Red Acre is known for holding it together. That sturdiness makes it a much more forgiving choice, especially if you're still figuring out the watering rhythms of your garden.
1. Exceptional Qualities for Home Gardens
What really makes Red Acre cabbage seeds a standout is a handful of traits that seem tailor-made for the modern home garden. Its compact growth habit is a huge plus if you’re short on space. I've found it does beautifully in raised beds and can even be grown in large containers.
2. Built-In Disease Resistance
This cabbage comes with some impressive natural defenses. It's notably resistant to Fusarium Yellows, a nasty soil-borne disease that can wipe out brassica crops. Having that built-in protection means less stress and fewer chemical interventions throughout the season. For a complete look at raising these crops, our guide on how to grow cabbage covers everything from start to finish.
Red Acre also gets you to the finish line relatively quickly. It’s usually ready to harvest in about 80 to 90 days, which means gardeners in most climates can get a satisfying crop without an endless wait.
3. A Reliable and Versatile Choice
From a practical standpoint, this variety is just plain efficient. The seeds are quick to germinate, often popping up in as little as 10 days when the soil is warm enough. Because the heads stay nice and tight, you can plant them a bit closer together, really maximizing your garden's yield. This versatility and steady performance make it an heirloom I wouldn't want my kitchen garden to be without.
To give you a quick overview, here are the key details you'll want to know before planting.
Red Acre Cabbage At a Glance
| Attribute | Details |
|---|---|
| Plant Type | Heirloom Cabbage |
| Scientific Name | Brassica oleracea var. capitata |
| Color | Deep purple-red heads with a waxy sheen |
| Days to Maturity | 75-90 days from transplant |
| Head Size | Compact, round heads weighing 2-4 lbs |
| Planting Depth | 1/4 to 1/2 inch deep |
| Spacing | 12-18 inches apart in rows 24-30 inches apart |
| Sun Exposure | Full sun (at least 6 hours per day) |
| Soil Preference | Well-drained, fertile soil with a pH of 6.0-7.0 |
| Disease Resistance | Good resistance to Fusarium Yellows and splitting |
This table should give you a solid foundation as you plan your garden layout and prepare your soil for these beautiful and dependable plants.
5 Steps to Prepare Soil and Plant Your Seeds
A beautiful patch of Red Acre cabbage doesn't happen by accident. The secret to those firm, flavorful heads is all in the groundwork—literally. If you get the soil right from the start, you've won half the battle. We're aiming for an environment loaded with nutrients, with a texture that drains well but holds enough moisture.
1. Find the Right Spot
First things first, you need to pick the perfect location. Red Acre cabbage is a sun-worshipper and needs full sun, which means a spot in your garden that gets a solid six to eight hours of direct sunlight every day. Skimp on the light, and you'll likely end up with lanky plants and disappointing, loose heads.
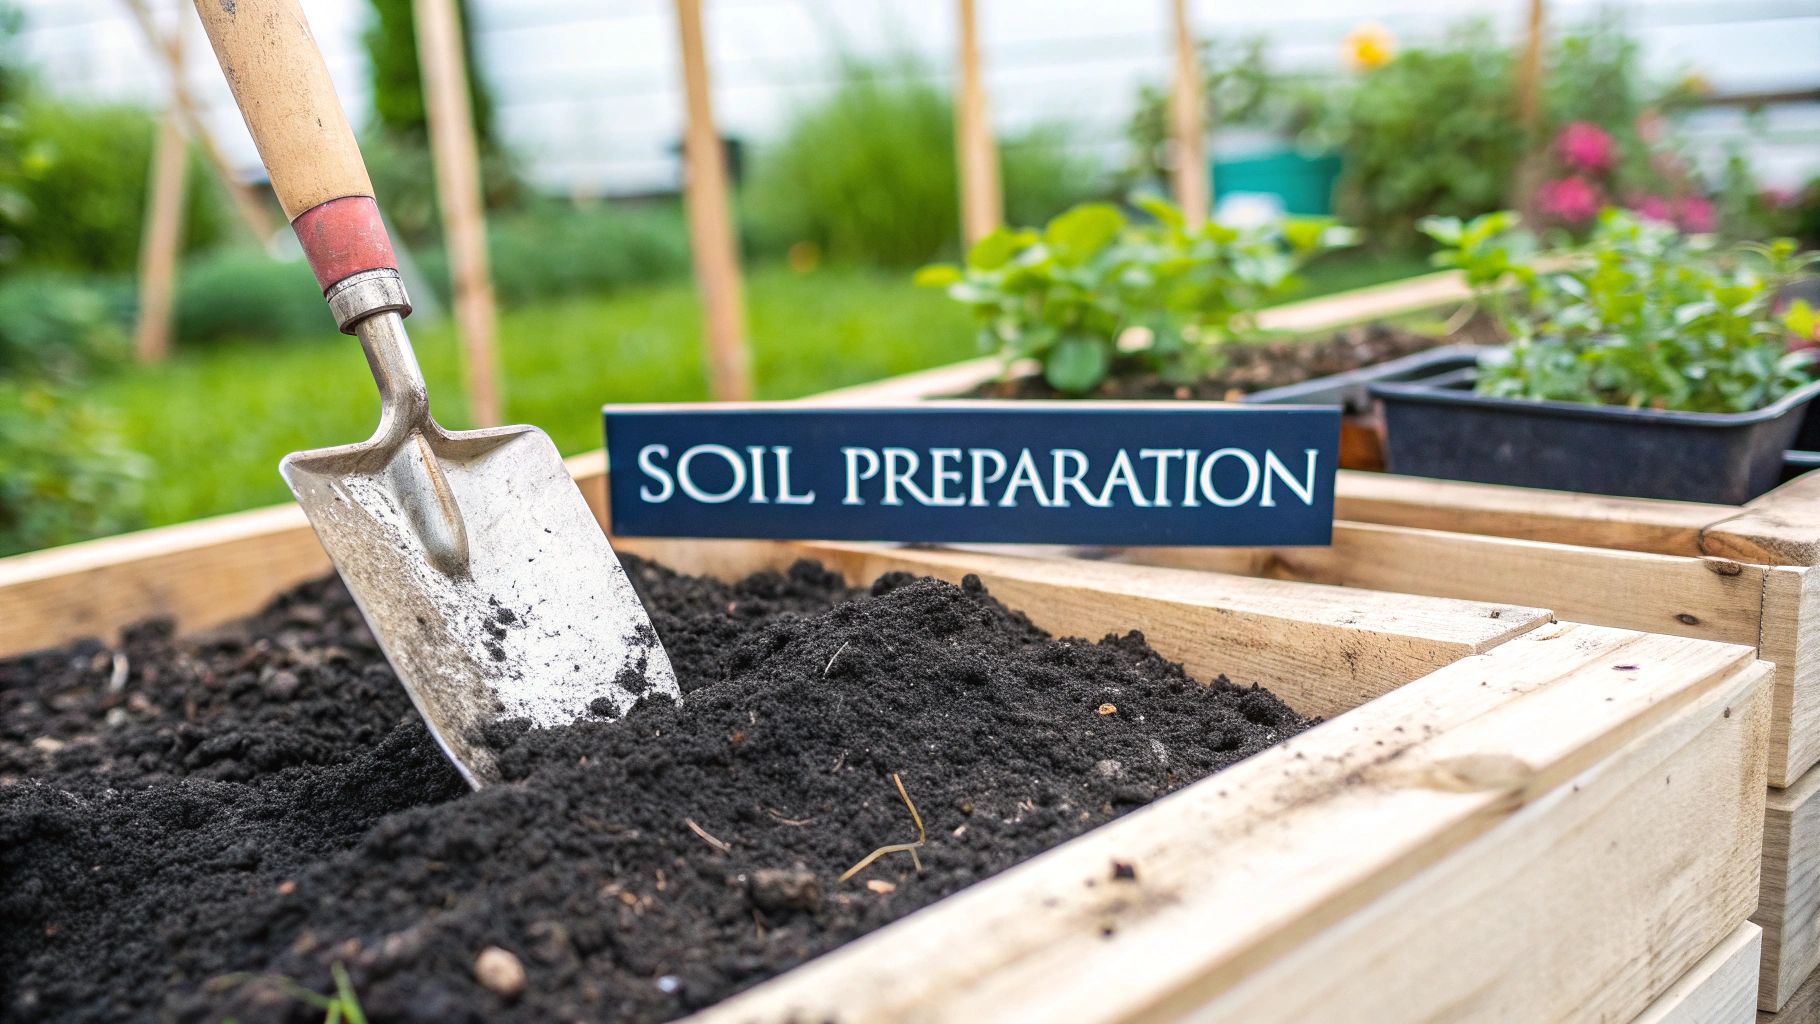
2. Prep the Soil
Once you’ve scouted your sunny spot, it's time to turn your attention to the soil. Cabbages are what we call "heavy feeders," meaning they have a huge appetite for nutrients throughout their growing cycle. To keep them happy, you'll want to amend your garden bed by working a generous amount of organic matter into the top six to eight inches. Think well-rotted compost or aged manure—this stuff is black gold for your garden. It not only feeds your plants but also dramatically improves the soil's structure and drainage.
If you want to dive deeper into creating that perfect soil foundation, we've got you covered in our complete guide on preparing garden soil for a successful season.
This visual gives you a great snapshot of the key milestones you'll hit on your way from a tiny seed to a full-grown cabbage.
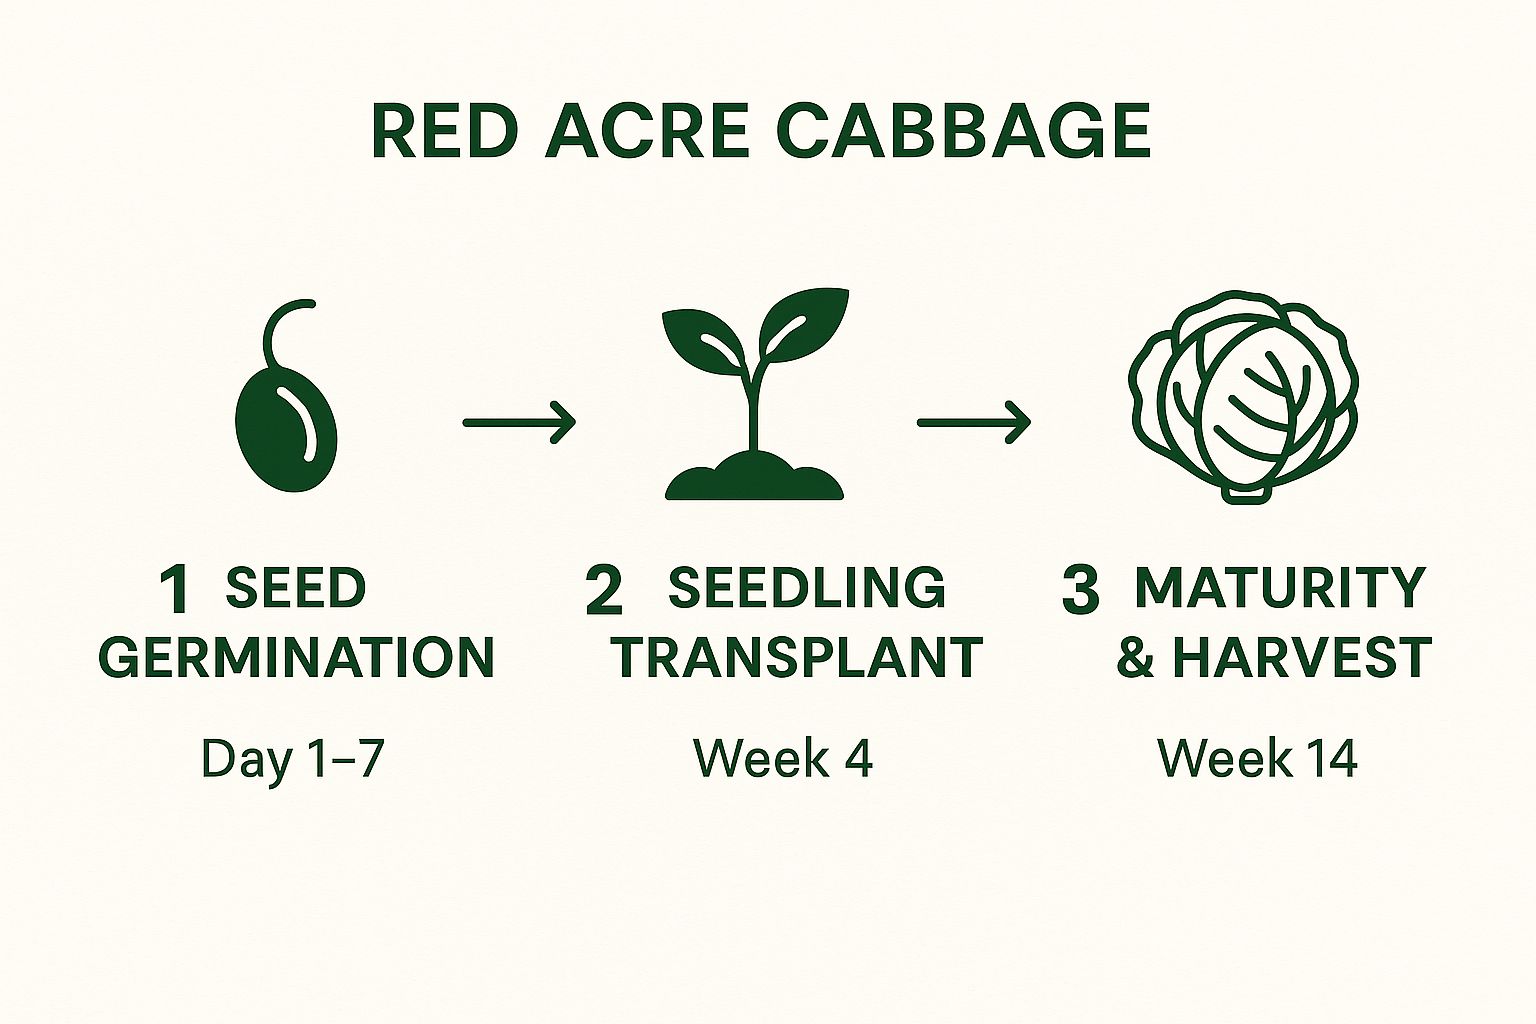
As you can see, the whole journey takes around 14 weeks, but that initial germination phase happens surprisingly fast!
3. Decide How to Start Seeds: Indoors or Out?
One of the first choices you'll have to make is where to start your Red Acre cabbage seeds. You can either get them going indoors or sow them directly into the garden, and both methods have their perks.
-
Starting Indoors: This is my go-to method because it gives the plants a huge head start. If you're in a cooler climate with a shorter growing season, this is absolutely the way to go. Plan to start your seeds inside about 6 to 8 weeks before your area's last expected frost date.
-
Direct Sowing: For those lucky enough to have a long growing season, you can plant seeds right into the garden bed. This is usually done 2 to 4 weeks before the last spring frost, or you can even do a mid-summer sowing for a fantastic fall harvest.
For anyone new to gardening, I always recommend starting seeds indoors. It gives you so much more control over the temperature and moisture, which almost always leads to a better germination rate. Plus, it keeps those tender little seedlings safe from wild spring weather and hungry pests.
My Two Cents on Transplanting: If you start your seeds indoors, don't just move them straight outside! You need to "harden them off" for about a week. This just means putting them outside for a few hours a day, gradually increasing the time, to get them used to the sun and wind. It prevents transplant shock, which can really set them back.
4. Get the Planting Depth Just Right
Whether you're carefully placing seedlings or sowing seeds, getting the depth correct is non-negotiable. Sow your seeds about 1/4 to 1/2 inch deep. Any deeper, and they might struggle to break through the soil surface.
5. Perfect Your Spacing
If you crowd your plants, they'll end up fighting for sunlight, water, and nutrients, and you'll get small, sad-looking cabbage heads. Nobody wants that.
Here are the numbers I stick to when planting Red Acre cabbage seeds:
- Spacing Between Plants: After thinning your direct-sown seedlings or when you're transplanting, give each plant 12 to 18 inches of personal space.
- Spacing Between Rows: I like to leave about 24 to 30 inches between my rows. This gives the cabbage heads plenty of room to fill out and, just as importantly, allows for good air circulation, which is key to preventing common fungal diseases.
Think of it this way: giving each cabbage enough room is like paving its own private road to success. It’s a simple step, but it ensures every plant has what it needs to become that crisp, vibrant cabbage you're excited to harvest.
4 Essential Tips for Nurturing Healthy Cabbage Plants
Alright, your seedlings are in the ground and growing. Now the real work begins. Your focus shifts from getting them started to providing the consistent care that helps them form those dense, beautiful heads. This middle part of the season is where you make or break your harvest. Getting this part right isn't complicated. It really comes down to mastering a few key practices.
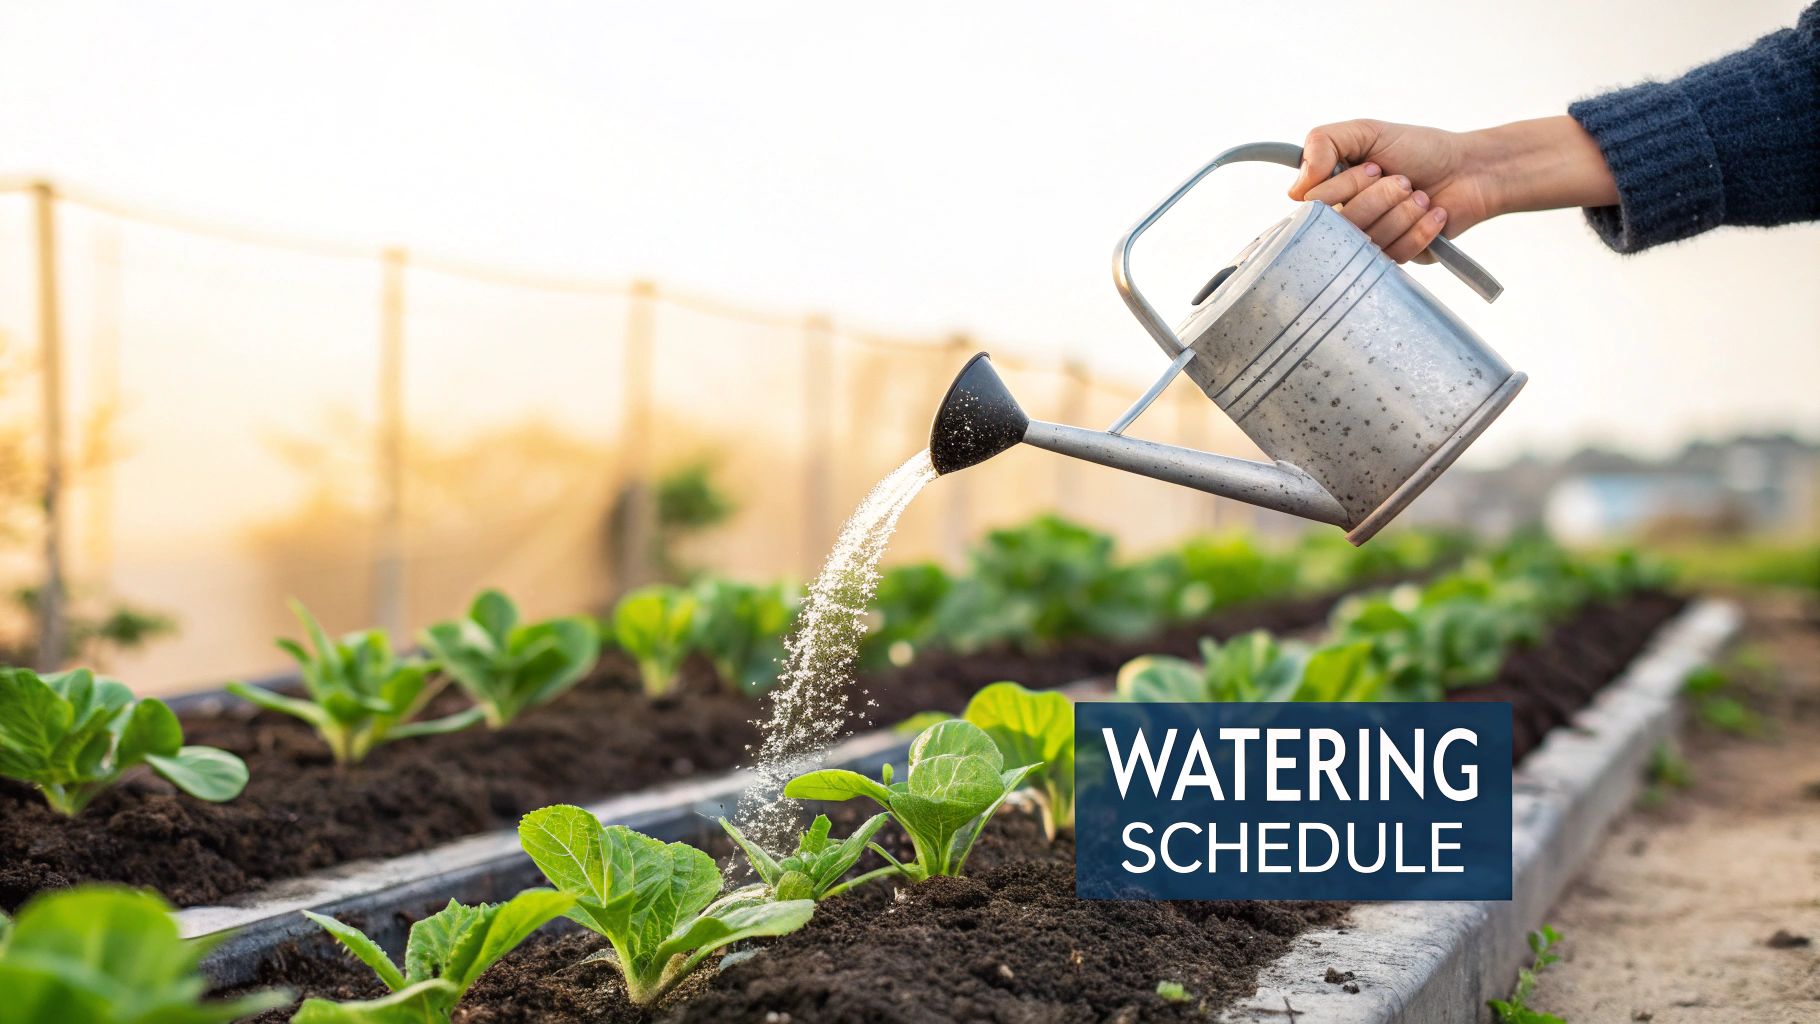
1. Master the Art of Consistent Watering
If there's one thing that will ruin a perfect head of cabbage, it's inconsistent watering. When a plant gets too dry and then suddenly receives a ton of water, it grows too fast, and that beautiful head will literally split right open. The key is to keep the soil evenly moist, but never soggy. Aim for about 1 to 1.5 inches of water a week, factoring in any rain you get. Give them a good, deep soak less often to encourage the roots to grow down deep into the soil. The best way to check is the old-fashioned way: stick your finger a couple of inches into the dirt. If it's dry, it’s time to water.
2. Feed Your Plants for Vigorous Growth
Cabbages are hungry plants. They need a steady diet of nutrients to build all that leafy growth. I usually give my Red Acre cabbage its first meal about three weeks after transplanting it into the garden. A good all-purpose liquid fertilizer works great. Just follow the instructions on the package, which typically means an application every 2 to 3 weeks. This steady supply of food is exactly what they need to build a strong plant and a hefty head.
A little trick I swear by is side-dressing with some well-rotted compost about halfway through the season. It acts like a slow-release fertilizer and keeps improving the soil right where the plant needs it most.
3. Use Mulch as Your Secret Weapon
Want to know the easiest way to make your life simpler and your cabbages happier? Mulch. Seriously, a 2 to 3-inch layer of organic mulch around the base of each plant is a total game-changer. Mulch keeps soil moist, stops weeds, and regulates temperature. I use whatever I have on hand—straw, shredded leaves, even grass clippings work great. This one step protects the investment you made in those Red Acre cabbage seeds by creating a much more stable environment for them to grow in.
4. Conduct Regular Garden Check-Ins
Finally, there is no substitute for simply walking through your garden every day or two. This is how you catch problems before they become catastrophes. Take a moment to look under the leaves for pests like cabbage worms or aphids. See how the plant looks overall. Are the leaves a nice, healthy green? Is the head starting to form properly? Catching a nutrient deficiency or a few pests early on is a thousand times easier than dealing with a full-blown infestation later. Think of it as preventative medicine for your garden.
5 Smart Ways to Deal With Common Pests and Diseases
Every gardener learns sooner or later that a thriving patch can look like an all-you-can-eat buffet to unwanted guests. The best approach is to think like a bodyguard for your plants, using clever, organic strategies instead of reaching for harsh chemicals. Your first line of defense is often the simplest. Physical barriers like floating row covers can work wonders. If you drape them over your cabbage patch right after transplanting, you’ll head off a ton of problems.
1. Bring in the Good Guys
Think of ladybugs and lacewings as your garden's private security team. They are voracious predators of aphids, mites, and other soft-bodied pests. You can attract them by planting flowers like dill, fennel, and yarrow nearby, or you can even buy them from garden suppliers and release them right into your patch.
2. Lean on Companion Planting
Some plants are natural pest repellents. Try planting aromatic herbs like rosemary, thyme, or sage around your Red Acre cabbage. Their strong scents can confuse and deter common pests. Onions and garlic are also fantastic companions; their pungent smell helps ward off aphids and some types of beetles.
3. Practice Crop Rotation
This one is non-negotiable. Never plant cabbage or other brassicas (like broccoli or kale) in the same spot year after year. Pests and soil-borne diseases that love this plant family can build up in the soil over time. By moving them to a new location each season, you break that cycle and starve out any lingering pathogens.
4. Keep a Tidy Garden
A clean garden is a healthy garden. Make a habit of removing weeds and any dead or decaying plant debris from around your cabbage. This simple chore eliminates hiding spots for slugs and snails, making your garden a much less inviting place for them to live. For a deeper dive into garden defense, check out our guide on how to keep pesky pests at bay.
5. Get Hands-On
Sometimes, the old-fashioned way is the best way. Get in the habit of inspecting your plants regularly, especially the undersides of the leaves where pests love to hide. If you spot a few green cabbage worms or a cluster of aphids, you can often just pick them off by hand and drop them into a bucket of soapy water.
Fusarium wilt is a major headache for many cabbage growers, but here's some good news: Red Acre has a natural resistance to it. This built-in defense is a big reason why this heirloom variety remains such a trusted choice for gardeners.
The seeds themselves contribute to a successful, low-stress harvest. Organic Red Acre seeds are known for their high viability and they produce consistent 3- to 5-pound heads. If you're committed to a chemical-free garden, learning some strategies for effective organic aphid control will also keep your plants thriving.
5 Signs It's Time to Harvest Your Cabbage
After weeks of patient care, the moment you’ve been working toward is finally here. Knowing the perfect time to harvest your Red Acre cabbage is the key to enjoying that crisp, peppery-sweet flavor you've been anticipating. While your seed packet likely gives you a timeframe of 75 to 90 days, don't just circle a date on the calendar. The best clues come directly from the plant itself. Figuring out peak ripeness is an art that you'll get a feel for over time.
1. Give It a Squeeze
This is the most reliable test. Gently but firmly squeeze the head with both hands. It should feel rock-solid with very little give. A head that feels soft or squishy needs more time on the stalk to firm up.
2. Check the Size
Red Acre cabbage typically forms heads around 5 to 7 inches in diameter, which usually translates to two to four pounds. Once your cabbage enters this size range, start doing the squeeze test every day or two.
3. Look at the Color
A mature head will have a deep, uniform reddish-purple hue. While some variation can happen depending on sun exposure, a rich, vibrant color is a great sign of readiness.
4. Observe the Outer Leaves
As the central head reaches full maturity, you might notice the large, outer "wrapper" leaves look a bit faded. Sometimes, they even begin to pull away slightly from the firm head tucked inside.
5. Watch the Weather
This is a big one. If your cabbage heads are firm and there's heavy rain in the forecast, it's a good idea to harvest them beforehand. A mature head can quickly absorb too much water, causing it to split right down the middle.
Pro Tip: Don't pull the whole plant up! Grab a sharp, sturdy knife and slice the cabbage head off at its base. By leaving the stalk in the ground, you might get a bonus second crop. The plant will often send out energy to produce several small, sprout-sized cabbages.
The quality of your harvest starts with the seeds you plant. It's a massive global industry, with Washington State alone producing about 25% of the world's cabbage seed supply. You can discover more about the U.S. cabbage seed industry and its economic impact.
5 Steps to Keeping Your Red Acre Cabbage Fresh
You’ve done the hard work and are now looking at a beautiful, dense head of Red Acre cabbage. Fantastic! The next challenge is making sure none of that hard-earned harvest goes to waste. With a few simple tricks, you can keep that cabbage crisp and delicious for a surprisingly long time.
1. Store It in the Refrigerator
For keeping your cabbage fresh for the next few weeks, your fridge's crisper drawer is the perfect spot. Resist the urge to wash the head right away. A little garden dirt is harmless, but excess water is the enemy—it invites rot. Pop the head into a loose plastic bag to maintain humidity and store it whole until you're ready to use it. When stored like this, Red Acre heads stay perfectly crisp for 3 to 4 weeks.
2. Shred Your Cabbage for Sauerkraut
Making your own sauerkraut is one of the most rewarding kitchen projects, and using Red Acre cabbage gives it a stunning, vibrant purple color. Get your cabbage sliced up nice and thin. If you have a mandoline, great! If not, a sharp chef's knife and a little patience work just as well.
3. Add Salt and Get Squeezing
Toss the shredded cabbage into a big bowl. For every 2 pounds of cabbage, sprinkle in about 1.5 tablespoons of non-iodized salt. Now, roll up your sleeves and start massaging and squeezing it with your hands.
4. Create the Brine
After 5-10 minutes of working the cabbage, you'll feel it start to soften and release its own water. The salt is drawing it out, creating a natural brine. Keep going until there's a good pool of liquid in the bottom of the bowl.
5. Pack It In and Be Patient
Start packing the cabbage tightly into a clean glass jar, pressing it down to get all the air pockets out. Pour the brine over the top. The cabbage must stay completely under the brine. You can use a special fermentation weight or a clean small jar to hold it all down. Cover the jar with a coffee filter or a loose lid and leave it on your counter. You can start tasting it after a week, but the flavor really develops over the next month.
Fermenting doesn't just preserve your cabbage; it completely transforms it. You're creating a living food packed with gut-friendly probiotics and developing deep, complex flavors you just can't get any other way.
4 Common Questions About Growing Red Acre Cabbage
Even with the best guide in hand, questions always come up once you're actually out in the garden. Getting a handle on these common issues can be the difference between a frustrating season and a beautiful, crisp harvest. Let’s dig into some of the most frequent questions gardeners have.
1. Can I Grow Red Acre Cabbage in Containers?
You absolutely can! In fact, Red Acre’s relatively compact size makes it a perfect choice for container gardening. For a single plant, you'll want a pot that’s at least 5 gallons, which is around 12 inches deep and 12 inches across. Just make sure the container has good drainage holes—cabbage roots really dislike "wet feet." Keep in mind that pots dry out much faster than garden soil, so you'll need to check on them more often.
2. Why Are My Cabbage Heads Splitting?
Ah, the dreaded split head. This is a classic cabbage issue, and nine times out of ten, it’s caused by inconsistent watering. The plant goes through a dry spell, then suddenly gets a ton of water. The inside of the head grows faster than the outer leaves can keep up, and pop—it splits.
The secret to preventing split heads is keeping the soil consistently moist from start to finish. A thick layer of mulch is your best friend here; it helps regulate that moisture and keeps the soil from drying out too quickly.
3. How Long Until My Cabbage Is Ready to Harvest?
Generally, you can expect Red Acre cabbage to be ready about 80 to 90 days after you've transplanted your seedlings into the garden. If you planted your red acre cabbage seeds directly in the ground, add another two or three weeks to that estimate. But don't just watch the calendar. The best way to know for sure is to give the head a gentle squeeze. A mature cabbage should feel solid and dense.
4. What Are Good Companion Plants for Red Acre Cabbage?
Companion planting is a fantastic way to naturally manage pests. For cabbage, aromatic herbs are one of your best bets. Strong-smelling plants like rosemary, thyme, and sage can help confuse the dreaded cabbage moth. Planting onions or garlic nearby can help deter aphids. On the flip side, it's best to keep your cabbage away from other brassicas like broccoli or kale, as planting them together can make it easier for shared pests and diseases to spread.
Ready to grow your own stunning, crisp heads of Red Acre cabbage? At Homegrown Garden, we offer high-quality, heirloom seeds to get you started. Shop our Red Acre Cabbage seeds today!
Ready to grow your own cabbage? Try our 7-variety heirloom cabbage seed pack for a colorful, dependable crop.

