


Starting a garden from seeds is one of the most satisfying things a person can do. It’s a process broken down into three main parts: picking the right seeds, planting them in the right stuff, and then giving them the care they need to sprout. If you nail these basics, even a total beginner can turn a tiny seed into a healthy plant ready for the garden.
11 Essential Steps for Starting a Garden from Seeds
Getting a garden started from seeds can seem like a huge project, but it’s really just a series of small, simple steps. It's not about having some magical "green thumb"—it's about understanding what a seed needs to wake up and grow. With a bit of patience and know-how, you can watch one of nature's coolest tricks unfold on your own windowsill.
One of the best parts about growing from seed is the sheer variety. You get to choose from thousands of unique vegetables, herbs, and flowers that you'd never find as seedlings at your local garden center. Not only does this save you a good chunk of money, but it also gives you total control over your garden from day one.
The Gardener's Journey from Seed to Plant
The whole adventure follows a pretty simple cycle. First, you choose seeds that will actually grow in your area. Then, you plant them. Finally, you look after them as they turn into strong little plants.
This infographic gives you a great visual of the whole process.
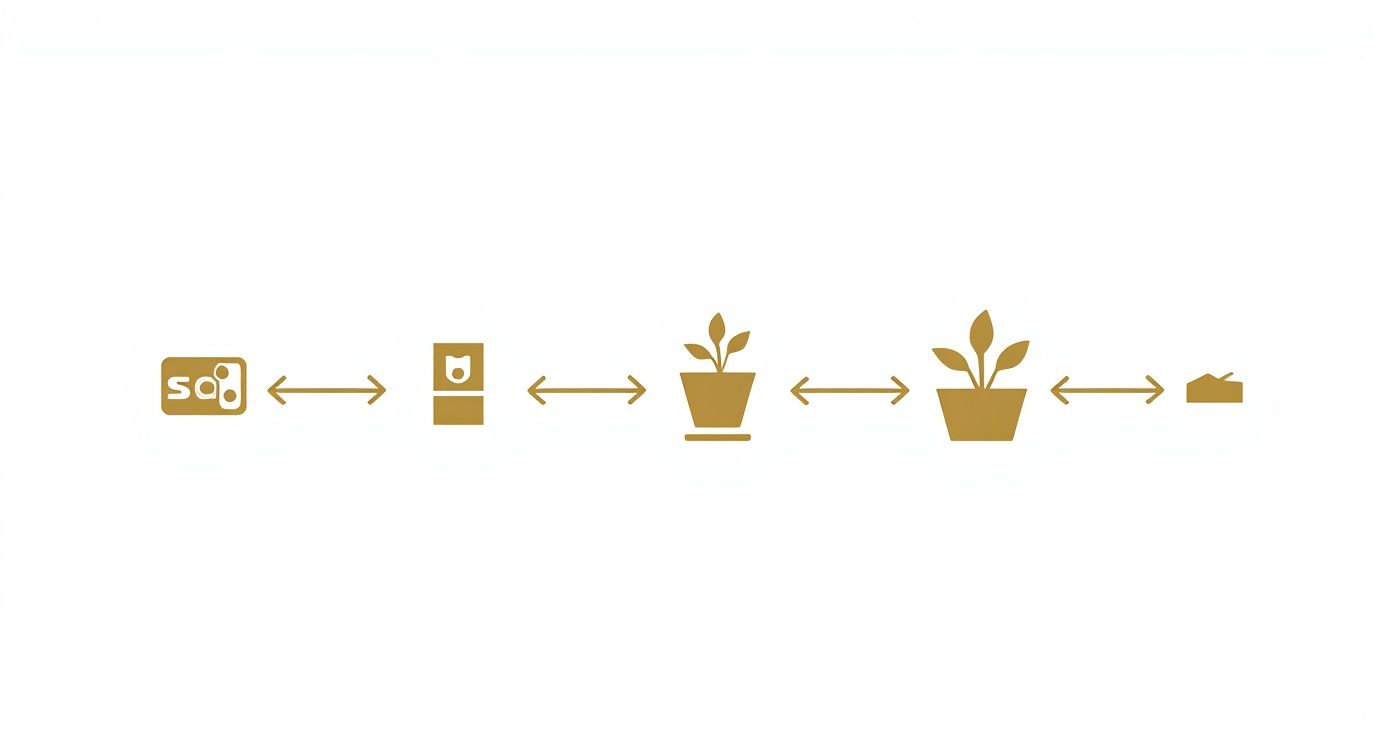
Think of it as a roadmap. Each phase sets the stage for the next, giving you a clear path from a packet of seeds to a flourishing garden.
Why Bother Starting from Seed?
Aside from saving money, starting your own plants connects you to the whole process on a deeper level. You really get a feel for the plant life cycle and build confidence for bigger gardening projects down the road. Sure, the upfront cost of buying soil components might seem like a lot, but it pays off. For instance, studies have shown that a DIY seed starting mix can cost as little as $8 per cubic foot, while store-bought bags often run over $20 for the same amount.
The real win with a homemade seed starting mix is giving your garden a clean, worry-free start. You know exactly what’s in it, which means your seedlings get the best foundation without any mystery chemicals.
Here's a quick summary of the key stages for a successful garden, giving you a snapshot of the journey from seed to plant.
Quick Reference for Seed Starting Success
| Stage | What You'll Do | The Goal |
|---|---|---|
| Preparation | Choose seeds, gather containers, and mix your soil. | Create the perfect environment for a seed to sprout. |
| Sowing & Germination | Plant seeds at the right depth and keep them warm and moist. | Encourage the seed to "wake up" and send out its first root and leaves. |
| Early Growth & Care | Provide light, water consistently, and thin out weaker seedlings. | Help the new seedling develop a strong root system and healthy leaves. |
| Hardening Off | Gradually expose young plants to outdoor conditions. | Acclimatize your plants to sun, wind, and temperature changes. |
| Transplanting | Move your hardened-off seedlings into the garden or a larger pot. | Get your plants into their final home so they can mature and produce. |
This table gives you the 30,000-foot view. Now, let’s dig into the details of each step so you can avoid common mistakes and get your garden off to a fantastic start.
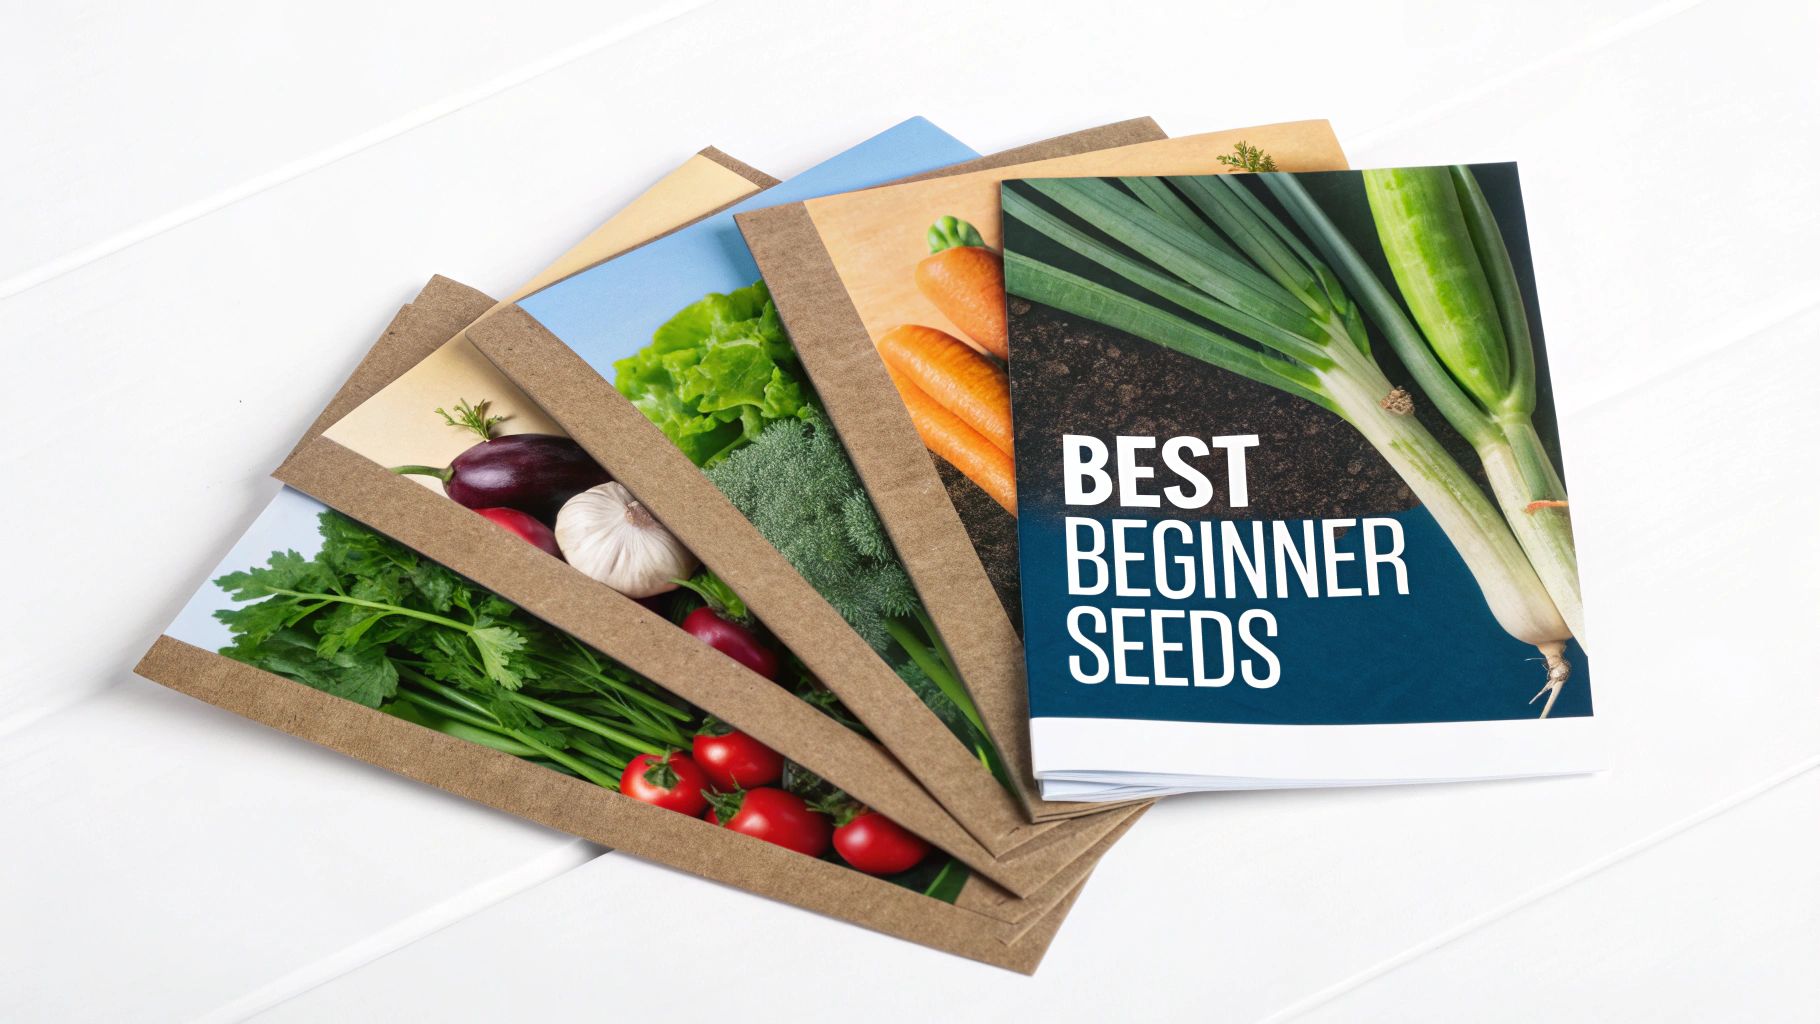
Step 1: Choose from the 9 Easiest Seeds for Your First Garden
Staring at a wall of seed packets can be daunting. All those colorful promises of gorgeous flowers and perfect vegetables can make your head spin. But here’s the secret seasoned gardeners know: a successful first garden starts with choosing plants that want to grow.
This isn't the time to track down that rare heirloom tomato or a finicky flower. Your goal is to build confidence and get a real reward for your effort. Think of these nine options as your garden's all-star team—they're dependable, productive, and forgiving if you make a few rookie mistakes along the way.
Cracking the Code on the Seed Packet
Before we get to the fun part, let's quickly go over what all that fine print on the back of the seed packet actually means. These little details are your best friend.
- Days to Maturity: This is a good estimate of how long it'll take from planting the seed (or the seedling) until you're actually harvesting something. It's key for figuring out your garden's timing.
- Planting Depth & Spacing: This tells you exactly how deep to plant the seed and how much room to give each plant. A classic beginner mistake is planting too deep, which can exhaust a tiny sprout before it even sees the sun.
- Sunlight Needs: Be honest with yourself here. "Full sun" really does mean at least 6-8 hours of direct, unfiltered sunlight. If your spot gets less, look for plants that tolerate partial shade.
Once you know what to look for, a seed packet becomes a powerful tool instead of a puzzle. Okay, let's get to the good stuff.
9 Sure-Fire Winners for New Gardeners
I've put together this list with one goal in mind: to help you have a fantastic first experience. These plants are known for their vigorous growth and generous yields.
- Bush Beans: Forget messing with big trellises for now. Bush beans grow into compact, sturdy little plants that pump out a ton of beans in a pretty short window. A classic variety like 'Blue Lake 274' is a great place to start.
- Lettuce (Loose-leaf types): Trying to grow a perfect head of iceberg lettuce can be tricky. Instead, go for loose-leaf varieties like 'Black Seed Simpson' or 'Red Sails'. You can just snip off the outer leaves as you need them, and the plant will keep producing from the center. It’s the "cut-and-come-again" method, and it means fresh salads for weeks.
- Zucchini/Summer Squash: It's a running joke among gardeners that you can't give this stuff away fast enough. One or two zucchini plants are more than enough for a family. They grow like weeds and are incredibly versatile in the kitchen.
- Radishes: Need a quick win? Plant radishes. Some varieties, like 'Cherry Belle', can go from a tiny seed to a crunchy snack in just 25-30 days. They're perfect for satisfying that itch for instant gratification.
- Basil: An absolute must-have herb that’s a breeze to grow from seed. Basil loves hot, sunny weather and will give you fragrant leaves all summer. Just remember to pinch the tops back regularly to encourage it to get bushy.
- Sunflowers: Nothing screams "I have a garden!" quite like a big, happy sunflower. 'ProCut' is a great single-stem variety for classic bouquets, or you can find branching types for a fuller look. Just poke the seeds in the ground after the last frost and watch them go.
- Marigolds: These are one of the best companion plants out there. Not only are they cheerful and colorful, but their distinct smell can help keep some common pests away from your veggies. Plus, they'll bloom their heads off right up until the first frost.
- Swiss Chard: A fantastic green that's both beautiful and delicious. Swiss chard handles heat much better than spinach and is just as easy to grow as lettuce. The 'Bright Lights' variety has stunning rainbow-colored stems that are almost too pretty to eat. Almost.
- Peas (Sugar Snap or Snow): As a cool-weather crop, peas are one of the first things you can plant in early spring. They scramble up a simple trellis with no fuss and give you that sweet, crunchy snack you can eat right off the vine.
As you plan, think about adding some early-season color to get things going. You can find some beautiful options among these 7 Flowers That Bloom in March to add even more life to your new garden space.
If you’re still feeling a bit unsure, we have a whole guide dedicated to the easiest plants to grow from seed that goes into even more detail.
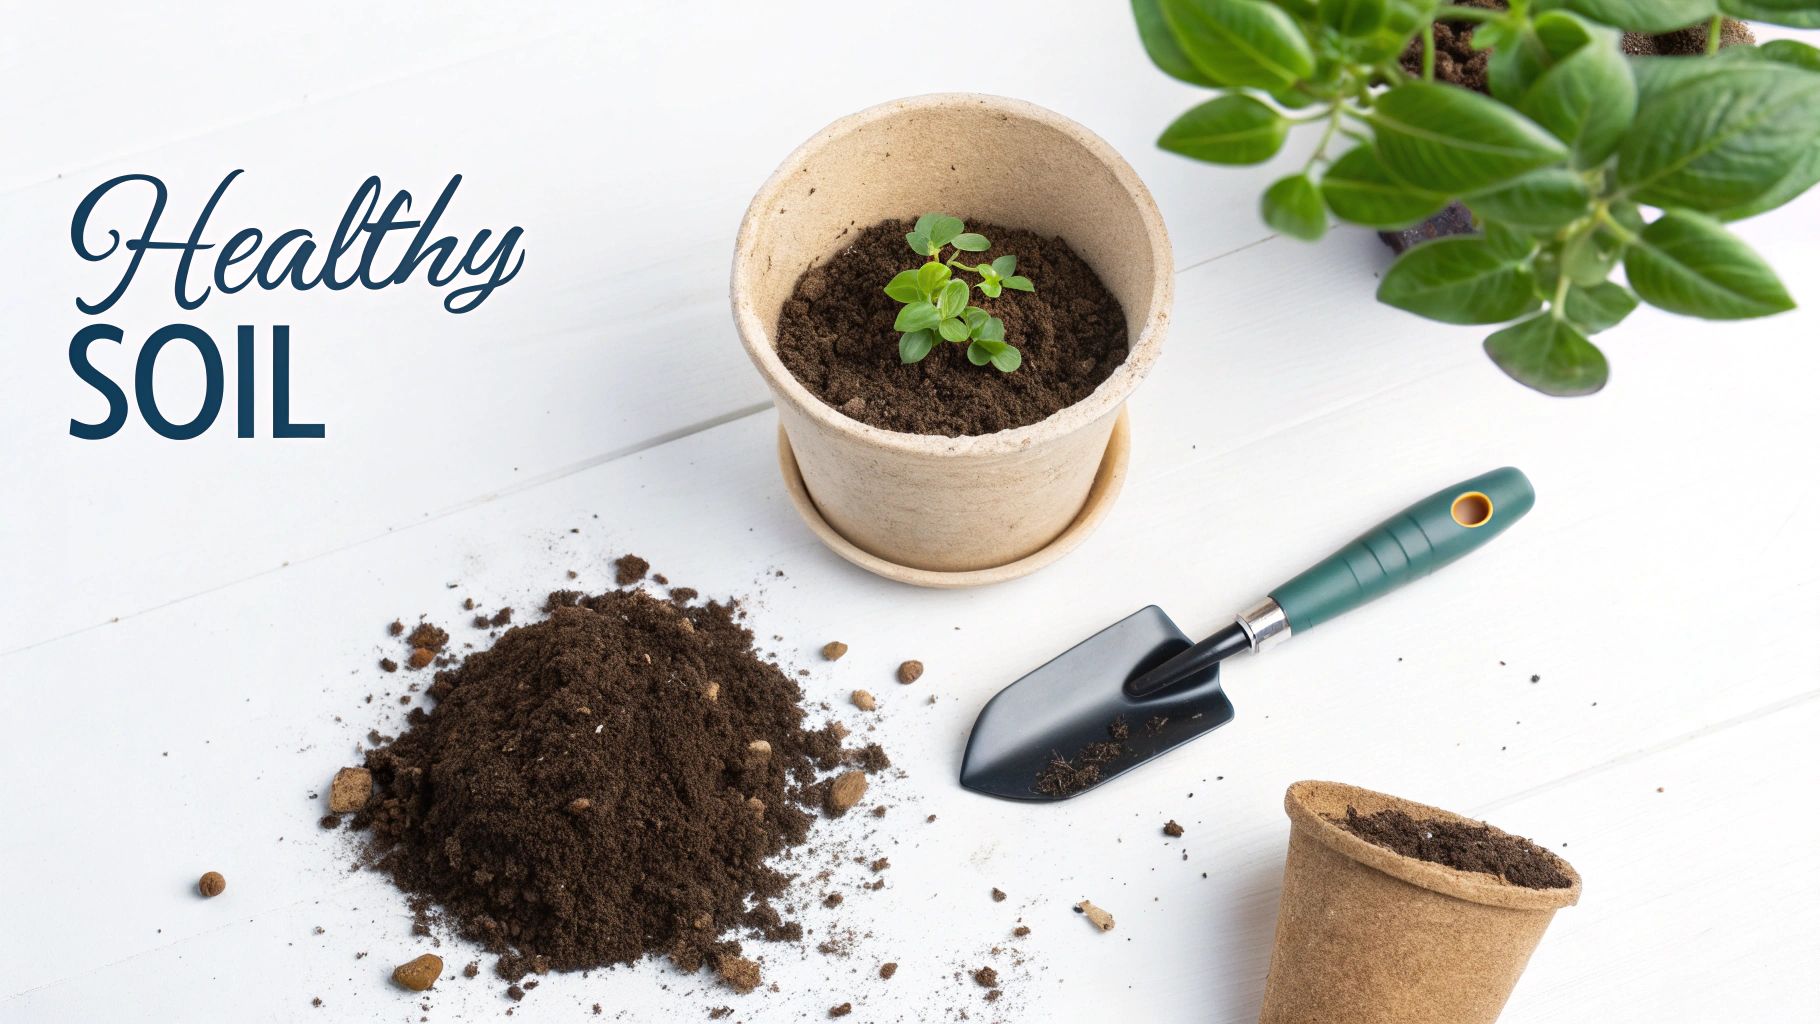
Step 2: Prepare Soil and Containers for Planting
Every successful garden starts with a healthy foundation. Whether you're planting in pots on a balcony or prepping a full-sized garden bed, getting the soil right is the most critical first step you can take. Think of it as building a home for your plants—the better the home, the better they'll grow all season long.
The perfect seed-starting medium needs to be light, fluffy, and able to hold moisture without turning into a muddy swamp. Scooping up soil from your yard is a common rookie mistake. It’s far too heavy for delicate new roots to push through and often contains pathogens that can wipe out your seedlings before they get a real start.
The Perfect Recipe for a Seed Starting Mix
You can always buy pre-made seed starting mix, and it works perfectly well. But if you’re starting a lot of seeds, mixing your own is much cheaper and surprisingly easy. Plus, you know exactly what’s in it.
Over the years, I've found a simple, reliable formula that never fails. It's built on three core ingredients:
- 1 Part Coco Coir or Peat Moss: This forms the base of your mix, and its main job is to hold onto water so your seeds stay consistently moist. I prefer coco coir, which is a renewable byproduct of the coconut industry.
- 1 Part Perlite: Those little white specks that look like Styrofoam are actually volcanic glass. They're vital for creating air pockets, preventing the soil from compacting, and letting the roots breathe.
- 1 Part Vermiculite: This mineral looks like flaky, golden glitter. It also helps with water retention but releases it a bit more slowly than coir, which is a great defense against accidental overwatering and root rot.
My Pro-Tip: I like to add a small handful of worm castings to my mix. While a seed has its own initial energy supply, the castings introduce beneficial microbes that give young roots a fantastic head start.
7 Great Container Options to Get You Started
Forget about fancy, expensive gear. Some of the best containers for starting seeds are things you can use year after year or pull right out of your recycling bin. The one absolute must-have? Drainage holes. Without them, water pools at the bottom, and your seedlings will quickly drown.
Here are 7 great container options to get you started:
- Plastic Cell Trays: The classic for a reason. They're reusable, come in tons of sizes, and let you grow a lot in a compact space.
- Peat Pots: Made from compressed peat, these pots go directly into the garden when it's time to transplant. This is a game-changer for sensitive plants like cucumbers and squash that hate having their roots disturbed.
- Soil Blocks: This is a cool, pot-free method. A special tool compresses your soil mix into cubes, encouraging strong roots that "air prune" themselves. No plastic waste!
- Newspaper Pots: You can fold your own pots from old newspaper, and just like peat pots, they decompose right in the garden.
- Upcycled Yogurt Cups or K-Cups: Give them a good wash, poke a few holes in the bottom, and you’re set. They're the ideal size for a single tomato or pepper seed.
- Cardboard Egg Cartons: Another great biodegradable choice. The little cups are perfect for starting small seeds like lettuce, but you'll need to pot them up to something bigger fairly quickly.
- Takeout Containers: Those clear plastic clamshells from salads or pastries make amazing mini-greenhouses. Fill the bottom with soil, poke holes for drainage, and use the lid to trap humidity.
Prepping Garden Beds for Direct Sowing
If you're skipping the containers and planting seeds right into the garden, a little bit of prep work will make a huge difference. Your goal is to create a loose, rich bed where roots can spread out easily.
Grab a garden fork and loosen the top 6-8 inches of soil, breaking up any big, hard clumps. Next, spread a 2-3 inch layer of good-quality compost over the entire area and gently work it into the soil. That one move improves the soil's texture, adds crucial nutrients, and helps the ground hold onto moisture. For a more detailed guide, check out our article on preparing garden soil for a new season.
Step 3: Master the 7 Essential Tips for Sowing Your Seeds
With your soil prepped and containers at the ready, it's time for the fun part—planting. Sowing a seed seems simple enough, but a few small details can make a massive difference in your success rate, coaxing more of those tiny specks of potential into healthy, thriving plants.
We’ll dig into the two main approaches gardeners take: starting seeds indoors to get a jump on the season, or sowing them directly into the garden when the weather is just right. Nailing this step sets the stage for everything to come.
Sowing Seeds Indoors for a Head Start
Starting seeds inside is a total game-changer, especially if you're gardening in a place with a short growing season. It's how you give slow-pokes like tomatoes, peppers, and eggplants the extra weeks they need to mature and deliver a fantastic harvest before the first frost hits.
It's a pretty straightforward process. First, lightly moisten your seed starting mix. You're aiming for the consistency of a wrung-out sponge—damp, but not sopping wet. Fill your pots or trays, gently firming the mix to get rid of any sneaky air pockets, and you’re good to go. The real beauty of this method is the control it gives you, shielding your delicate seedlings from wild spring weather.
The Planting Depth Golden Rule
Ask any seasoned gardener about common beginner mistakes, and they'll likely mention planting seeds too deep. A seed only has a small, finite pack of energy to push its first shoot up through the soil and into the light. Bury it too far, and it'll run out of gas before it ever sees the sun.
Here's a simple rule of thumb that has never failed me: plant a seed roughly twice as deep as it is wide.
This means incredibly fine seeds, like lettuce or poppies, should just be sprinkled on the surface and pressed in gently. Bigger seeds, think peas or beans, can go about an inch deep. If you’re ever unsure, always err on the side of planting too shallow. A seed on the surface still has a fighting chance; one buried too deep has almost none.
Direct Sowing Seeds in the Garden
On the other hand, some plants just hate being moved. Vegetables that grow a long taproot—carrots, radishes, and parsnips come to mind—do best when sown directly where they're meant to grow. Quick-growing crops like bush beans, cucumbers, and zucchini also thrive when planted straight into the garden.
The secret to direct sowing is all about timing. You have to be patient and wait until all danger of frost has passed and the soil has had a chance to warm up. Tossing seeds into cold, wet ground is a fast track to rot and disappointment. Once your garden bed is ready, just follow the depth and spacing guidelines on the back of your seed packet.
7 Essential Tips for Better Germination
Getting seeds to sprout, or germinate, is your first big win. These seven tips are little things that can make a huge difference, giving your garden a strong, healthy start.
- 1. Label Everything Immediately. You'd be amazed how fast you can forget what you planted where. Use a waterproof marker and write on a plant tag the second the seeds are in the soil.
- 2. Pre-Soak Stubborn Seeds. Some seeds have tough coats that can slow them down. Peas, beans, and nasturtiums, for example, really benefit from a quick soak. Just pop them in a bowl of lukewarm water for 8-12 hours before planting to soften them up.
- 3. Create a Humidity Dome. Seeds need consistent moisture to wake up. Covering your seed trays with a clear plastic dome—or even just a piece of plastic wrap—creates a mini-greenhouse that traps warmth and humidity.
- 4. Provide Bottom Heat. Many seeds, especially heat-lovers like peppers, sprout much faster with a little warmth from below. A seedling heat mat is a brilliant investment and can easily cut germination time in half.
- 5. Water Gently. A heavy stream of water can wash your tiny seeds away. Use a spray bottle on a fine mist setting, or even better, water from the bottom by setting your trays in a shallow pan of water.
- 6. Ensure Good Seed-to-Soil Contact. After you place a seed, gently press the soil down over it. This makes sure the seed is nestled in properly so it can absorb moisture from all sides.
- 7. Know Your Frost Dates. Timing is everything. Your local last frost date is your North Star for deciding when to start seeds indoors and when it's safe to plant outside. Starting too soon can leave you with lanky, stressed-out seedlings.
For a deeper dive, check out our guide covering 10 tips for sowing and germination to help you troubleshoot common issues. By making these small adjustments, you create the perfect environment for your seeds to burst to life.
Step 4: Care for Seedlings from Sprout to Transplant
Seeing that first tiny green sprout push through the soil is an amazing feeling. It’s a huge win! You’ve successfully coaxed a dormant seed to life. But now, the real work begins—guiding that fragile sprout into a strong plant that's ready for the garden.
From here on out, it’s all about getting the balance right between three things your new seedlings need most: light, water, and air. Nailing this is what separates healthy, stocky plants from the weak, leggy ones that just can’t hack it outdoors.
Giving Your Seedlings the Right Light
This is where so many new gardeners trip up. A sunny windowsill might seem like the perfect spot, but it's almost never enough. Seedlings are hungry for intense, direct light for 14-16 hours every single day to build strong stems and full leaves.
Relying on a window usually gives you weak, one-sided light that makes seedlings stretch and strain toward the sun. This is how you get "leggy" plants—those long, pale, and spindly things that are quick to break or get sick. A simple shop light or a dedicated LED grow light will completely change your results.
- Get the Position Right: Hang the light just 2-3 inches above the tops of your seedlings. Close is good.
- Move It Up as They Grow: As your plants get taller, you'll have to raise the light to keep that perfect distance.
- Put It on a Timer: An outlet timer is a cheap and brilliant little gadget. It automates the light cycle, so your plants get consistent "daylight" even if you forget.
How to Water Seedlings Correctly
Getting watering right is absolutely critical. The number one killer of young seedlings is a fungal disease called damping-off, and it loves soggy, stagnant conditions. It rots the seedling's stem right at the soil line, and they can topple over almost overnight.
The best defense is to stop watering from the top. Pouring water over your delicate seedlings can knock them over and creates the exact swampy surface that fungus loves. Instead, you need to start watering from the bottom.
Set your cell trays or pots inside a solid tray that doesn’t have drainage holes. Pour about an inch of water into this outer tray and let the soil soak up moisture through the bottom holes for 15-20 minutes. Once the soil surface looks damp, take the pots out and drain any leftover water.
This technique gets water right to the roots where it's needed, encouraging them to grow deep. More importantly, it keeps the vulnerable stems nice and dry. Let the soil dry out a little between waterings; constantly saturated soil is just asking for trouble.
The Necessary Task of Thinning
I know, this part feels a little ruthless, but it’s one of the most important things you can do for your plants. If you sowed two or three seeds in each cell (always a good idea to guarantee germination), you’ll probably have a few sprouts crowded together. If you leave them, they'll all compete with each other and none of them will thrive.
Your job is to pick the strongest, healthiest-looking seedling in each cell and get rid of the others. But don't pull them! Yύanking them out can damage the delicate roots of the one you want to keep.
The best way is to take a small pair of scissors and snip the weaker seedlings off at the soil level. It’s a quick, clean cut. This gives the winner all the water, nutrients, and room it needs to grow into a truly robust plant.
Hardening Off Your Plants
Think about it: for weeks, your seedlings have been living in a five-star hotel. They've been protected from wind, harsh sun, and big temperature swings. Tossing them directly into the garden would be a huge shock to their system—so much so that it could kill them.
That's why we "harden them off." It’s the process of slowly getting them used to the great outdoors. This crucial transition period takes about 10 days, and you really can't rush it. You're literally toughening up the plant's cell structure to handle its new environment.
Here’s a simple schedule that works well:
- Days 1–2: Find a shady, protected spot outside. Leave them out for just 1 hour, then bring them back in.
- Days 3–4: Increase their outdoor time to 2–3 hours in a spot with dappled sunlight.
- Days 5–6: Now they can handle a bit more. Give them 4–5 hours in gentle morning sun.
- Days 7–8: Time to get them used to more direct sun and a light breeze for 6–7 hours.
- Days 9–10: Leave them out all day. If the forecast is mild (above 50°F / 10°C), let them stay out overnight.
- After Day 10: They’re ready! Your plants can now be transplanted into the garden.
This careful process is the final step to ensuring your seed-starting adventure is a success. Your plants won't just survive the move—they'll be ready to thrive. It’s this kind of mindful work that shows why home gardening is booming. The global garden seeds market was valued at around USD 23.04 billion in 2024, with vegetable seeds accounting for almost 58.5% of that. It's a clear sign that more and more people want to grow their own food. For more on these trends, check out the market analysis from 360iResearch.
Step 5: Troubleshoot 7 Common Seed Starting Problems

Starting a garden from scratch is one of the most rewarding things you can do, but let's be honest—it comes with its fair share of head-scratching moments. Every single gardener, myself included, has stared at a tray of stubborn seeds or coddled some spindly-looking seedlings, wondering what went wrong.
Think of these little challenges not as failures, but as your garden teaching you what it needs. Pinpointing why something isn't working is the absolute best way to sharpen your green thumb. So, let’s get into some of the most common hurdles you'll likely face and how to clear them.
7 Reasons Why Your Seeds Failed to Sprout
That feeling of disappointment when you check your seed tray day after day and see nothing but soil is all too familiar. But don't toss that tray just yet! Germination failure almost always comes down to a few simple, fixable issues. Before you give up, run through this checklist.
- Too Much or Too Little Water: Seeds are a bit like Goldilocks—they need moisture that's just right. Soil that’s a swampy mess will rot them, while bone-dry soil won't even wake them up. Aim for the consistency of a wrung-out sponge.
- The Soil is Too Cold: A lot of our favorite garden plants, especially heat-lovers like tomatoes and peppers, need a little warmth to get going. If your soil temperature is consistently below 65°F (18°C), they'll just stay dormant, waiting for a personal invitation from summer.
- Seeds Were Planted Too Deep: This is a classic rookie mistake. A tiny seed only has a finite amount of energy to push its first shoot up toward the light. Bury it too deep, and it’ll run out of fuel before it ever breaks the surface.
- Old or Improperly Stored Seeds: Seeds don't last forever, and their germination rate drops over time. If they've been stored somewhere hot or humid (like a garden shed in July), their viability takes a nosedive.
- Lack of Light (For Some Seeds): While most seeds are happy to sprout in the dark, some absolutely require light to germinate. Lettuce and snapdragons are prime examples. For these, just press them gently onto the soil surface instead of burying them.
- Poor Seed-to-Soil Contact: For a seed to absorb the moisture it needs, it has to be cozied up against the soil. Any air pockets around it will create dry spots that can stop germination in its tracks.
- Pests Got to Them: Sometimes, the culprits are tiny critters. Fungus gnats, mice, or even ants can carry off your seeds before they have a chance to sprout. This is a bigger issue when you sow seeds directly into the garden bed.
The vast majority of germination problems boil down to the environment. If you can focus on giving your seeds consistent moisture and warmth, you’ve already solved most potential issues. A simple seedling heat mat and a plastic humidity dome are absolute game-changers for getting reliable results.
What Are Leggy Seedlings and How Can I Fix Them
You know you have "leggy" seedlings when they look like lanky teenagers—all long, pale, and floppy. Their thin stems seem too weak to hold them up. This is a classic, tell-tale sign that they are starving for light. The plant is literally stretching itself thin, desperately reaching for a better light source.
A sunny windowsill might seem like the perfect spot, but it rarely provides the intense 14-16 hours of direct light that young plants need to grow strong and stocky. The light is usually one-sided and not nearly bright enough, which is what causes that lean-and-stretch effect.
How to Prevent Leggy Seedlings:
- Use a Grow Light: This is, without a doubt, the best solution. You don't need anything fancy; a simple fluorescent shop light or a basic LED grow light positioned just 2-3 inches above the tops of your seedlings works wonders.
- Keep the Light Close: As your seedlings get taller, you have to raise the light fixture. Maintaining that close distance is key.
- Create a Breeze: A small fan blowing gently on your seedlings for an hour or two each day does a fantastic job of mimicking outdoor conditions. This encourages them to grow thicker, more resilient stems to withstand the "wind."
Once a seedling is leggy, you can't really undo the stretching. What you can do is immediately give it more light to stop it from getting worse. And here's a great tip for tomatoes: when you transplant them, you can bury that long, leggy stem deep into the soil. It will miraculously grow new roots all along its length!
When Is the Best Time to Move Seedlings Outside
Figuring out the right moment to move your carefully-nurtured seedlings into the garden is a critical step. Go too early, and a late frost can wipe them out in one night. Wait too long, and they can become stressed and root-bound in their tiny starter pots.
The timing really comes down to three conditions. First, the most obvious: all danger of frost for your region must have passed. Second, your seedlings need to be big and strong enough for the move. A good rule of thumb is to wait until they have at least two sets of "true leaves"—that is, the leaves that appear after the first two little embryonic ones.
Finally, and this is the step people often skip, you have to "harden off" your plants. This is the non-negotiable process of gradually getting them used to the great outdoors over a period of 7 to 14 days. Don't just chuck them outside! Start by placing them in a shady, protected spot for an hour on the first day. Each day, slowly increase their time outside and their exposure to direct sun and wind. This process toughens them up and prevents the shock of a sudden move.
At Homegrown Garden, we believe anyone can experience the joy of growing their own food from a single seed. We offer high-quality heirloom seeds, straightforward kits, and the expert guidance you need to grow with confidence. Take a look at our collections and get your hands dirty today!
Find your perfect seeds at https://www.homegrown-garden.com.

