


Starting your own spearmint patch is refreshingly simple. Just plant the seeds about a 1/4 inch deep in good, well-draining soil once the danger of the last frost has completely passed. Keep the soil consistently moist, give them plenty of sunshine, and before you know it, you'll be snipping fragrant leaves for your kitchen creations. That’s really all it takes to get started.
Your 5-Step Quick Start Guide to Growing Spearmint
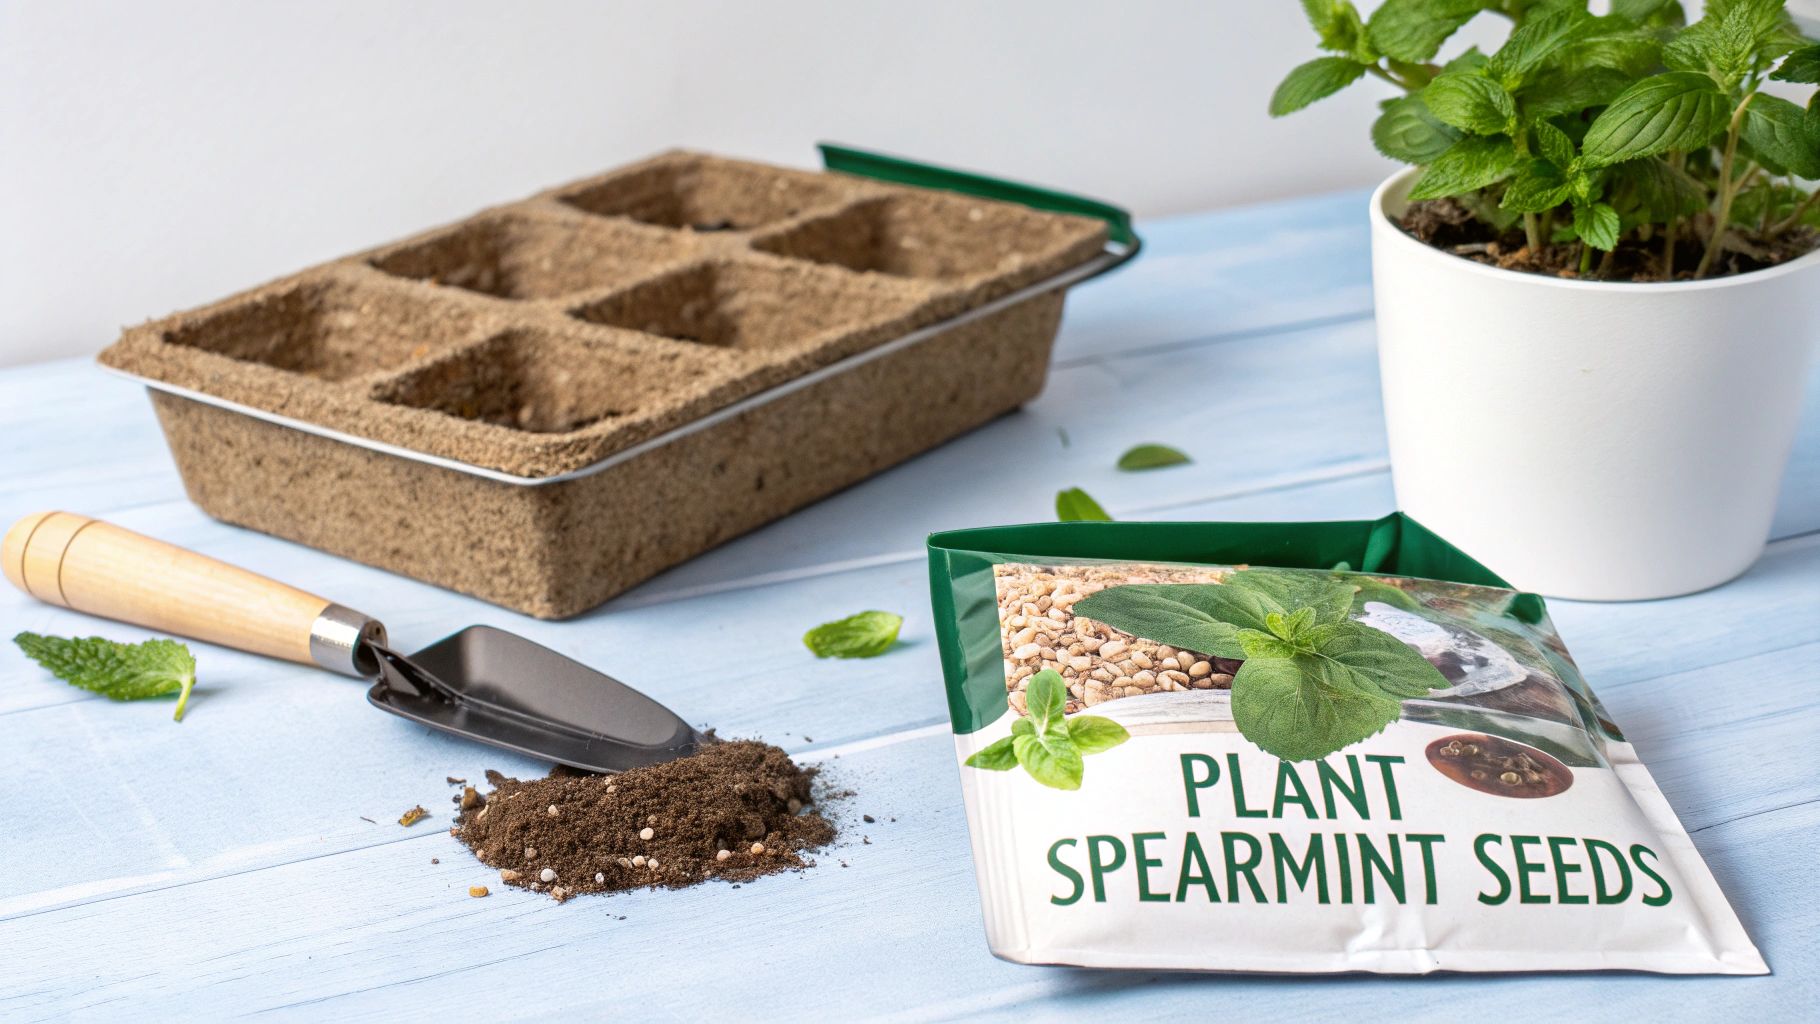
Growing spearmint from seed is one of those incredibly rewarding garden projects. It promises a nearly endless supply of aromatic leaves for everything from mojitos to soothing teas. Unlike some fussy herbs, spearmint is famously robust and forgiving, which makes it a fantastic starting point for new gardeners. But even with its vigorous nature, success really hinges on getting those initial planting conditions right.
The trick is to think like a mint plant. It thrives in a balanced environment—not too soggy, not bone-dry, and not scorching hot. By creating this ideal foundation right from the start, you're paving the way for a healthy, sprawling plant that will reward you for years.
The 4 Essential Conditions for Germination
To get your spearmint seeds to sprout successfully, you need to nail four key factors: light, water, soil, and temperature. For instance, while mature spearmint loves the sun, tiny seedlings can easily burn in harsh, direct afternoon light. Likewise, the soil needs to stay damp for the seeds to germinate, but if it becomes waterlogged, they'll rot before they even have a chance.
Getting these details right is what makes all the difference. The sweet spot for planting is when soil temperatures are consistently between 60–70°F (15–21°C), making late spring the perfect window. The United States Department of Agriculture (USDA) also points out that a soil pH between 6.0 and 7.0 is ideal for nutrient uptake. With good quality seeds, you can expect germination rates of 60% to 80%, so creating the perfect environment is your best shot at a full, lush patch. You can even explore spearmint production data to see how these factors impact large-scale growers.
A classic beginner mistake is burying the tiny seeds too deep. They only need a light dusting of soil—no more than 1/4 inch. This helps ensure they get the light they need to germinate without having to struggle to reach the surface.
To keep things straightforward, here’s a quick-reference table that breaks down the ideal conditions for getting your spearmint seeds to sprout and thrive.
5 Spearmint Seed Planting Essentials at a Glance
| Factor | Ideal Condition | Expert Tip |
|---|---|---|
| Soil Temperature | 60–70°F (15–21°C) | Use a soil thermometer if you're unsure. A consistent temperature is more important than a few warm days. |
| Soil Type | Well-draining, loamy soil | Mix in a little compost or perlite to improve drainage and add nutrients. Avoid heavy clay soils. |
| Light | Bright, indirect light | Place seed trays near a sunny window but out of direct, intense afternoon sun, which can scorch seedlings. |
| Watering | Consistently moist, but not soggy | Use a spray bottle to gently mist the soil daily. This prevents dislodging the tiny seeds. |
| Seed Depth | 1/4 inch maximum | Lightly sprinkle soil over the seeds. You can also just press them gently into the soil surface. |
This table serves as a great checklist before you put your first seed in the soil. Nailing these five elements is your best recipe for a thriving spearmint plant.
2 Steps to Finding the Right Seeds and Perfect Timing
https://www.youtube.com/embed/kKG9hf7O1k4
Your success with spearmint starts way before you get your hands dirty. It all comes down to two things: picking good seeds and planting them at just the right time. Nail these two, and you’re well on your way to a lush, fragrant mint patch that will keep on giving.
It’s tempting to think all seeds are the same, but that’s a rookie mistake. The quality of your seed source directly impacts how many seeds sprout and whether the plant grows true to its name.
The biggest hurdle for new gardeners is often assuming any packet of seeds will do. I can't stress this enough: buying from a reputable supplier means better germination rates and plants that actually taste and grow like the spearmint you're expecting.
Step 1: Choosing Your Seed Variety (3 Top Types)
As you browse for seeds, you’ll run into a few different categories. Each one has its own appeal.
- Standard (Conventional) Seeds: These are your workhorse seeds. They're widely available, affordable, and bred for reliable performance, making them a fantastic starting point if you're just learning the ropes.
- Organic Seeds: If you’re committed to an all-natural garden, this is your pick. Certified organic seeds come from parent plants grown without synthetic chemicals, giving your spearmint a clean start from day one.
- Heirloom Seeds: This is where things get interesting. Heirloom seeds, like the popular 'Kentucky Colonel' variety, have a story. They’ve been passed down for generations and are often celebrated for a more complex, robust flavor you might not find in standard types.
Step 2: Nailing the Perfect Planting Window
Once you've got your seeds, timing is everything. Plant them too early, and a surprise late frost could wipe out your seedlings before they even have a chance. Wait too long, and the summer heat will bake the soil, stressing the young plants and stunting their growth.
Your goal is to get those seeds in the ground just after the last chance of frost has passed in your area. For most of us, that sweet spot is somewhere between early and late spring.
This isn't just a local tip; it's a global strategy. Just look at India, the world's top spearmint producer, where farmers typically plant between February and March to get the crop established before the intense summer heat sets in. You can learn more about global mint production on tastingtable.com. By waiting for the soil to warm up a bit, you're giving your spearmint the best possible shot at a long and productive life.
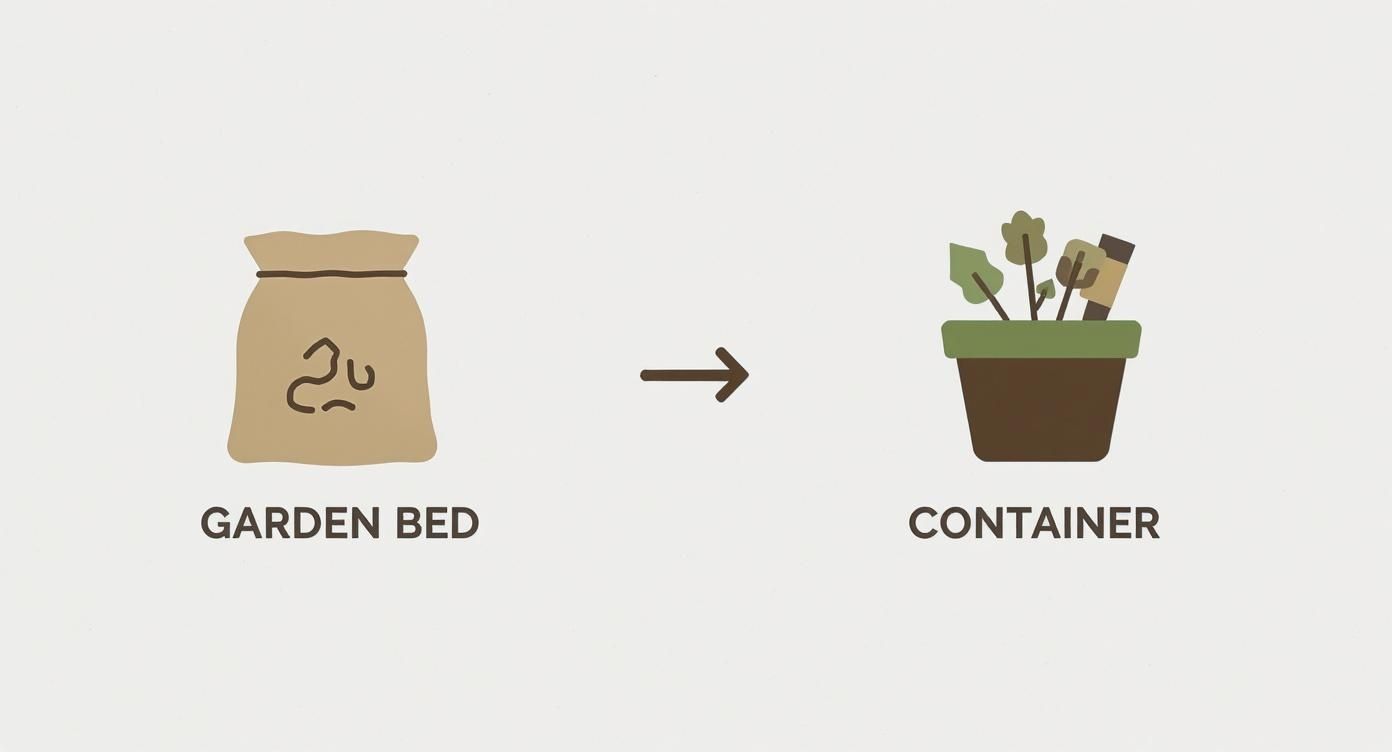
Getting Your Garden Bed or Containers Ready in 2 Ways
Spearmint is pretty easygoing, but it truly takes off when you give it a great start. Whether you're planting in the ground or sticking to pots, setting up the right environment is the most critical step you'll take. Think of it as building a solid foundation for a season of incredible, fragrant growth.
The main goal here is simple: rich soil that drains well. Spearmint absolutely hates having "wet feet," and soggy, waterlogged soil is a one-way ticket to root rot. This rule applies to both garden beds and containers, though how you get there is a little different for each.
Way 1: The Best Foundation for In-Ground Planting
If you're feeling adventurous and planting spearmint directly in the garden, remember that containment is just as important as soil quality. Most native garden soil is too heavy and dense for mint to really thrive. You'll need to lighten it up to improve the texture and, most importantly, the drainage.
For a happy in-ground mint patch, here’s what I recommend:
- Amend with compost: Dig in a generous 2 to 3-inch layer of good organic compost, working it into the top 6 to 8 inches of soil. This does two things: it adds essential nutrients and it works wonders for soil structure, loosening up heavy clay and helping sandy soil hold onto moisture.
- Do a quick drainage test: After you've mixed everything in, dig a small hole, fill it with water, and see what happens. If the water is gone in under an hour, you're in great shape. If it’s still sitting there, you'll want to work in more compost or even some coarse sand to help it drain better.
My two cents: Spearmint sends out aggressive underground runners that will try to take over your entire garden. To stop this hostile takeover before it starts, sink a bottomless pot or a proper root barrier at least 12 inches deep around your planting area. It’s a little work upfront that will save you a world of trouble later on.
Way 2: Choosing the Right Container Setup
There's a reason most people grow spearmint in containers—it's the easiest way to keep its aggressive nature in check. The right pot and the right soil mix are all you need to keep your plant happy and, more importantly, contained. When figuring out how to plant spearmint seeds in pots, the container size really does matter for the plant's long-term health.
Look for a container that’s at least 12 inches wide and deep. This gives the roots plenty of room to spread out and establish themselves without getting cramped and root-bound right away. Sure, a smaller pot will work for a little while, but you’ll just end up having to repot it much sooner.
Whatever pot you choose, make sure it has plenty of drainage holes. No drainage means water pools at the bottom, and that’s a recipe for disaster. As for soil, a good-quality, all-purpose potting mix is your best bet. These are specifically designed to drain well and usually contain perlite or vermiculite to keep things light and airy. For an extra kick, I like to mix in a handful of organic compost before I add the seeds.
If you want to dive deeper, we have some great tips on preparing garden soil for planting that are just as useful for container gardening.
Mastering The 2 Best Sowing Methods
When it comes to planting spearmint from seed, you have two great options. Which one you choose really just depends on your local climate and how eager you are to get a jump on the growing season. Both work well, but one will likely suit your garden setup and personal style better.
The first route is to start your seeds indoors, which is a brilliant move for anyone gardening in a cooler climate with a short growing season. This gives your tiny seedlings a safe, controlled space to sprout and get strong before facing the great outdoors. The alternative is direct sowing—planting the seeds right where you want them to grow, whether that's in a garden bed or a pot.
Method 1: Giving Seeds A Head Start Indoors
Starting spearmint seeds inside about 6 to 8 weeks before your last expected frost date is like giving them a VIP pass to spring. This method shields them from late-season chills, hungry critters, and heavy rains that can easily wash away such tiny seeds. By the time it’s safe to plant outside, you'll have a crew of sturdy little seedlings ready to go.
To pull this off, you'll need a few supplies:
- Seed Trays: Shallow trays or small pots with good drainage are perfect. A clear plastic dome over the top is a huge help for trapping the humidity spearmint needs to germinate.
- Light Source: While a sunny, south-facing window might do the trick, a grow light is a much safer bet. To keep seedlings from getting weak and "leggy," they need a solid 12-16 hours of light each day.
- Consistent Moisture: You want the soil to stay consistently moist, but never soggy. I find that using a spray bottle to mist the surface is the best way to water without disturbing the seeds.
Pro Tip: The most common pitfall I see with indoor seed starting is not providing enough light. If you notice your seedlings stretching and looking pale, they're desperately trying to reach for more light. Lower your grow light so it’s just a few inches above the tops of the plants.
Putting in this early effort really pays off. You end up with stronger, more established plants that are ready to thrive the moment you move them outside.
Method 2: The Simplicity Of Direct Sowing
If you prefer a more laid-back approach, direct sowing is a fantastic choice. Just wait until all danger of frost is gone and the soil has warmed up to at least 60°F (15°C). This method is incredibly straightforward because it cuts out the transplanting step, which can sometimes be a bit of a shock to young plants. You can dive deeper into this technique by checking out our guide to understanding direct seeding.
The real key to successful direct sowing is all in the prep work. First, loosen the top couple of inches of soil and rake it until it has a fine, smooth texture. Spearmint seeds are minuscule, so a smooth surface ensures they make good contact with the soil and don't get buried too deep. All you have to do is scatter the seeds lightly over the area and gently press them down, covering them with no more than a 1/4 inch of fine soil.
Deciding between starting indoors or sowing directly in the garden can be tough. I've put together a quick table to help you weigh the pros and cons of each method based on my own experience.
Indoor Start vs Direct Sow: A 5-Point Comparison
| Aspect | Starting Seeds Indoors | Direct Sowing Outdoors |
|---|---|---|
| Timing | 6-8 weeks before the last frost | After the last frost; soil at 60°F+ |
| Best For | Cooler climates, shorter seasons | Warmer climates, longer seasons |
| Effort | More initial setup (lights, trays) | Less initial work, more weeding later |
| Plant Success | Higher germination, stronger starts | Simpler, no transplant shock |
| Main Challenge | Providing enough light | Weeds and pests out-competing seedlings |
Ultimately, both paths lead to a lush patch of spearmint. Your choice just depends on whether you prefer more control at the beginning or a more hands-off approach.
Whether you start your seeds in a tray on your windowsill or directly in the soil, careful preparation is your ticket to a thriving spearmint patch.
From Sprout to Harvest: 3 Ways to Nurture Your Spearmint Plants
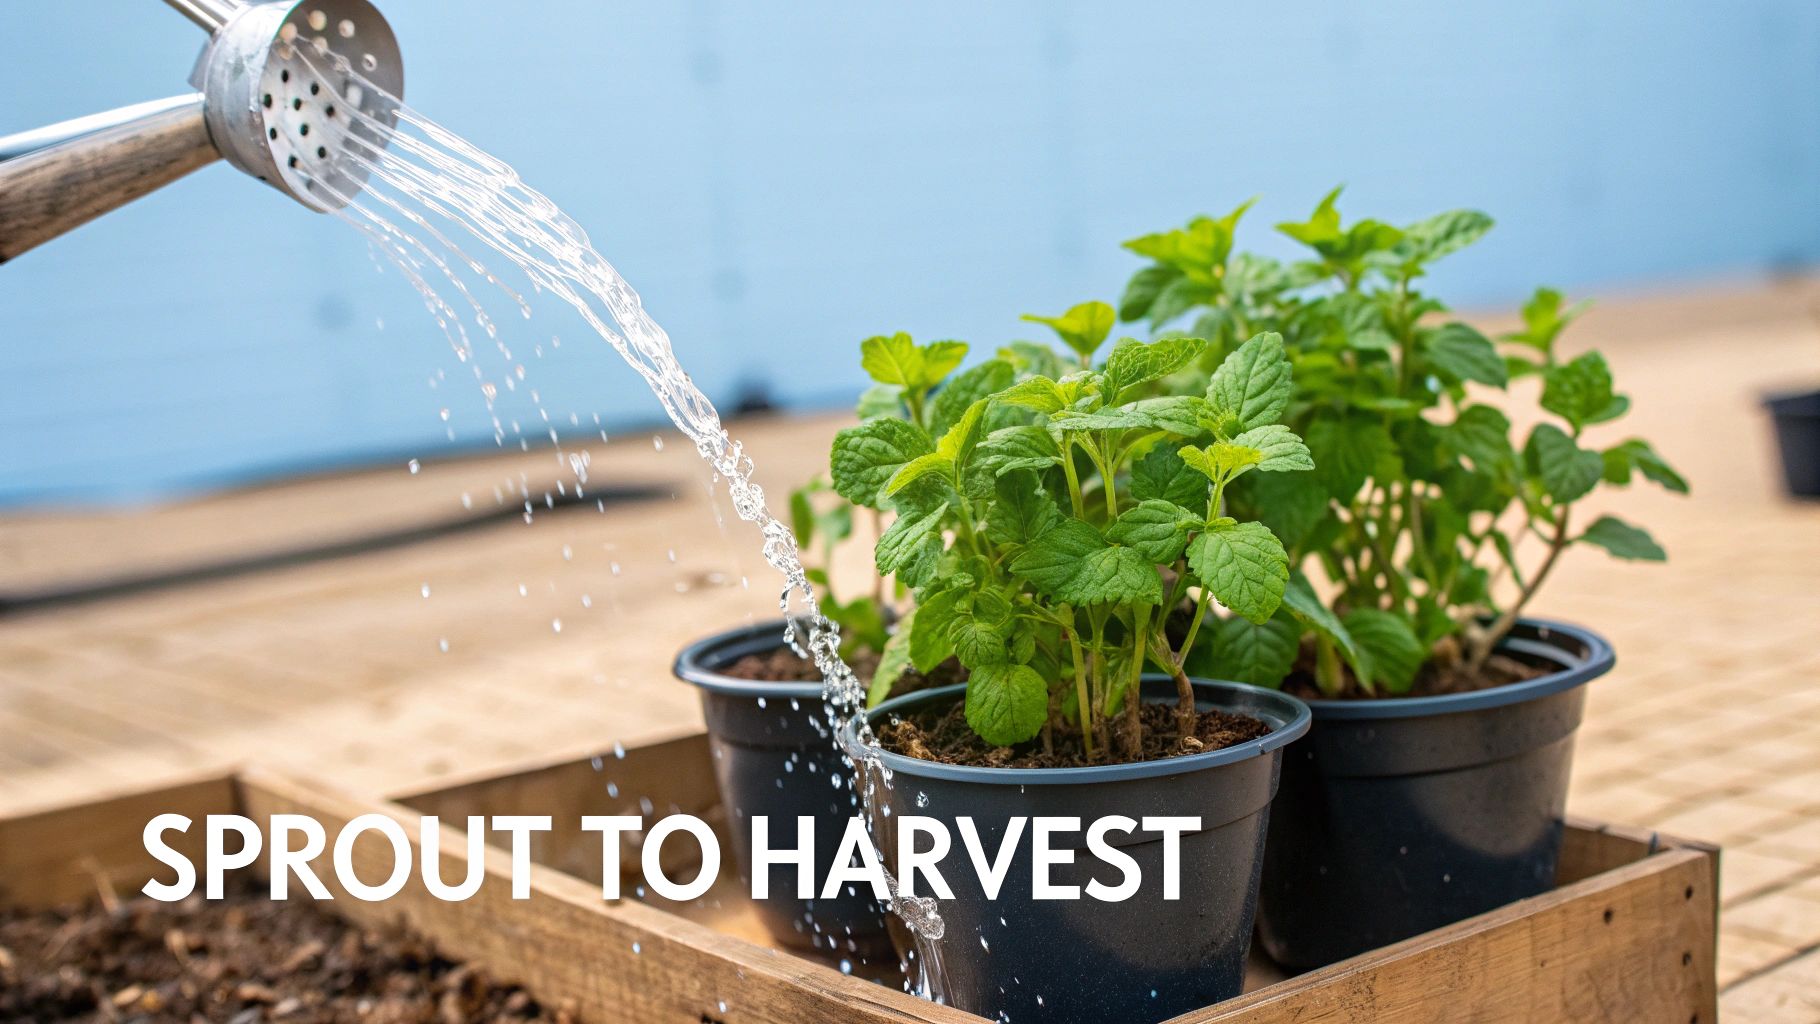
Seeing those first tiny green sprouts poke through the soil is a great feeling. Now, your job shifts from planter to caretaker. The good news is that spearmint is pretty forgiving, but giving your seedlings the right attention with water, light, and space will make all the difference between a few sprigs and a lush, fragrant patch.
Think of this stage as guiding your little plants through their fragile adolescence. Get it right, and you'll have robust plants that will keep giving you fresh leaves all season long.
1. Keeping Your Seedlings Perfectly Watered
For young spearmint, consistency is everything when it comes to watering. Those tiny seedlings can dry out in a heartbeat, so you need to keep the soil surface consistently moist. But "moist" is not the same as "soggy." Waterlogged soil is the fastest way to cause root rot, which will take out your seedlings before they even get going.
Get in the habit of checking the soil every day. Just a quick touch of the surface will tell you what you need to know—if it feels dry, it's time for a drink. Use a gentle watering can or a spray mister to avoid blasting the delicate sprouts right out of the soil. As the plants get bigger, they’ll get thirstier, but the same principle applies.
So many gardeners make the mistake of watering on a rigid schedule instead of what the soil actually needs. Humidity, sunlight, and temperature can change how quickly soil dries out. Always let the soil tell you when it's thirsty.
Once your spearmint is well-established, you can relax a bit and let the top inch of soil dry out between waterings. This actually encourages the roots to dig deeper for moisture, creating a tougher, more resilient plant.
2. Providing the Right Amount of Sunlight
Spearmint absolutely loves the sun, but it can get a little overwhelmed by intense afternoon heat. To get that classic, dense foliage, your plants will need at least six hours of direct sun every day. If you can give them morning sun, that’s the sweet spot—it’s bright without being scorching.
Too little light and your plants will get "leggy," stretching their stems thin and spindly as they desperately reach for a light source.
- For indoor seedlings: A bright, south-facing window is a good bet. If you don't have one, a simple grow light will do the trick, just be sure to give them 12-16 hours of light each day to mimic the outdoors.
- For outdoor plants: Find a spot that gets plenty of morning sun. The beauty of container gardening is that you can always move the pot if you find the location isn't quite right.
3. The Importance of Thinning for Healthy Growth
This part can feel a little brutal, but trust me, it’s one of the most important things you can do for a healthy mint patch. When you learn how to plant spearmint seeds, you quickly find that you almost always get more sprouts than you have room for. If you let them all grow, they’ll just compete for water, light, and nutrients, and you’ll end up with a clump of weak, struggling plants.
Wait until your seedlings are a couple of inches tall and have their first set of "true leaves" (the second set that appears, which look like miniature spearmint leaves). Now it's time to thin them to about 12 to 18 inches apart.
Identify the strongest, most vigorous-looking seedlings to keep. For the others, just take a small pair of scissors and snip them off right at the soil line. Don't pull them out—you risk damaging the delicate roots of the keepers. It feels tough, but this culling ensures the remaining plants have everything they need to flourish. For more general advice, check out our guide on how to grow mint.
Answering 4 Common Spearmint Planting Questions
Even the most seasoned gardeners run into questions, especially when starting something new like spearmint from seed. It’s one thing to read the steps, but it's another to see how the plant actually behaves. Let's tackle some of the most common head-scratchers that pop up.
1. How Long Does It Take for Spearmint Seeds to Germinate?
You’ll need a bit of patience here. Spearmint seeds aren't the fastest to sprout, typically taking anywhere from 10 to 16 days to show their first signs of life. The two biggest factors that can speed this up or slow it down are consistent moisture and warmth.
Think of the soil like a wrung-out sponge—it needs to be damp, but never soggy. As for temperature, the ideal range is between 60-70°F (15-21°C). If you're starting seeds inside and your house is on the cool side, a simple heat mat placed under the seed tray can work wonders. That gentle, steady warmth is exactly what spearmint seeds need to wake up.
2. Should I Plant Spearmint in a Pot or in the Ground?
This is probably the most important question you'll ask, and my answer is almost always the same: plant spearmint in a container. I can't stress this enough. Spearmint is an incredibly aggressive spreader. It sends out underground runners that will pop up everywhere, quickly taking over an entire garden bed and choking out everything else in their path.
Confining spearmint to a pot is the single best way to keep it from becoming a garden bully. It’s a simple preventative measure that will save you years of trying to pull it out of places you never wanted it.
If you are absolutely set on planting it in the ground, do yourself a favor and sink a bottomless pot or a plastic root barrier at least 12 inches deep into the soil around the plant. It's the only way to have a fighting chance at containing its ambitious root system.
3. Why Are My Spearmint Seedlings Tall and Skinny?
Ah, the classic "leggy" seedling problem. If your baby spearmint plants look long, pale, and stretched out, they're suffering from a condition called etiolation. It's their desperate attempt to reach for more light.
This is a straightforward fix: they need a much stronger light source, and they need it closer.
- For indoor setups, lower your grow light so it’s just a few inches above the tops of the seedlings. If you're relying on a windowsill, it’s likely not enough. Rotate the tray every day to prevent leaning and seriously consider adding a supplemental grow light.
- Check your timing. Seedlings need a solid 12 to 16 hours of light each day to develop strong, stocky stems and lush leaves.
4. How Often Should I Water My Spearmint Seeds?
Before germination, your main job is to keep the soil surface constantly moist. A fine mist from a spray bottle is your best tool here. Watering with a can, even gently, can easily wash the tiny seeds away or bury them too deep. A quick misting once or twice a day is usually perfect.
Once your seedlings have popped up, you can change your approach slightly. You still want moist soil, but it's okay to let the very top layer dry out between waterings. This actually encourages the roots to dig a little deeper for water, which helps build a stronger, more resilient plant. Just remember that mint hates "wet feet," so good drainage is absolutely essential to prevent root rot.
Ready to start your own fragrant spearmint patch? At Homegrown Garden, we offer premium heirloom seeds and all the supplies you need to succeed. Explore our curated collection and get expert advice at https://www.homegrown-garden.com to begin your gardening journey today.
Ready to start your own mint patch? Try our 6-variety Mint Seed Pack to grow spearmint and more from seed.

