

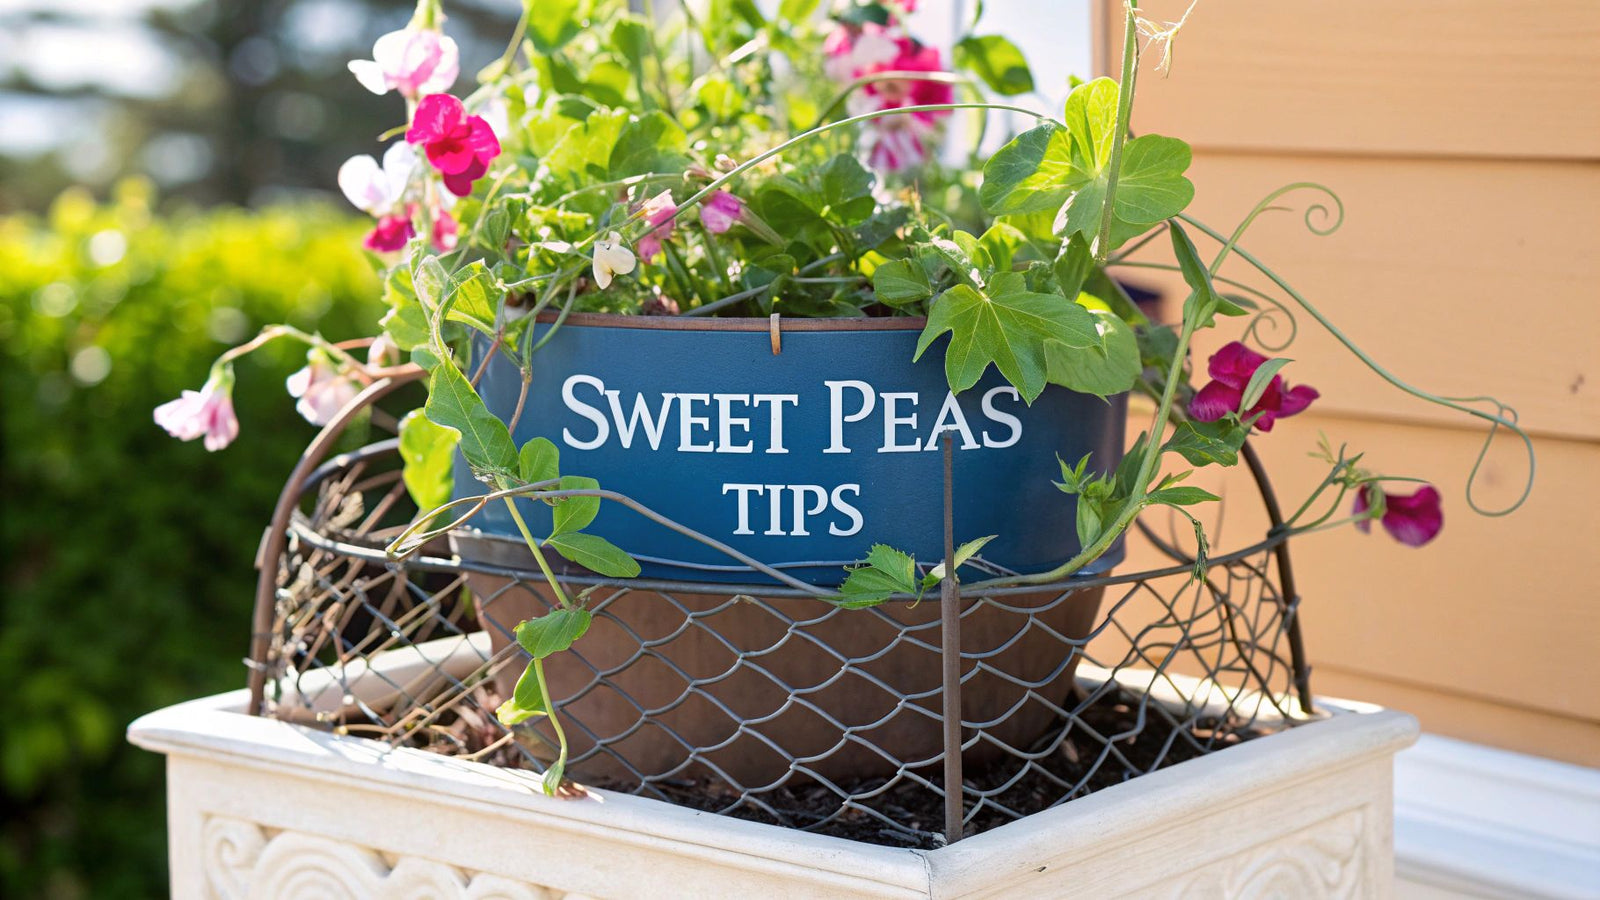

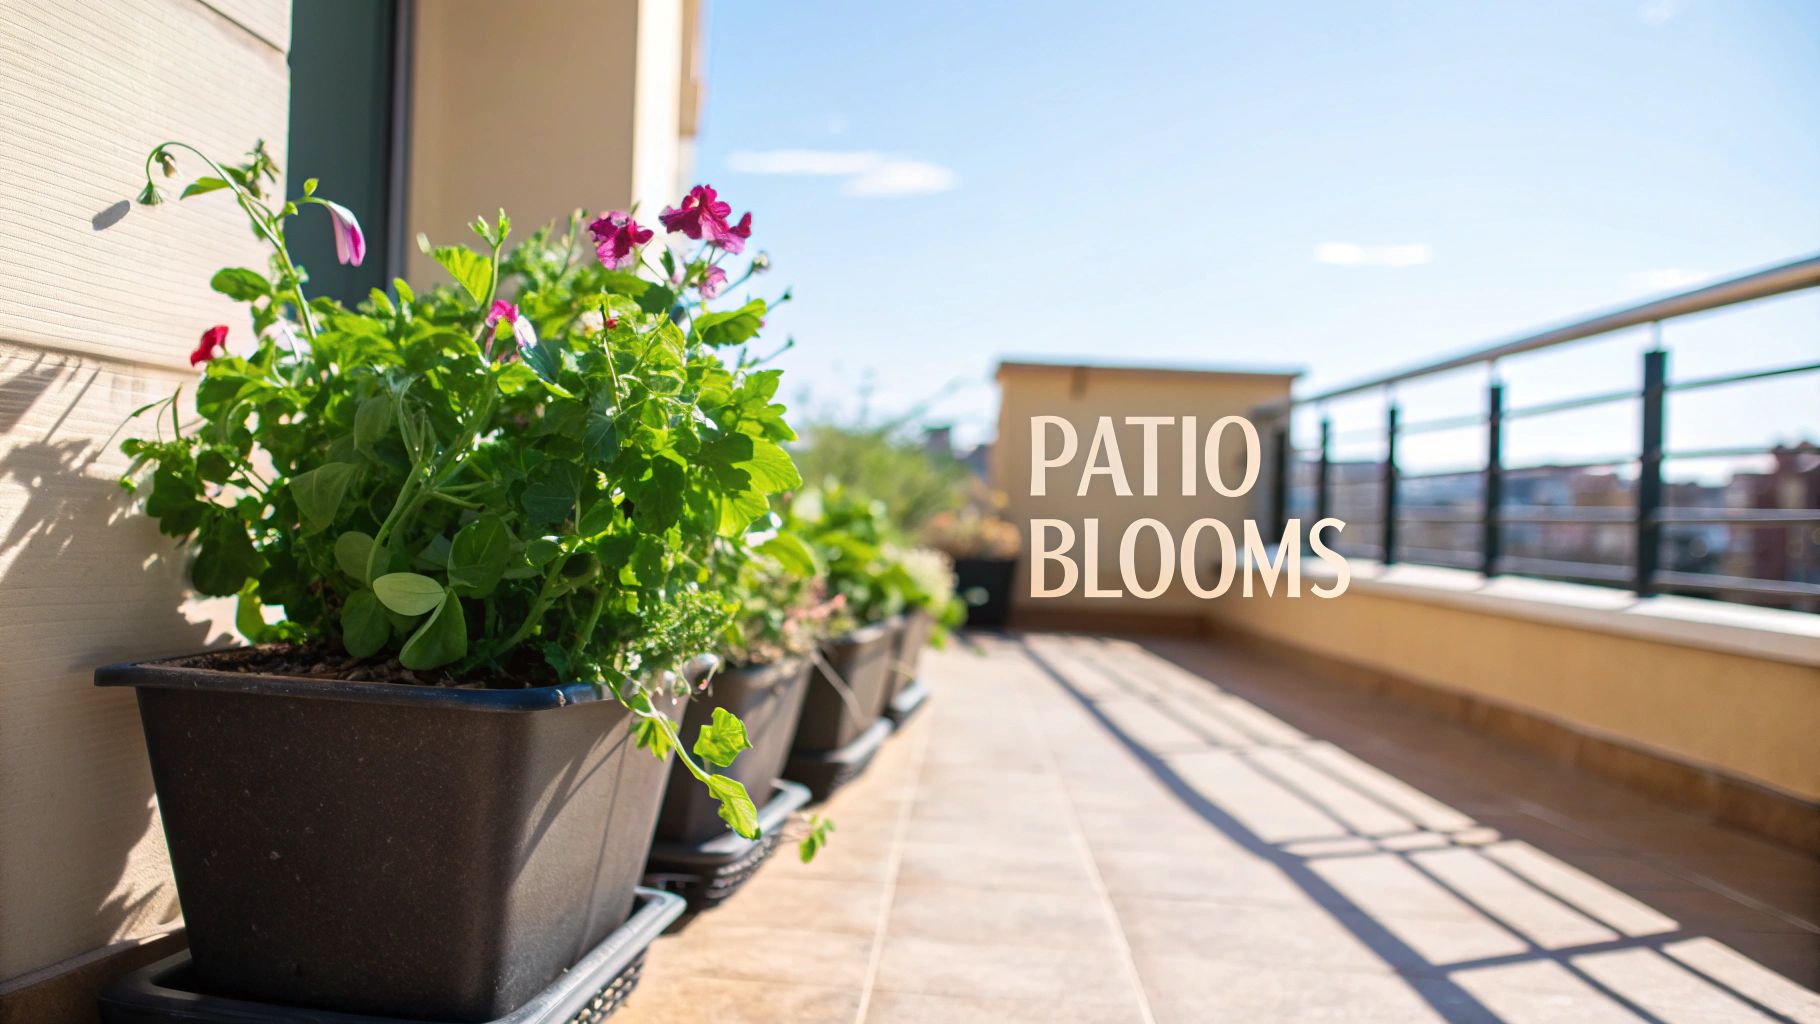
Growing sweet peas in pots turns even the tiniest balcony into a fragrant haven. You’re in the driver’s seat when it comes to soil, watering, and sunlight—no surprises from poor ground conditions. Below, you’ll find 7 Essential Strategies I’ve honed over seasons of trial and error to get those pastel blooms flourishing.
1. Understand Why Growing Sweet Peas In Containers Is A Game Changer
Many folks assume sweet peas demand expert-level care. In reality, they just need conditions tailored to their climbing nature. A pot filled with rich, loose mix sidesteps issues like heavy clay or nutrient-poor beds from day one.
Here’s how container life helps sweet peas thrive:
- Perfect Soil: Loose, well-draining blend keeps roots happy and oxygenated.
- Moisture Control: You decide when to water, avoiding swings that cause bud drop.
- Portability: Shift plants to follow sunbeams or escape a sudden hailstorm.
All this adds up to stronger vines and more abundant blooms. And when the forecast turns grim, a quick relocation is all it takes to keep your plants in their comfort zone.
With containers, you can move your sweet peas to follow the sun or protect them from harsh weather. That flexibility makes it easy to deliver the 6-8 hours of daily sun they need for nonstop flowering.
2. Choose the Right Pot and Sweet Pea Variety
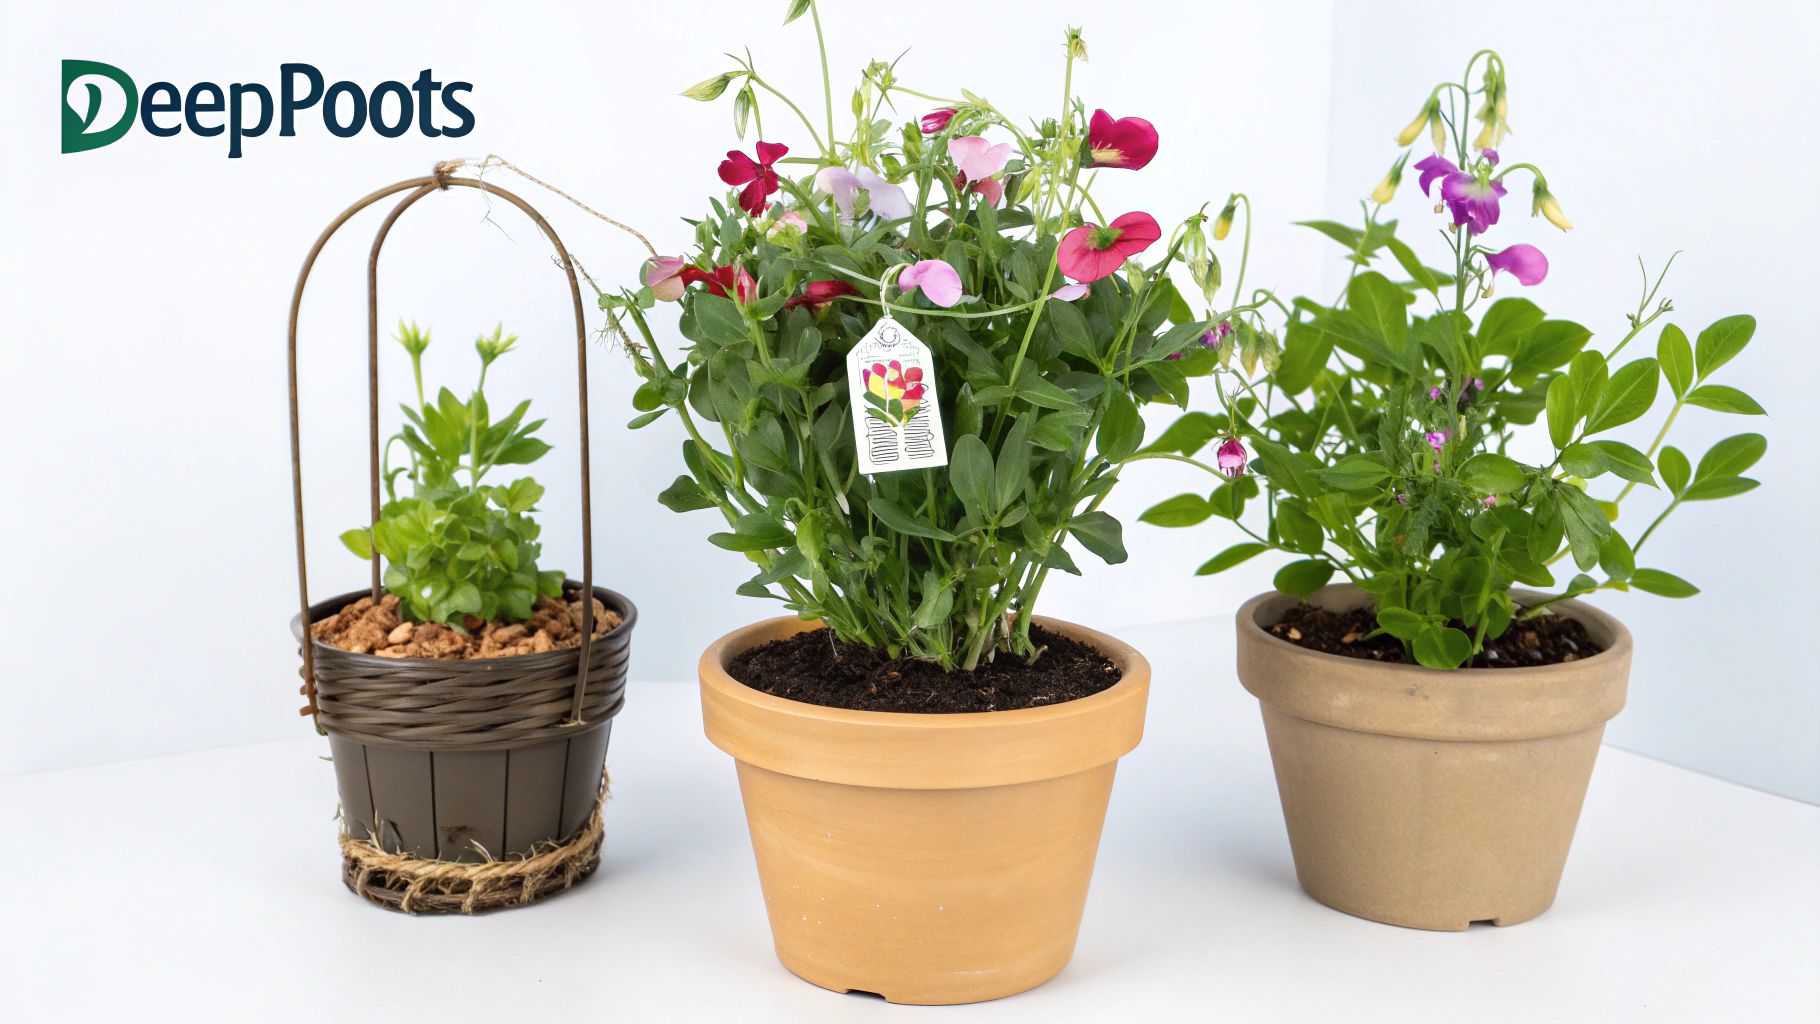
Getting sweet pea plants in containers off to a strong start really comes down to one thing: giving those long taproots enough room to stretch. If the soil runs out of depth, flowering stalls and plants look leggy and undernourished.
Look for a pot that’s at least 12 inches deep—but if you can swing an even deeper vessel, 18 inches is ideal. The extra space prevents roots from bottlenecking and keeps moisture from vanishing too quickly.
Picking The Perfect Pot Material
Container material isn’t just about looks. It directly affects how much you’ll be watering and how often you’ll need to check soil moisture.
• Terracotta Pots
- Pros: Breathable clay walls help prevent overwatering
- Cons: Dries out fast in hot sun
• Glazed Ceramic Or Plastic Pots
- Pros: Locks in moisture for days at a time
- Cons: Can stay too wet if drainage isn’t perfect
| Material Type | Moisture Retention | Breathability | Best For |
|---|---|---|---|
| Terracotta | Low | High | Cool climates, daily watering |
| Glazed Ceramic / Plastic | High | Low | Hot, dry areas or busy gardeners |
A common trap is picking a shallow, wide bowl purely for style. Sweet peas prefer something more bucket-like—vertical depth far outweighs a broad footprint.
Matching Sweet Pea Varieties To Your Space
Sweet peas come in two basic habits: compact trailers for small containers and vigorous climbers for eye-catching height. Choose the right type up front, and you’ll avoid frustrating regrowth or constant snipping.
If you’re working with a railing planter, window box or hanging basket, look at dwarf or trailing series:
• ‘Cupid’ Series
Great for baskets—neatly bushy, spills over edges without extra support.
• ‘Villa Roma Scarlet’
Forms a tidy mound about 12 inches tall, ideal on a small patio table.
For a trellis or stake in a large pot, classic climbers steal the show:
• ‘Cupani’
The grandfather of sweet peas, with a strong fragrance and bi-color petals.
• ‘Spencer’ Series
Big, ruffled blooms and long stems make these perfect for fresh-cut bouquets.
Before you finish your setup, you might want to browse the best gardening gifts for planters and tools that blend function with flair. Pairing the right vessel with the right variety is the first step toward a summer of fragrant, colorful blooms.
3. Create the Perfect Soil Mix for Potted Sweet Peas
When you're growing sweet peas in containers, the soil you use can make or break your success. Unlike plants in the ground, their roots are confined to a small space, so they rely completely on you to provide the perfect balance of moisture and air.
Getting the potting blend right from the start gives them a huge advantage.
Over years of experimenting with container gardening, I've found a simple, three-ingredient recipe that sweet peas absolutely love. It's my non-negotiable starting point for healthy, thriving vines.
- Compost: This is the foundation. It provides the rich organic matter and essential nutrients that fuel all that lush growth.
- Perlite: Think of this as the aeration specialist. It creates tiny air pockets, ensuring the mix stays light and drains well, which is crucial for preventing dreaded root rot.
- Coco Coir: This stuff is a marvel for moisture retention. It acts like a sponge, holding onto water without becoming a soggy mess, keeping the soil perfectly damp.
This trio works together to create a soil structure that holds just enough water while letting excess drain away freely. It's the ideal environment for sweet pea roots.
In a wheelbarrow or a large tub, I mix 2 parts quality compost with 1 part perlite and 1 part rehydrated coco coir. I'll add a little water as I go until the final mix feels like a damp sponge—it should hold its shape when you squeeze it but not drip water.
This texture is exactly what you're aiming for. It guarantees that oxygen can easily reach the roots and prevents those waterlogged pockets that can quickly kill a young plant.
For those of you starting seeds indoors during the cooler months, a little trick is to add an extra 10% perlite to the mix. This can help the soil warm up a bit faster.
The Nitty-Gritty on Your Mix Components
The quality of your ingredients really does matter.
When it comes to compost, look for a well-rotted, dark, and crumbly product. A good bagged organic compost works great, but just check the label to make sure it doesn’t have added lime, which can throw off the pH.
Perlite is a fantastic, pH-neutral volcanic glass that won't break down in your soil. Just be sure to avoid the "fine grade" stuff; it's too small and can sometimes clog the drainage holes in your pot, defeating its purpose.
Coco coir usually comes in compressed bricks that you need to rehydrate. A quick but important tip: unless the package says it's pre-washed, give it a good rinse before mixing it in. This flushes out any residual salts from the coconut processing.
I've consistently found that a simple homemade mix using fresh, quality components outperforms generic, pre-made potting soils. You just have more control.
That said, if you're short on time, a high-quality commercial mix is a perfectly good option. Look for brands that list coco coir, perlite, and something like composted bark or forest products high on their ingredients list. I’d steer clear of mixes that are heavy on peat moss, as it can compact over the season and suffocate the roots.
While this specific recipe is tailored for sweet peas, the principle of adding good organic matter to improve soil structure and fertility applies to nearly any container-grown plant. Many gardeners in the United States, for instance, have great success blending peat moss with perlite to achieve a similar boost in drainage and aeration.
For a broader look at container soils, this guide from NC State is a fantastic resource: Learn more about container mix research from NC State.
3 Quick Tips for Your Potting Mix
If you want to dive even deeper into creating amazing soil for other parts of your garden, check out our guide to the best soil for a vegetable garden.
Here are a few final pointers to keep in mind:
- Freshen Up: If you're reusing pots, it's a good practice to swap out the soil each year. This prevents any disease buildup and ensures your new plants have a fresh start.
- Give a Mid-Season Boost: A couple of months into the growing season, I like to top-dress the pots with a thin layer of compost. It replenishes nutrients and keeps the plants going strong.
- The Squeeze Test: Not sure if you need to water? Just grab a small handful of soil and squeeze. If it holds its shape but doesn't drip, your moisture level is perfect.
With the right soil mix in place, your potted sweet peas will have everything they need to produce those gorgeous vines and an abundance of fragrant blooms. Happy planting
4. Sow Seeds for Maximum Germination
Getting those sweet pea seeds to sprout is your first real win. Honestly, the timing is everything, and it really hinges on where you live. This one decision can mean the difference between a pot bursting with growth and a slow, disappointing start.
If you’re gardening in a milder climate, say USDA zone 7 or warmer, you have a huge advantage. Get those seeds in the ground in autumn. This gives them the entire winter to focus on building a deep, strong root system. Come spring, they'll just explode with growth and you'll be rewarded with earlier, more plentiful flowers.
For those of us in colder parts of the country, patience is key. We need to aim for a late winter or early spring sowing. I've found that starting seeds indoors about 10-12 weeks before the last expected frost is the sweet spot. This gives the seedlings a protected head start, keeping them safe from any late freezes before they're ready for their final home.
To Soak or Not to Soak
Ah, the great sweet pea debate. You'll hear gardeners argue endlessly about this one. Some are adamant about nicking the hard seed coat with nail clippers, while others will tell you an overnight soak is the only way to go. Both tactics are designed to help moisture break through that tough outer shell and kickstart germination.
My take? I’ve had plenty of success just planting them straight from the packet. If you're using fresh seeds and a quality potting mix, you'll likely get great germination rates without the extra fuss. However, if you're dealing with older seeds or just want to hedge your bets, a simple overnight soak in some lukewarm water is a no-fuss way to give them a boost.
A great soil mix is just as important as seed prep. It's the foundation for healthy roots and, eventually, beautiful flowers.
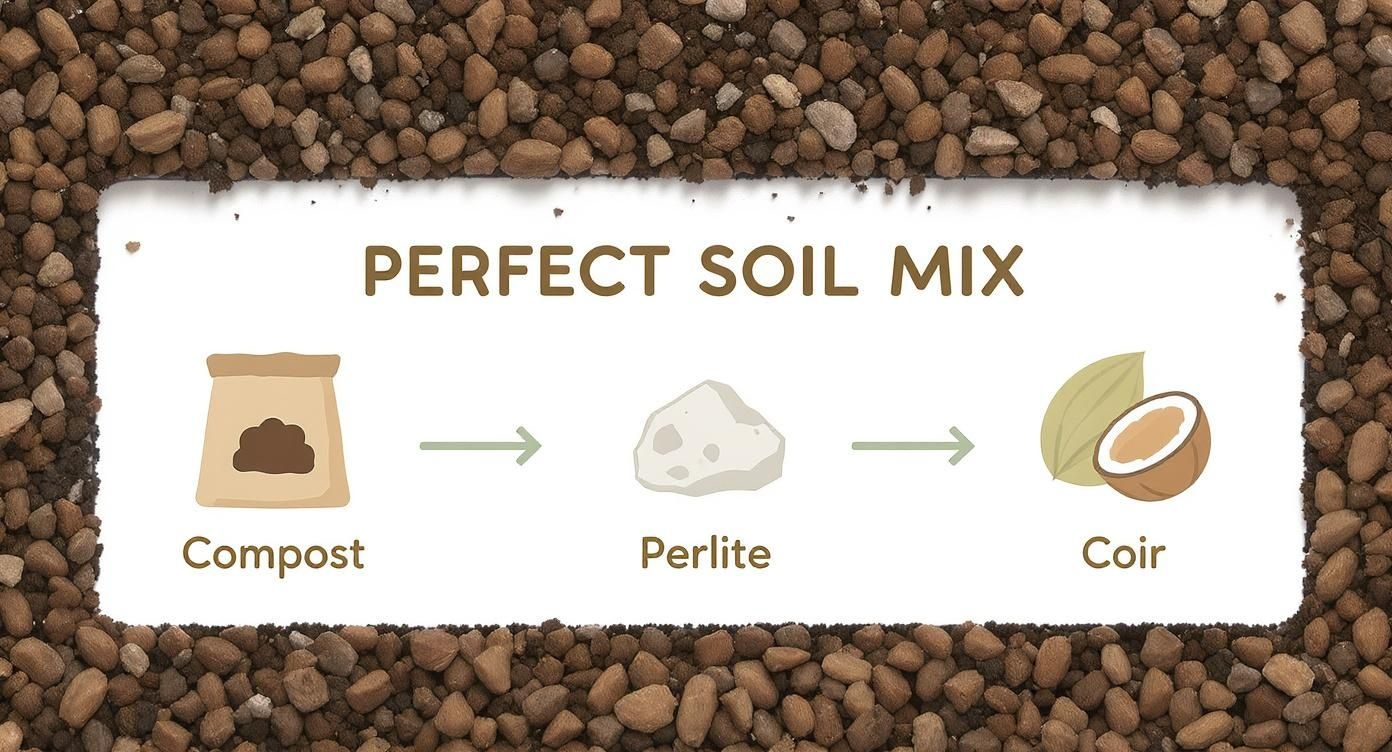
You can see how blending components like compost, perlite, and coir creates the perfect balanced environment for your sweet peas to thrive.
Sowing Depth and Density
Alright, let's get planting. Pop your seeds about one inch deep into your potting mix. A rookie mistake I see often is planting too shallowly. This leaves the seeds exposed, and they can easily dry out or get knocked around.
In a container, you want a full, lush look. I recommend planting 2-3 seeds together in each spot, spacing these clusters about 2-3 inches apart. This method almost guarantees a thick display of vines. Once the seedlings are a few inches tall, you can simply snip out the weaker ones, leaving the strongest to flourish. If you want to dive deeper into this, our guide on 10 tips for sowing and germination has some great extra pointers.
Here’s a pro tip that many people miss: temperature is the most important piece of the germination puzzle. Sweet peas are cool-weather lovers and sprout best when it’s between 50-55°F (10-13°C). Whatever you do, don't put them on a heat mat—it's the fastest way to get weak, spindly seedlings, or no germination at all.
Once you’ve sown your seeds, find a cool but bright spot for the pots. An unheated garage near a window, a cold frame, or a cool porch works perfectly. Keep the soil moist but not soggy. Before you know it, usually in about 7-15 days, you’ll see those first little green shoots poking through the soil. That's the moment you know your spectacular sweet pea show has officially begun.
5. Give Your Sweet Peas a Leg Up with Sturdy Support
The moment your sweet pea seedlings emerge, they’re already on a mission. Almost immediately, you'll see them sending out those tiny, grasping tendrils, searching for something to climb. This is where you need to act fast.
If you wait until the vines are already a few inches long, you're setting yourself up for a tangled mess that's difficult to untangle without breaking the delicate stems. It's best to have your support structure in place when you plant the seeds, or at the very latest, when the first true leaves appear. This way, the support is ready and waiting for those ambitious little climbers.
Providing a structure from day one encourages strong, upward growth, improves air circulation (which helps prevent fungal issues), and ultimately leads to a more impressive floral display.
3 Simple Support Structures for Containers
You don't need anything fancy to support sweet pea plants in containers. The best options are simply ones that are sturdy, fit well inside your pot, and look good with your overall setup.
Here are a few of my go-to methods that work beautifully:
-
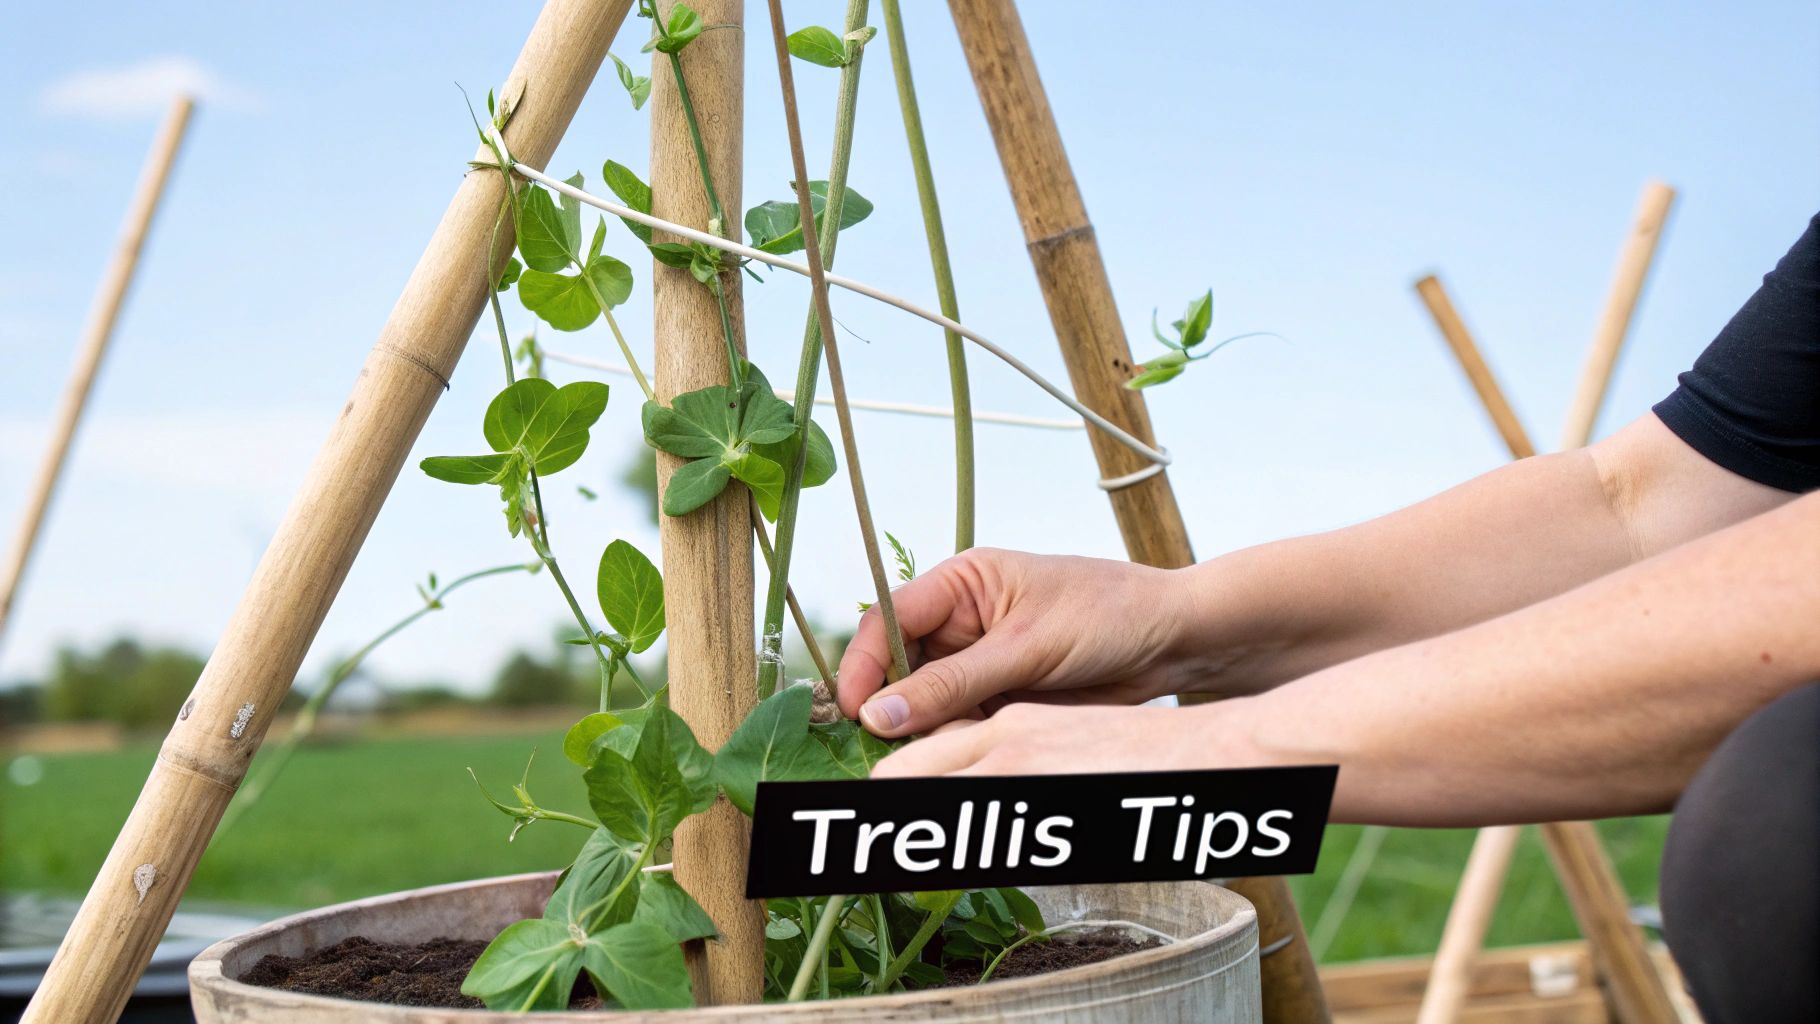
The Classic Bamboo Teepee: This is a gardener's favorite for good reason. Just push three to four bamboo canes (around 4-6 feet tall) into the soil near the pot's edge, angling them inward. Then, lash the tops together with garden twine to create a teepee shape. It’s cheap, stable, and gives the vines plenty of room to scramble up.
-
A Small Trellis: For a more polished look, especially if your pot is up against a wall or fence, a small wooden or metal trellis is perfect. Just be sure to push it deep into the soil so it remains stable when it’s eventually covered with heavy, flower-laden vines.
-
A DIY Twine Grid: This is a wonderfully simple and effective option. You can create a grid by tying garden twine horizontally between a few upright stakes. Another trick is to wrap a section of flexible pea netting around bamboo canes to form a cylinder. This gives the tendrils a dense network to cling to, creating a lush column of flowers.
Don't just assume the plant will find its way. Once you spot the first tendrils, gently guide them toward the base of your support. You can use soft plant ties or just loosely wrap the tendril around a cane to give it the hint.
Finding the right support for your climbing sweet peas is half the fun. To help you decide, here’s a quick rundown of the most common options and where they shine.
Container Support Options for Sweet Peas
| Support Type | Best For | Pros | Cons |
|---|---|---|---|
| Bamboo Teepee | Round pots, informal cottage garden styles. | Inexpensive, easy to assemble, provides 360-degree climbing space. | Can look a bit rustic; may not be sturdy enough in very windy spots. |
| Small Trellis | Pots against a wall or fence, creating a backdrop. | Looks elegant and formal, provides a flat plane of color. | Can be top-heavy if not secured well; limited climbing width. |
| Twine or Netting Grid | Maximum flower density, creating a "wall of flowers". | Very cheap, highly customizable, provides tons of handholds for tendrils. | Can look messy if not set up neatly; twine may degrade over a season. |
Ultimately, the best choice depends on the size of your pot, where you plan to place it, and the look you’re going for. Any of these will get the job done beautifully.
Guiding Your Sweet Peas Upward
As your seedlings stretch out, keep an eye on them. Their first tendrils are your cue to step in and gently guide them toward the support structure. These early shoots are incredibly fragile, so a light touch is all you need to help them get a good grip.
Sweet peas are grown all over the world, with countless varieties available. Interestingly, places with mild weather like California are ideal for producing sweet pea seeds because the climate helps reduce unwanted cross-pollination. To succeed with your own container-grown plants, providing the right support is just as crucial as choosing the right variety. For more on that, you can discover some great insights on selecting sweet pea varieties on reneesgarden.com.
Putting in the effort to create a sturdy, attractive support is one of the most rewarding parts of the process. For more inspiration, take a look at these vertical gardening ideas for spring. It’s a fantastic way to make the most of your space and enjoy a stunning vertical show of fragrant, beautiful blooms.
6. Master Watering and Feeding for a Summer of Blooms
Once your sweet peas have found their footing and started their climb, your job shifts from getting them started to keeping them happy. This is where the magic really happens—turning healthy vines into a constant supply of fragrant, beautiful flowers. Consistent watering and a smart feeding plan are what will carry you through a long and productive blooming season.
When it comes to watering plants in pots, never guess. The best tool you have is your finger. Just poke it about an inch into the soil; if it comes out dry, it's time for a drink. Water deeply, letting it soak through until it runs out of the drainage holes at the bottom. This ensures you've moistened the entire root ball, not just the top layer.
During the height of summer, you might find yourself watering every single day, especially with porous containers like terracotta that dry out fast. The aim is to keep the soil consistently moist—never waterlogged and never completely parched. Either extreme will stress the plant, often causing it to give up on its precious flower buds.
How to Feed Your Sweet Peas
Because they're growing in a confined space, container-grown sweet peas are heavy feeders and will quickly use up the nutrients in the soil. A good feeding schedule is non-negotiable if you want a non-stop flower show.
For the first month or so after they've taken off, a standard liquid fertilizer every couple of weeks will do the trick, encouraging strong, leafy growth. But the moment you spot those first tiny flower buds appearing, it’s time to change tactics.
The real secret to feeding sweet peas in pots is switching to a high-potash fertilizer as soon as they start to flower. Potash, the 'K' in the N-P-K ratio, is the nutrient that fuels flower production. Think of it as bloom fuel, pushing the plant’s energy into making flowers instead of just more leaves.
A liquid tomato feed is perfect for this and easy to find. Once the flowers start, begin feeding with a high-potash fertilizer once a week and keep it up for the entire blooming period.
The Best Kept Secret: Pick, Pick, and Pick Some More
Here’s the single most important thing you can do to guarantee a long-lasting sweet pea display: the more you pick, the more flowers you will get. It feels wrong, but it’s just plant science.
As soon as a flower fades, the plant’s mission shifts to producing a seed pod. Once it thinks its reproductive job is done, it stops wasting energy on new flowers. By constantly cutting the blooms, you’re sending a loud and clear message to the plant: "The job's not finished! Make more flowers!"
- Make it a routine. Get out there every 2-3 days and snip off any open flowers and those that are starting to look a little tired.
- Cut long stems. When you harvest, cut the stems as long as you can. This actually encourages the plant to produce more of those lovely, long stems that are so perfect for a vase.
- Be ruthless with seed pods. If you miss a few and they develop into pods, snip them off the second you see them. Don't let them stick around.
Sweet peas are adored for that incredible scent and vibrant color, but they don't last long in a vase—usually just four to five days. This short lifespan is exactly why consistent harvesting is so rewarding; it keeps a fresh supply ready for you to bring indoors. You can find more success with sweet peas by learning harvesting tips from Floret Flowers. This simple, regular task is truly the key to a summer overflowing with fragrant blooms.
7. Troubleshoot 4 Common Sweet Pea Problems
Even the most seasoned gardeners run into a few hiccups now and then, especially when growing sweet peas in pots. Don't sweat it—most of the common problems are surprisingly easy to fix. Catching them early is the key to getting your plants back on track for a season full of gorgeous flowers.
Here are the answers to the 4 most common questions I get from fellow gardeners, along with some practical advice to get your sweet peas happy and healthy again.
Why Are the Leaves on My Sweet Peas Turning Yellow?
Yellowing leaves are your plant's way of telling you something's not quite right, and it almost always comes down to water or food. The number one culprit is usually overwatering. It's so easy to love our plants a little too much! If the soil is constantly soggy, the roots can't breathe. Always stick your finger an inch into the soil; if it feels damp, hold off on watering.
If the soil feels fine and not waterlogged, then the yellowing is likely a sign of nitrogen deficiency. Think of it as a cry for a quick meal. A little boost from a balanced liquid fertilizer should perk them up and get that vibrant green color back into the new growth.
Why Aren't My Sweet Peas Flowering?
Ah, the classic "all leaves, no flowers" problem. It's frustrating, but the cause is usually one of two things: the wrong diet or not enough sunlight. If you've got a jungle of lush, green vines but not a single flower bud in sight, you're probably giving them too much nitrogen. Nitrogen tells the plant to focus on growing leaves, not making blooms.
Luckily, the fix is straightforward.
- Stop using any high-nitrogen or all-purpose fertilizer right away.
- Switch to a high-potash feed. Look for something marketed as a "bloom booster" or even a "tomato feed," as they're formulated to encourage flowering.
- Check the location. Are your pots really getting at least 6-8 hours of direct sun every day? Sweet peas are sun-worshippers, and a shady spot just won't cut it.
This simple nutrient swap flips a switch in the plant, telling it to stop focusing on foliage and start putting its energy into producing those beautiful, fragrant flowers. You'll be surprised how quickly you see a difference.
How Often Should I Be Picking the Flowers?
Constantly! This is the most important rule for a long and bountiful sweet pea season: the more you pick, the more you get. As soon as a flower starts to fade, it begins the process of creating a seed pod. Once that happens, the plant thinks its life's work is done and starts shutting down flower production.
To keep the show going, make picking a regular habit. I try to get out there every two or three days with my snips. Cut flowers for bouquets, and be ruthless about snipping off any blooms that are even beginning to look past their prime. This keeps the plant in a state of perpetual production.
Can I Reuse the Same Potting Soil Next Year?
I really wouldn't recommend it. Sweet peas are what we call "heavy feeders," which is just a nice way of saying they gobble up most of the nutrients in their potting mix over a single growing season.
Beyond nutrient depletion, nasty soil-borne diseases that can harm sweet peas can linger in old soil. The best practice is to start fresh each spring with a bag of high-quality potting mix. It gives your new seedlings a clean, disease-free start and all the nutrition they need to thrive right out of the gate.
At Homegrown Garden, we believe everyone can grow a beautiful garden, no matter the space. Explore our curated selection of heirloom flower seeds, specialized potting mixes, and container gardening kits to start your sweet pea journey today. Visit us at https://www.homegrown-garden.com to find everything you need for a season of fragrant blooms.
Want more fragrant blooms for your containers? You can browse our flower seed collection to find your next variety.

