

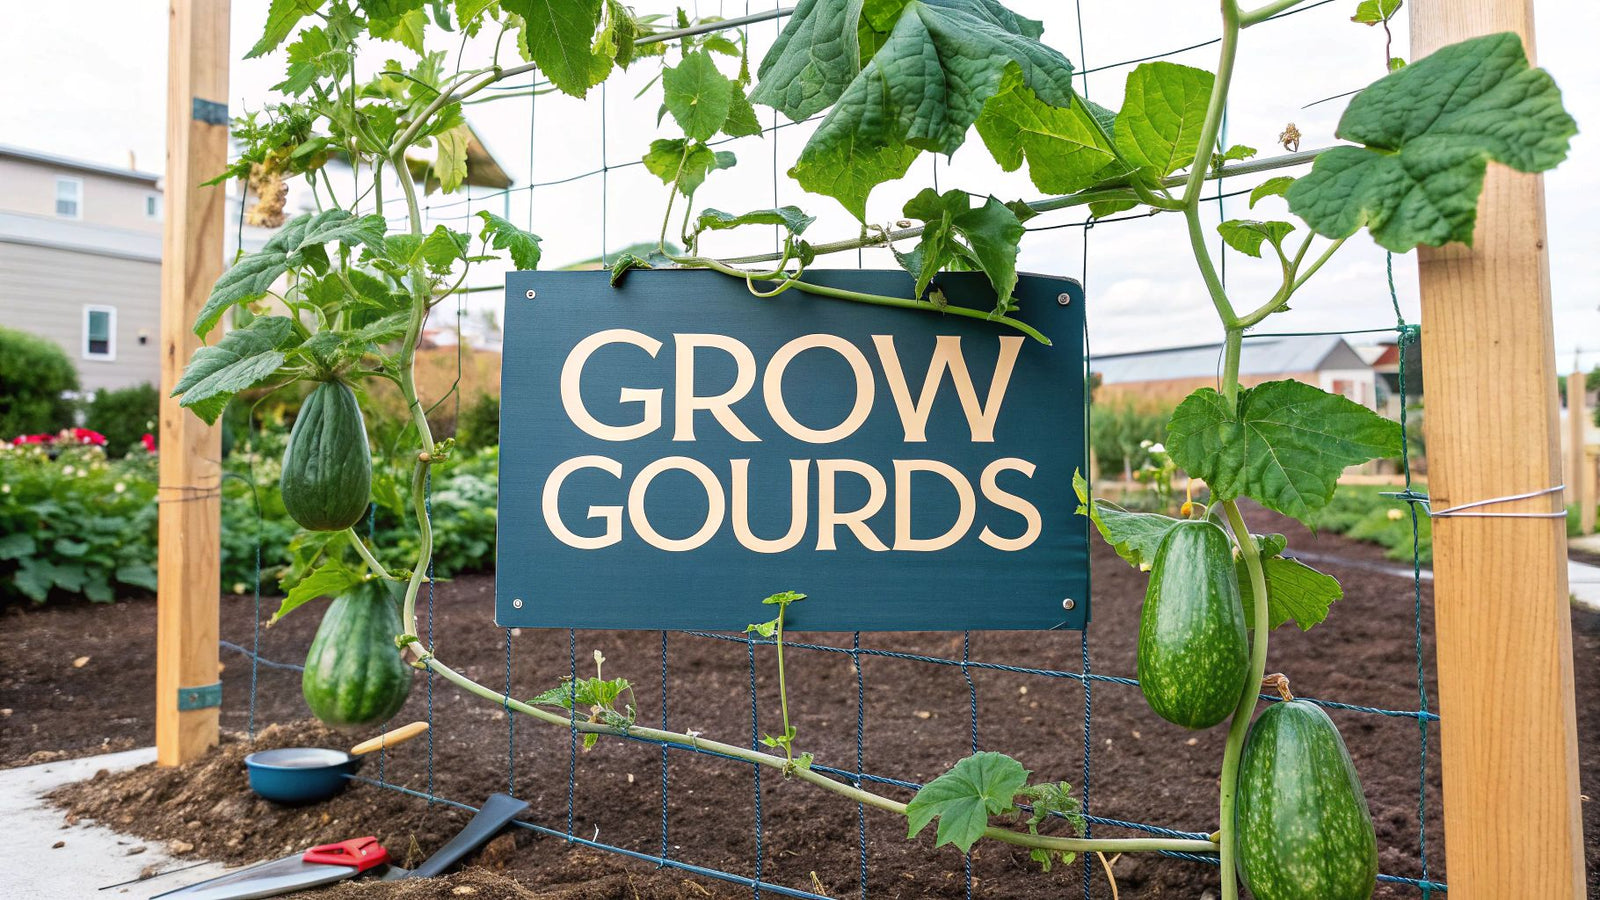

Growing gourds really comes down to three things: full sun, rich soil, and a strong trellis. If you can nail those fundamentals, you're set up for a great harvest, whether you're dreaming of crafting your own birdhouse gourds or growing natural luffa sponges.
Our Top 11 Tips for Growing Gourds
Welcome to the incredibly fun world of gourd gardening. Here are our top 11 tips to guide you from seed to a bountiful harvest. Getting these core pieces right from the very beginning is the best thing you can do for a healthy, productive gourd patch.
1. Create the Ideal Gourd Environment
Think of gourds as sun-loving, hungry teenagers. To really get them to take off, they need a couple of things, no questions asked.
- Plenty of Sun: Find a spot in your garden that gets at least 6-8 hours of direct, unfiltered sunlight every day. Less than that, and you'll end up with spindly vines and very few, if any, gourds to show for your efforts.
- Rich, Well-Drained Soil: These plants are heavy feeders. Before you plant, work a generous amount of well-aged compost or rotted manure into your soil. This gives them the fuel they need for their explosive growth.
2. Give Them Something Sturdy to Climb
Just about every gourd variety is a climber with vines that will sprawl everywhere if you let them. A classic rookie mistake is underestimating just how heavy the fruit gets—a single mature gourd can easily weigh 10-15 pounds.
A sturdy trellis, a heavy-duty arbor, or even a fence made of cattle panel isn't just a nice-to-have; it's a must. Growing vertically lifts the gourds off the damp ground, which prevents rot and improves air circulation, dramatically cutting down the risk of fungal diseases like powdery mildew.
3. Understand the Gourd Lifecycle
Patience is a virtue when growing gourds. Many of the most popular types, like the classic birdhouse gourd, need a long season of 120-180 days to reach full maturity. Understanding the timeline helps you give them what they need, when they need it.
To help you visualize the journey from a tiny seed to a fully cured gourd, here's a quick overview of what you can expect.
Gourd Growing At a Glance
This table breaks down the essential requirements and typical timeline for each stage of a gourd's life. Think of it as your cheat sheet for the season.
| Growth Stage | Key Requirement | Typical Timeline |
|---|---|---|
| Germination | Warmth (70-85°F soil) & consistent moisture | 7-14 days |
| Vine Growth | Full sun, regular watering, & sturdy support | Weeks 2-8 |
| Flowering & Pollination | Attract pollinators; may require hand-pollination | Weeks 8-12 |
| Fruit Development | Consistent water & balanced fertilizer | Weeks 12-20+ |
| Maturation & Harvest | Stem begins to dry; gourd feels light for its size | 120-180 days from planting |
| Curing/Drying | Dry, well-ventilated area away from direct sun | 1-6 months post-harvest |
Following these stages will guide you from that first sprout all the way to a finished, craft-ready gourd.
This infographic lays out the journey beautifully, from seed to a mature, harvestable gourd.
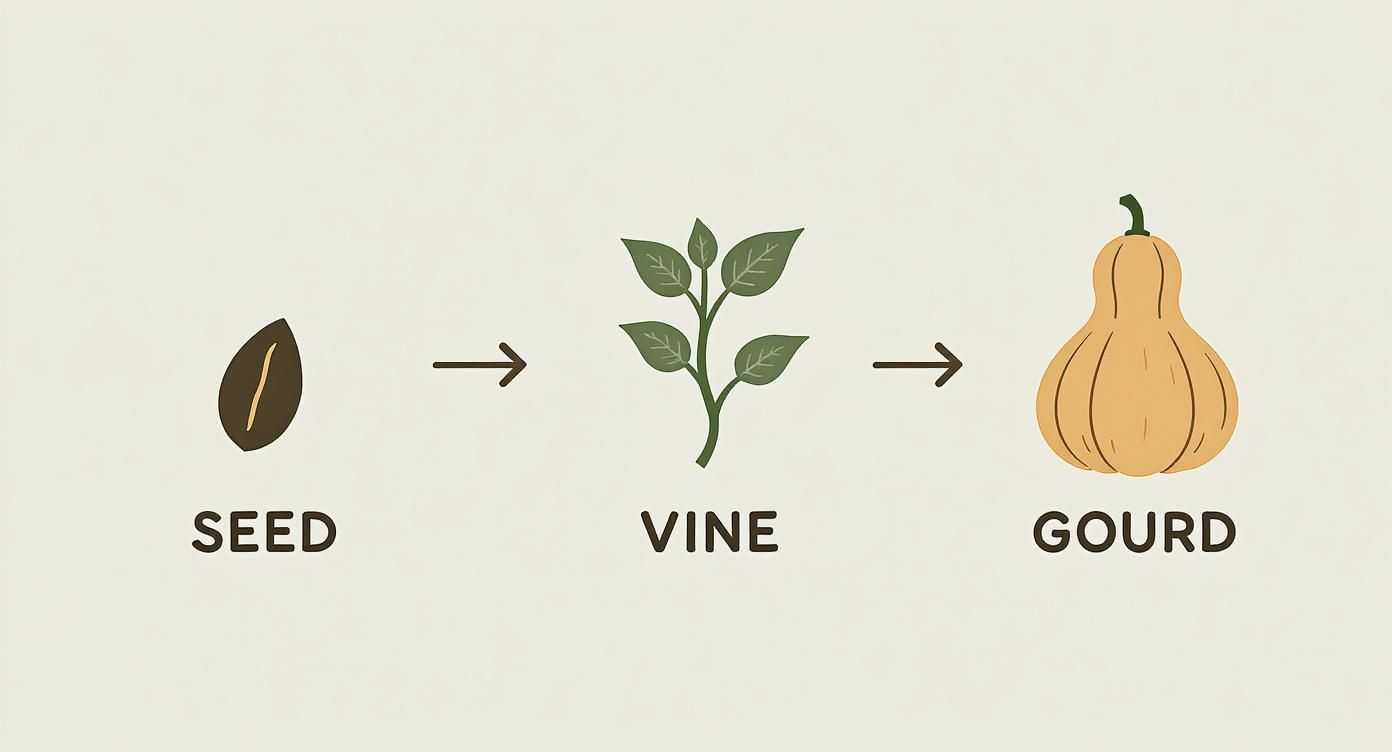
As you can see, it's a steady progression. First comes the germination, then the vines take off, and finally, the gourds themselves start to form and mature. We'll cover the specific needs of each stage to make sure your plants have everything they need to finish strong.
4. Choose the Right Gourd Variety
https://www.youtube.com/embed/1MnkZEhANhk
Before you even think about grabbing a spade, the first and most critical choice you’ll make is which gourd to grow. This decision sets the stage for everything that follows—from how big your trellis needs to be to how long you’ll need to wait for harvest. The gourd family is wonderfully diverse, with a perfect match for just about any project you have in mind.
So, what's your end game? Are you a crafter dreaming of turning your harvest into birdhouses, bowls, or maybe even a banjo? Or are you more interested in the practical side, like growing your own natural sponges or adding some unique veggies to your kitchen? Your goal is your guide.
Hard-Shelled Crafting Gourds
If crafting is what you're after, you'll want to focus on the Lagenaria family. These are the classic hard-shelled gourds that cure into a wood-like material, making them incredibly durable.
- Birdhouse Gourds: The name says it all. Their classic bottle shape is perfect for creating little homes for wrens and chickadees. Just be prepared for a long wait, as they need 120-180 days to mature.
- Bushel Gourds: These are the giants of the gourd world. They can grow to an incredible size, making them showstoppers as massive decorative bowls or baskets. A word of warning, though: they demand a seriously sturdy trellis to handle their weight.
- Dipper Gourds: Known for their long, slender necks, these were the original water ladles. They're another fantastic choice for all sorts of artistic and decorative projects.
Growing these varieties takes patience and a strong support system, but your reward is a harvest that can be crafted, displayed, and enjoyed for years to come.
Soft-Shelled and Edible Gourds
Maybe your interests lean more toward the kitchen or bath. If so, there are plenty of other gourds to explore, and they often have the benefit of a shorter growing season.
The most famous one here is the Luffa gourd. When you pick it young and tender, it's a delicious vegetable, a bit like a summer squash. But if you let it hang out on the vine to fully mature and dry, its fibrous skeleton becomes the luffa sponge we all know—a fantastic, plastic-free scrubber for your kitchen or shower.
Choosing a variety is also about being realistic about your climate. Many hard-shelled gourds need a long, hot summer to fully mature. If you're gardening in a colder region with a short season, you'll want to seek out varieties bred for faster growth or get a head start by planting seeds indoors.
Sourcing Your Gourd Seeds
Once you’ve landed on the perfect variety, you need to get your hands on some quality seeds. You can buy them from a trusted supplier or try saving them from a gourd you grew last year. While saving seeds is a fantastic skill, I usually recommend beginners start with professionally packaged seeds from a reputable company to ensure a good germination rate.
The world of gourd growing, particularly for bitter gourds, is changing quickly thanks to new seed technology. The bitter gourd seed market alone is projected to hit $450 million in 2025 and is still climbing. This boom is driven by the development of high-yield, disease-resistant hybrids that make growing gourds easier and more productive. Modern seeds often come with better germination rates and built-in pest resistance, opening up gourd farming to more people in different climates. You can dig deeper into the evolving seed market on marketreportanalytics.com.
5. Prepare the Perfect Planting Site
Gourds are incredibly hungry plants, and giving them a well-prepared home is the secret to a massive harvest. I like to think of this stage as building the foundation; get it right, and you'll be rewarded with vigorous vines and plenty of gourds later on. Honestly, choosing the right spot and prepping the soil is probably the most critical part of the whole process.
The first rule for placing gourds is simple: follow the sun. These are true sun-worshippers. They need a spot that gets at least 6 to 8 hours of direct, unfiltered sunlight every day. Skimp on light, and you'll end up with weak, spindly vines and few, if any, gourds to show for your efforts.
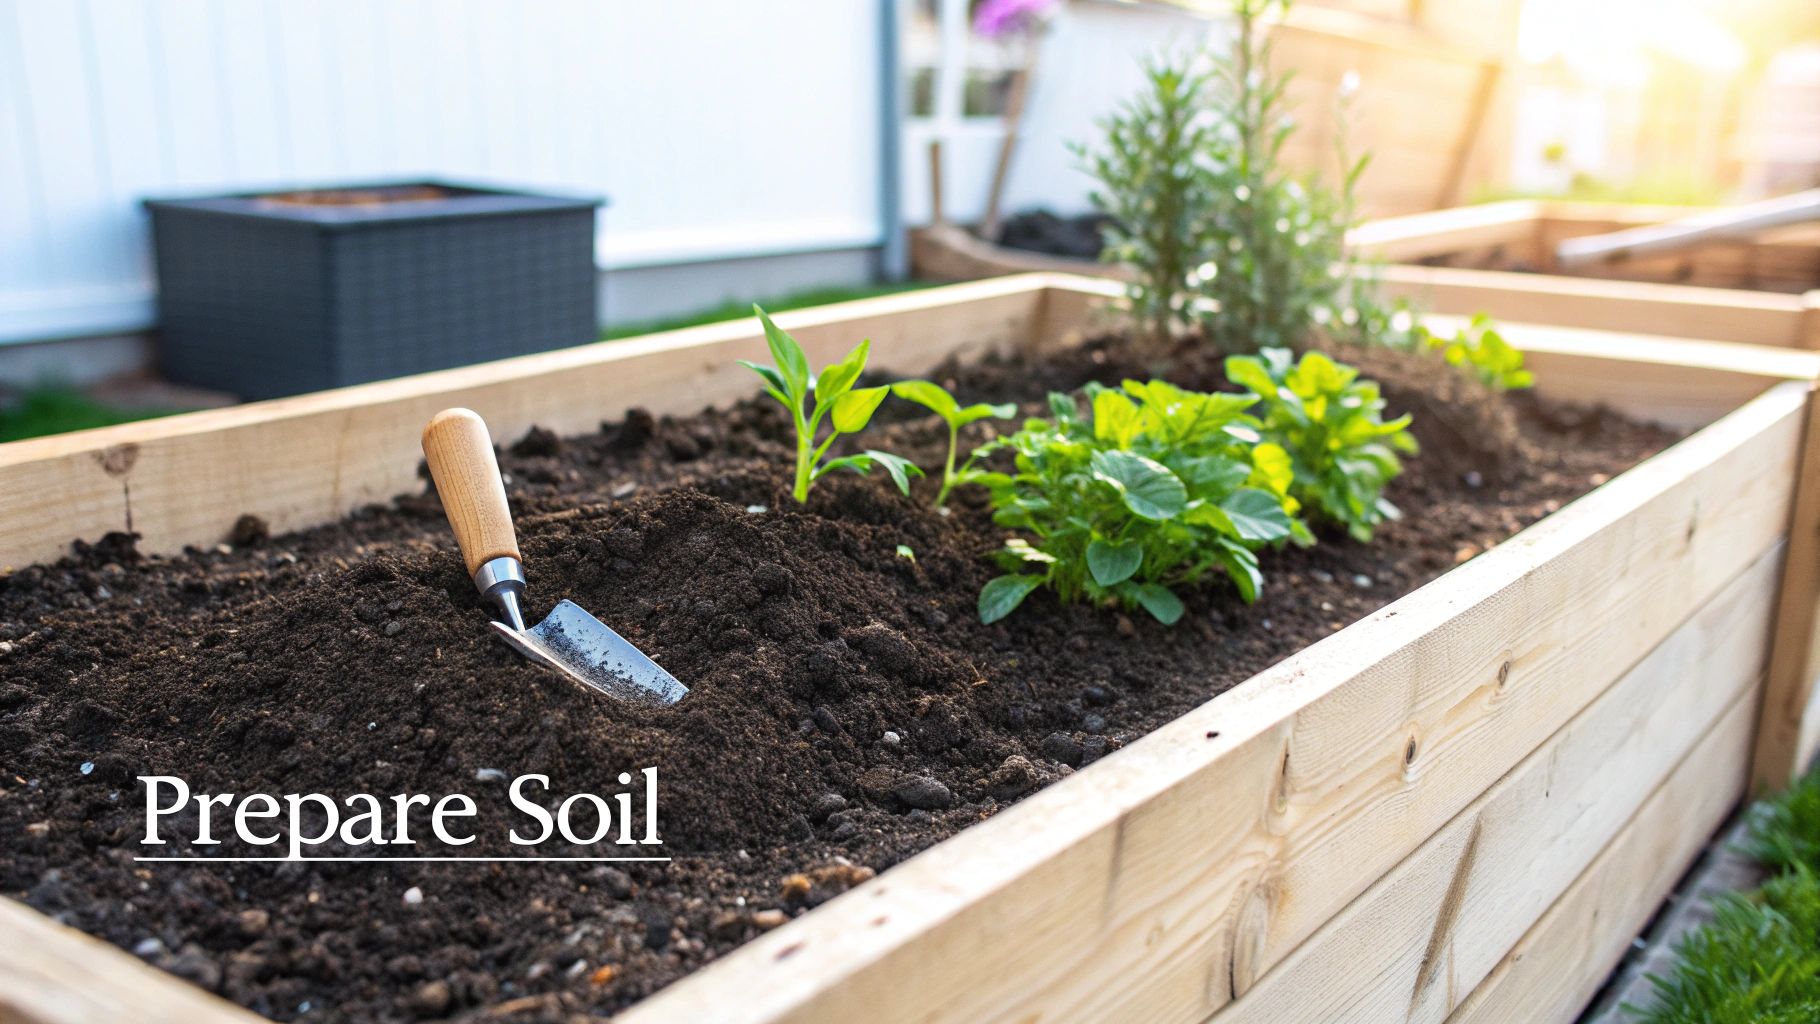
Crafting the Ideal Soil Mix
Once you've scouted out the sunniest patch of land, it's time to get your hands dirty and focus on the soil. Gourd roots demand soil that is loaded with nutrients and, just as importantly, drains exceptionally well. If you’re dealing with heavy, compacted clay soil, you'll need to fix it. That kind of soil is a recipe for root rot and stunted plants.
To create the perfect garden bed, you have to add a generous amount of organic matter. This isn't just a friendly suggestion—it's essential for these heavy feeders.
- Aged Compost: I always work a solid 2-3 inches of well-rotted compost into the top 8-10 inches of the bed. It lightens up the soil, improves drainage, and provides a steady supply of nutrients all season long.
- Rotted Manure: If you can get your hands on it, aged manure from cows or horses is fantastic. Just make absolutely sure it's fully composted. Fresh manure is too "hot" and will burn the delicate roots of your young plants.
For a deeper dive into amending different kinds of soil, our guide on preparing garden soil for a productive season is a great resource. This prep work truly makes all the difference.
Building Planting Hills for a Head Start
A time-tested and incredibly effective technique for growing gourds is to plant them in "hills." Now, these aren't giant mounds, just slightly raised areas of soil that give your plants a few key advantages right from the start.
Building a planting hill is like giving your gourd seeds a warm, well-drained mattress to sleep on. The raised soil warms up faster in the spring sun, encouraging quicker germination and giving your plants a critical head start on the long growing season.
To make a hill, just pull up your amended soil into a mound about 12-18 inches across and 6-8 inches high. This slight elevation ensures that excess water drains away from the base of the plant, which is crucial for protecting the crown and roots from rot. It’s especially helpful if you live somewhere with heavy spring rains or naturally dense soil. Next up, we'll talk about getting your seeds planted in these perfectly prepared hills.
6. Plant Seeds and Nurture Seedlings
Now that you've built those perfect, sunny garden hills, it's time for the fun part: getting your gourd seeds in the ground. How you tackle this really comes down to your local climate. If you're blessed with a long, hot summer, you can plant seeds right into the garden. For the rest of us in cooler zones, starting them indoors first is a huge advantage.
Honestly, for any gourd variety that needs 120+ days to mature, giving them a head start inside can be the make-or-break factor for a successful harvest. This initial stage is all about launching your gourds with strength and vigor. The care you give them now—planting, watering, and protecting them—lays the foundation for the entire season.
Starting Gourd Seeds Indoors
If you're working with a shorter growing season, I always recommend starting seeds indoors about 3-4 weeks before your last expected frost. A word of caution, though: gourd seedlings have notoriously sensitive roots and absolutely hate being disturbed during transplanting. The best way I've found to get around this is to use pots that can be planted right along with the seedling.
- Peat or Paper Pots: Plant one or two seeds in each pot. When it's time to move them outdoors, the whole container goes into the hill, so you never have to touch those delicate roots.
- Warmth is Key: Don't forget that gourds are tropical at heart. They need warm soil to sprout, ideally somewhere between 70-85°F. A simple seedling heat mat makes a world of difference here, speeding up germination like nothing else.
- Give Them Light: The moment you see green shoots, get them under a strong light source. While a sunny, south-facing window can work in a pinch, a basic grow light is your best bet to prevent them from becoming tall, spindly, and weak.
For a more detailed schedule, check out our guide on when to start seeds indoors. Starting them inside just gives you so much more control during their most vulnerable phase of life.
Direct Sowing and Early Care
For those in warmer climates, you can sow seeds directly into your prepared hills. Just wait until all danger of frost is long gone and the soil has had a chance to warm up. I usually plant 4-5 seeds about an inch deep in each hill, giving them a few inches of space between each other.
Once your seedlings are a few inches tall (whether you transplanted them or sowed them directly), it’s time for a little tough love.
This next step is crucial, and it might feel a bit harsh. You need to thin your seedlings, leaving only the two strongest, healthiest plants in each hill. It's tempting to let them all grow, but overcrowding is a recipe for disaster. They'll just end up fighting for sunlight, water, and nutrients, leaving you with weak vines and a paltry harvest.
After you've thinned them out, add a 2-3 inch layer of organic mulch, like straw or shredded leaves, around the base of the remaining plants. Mulching is a gardener's best friend—it holds in precious moisture, keeps weeds at bay, and helps regulate soil temperature. From here, water deeply but not too often. This simple practice encourages the roots to dig deep for moisture, building a tougher, more resilient plant that can handle a dry spell.
7. Build a Trellis for Healthier Gourds
Gourds are natural-born climbers. Giving them something sturdy to scale is one of the best things you can do for a successful harvest. When you grow gourds vertically on a trellis or arbor, you're not just saving a ton of garden space; you're also dramatically improving air circulation. This is your number one defense against fungal diseases like powdery mildew that thrive in damp, stagnant conditions.
Growing vertically also keeps the heavy fruit from sitting on the damp ground. This simple act prevents rot and helps the gourds develop a beautiful, uniform shape without those flat, discolored spots they get from lying on the soil.
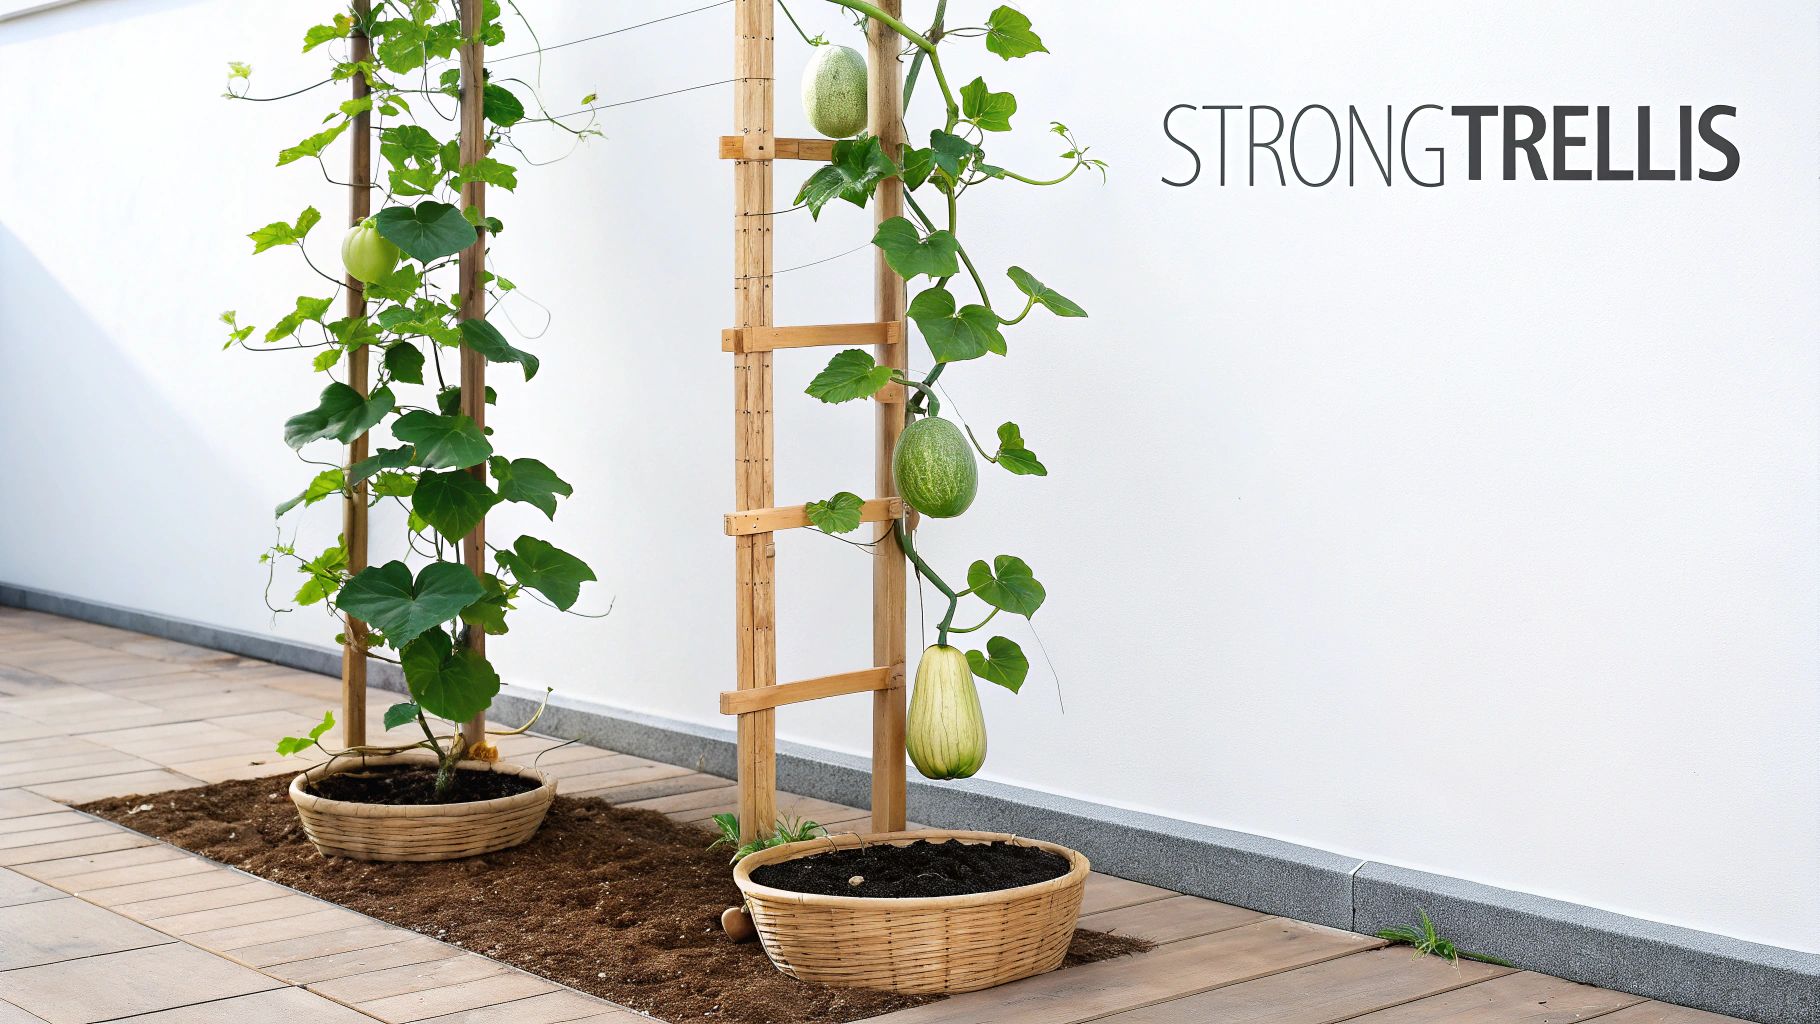
A robust support system is truly the secret to a productive and stunning gourd patch. You'd be surprised how quickly the weight adds up. A single mature birdhouse gourd can easily weigh 10-15 pounds, and a healthy vine will be loaded with several of them.
5 Sturdy Trellis Ideas for Heavy Gourds
The right structure really depends on your space, budget, and the specific gourds you're growing. Over the years, I've found a few designs that can really handle the weight.
Here are five practical and proven options:
- Cattle Panel Arch: This is my personal favorite for its sheer strength and simplicity. You can bend a single cattle panel into a sturdy arch, creating a fantastic tunnel you can walk through. It’s more than strong enough to support even the heaviest bushel gourds.
- A-Frame Trellis: An A-frame is a classic for a reason. It's easy to build from wood or even metal poles and can often be folded for off-season storage. It gives you two angled surfaces for the vines to climb, really maximizing your growing area. When building with wood, choosing the best wood for outdoor structures is crucial for a frame that will last for years.
- Heavy-Duty Arbor: A permanent arbor at the entrance to your garden can be both beautiful and functional. Just make absolutely sure it's well-anchored into the ground to handle the weight of mature vines laden with fruit.
- T-Post and Wire System: This is a great, cost-effective solution if you want to create a long trellis wall. Just drive heavy-duty T-posts into the ground every few feet and run strong wire or mesh between them.
- Existing Fences: Don't overlook what you already have! A well-built chain-link or sturdy wood fence can double as a perfect gourd trellis, as long as it gets enough sun and you're confident it can bear the load.
The key takeaway here is to build for strength from the very beginning. It’s far easier to reinforce a trellis before the vines take over than it is to rescue a collapsed, tangled mess mid-season. Trust me, you should always overestimate how heavy your gourds will get.
Training Vines for Vertical Success
Once your trellis is in place, you’ll need to give the young vines a little guidance.
When the main vines are about a foot long, gently weave them through the bottom of your trellis. Their little tendrils will quickly grab hold and start the upward climb on their own.
It's a good idea to check on them every few days, especially early on. Gently tuck in any stray vines that are trying to sprawl across the ground instead of climbing up. This simple chore keeps the plant's energy focused on vertical growth and, ultimately, producing more gourds.
For a closer look at maximizing your growing area, you can explore these vertical gardening ideas for spring, many of which can be adapted for gourds. A well-managed trellis isn't just a support—it's the key to a healthy, manageable, and bountiful gourd harvest.
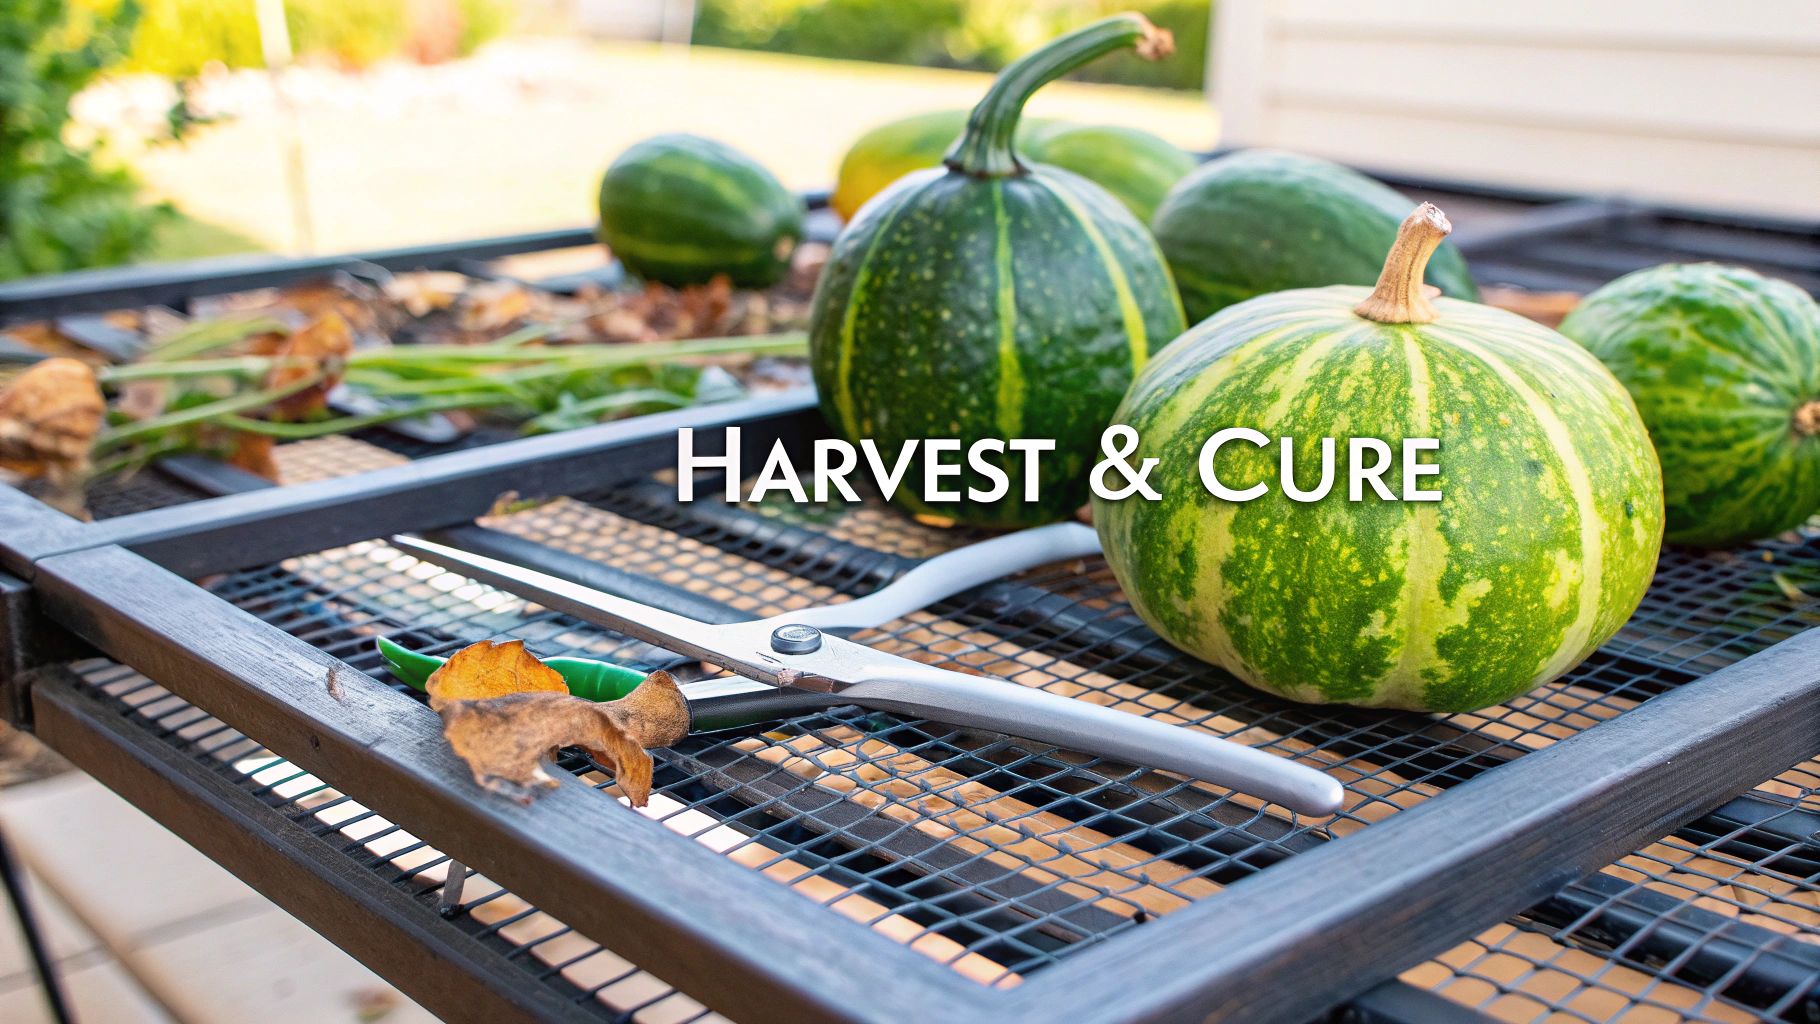
8. Harvest at the Right Time
After a full season of tending to your vines, the final reward is just around the corner. The steps you take now—harvesting and curing—are what will transform your gourds from simple garden produce into lasting pieces for crafts and decoration. Nailing the timing is everything, especially for the hard-shelled types that need to dry out completely to be useful for years to come.
Figuring out the perfect moment to harvest can feel like a bit of a guessing game, but don't worry, the vine itself gives you all the clues you need. The trick is to ignore the color of the gourd, which can be deceptive, and instead pay close attention to the plant.
Your most dependable signal is right there on the vine. Look for the small, curly tendril located closest to the gourd's stem. Once that tendril withers, turns brown, and becomes completely dry, the gourd is no longer getting any food from the vine. It's go time.
If you're still not sure, try the fingernail test. Gently press your thumbnail into the gourd’s skin. If the shell feels rock-hard and resists your nail, it's mature. If you can easily pierce the skin, it’s too soft and needs more time to develop.
9. Cure Gourds for Longevity
Once your gourds are off the vine, the curing process starts. This isn't a race; it's a slow drying period that can take anywhere from one to six months. The timeline really depends on the gourd's size and how thick its walls are. Good curing is what keeps them from rotting and makes them incredibly durable.
Here’s a simple rundown for a successful cure:
-
Give Them a Good Wash: First things first, clean off any dirt by washing the gourds with a bit of soap and water. Some growers even use a weak bleach solution to knock out any mold spores that might be hanging around on the surface.
-
Find a Dry, Airy Spot: Spread the gourds out in a single layer somewhere warm, dry, and dark. The key here is excellent air circulation. A garage, attic, or a well-protected porch is perfect. Try placing them on old screens or even hanging them up so air can get to every surface.
-
Don't Fear the Mold: As your gourds begin to dry, you’ll probably see splotches of mold appear on the outside. Don't panic! This is a totally normal part of the process and doesn't hurt the hard shell underneath. You can wipe it off if you want, or just let it be until they're fully cured.
So, how do you know when they're finally done? The gourd will feel surprisingly light for its size. The real giveaway, though, is the sound. Pick it up and give it a good shake. If you can hear the seeds rattling around inside, your gourd is perfectly cured and ready to become a birdhouse, a bowl, or whatever you can imagine.
10. Troubleshoot Common Gourd Problems
Even the most seasoned gardener runs into a few head-scratchers during the growing season. It's just part of the process. If you've got questions about your gourds, you're in the right place. Let's tackle some of the most common issues I see.
Problem: My Gourd Vines are Flowering but Not Producing Fruit
Ah, the classic "all flowers, no fruit" dilemma. Nine times out of ten, this points straight to a pollination problem. Gourds produce separate male and female flowers, and they need help from pollinators like bees to get the job done. If your local bee population seems a little sparse, you might have to play matchmaker.
It's actually pretty simple. Grab a small, soft paintbrush and find a male flower—it'll be the one on a long, thin stem. Gently dust some of its pollen onto your brush. Now, find a female flower, easily identified by the tiny, bulbous gourd forming at its base, and carefully transfer the pollen to its center. That's it! You've just hand-pollinated.
Problem: Pests are Attacking My Gourds
Squash bugs and cucumber beetles are the usual suspects here, and with organic gardening, getting ahead of them is everything. Make a habit of checking the undersides of leaves for egg clusters and hand-pick any adult bugs you spot. A little diligence goes a long way.
I also love using trap crops. Planting nasturtiums nearby can work wonders, as they tend to draw pests away from your precious gourds. For the dreaded squash vine borer, try wrapping a small piece of aluminum foil around the base of the stems. This creates a physical barrier that stops the adult moth from laying its eggs right where the vine is most vulnerable.
The biggest mistake I see gardeners make is waiting until an infestation is a full-blown crisis. A quick, five-minute patrol through your gourd patch each day is your absolute best defense. It's so much easier than damage control.
11. Know How to Harvest a Luffa Sponge
Patience is key if you're after that perfect, fibrous luffa sponge. You need to let the gourd mature completely and dry right on the vine. You're looking for a few tell-tale signs: the skin will turn from green to a yellowish-brown, the gourd will feel surprisingly light for its size, and the skin might even start to feel brittle and loose.
Once you harvest it, the outer skin should practically peel right off, revealing that amazing network of fibers inside. It's one of the most satisfying moments in the garden!
At Homegrown Garden, our passion is helping you grow. From heirloom seeds to the kind of advice that only comes from experience, we're here to support your gardening journey. Check out everything we have to offer at https://www.homegrown-garden.com.
Want to try the gourd the guide highlights for the bath and kitchen? You can grow your own Luffa gourds from seed and harvest natural sponges.

