

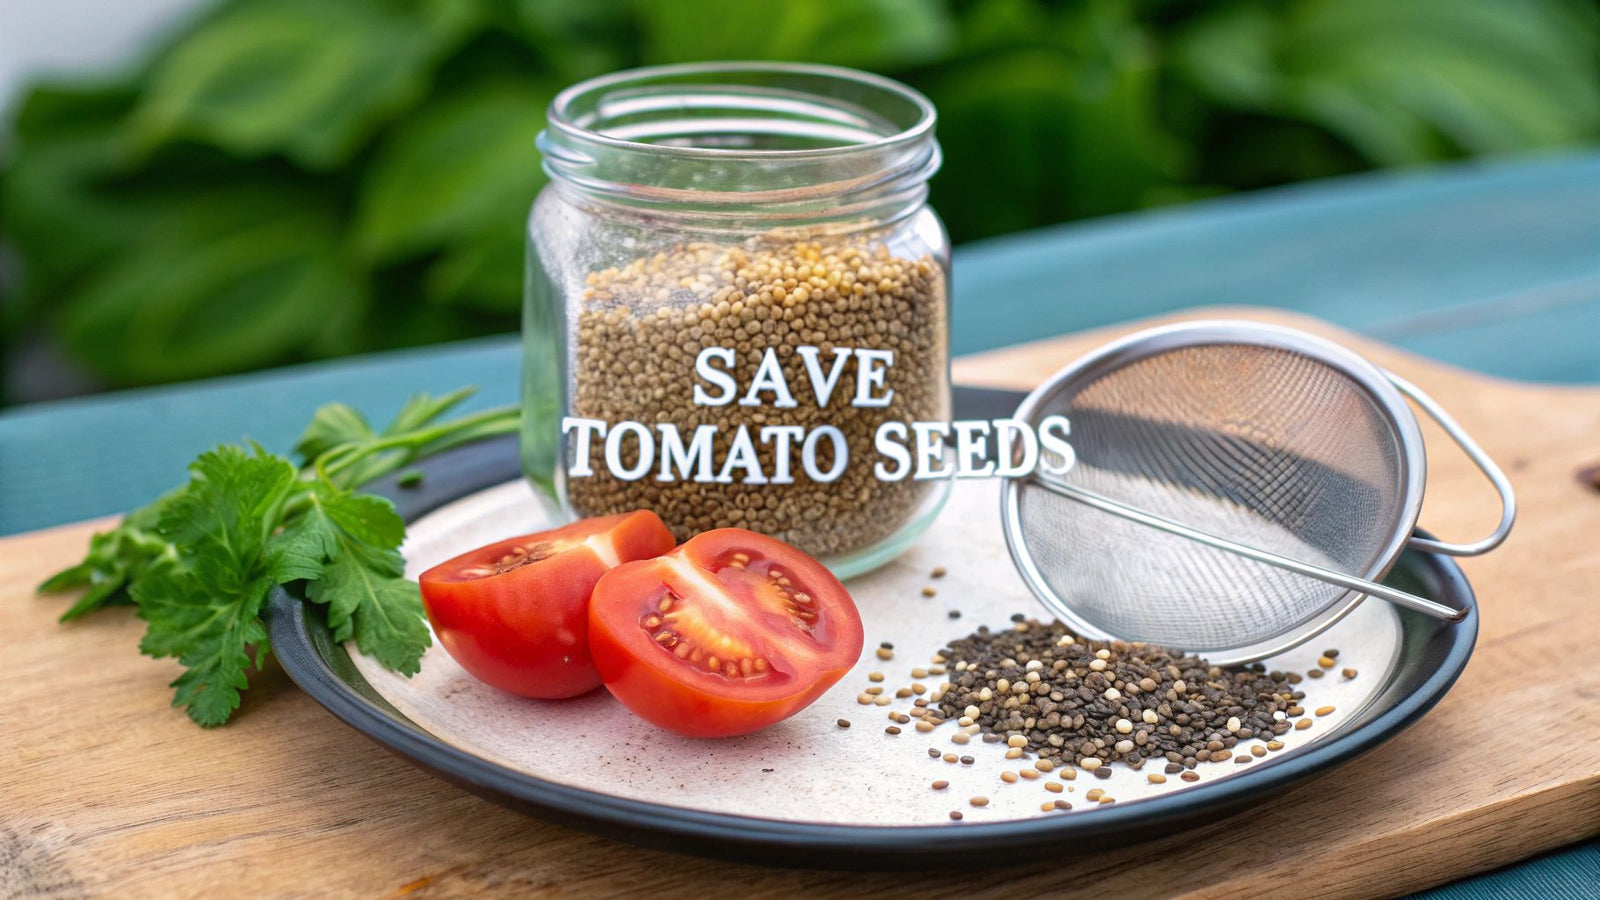

Saving your own tomato seeds is a straightforward way to guarantee you can grow your absolute favorite tomatoes again next year. It's all about fermenting the seeds to get rid of that slimy gel coating, then drying and storing them properly. Do it right, and you'll be able to replicate your best-performing plants and their incredible flavors, season after season, for free.
Your 5-Step Guide to an Endless Tomato Harvest
Preserving seeds is so much more than a money-saving garden trick. It's about taking ownership of your garden's unique genetics. Think about it: every time you save seeds from your healthiest, most delicious tomato, you're actively selecting for traits that do well in your specific garden—your soil, your weather, your care. Over a few years, this simple act creates plants that are perfectly adapted to your little corner of the world.
Of course, an "endless tomato harvest" starts long before you save the seeds; it begins with strong, healthy plants. Building a solid foundation by creating healthy soil is the first step to growing tomatoes worth preserving.
3 Reasons to Start Saving Tomato Seeds
So, is it really worth the effort? Absolutely. Here are 3 of the best reasons to start.
- Capture Incredible Flavor: You know that one tomato that was just perfect? The one that was unbelievably sweet and juicy? You get to save its seeds and grow it again.
- Save Money: Seed packets aren't outrageously expensive, but the cost adds up. Saving your own seeds gives you an endless supply for years to come at no cost.
- Adapt Your Plants: Over time, the seeds you save will produce plants that are better and better suited to your specific garden, from your soil's pH to your unique microclimate.
This practice isn't just for home gardeners, either. It’s a cornerstone of maintaining agricultural biodiversity worldwide. Globally, the tomato seed market was valued at an impressive USD 1.4 billion and continues to expand, driven by the demand for resilient, high-quality seeds.
The real magic of seed saving is capturing a snapshot of this year's success. It’s about ensuring the specific 'Brandywine' or 'Cherokee Purple' that flourished in your garden can be grown again, with all its unique qualities intact.
A 2-Minute Guide to Heirloom vs. Hybrid Tomatoes
Before you start, you need to know which tomatoes to choose. For seed saving to work, you have to start with the right kind of plant. Heirloom and open-pollinated varieties are what you want. The seeds from these plants will grow "true to type," which just means the plant you grow next year will be a near-perfect copy of its parent.
On the other hand, saving seeds from hybrid tomatoes is a gamble. The resulting plants are often a weird, disappointing mix of their grandparent plants and rarely produce good fruit. To learn more about getting the most from these amazing varieties, take a look at our complete guide on how to grow heirloom tomatoes.
To make it even clearer, here’s a quick breakdown of what to look for.
3 Tomato Types for Seed Saving
This table helps you quickly identify which types of tomatoes are best for seed saving to ensure your next generation of plants grows true to the parent.
| Tomato Type | Seed Saving Suitability | Expected Outcome |
|---|---|---|
| Heirloom | Excellent | Plants will be nearly identical to the parent, preserving unique traits. |
| Open-Pollinated | Excellent | Similar to heirlooms, they produce reliable, true-to-type offspring. |
| Hybrid (F1) | Poor | Seeds will not grow true. The next generation is unpredictable and often inferior. |
Choosing an heirloom or open-pollinated variety is the single most important step for getting predictable, delicious results from your saved seeds.
1. Choosing the Perfect Tomatoes for Seed Saving
The secret to saving great tomato seeds begins long before you ever slice into a fruit. It actually starts out in the garden with a bit of detective work: identifying the absolute best parent plant. Don't just grab the first nice-looking tomato you see. You're on the hunt for the plant that has been a true all-star all season long.
Think back on the growing season. Which of your plants was the healthiest and most productive? Which one seemed to laugh off pests and resist that late-season blight that nipped at its neighbors? That’s your prime candidate. You're selecting for success, choosing the strongest genetics to pass on to next year's garden.
4 Traits to Look For in a Parent Plant
Your mission is to pinpoint the plants that didn't just survive, but truly thrived. I always look for a combination of these 4 traits:
- Vigorous Growth: The plant should look strong, with lush, healthy leaves and a robust frame.
- Disease Resistance: Prioritize plants that showed little to no sign of common tomato troubles, like blight or blossom end rot.
- Productivity: It makes sense to save seeds from the plants that gave you the most tomatoes, right?
- Superior Flavor: This is the big one. Always, always save seeds from the plant that produced the most delicious fruit.
Once I've identified my top-performing plant, I mark the fruit I'm going to save. I just tie a piece of brightly colored yarn around the stem of the best-looking tomato cluster on that plant. This simple trick is my "do not eat" sign, preventing me or anyone else in my family from accidentally turning my future seed stock into a sandwich.
Selecting the Right Kind of Tomato
Now, here's a critical detail: not all tomatoes are created equal for seed saving. Your success really depends on choosing open-pollinated or heirloom varieties. These types produce seeds that grow "true," which means the next generation of plants will be almost identical to the parent.
Picking an open-pollinated variety is non-negotiable if you want predictable results. Saving seeds from a hybrid tomato (like most you find at the grocery store) is a genetic lottery. The resulting plant will likely be a strange, disappointing surprise that looks and tastes nothing like the tomato it came from.
If you're not sure what the difference is, taking a moment to understand open-pollinated vs. hybrid seeds is the most important first step any seed saver can take. It’s what ensures all your hard work pays off next year.
Harvesting at Peak Ripeness
Timing is everything. For the best, most viable seeds, you have to let your chosen tomato ripen completely on the vine—and maybe even a little longer. You're aiming for that almost overripe stage, where the fruit is soft to the touch. This is when the seeds inside are fully mature and have the highest potential to germinate.
Look for a fruit that's developed its full, deep color and has a definite "give" when you gently squeeze it. A tomato harvested at this stage has reached its peak vitality, giving your future seeds the strongest possible start. This careful selection is the foundation of how to save tomato seeds for a fantastic garden next year.
2. Mastering Seed Extraction and Fermentation
Once you’ve picked that perfect, prize-winning tomato, it’s time to get your hands dirty. This next part is all about extracting the seeds and using a simple, natural fermentation process to get them ready for storage. It might sound a bit scientific, but trust me, it’s an incredibly easy—and crucial—step for ensuring you get healthy plants next season.
The whole point of this process is to separate the seeds from that gooey gel surrounding them. This gel acts as a germination inhibitor; it’s nature’s clever way of stopping the seeds from sprouting right inside the fruit. Fermentation breaks down this coating, which will dramatically improve your germination rates come springtime.
Extracting Seeds The Right Way
First things first, slice your tomato in half horizontally, like you're cutting it around its equator. This simple trick exposes the seed cavities perfectly, making it a breeze to scoop everything out.
You don't need any special gadgets. A regular kitchen spoon works just fine for scraping the seeds and all the surrounding goo into a clean glass jar or a small bowl. Don't stress if you get some tomato flesh in there—it's all part of the mix. Once you’ve got the seeds and pulp in the jar, add just a splash of water, enough to make it a bit soupy.
Don’t be tempted to just scrape the seeds onto a paper towel to dry. The fermentation step is non-negotiable. It not only removes that anti-sprouting gel but also helps kill off common seed-borne diseases, giving your future seedlings a much healthier start in life.
The Magic of Fermentation
Now comes the waiting game. Cover your jar with a coffee filter or a piece of cheesecloth, and secure it with a rubber band. This keeps pesky fruit flies out but still lets air circulate. Find a warm spot for it, away from direct sunlight, for the next 1 to 3 days. The top of the fridge or a warm corner of your kitchen counter is usually perfect.
Here are 3 signs that the fermentation is working:
- Bubbles: You'll notice little bubbles rising to the surface of the mixture.
- A Moldy Film: A thin, often white or grayish layer of mold might form on top. Don't panic—this is a good thing! It means the fermentation is well underway.
- A Tangy Smell: The whole concoction will start to smell a bit sour or funky, like it's fermenting.
The timing really depends on the ambient temperature. In a warm room, the process might be done in a day. If your house is cooler, it could take up to three days. As soon as you see a good layer of mold on top and the bubbling has slowed down, your seeds are ready for the next phase.
This time-tested method is a cornerstone of saving tomato seeds. The entire cycle—from selecting disease-free fruits to fermenting and drying—is a tradition that’s essential in agricultural regions all over the world. It’s precisely this kind of care that supports the major contributors to global tomato production, where high-yield, disease-resistant seeds are everything. You can find more fascinating details about global tomato production trends and forecasts on morningstarco.com.
This process flow really breaks down how to select the best tomatoes to give your seeds a strong genetic start.
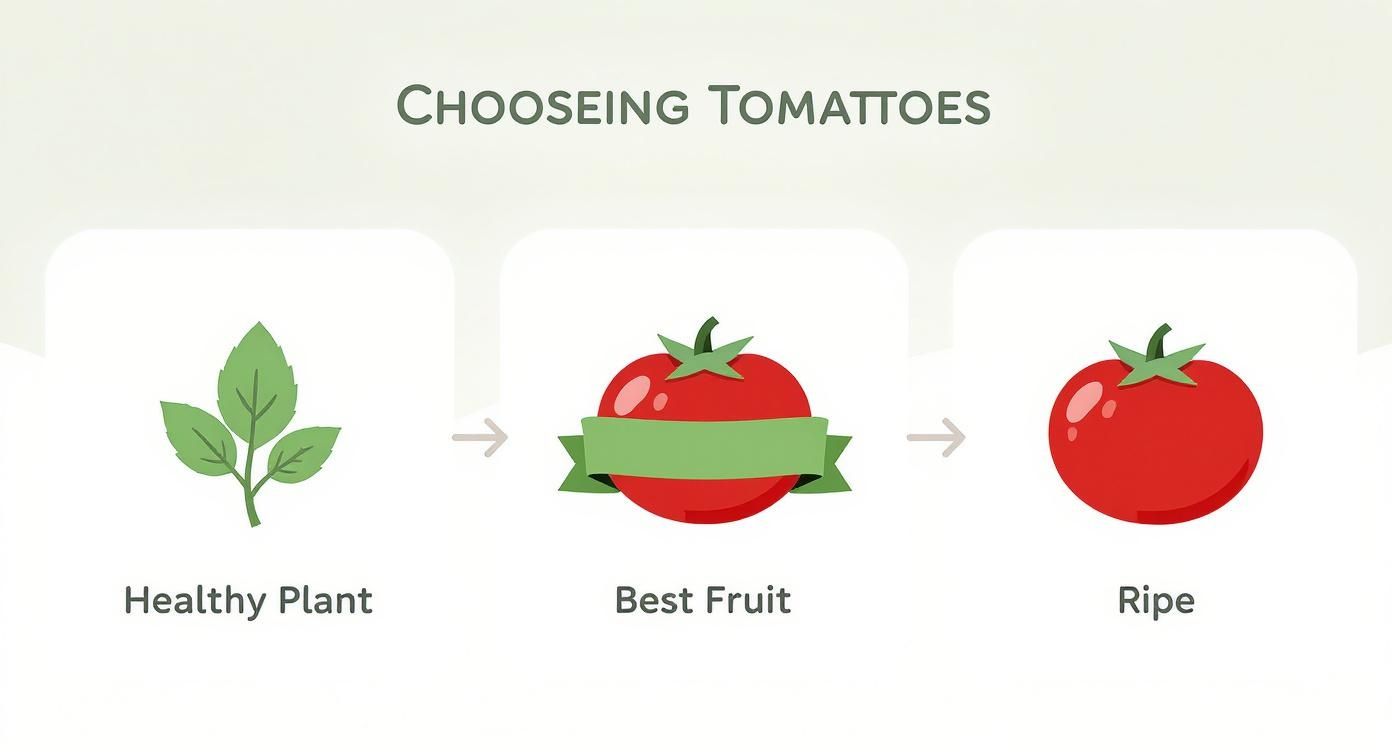
As the graphic shows, successful seed saving truly begins in the garden. It all starts with picking the healthiest plants and the very best, fully ripe fruit they have to offer.
3. Rinsing and Drying Your Tomato Seeds
After a few days of fermentation, you're on the home stretch. This next part is all about getting the seeds perfectly clean and bone-dry, which is absolutely crucial if you want them to last. It’s time to separate the good stuff—the viable seeds—from all the pulp and gunk.
You’ll likely see a layer of mold floating on top of your fermentation jar. Don't panic; that's actually a good sign! Just scoop it off and toss it.
Now for the rinse. Fill the jar about halfway with water and give it a gentle swirl. It’s pretty cool what happens next: the heavy, viable seeds sink straight to the bottom, while all the bad seeds and leftover pulp float to the top.
Carefully pour off the water along with all the floating debris. You'll want to repeat this—add water, swirl, and pour—another two or three times until you’re left with nothing but clean-looking seeds at the bottom.
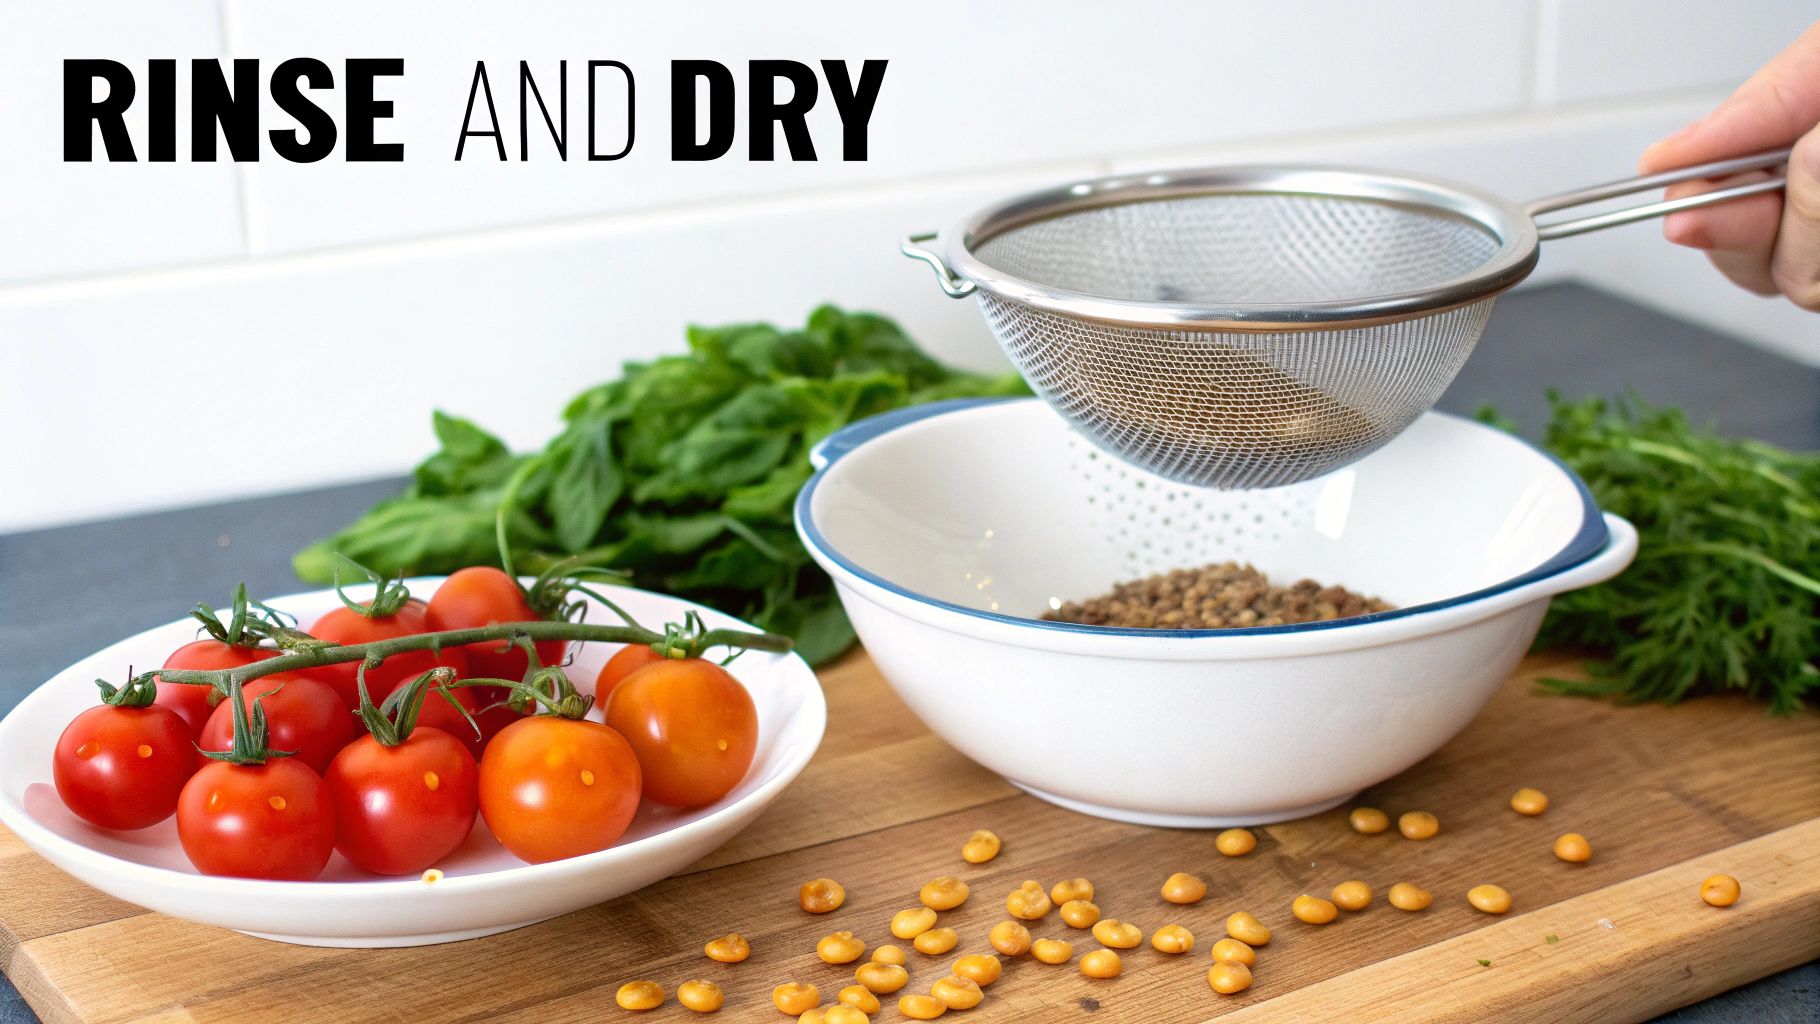
The Best Way to Strain and Dry Seeds
With the seeds all clean, pour everything through a fine-mesh strainer. Give them one last rinse under the tap to get rid of any lingering residue. Now comes the most important step: drying.
You cannot cut corners here. Even a little bit of moisture will invite mold and ruin your entire collection. The surface you choose for drying can make or break your efforts.
Take it from someone who learned the hard way: do not use paper towels. It seems like a good idea, but the seeds will stick to the paper like superglue as they dry. You’ll end up shredding the paper and damaging the seeds trying to get them off.
Instead, spread the seeds in a single, even layer on something they won't stick to. I've had the best luck with these 3 options:
- A Coffee Filter: It wicks away moisture without turning into a sticky mess.
- A Ceramic or Glass Plate: A simple, non-stick surface. If you're drying a few different varieties, be sure to label each plate so you don't mix them up.
- A Fine Mesh Screen: This is a great option because it allows air to circulate all around the seeds, speeding up the process.
Place your seeds in a spot with good airflow but out of direct sunlight. Let them sit for at least a week, maybe longer if you live somewhere humid. I make it a point to shuffle them around with my fingers every day to break up any clumps and make sure they're drying evenly.
You'll know they're ready when they feel hard and papery. The real test? Try to bend one. A perfectly dry seed won't bend at all; it will snap cleanly in half. That's your green light for long-term storage.
4. Storing Your Seeds for Long-Term Success
After all that work harvesting, fermenting, and drying, you're holding a precious collection of perfectly prepped tomato seeds. The final piece of the puzzle is storing them correctly. This is what ensures those seeds will be viable and ready to sprout for years to come.
Think of your dried seeds as tiny plants in suspended animation, just waiting for the right signal to wake up. Your main job now is to protect them from their three biggest enemies: heat, moisture, and light. Exposure to these can trick a seed into sprouting too early or, even worse, kill it off completely.
The whole point is to keep them dormant until you’re ready to plant next season. If you get the environment right, you can massively extend their shelf life. Most well-stored tomato seeds will easily remain viable for 4 to 6 years, and sometimes even longer.
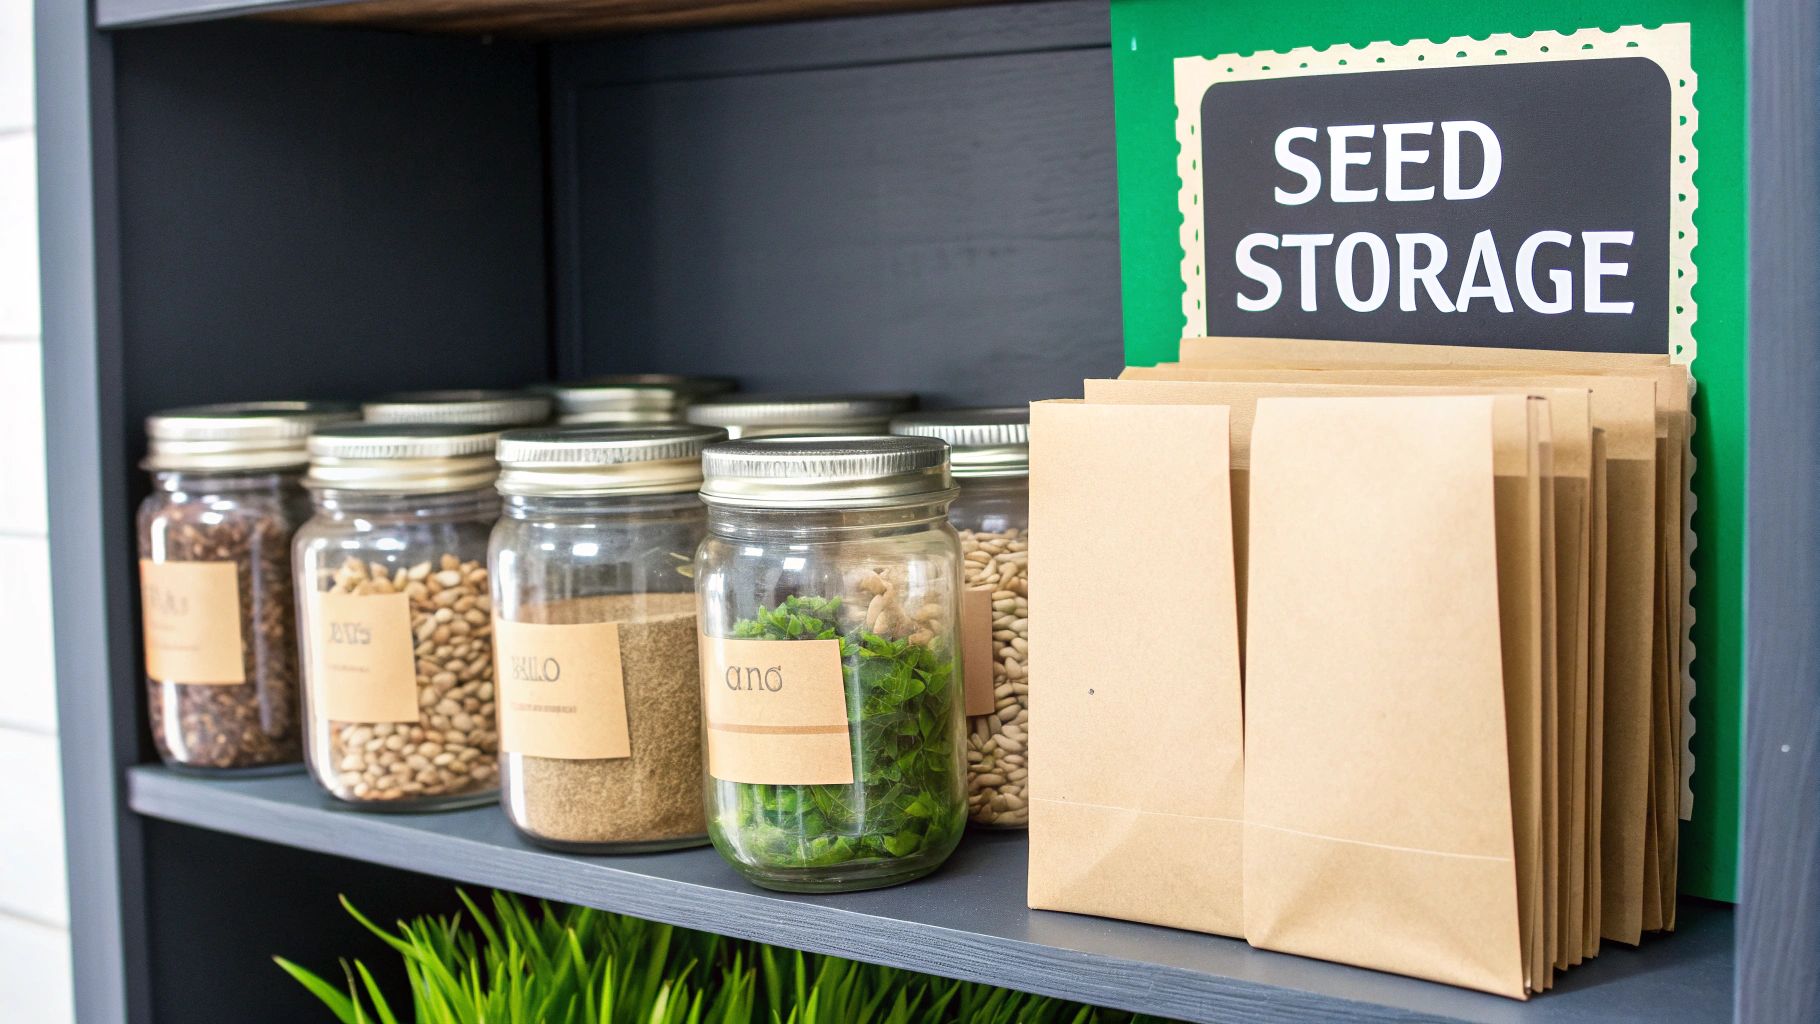
The 3 Best Storage Containers
The container you pick is your first line of defense against moisture. You’ve got 3 solid options, and what you choose often comes down to personal preference.
- Paper Envelopes: These are the classic for a reason—they're simple, cheap, and breathable. This allows any final trace of moisture to escape. If you go this route, just make sure to place all your paper envelopes inside a larger, airtight container to keep ambient humidity out.
- Small Glass Jars: Little mason jars or even thoroughly cleaned baby food jars are fantastic for sealing out moisture. For an extra bit of insurance, I like to toss in a silica gel packet (like the ones you find in new shoe boxes) to absorb any trapped humidity.
- Mylar Bags: For the serious seed saver aiming for maximum longevity, mylar bags are tough to beat. They provide an incredible barrier against both light and moisture.
If you're looking to build a truly resilient seed bank, our guide on how to store seeds long term dives into even more advanced strategies.
The Best Places to Store Your Seeds
Once your seeds are safely packaged, you need to find them a good home—somewhere consistently cool, dark, and dry. You’ll want to avoid spots with wild temperature swings, like an uninsulated garage or a garden shed.
The best storage spots mimic a stable, dormant environment. A dark closet in the coolest part of the house, a little-used kitchen cabinet, or a dresser drawer are all great choices. For ultimate peace of mind, a sealed container tucked away in the refrigerator is the gold standard for home gardeners.
Don't Forget to Label Everything
This last step is absolutely crucial. Trust me on this—you will not remember which of those little beige specks are the ‘Brandywine’ and which are the ‘Cherokee Purple’ a year from now.
Always use a permanent marker to clearly write the tomato variety and the harvest year on every single packet or jar. It’s a simple, two-minute task that prevents a world of frustration later and helps you keep track of your collection's age.
5. Answers to 4 Common Questions About Saving Tomato Seeds
Even with the best instructions, a few questions always seem to pop up when you're saving tomato seeds for the first time. I've heard just about all of them over the years, so let's tackle some of the most common ones right now.
Think of this as your personal troubleshooting guide. Getting these details right is what separates a frustrating experience from a fantastic harvest next season.
Can I Save Seeds From Grocery Store Tomatoes?
I get this question all the time. While you can physically save the seeds, I generally advise against it. It's a bit of a genetic lottery.
Most tomatoes you find at the supermarket are F1 hybrids, bred by commercial growers for things like shipping durability and uniform appearance—not necessarily for great flavor or seed stability.
When you plant a seed from a hybrid, you won't get a clone of the parent fruit. Instead, the resulting plant will likely revert to one of its "grandparent" varieties, which could be anything. You might get something bland, small, or just plain weird.
If you want predictable and delicious results year after year, stick with seeds from heirloom or open-pollinated varieties. They are genetically stable, meaning the tomatoes you grow will be just as wonderful as the ones you harvested.
How Long Will My Saved Tomato Seeds Last?
Tomato seeds are surprisingly resilient! When stored properly, you can expect them to stay viable for a good 4 to 6 years without a major drop in germination rates.
Some of the most meticulous gardeners I know have successfully sprouted seeds that were over a decade old. The trick is to protect them from their three biggest enemies: heat, light, and moisture.
The secret to long-term viability isn't complicated. It's about creating a stable, dormant environment. Think of it as putting your seeds into a deep sleep until you're ready to wake them up for spring planting.
A sealed, airtight container tucked away in the back of a cool closet or refrigerator is perfect.
Is the Fermentation Step Really Necessary?
In a word: yes. I know it seems like an odd, messy step, but it's probably the most critical part of the whole process. Don't be tempted to skip it.
That slimy gel sac around each seed is full of germination inhibitors. Its natural purpose is to stop the seed from sprouting inside the moist tomato. Fermentation breaks down that gel completely, giving your seeds a much better, faster start when you plant them.
Even more important, that slightly funky fermentation process is a natural sterilizer. It kills off a host of common seed-borne diseases that could spell disaster for your future seedlings. It’s a simple, hands-off step that dramatically improves your odds of success.
How Can I Test if My Old Seeds Are Still Good?
Found a forgotten packet of seeds from a few years back? There’s no need to waste soil and time just to see if they sprout. A simple germination test a couple of weeks before planting will tell you exactly what you're working with.
Here’s the simple 4-step method I use:
- Lay 10 seeds out on a damp paper towel.
- Fold the towel over to cover them.
- Slip the whole thing into a ziplock bag (but don't seal it completely).
- Place the bag somewhere warm, like on top of your fridge.
Check on them every couple of days. After about a week, you'll see which ones have sprouted. If seven of the ten seeds have germinated, you’ve got a 70% germination rate—plenty viable to plant as planned. If only two or three sprout, you'll know to sow those seeds much more thickly to get the number of plants you want. This little test takes all the guesswork out of the equation.
At Homegrown Garden, we believe that saving your own seeds is one of the most rewarding parts of gardening. To start your journey with reliable, high-quality heirloom varieties perfect for saving, explore our full collection of seeds and growing kits at https://www.homegrown-garden.com.

