


Turning a patch of your land into a vibrant wildflower meadow is one of the most rewarding projects you can undertake. It's a simple, beautiful way to bring a little piece of nature right to your doorstep. More than just pretty flowers, you're creating a bustling habitat that supports bees, butterflies, and other crucial pollinators.
This guide will walk you through the entire process, from a bare patch of ground to a flourishing, low-maintenance ecosystem. Let's get started.
Your 7-Step Wildflower Meadow Journey From Start to Finish
Creating a wildflower meadow is a different kind of gardening. Forget neat rows and perfectly manicured beds; we're aiming for a beautiful, controlled chaos that mimics nature. It’s a rewarding cycle that starts with a bit of planning and ends with a self-sustaining patch of wild beauty.
It's no surprise that more people are embracing this. The global market for flower seeds was valued at a staggering USD 2.58 billion in 2024 and is projected to hit USD 3.96 billion by 2032. This boom is fueled by a collective rediscovery of the joy of home gardening, and you can see more data on the flower seed market growth for yourself.
Think of this guide as your roadmap. Whether you're dedicating a tiny corner of your garden or transforming a whole field, these steps will set you up for success.
The 7 Core Stages of Creation
Getting your meadow started involves a few key phases, each one setting the stage for the next. The secret isn't in complex gardening techniques but in understanding what wildflowers really need to thrive.
Here are the 7 fundamental steps we'll cover:
- Seed Selection: This is your first—and most critical—decision. Choosing a mix that matches your local climate, soil, and sunlight conditions is everything.
- Site Preparation: It all starts with the soil. This means clearing out what's already there (weeds, grass) and creating a clean slate for your new seeds.
- Sowing and Germination: We’ll go over the best techniques for getting those seeds sown properly so they make good contact with the soil and have the best chance to sprout.
- First-Year Care: The first year is all about patience. You'll be nurturing young plants as they put down roots and get established.
- Long-Term Management: A wildflower meadow isn't a "plant it and forget it" project, but it's close. We'll cover the simple annual tasks, like a yearly mow, that keep it healthy for years to come.
- Troubleshooting: We'll address common problems like aggressive grasses and how to manage them.
- Patience and Observation: Understanding the natural timeline and what to expect is a crucial part of the process.
You're not just planting flowers; you're building a living, breathing ecosystem from the ground up. Each step plays a crucial part in creating a balanced, beautiful space that will change and evolve through the seasons.
To help you visualize the process, here's a quick overview of what to expect on your wildflower planting journey.
Your Wildflower Planting Journey at a Glance
This table breaks down the entire process into manageable stages, giving you a clear picture of what you'll be doing and why.
| Stage | Key Action | Primary Goal |
|---|---|---|
| 1. Seed Selection | Research and choose a seed mix native to your region. | Ensure the plants are adapted to your local climate and soil. |
| 2. Site Preparation | Clear all existing grass, weeds, and vegetation from the area. | Create a clean, bare seedbed to eliminate competition for new seedlings. |
| 3. Sowing | Broadcast seeds evenly and press them into the soil. | Achieve good seed-to-soil contact for successful germination. |
| 4. First-Year Care | Water sparingly and control aggressive weeds. | Help the young meadow establish strong roots without being overgrown. |
| 5. Long-Term Management | Perform an annual mow after the plants have dropped their seeds. | Maintain the health of the meadow and encourage self-seeding for the next year. |
Following these steps will guide you toward creating a thriving natural space that you can enjoy for many years. Now, let's dive into the details of each stage.
7 Tips for Choosing the Perfect Wildflower Seed Mix
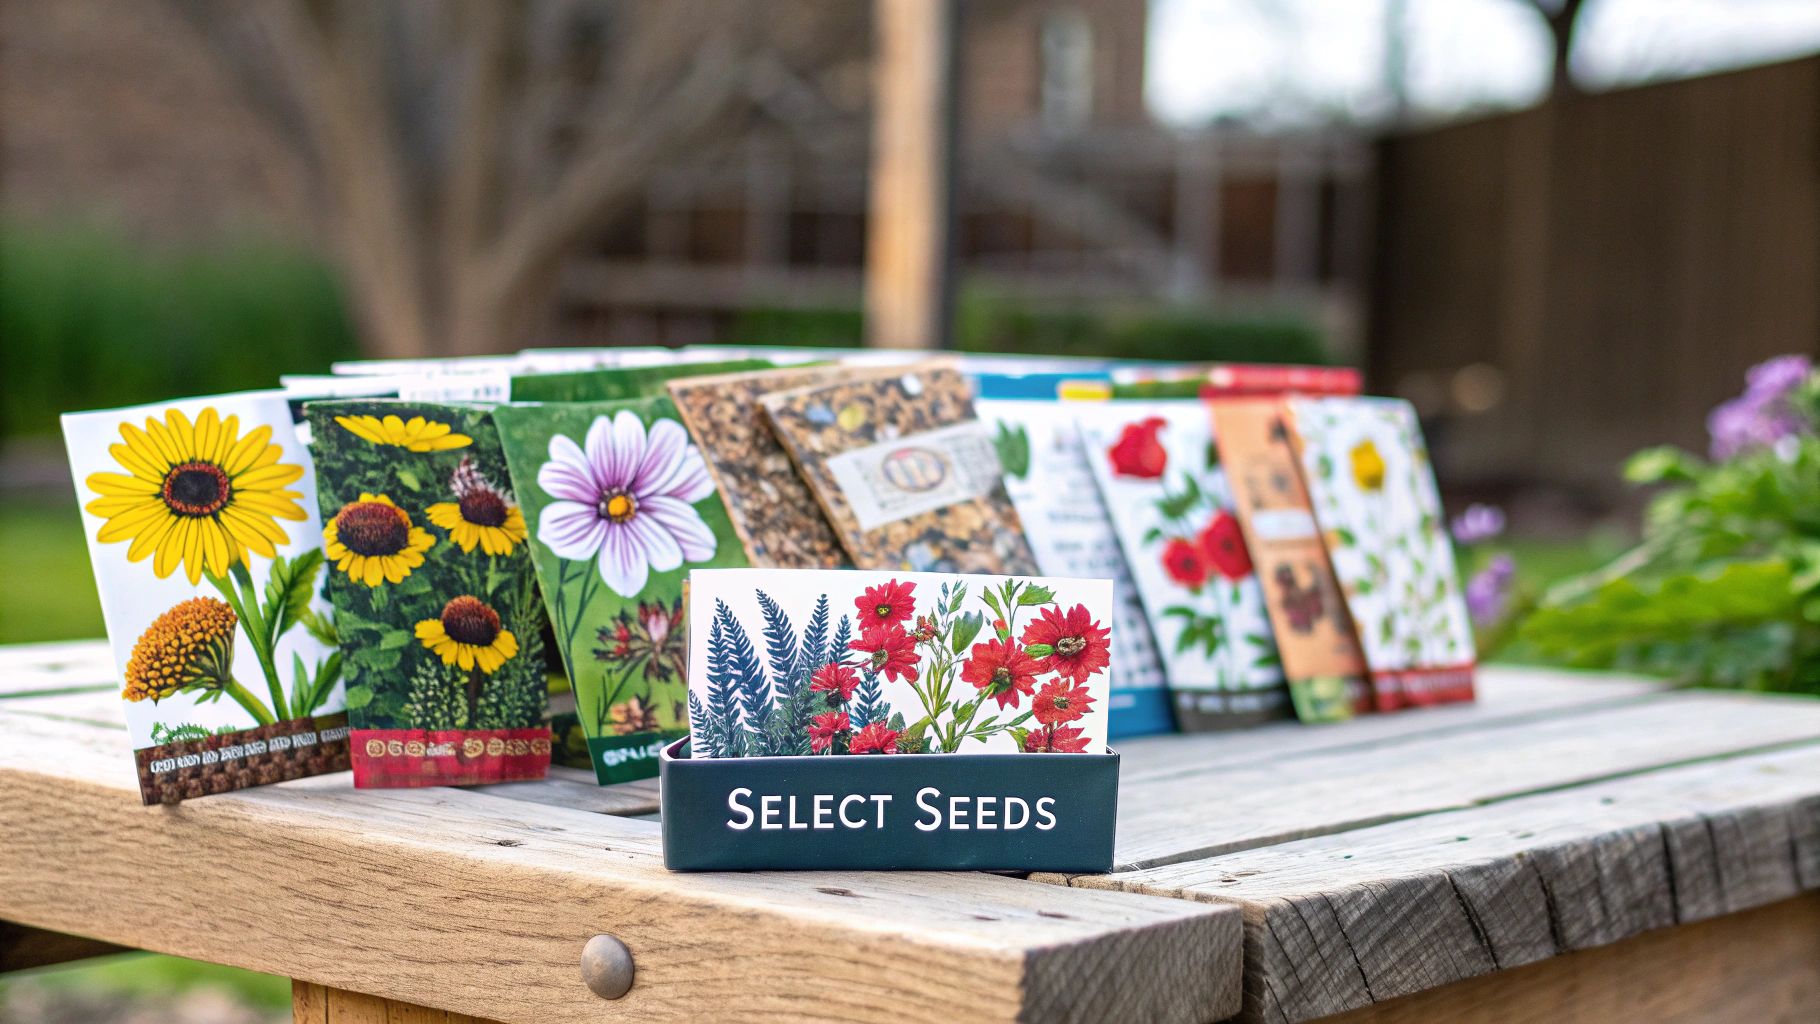
Choosing the right wildflower seeds is probably the single most important step you'll take. It’s the foundation for a successful meadow. A beautiful packet of seeds won't do you much good if the flowers inside can't handle your specific conditions.
This isn't about just grabbing the prettiest mix off the shelf. It’s about making a smart, informed choice that sets your garden up for a vibrant, long-lasting display. Let's walk through the seven key things I always consider.
1. Match the Mix to Your Sunlight
First things first: take a good, honest look at your plot. Before you even think about buying seeds, spend a day observing the light.
Does it get blasted with more than 6 hours of direct sun every day? Or is it tucked away in partial shade for most of the afternoon? This one simple observation will immediately narrow down your options.
Full-sun mixes are often packed with flowers like poppies and cosmos that need intense light to thrive. Shade-tolerant blends, on the other hand, might feature things like columbine or foxglove. Trying to force sun-lovers into a shady spot will just leave you with sad, spindly plants and very few flowers.
2. Know Your Local Climate
This seems obvious, but it’s amazing how often it’s overlooked. What thrives in the hot, dry Southwest is going to wither in the cool, damp Northeast.
Always choose a wildflower seed mix that's been put together for your specific growing zone or region. This is absolutely critical for perennial flowers, which need to be tough enough to survive your local winters to come back year after year.
The most beautiful meadow is one that looks like it belongs there. Using seeds that are native or well-adapted to your region ensures your plants will flourish with very little fuss, creating a garden that’s both natural and sustainable.
3. Understand Your Soil Type
Most wildflowers are surprisingly tough and actually prefer poor, low-nutrient soil. It’s their secret weapon—they can grow where aggressive grasses and weeds often struggle.
So, what are you working with? Is your soil heavy clay that holds water forever? Is it sandy and drains in an instant? Or are you blessed with a rich, loamy texture? Many seed suppliers have done the hard work for you and offer special mixes designed for different soil conditions, which really takes the guesswork out of it.
4. Choose a Mix of Annuals and Perennials
The best seed mixes create a show that evolves over time. The key is a thoughtful blend of plants with different life cycles.
- Annuals: These are the sprinters. They grow, bloom, and set seed all in one season. This gives you a spectacular burst of color in the very first year while the slower-growing plants are getting established.
- Perennials: These are the marathon runners. They focus on building strong roots in their first year and usually start blooming from the second year on. They are the true backbone of a permanent meadow.
- Biennials: These guys live for two years, typically flowering in the second year before they finish their life cycle.
This combination creates a dynamic, ever-changing garden that looks a little different each season.
5. Go Native to Support Pollinators
If you want to do one thing to help your local ecosystem, plant native wildflowers. They are perfectly adapted to provide the right food and habitat for the bees, butterflies, and birds in your specific area.
Choosing a native mix is a powerful way to boost biodiversity right in your own backyard. You can learn more about the different kinds of plants you can grow in our complete guide to flower seeds.
6. Read the Seed Packet Carefully
Don't be seduced by the pretty picture on the front! The real gold is on the back label. This is where you'll find the critical details:
- Species List: Check exactly which flowers are included in the mix.
- Coverage Rate: This tells you how much area the packet will realistically cover. Don't try to stretch it!
- Purity and Germination Rates: These numbers are a direct indicator of the seed's quality.
7. Consider Organic and Non-Treated Seeds
More and more gardeners are looking for sustainable ways to grow. Choosing organic wildflower seeds means you're avoiding chemical treatments that can harm the environment and your garden's delicate ecosystem.
This choice supports a healthier planet and ensures your meadow gets the purest start possible. The preference for organic seeds is a growing trend for a reason—it’s better for the garden and for the gardener.
3 Essential Steps for Preparing the Perfect Seedbed
A gorgeous wildflower meadow doesn’t just happen. It all starts with the right foundation. I'm not going to lie, preparing the seedbed is the most physically demanding part of the whole process, but getting it right from the start is absolutely critical. A well-prepped site gives your wild flower seeds the best shot at germinating without being bullied by weeds and grass.
Think of it like this: you're setting the stage for a season-long performance. A bit of elbow grease now will pay off with years of vibrant, low-maintenance blooms.
1. Clear All Existing Vegetation
The first and most important goal is creating a completely blank canvas. This means getting rid of every last bit of grass, weeds, and anything else growing in your chosen spot. If you don't, that existing vegetation will absolutely outcompete your tiny wildflower seedlings for sunlight, water, and nutrients.
You've got a few different ways to tackle this:
- Solarization: This is a fantastic non-chemical approach. Just mow the area as low as you can, give it a good soaking, and then cover it tightly with clear plastic sheeting for 6-8 weeks during the hottest, sunniest part of the year. The trapped heat essentially cooks everything underneath.
- Shallow Tilling: If you're working with a larger plot, tilling the top 2-3 inches of soil works well. The key here is shallow. If you dig too deep, you’ll just bring a whole new batch of dormant weed seeds to the surface, creating a problem for later.
- Manual Removal: For smaller patches, nothing beats a good old-fashioned garden hoe and rake. Scrape away all the existing plants until you see bare earth. It’s tough work, but it’s incredibly effective.
No matter which method you choose, the end goal is the same: 100% bare soil. Don't cut corners here.
2. Embrace Poor Soil
This is going to sound completely backward to most gardeners, but for wildflowers, poor soil is a good thing. They genuinely thrive where other plants struggle.
If you add a bunch of compost or fertilizer, you're creating a disaster for your meadow. Rich, fertile soil gives a massive head start to aggressive grasses and common weeds, which will quickly choke out your delicate wildflowers. Most native wildflowers evolved in low-nutrient conditions—that’s their secret weapon. By planting in unimproved soil, you're leveling the playing field.
The real secret to a successful wildflower meadow is working with nature, not against it. The single most important thing a gardener can do is resist the urge to "improve" the soil with fertilizers.
3. Rake the Surface
Alright, once the ground is clear, it's time for the final touch. You need to create the perfect texture for the seeds to settle into. We're not looking for a fluffy, deeply tilled garden bed here. What you want is a surface that's firm underneath but has a fine, crumbly top layer.
Grab a sturdy garden rake and lightly rough up the top inch of soil. This action creates tiny grooves and pockets for the wild flower seeds to fall into, which is crucial for achieving good seed-to-soil contact. That direct contact with the earth is what allows the seeds to absorb moisture and kickstart the germination process. You're basically creating a perfect little nest for them.
The image below shows the ideal soil characteristics you're aiming for.
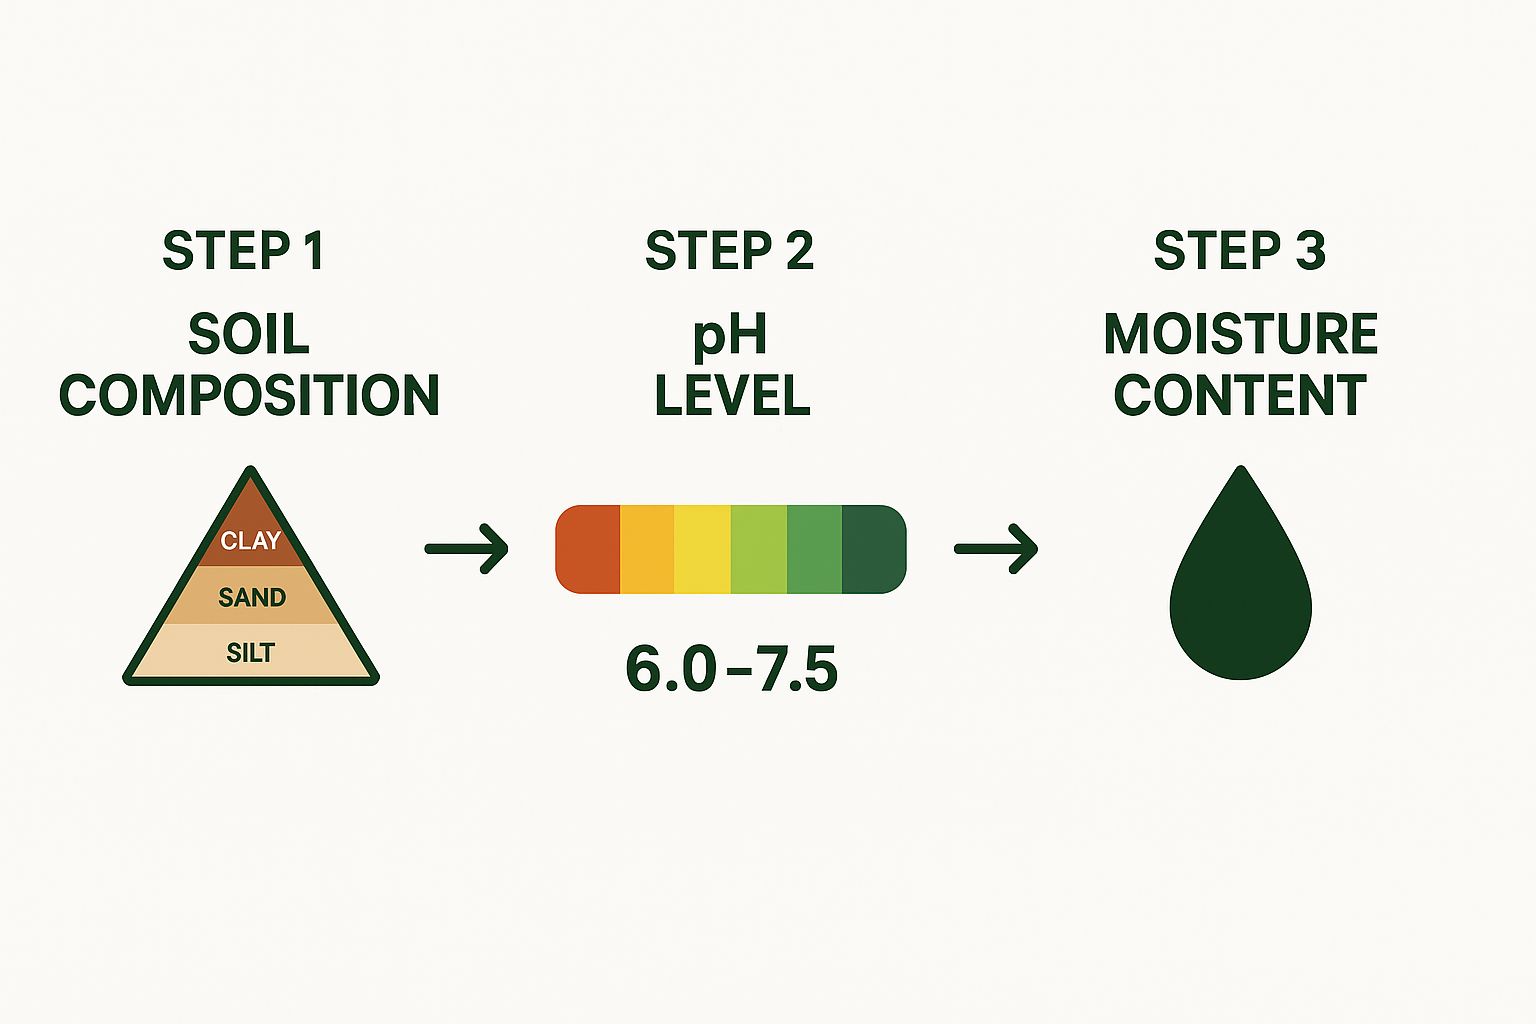
This visual really drives home the key elements: a balanced soil composition, a neutral pH, and good moisture retention. Once you've followed these core principles, your site will be perfectly primed and ready for sowing.
5 Proven Techniques for Sowing Wildflower Seeds
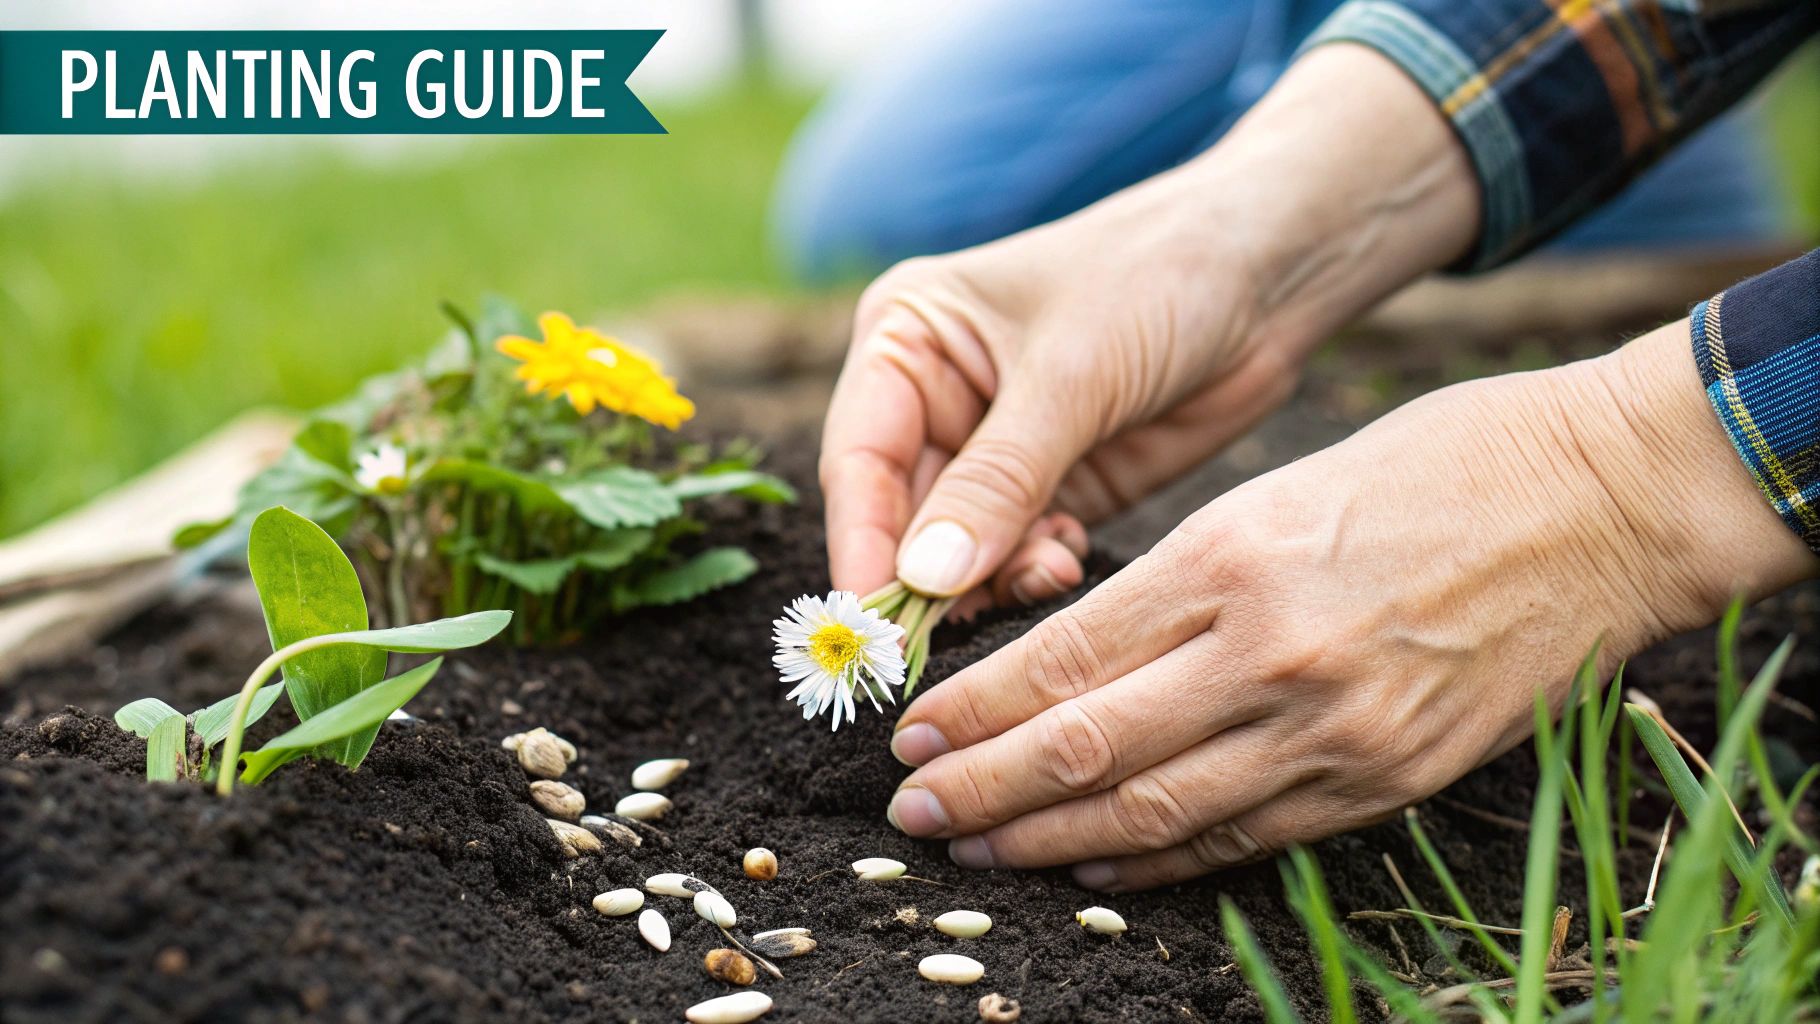
With your seedbed prepped and ready, we get to the best part: sowing the seeds. It’s tempting to just toss them out there and hope for the best, but a little technique goes a long way. The right approach can be the difference between a few lonely flowers and a lush, vibrant meadow.
The whole point is to get an even, natural-looking spread so every seed gets its fair shot. After years of trial and error, I've landed on a few methods that deliver fantastic results every single time.
1. The Sand Trick: My Go-To Method
This is my all-time favorite tip, and it’s a lifesaver. It tackles the two biggest headaches of sowing: not being able to see where you’ve scattered the tiny seeds and accidentally dumping them all in one clump.
The solution is simple: mix your wildflower seeds with a carrier like dry sand or even sawdust. I’ve found a ratio of about 4 parts sand to 1 part seed works perfectly.
This mix does two brilliant things:
- It adds bulk, making a small amount of seed much easier to handle and broadcast evenly by hand.
- The pale color of the sand acts as a visual guide, showing you exactly where you've already sown. No more bare patches or wasted seed.
It's a small step that makes a massive difference, turning a haphazard job into something far more controlled.
The sand mix method is a true game-changer. It’s a low-cost, high-impact technique that takes the guesswork out of getting that beautifully random, yet evenly distributed, wildflower look.
2. Divide and Conquer
If you're working with a larger plot, trying to cover the whole thing at once is a recipe for unevenness. You’ll inevitably end up with thick patches here and sparse spots there.
A much better way is to break the area down. Just eyeball it and divide your garden bed into smaller, more manageable sections. Then, do the same with your seed-and-sand mixture. If you split your plot into four quadrants, split your seed mix into four equal portions.
Tackle one section at a time, using only its allocated seed mix. This systematic approach guarantees every part of your future meadow gets the same amount of attention.
3. Broadcast by Hand for a Natural Look
While you can use a mechanical spreader, I find that broadcasting by hand gives the most authentic, cottage-garden feel. This is where you get to mimic nature.
Take a handful of your seed mix and walk slowly across your plot, casting the seeds with a wide, sweeping motion of your arm. Try to imagine how wind would naturally disperse them. Go over the area a couple of times from different directions—first walking north to south, then east to west—to ensure you get really good, crisscrossing coverage.
4. Sow Lightly, Don't Bury
This is a critical piece of advice that many people get wrong. Unlike most garden vegetables that need to be tucked under the soil, many wildflowers actually need light to germinate.
Your goal is to get the seeds resting right on the surface, ensuring they make good contact with the soil. Resist the urge to rake them in or cover them with a fresh layer of dirt. Burying them too deep is one of the quickest ways to guarantee they never sprout. For a deeper dive on this, check out our complete guide on how to sow and grow wildflowers.
5. Press for Success
Once all your seeds are down, the final job is to press them firmly into the soil. This step is non-negotiable! It ensures good seed-to-soil contact, which is vital for moisture absorption. It also helps anchor them so they don't get washed away by the first rain or become a feast for the local birds.
For smaller patches, you can just walk gently over the entire area. Your own body weight is perfect for the job. On a larger scale, a lawn roller is a great tool. Remember, you're just pressing them in, not burying them. You want them snug and secure, ready to grow.
7 Essential Care Tips for Your Wildflower Meadow’s First Year
You’ve done the hard work of prepping the soil and sowing your wild flower seeds. Now comes the part that requires a little faith and patience: the first year of growth. This is the crucial establishment period, where your fledgling meadow focuses on putting down roots for a spectacular future.
Don't expect a perfect, finished-looking meadow overnight. The first year is often a bit awkward, but it's a vital phase. With a bit of know-how, you can guide your young plants toward a thriving, beautiful display that will last for years.
1. Master the Art of Watering
Right after you sow, keeping the soil moist is your top priority for the first 4-6 weeks. The goal is to keep the top inch of soil consistently damp, which is exactly what the seeds need to germinate. Don't drown them! A light touch with a fine-mist nozzle on a hose is all it takes.
Once you see seedlings that are a few inches tall, you can back off significantly. Wildflowers are tough and have adapted to be quite drought-tolerant. From this point on, you should only need to water during long, hot dry spells. In fact, overwatering can cause more problems than it solves, leading to weak plants and fungal diseases.
2. Be Patient with Your Perennials
This is probably the most important lesson for any new meadow gardener. If you've sown a mix that includes perennials, you likely won't see many of them bloom in the first year. Don't panic—this is completely normal.
These long-lived plants are playing the long game. They spend their entire first season focusing their energy underground, developing the deep, robust root systems that will sustain them for years. That initial burst of color you'll see comes from the annuals in the mix; they're the sprinters designed to put on a quick show while the perennials, the marathon runners, get established.
3. Get to Know Your Weeds
Weeds are going to show up. It’s a fact of gardening life. The trick is to know what you’re looking for. Take some time to learn what your wildflower seedlings look like so you can distinguish them from unwanted guests. Most wild flower seeds packets include photos or lists of the species inside, which can be a huge help.
Your focus should be on removing the real thugs—plants like thistles, dock, or other aggressive invaders—before they get a chance to flower and set seed. In a new meadow, carefully hand-pulling is almost always the best approach, as it minimizes disturbance to your delicate wildflower seedlings.
Your goal isn't a completely sterile, weed-free meadow—that’s an impossible standard. Instead, you're just managing the competition to give your chosen flowers the space and resources they need to get a strong start.
4. Resist the Urge to Fertilize
This might feel wrong, but adding fertilizer is one of the worst things you can do for a new wildflower plot. Wildflowers have specifically adapted to thrive in poor, low-nutrient soils.
When you add fertilizer, you aren’t helping the wildflowers. You’re giving a massive advantage to nutrient-hungry weeds and grasses, which will quickly grow and smother the very plants you're trying to nurture.
5. Keep Aggressive Grasses in Check
While some native grasses can be a lovely addition to a meadow, the kind of aggressive turf grass from a lawn is a major threat. If you see thick patches of lawn grass beginning to creep in and take over, you need to act. Carefully hand-pull them or use a targeted spot treatment, making absolutely sure you don’t harm the surrounding flowers.
6. Embrace Modern Seed Innovations
Gardening from seed has become more reliable than ever, thanks to some fantastic work in horticulture. Today's wild flower seeds often benefit from advancements that result in disease-resistant and high-yield varieties. Even biotechnology has played a role, helping develop hybrid seeds with enhanced resilience to challenging conditions. These are the kinds of improvements that give home gardeners a much better shot at success. You can see just how much the industry is innovating by exploring developments in the flower seed market.
7. Do a "High Mow" in the Fall
Once the growing season winds down and most of your flowers have faded and dropped their seeds for next year, it’s time for a trim. Set your mower to its highest setting—about 4-6 inches—and cut down the entire area.
This end-of-season "high mow" does three important things: it helps scatter the newly fallen seeds across the soil, it cuts down annual weeds before they can drop more seeds, and it opens up the canopy to let sunlight reach the low-growing perennial rosettes, giving them a head start for the following spring.
2 Keys to Keeping Your Meadow Thriving for Years
A wildflower meadow isn't a static flower bed; it's a living, breathing ecosystem that changes with the seasons. Its charm lies in that natural, beautiful progression. Success, in the long run, isn't about constant meddling. It’s about becoming a thoughtful observer, guiding your meadow's health with a few key tasks each year.
The single most important job is the annual mow. This one action is what stops aggressive grasses from completely taking over and gives your flowers the space they need to reseed for the following year. If you skip it, you'll likely see your meadow slowly revert to a tangled mess of coarse grass, which will eventually choke out the very blooms you worked so hard to establish.
1. The All-Important Autumn Cut
When it comes to mowing, timing is everything. You'll want to wait until late autumn, long after the last flowers have faded and had plenty of time to drop their seeds.
This late-season cut does a few things all at once:
- Spreads Seeds: The mower acts as a natural seed spreader, scattering the new wild flower seeds across the soil and setting them up for spring germination.
- Keeps Weeds in Check: It cuts down annual weeds before they can produce their own seeds, which means less competition for your flowers next year.
- Lets the Light In: By clearing away the dead growth, you allow precious winter sunlight to reach the low-growing foliage of your perennial plants.
Once you've mowed, it's a good idea to let the cuttings lie for a few days. This gives any last remaining seeds a chance to fall to the ground before you rake everything up.
Think of the annual mow as hitting the reset button on your meadow. It's a simple, crucial step that maintains the delicate balance between flowers and grasses, promising a stunning display year after year.
2. Troubleshooting Common Meadow Problems
Even with the best care, you might run into a few challenges. Don't worry. A little corrective action can quickly get things back on track.
The most common issue is seeing grasses start to dominate. If you notice thick, grassy patches beginning to crowd out your flowers, you have a secret weapon: Yellow Rattle. Sow these seeds in the autumn. This fascinating plant is semi-parasitic and lives on the roots of grass, naturally weakening it and giving your wildflowers the upper hand.
Taking care of your local patch of land is a small-scale reflection of a global effort to grow more resilient plants. The worldwide seeds market was valued at an estimated USD 59.3 billion in 2025, driven by investments in new technologies to improve yields. If you're curious, you can learn more on the global seed market trends and see how this innovation is shaping both large-scale agriculture and home gardening.
3 Common Questions About Planting Wildflowers
Even the most seasoned gardeners have questions when starting something new, and planting a wildflower meadow is definitely a unique project. Let's tackle some of the most common queries we get from folks just starting out.
1. When Is the Best Time to Plant?
This is probably the number one question, and the answer really comes down to your local climate.
For most of the country, fall is absolutely the best time to sow your seeds. Getting them in the ground before winter allows them to go through a natural cold, moist period. This process, called stratification, is the wake-up call many native seeds need to burst into life come spring.
But what if you live somewhere with brutally cold winters or you simply missed the fall window? Don't worry. Spring planting works great too. The key is to wait until the danger of the last hard frost has passed. This timing lets the seeds catch the spring rains and milder temperatures, giving them a solid start.
2. How Long Until I See Flowers?
This is where a little patience pays off big time. You should start seeing the first tiny green sprouts pop up within 2 to 4 weeks, assuming they're getting enough moisture and warmth.
But when do you get the big color show? That depends entirely on the types of seeds in your mix.
- Annuals: These are your instant gratification plants. They live their whole life cycle in one season, so they'll sprout, grow, and bloom all in the first year.
- Perennials: These are in it for the long haul. In their first year, they focus all their energy on growing deep, strong roots. You might see some green leaves, but you'll have to wait until the second year for them to really put on a flower show.
Knowing what's in your mix helps set the right expectations. For a much deeper dive into bloom timelines, you can find out exactly when your wildflowers will bloom in our dedicated guide.
3. Should I Fertilize My Wildflower Meadow?
I'll make this one easy for you: absolutely not. It feels counterintuitive, I know, but most wildflowers are tough natives that have adapted over centuries to thrive in poor, lean soil.
Adding fertilizer, compost, or rich topsoil is like rolling out the red carpet for aggressive weeds and grasses. They will happily take all those extra nutrients and quickly outcompete your delicate wildflowers for space, light, and water.
One of the best things about a wildflower meadow is its low-maintenance beauty. Skipping the fertilizer is the single most important step to keep it that way and let your chosen flowers flourish.
Ready to create your own patch of vibrant, natural beauty? At Homegrown Garden, we have a hand-picked selection of high-quality wildflower seeds and all the expert advice you need to get it right. Start your wildflower journey today!

