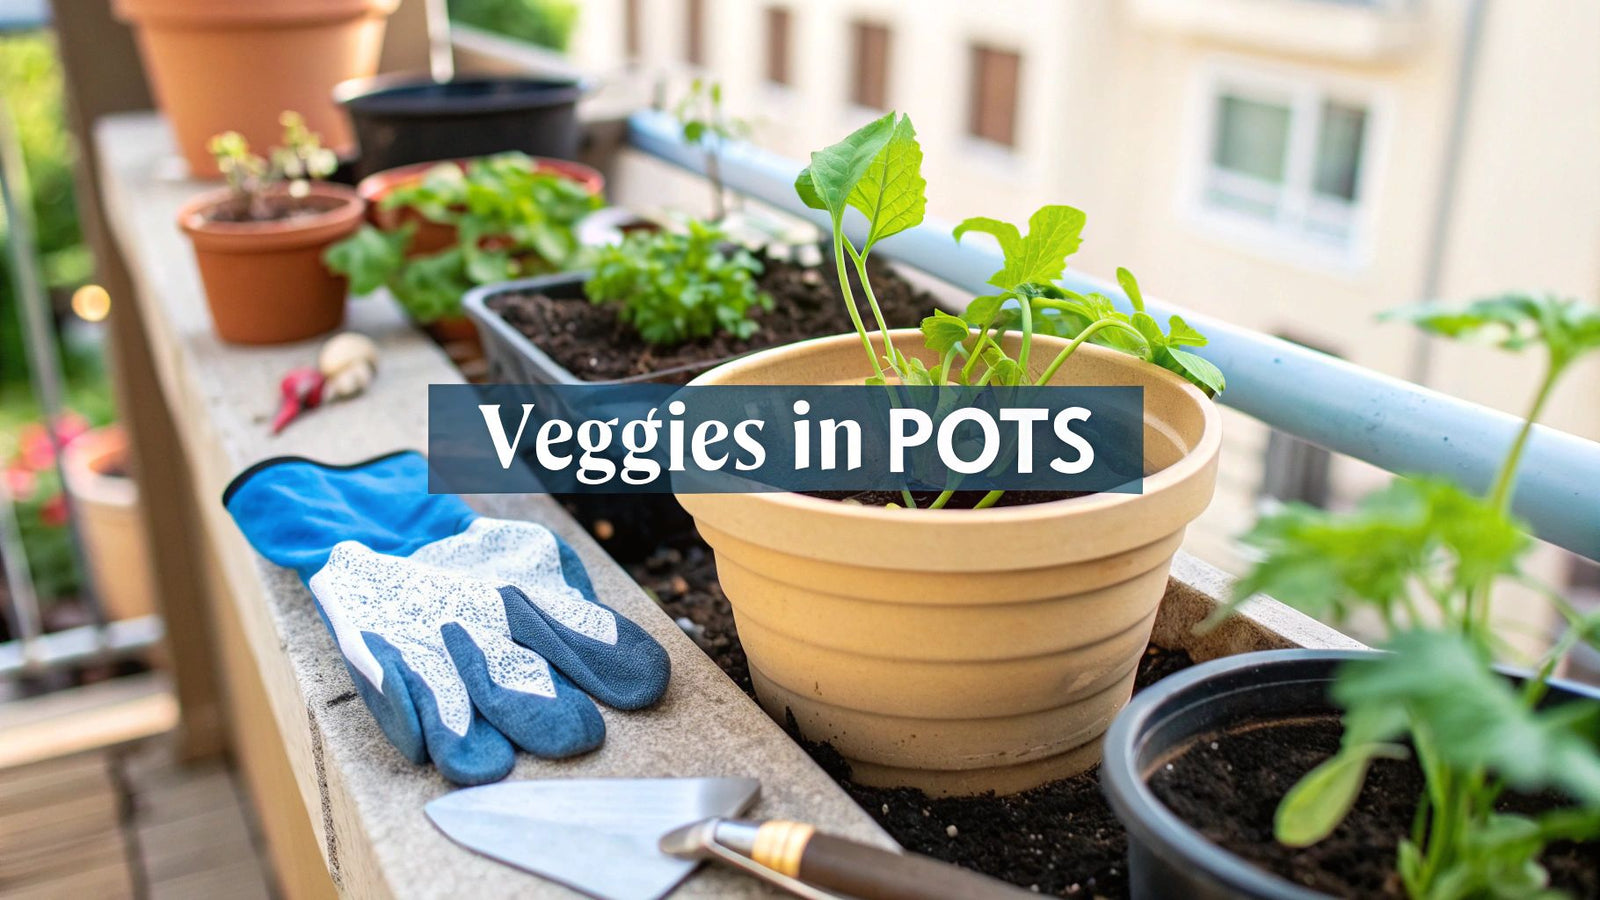
Want to grow your own fresh vegetables but don't have a big yard? You've come to the right place. Growing vegetables in pots is the perfect way to get started, and your success really boils down to two things: choosing the right container and picking plants that are practically foolproof.
It's that simple. A good 5-gallon pot and a forgiving vegetable like lettuce or a bush bean variety will put you on the fast track to a fantastic first harvest.
11 Simple Steps and the Best Pots For Your First Garden
Getting into container gardening is one of the most rewarding things you can do. It's a game-changer that connects you to your food, and the best part is its accessibility. Whether you've got a sprawling patio or just a tiny apartment balcony, you can create a surprisingly productive garden.
The secret to a great container garden is building a solid foundation. That means pairing the right pot with the right plant. This isn't just about looks—it's about giving your plants a healthy home where roots can breathe, water can drain away, and they have enough room to grow big and strong.
The market has exploded with options for container gardeners. In fact, the global gardening pots market was valued at an incredible $18.33 billion in 2023 and is expected to hit over $25 billion by 2030. That growth, which you can read more about in the full research on gardening pot growth from Grandview Research, shows just how many people are discovering the joy of this hobby.
Step 1: Choosing The Right Pot Material
The container you choose has a direct impact on your plant's health and how often you'll need to water—a critical factor for beginners. Each material has its own quirks.
- Terracotta (Clay) Pots: These are the classic, earthy-looking pots you see everywhere. Their best feature is that they're porous, which lets air and water move through the sides. This is great for preventing root rot (a common rookie mistake!), but it also means the soil dries out much faster, especially on hot, sunny days.
- Plastic Containers: Plastic is a practical choice—it's lightweight, affordable, and really good at holding onto moisture. The key is to make absolutely sure it has plenty of drainage holes. Unlike terracotta, plastic is not forgiving if you overwater.
- Fabric Grow Bags: I'm a huge fan of these for beginners. Fabric pots are fantastic because they "air prune" the roots. When a root hits the fabric wall, it's exposed to air and stops growing, which encourages a much denser, healthier root system instead of a tangled mess. Plus, the drainage is second to none.
- Ceramic (Glazed) Pots: Think of these as terracotta's stylish cousin. They are coated in a waterproof glaze, so they retain moisture well and come in all sorts of beautiful designs. Just be aware they can be heavy and a bit pricier, but they offer great stability for taller plants.
My Go-To Beginner Tip: If you're just starting, grab a 5-gallon plastic pot or a fabric grow bag. It’s the perfect all-rounder—big enough for most popular vegetables, holds moisture well, and is light enough to move around if you need to chase the sun.
This chart really drives home how much you can get out of even a small container garden. It’s not just about the food; it's about cost savings and making the most of whatever space you have.
As you can see, a single pot can produce a real harvest, save you money at the grocery store, and fit perfectly into the smallest nooks.
Step 2: Pick from 11 Foolproof Vegetables For Beginners
To build your confidence and guarantee a successful first season, start with plants known for being tough and productive in containers. When you're shopping for seeds or seedlings, look for varieties with names like "bush," "dwarf," or "patio." These have been bred specifically for compact spaces.
Here are 11 of my favorite choices for first-timers:
- Lettuce (Leaf Varieties): You can start harvesting these in just a few weeks.
- Spinach: Like lettuce, it grows fast in cooler weather and is super easy.
- Radishes: The ultimate for instant gratification. Some go from seed to harvest in under a month.
- Bush Beans: Incredibly productive without needing a huge trellis to climb.
- Peas (Dwarf Varieties): Look for a compact variety like 'Tom Thumb' that stays small.
- Cherry Tomatoes (Determinate): "Determinate" is the magic word—it means the plant grows to a fixed, manageable size.
- Peppers: Both sweet bell peppers and spicy hot peppers love the warmth of a container.
- Kale: This hardy green is a true workhorse. You can harvest leaves for months from a single plant.
- Swiss Chard: As beautiful as it is delicious, and it handles both cool and warm weather well.
- Green Onions: Perfect for a small, shallow pot on a windowsill. They even regrow after you snip them!
- Herbs: Basil, mint, and parsley are practically indestructible and thrive in pots.
To help you get started, here's a quick reference table I put together. It matches some of these easy-to-grow veggies with the right pot size and a few key tips.
Vegetable | Minimum Pot Size (Gallons) | Sunlight Needs | Top Tip for Beginners |
---|---|---|---|
Leaf Lettuce | 2-3 | 4-6 hours (tolerates partial shade) | Harvest outer leaves first to keep the plant producing longer. |
Radishes | 1-2 | 6+ hours | Sow seeds every two weeks for a continuous supply. |
Bush Beans | 5 | 6-8 hours | Don't let the soil dry out, especially when flowers appear. |
Cherry Tomatoes | 5-7 | 8+ hours (the more, the better!) | Choose a "determinate" or "patio" variety for best results. |
Basil | 1-2 | 6-8 hours | Pinch off the tops regularly to encourage bushier growth. |
This table should give you a solid starting point for planning your first container garden. Just remember to match the plant's needs to the pot you have, and you'll be in great shape.
For a more exhaustive list of plants that do well in containers, be sure to check out our complete guide on the best vegetables for containers. It's packed with even more ideas to get you growing.
Step 3: Create the Perfect Soil Mix for Containers
The real secret to a killer container garden isn’t a green thumb—it’s what’s happening below the surface. The single biggest mistake I see new gardeners make is scooping up dirt from their yard and plopping it into a pot. Garden soil is just too heavy and dense; it compacts down into a solid brick, choking out roots and turning into a swampy mess after a few waterings.
For containers, you need a special blend called potting mix. It’s not really "soil" in the traditional sense. It's a soilless medium engineered to stay light, fluffy, and well-draining, creating the perfect balance of air, water, and nutrients that roots need to thrive in a confined space.
The 3 Pillars of a Perfect Potting Mix
A great container mix isn't some complicated secret. It really just comes down to three key components working in harmony. Think of it like a recipe where each ingredient plays a critical role. Get the balance right, and you’ll create the perfect home for healthy, happy roots.
- Moisture Retention (The Sponge): You need something that can hang onto water so your plants aren’t bone dry an hour after you water them on a hot day. Coco coir (shredded coconut husks) and peat moss are perfect for this. They soak up water and release it slowly as the plant needs it.
- Aeration and Drainage (The Breather): To keep your mix from becoming waterlogged and causing root rot, you need an ingredient that creates tiny air pockets. Perlite, those little white volcanic pebbles you see in potting soil, is fantastic for this. It keeps the mix from compacting, allowing excess water to drain away freely and letting roots breathe.
- Nutrition (The Food): Your veggies need fuel to grow and produce. Nothing beats good, old-fashioned compost. It’s packed with a slow-release buffet of nutrients and beneficial microbes that feed your plants steadily over time, unlike synthetic fertilizers that can wash out with the first heavy watering.
Your potting mix is your plant's entire world. Providing a light, airy, and nutrient-rich foundation is the single most important step you can take to ensure your container garden thrives from the start.
Step 4: Make a Simple DIY Soil Recipe
Making your own potting mix is way easier than it sounds, and it's usually cheaper than buying pre-made bags, especially if you're filling a lot of containers. Plus, you get total control over the quality of your ingredients.
Here’s a classic, all-purpose recipe that I’ve used for years with great results for almost any vegetable:
- 1 part Coco Coir or Peat Moss: This makes up the bulk of the mix and acts as the main water-holder.
- 1 part Perlite: This is your aeration. It keeps everything light and stops compaction.
- 1 part Compost: This is the powerhouse, bringing all the essential nutrients and microbial life to the party.
Just toss these three ingredients into a wheelbarrow or a large tub. Add a little water to keep the dust down and mix it all together until it’s evenly combined. That's it! You've just made a premium potting mix that your vegetables are going to absolutely love. For a deeper dive into different ingredients, check out our guide on the best soil mix for your vegetable garden for more pro tips.
Step 5: Choose a Quality Store-Bought Bag
Don’t have the time or space to mix your own? No problem. Buying a bagged mix is a great, convenient option.
The key is to read the label carefully. You want a product specifically labeled "potting mix" or "container soil"—never "garden soil" or "topsoil," as those are meant for in-ground beds.
Glance at the ingredients list and make sure you see those three pillars we talked about: a base like peat or coir, an aerator like perlite, and some form of organic matter like compost. A good quality mix will feel light and fluffy in the bag, not heavy and clumpy. Choosing the right bag ensures you’re giving your plants the best possible head start.
Step 6: Get Plants in Pots, from Seeds or Seedlings
Alright, you’ve got your containers and your soil is ready to go. Now for the fun part—bringing your garden to life. This is where the magic happens, whether you're starting with a humble seed or a young plant you picked up from the nursery. Getting this step right gives your veggies the strong foundation they need to thrive.
The path you take will look a little different depending on your starting point, but the goal is always the same: give your plants a stress-free start. Let's walk through both methods so you feel confident no matter which route you choose.
How To Actually Use a Seed Packet
Think of a seed packet as your plant's personal instruction manual. It’s amazing how much vital information is packed onto that little envelope, and ignoring it is probably the most common mistake I see beginners make. Everything you need to know is right there.
Here's the critical info you should look for:
- Planting Depth: This is non-negotiable. A great rule of thumb is to plant a seed about twice as deep as it is wide. A frequent error is planting too deep; that tiny seed only has so much stored energy, and it can run out before its first leaves ever break the surface to find sunlight.
- Spacing: This tells you how much room the plant needs when it's fully grown. For containers, you can often cheat this a little and plant things closer together than you would in a garden bed, but don't go overboard. Overcrowding just leads to sad, stressed-out plants.
- Days to Germination: This gives you a rough idea of when to start anxiously checking for that first little green sprout. Patience is key!
A little trick I use is to press a pencil tip or even a ruler into the soil to make a small hole at the perfect depth. It takes the guesswork out and prevents you from accidentally burying the seed too deep.
Step 7: "Harden Off" Your Nursery Starts
Buying young plants (we call them "seedlings" or "starts") is a fantastic shortcut. It lets you skip the whole germination stage and get a head start on the season. But hold on—you can't just pluck them from the nursery and plop them into a container on your sunny patio.
That sudden change from a sheltered greenhouse to the wild outdoors can cause what's known as transplant shock. The plant might wilt, turn yellow, or just stop growing altogether. To avoid this, you need to harden them off first.
Hardening off is simply the process of slowly getting your plants used to the great outdoors. You're gradually introducing them to direct sun, wind, and temperature swings. Trust me, this one step makes all the difference between a plant that thrives and one that sputters out.
Start by setting your seedlings outside in a protected, shady spot for just an hour or two on the first day. Over the next 7-10 days, slowly increase their outdoor time and introduce them to more direct sun each day. By the end of the week, they’ll be tough enough to handle living in their new home full-time.
Step 8: Transplant Your Veggies
Once your seedlings are properly hardened off, it's transplanting time. The number one rule here is to be gentle. You want to disturb that delicate little root ball as little as possible.
Here’s my tried-and-true method for a stress-free move:
- Water the Seedling First: About an hour before you plan to move it, give the seedling a good drink in its original nursery pot. This helps the whole root ball slide out cleanly.
- Prep the New Pot: Fill your container with pre-moistened potting mix, scooping out a hole in the middle that’s just a bit bigger than the seedling's root ball.
- Gently Un-pot: Tip the seedling's pot on its side, supporting the plant's stem between your fingers. A gentle squeeze or a few taps on the bottom should be enough for the entire plant and its soil to slide right out. Whatever you do, don't pull the plant by its stem!
- Settle It In: Place the root ball into the hole you made. You want the top of the root ball to be level with the soil line of the new pot. The one exception is tomatoes—you can actually bury a good portion of their stem to encourage extra root growth.
- Tuck It In and Water: Fill in the space around the root ball with more soil, lightly patting it down to get rid of any big air pockets. Finish with a deep, thorough watering to help the soil settle in around the roots.
Figuring out the right timing for all of this can be confusing, but our guide on when to start seeds indoors breaks it down with a timeline based on your local climate.
Step 9: Keep Your Potted Plants Watered and Fed
Once your veggies are in their pots, your two main jobs are watering and feeding. This is where container gardening really differs from planting in the ground. Your potted plants are completely dependent on you for every drop of water and every bit of nutrition. Nailing this routine is what separates a sad, struggling plant from a thriving, productive one.
Pots can dry out shockingly fast, especially on a hot, sunny day. That limited amount of soil just doesn't hold a lot of moisture, so staying on top of watering is absolutely crucial.
The Only Watering Trick You Need: The Finger Test
The number one question I get from new gardeners is, "How often should I water?" The answer is simple: forget a rigid schedule. "Water every day" is terrible advice because some days a plant needs a drink, and other days it doesn't. Too much water is just as deadly as too little—it drowns the roots and leads to rot.
Instead, let the plant tell you what it needs with a time-tested technique: the finger test. It’s what experienced gardeners have always used because it just works.
All you do is stick your index finger into the soil up to your second knuckle.
- If it feels dry down there, go ahead and water.
- If you feel any cool moisture, your plant is fine. Check again tomorrow.
That's it. This simple check takes the guesswork out of watering and responds to what your plant actually needs that day. When you do water, give it a good, long drink until water runs freely from the bottom drainage holes. This ensures the entire root system gets hydrated, not just the top layer of soil.
Decoding Fertilizer: What NPK Really Means
When you grab a bag of plant food, you’ll see three numbers like 5-5-5 or 10-3-6. This is the NPK ratio, and it's much simpler than it looks. It just tells you the percentage of the three key nutrients plants need to thrive.
- N (Nitrogen): This fuels green, leafy growth. It's the key ingredient for lush lettuce, spinach, and herbs.
- P (Phosphorus): This one is all about strong roots, flowers, and fruit. It’s what tomatoes, peppers, and cucumbers need to produce.
- K (Potassium): Think of this as the "health" nutrient. It helps with overall plant strength, fighting off diseases, and managing water.
For beginners, a balanced, all-purpose organic fertilizer is your best bet. Look for one where the NPK numbers are all fairly close together (like a 4-5-4), as this will cover the basic needs of most vegetables.
A Simple Feeding Schedule That Works
The best routine is one you can actually stick to. For container gardening, organic liquid fertilizers are a fantastic choice because they're easy to mix and the plant can absorb the nutrients right away.
I often recommend beginners start with liquid seaweed or fish emulsion. They are gentle on the plants, packed with extra micronutrients, and it's pretty hard to mess them up.
Here’s a basic schedule to get you started:
- How Often: Feed your plants about every 2-4 weeks once they really start growing in late spring and summer.
- How to Mix: Just follow the dilution instructions on the bottle. A little goes a long way.
- How to Apply: Use the fertilizer mix in place of a regular watering. Pour it directly onto the soil, not all over the leaves.
By checking the soil daily with your finger and feeding your plants every few weeks, you'll be giving your container garden everything it needs to thrive and reward you with fresh, delicious vegetables.
Step 10: Deal with Common Container Garden Problems
Sooner or later, every gardener runs into a problem. Don't sweat it—this is just part of the journey. The real skill is learning to read the signs your plants are giving you so you can fix things quickly and grow a stronger garden because of it.
Most issues you'll face when you're starting out with container vegetables fit into a handful of common categories. Once you learn to spot the early warning signs, you can step in before a small issue becomes a big headache.
Why Are My Plant Leaves Turning Yellow?
Yellow leaves, a condition called chlorosis, are probably the most common red flag you'll see. It’s your plant's way of screaming for help, but figuring out what it needs can feel like a guessing game. The secret is to look at where the yellowing is happening.
-
Yellowing on Lower, Older Leaves: This is a classic sign of nitrogen deficiency. Nitrogen is a mobile nutrient, meaning the plant will pull it from its oldest leaves to feed new growth up top. A quick fix is to give it a dose of nitrogen-rich liquid fertilizer, like fish emulsion.
-
Yellowing All Over the Plant: If the whole plant just looks pale and washed out, the most likely culprit is overwatering. Soggy soil literally drowns the roots, stopping them from taking up any nutrients at all. Before you water, always stick your finger an inch or two into the soil to see if it's actually dry.
Another simple reason could be a lack of sun. If your sun-loving tomato plant is tucked away in a shady spot, its leaves might turn yellow and the stems could get long and "leggy" as it desperately stretches for more light.
Identifying and Managing Common Pests
You’re not the only one who thinks your homegrown vegetables are delicious. Pests are just a part of gardening, but the good news is that in a small container setup, they're much easier to handle without reaching for harsh chemicals.
Your best defense is simply being present. Check on your plants daily, paying close attention to the undersides of leaves where pests love to hide. Catching an invasion early is half the battle.
A small pest problem is an easy fix; a big one can feel like a lost cause. Daily observation is the single best pest control strategy out there. It makes all the difference in keeping your garden healthy.
Here are a couple of the usual suspects you'll run into:
-
Aphids: These are tiny, pear-shaped bugs that love to hang out in clusters on new stems and the undersides of leaves, sucking the sap right out of your plant. Often, a strong blast of water from a spray bottle is enough to dislodge them. For a more stubborn infestation, insecticidal soap or neem oil will get the job done.
-
Spider Mites: If you notice delicate, web-like strands and tiny moving specks on your plants, you've got spider mites. They thrive in hot, dry weather. You can fight back by misting your plants to increase humidity and treating them with neem oil.
Solving Frustrating Fruit Problems
There's nothing more baffling than having a plant that looks healthy, but the fruit it produces is a mess. A couple of issues are extremely common with plants like tomatoes and peppers, and they're almost always caused by the environment, not a disease.
Blossom End Rot is a rite of passage for many first-time tomato growers. It shows up as a dark, leathery, sunken spot on the bottom of the fruit. This isn't a disease; it's a calcium deficiency within the plant. The weird part is that it’s usually not because of a lack of calcium in the soil. Instead, it’s caused by inconsistent watering that messes with the plant's ability to absorb the calcium that's already there. The best prevention is to keep your soil consistently moist.
No Fruit Production can be another real head-scratcher. Your squash or cucumber plants might be covered in beautiful flowers, but no fruit ever develops. This points to a pollination problem. On a small balcony, there may not be enough bees to get the job done. You can easily play matchmaker yourself! Just use a small paintbrush or a cotton swab to gently transfer pollen from a male flower to a female flower (the one with the tiny, baby fruit at its base).
Step 11: Get Answers to Frequently Asked Questions
As you get your hands dirty with container gardening, you're bound to run into a few questions. That's perfectly normal! Think of this as your go-to guide for those little uncertainties that pop up, helping you solve the common puzzles every new container gardener faces.
You're not alone in this, either. The excitement around container gardening is surging, especially for people with limited space. In 2024, gardeners around the globe bought an estimated 1.2 billion containers, and that number is expected to jump to 2.1 billion by 2034. It's a clear sign that more and more of us are finding clever ways to grow food on balconies and patios. This trend is only getting stronger as cities grow. You can dive deeper into the numbers by checking out the full market analysis on American Business Times.
Can I Reuse Potting Soil From Last Year?
This is easily one of the most common questions I hear, and the short answer is "yes, but with a little work." You definitely don't want to just reuse old potting mix as-is. Last year's plants were hungry and likely depleted most of the nutrients. Plus, the soil can get compacted, and worse, it might be hiding pests or diseases from the previous season.
But that doesn't mean you have to toss it. You can absolutely bring old soil back to life. Just dump it into a wheelbarrow or a large tub and break up all the clumps and old roots. From there, you just need to mix in some fresh goodness.
- Add fresh compost: A good rule of thumb is to mix in about one part fresh compost for every two parts of old soil.
- Replenish nutrients: Work in a balanced, slow-release organic fertilizer to give your new plants the food they'll need.
- Improve aeration: If the soil feels heavy and dense, adding a few handfuls of perlite will lighten it up and improve airflow to the roots.
Refreshing your soil this way is a fantastic trick—it saves money, reduces waste, and gives your new seedlings a healthy, nutrient-packed home.
Key Takeaway: Never reuse old potting soil without amending it first. All it takes is a bit of fresh compost and a good organic fertilizer to recharge tired soil for another productive season.
How Do I Know If My Pot Has Enough Drainage?
Let me be blunt: proper drainage is non-negotiable. If water can't escape, it pools at the bottom of the pot, turning the soil into a swamp. This suffocates the roots and leads to root rot, which is one of the fastest ways to kill a plant.
The first thing to check for is simple: drainage holes at the bottom of the pot. If your favorite decorative pot doesn't have any, you have two choices. You can either drill a few yourself or use it as a "cachepot"—just slip a slightly smaller pot that does have holes inside it.
Pay attention after you water. You should see excess water start to trickle out of the bottom within a minute or so. If it just sits on top for a long time, or if the soil still feels waterlogged days later, you've got a drainage problem. Check to make sure the holes aren't clogged with soil or that the pot isn't sitting flat on a saucer that traps the water.
What Are The Easiest Herbs To Grow With Vegetables?
Herbs make fantastic neighbors for your potted vegetables. They're usually pretty forgiving, don't take up much room, and bring amazing fresh flavors right to your kitchen. Even better, many of them can help keep common garden pests away from your veggies.
For a beginner, here are a few choices that are practically foolproof:
- Basil: The classic partner for tomatoes. Basil loves the sun and heat, and pinching off the top leaves regularly encourages it to grow into a nice, bushy plant.
- Chives: These hardy little guys have a mild oniony taste and are incredibly low-maintenance. They're perennials, so they'll come back year after year with almost no effort on your part.
- Parsley: Whether you prefer curly or flat-leaf, parsley does great in containers. It can also handle a little shade, which makes it versatile for different spots on your patio.
- Mint: Mint is famously easy to grow. So easy, in fact, that it comes with a warning: you must plant it in its own pot. Its roots are incredibly aggressive and will quickly choke out any other plants in the same container.
Growing these herbs alongside your vegetables will not only elevate your cooking but also give you some easy wins to build your gardening confidence.
At Homegrown Garden, we believe everyone can grow their own food. Explore our curated selection of heirloom seeds, beginner-friendly garden kits, and all the supplies you need to start your container gardening adventure today at https://www.homegrown-garden.com.