The secret to a truly vibrant garden isn't some miracle fertilizer you buy in a bottle. It's the rich, living soil you build from the ground up. I’ve learned over the years that if you get the soil right first, you prevent a season full of headaches and disappointment later.
Getting your garden beds ready is a straightforward process: you figure out what you’re starting with, clear and prep the area, and then mix in the right stuff to create a fertile foundation for whatever you plan to grow.
Your Garden’s Success Starts Beneath The Surface
The quality of your garden is a direct result of the health of your soil. Think of it like the foundation of a house—if the base isn't solid, everything you build on top of it is unstable. Too many new gardeners get caught up in the plants and fertilizers, but the real magic happens before a single seed even goes into the ground.
Preparing your soil isn't just about digging. It's about understanding what your soil is made of, what it’s missing, and how to give it the structure plants crave. Good prep work ensures your plants have steady access to the three things they need most to thrive:
- Essential Nutrients: Nitrogen, phosphorus, and potassium get all the attention, but healthy soil is teeming with micronutrients, too.
- Plenty of Oxygen: Plant roots have to breathe. Heavy, compacted soil will literally suffocate your plants and stop them in their tracks.
- The Right Amount of Water: Great soil acts like a sponge, holding onto moisture without getting soggy and delivering a consistent supply to the roots.
Before we dig into the specifics, let's look at the big picture. This table breaks down the core stages you'll follow to transform your patch of dirt into a thriving garden bed.
The 5 Core Stages of Soil Preparation
| Stage | Primary Goal | Key Activities |
|---|---|---|
| 1. Soil Testing | Understand your soil's pH and nutrient profile. | Collect samples and send them to a lab or use a home test kit. |
| 2. Clearing the Bed | Remove all unwanted vegetation and debris. | Pull weeds, dig out roots, and remove rocks and sticks. |
| 3. Tilling & Loosening | Break up compacted soil to improve aeration. | Use a tiller, garden fork, or broadfork to a depth of 8-12 inches. |
| 4. Amending the Soil | Add organic matter and nutrients based on test results. | Spread compost, manure, and specific amendments like lime or sulfur. |
| 5. Final Raking | Create a smooth, level surface for planting. | Rake the bed to break up clumps and create a fine-textured seedbed. |
Each of these stages builds on the last, setting your garden up for a successful and productive season.
The Payoff For A Little Prep Work
Putting in the effort to prepare your soil before you plant pays off big time. You’ll see stronger plants, fewer issues with pests and diseases, and much better harvests. In fact, a long-term gardening study found that plots where the soil was consistently amended yielded up to 20% more produce than plots that were left alone.
This infographic gives you a simple, visual overview of the three main phases of the process.
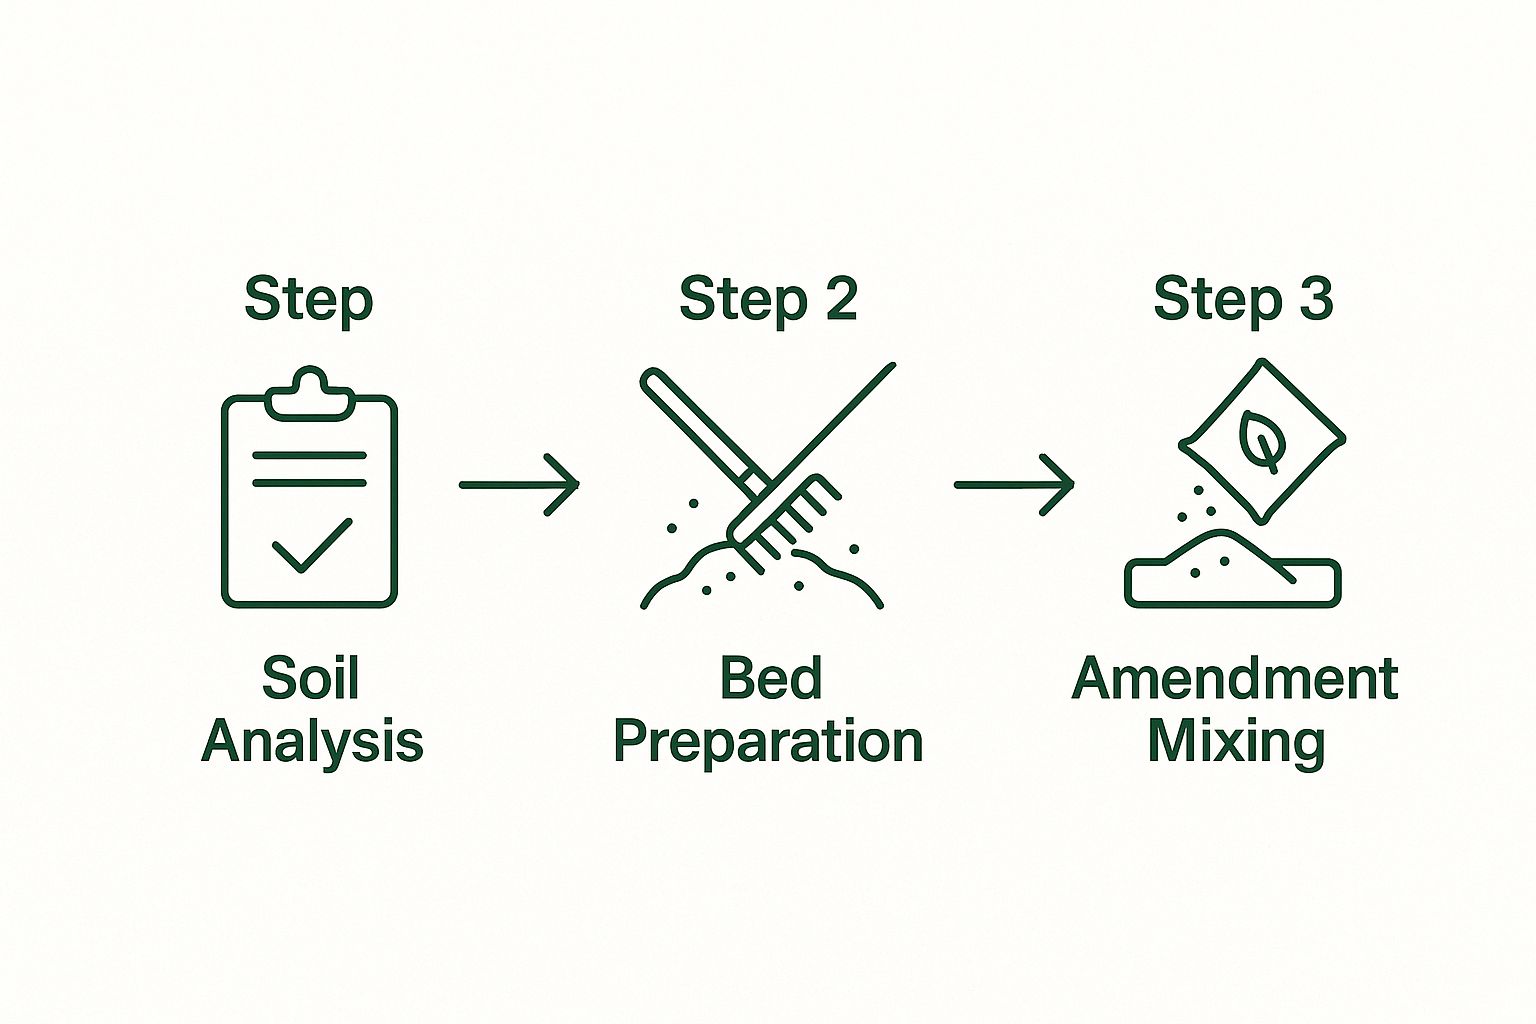
It’s a simple roadmap: diagnose what you have, prepare the physical space, and then enrich it. Now, let’s walk through each of these critical stages with some practical, real-world advice.
The 11 Steps to Perfect Garden Soil
Before you can build amazing garden soil, you first have to understand what you’re starting with. Amending soil without testing it first is a shot in the dark—you might get lucky, but you’re more likely to waste time, money, and effort. These 11 steps will guide you from testing your soil to creating the perfect planting bed.
Step 1: Perform the Squeeze Test
First things first: get your hands dirty. Grab a handful of moist soil. It shouldn't be dripping wet, but it shouldn't be dusty, either. Squeeze it hard in your fist. Now, open your hand. If it holds its shape but gently crumbles when you poke it, congratulations! You’ve probably got a nice, balanced loam. If it falls apart the second you open your hand, your soil is sandy. And if it forms a slick, hard ball that refuses to crumble, you're working with heavy clay.
Step 2: Try the Jar Test
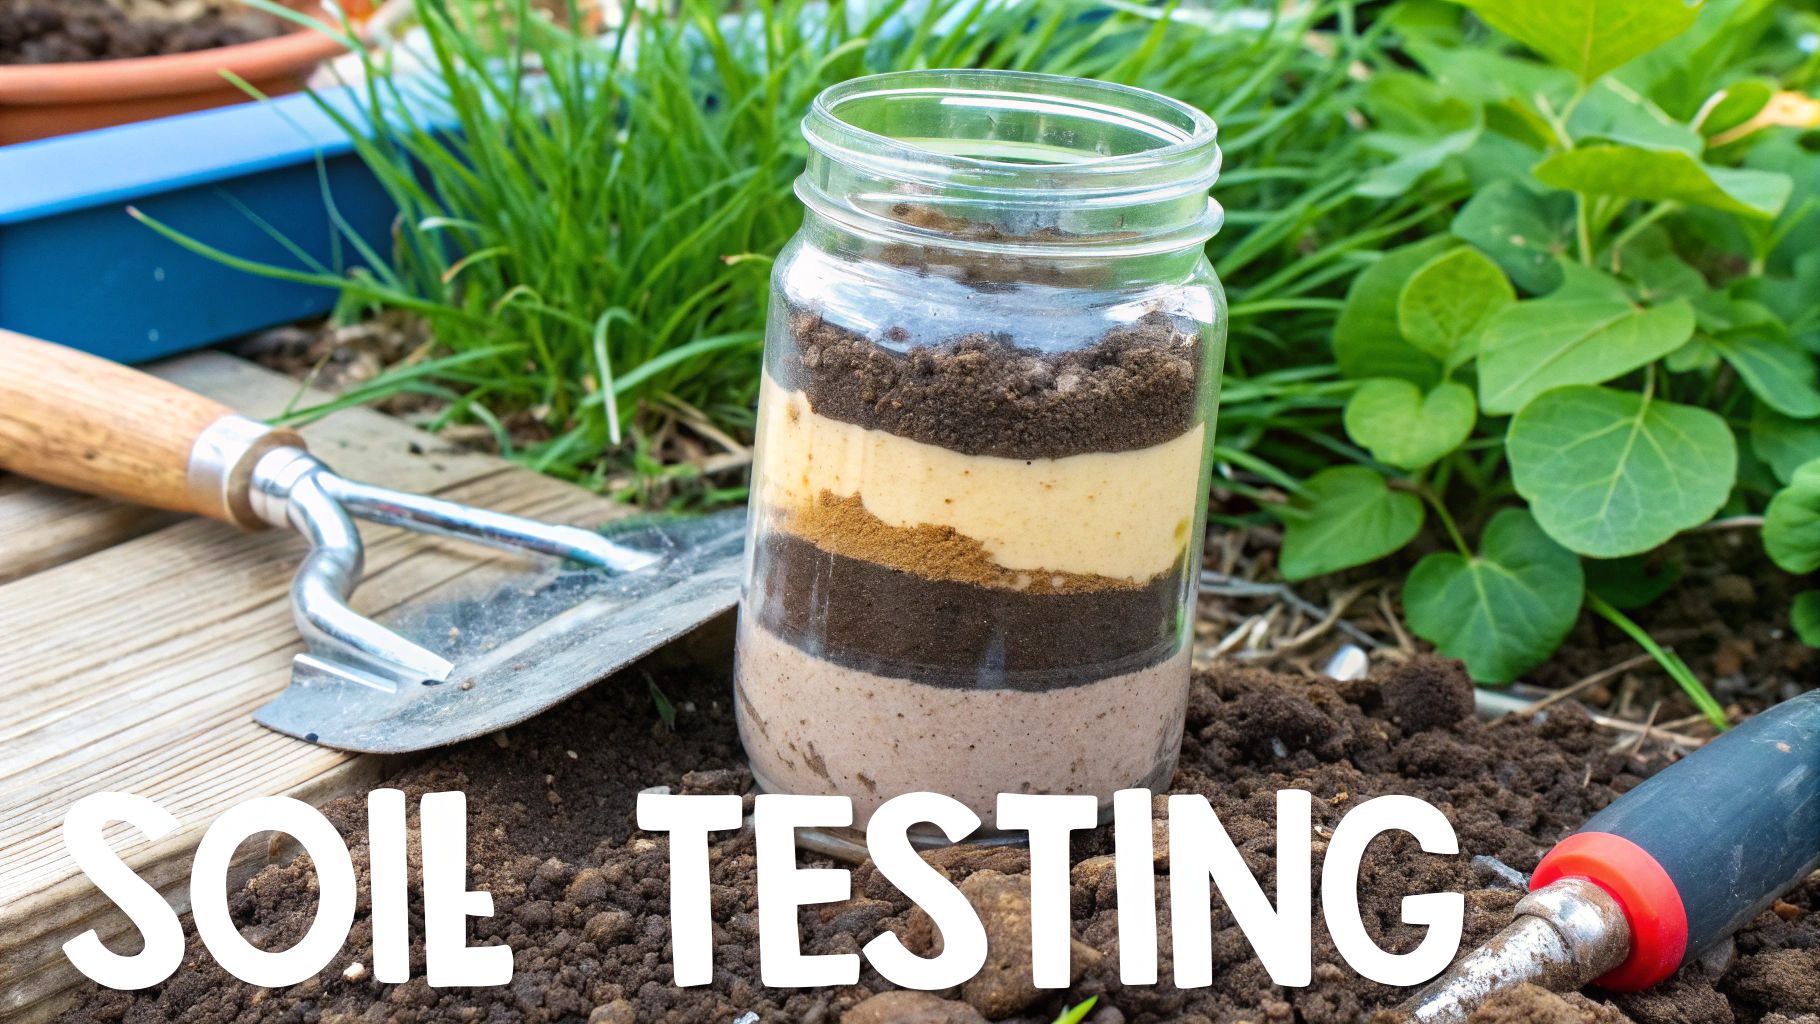
This is a classic for a reason. Find a big, clear jar with a lid and fill it about halfway with garden soil. Top it up with water, leaving a little air at the top, and shake it like crazy for a minute. Then, let it sit for a day or two. You'll see the soil settle into clean layers: heavy sand on the bottom, silt in the middle, and a fine layer of clay on top. It’s a perfect visual breakdown of what your soil is made of.
Step 3: Check Your Soil's pH
Beyond its physical makeup, your soil’s pH is a huge deal. It controls how well your plants can actually access the nutrients in the soil. Most veggies and flowers are happiest in a slightly acidic to neutral range, usually between 6.0 and 7.0. Scoop some soil into two separate small containers. Pour a half-cup of vinegar into the first one. If you see fizzing, your soil is on the alkaline side. In the second container, add a bit of distilled water to make a muddy paste, then sprinkle on some baking soda. If that fizzes, you’ve got acidic soil.
For more precise results from at-home kits or professional labs, check out our in-depth guide to test soil at home.
Step 4: Clear the Garden Bed of Weeds and Debris
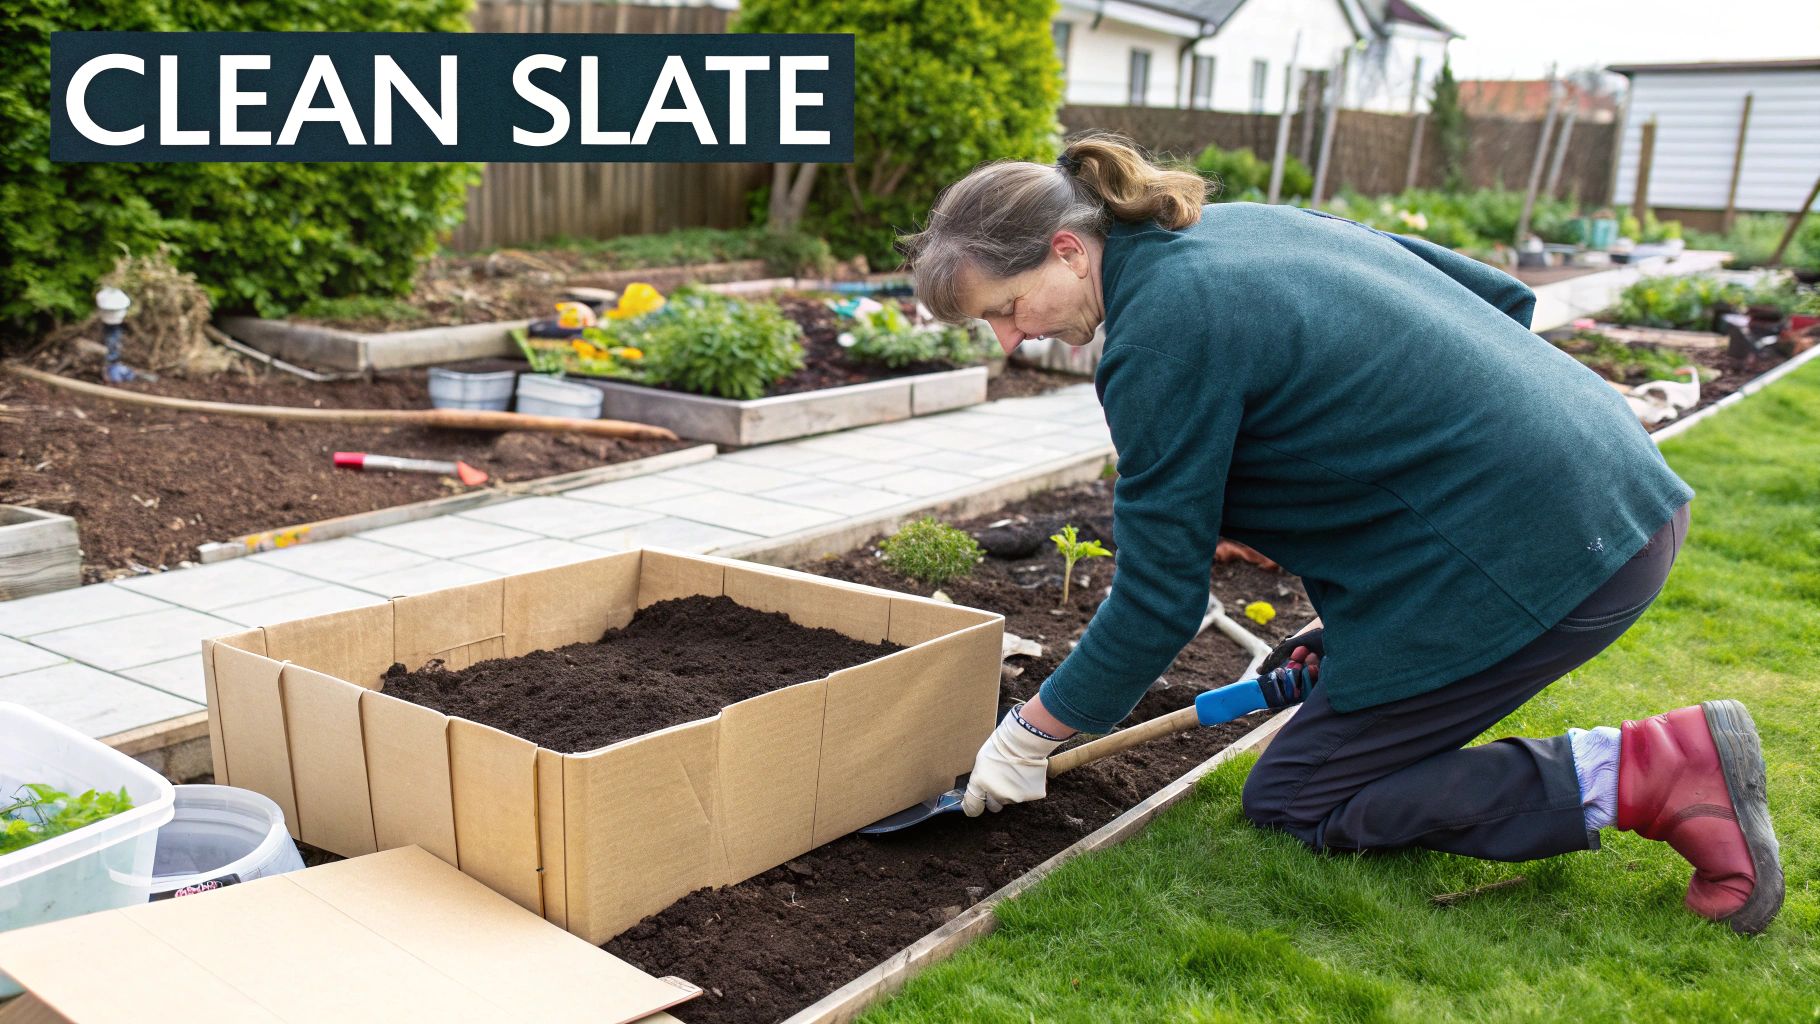
Before you can start adding all the good stuff, you’ve got to get rid of the bad. Any weeds, grass, or old plant debris left in your garden bed will compete with your new plants. Manually removing them with a sturdy garden fork and a sharp spade is a quick way to get started. The goal is to get the entire root out, not just the tops.
Step 5: Loosen and Till the Soil
Now it's time to break up compacted soil to improve aeration and drainage. For smaller beds, a garden fork or spade is perfect for lifting and turning the soil. If you're tackling a larger plot, a mechanical tiller is a real back-saver. Your target is to create a consistent, crumbly texture down to a depth of at least 8 to 12 inches. Be careful not to over-till, as this can damage the soil structure.
Step 6: Choose the Right Amendments
Now for the fun part: adding the right ingredients to bring your soil to life. This isn’t about just grabbing a random bag from the garden center. It’s a thoughtful process based on what your soil test told you.
- For Heavy Clay Soil: Add compost and pine bark fines. These materials add organic matter and create air pockets, which dramatically improves drainage and aeration.
- For Sandy Soil: The goal is to boost the soil's ability to hold moisture. Compost is the hero here, too, along with water-retentive materials like coco coir or peat moss.
Step 7: Add Compost or Other Organic Matter
Compost is the single best amendment for almost any soil type. It improves structure in both clay and sandy soils, adds a rich diversity of nutrients, and boosts the beneficial microbial life in your garden. Spread a generous layer, typically 2-4 inches thick, across the entire surface of your prepared bed.
The global market for garden soil was valued at around USD 4.06 billion in 2024 and is expected to climb to over USD 5.12 billion by 2033. While peat-based products have traditionally made up about 60% of sales, sustainable peat-free alternatives are rapidly gaining popularity. For more on these trends, you can check out businessresearchinsights.com.
For more specific recipes, our guide on the best soil mix for a vegetable garden lays out exactly how to create a premium growing medium.
Step 8: Adjust the Soil pH If Necessary
Your soil's pH controls how well your plants can access available nutrients. If your soil test comes back outside the ideal 6.0 to 7.0 range, you’ll need to make adjustments.
- To Raise pH (make it less acidic): If your soil is too acidic, add agricultural lime. This works slowly, so applying it in the fall is a great idea.
- To Lower pH (make it more acidic): For soil that’s too alkaline, elemental sulfur is your go-to. Soil bacteria convert it into sulfuric acid over time, gradually bringing the pH down.
Step 9: Mix in the Amendments Thoroughly
Simply scattering amendments over the top won't do much good. You need to get that valuable organic matter mixed deep into the soil. Use your garden fork or tiller to incorporate the compost, pH adjusters, and any other amendments into the top 8-12 inches of your garden bed. If you’re wrestling with seriously compacted ground, a technique called double-digging is one of the best ways to dramatically improve drainage. For a more detailed guide on this, check out our post on how to improve clay soil.
Step 10: Rake the Bed Smooth and Level
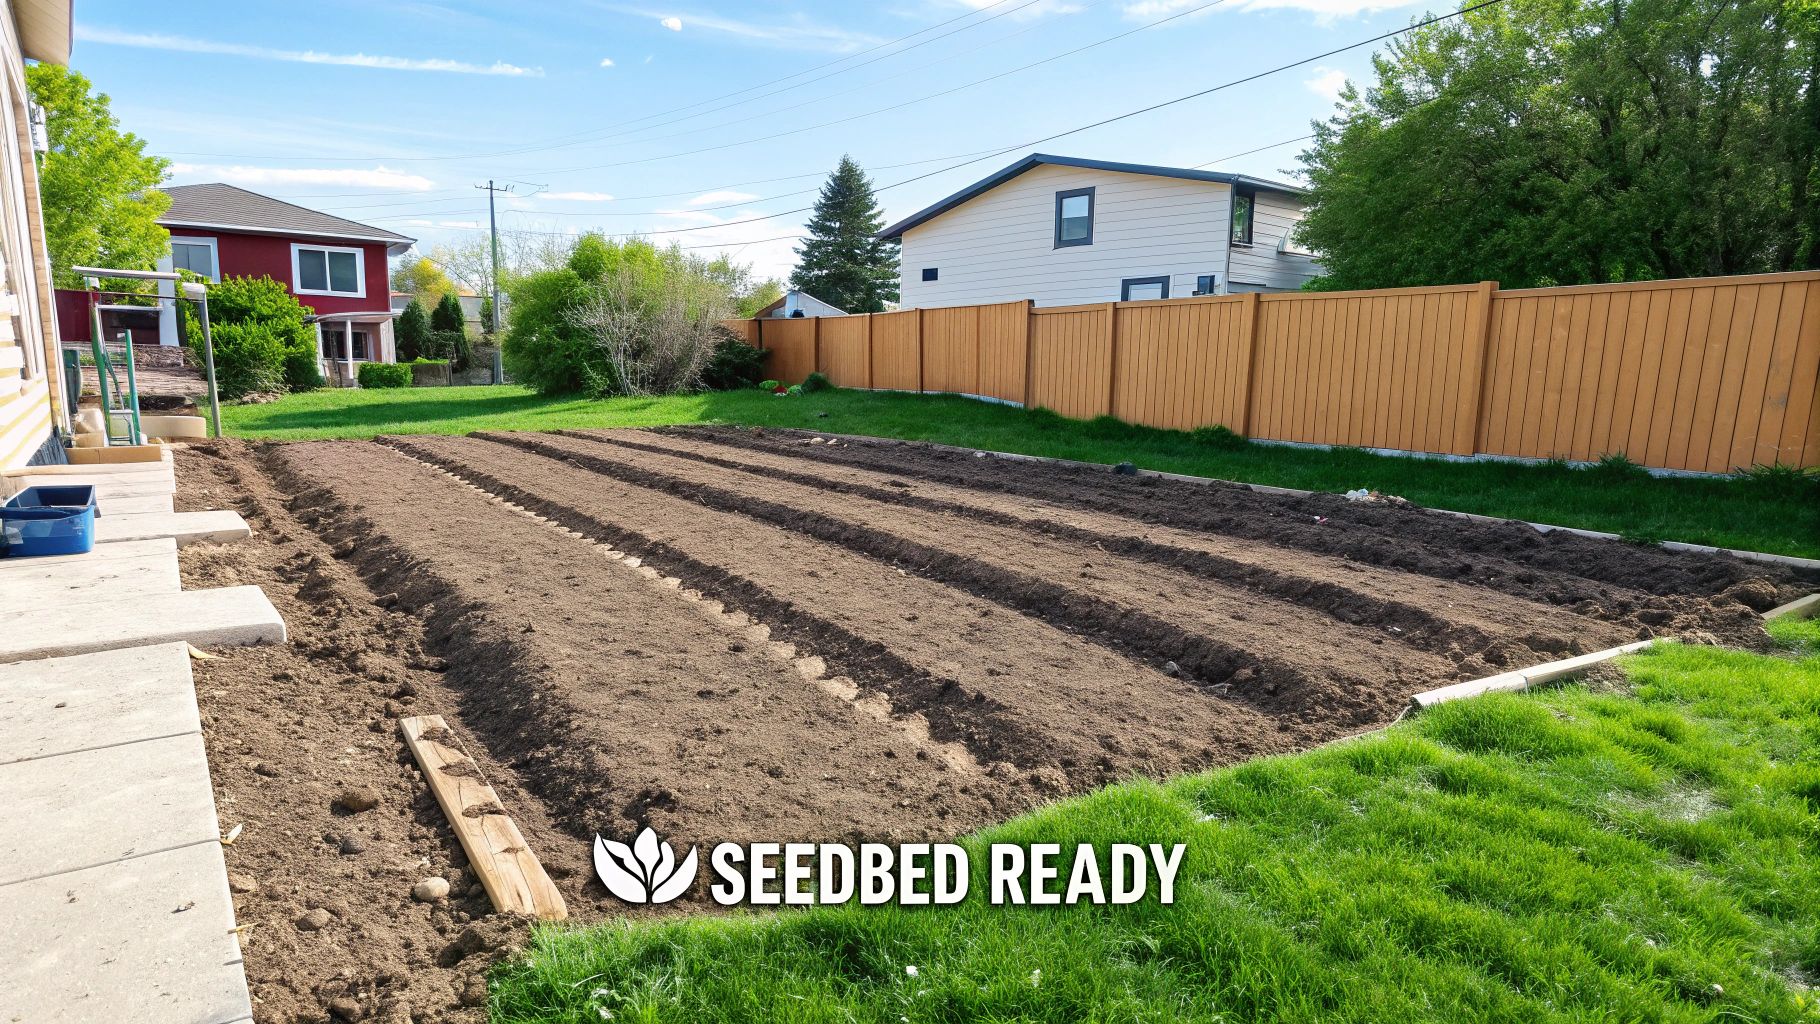
You’ve done the heavy lifting. This final touch pulls it all together. A level surface is crucial for even moisture distribution and consistent seed depth. Grab a sturdy garden rake and break up any lingering clumps, removing any rocks or roots you missed. Rake in two directions—first horizontally, then vertically—to create a perfectly smooth and level seedbed.
Expert Tip: Whatever you do, don't walk on your freshly prepared soil! You'll compact the very ground you just worked so hard to aerate. If your bed is too wide to reach the middle, lay a long, wide plank of wood across it.
Step 11: Shape Beds for Better Growth
Now is also the perfect time to give your beds their final shape based on what you plan to grow. While a flat surface works well for most things, you can create custom contours for specific plants.
- Raised Rows: If you're planting crops that despise "wet feet," like potatoes, use your rake to pull soil up into long, mounded rows. This design dramatically improves drainage.
- Sunken Beds: In arid climates, you might do the exact opposite. By creating shallow furrows for planting, you can channel every precious drop of water directly to the plant's roots.
Of course, not everyone starts from scratch. Many gardeners use manufactured soils, which are blended to provide this ideal structure right out of the bag. You can learn more about the components of global garden manufactured soil on reanin.com.
Common Questions About Preparing Garden Soil
Even with a solid plan, a few questions always seem to surface when you first get your hands dirty preparing a new garden bed. I get these a lot from fellow gardeners, so let's walk through some of the most common ones.
How Often Should I Prepare My Soil?
The best practice is to amend your soil at least annually. If you're growing vegetables, they're heavy feeders and pull a lot of nutrients out of the ground. Adding a fresh layer of compost at the start of each growing season is the perfect way to put those nutrients back.
Is Preparing Soil in the Fall a Good Idea?
You bet it is! Working on your soil in the fall is one of my favorite garden hacks. It gives slow-release amendments like lime or rock phosphate the entire winter to break down, making their nutrients ready for your plants right when they need them in the spring.
Plus, it’s one less giant chore on your plate during the busy spring planting rush.
What Are the Most Common Signs of Unhealthy Soil?
Your soil will tell you when it’s struggling. You just have to know what to look for.
A few red flags include:
- Poor Drainage: Do you see puddles hanging around long after a rainstorm? That’s a big one.
- Cracked Surface: If your soil looks like a parched desert floor between waterings, its structure is off.
- No signs of life: A healthy garden is teeming with earthworms and other critters when you dig. If you see none, that's a problem.
- Stunted Plants: Weak, small plants with pale or yellowing leaves are practically screaming for better soil.
Is Tilling My Garden Always Necessary?
Not at all. While tilling can be a real back-saver for breaking up a brand-new, compacted plot of land, many experienced gardeners now lean towards no-till methods for established beds.
Over-tilling can actually wreck the delicate soil structure and harm the beneficial microorganisms that make your garden thrive. For beds you've already worked, a better long-term strategy is to simply layer your amendments on top. The worms will do the hard work of mixing them in for you.
At Homegrown Garden, we know that an incredible garden starts with two things: fantastic soil and top-notch seeds. Take a look at our hand-picked collection of heirloom seeds, starter kits, and all the supplies you'll need for your best season yet. Visit our shop at https://www.homegrown-garden.com to find everything you need.


