

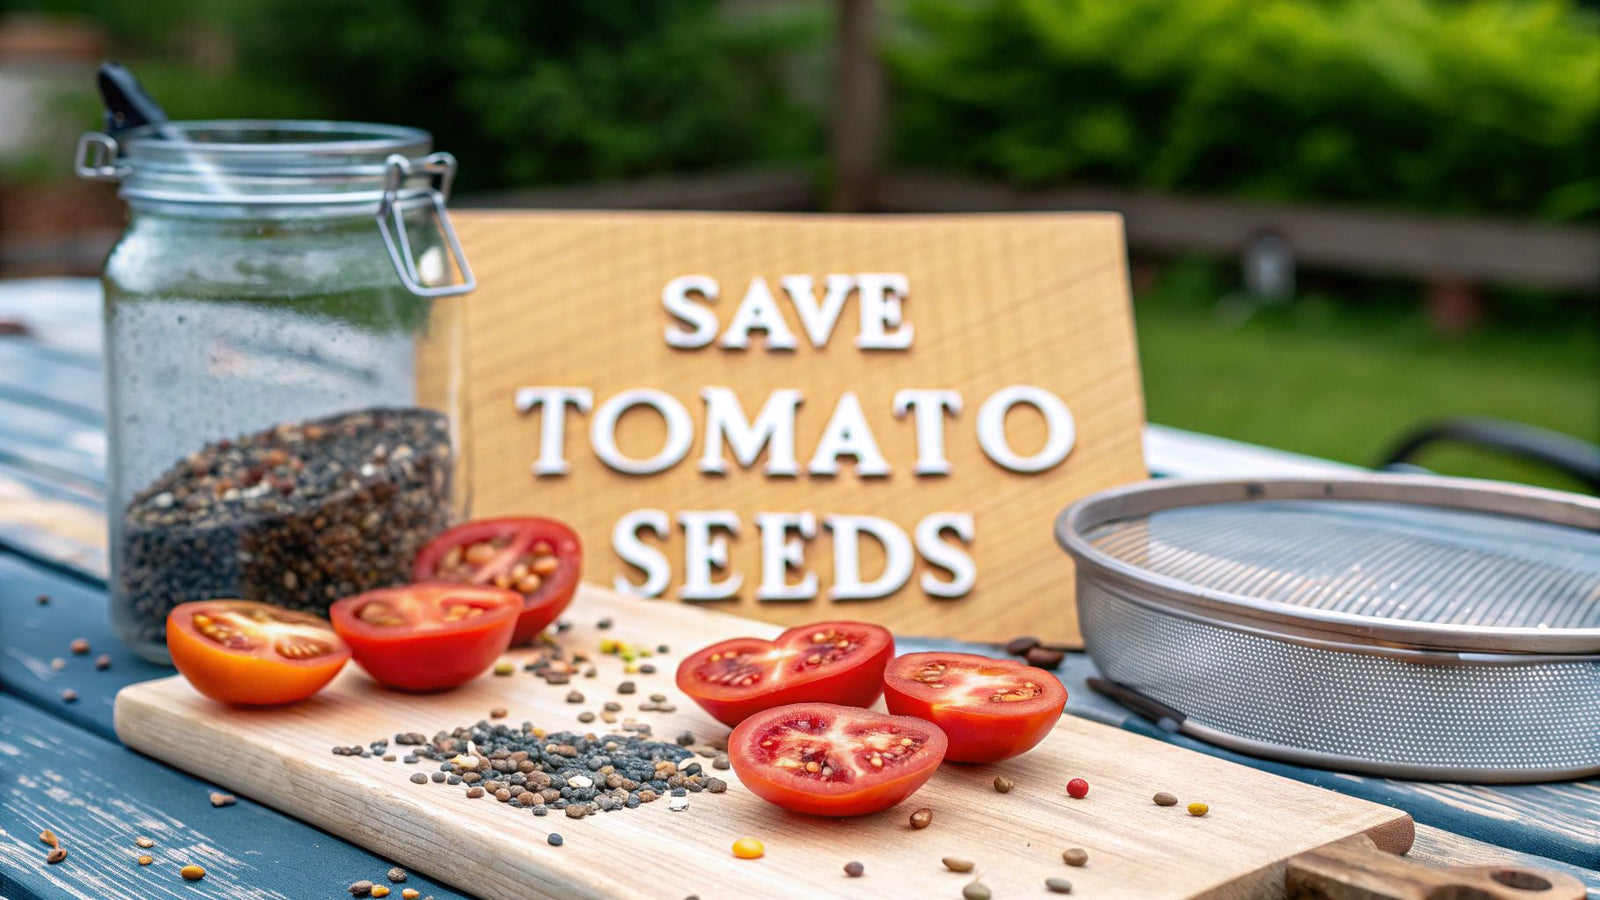

Saving tomato seeds is one of those timeless gardening rituals that really connects you to the entire growing cycle. It's a simple, satisfying process that begins with picking your best tomatoes, fermenting the seeds to clean them up, and then drying them for next season. Do it right, and you'll have a stash of seeds perfectly suited to your little corner of the world.
Why Bother Saving Tomato Seeds?
Sure, you'll save a few bucks on seed packets, but the real reward is so much bigger. When you save seeds from that incredible Brandywine or that perfectly smoky Cherokee Purple, you're preserving its unique flavor profile for another year.
Even better, every time you save seeds from your healthiest, most productive plants, you're naturally breeding tomatoes that are perfectly adapted to your backyard. You're selecting for traits that work in your soil and your climate.
You're also doing something important for biodiversity. A huge number of amazing heirloom varieties aren't kept alive by big seed companies; they're passed down by regular gardeners. By saving seeds, you become a guardian of that genetic legacy.
Know Your Tomatoes First
Before you slice into that first tomato, you need to know what you're working with. It all comes down to one key distinction, and getting it right is crucial.
- Open-Pollinated and Heirloom Varieties: This is what you want. Seeds from these plants will grow "true to type," meaning the tomatoes you get next year will be just like the ones you grew this year.
- Hybrid (F1) Varieties: These are created by crossing two different parent plants. The fruit is usually fantastic, but the seeds are a genetic lottery. Plant them, and you'll likely end up with a strange, unpredictable mix of traits from the grandparent plants—and often, a disappointing harvest.
For generations, farmers and gardeners saved seeds from their best plants. It was the only way to ensure a good harvest and adapt crops to local conditions. This age-old practice keeps genetic diversity alive and makes us less reliant on commercial suppliers. You can learn more about the history and market for tomato seeds on imarcgroup.com.
Step 1: Choosing the Right Tomatoes for Seed Saving
Great seed saving starts long before you get to the kitchen—it begins in the garden, with a keen eye for your best plants. The whole point is to carry forward the best traits, so you'll want to be incredibly picky about which tomatoes you choose.
Think of it like a taste test for next year's garden. Walk through your tomato patch and identify your star performers. Look for that one plant that consistently produced the most flavorful, blemish-free fruit and seemed to shrug off pests. That’s your source.
Key Traits to Look For
Before you even think about picking a tomato, give the entire plant a good once-over. A plant with pristine fruit but sickly leaves isn't the one you want. Strong genetics show in the whole package.
Here's what I always look for:
- Maturity is a Must: Let the fruit get fully, deeply ripe on the vine. Even a little overripe is perfect. This gives the seeds inside the best shot at being mature and ready to grow.
- Looks Matter: Pick a tomato that is a picture-perfect example of its variety. If your 'Cherokee Purple' looks unusually small or misshapen, it might have been cross-pollinated, and its seeds won't be reliable.
- Overall Vigor: The best seeds come from the hardiest plants. Choose the one that seemed healthiest and most resilient all season long.
One quick but critical note: This process only works for open-pollinated or heirloom varieties. Seeds from hybrid tomatoes won't grow true to the parent plant, so all your hard work will be for nothing. To make sure you're set up for success, learn more about the key differences between open-pollinated and hybrid seeds at https://homegrown-garden.com/blogs/blog/open-pollinated-vs-hybrid.
To keep your seed line strong and healthy for years to come, it's a good practice to collect seeds from at least three different plants of the same variety. This little bit of effort helps maintain genetic diversity and prevents your future plants from becoming weak.
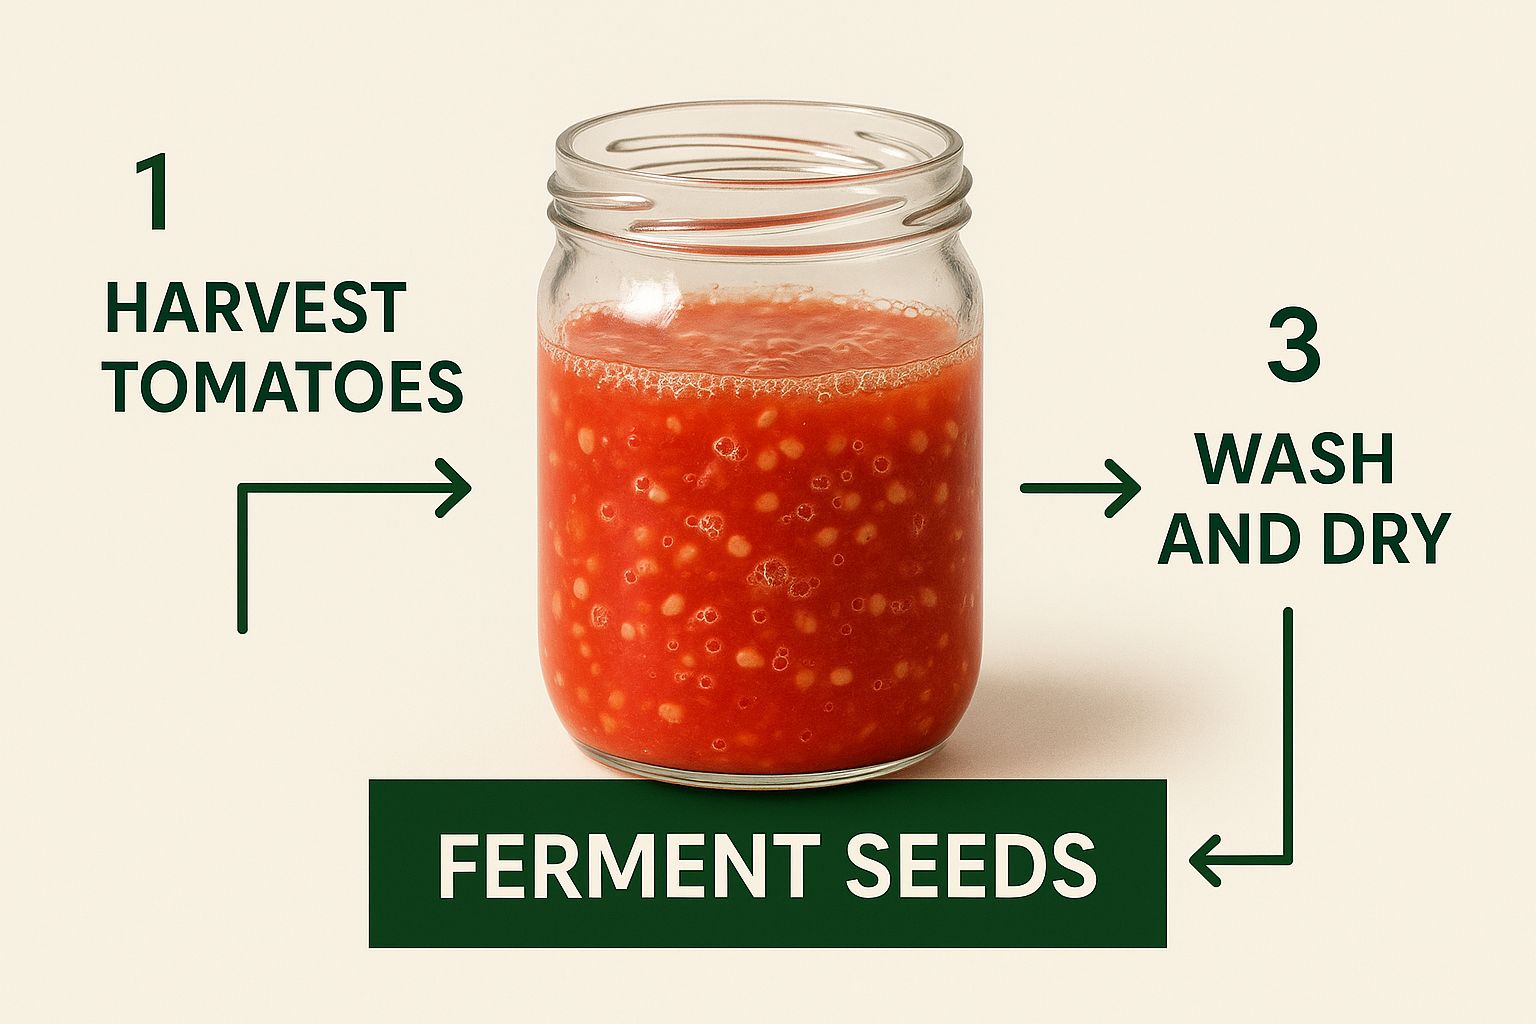
Step 2: Getting the Seeds Out and Fermenting
Alright, here comes the fun part—the bit that feels a little like a science experiment happening right on your kitchen counter. We're going to ferment the seeds. This might sound intimidating, but it's just a natural process that mimics what would happen if a tomato dropped off the vine and rotted in the garden. It's the absolute best way to prepare seeds for storage.
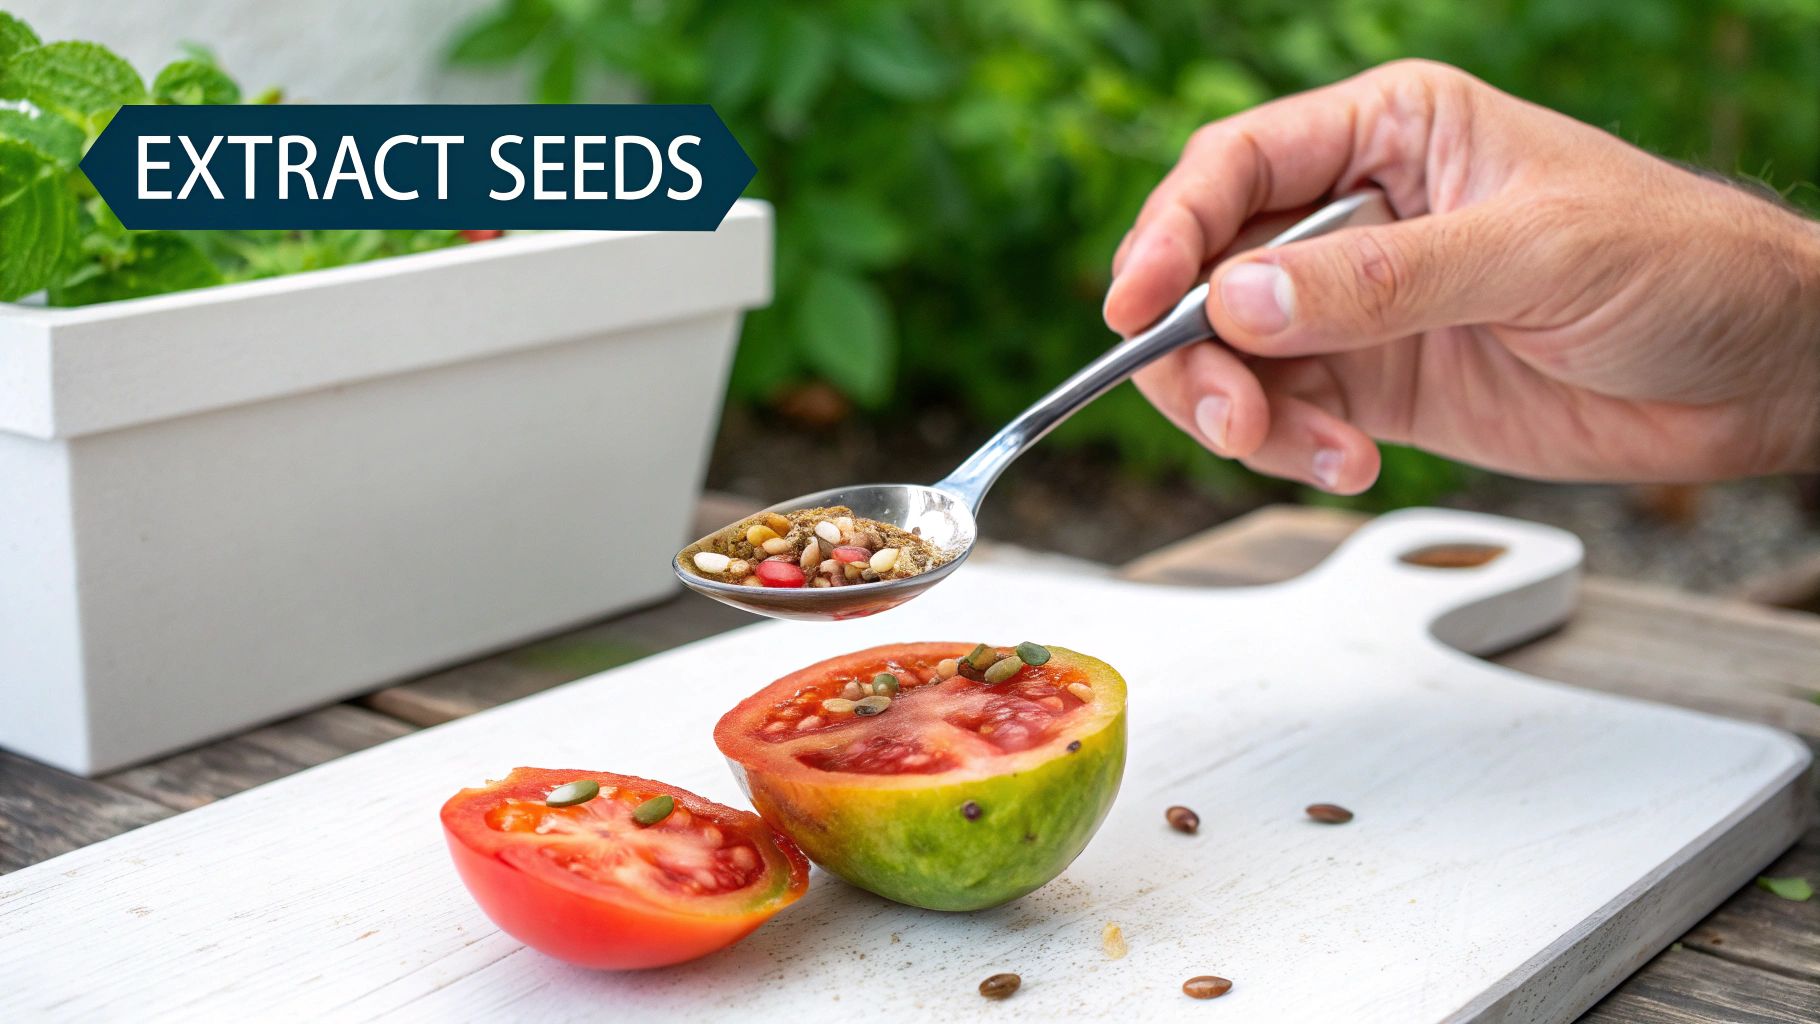
First, take your prized tomato and slice it in half across its middle, like you're cutting it around its equator. This lays bare all the little seed pockets, making it easy to get everything out. Go ahead and scoop the seeds—along with all the pulp and gel surrounding them—into a clean glass jar. Don't try to be tidy; you want all that goop in there.
Now, add just a splash of water, maybe a couple of tablespoons, enough to create a soupy mix. Give the jar a little swirl to combine everything. Instead of sealing it with a lid, cover the top with a coffee filter or a piece of cheesecloth and secure it with a rubber band. This keeps pesky fruit flies out but lets air in, which is crucial for fermentation.
The Waiting Game: What to Expect
Find a warm spot for your jar, but keep it out of direct sunlight. A spot on top of the fridge often works perfectly. You'll need to let it sit for about 2 to 4 days. The exact timing really depends on the temperature of your room; warmer temps mean a faster process.
You'll know it's working when you see some bubbling, smell something a bit sour (like sourdough starter), and eventually see a layer of mold form on the surface. Don't be alarmed! These are all signs of a healthy, successful fermentation.
The image here shows you exactly what a good setup looks like.
What's happening in that jar is that natural microbes are busy breaking down the gelatinous coating on each seed. This process is vital because that gel sac actually contains germination inhibitors. If you don't remove it, your seeds will have a tough time sprouting next year.
The magic of fermentation doesn't stop there. The microbial activity also helps kill off common seed-borne diseases, like bacterial canker. Think of it as a natural cleaning process that gives your future tomato plants a much healthier head start.
The science backs this up. Fermenting allows enzymes and beneficial microbes to completely dissolve that problematic gel. In fact, studies show this simple technique can boost germination rates by as much as 80-90% while protecting the next generation of plants from disease. You can dig deeper into the importance of seed prep by checking out some industry market insights.
To help you keep an eye on things, here's a quick guide to what you should be seeing over those few days.
Tomato Seed Fermentation Quick Guide
| Stage | What to Do | What to Look For (Visual Cues) |
|---|---|---|
| Initial Mix | Scoop seeds, gel, and pulp into a jar. Add a splash of water and cover with a breathable lid (like cheesecloth). | A soupy, pulpy mixture of seeds and tomato guts. No immediate signs of activity. |
| Active Fermentation (Days 1-2) | Let the jar sit in a warm, indirect-light location. Give it a gentle swirl once a day. | Bubbles rising to the surface. A slightly sour, yeasty smell will develop. |
| Peak Fermentation (Days 2-4) | Monitor closely. The process is nearing completion. Prepare for the rinsing step. | A distinct layer of fuzzy mold on the surface. Healthy seeds will have sunk to the bottom of the jar. |
Once you see that most of your good seeds have dropped to the bottom and a funky layer of mold has formed on top, you know it's time for the final rinse.
Step 3: From Gunk to Gold: Cleaning and Drying Your Seeds
Alright, that jar of funky, fermented tomato goo on your counter is ready. It might look a little gross, but all that moldy, soupy liquid means the process worked perfectly. Now, we just need to separate the good stuff—the clean, viable seeds—from the gunk.
Step 4: Rinsing Away the Pulp
This part is actually pretty satisfying. First, carefully skim or pour off that top layer of mold and floating pulp. Don't worry about getting every last bit.
Next, add some fresh water to the jar, give it a good swirl, and let it sit for a minute. You'll see the magic happen: all the good, heavy seeds will sink straight to the bottom, while the bad seeds and leftover bits of pulp float to the top.
Gently pour off the water and all that floating debris. Repeat this "rinse and settle" routine a few more times until the water runs mostly clear. You'll be left with a beautiful little pile of clean seeds at the bottom of your jar.
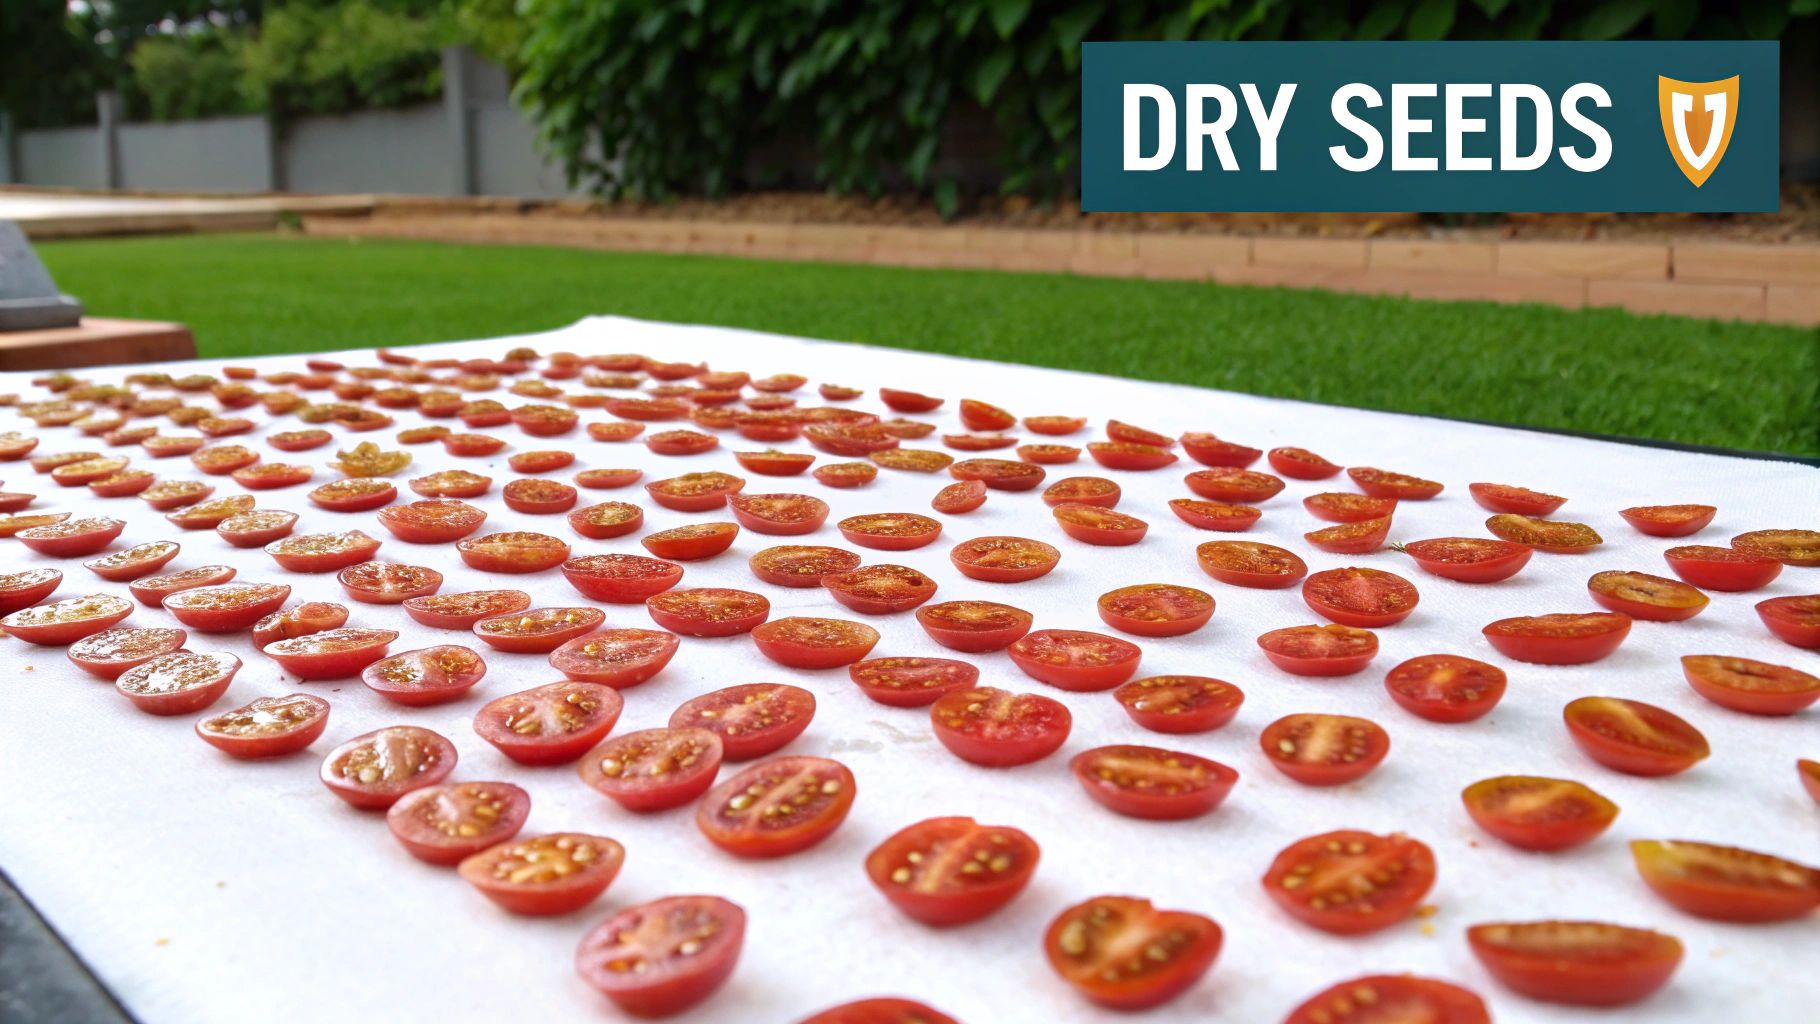
Step 5: The All-Important Drying Stage
Drying your seeds properly is the single most critical step for ensuring they'll sprout for you next year. Whatever you do, avoid paper towels! I learned this the hard way years ago. Wet seeds stick to paper towels like superglue, and you'll have a heck of a time peeling them off without damage.
Instead, you need a non-stick surface. Spread the seeds out in a single, thin layer on one of these:
- A ceramic or glass plate is a classic and works great.
- Coffee filters are fantastic because they pull moisture away without sticking.
- A fine mesh screen (like the kind used for window screens) is my personal favorite, as it gives you amazing air circulation.
Find a spot with good airflow but keep it out of direct sunlight—a countertop away from a window or a shelf in a spare room is perfect. Let them sit there for about one to two weeks.
Every couple of days, run your fingers through the seeds to break up any clumps and make sure they're all drying out evenly.
So, when are they done? A perfectly dry tomato seed will feel hard and will slide around freely on the plate. If you try to bend one, it should snap cleanly in half instead of feeling rubbery. Once they pass that snap test, they're ready to be stored for the winter.
Step 6: Keeping Your Tomato Seeds Viable for Years to Come
You’ve put in the work to harvest, ferment, and dry your seeds. Now for the final, and most important, step: storing them correctly. Getting this right is what guarantees you’ll have healthy, vigorous seedlings next spring.
The golden rule for seed storage is simple: keep them cool, dark, and dry. Heat and moisture are the two biggest threats to your seeds' long-term health.
Simple paper envelopes work great for this. They’re breathable, easy to label, and cheap. For an extra line of defense, I like to tuck these envelopes into an airtight glass jar or a metal tin. This keeps out moisture and pests.
A Few Smart Storage Tricks
Labeling is a step you absolutely cannot skip. I learned this the hard way years ago. Grab a permanent marker and write down the tomato variety and the date you saved them. You will not remember which "red cherry tomato" is which a year from now.
If you live somewhere humid, you're in a constant fight against moisture. A great little trick is to drop a small, food-safe silica gel packet into your airtight container. These little packets are amazing at absorbing any stray moisture, which can make a huge difference in how long your seeds last.
The key is stability. Find a spot in your home that doesn't have wild temperature swings. A cool closet, a dry corner of the basement, or even a drawer in the fridge are all fantastic places to keep your seed stash safe through the winter.
The good news is that tomato seeds are tough. When you store them properly, they can stay viable for a surprisingly long time. Research has shown that germination rates can stay above 70% for up to six years under the right conditions. This amazing longevity is why we can build our own personal seed banks and grow sustainably year after year. A global market report on prnewswire.com highlights just how valuable these resilient seeds have become.
Want to learn more about preserving your entire seed collection? Dive into our comprehensive guide on how to store seeds long term at https://homegrown-garden.com/blogs/blog/how-to-store-seeds-long-term.
Step 7: Answering Your Top Tomato Seed-Saving Questions
Even after you've done this a few times, certain questions always seem to come up. I get them all the time. Let's walk through some of the most common head-scratchers so you can feel confident saving seeds.
Can I Save Seeds From Store-Bought Tomatoes?
Ah, the classic question. It's so tempting to grab a particularly tasty grocery store tomato and try to grow it, but it's usually a roll of the dice. Most tomatoes you'll find in a supermarket are hybrids (F1 varieties).
Hybrids are specifically bred for things like shipping durability and long shelf life, not for consistent seed saving. If you plant a seed from a hybrid, you'll get a genetic lottery ticket—the fruit it produces will likely be a strange, and often disappointing, surprise. For results you can count on, always start with seeds from heirloom or open-pollinated varieties.
What Happens If I Skip Fermentation?
I know, it seems like a messy, optional step, but trust me on this one. Skipping fermentation can really hurt your germination rates. That little gel sac clinging to each seed is packed with germination inhibitors, which is nature's way of preventing the seed from sprouting inside the tomato. Fermentation eats away that coating.
You're also missing out on a key benefit: fermentation kills off a lot of nasty seed-borne diseases. Sure, a few unfermented seeds might sprout if you're lucky, but a proper fermentation gives you a much healthier, more vigorous, and more reliable batch of seeds for next year's garden.
How Do I Know If My Old Tomato Seeds Are Still Good?
Before you give up on that packet of seeds you found in the back of a drawer, give them a quick test. The easiest way to check if old seeds are still viable is to run a simple germination test. It's a low-effort way to see what percentage of them are still ready to grow.
A quick way to do this is to place 10 seeds on a damp paper towel, fold it up, and pop it into a zip-top bag. Leave it somewhere warm for about a week. If you see that 5 to 7 of them have sprouted, you've got a good batch on your hands.
If you want a more in-depth guide, check out our full walkthrough on how to perform a proper germination test for seeds. It's a small step that can save you a lot of time and frustration.
Is It Normal for My Fermentation Jar to Be Moldy and Smell Bad?
One hundred percent normal! In fact, if it doesn't get a little funky, you might be doing something wrong. A sour, almost boozy smell and a cap of white or gray mold are sure signs that the fermentation process is humming along perfectly.
It might not look or smell pretty, but it means all those good microbes are hard at work, dissolving the gel coating and protecting your seeds. Once you see that moldy layer and your good seeds have sunk to the bottom, you know it's time to rinse and dry.
At Homegrown Garden, we're here to help you through every step of your gardening journey, from saving your first seeds to harvesting your bounty. Explore our curated collection of heirloom seeds and find everything you need to grow the garden of your dreams at https://www.homegrown-garden.com.

