


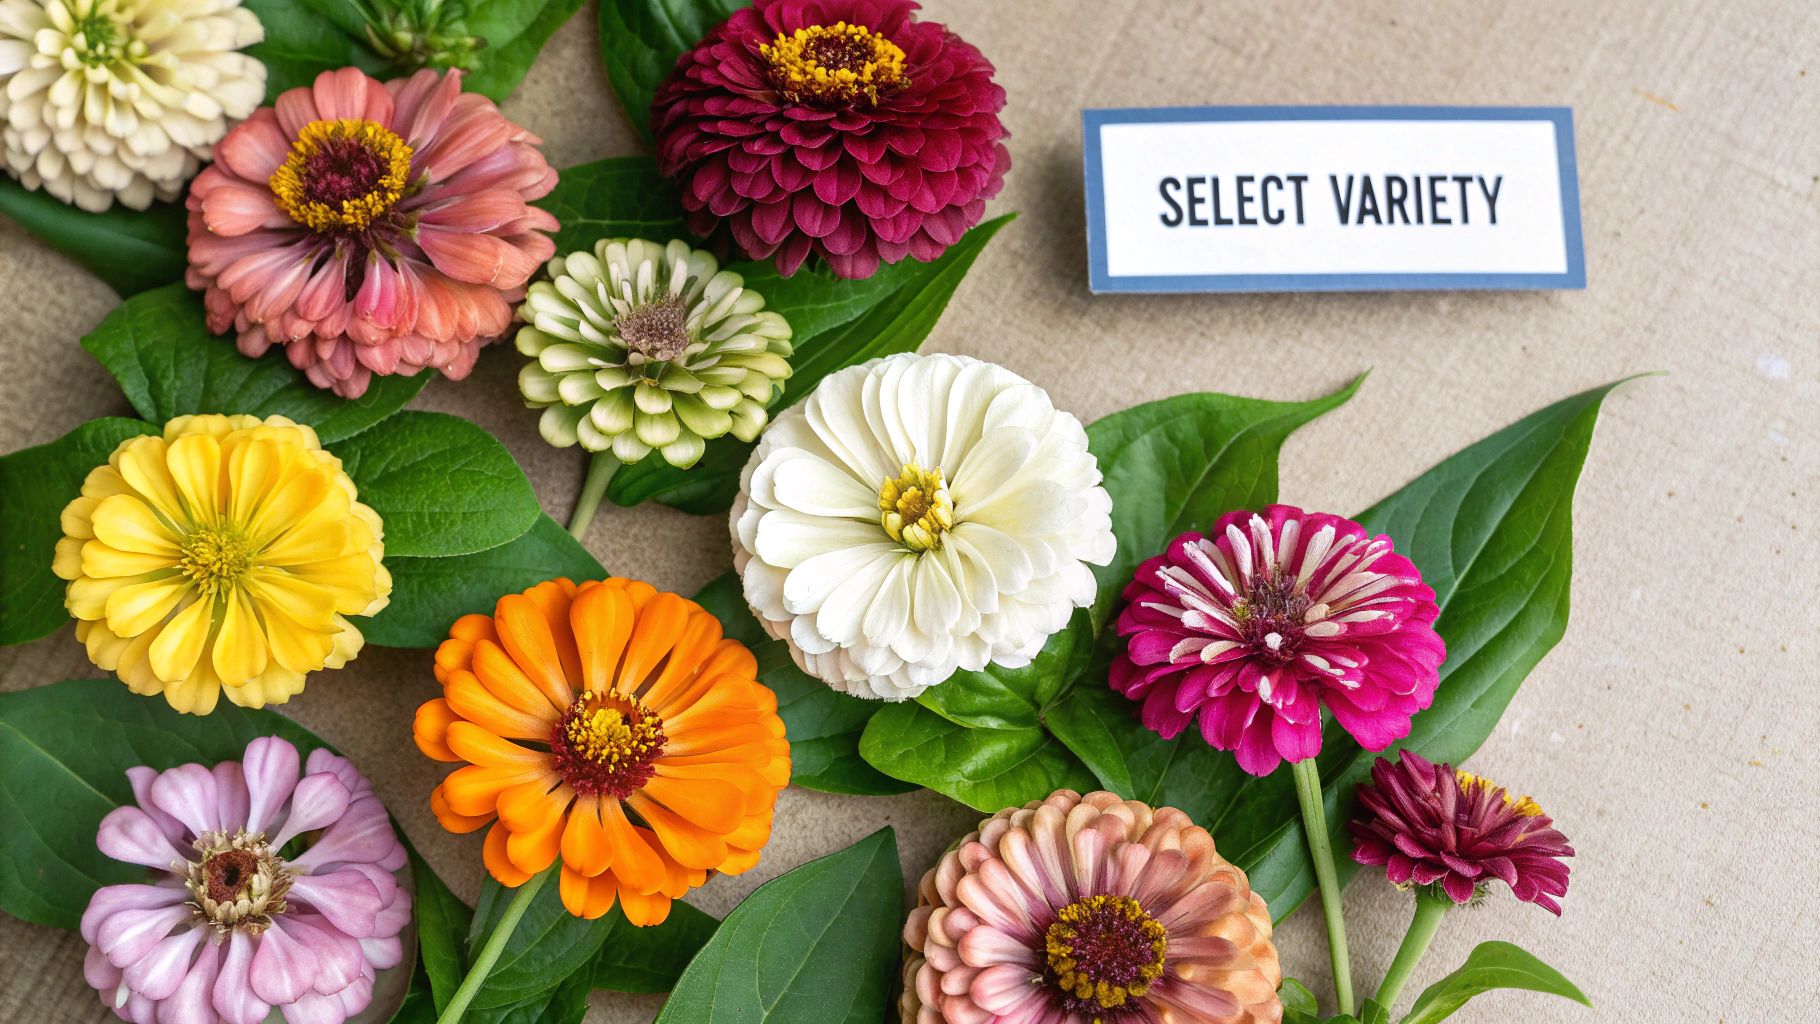
Choosing the perfect zinnia is arguably the most fun part of the entire process. Before you grab a trowel or even think about dirt, you get to dream. With varieties that range from tiny, button-like flowers perfect for edging a walkway to massive, dahlia-flowered giants that can create a living wall of color, picking the right seeds is your first step toward a stunning summer garden.
1. Choose From 11 Zinnia Varieties for Your Garden
So, where do you start? Think about your space and your goals. Are you hoping to fill a few pots on a sunny patio, or are you planning a dedicated cutting garden to keep your vases full all season? Your answer will point you toward the right zinnia for the job.
This quick visual guide lays out the essential details for getting your zinnias started, from how long they take to sprout to how far apart to plant them.
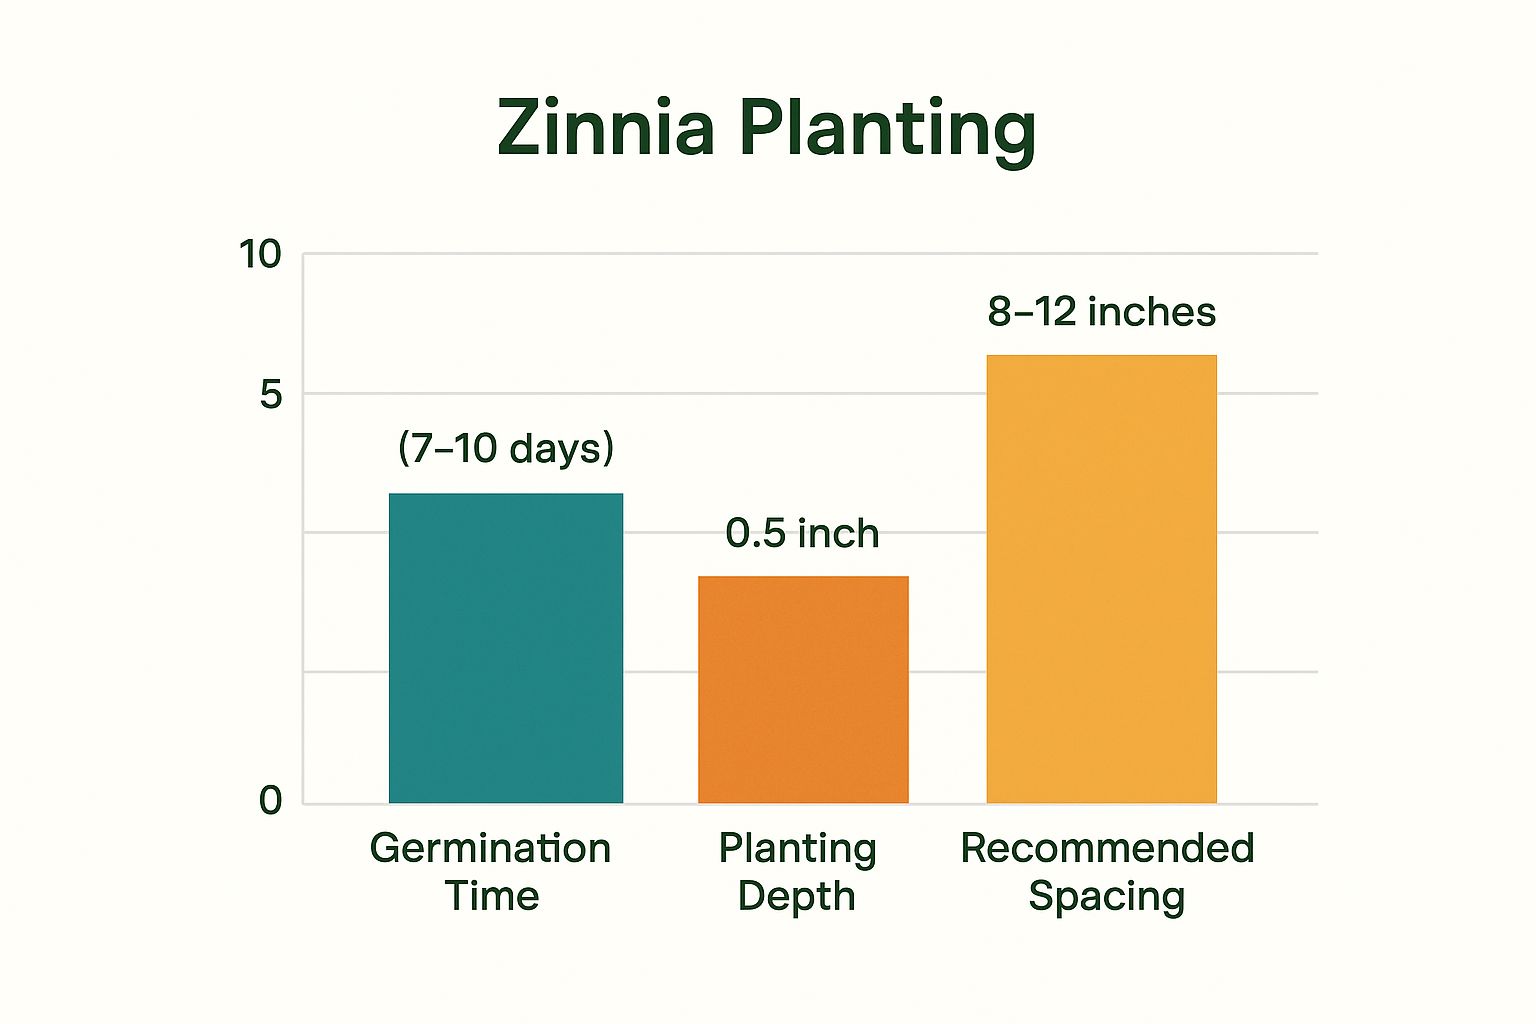
As you can see, zinnias are incredibly forgiving. They sprout fast and don't need to be buried deep, which is exactly why so many gardeners—new and experienced—love them.
Compact Choices for Containers and Borders
If you’re working with a smaller garden, a balcony, or just want a neat and tidy border, dwarf varieties are your best bet. They pack all the punch of their taller relatives into a much smaller package, so they won't overwhelm your space.
- Profusion Series: These are the workhorses of the zinnia world. Introduced back in 1994, they’re famous for their incredible resistance to disease and ability to shrug off intense heat. You can get from seed to flower in as little as seven weeks with these guys. You can discover more insights about these reliable zinnias and why they’re a garden staple.
- Zahara Series: Much like the Profusions, Zaharas are built to last. They stand up beautifully to common issues like powdery mildew and won't flinch in the hot summer sun. Their double blooms give them a really lush, full appearance.
- Thumbelina Mix: The name says it all. This variety stays incredibly small, often topping out at under 6 inches tall. It's a fantastic choice for fairy gardens, window boxes, or tucking into the very front of a flower bed.
Mid-Size Marvels for Bouquets
Dreaming of bringing fresh-cut bouquets inside all summer? Look no further. These mid-height zinnias are bred for strong stems and gorgeous flowers, making them perfect for arrangements. They generally grow between 18 to 30 inches tall.
Zinnias are what we call a "cut-and-come-again" flower. The more you snip the blooms for your arrangements, the more you encourage the plant to produce new flowers. It's a win-win that keeps your garden and your vases full.
The ‘Oklahoma Series’ is a true superstar in this category. Flower farmers love it because it’s a non-stop bloomer with great disease resistance. Colors like ‘Oklahoma Salmon’ and ‘Oklahoma Pink’ are especially popular for their strong stems and abundant, beautiful flowers.
Towering Giants for Dramatic Backdrops
When you want to make a real statement, you need to go big. These impressive zinnias can shoot up to 4 feet tall, creating a breathtaking wall of color. They’re perfect for the back of a border, where they can form a living backdrop for shorter plants.
- California Giants: This is a classic heirloom variety for a reason. They produce huge, double flowers on long, beefy stems, and they come in a vibrant mix of reds, oranges, yellows, and pinks.
- Benary's Giants: A favorite of professional florists, this series was developed specifically for the cut flower market. The blooms are massive, perfectly formed, and incredibly consistent. Varieties like ‘Benary’s Giant Deep Red’ offer a rich, velvety color that’s hard to beat.
To help you visualize the options, here’s a quick breakdown of some popular zinnia varieties and what they do best.
Comparing Popular Zinnia Varieties
| Variety Name | Average Height | Flower Type | Best For |
|---|---|---|---|
| Thumbelina Mix | 6-8 inches | Single & semi-double | Edging, window boxes, containers |
| Profusion Series | 12-18 inches | Single & double | Borders, mass plantings, hot climates |
| Zahara Series | 12-18 inches | Single & double | Containers, disease-prone areas |
| Oklahoma Series | 24-30 inches | Semi-double | Cutting gardens, bouquets |
| Benary's Giants | 30-40 inches | Fully double | Professional cut flowers, back of the border |
| California Giants | 36-48 inches | Double | Dramatic backdrops, large bouquets |
Whether you want something small and cheerful or tall and dramatic, there's a zinnia out there with your name on it. Taking a moment to match the variety to your garden's needs is the surest way to get a fantastic display.
2. Set the Stage with Perfect Sun and Soil
Zinnias are famously low-maintenance, but if you want a truly spectacular summer display instead of just a few scattered blooms, a little prep work goes a long way. The secret to a garden overflowing with zinnias all comes down to two things: sun and soil. Nail these, and you're already on the fast track to success.
First up, let's talk about sun. Zinnias are absolute sun-worshippers. They crave at least 6-8 hours of direct, unfiltered sunlight every single day to thrive. Tucking them away in a shady corner will only give you lanky, weak-stemmed plants that produce very few flowers.
Find the sunniest, most open spot in your yard. That's your zinnia sweet spot. This isn't just a friendly suggestion; it's a must-do for getting those dense, vibrant blooms every gardener dreams of.
Crafting Rich, Well-Drained Soil
While zinnias can put up with less-than-perfect conditions, they have one major pet peeve: "wet feet." Heavy clay soil that stays soggy is their worst nightmare and a common cause of root rot. Your mission is to create a garden bed with rich, loamy soil that drains like a champ.
The best way to get there is by working a generous 2- to 3-inch layer of organic matter into the top 6-8 inches of your soil before planting.
- Compost: This is the undisputed champion. It lightens heavy soil, adds vital nutrients, and improves drainage all at once.
- Aged Manure: A fantastic source of nitrogen that gives your young zinnia seedlings a powerful boost right from the start.
- Leaf Mold: A wonderful, and often free, soil conditioner that helps soil hold just the right amount of moisture without getting waterlogged.
This step isn't just about feeding your plants; it's about creating the perfect physical environment for their roots to grow strong and healthy. For a more detailed walkthrough, check out our guide on how to get your garden beds ready for planting: https://homegrown-garden.com/blogs/blog/preparing-garden-soil.
A Quick Check on Your Soil's pH
Zinnias are happiest in soil that's slightly acidic to neutral, with a pH somewhere between 6.0 and 7.0. They aren't overly dramatic about it, but if the pH is too far off in either direction, it can prevent the plants from absorbing the nutrients they need, even if those nutrients are in the soil.
You can easily check this with a simple soil test kit from any local garden center. If your soil is too acidic (below 6.0), you can mix in some garden lime. If it's too alkaline (above 7.0), adding elemental sulfur will help bring the pH down.
A little pro tip: It's best to make these adjustments a few weeks before you plan to sow your zinnia seeds. This gives the amendments time to actually work their magic and integrate into the soil, heading off potential problems before they can start.
3. Follow a Practical Guide to Sowing Seeds
With your garden bed prepped and ready, it's time for the fun part: getting those zinnia seeds into the ground. This is the moment your vision for a summer bursting with color starts becoming a reality. You can sow them straight into the garden or give them a head start indoors—either way, the process is simple and incredibly satisfying.

First thing's first: timing. Zinnias absolutely love the heat and have zero tolerance for frost. You need to wait until any chance of a late frost has passed and the soil has warmed up to a cozy 70°F. If you jump the gun and sow in cold, damp soil, you're just inviting poor germination or even seed rot. Patience pays off here.
Sowing Zinnia Seeds Directly Outdoors
Honestly, for most of us, sowing directly into the garden is the easiest and most reliable path to success. Zinnia seeds are eager to sprout in warm soil, often popping up in as little as 4-7 days. This approach also saves you the trouble of transplanting later and lets the plants develop a strong root system right where they'll live.
Start by gently raking the soil surface until it has a fine, crumbly texture. From here, you have a couple of options:
- Planting in Rows: If you prefer a tidy, more structured look, make shallow furrows about a quarter-inch deep. Drop seeds every 4-6 inches along the row, keeping the rows themselves about 12-18 inches apart. This gives them plenty of room to bush out.
- Broadcast Sowing: For a more natural, meadow-like vibe, you can simply scatter the seeds by hand over the prepared soil. This method is perfect for creating dense, colorful patches of blooms. If you're a fan of this informal style, you can find more tips on how to sow and grow wildflowers at https://homegrown-garden.com/blogs/blog/how-to-sow-and-grow-wildflowers.
Whichever method you choose, finish by lightly covering the seeds with about ¼ inch of soil. You don't want to bury them deep; just a light dusting is enough to provide darkness and keep them in place. Gently pat the soil down and give the area a good, soft watering, being careful not to wash your seeds away.
Getting a Head Start Indoors
Live somewhere with a frustratingly short growing season? Starting your seeds indoors about 4-6 weeks before your last frost date can give your zinnias a much-needed head start. A word of caution, though: zinnias grow incredibly fast and can get leggy or root-bound if you start them too early.
Fill some biodegradable pots or seed trays with a quality seed-starting mix. Plant one or two seeds per cell, pushing them about a quarter-inch deep. Keep the soil moist but not soggy, and set them up in a warm spot with plenty of light, like a sunny windowsill or under a set of grow lights.
The absolute most important step when starting seeds indoors is hardening them off. You can't just take these pampered seedlings from your cozy house and throw them into the great outdoors. This process slowly gets them used to the real world. Start by putting them outside in a shady, protected spot for an hour a day. Over the next 7-10 days, gradually give them a little more sun and wind exposure before finally planting them in the garden.
Taking the time for this transition prevents transplant shock and ensures your seedlings will thrive from day one. By following these simple steps, you're well on your way to a garden overflowing with vibrant zinnias.
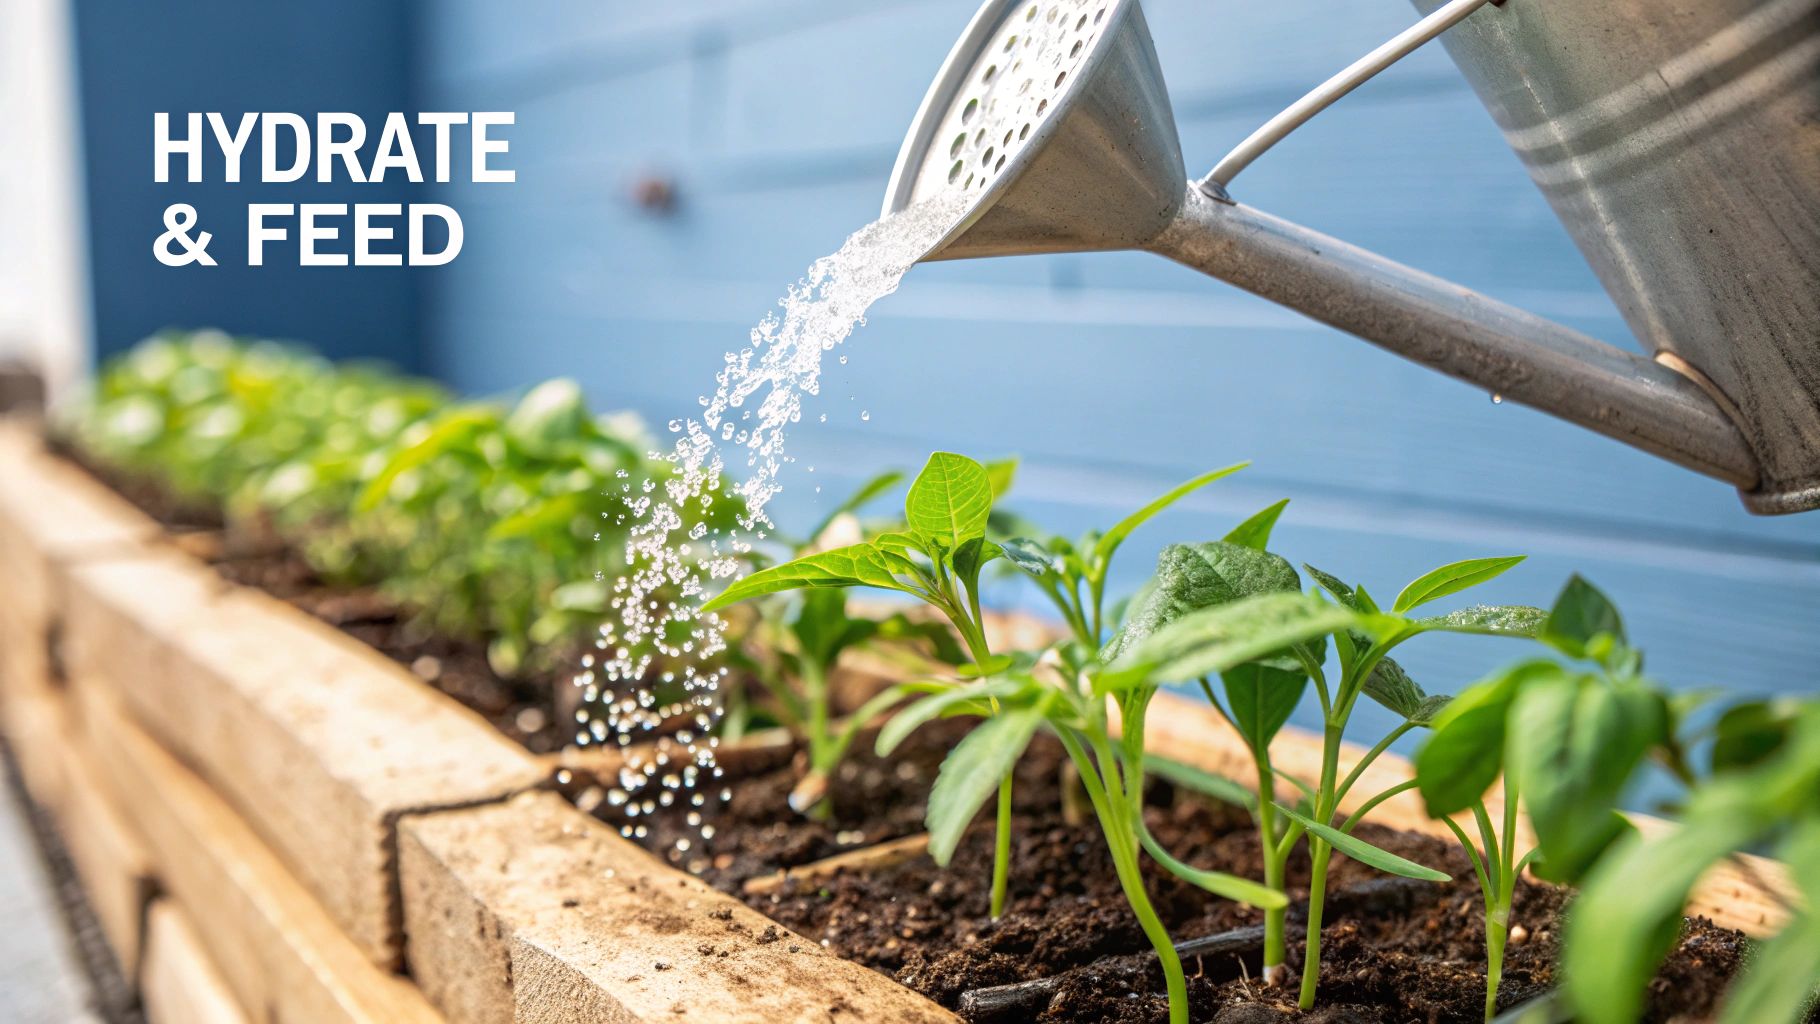
4. Master Watering and Feeding for Maximum Blooms
If you want to go from a decent patch of zinnias to a truly spectacular, season-long flower factory, it all comes down to smart watering and feeding. Once your plants are settled in, this is where you can really make a difference. It’s not about fussing over them daily, but about giving them exactly what they need, right when they need it.
The biggest mistake I see gardeners make with zinnias is watering from overhead. It's fast, sure, but spraying the leaves is like rolling out a welcome mat for fungal diseases, especially the dreaded powdery mildew.
Always aim for the base of the plant. A soaker hose or a simple watering wand is perfect for this, delivering water straight to the roots where it does the most good. This keeps the foliage and those beautiful blooms perfectly dry and far less prone to problems.
Creating a Smart Watering Schedule
Zinnias are tougher than they look and can handle a bit of dryness once they're established. For the most prolific blooms, however, they thrive on consistency. I find that a good, deep soak about once a week, delivering roughly one inch of water, is the sweet spot. The key is to let the top layer of soil dry out between sessions, which keeps the roots healthy and prevents rot.
Not sure when to water? The old-school finger test never fails. Just stick your index finger about two inches into the soil near the base of the plant. If it feels dry, it's time for a drink. If you feel moisture, check again in a day or two. Trust me, it’s much easier to save a thirsty zinnia than a waterlogged one.
Feeding for Flowers, Not Foliage
When it comes to fertilizer, remember this: less is more, and the type of fertilizer is everything. Zinnias are not heavy feeders. If you give them a fertilizer that's high in nitrogen, you'll get gorgeous, lush, green leaves... and almost no flowers. The plant will simply pour all its energy into foliage.
To get an explosion of color, look for a balanced, all-purpose flower fertilizer where the first number (nitrogen) is lower than the others. Something like a 5-10-5 or 10-20-10 formula is ideal. A light feeding just once a month is plenty.
It's also interesting to see what modern research is uncovering. For instance, one study found that applying silicon along with the right amount of water could seriously boost flower production. Plants that got this treatment showed a 15.2% increase in fresh biomass. It just goes to show that tiny nutritional adjustments can make a huge impact. You can read more on these zinnia cultivation findings from the 2025 study.
And if you want to make sure you get everything right from the very beginning, check out our 10 tips for sowing and germination.
Ultimately, a bit of strategy with the watering can and a light hand with the right fertilizer is all it takes. You'll be rewarded with an unbelievable display of vibrant blooms that just keeps going all summer.
5. Prune and Pinch for Bushier Plants
Want to know the secret to getting those big, bushy zinnia plants that are absolutely covered in flowers? It's all about a little strategic snipping. It might feel wrong to cut parts off your plant, but trust me, these two techniques will transform your zinnia patch from good to glorious.
This is how you tell the plant to stop growing up and start growing out, which means more branches and, ultimately, more of those beautiful blooms you're after.
The first trick is something gardeners call "pinching back," and it's a total game-changer for getting a full, sturdy plant. The perfect time to do this is when your zinnia seedling is about 8 to 12 inches tall and has at least four sets of true leaves.
Simply take a clean pair of snips or even just your fingernails and cut off the top 3 to 4 inches of the main stem, right above a pair of leaves. This one small cut removes the plant's main growth tip and sends a signal down to the plant: "Branch out!" Almost immediately, it will start sending out two new stems from that point, creating a much bushier plant that can support way more flowers.
Keep the Flowers Coming With Deadheading
Your second mission, which continues all season long, is deadheading. This is just a fancy term for removing the old, faded flowers. A zinnia's biological purpose is to make seeds. Once a flower fades, the plant puts all its energy into developing seed heads.
But if you snip off those old flowers, you trick the plant. It thinks, "My work isn't done!" and immediately pushes its energy back into producing a whole new wave of blooms.
Deadheading is the key to a non-stop flower show. It keeps your garden looking fresh and tidy while ensuring the plant's energy is spent making new flowers, not seeds. This can extend your zinnia season all the way to the first frost.
To do it right, don’t just pop the old flower head off. Follow its stem down to the first set of full, healthy leaves and make your cut just above them. This encourages the plant to send out new blooming stems from that spot. Making a habit of deadheading every few days is a small task, but the payoff in flower production is huge.
6. Troubleshoot 5 Common Zinnia Problems
Even the most easy-going flowers run into trouble now and then, and zinnias are no exception. While giving them a good start helps you sidestep most issues, knowing what to look for is the key to keeping your garden vibrant all season.
Think of this as your field guide for troubleshooting your zinnias. The good news? Most of these problems are a quick fix with simple, organic solutions, especially if you catch them early.
The Dreaded Powdery Mildew
If you grow zinnias long enough, you'll eventually meet powdery mildew. It’s easily the most common headache for zinnia lovers. You'll spot it as a white, dusty film on the leaves, which, if left alone, will cause them to yellow and wither.
This fungus loves humidity and stagnant air—a combination that often happens when you water from overhead or plant your zinnias too close together. The fix is simple: always water at the base of the plant to keep the leaves dry. If mildew has already shown up, a spray of one part milk to nine parts water works wonders on a sunny day. But your best defense is giving them enough elbow room right from the start when planting zinnia seeds.
Pesky Aphids
Notice tiny, pear-shaped bugs clustered on new stems or under the leaves? You've got aphids. These little pests suck the life out of your plants, leading to weak, distorted growth.
Often, a strong jet of water from your hose is all it takes to knock them off. If they keep coming back, an organic insecticidal soap will do the trick. Even better, make your garden a welcoming place for beneficial insects like ladybugs—they’re a fantastic natural pest control crew.
Spotting Leaf Spot
Several fungal and bacterial diseases show up as brown or black spots on the leaves, sometimes with a yellow "halo" around the edges. Just like powdery mildew, this problem usually pops up when the foliage stays wet for too long.
Your best defense against leaf spot is a good offense. As soon as you see a spotted leaf, snip it off and throw it in the trash, not the compost bin. The pathogens can linger in your compost and cause trouble again next year.
Leggy Stems and Not Enough Flowers
Sometimes the problem isn't a pest or disease, but a lack of light. If your zinnias are growing tall and spindly with few leaves and even fewer blooms, they're probably "reaching" for more sun.
Zinnias are sun worshippers and need at least 6 to 8 hours of direct sunlight every day to produce those big, showy flowers. If your patch is too shady, there's not much you can do this season, but make a note to choose a sunnier spot next year.
Fading or Discolored Flowers
Have you noticed your zinnia blooms looking washed out or pale? This is often a sign of a nutrient deficiency, usually a lack of phosphorus, which is essential for vibrant flower development.
A simple soil test can confirm any issues, but a quick fix is to feed your plants with a balanced, organic fertilizer that’s rich in phosphorus. Look for one where the middle number in the N-P-K ratio is higher. This will give them the boost they need to get back to producing those jaw-dropping colors.
Most zinnia issues are straightforward to identify and manage, especially when you know what to look for. Here's a quick cheat sheet to help you diagnose and treat the most common problems you might encounter in your garden.
Zinnia Problem-Solving Guide
| Problem | Symptom | Organic Solution |
|---|---|---|
| Powdery Mildew | White, dusty coating on leaves; leaves yellowing and dying back. | Increase air circulation by thinning plants. Water at the base. Spray with a milk and water solution (1:9 ratio). |
| Aphids | Tiny, pear-shaped insects clustered on new growth or under leaves. | Dislodge with a strong spray of water. Use insecticidal soap for heavy infestations. Attract ladybugs. |
| Leaf Spot | Brown or black spots on leaves, often with a yellow halo. | Remove and destroy affected leaves immediately. Avoid overhead watering. Ensure good air circulation. |
| Leggy Growth | Tall, weak stems with sparse leaves and few flowers. | Ensure plants receive at least 6-8 hours of direct sunlight daily. Pinch back young plants to encourage bushier growth. |
| Faded Blooms | Flowers appear pale, washed-out, or discolored. | Test soil for nutrient deficiencies. Apply a phosphorus-rich organic fertilizer to promote vibrant blooms. |
By keeping a close eye on your plants and acting fast, you can handle almost anything that comes your way. A little vigilance ensures your zinnia patch stays healthy and beautiful all the way through the season.
7. Get Answers to 3 Common Zinnia Questions
Even the most experienced gardeners run into questions now and then. Think of this as your go-to spot for those little zinnia puzzles that pop up during the season. I've put together some quick, no-fuss answers to help you solve problems on the fly.
Can I Grow Zinnias in Pots?
You bet! Zinnias are fantastic in containers, adding a serious splash of color to patios and balconies. The trick is to pick the right varieties—the dwarf or more compact types, like the 'Profusion' or 'Zahara' series, are absolutely perfect for this.
Here’s how to set them up for success:
- Go for a decent-sized pot: Give their roots room to breathe. A pot that's at least 8-10 inches across is a good starting point.
- Drainage is non-negotiable: Make sure your pot has holes in the bottom. Zinnias hate "wet feet," and soggy soil is a fast track to root rot.
- Stay on top of watering: Pots dry out way faster than garden beds, especially in the summer heat. You'll probably find yourself needing to water them daily.
Why Are My Zinnia Leaves Turning Yellow?
Yellowing leaves are your zinnia’s way of telling you something’s off. It’s almost always one of two things: too much water or not enough food.
First, do a quick soil check. Just stick your finger an inch deep. If it feels soggy, you’re overwatering. Let the soil dry out a bit between waterings. If the soil feels fine, your plants might just be hungry. A lack of nitrogen is a common culprit. A quick dose of a balanced, all-purpose fertilizer will usually perk them right up and get them back to a vibrant green.
A Pro Tip for Next Season: Saving zinnia seeds is one of the easiest garden tasks. Toward the end of the season, just let a few of the best-looking flower heads dry out completely on the stem. They'll turn brown and feel brittle. Snip them off, crumble them over a paper plate, and you'll see the little arrowhead-shaped seeds fall out. Let them air dry indoors for a week or so, then pop them in a labeled paper envelope and store them somewhere cool and dark for next spring.
At Homegrown Garden, we're all about providing the heirloom seeds and real-world advice you need to grow a garden you'll love. Check out our hand-picked seed collections and get started at https://www.homegrown-garden.com.


